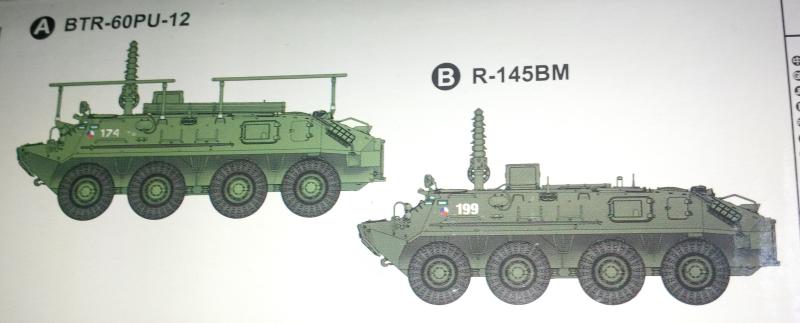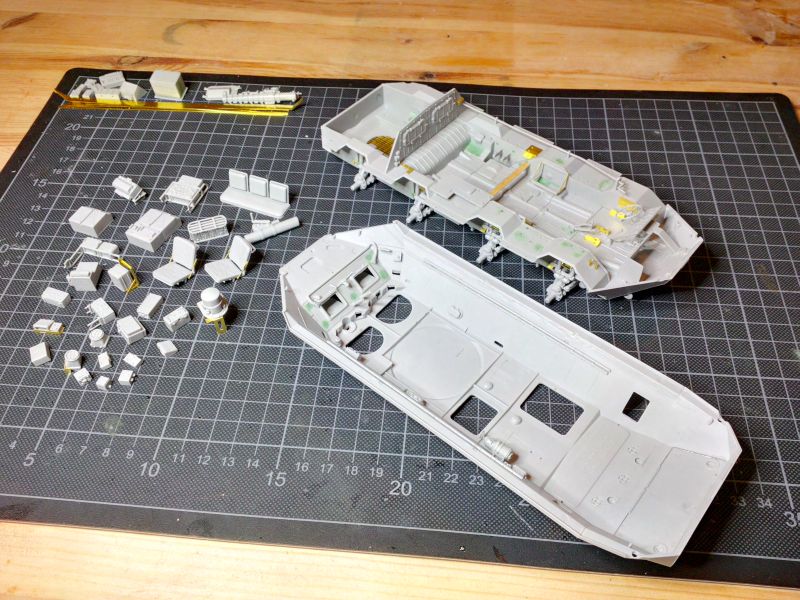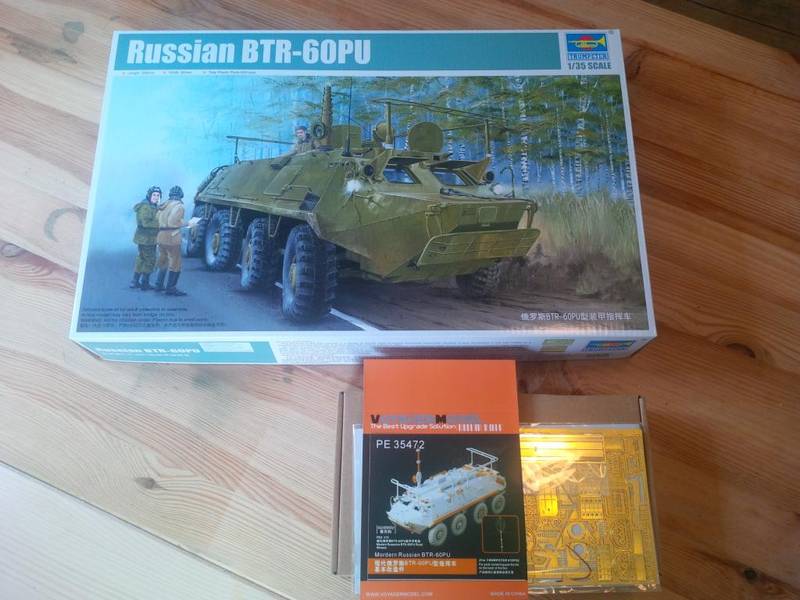
That is my starting gear... maybe I'll go for some resin wheels as well, I'll decide that later...
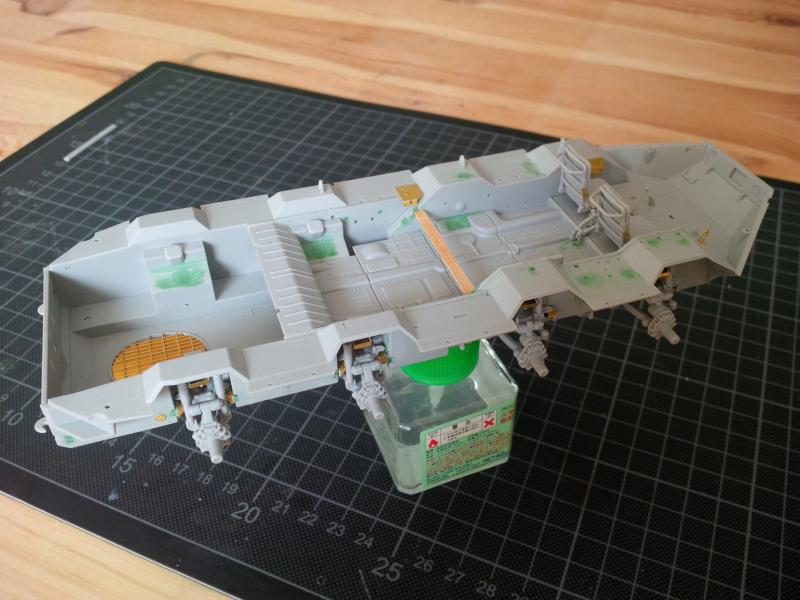
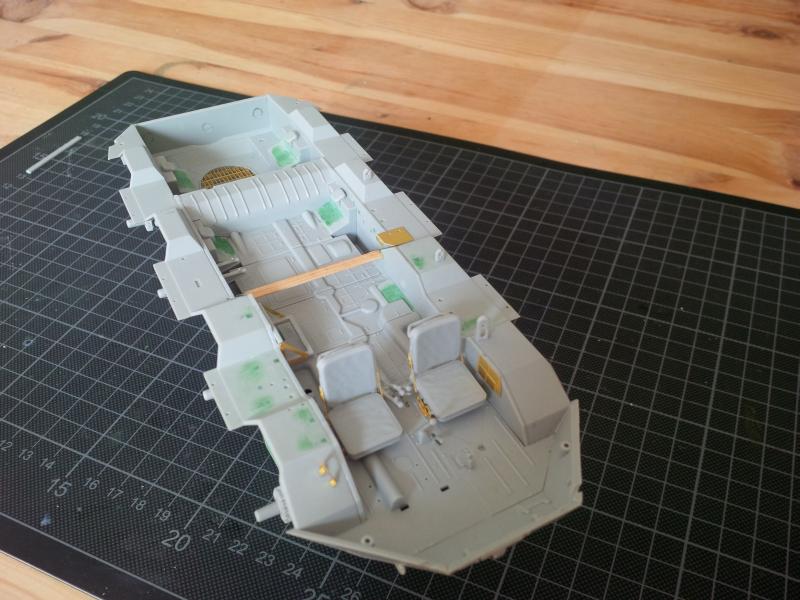
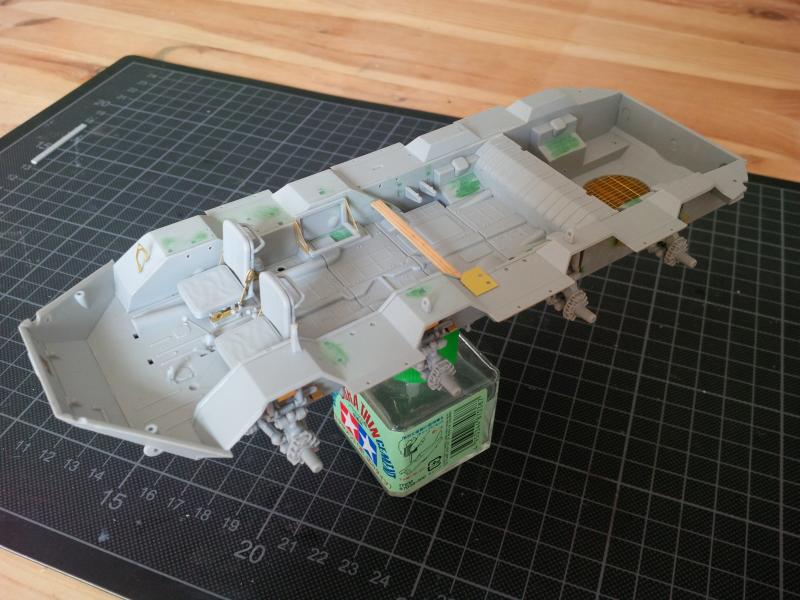
Since I haven't had a kit in my hands for a while I was eager to put as many update parts from the Voyager set on the BTR as possible. It is a very extensive set with a lot of update parts, but for the interior... there you're left with what you have in the kit. But that is not a problem at all, since the kit-provided interior seems to be quite good and let's be honest: How much will be seen after the upper and lower hull met for good anyway?
So I started the lower hull with... knife, drills, putty and a loooot of sanding. After an evening of sanding my right arms joint was so tired, that I couldn't tackle the sprues anymore, so I called it a day and admired my destruction work on the kits parts

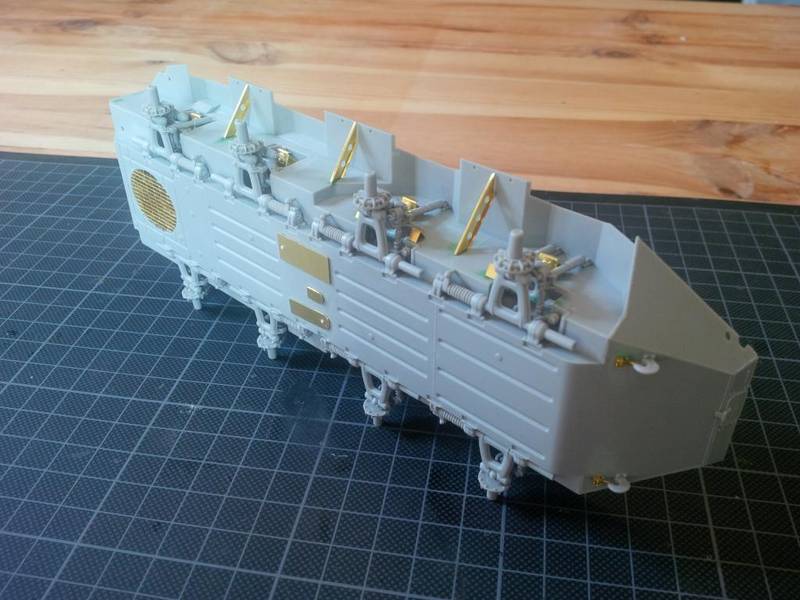
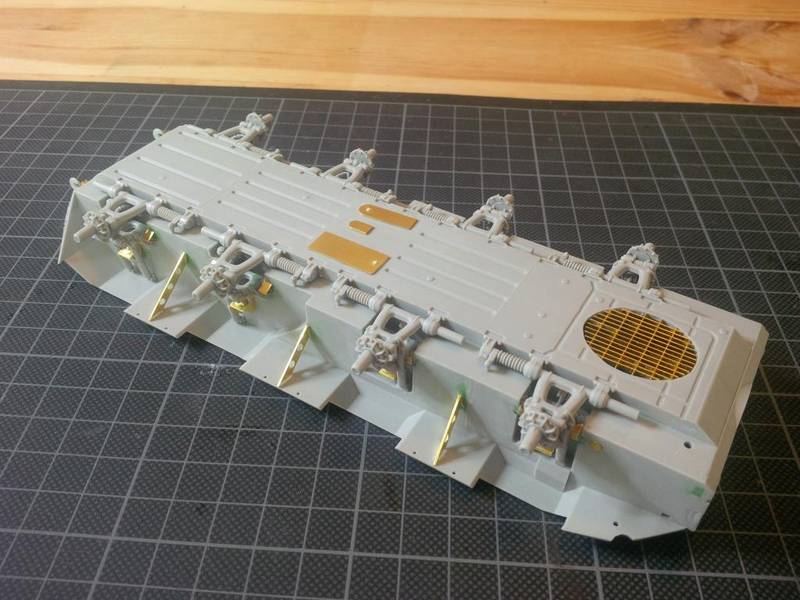
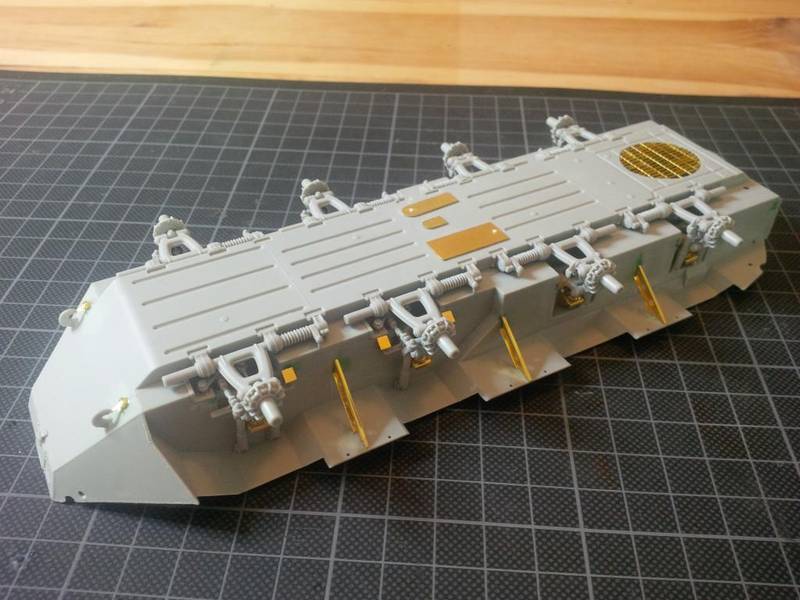
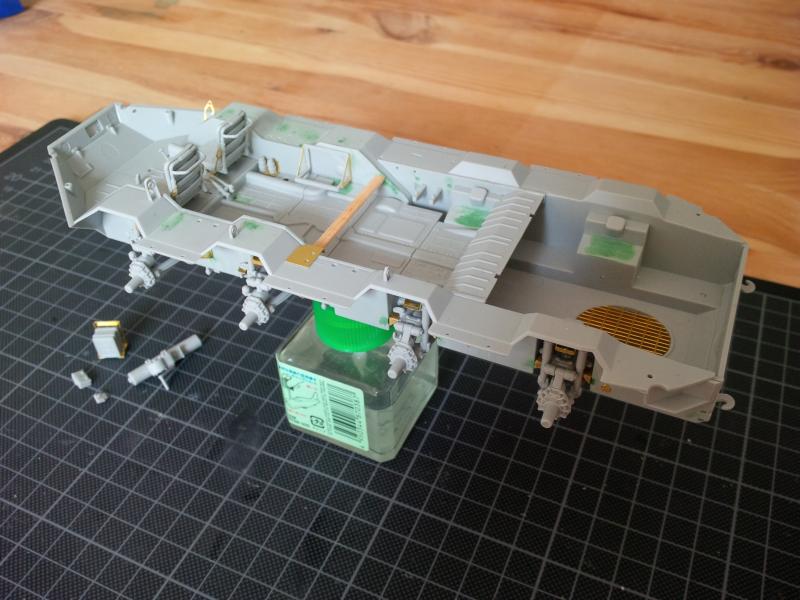
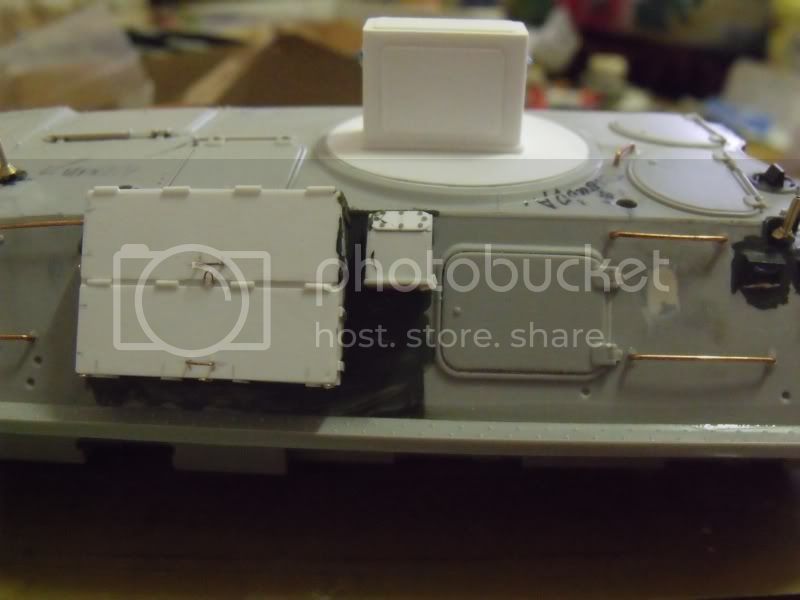
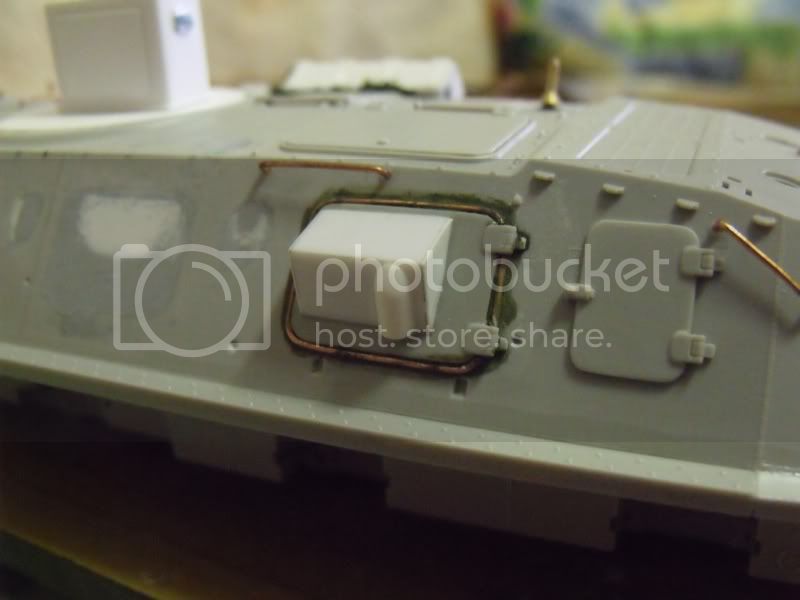
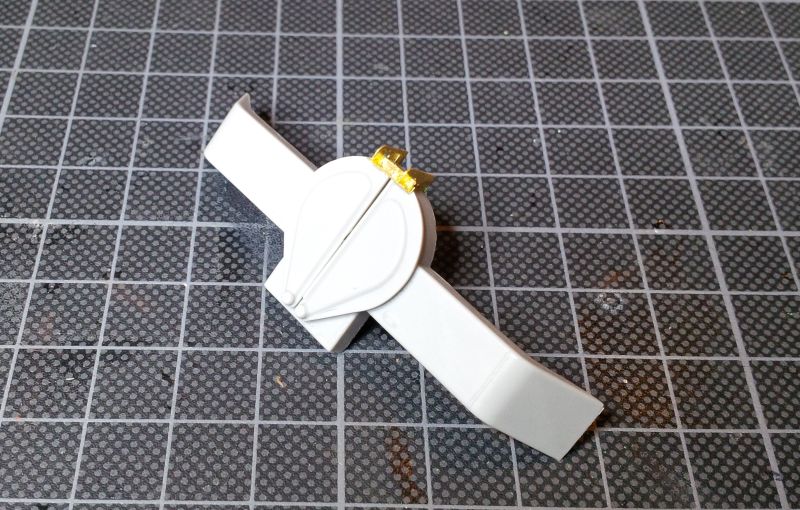
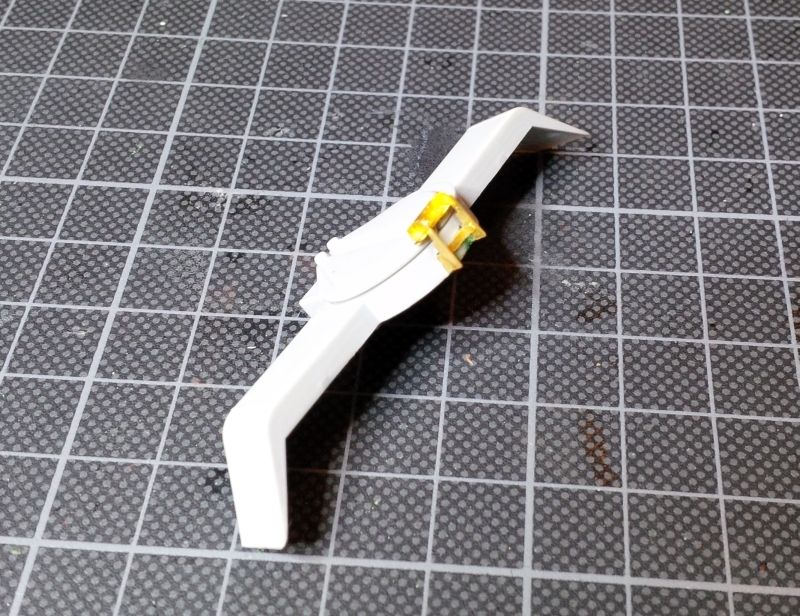
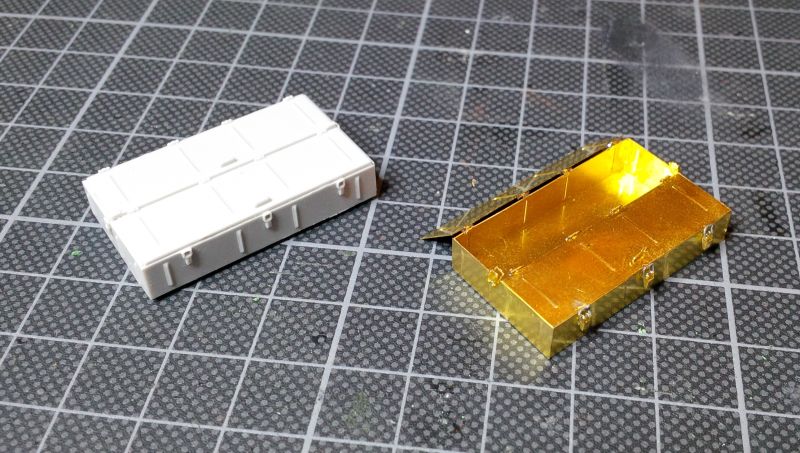
The next day I finally started to unpack that Voyager set and got the replacements for all the removed parts from the day before fixed and set... And what can I say: It looks quite cool to have those PE-parts on your kit. After a lot of more cutting, sanding and preparation my mood reached "average" again, though: Not all the PE parts are perfect replacements and if you are not careful, you misplace them and a lot of work goes to hell. Anyway, I fought my way through, including a lot of engagements with the hungry carpet monster, and not all the battles where won here... That added some extra work for replacing small kits parts with Evergreen scratches

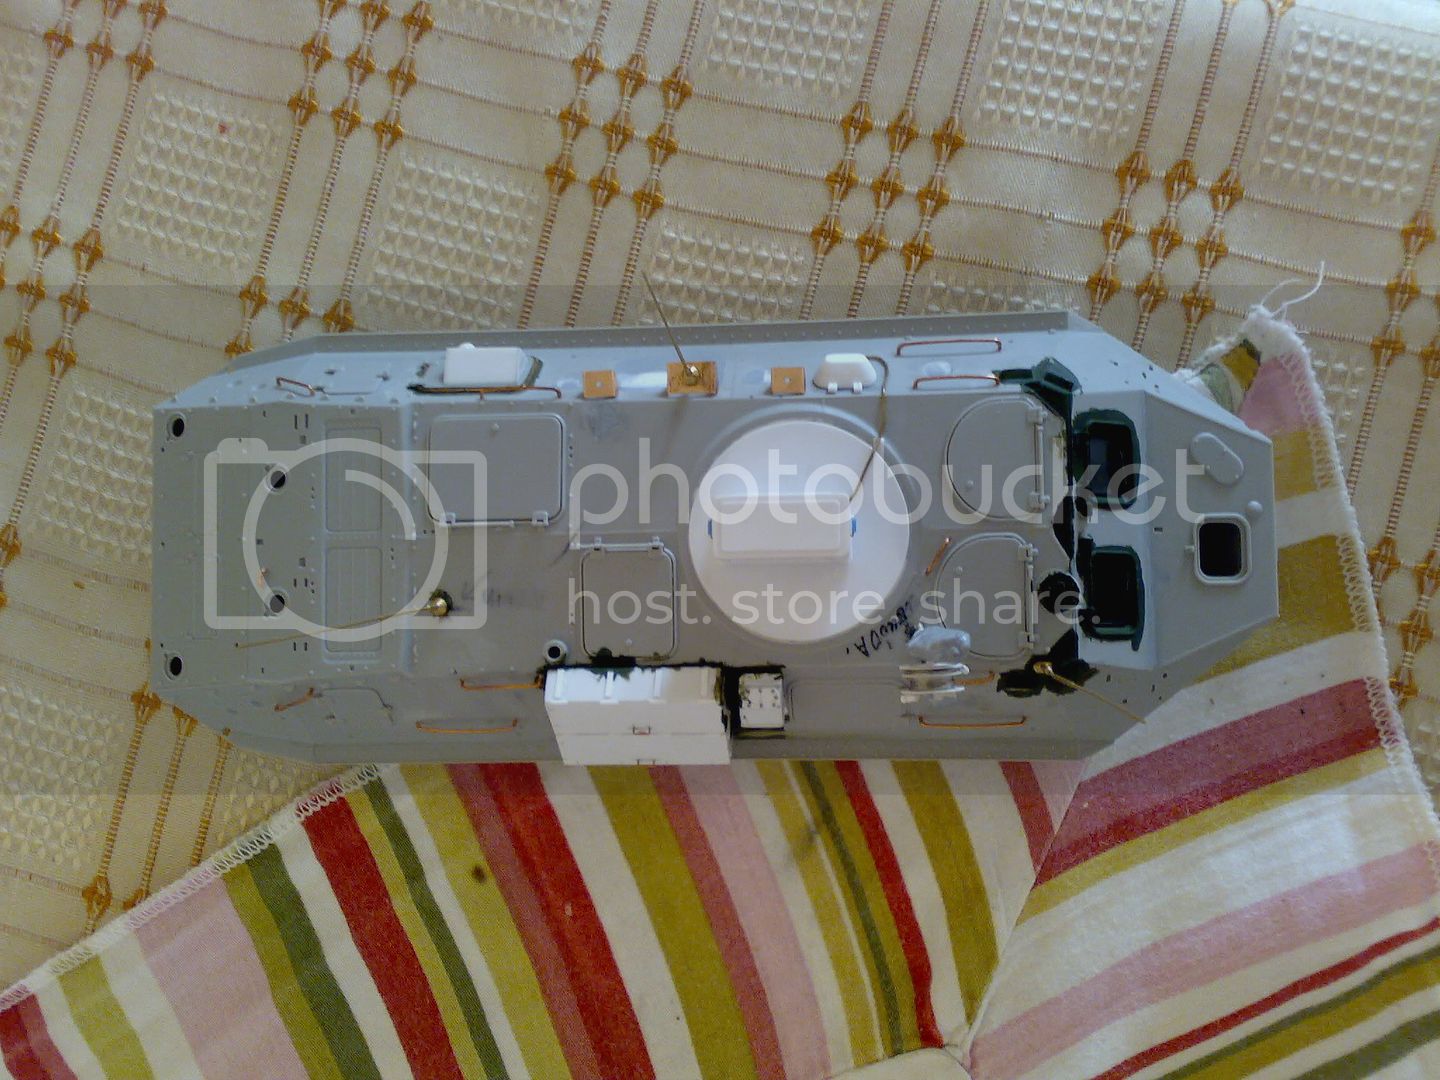
And finally I called the lower hull exterior ready for display when I realized, that most of the stuff won't be seen once the wheels and upper hull are assembled anyway... And that is halfway lucky for me, because I call it sparring to getting back to business with that modelling
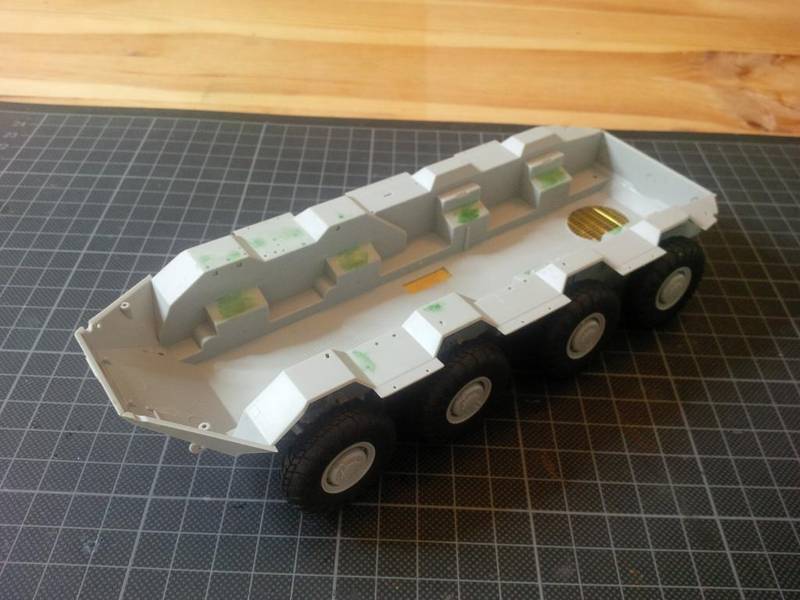
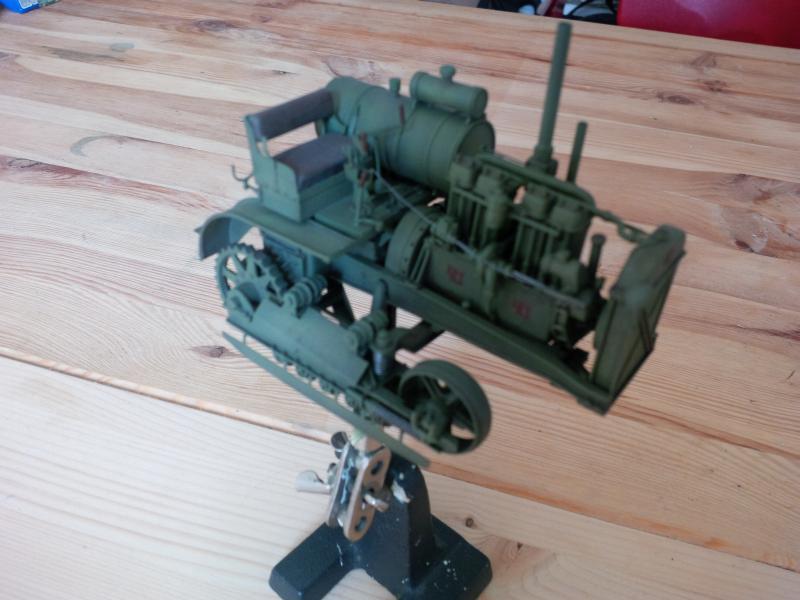
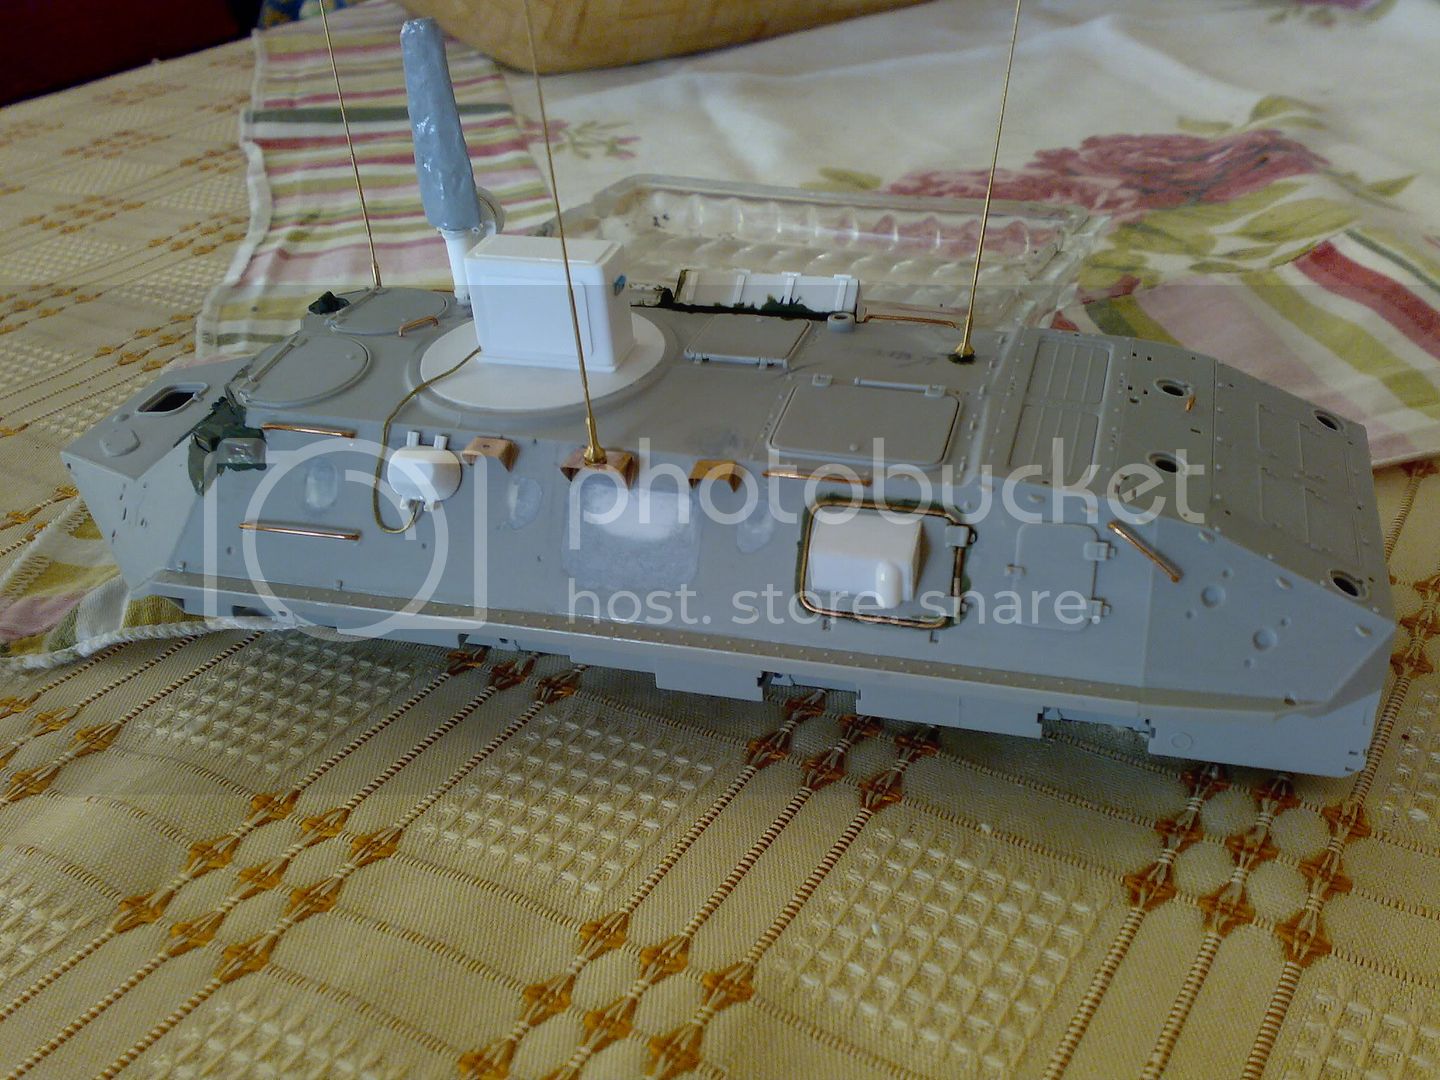
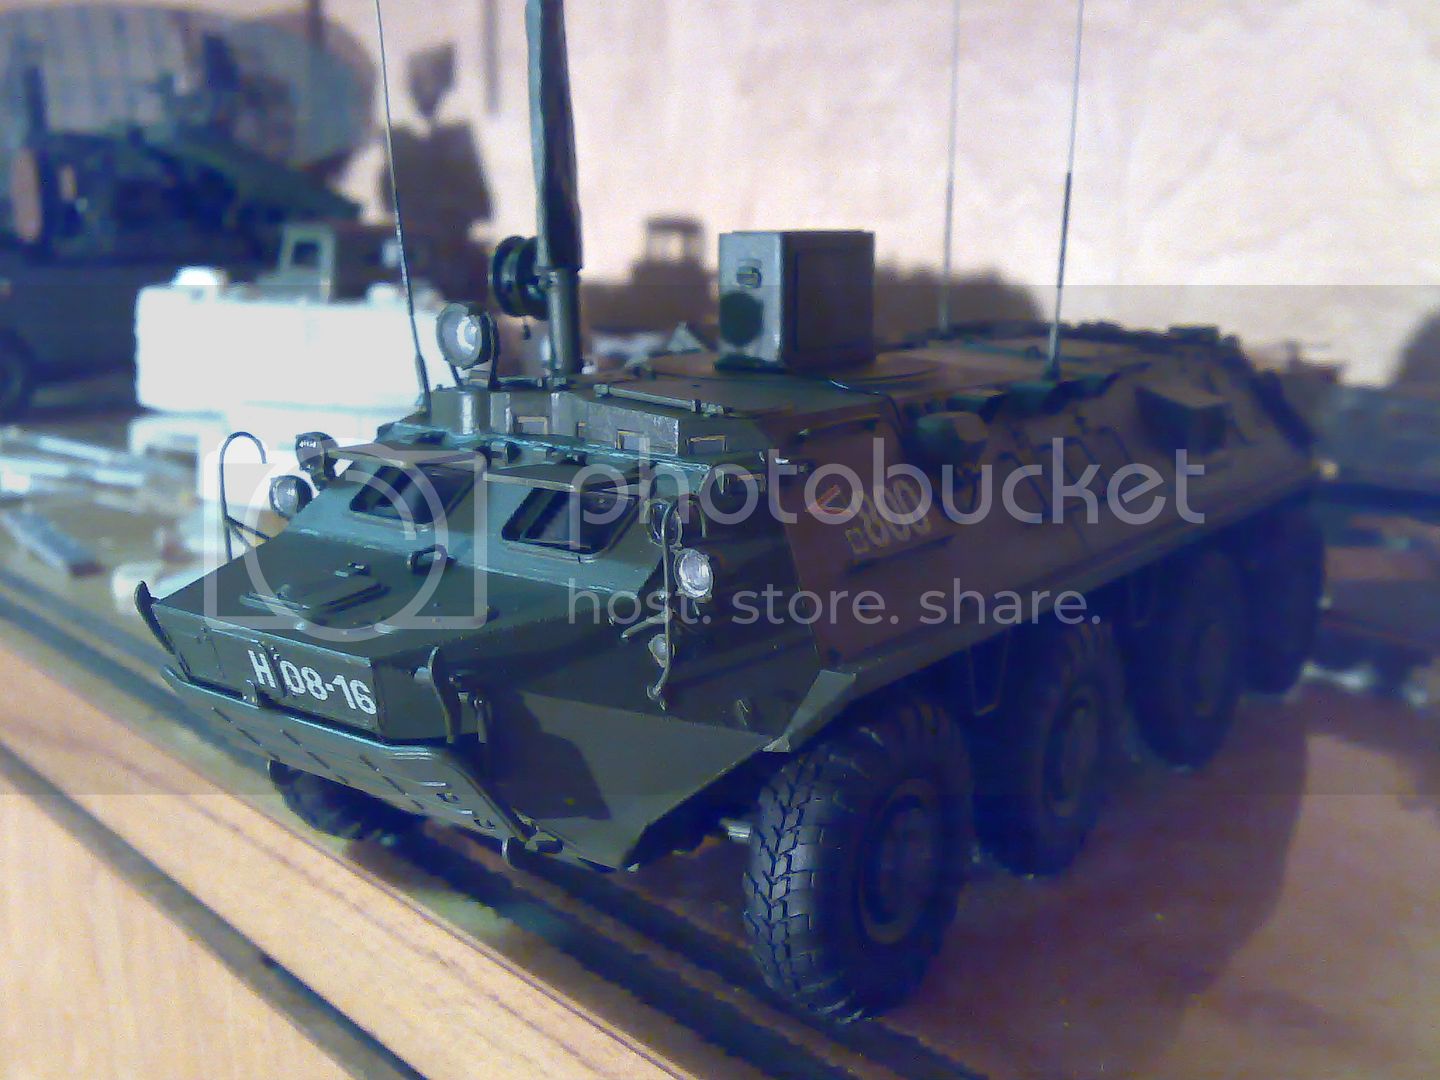
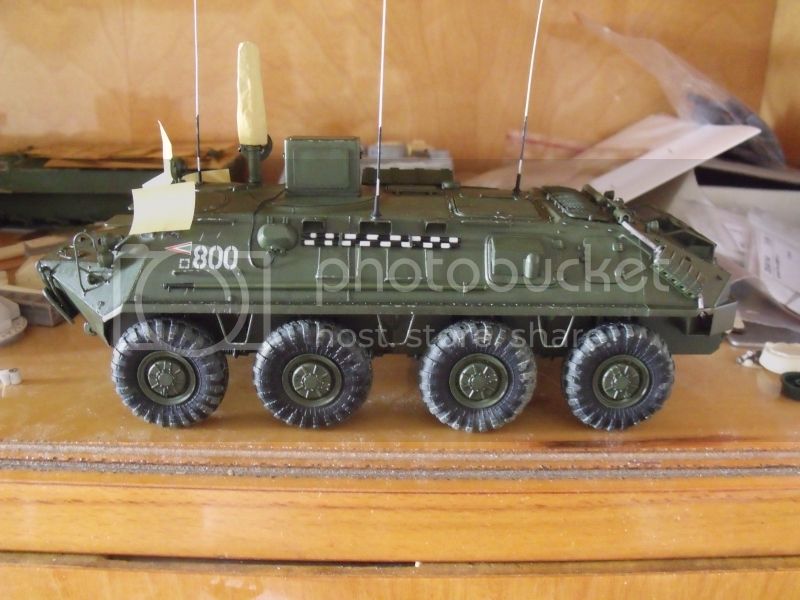
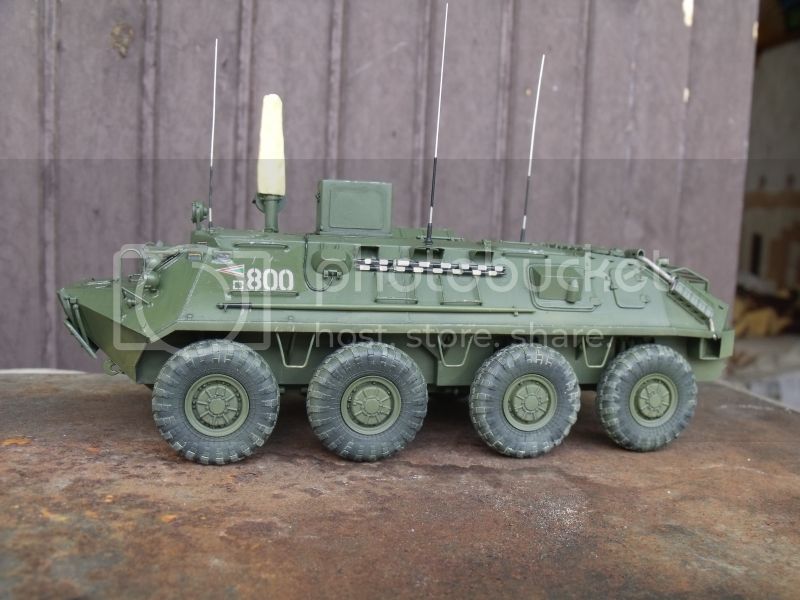
 Not everything looks great and clean.
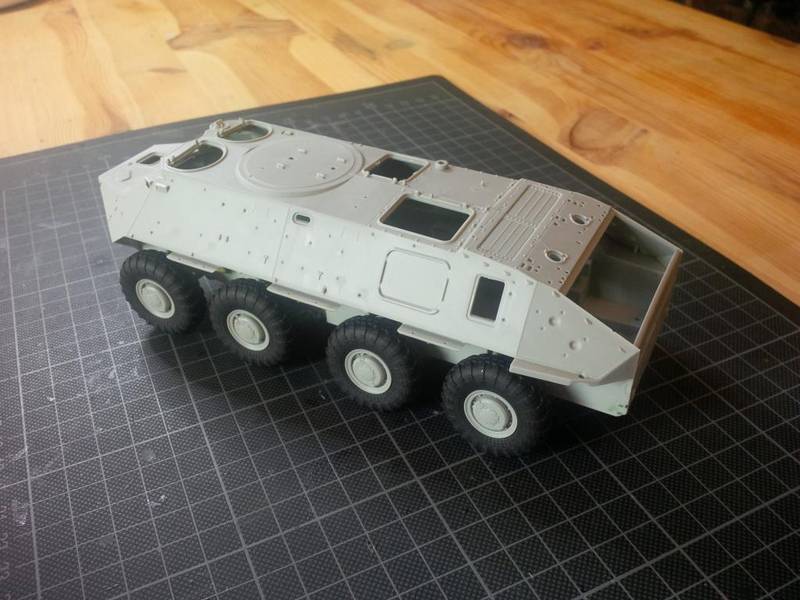
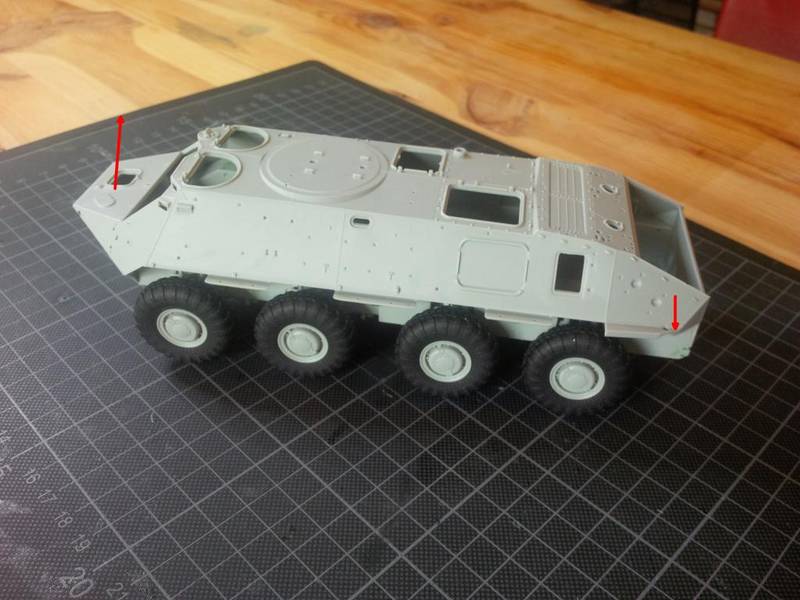
 Result so far: All eight wheels touch ground (great!) but the overall appearance is "leaning to the back" (last picture), means, the vehicle seems to have loaded some concrete in the engine bay and noone sitting in front to counter that weight (if you know what I mean)... Well, I hope I can handle that misfortune later with putting the BTR on it's diorama base.
The Trumpeter kit is great and more or less flawless (some very few marks have to be sanded and filled with putty, but thats all), but geeez, how many tiny parts can one put in to one single kit? You have to be very patient to go all the way... And together with the Voyager set even more and be careful here: dry fitting and strategically thinking ahead is a must do, otherwise you'll have spent a lot of money and time for... the trash
So I won't make it a rush built but bring an update here and there in the future... Enjoy and critize as you please!