Or to give it its full title: 15cm Schweres Infanteriegeschutz 33 (Sf) Auf Panzerkampfwagen 38(t) Ausf H (Sd Kfz 138/1)
Ok I admit it, I am having a huge problem getting back into the Tiger project and it’s stopping me building models, not even my recent Panzer 3n project gave me enough time to refocus. At the moment I just can’t restart it and so I am moving on to this new project and it’s a big one.
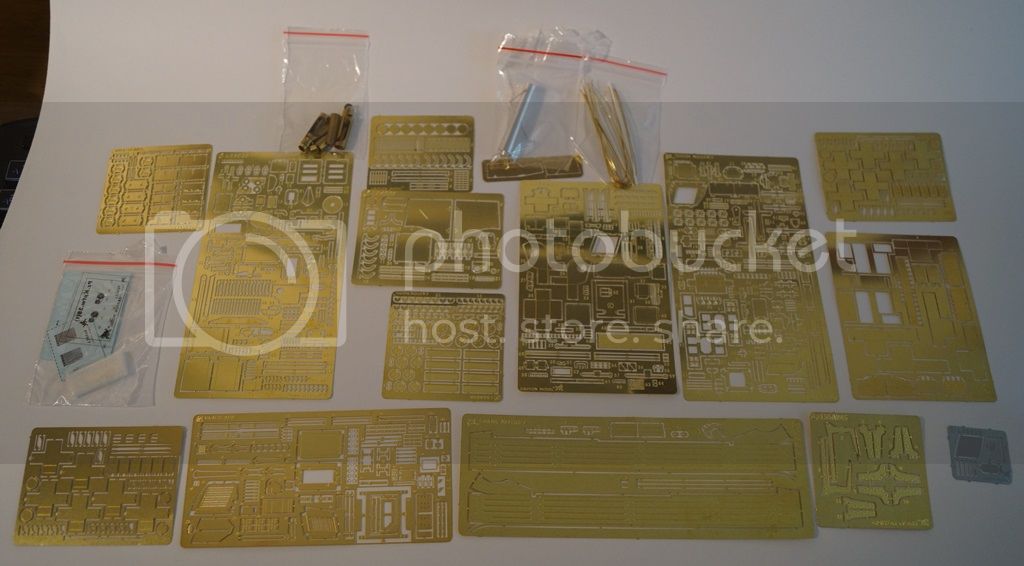
It’s a Grille H with all the PE you can throw at it and all the details I can add, maybe after this I can finally get on with some Tiger. I have no intention of abandoning it.
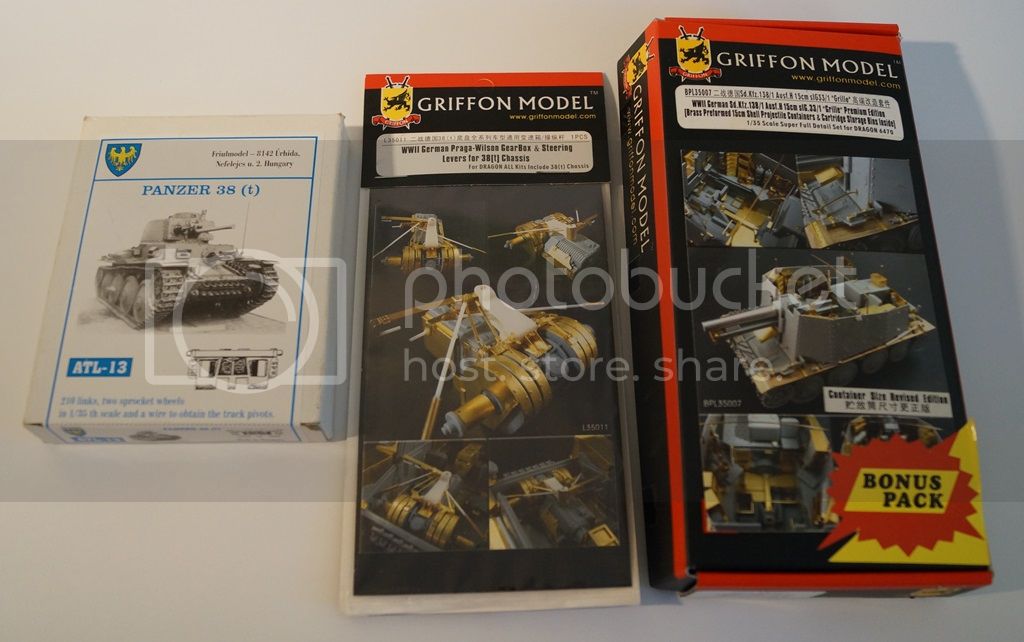
The Base kit is a Dragon Model No 6470 and you can see the extra's that I will be adding
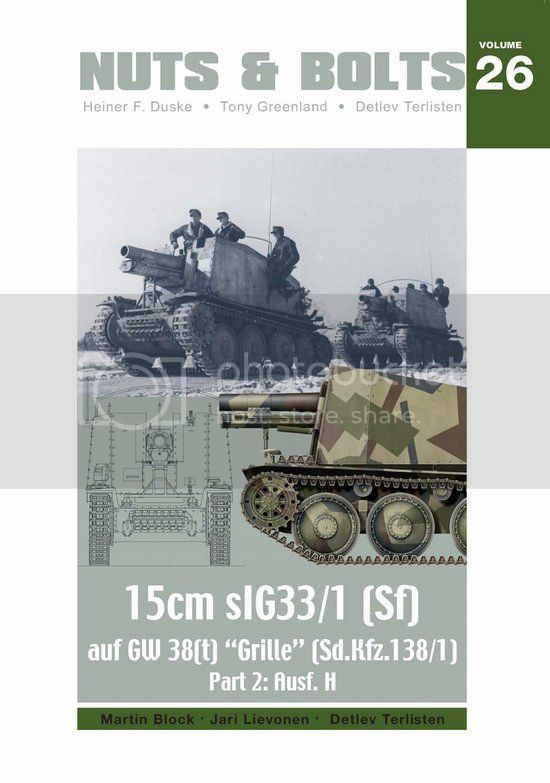
This is the reference book that I will be using
The Grille started life in February 1943 when Hitler, informed of the delay to the Mid-Engine Grille Ausf K, agreed that a number of Pz Kpfw 38(t) chassis in production be converted to house the siG33 Infantry Support Gun. All Panzer 38(t)’s returning to the front for repairs were also to be converted to the new SPG in a production run that produced 91 Grille H Self Propelled Guns until production was terminated in April 1943.
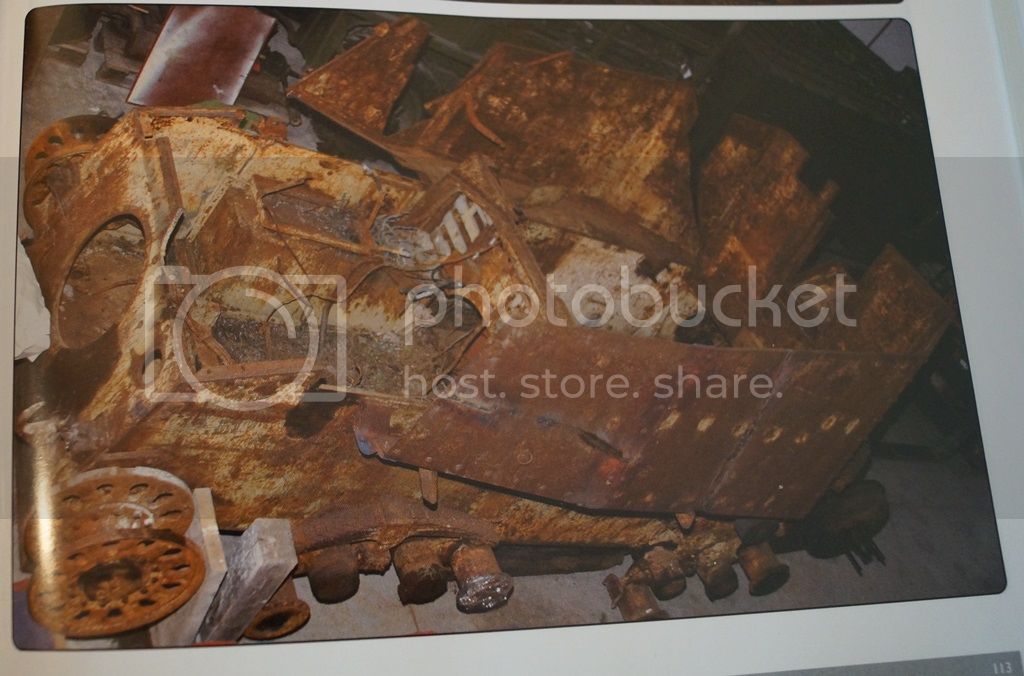
Only one Grille H now exists, lost in the River Enns in March/April 1945 and recovered in 1999. The Vehicle Chassis Number 2155 according to Thomas Jentz was attached to Pz.Gren.Div Grossdeutschland in April 1943. Jentz believes that this vehicle was issued to Fuhrer-Grenadierbrigade (FGB), which was made up from cadre and training units of GD and was later renamed Fuhrer-Grenadierdivision (FGD). Thus it ended up in the Salzburg area with the remnants of FGD in March/April 1945 where it ended up in the River through deliberate act or accident.
Here is the SPG being recovered
and in the Nuts and Bolts Book
In the next post I will actually start building
Thanks for looking
S
Hosted by Darren Baker
Grille Ausf H Build Log
SDavies
England - South East, United Kingdom
Joined: January 09, 2010
KitMaker: 979 posts
Armorama: 959 posts
Joined: January 09, 2010
KitMaker: 979 posts
Armorama: 959 posts
Posted: Monday, May 18, 2015 - 01:16 AM UTC
SSGToms
Connecticut, United States
Joined: April 02, 2005
KitMaker: 3,608 posts
Armorama: 3,092 posts
Joined: April 02, 2005
KitMaker: 3,608 posts
Armorama: 3,092 posts
Posted: Monday, May 18, 2015 - 07:24 AM UTC
Steven,
Looks like a cool project. You can get photoetch armor for the superstructure from Lion Roar.
Hwa-Rang
Kobenhavn, Denmark
Joined: June 29, 2004
KitMaker: 6,760 posts
Armorama: 1,339 posts
Joined: June 29, 2004
KitMaker: 6,760 posts
Armorama: 1,339 posts
Posted: Monday, May 18, 2015 - 10:56 AM UTC
Man, that's a lot of PE. Cool project. Will be looking forward to more.
SlayerWal
Australian Capital Territory, Australia
Joined: February 15, 2015
KitMaker: 24 posts
Armorama: 24 posts
Joined: February 15, 2015
KitMaker: 24 posts
Armorama: 24 posts
Posted: Tuesday, May 19, 2015 - 06:21 AM UTC
GET BACK TO THE TIGER .....
It is so damn inconsiderate of you to keep the rest of us who have an interest in your tiger 1, waiting. It's like being forced to wait for the 3rd installment of a 3 movie series to find out what's going to happen .... Geez, who are you making models for ... us or you! So selfish .....
Did the emo work
Seriously thou, you have put so much into it, it's a shame that you keep backburnering it, thou your other works that i've seen are just great, high quality and professional.
I find with the Tiger 1 I am doing (all because of you and David Byrden, damn you're evil) that I am constantly battling the fear of mucking up what i've done, getting frustrated with the constant need to scratch build or modify existing parts, having to find 100 references to make sure I get it correct AND then looking at someone else's tiger and seeing they've done it better etc etc etc. But then I sit back and remember why I'm doing it
SDavies
England - South East, United Kingdom
Joined: January 09, 2010
KitMaker: 979 posts
Armorama: 959 posts
Joined: January 09, 2010
KitMaker: 979 posts
Armorama: 959 posts
Posted: Tuesday, May 19, 2015 - 12:09 PM UTC
Quoted Text
Steven,
Looks like a cool project. You can get photoetch armor for the superstructure from Lion Roar.
I have had a look and found the Lionroar kit, unfortunately it seems that its now hard to find as Lionroar don't seem to be in business anymore? The company which I used to purchase Lionroar stuff from stopped selling it about a year ago.
Which is a real shame I loved their PE and have their FlakPanzer 1 kit waiting construction
SDavies
England - South East, United Kingdom
Joined: January 09, 2010
KitMaker: 979 posts
Armorama: 959 posts
Joined: January 09, 2010
KitMaker: 979 posts
Armorama: 959 posts
Posted: Tuesday, May 19, 2015 - 12:14 PM UTC
Quoted Text
GET BACK TO THE TIGER .....
It is so damn inconsiderate of you to keep the rest of us who have an interest in your tiger 1, waiting. It's like being forced to wait for the 3rd installment of a 3 movie series to find out what's going to happen .... Geez, who are you making models for ... us or you! So selfish .....
Did the emo work
Seriously thou, you have put so much into it, it's a shame that you keep backburnering it, thou your other works that i've seen are just great, high quality and professional.
I find with the Tiger 1 I am doing (all because of you and David Byrden, damn you're evil) that I am constantly battling the fear of mucking up what i've done, getting frustrated with the constant need to scratch build or modify existing parts, having to find 100 references to make sure I get it correct AND then looking at someone else's tiger and seeing they've done it better etc etc etc. But then I sit back and remember why I'm doing it
One of the reasons why I have temporally stopped is that I feel that I need to be as accurate as possible and that is not always fun. I feel like I need to redesign the Hull ammunition bays because I don't really like them but that's a week of work.
With the Tiger I am having to be creative all the time, finding solutions to problems created by compromises to make other parts work and it is tiring. With the Grille all I have to do his follow very complex instructions in the Griffon Model kit (something like 20 pages of them)
Its not abandoned, and I am planning on copying your work on the turret floor because it looks very good.
SDavies
England - South East, United Kingdom
Joined: January 09, 2010
KitMaker: 979 posts
Armorama: 959 posts
Joined: January 09, 2010
KitMaker: 979 posts
Armorama: 959 posts
Posted: Sunday, May 24, 2015 - 03:21 PM UTC
Hello Everyone,
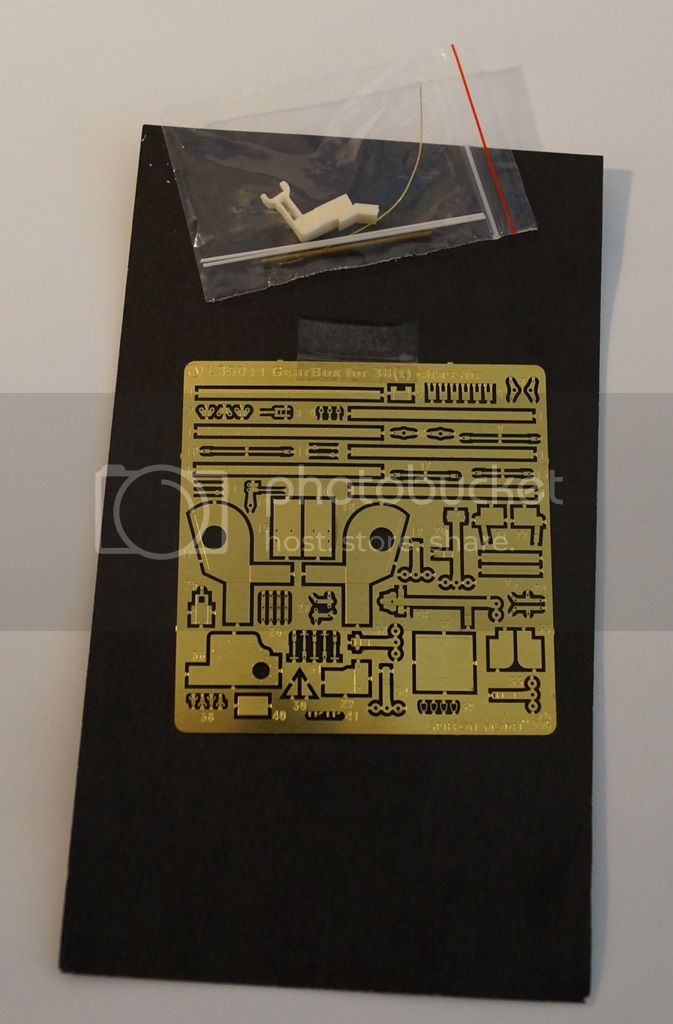
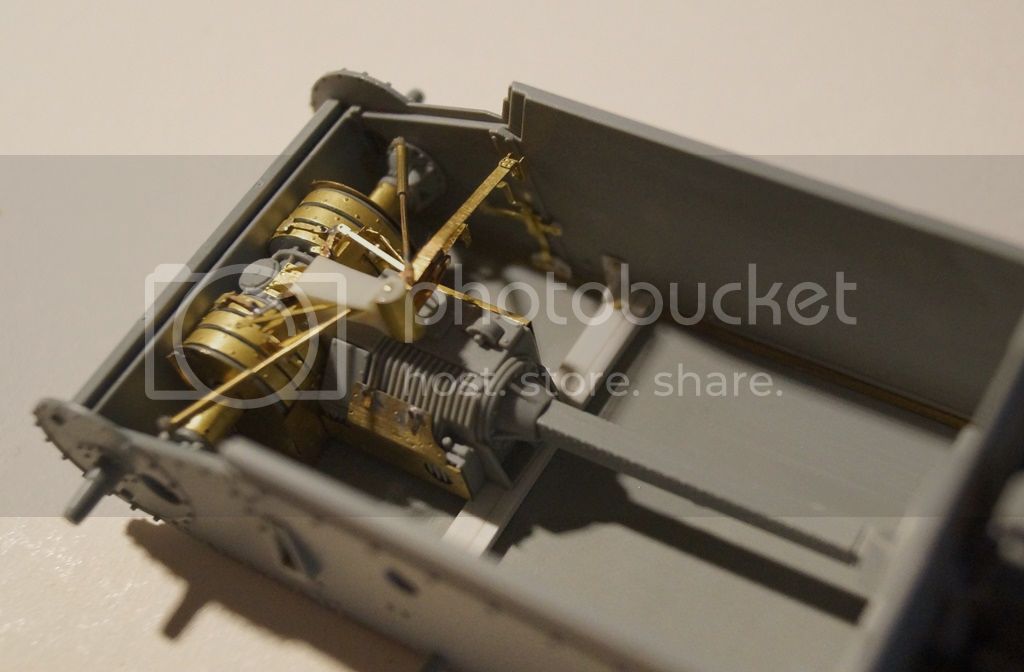
I quick update today, I have been working on the Gearbox if the vehicle and it is taking a very long time as it is so complex.
The Dragon kit gearbox is actually really nice and probably does not need to be replaced, but since I bought the Griffon kit I may as well.
I have also been thinking about how the unit mounted within the hull and here we have problems and the Dragon Kit is quite poor.
Somehow Dragon miss out a floor structural beam entirely (meaning the gearbox is actually supported on nothing) and the gun support mounts are junk since they connect to this beam on the real thing
I have added a Plastic Card mock up on the model to indicate where the beam is and the shockingly bad gun supports are behind it, soon heading towards the bin
More to follow
S
SDavies
England - South East, United Kingdom
Joined: January 09, 2010
KitMaker: 979 posts
Armorama: 959 posts
Joined: January 09, 2010
KitMaker: 979 posts
Armorama: 959 posts
Posted: Sunday, May 31, 2015 - 10:33 PM UTC
Hello,
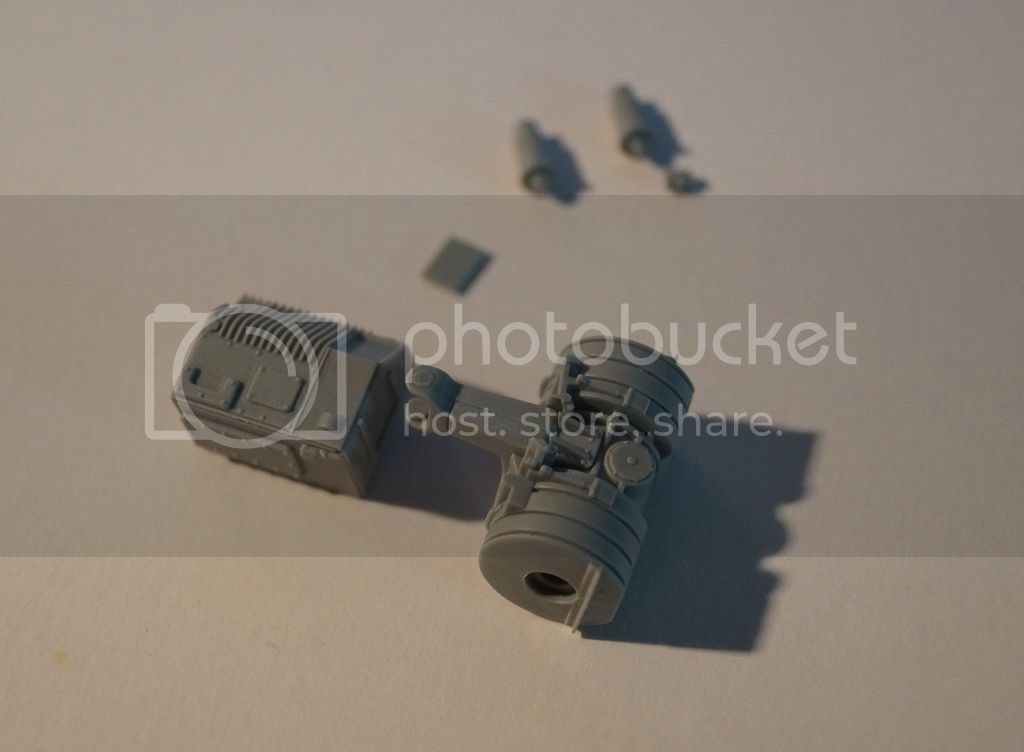
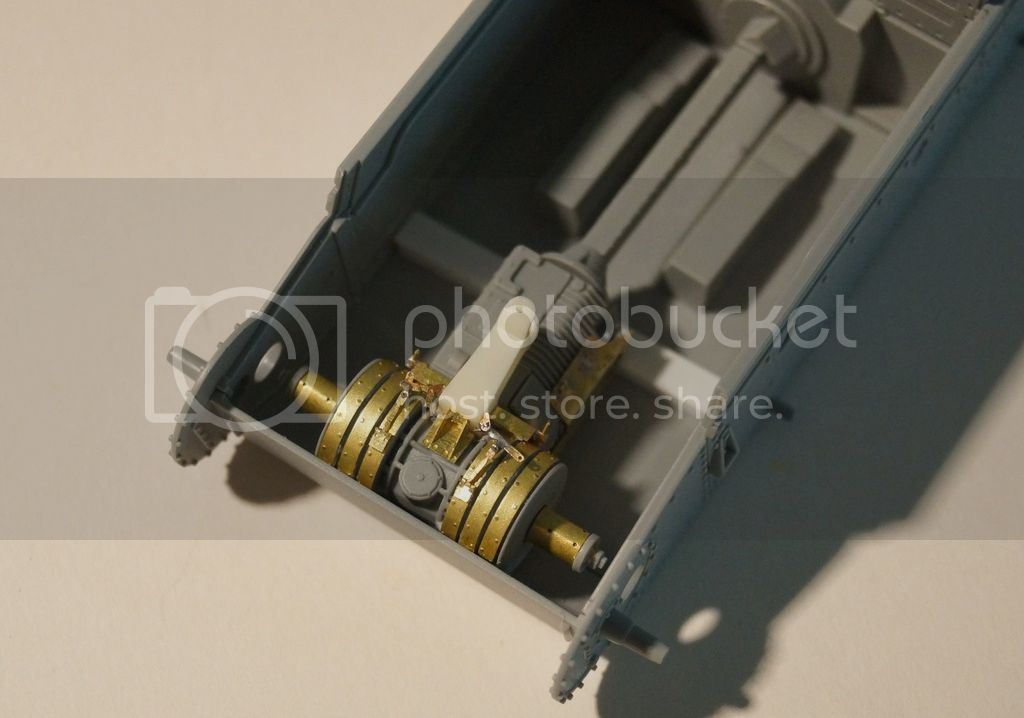
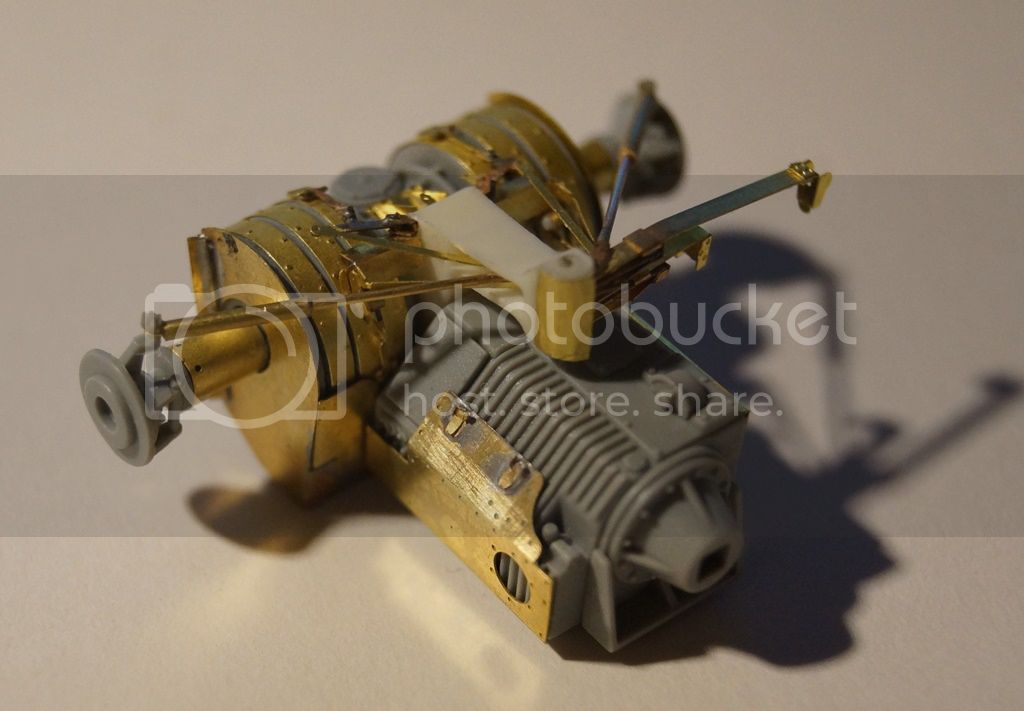
I have just about finished the Praga-Wilson Gearbox for the Grille. This is not an easy build and less experienced moddlers should stay away from it. It is however a great kit and can be used in nearly all variants of the Panzer 38(t)
Here it is
There are supposed to be springs near the front of the gearbox but I could not find wire thin enough to use to make them ! I will keep looking
and inside the SPG
This is an unaltered Dragon Transmission from an unbuilt Panzer 38(t) you can see that the Dragon kit is really quite impressive and some bits of used PE could be made to add the steering levers to the kit
Thanks for looking
S
SlayerWal
Australian Capital Territory, Australia
Joined: February 15, 2015
KitMaker: 24 posts
Armorama: 24 posts
Joined: February 15, 2015
KitMaker: 24 posts
Armorama: 24 posts
Posted: Monday, June 01, 2015 - 04:35 AM UTC
Wow,
Your ability with a soldering iron never ceases to amaze me. I hope to one day have 1/2 the skill you do
As to wire (and I hope this is not telling you how to suck eggs) I get my really thin wire from stripping Telephone or Computer cable (an old computer is a wonderful source of modelling bits)
Your ability with a soldering iron never ceases to amaze me. I hope to one day have 1/2 the skill you do
As to wire (and I hope this is not telling you how to suck eggs) I get my really thin wire from stripping Telephone or Computer cable (an old computer is a wonderful source of modelling bits)
ColinEdm
Associate Editor
Alberta, Canada
Joined: October 15, 2013
KitMaker: 1,355 posts
Armorama: 1,229 posts
Joined: October 15, 2013
KitMaker: 1,355 posts
Armorama: 1,229 posts
Posted: Monday, June 01, 2015 - 05:39 PM UTC
I have this kit and much of the same PE in the stash and will be following this closely for reference and inspiration!
SDavies
England - South East, United Kingdom
Joined: January 09, 2010
KitMaker: 979 posts
Armorama: 959 posts
Joined: January 09, 2010
KitMaker: 979 posts
Armorama: 959 posts
Posted: Monday, June 01, 2015 - 06:47 PM UTC
Thanks for the kind comment Peter, I will look into the wire thing but to be honest given its place on the gearbox it wont be seen as much. Only a small proportion of the components were soldered as they needed to flex to get them to fit so they are actually glued.
Colin you need to be very careful on parts placement on the gearbox. The Griffon models instructions aren't very precise and accurate placement is paramount when it comes to fitting levers. The whole gearbox has been apart once because I made a mistake.
You will also need to make some modifications to the hull floor as Dragon have got it wrong, but I will cover that in the next update
S
americanpanzer
Iowa, United States
Joined: May 12, 2014
KitMaker: 542 posts
Armorama: 539 posts
Joined: May 12, 2014
KitMaker: 542 posts
Armorama: 539 posts
Posted: Wednesday, June 03, 2015 - 08:17 PM UTC
amazing work; that is a lot of photoetched! I built the old Dragon Grille that included four crew figures; decent kit but a little tricky in spots; individual link tracks just didn't want to cooperate so I used another set; came out nice
SDavies
England - South East, United Kingdom
Joined: January 09, 2010
KitMaker: 979 posts
Armorama: 959 posts
Joined: January 09, 2010
KitMaker: 979 posts
Armorama: 959 posts
Posted: Monday, June 08, 2015 - 01:11 AM UTC
Thanks for the comments Brian, but if you think thats lot of photo etched you have seen nothing yet
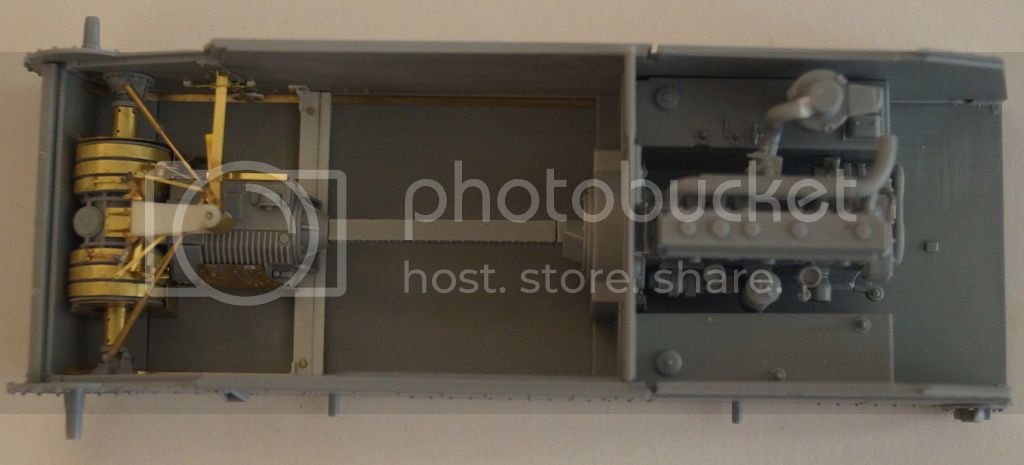
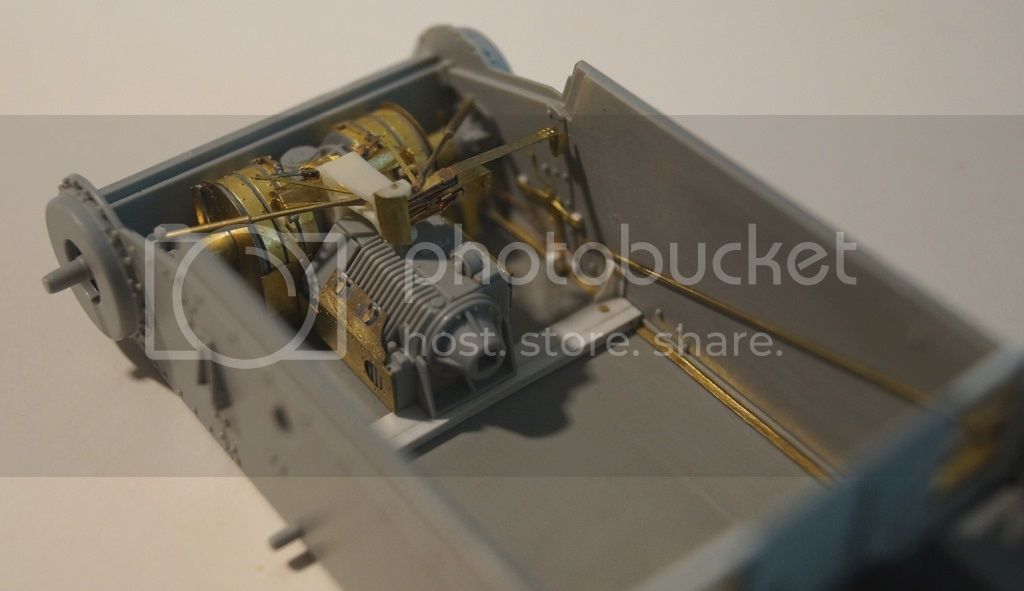
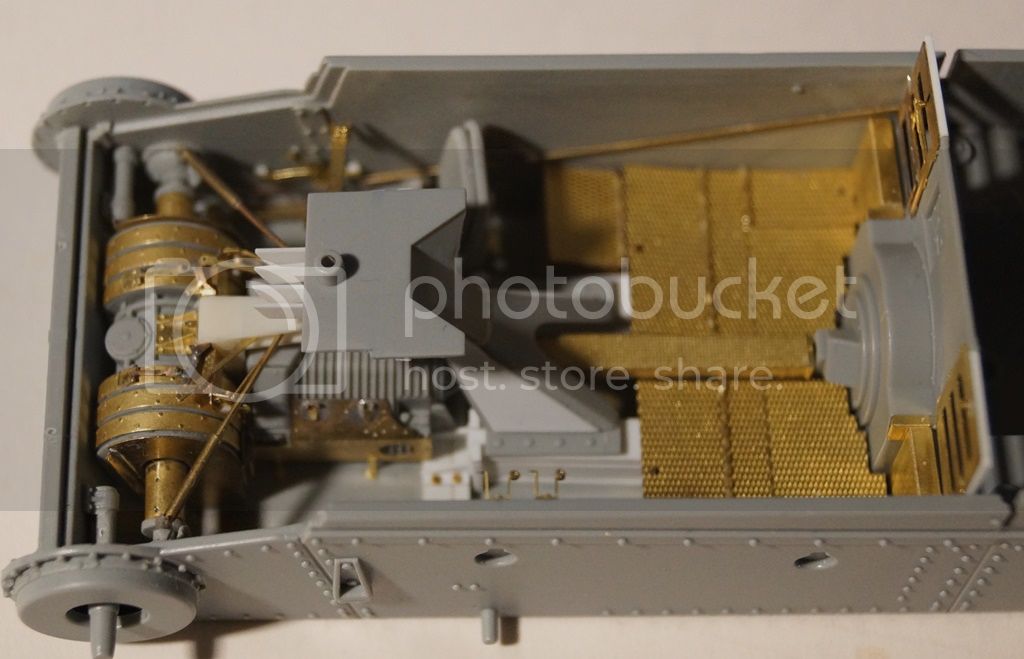
Another quick update, I have glued the gearbox into the hull, its nearly completed. The ideal thing would have been to paint it then add it but that sequence would not work with this kit.
Because the chassis is so small everything nees to go in with a strict order or its not getting in
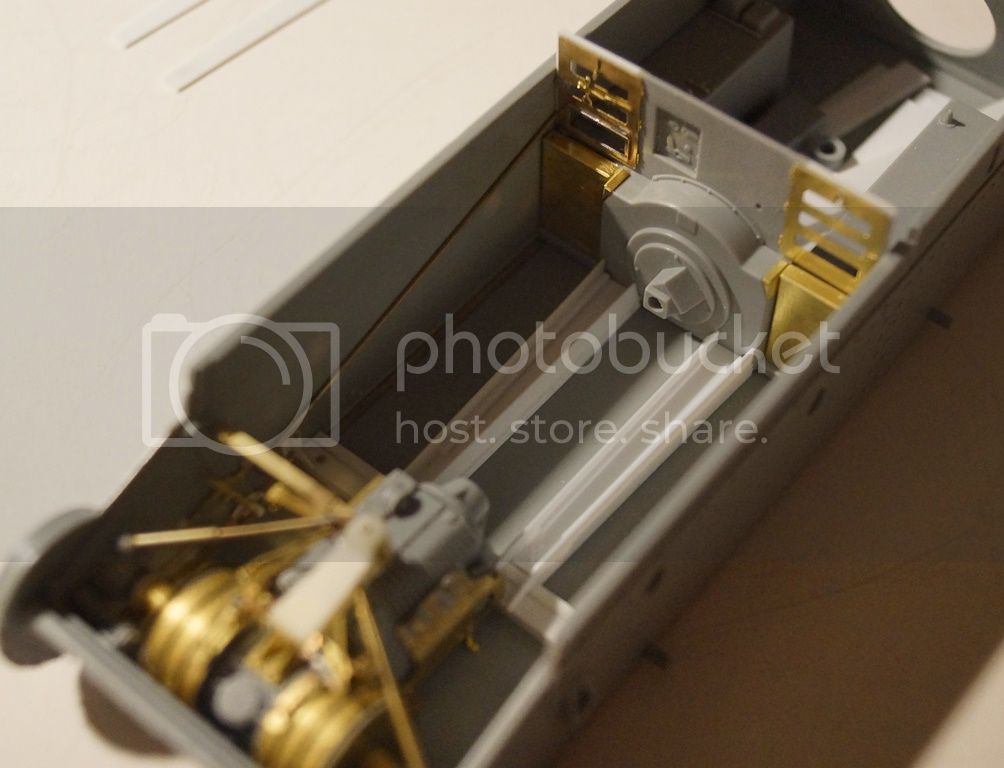
This is a general shot of the gearbox in the hull with the floor support and the brass strips inplace.
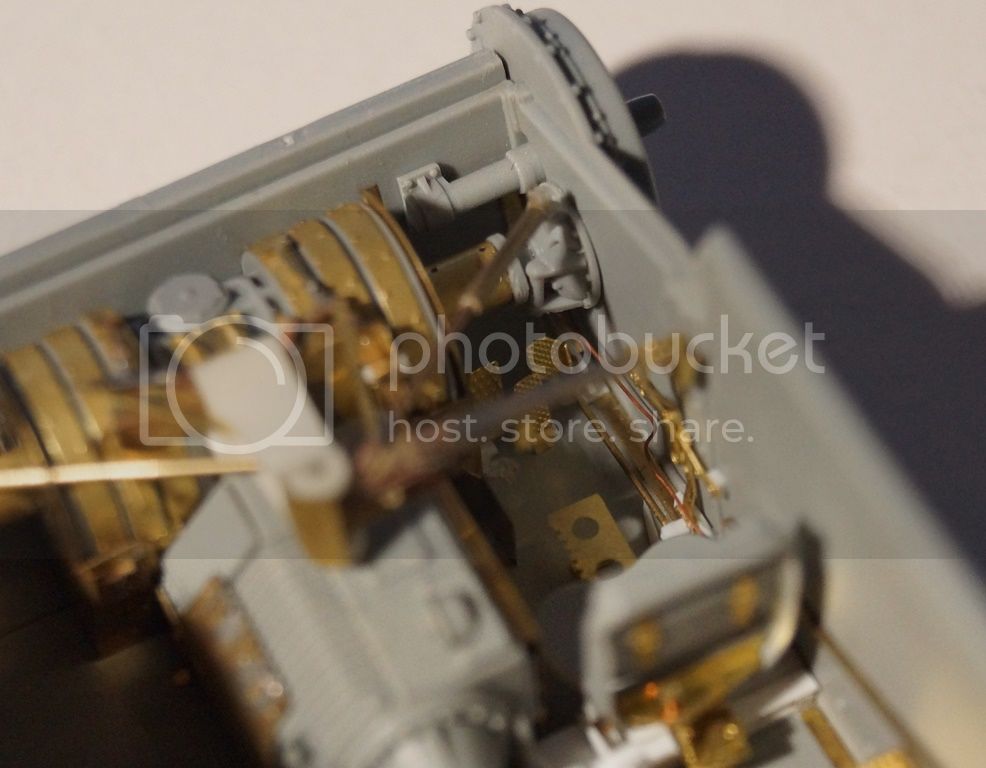
This is a shot of the handbreak installed in the hull, note from the previous images what I have removed
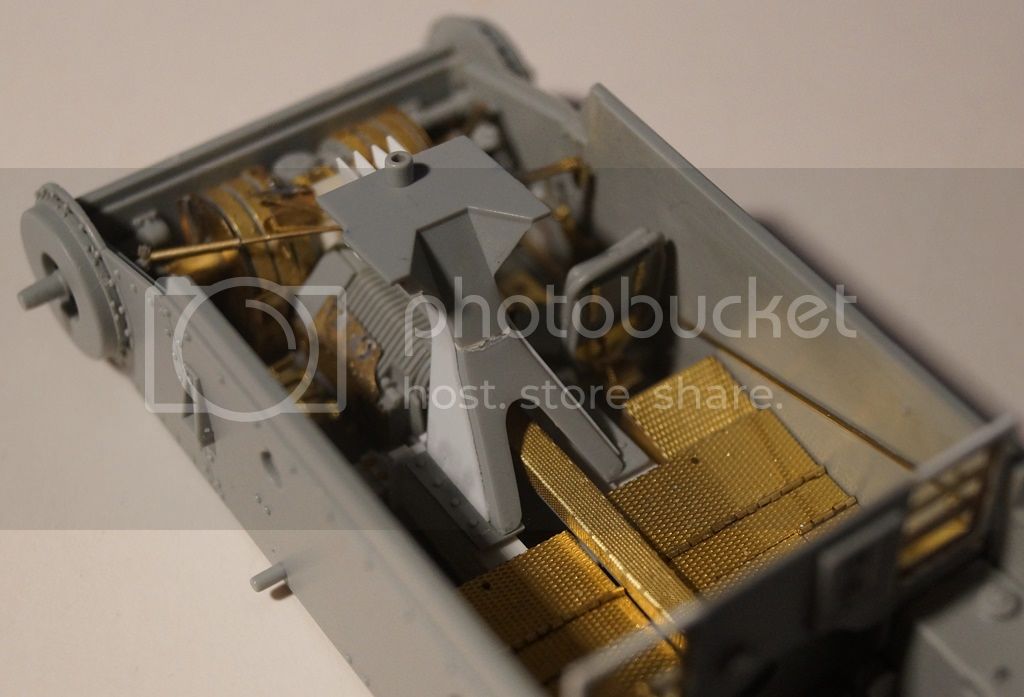
and a top down shot of the engine and firewall in their correct place. Next time you will see the firewall it will have had some serious modification
Thanks for looking
S
barleeni
Napier, New Zealand
Joined: June 12, 2015
KitMaker: 43 posts
Armorama: 43 posts
Joined: June 12, 2015
KitMaker: 43 posts
Armorama: 43 posts
Posted: Friday, June 12, 2015 - 11:03 AM UTC
Hi Steven, did you do a build log or anything for your Panzer III Ausf.N? I am building the same kit and thought I could hopefully get some ideas from your work as it looks quite good!
SDavies
England - South East, United Kingdom
Joined: January 09, 2010
KitMaker: 979 posts
Armorama: 959 posts
Joined: January 09, 2010
KitMaker: 979 posts
Armorama: 959 posts
Posted: Sunday, June 14, 2015 - 02:20 AM UTC
Quoted Text
Hi Steven, did you do a build log or anything for your Panzer III Ausf.N? I am building the same kit and thought I could hopefully get some ideas from your work as it looks quite good!
Hello David,
No build log of the Panzer 3 as it was just a boring out of the box build. Sorry !
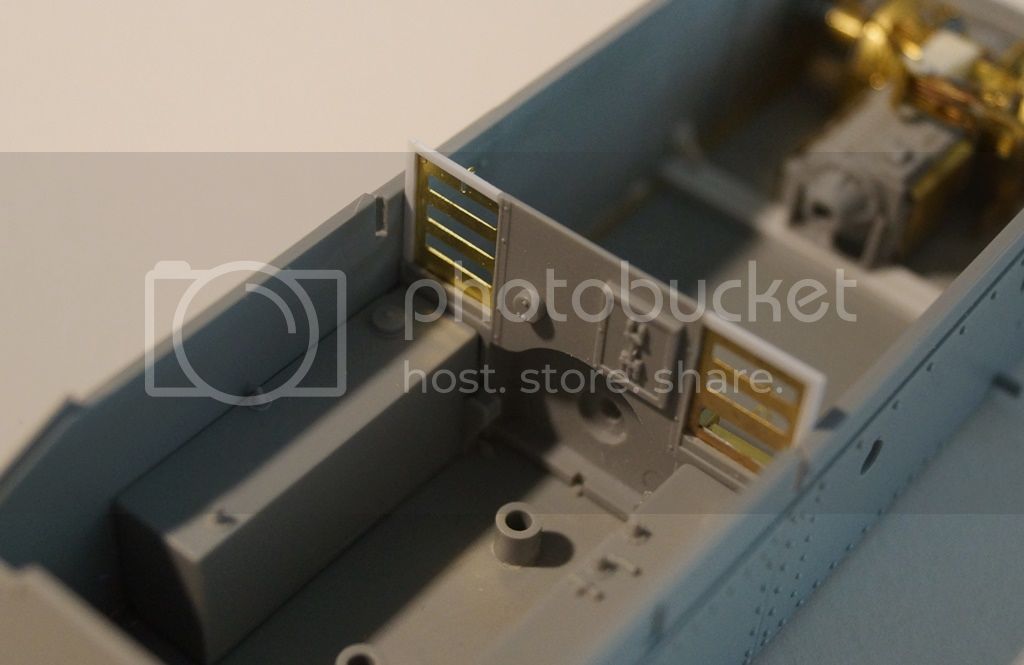
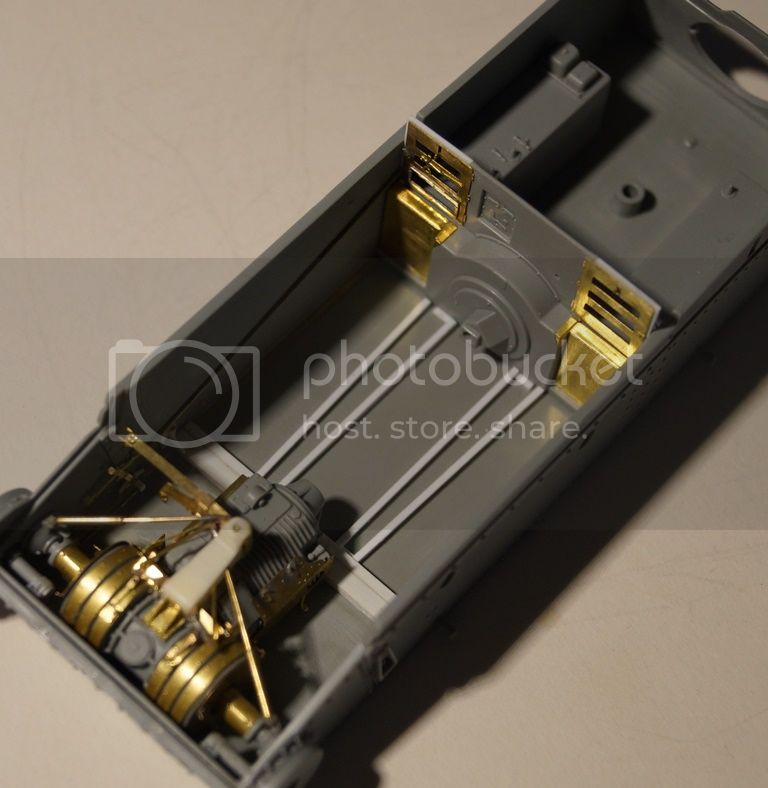
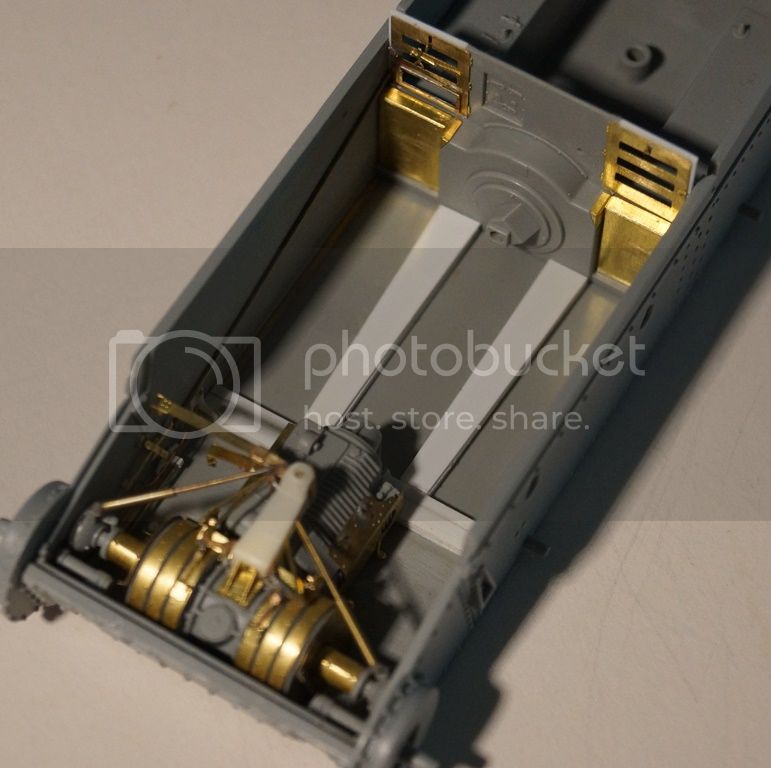
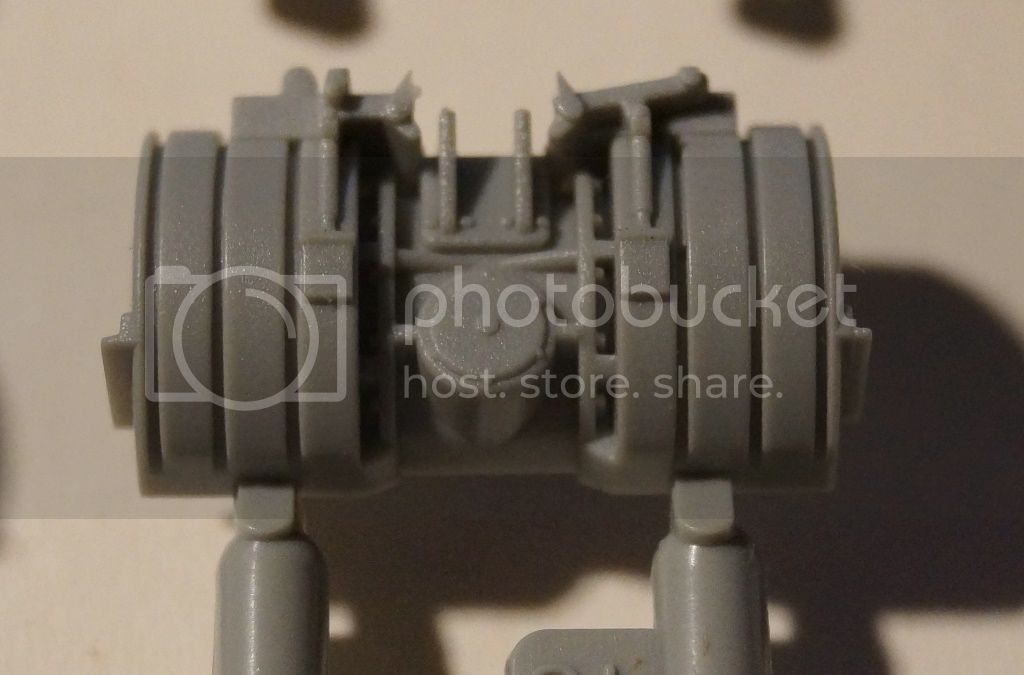
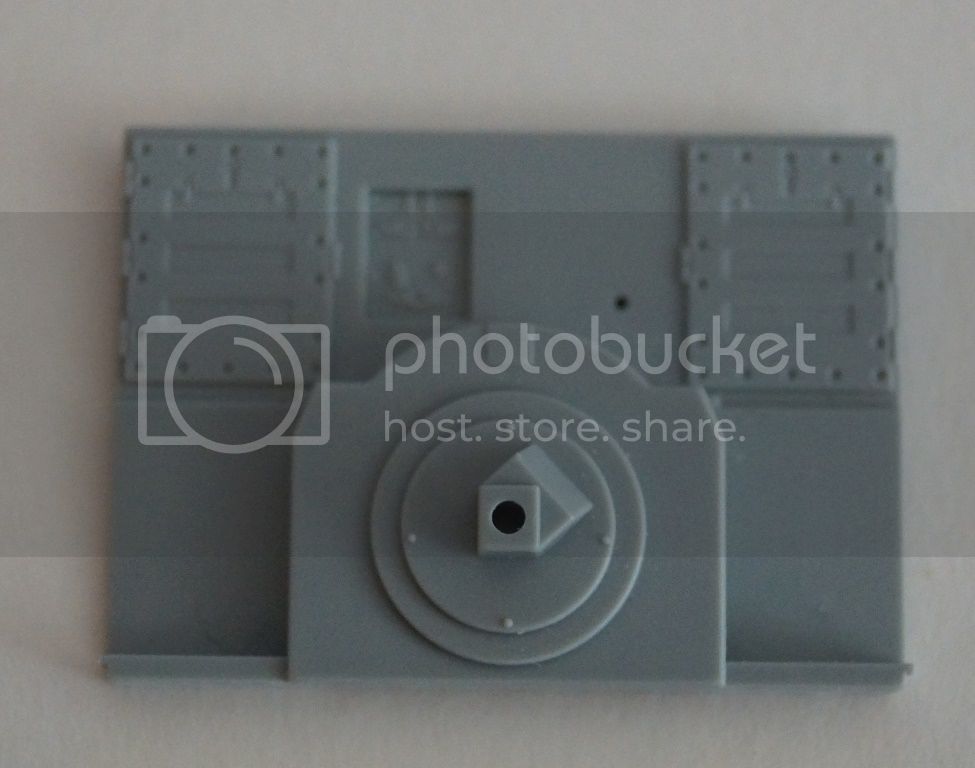
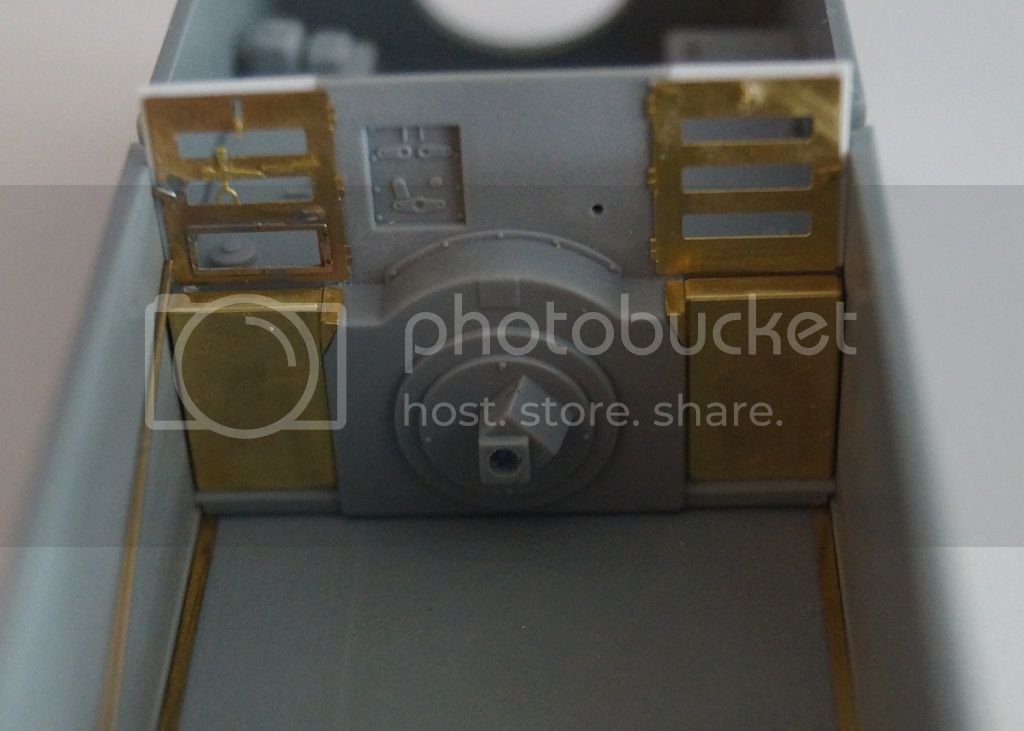
I have been working on the Grille and got alot done over the weekend. Here is the engine firewall before modification and after (still not completed)
I had to cut away a large part of the firewall to fit the small access hatches
More work on the front of the SPG
And on the hull floor
Thanks for looking
S
SDavies
England - South East, United Kingdom
Joined: January 09, 2010
KitMaker: 979 posts
Armorama: 959 posts
Joined: January 09, 2010
KitMaker: 979 posts
Armorama: 959 posts
Posted: Monday, June 22, 2015 - 12:29 AM UTC
Dear all,
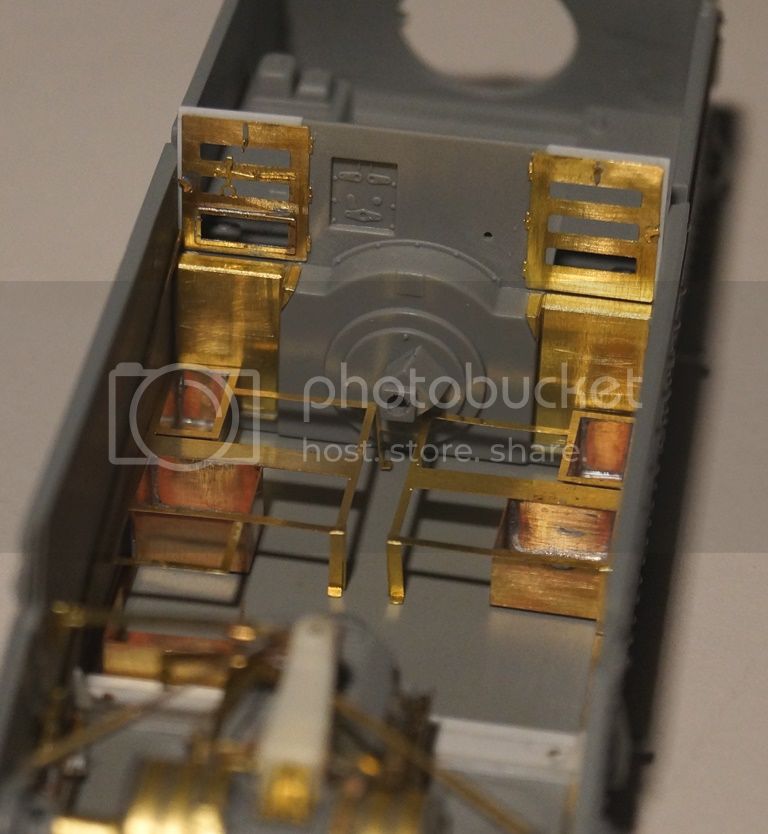
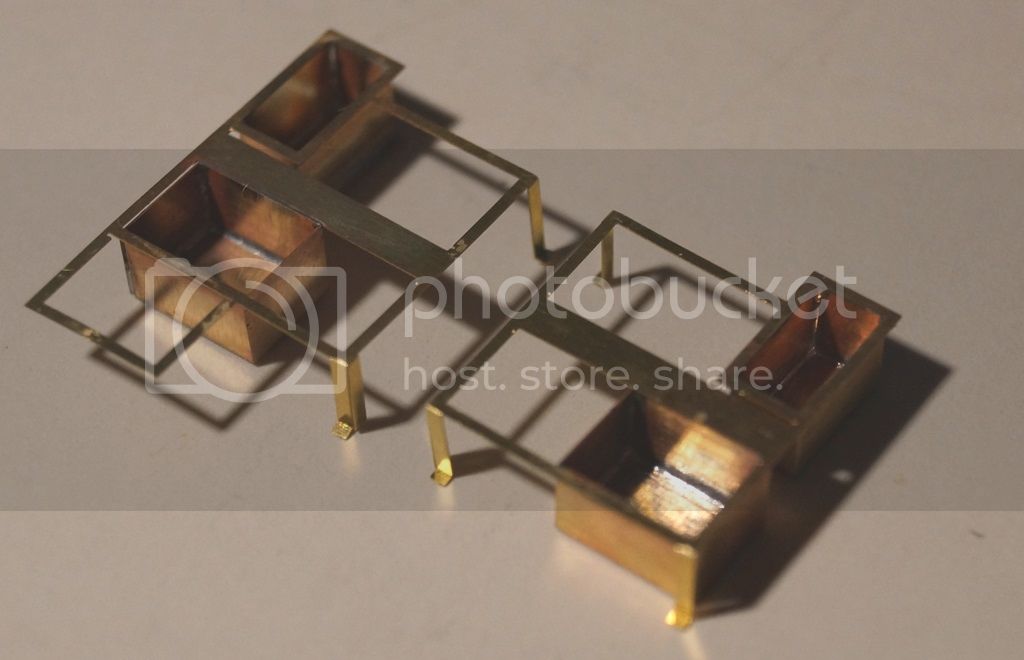
A very quick update about my progress over the weekend. I have been focused on making the gun supports on the hull floor because the Dragon stock ones are awful
1) Marking on the floor the exact dimensions of the supports on the hull floor
2) Building the outline to the level of the horizontal support beam
3) Adding the side structure
4) and closing it off
5) with the "steps" added
6) with the brass floor structure in place abd it fits perfectly
Thanks for looking
S
SDavies
England - South East, United Kingdom
Joined: January 09, 2010
KitMaker: 979 posts
Armorama: 959 posts
Joined: January 09, 2010
KitMaker: 979 posts
Armorama: 959 posts
Posted: Wednesday, July 08, 2015 - 02:27 PM UTC
Hello
A quick update just in case anyone is actually reading this thread. Honestly if there is a lack of interest I will stop posting on this build.
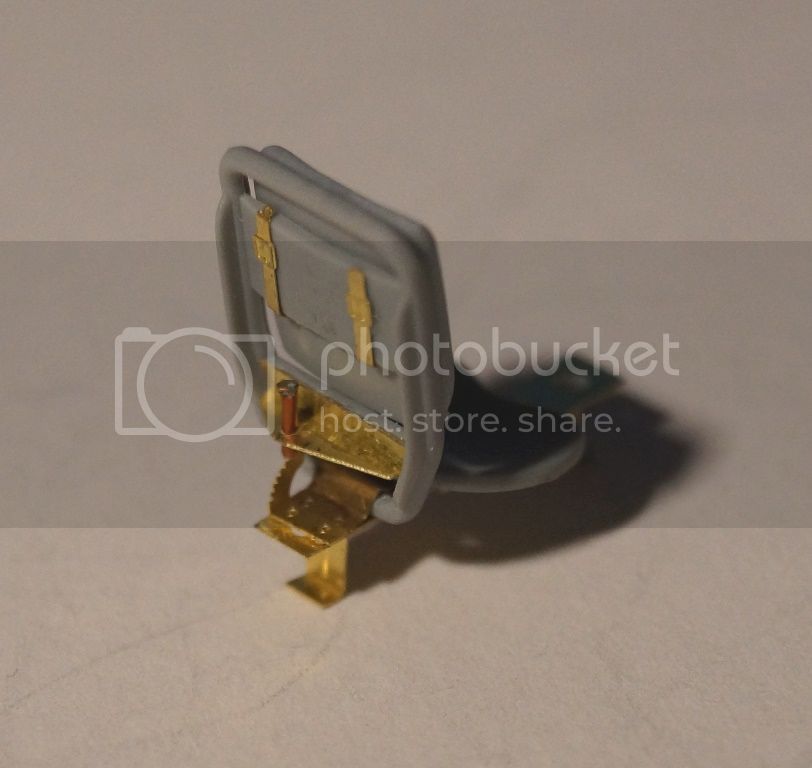
I have been working on the drivers chair and gun support, the drivers chair is modified with the Griffon Model PE set
and when installed with all the pedals inplace
The modified gun support, everything that I added is in white
S
barleeni
Napier, New Zealand
Joined: June 12, 2015
KitMaker: 43 posts
Armorama: 43 posts
Joined: June 12, 2015
KitMaker: 43 posts
Armorama: 43 posts
Posted: Wednesday, July 08, 2015 - 03:57 PM UTC
you'd be surprised how many people are looking at this thread! keep posting! if everyone else is in the same boat as me, then we aren't saying much as there's not much to say, nothing to fault, I just stare at the photos jaw drooping and speechless.
Top notch work.
Top notch work.
Kilo_Uniform
Gauteng, South Africa
Joined: July 03, 2015
KitMaker: 280 posts
Armorama: 135 posts
Joined: July 03, 2015
KitMaker: 280 posts
Armorama: 135 posts
Posted: Wednesday, July 08, 2015 - 04:46 PM UTC
Hi Steve
As a newcomer to Armorama I'm in absolute awe of what you are doing - the attention to detail goes above and beyond what most people would dream of.
Please do not stop posting - there are a lot of people following your thread.
As a newcomer to Armorama I'm in absolute awe of what you are doing - the attention to detail goes above and beyond what most people would dream of.
Please do not stop posting - there are a lot of people following your thread.
ColinEdm
Associate Editor
Alberta, Canada
Joined: October 15, 2013
KitMaker: 1,355 posts
Armorama: 1,229 posts
Joined: October 15, 2013
KitMaker: 1,355 posts
Armorama: 1,229 posts
Posted: Wednesday, July 08, 2015 - 05:38 PM UTC
Keep it up Steve, I am watching and learning!
jrutman
Pennsylvania, United States
Joined: April 10, 2011
KitMaker: 7,941 posts
Armorama: 7,934 posts
Joined: April 10, 2011
KitMaker: 7,941 posts
Armorama: 7,934 posts
Posted: Wednesday, July 08, 2015 - 06:51 PM UTC
I have just stumbled on your new build here Davey and of course it is your usual way above par work!!! I can only dream of working with PE like you do apparently on a daily basis!
As far as the interest on your thread goes pay attention to the "hits" and learn to deal with the paucity of responses. I and others have discussed this and we have all noticed it but it does seem to be more pronounced lately.
Maybe the heat is making folks lazy? Heheheh
J
As far as the interest on your thread goes pay attention to the "hits" and learn to deal with the paucity of responses. I and others have discussed this and we have all noticed it but it does seem to be more pronounced lately.
Maybe the heat is making folks lazy? Heheheh
J
AFVFan
North Carolina, United States
Joined: May 17, 2012
KitMaker: 1,980 posts
Armorama: 1,571 posts
Joined: May 17, 2012
KitMaker: 1,980 posts
Armorama: 1,571 posts
Posted: Wednesday, July 08, 2015 - 08:38 PM UTC
2600 page views in less than two months shows the thread is indeed active.... at least with watchers.
You're doing great work on this. I only wish I had the skill and patience to do some of the same on my builds.
easyco69
Ontario, Canada
Joined: November 03, 2012
KitMaker: 2,275 posts
Armorama: 2,233 posts
Joined: November 03, 2012
KitMaker: 2,275 posts
Armorama: 2,233 posts
Posted: Wednesday, July 08, 2015 - 09:53 PM UTC
Hey , I got that kit in my stash ! Wow that's alot of PE !! Have fun! I will watch
Kilo_Uniform
Gauteng, South Africa
Joined: July 03, 2015
KitMaker: 280 posts
Armorama: 135 posts
Joined: July 03, 2015
KitMaker: 280 posts
Armorama: 135 posts
Posted: Monday, July 27, 2015 - 12:27 PM UTC
Hi Steve
Any further updates? Really looking forward to see the progress you've made.
Regards,
Kobus
Any further updates? Really looking forward to see the progress you've made.
Regards,
Kobus
panzerbob01
Louisiana, United States
Joined: March 06, 2010
KitMaker: 3,128 posts
Armorama: 2,959 posts
Joined: March 06, 2010
KitMaker: 3,128 posts
Armorama: 2,959 posts
Posted: Monday, July 27, 2015 - 07:01 PM UTC
Steve;
I ditto Kobus.
It's spectacular and very informative work you have done in what I think of as a pretty decent base kit. I have it and some of that PE... I'm dreaming that I'll actually do perhaps 1/10th of the fix-ups and detailing you have shown . Do keep up the good work and please keep posting.
As AFV Bob said, 2600 (and now more!) page-views means you have no shortage of followers. The relative lack of actual comments means that most of us (certainly myself) are simply in awe and taking it in. Short of trying to butter you up with additional niceties, what can most of us say beyond "Wow!"?
Bob