M4A3 Sherman with a twist
Netherlands
Joined: May 20, 2015
KitMaker: 335 posts
Armorama: 266 posts
Posted: Tuesday, May 19, 2015 - 03:02 PM UTC
Hi all,
Still a bit fresh to the subject but already well underway with my first armor project, an M4A3 Sherman with a twist... the one and only that belonged to Oddball!
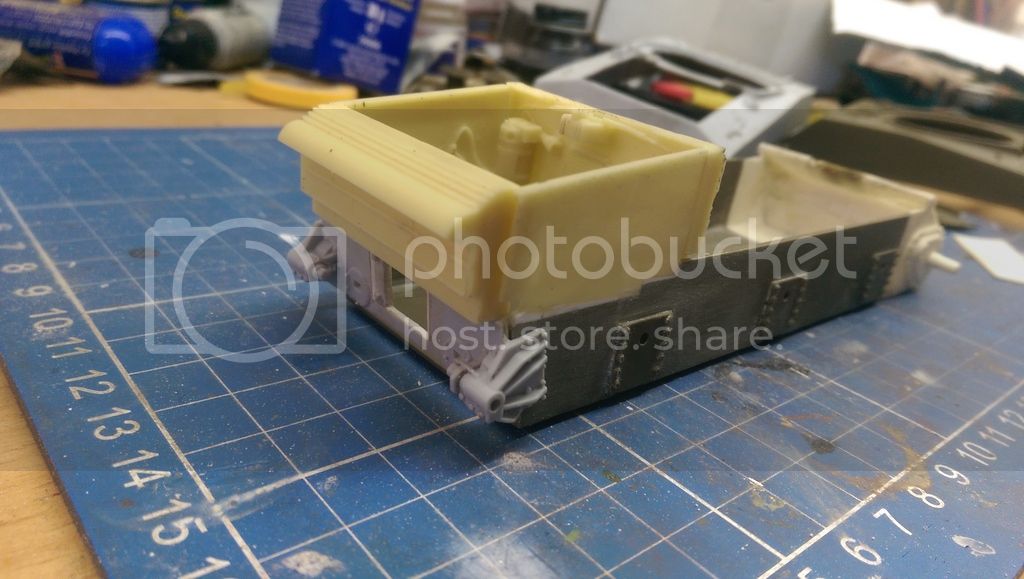
Right now this is where I am at, not much to be seen yet however the most important work in getting the transmission housing, lower hull, engine bay walls and upper hull to all line up with each other has been successfully completed. Next phase will be to scratch build a firewall shield where the drive axle goes through and to locate some good pictures of the 1:1 interior.
Queensland, Australia
Joined: December 19, 2012
KitMaker: 74 posts
Armorama: 68 posts
Posted: Wednesday, May 20, 2015 - 01:41 PM UTC
"Allow me to be the first to offer Dr. Johnson my most sincere contrafibularities! I am anaspeptic, frasmotic, even compunctuous to have caused him such pericombobulation." - BlackAdder
Netherlands
Joined: May 20, 2015
KitMaker: 335 posts
Armorama: 266 posts
Posted: Wednesday, May 20, 2015 - 04:16 PM UTC
Because looks are deceiving I will describe the progress up to this point underneath.
Originally the transmission housing was a solid block that needed to be hollowed out on the inside to provide room for the TWS transmission, then the engine bay walls needed several tries to not only put them straight and flush with the engine deck edges on all 4 sides (planning to leave said deck loosely placed), but whilst coordinating this the lower hull had to be aligned at the same time.
Having done this the rear hull plate with access door needed to be reduced to almost half it's size before adequate space could be provided to the fan housing. Upon comparing the access door with reference pictures and the interpretation from the stock Tamiya part it had to be shortened by just over 1mm requiring the mounting points to be repositioned an equal measure. Adjustable idler arms+mounts may get replaced by better detailed ones at a later point.
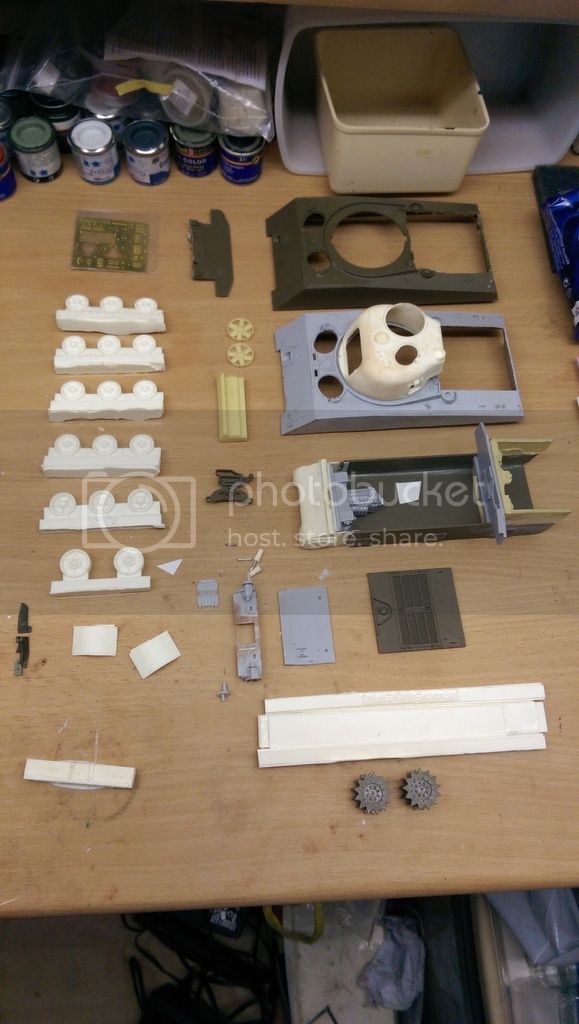
The TWS transmission in place:

A look at my version of what had to have been either the Bowen-McLaughlin-York or Rock Island Arsenal conversion plant.
Georgia, United States
Joined: May 09, 2014
KitMaker: 273 posts
Armorama: 270 posts
Posted: Wednesday, May 20, 2015 - 04:26 PM UTC
This is certainly an impressive project! Good luck, and I'm excited for the next update!
Skåne, Sweden
Joined: May 14, 2010
KitMaker: 749 posts
Armorama: 743 posts
Posted: Wednesday, May 20, 2015 - 04:55 PM UTC
Excellent Willem!
I love it when modellers put extra work into the interiors. :-)
Cheers,
Sven
Netherlands
Joined: May 20, 2015
KitMaker: 335 posts
Armorama: 266 posts
Posted: Wednesday, May 20, 2015 - 09:25 PM UTC
Thanks Alan and Sven. Really liked the scratch built interior of the Russian tank in an other topic and saw a variety of other very interesting projects.
Netherlands
Joined: May 20, 2015
KitMaker: 335 posts
Armorama: 266 posts
Posted: Wednesday, May 20, 2015 - 09:51 PM UTC
Just did the first 10 track links of the Bronco T54E1 set, may need to visit an optrometist later because holy crap my eyes


North Carolina, United States
Joined: June 06, 2006
KitMaker: 4,691 posts
Armorama: 3,509 posts
Posted: Wednesday, May 20, 2015 - 09:58 PM UTC
Looks good so far,will you be using the Formations Conversion set and the Jaguar Figures?
Netherlands
Joined: May 20, 2015
KitMaker: 335 posts
Armorama: 266 posts
Posted: Wednesday, May 20, 2015 - 10:42 PM UTC
Save for a few details that will be altered according to my OCD taste for detail (like brass barrels for the machine guns and etched metal fenders) yes, most of that set will be used.
Am looking for a skilled 3D modeler to redo the heads of the Jaguar Models set because as you may know only Moriarty's face looks somewhat close in resemblance.
Netherlands
Joined: May 20, 2015
KitMaker: 335 posts
Armorama: 266 posts
Posted: Friday, May 22, 2015 - 12:48 AM UTC
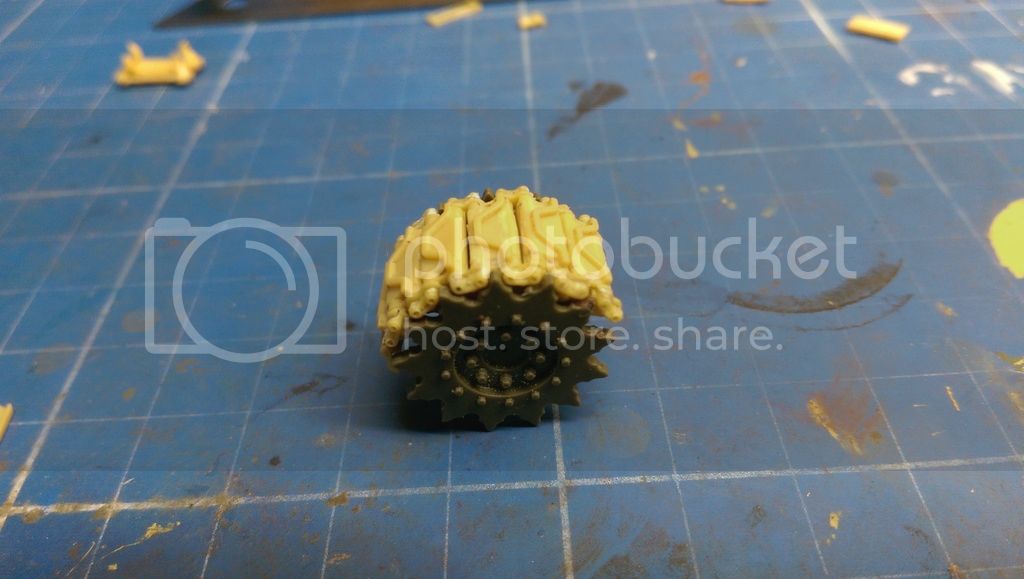
Put a smaller length of track with end links on the sprocket wheel for kicks to see if it would assume the right curvature, will need to space the two wheel halves about 1mm because the Bronco track is wider by that amount. Definitely no easy task but will keep doing my best on it.
Netherlands
Joined: May 20, 2015
KitMaker: 335 posts
Armorama: 266 posts
Posted: Friday, May 22, 2015 - 08:43 PM UTC
After joining 50-something links and pads it's time for a coffee break. Anyone know how many are supposed to go on 1 side?

Netherlands
Joined: May 20, 2015
KitMaker: 335 posts
Armorama: 266 posts
Posted: Tuesday, May 26, 2015 - 10:00 PM UTC
Thanks to Gary Boxall for helping to clear up the confusion about Bronco's instructions on the box, both tracks are now done save for 326 of the 336 end connectors.
At first it seemed like doing those first was the way to go however the method I ended up choosing turned out to still be both easier and faster. Now all that needs to happen is for me to clamp the tracks in such a way that they remain straight and vertical, then start glueing the end connectors on in a straight row as opposed to picking up single linkages. Already tried this on the first few and it worked without any glue seeping into unwanted spaces.
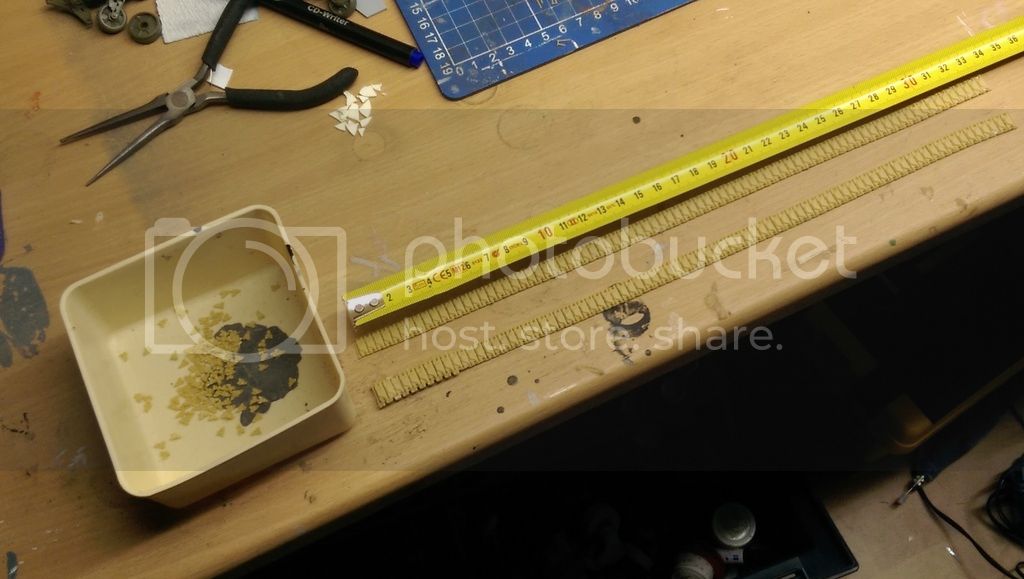
These are the 326 remaining end links for the first track.

Texas, United States
Joined: June 12, 2007
KitMaker: 1,866 posts
Armorama: 1,696 posts
Posted: Thursday, May 28, 2015 - 09:55 PM UTC
Holy optometrist, Batman!
Netherlands
Joined: May 20, 2015
KitMaker: 335 posts
Armorama: 266 posts
Posted: Thursday, May 28, 2015 - 10:19 PM UTC
See. The total amount drove me nuts making me misstate the number of links in the tray. One side is now almost done, the other still needs all of them.
Georgia, United States
Joined: January 31, 2010
KitMaker: 2,191 posts
Armorama: 1,814 posts
Posted: Thursday, May 28, 2015 - 11:15 PM UTC
Next time just get the Panda tracks. Same detail and so much less work!
Join AMPS.
http://www.amps-armor.org/ampssite
Netherlands
Joined: May 20, 2015
KitMaker: 335 posts
Armorama: 266 posts
Posted: Thursday, May 28, 2015 - 11:43 PM UTC
Thanks Jesse. Looked up their assembly instructions and they mention press fitment which would explain why you mentioned semi-workable. The Modelkasten version doesn't look much different to assemble compared to these Broncos, maybe a little less riskier at the end connectors but the shafts still run the same risk of seizure by any unintended glue seepage.
Georgia, United States
Joined: January 31, 2010
KitMaker: 2,191 posts
Armorama: 1,814 posts
Posted: Friday, May 29, 2015 - 12:31 AM UTC
Quoted Text
Thanks Jesse. Looked up their assembly instructions and they mention press fitment which would explain why you mentioned semi-workable. The Modelkasten version doesn't look much different to assemble compared to these Broncos, maybe a little less riskier at the end connectors but the shafts still run the same risk of seizure by any unintended glue seepage.
The Pandas are press fit. A good trick is to use Micromark Liquid tape to hold them together. Adds some tack, but keeps them workable. I've used them on a number of builds. Only time I don't use them anymore is when they don't have a particular style of track I need.
Join AMPS.
http://www.amps-armor.org/ampssite
Netherlands
Joined: May 20, 2015
KitMaker: 335 posts
Armorama: 266 posts
Posted: Thursday, July 30, 2015 - 08:40 PM UTC
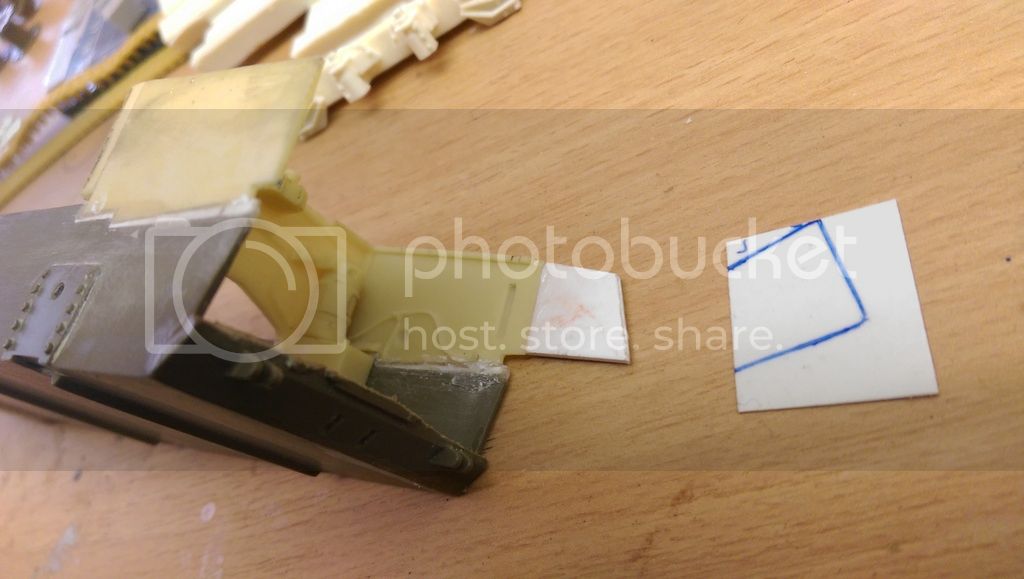
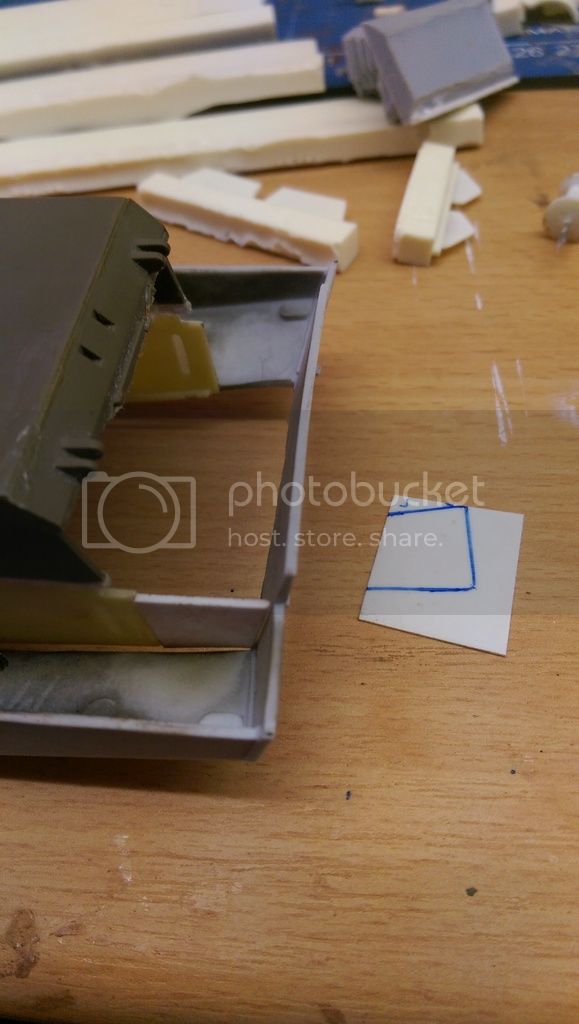
Starting to have a more definitive look at the rear section. Side walls are lengthened so that they match up to the aft part of the upper hull and the lower valance has been glued on, any excess that prevents the plate with access door to sit in the right place will be removed at a later point with the trusty Dremel. Hope to have the engine section ready for paint soon.
Removed by original poster on 07/31/15 - 16:34:23 (GMT).
Netherlands
Joined: May 20, 2015
KitMaker: 335 posts
Armorama: 266 posts
Posted: Thursday, July 30, 2015 - 10:18 PM UTC
Had misplaced the engine in my growing stash of armor models somewhere, thankfully it still surfaced

Here it is sans clutch assembly and with the second side wall extension glued in place, radiator assembly is loosely put in place. Next up, modifying the firewall opening around the clutch to the rounded version and scratch build the shield that goes over this in the fighting compartment.


Netherlands
Joined: May 20, 2015
KitMaker: 335 posts
Armorama: 266 posts
Posted: Friday, July 31, 2015 - 12:26 AM UTC
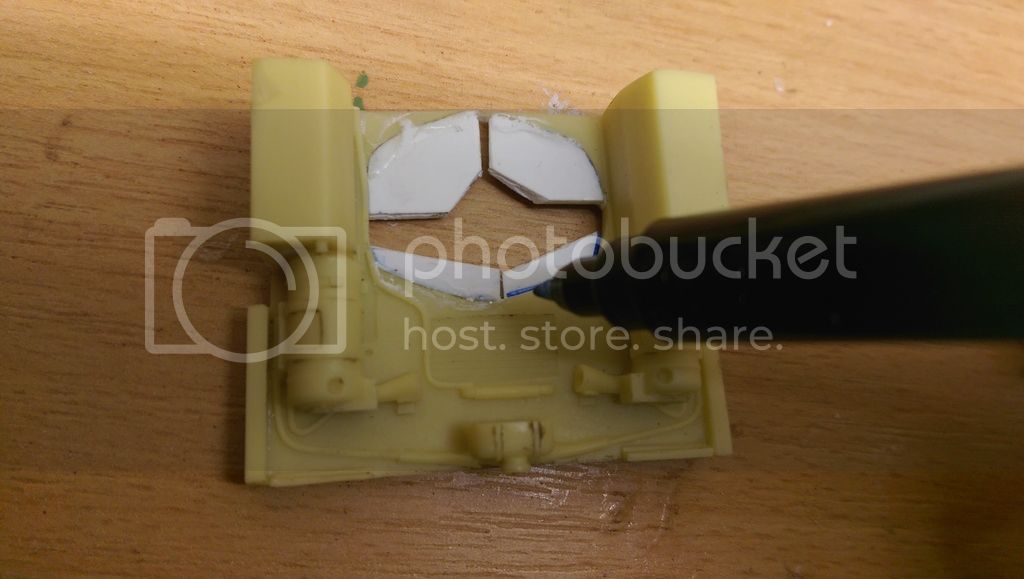
What I like to call "CD marker pen, styrene, scissors". Bit excentric but that's what makes life interesting and the scissors were indeed used to cut the styrene along the penned line.
Netherlands
Joined: May 20, 2015
KitMaker: 335 posts
Armorama: 266 posts
Posted: Friday, July 31, 2015 - 01:54 AM UTC
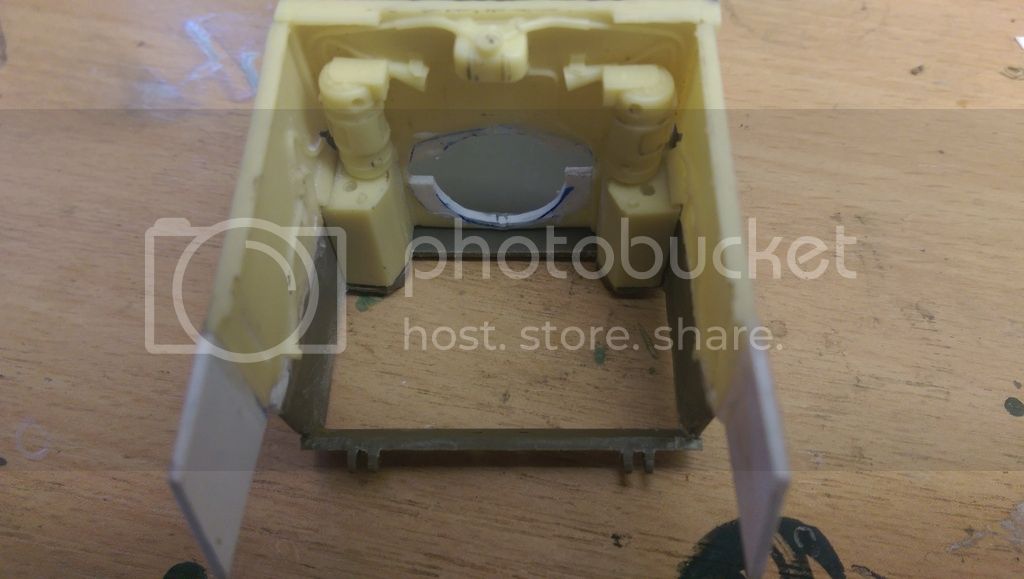
Getting there. Funny enough the idler wheel is about the same diameter as the clutch pack which meant it could be used as a template to mark the opening.

Netherlands
Joined: May 20, 2015
KitMaker: 335 posts
Armorama: 266 posts
Posted: Saturday, August 01, 2015 - 11:51 PM UTC
A bit risky operation, only a trained eye is going to see what I might be doing here.
The starter has been scribed off of the pan, now the clutch pack is going on first after which a "spacer" will be needed to correctly position the starter, then all motor mounts will be glued in place on the engine side only. This to still be able to freely position the engine assembly, to determine how the reworked firewall opening needs to be modified definitively as well as something you will all see at a later point when the operation has been completed successfully.

Netherlands
Joined: May 20, 2015
KitMaker: 335 posts
Armorama: 266 posts
Posted: Monday, August 03, 2015 - 11:44 PM UTC
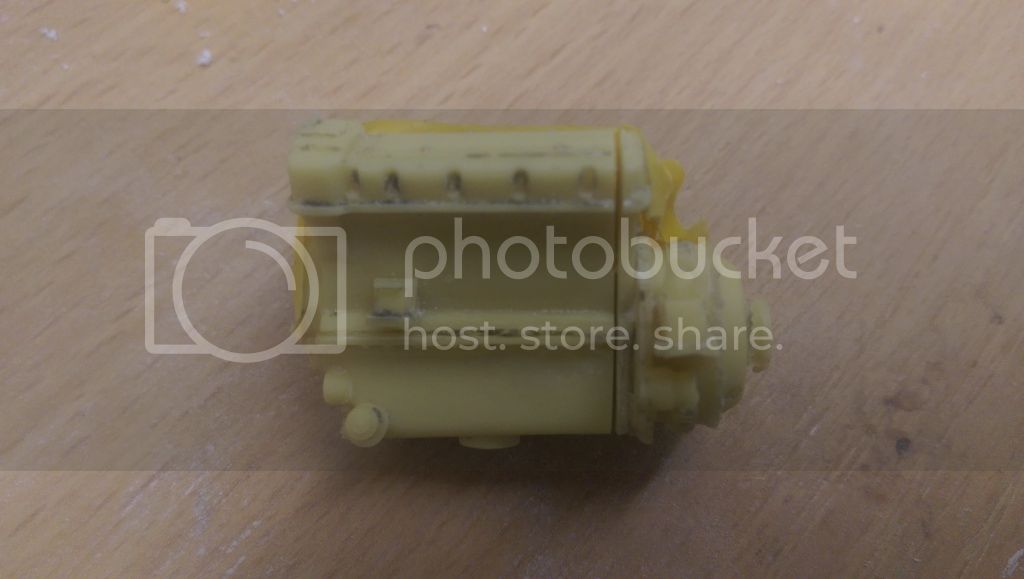
And then you discover the engine is too long to fit in the bay
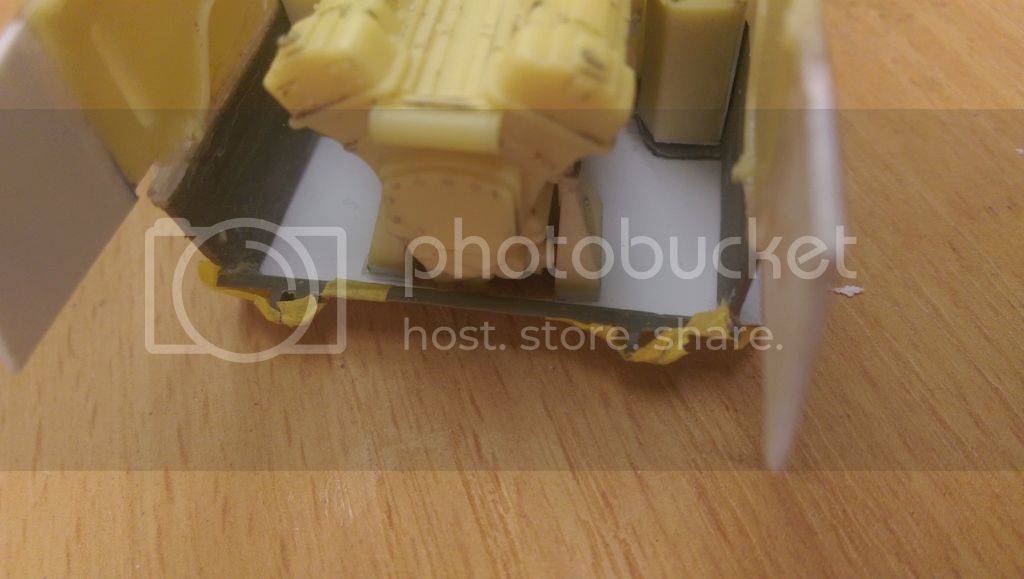
meaning you have to do this:
Netherlands
Joined: May 20, 2015
KitMaker: 335 posts
Armorama: 266 posts
Posted: Tuesday, August 04, 2015 - 10:16 PM UTC
There, everything should now fit nicely.


