_GOTOBOTTOM
Dioramas
Do you love dioramas & vignettes? We sure do.
Belgian M41 On Nato Exercise
Cookiescool2
Visit this Community
Georgia, United States
Joined: May 09, 2014
KitMaker: 273 posts
Armorama: 270 posts
Posted: Saturday, June 06, 2015 - 07:27 AM UTC
Evening everyone!
I've finally gotten around to starting my first diorama after about a year of modelling. I'll be attempting several new techniques here, and due to time constraints this project may not be completed until December of this year. So let's get stuck in!

The basic idea of this project is to follow this reference photo.
This is a Belgian M41 crossing a bridge during a Nato exercise around 1961.

My plan is to use these two kits to represent this.


The AFV Club M41G and Verlinden Productions US Steel Treadway.

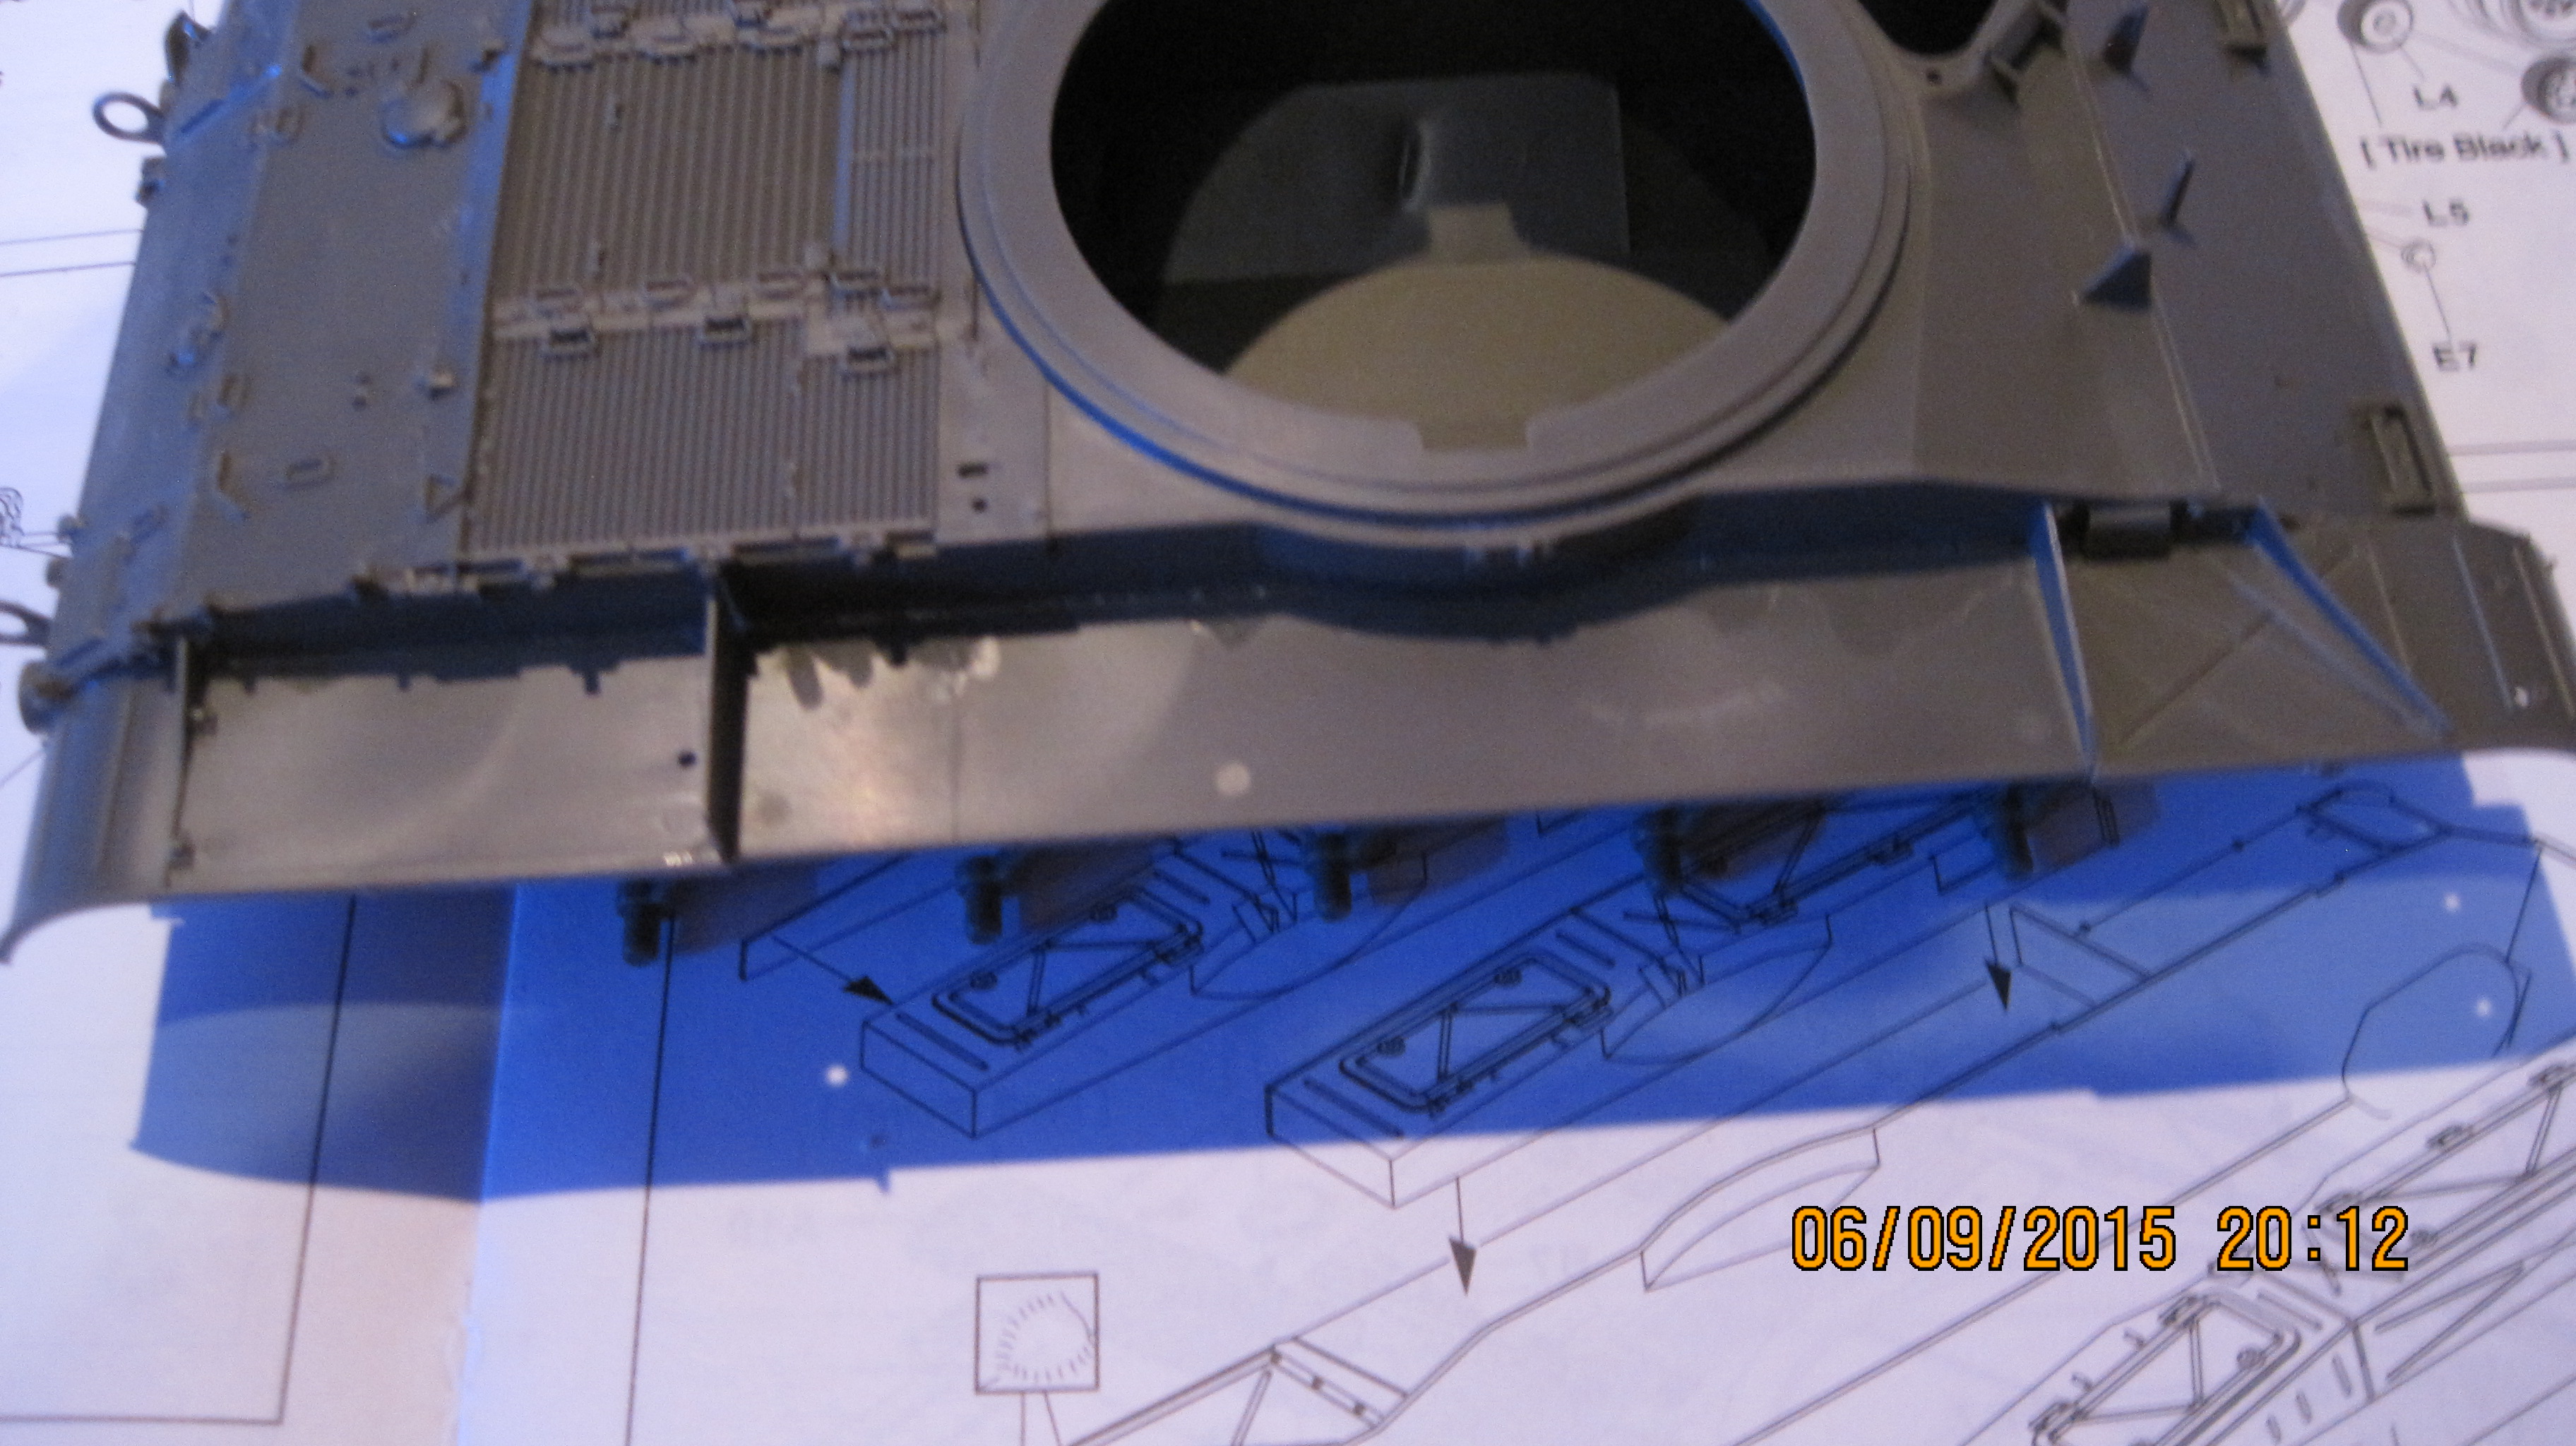
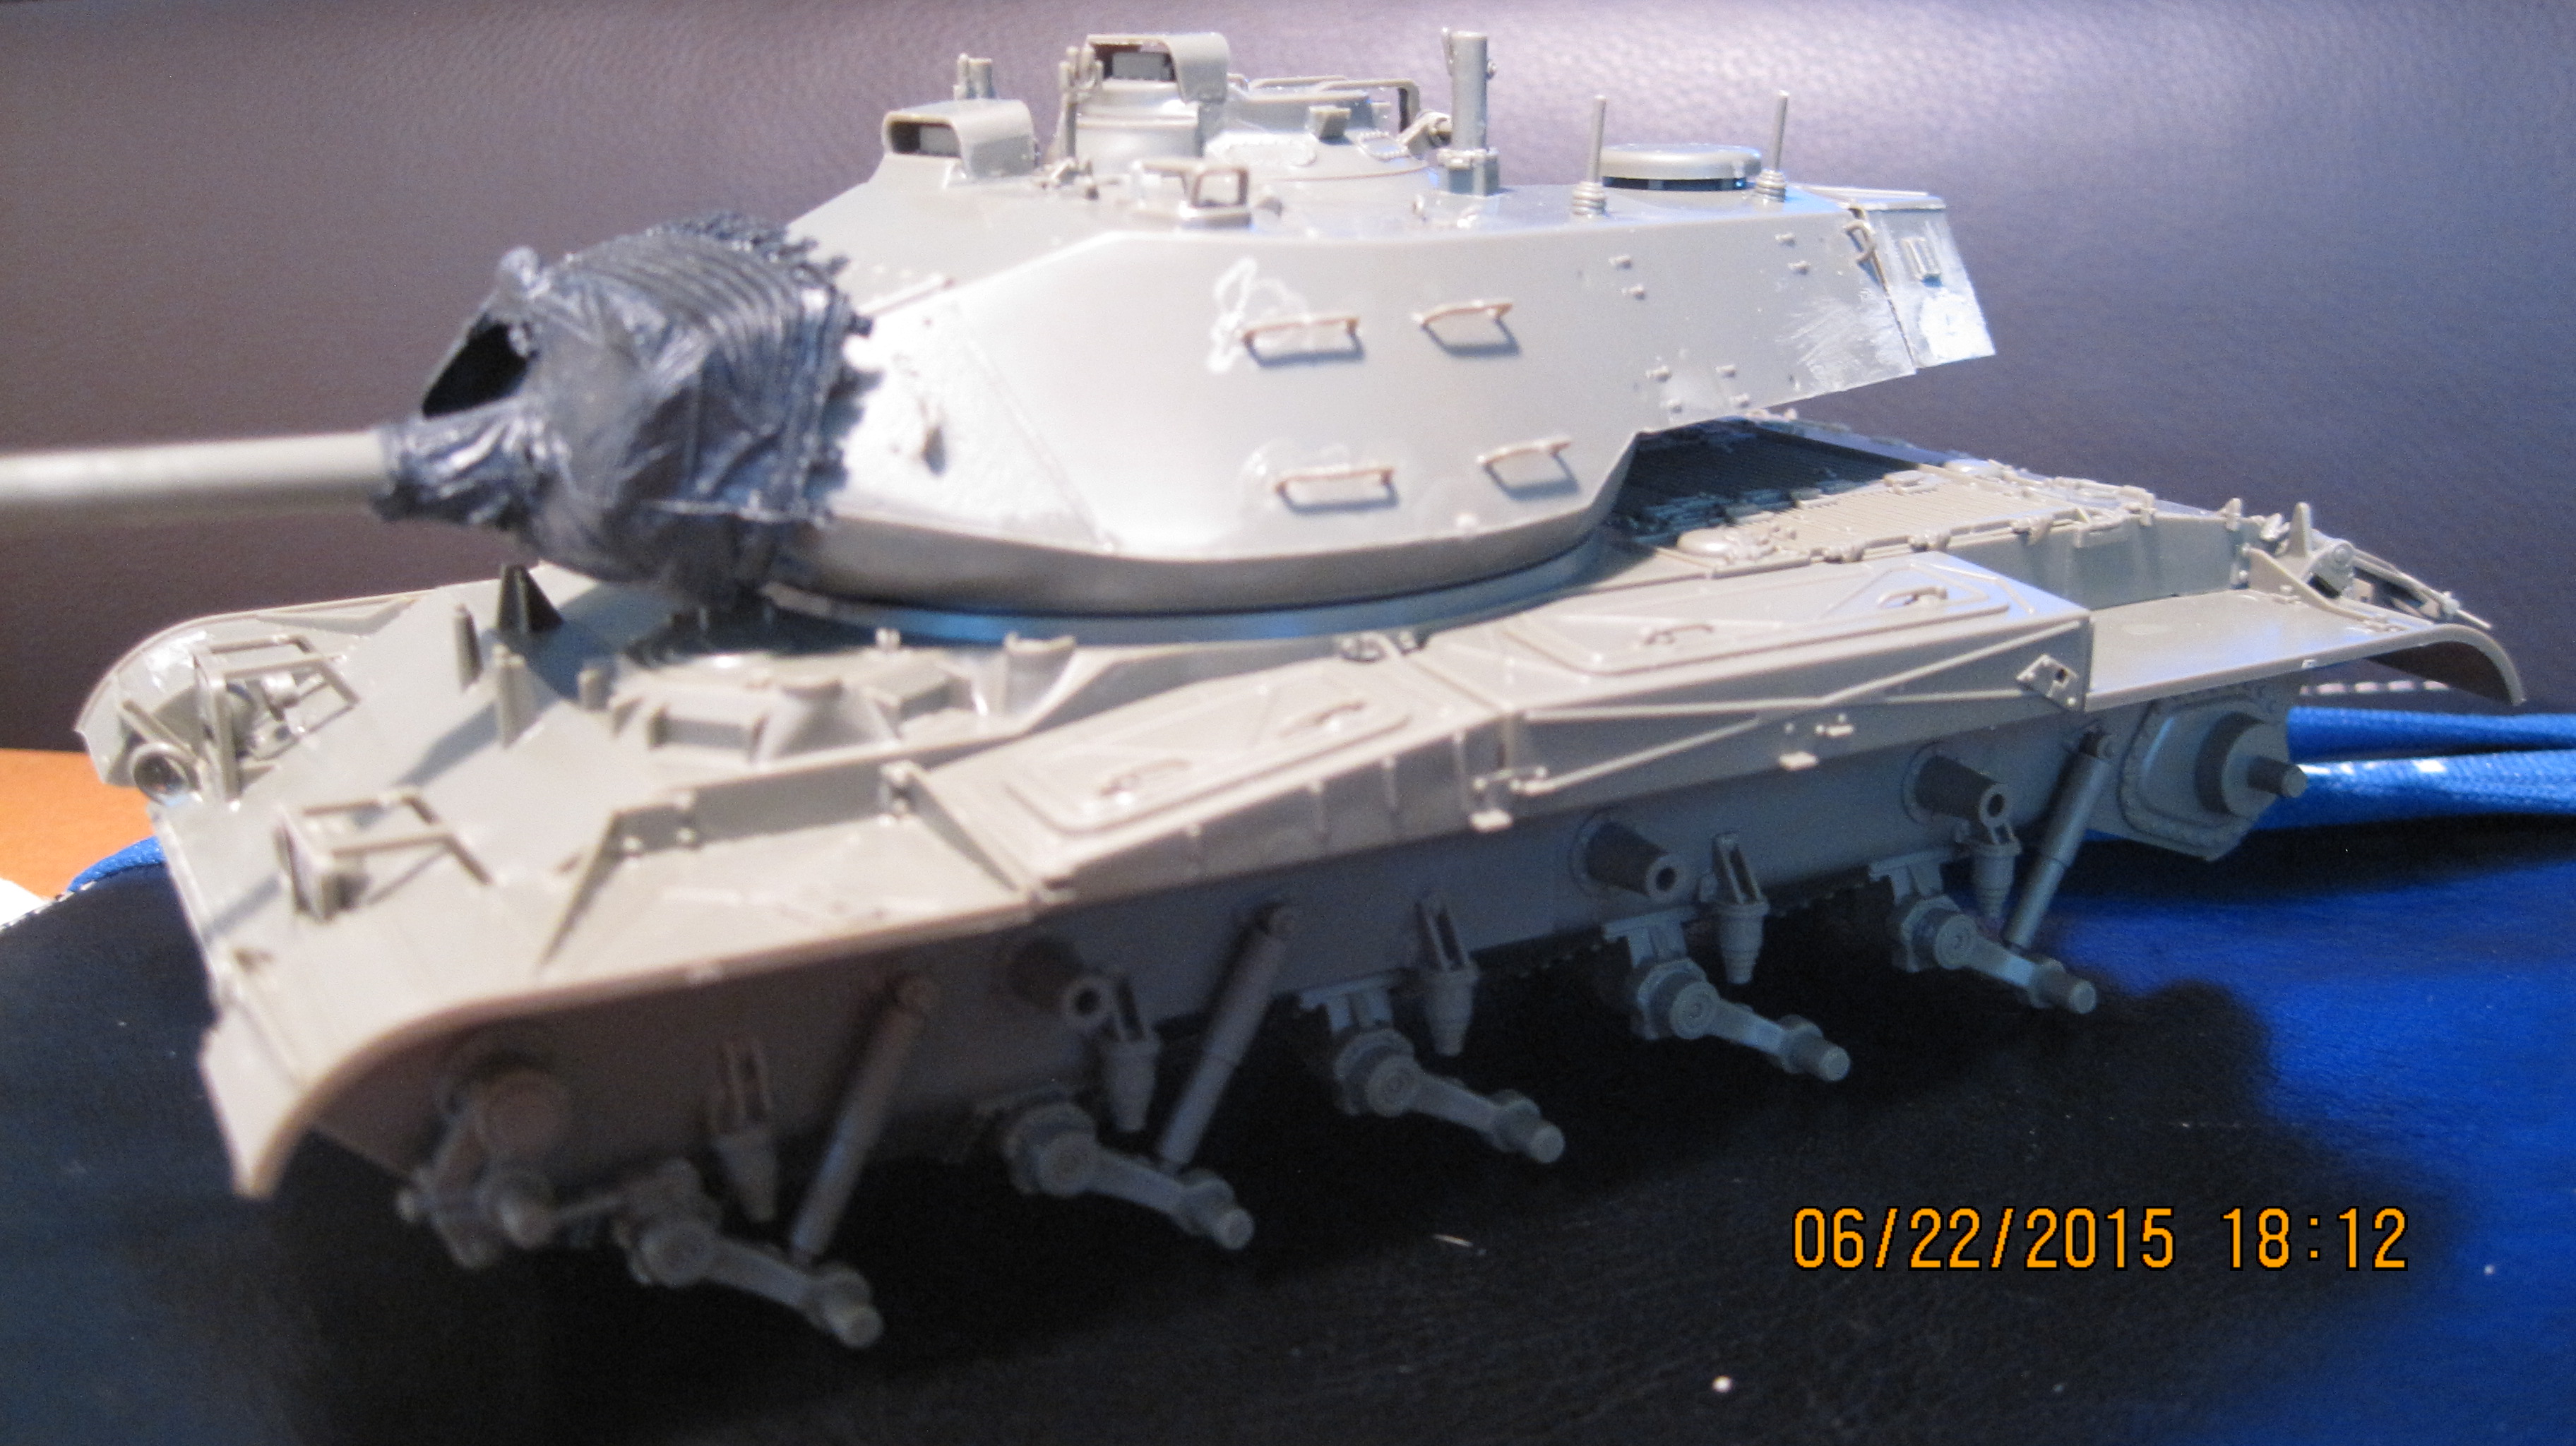
I'll start off here with In-Box Review of the AFV Club M41G, and I'll do a mini-build log (not comprehensive) detailing my experiences and trails with the kit. I'll then move on the finishing touches of the dio.

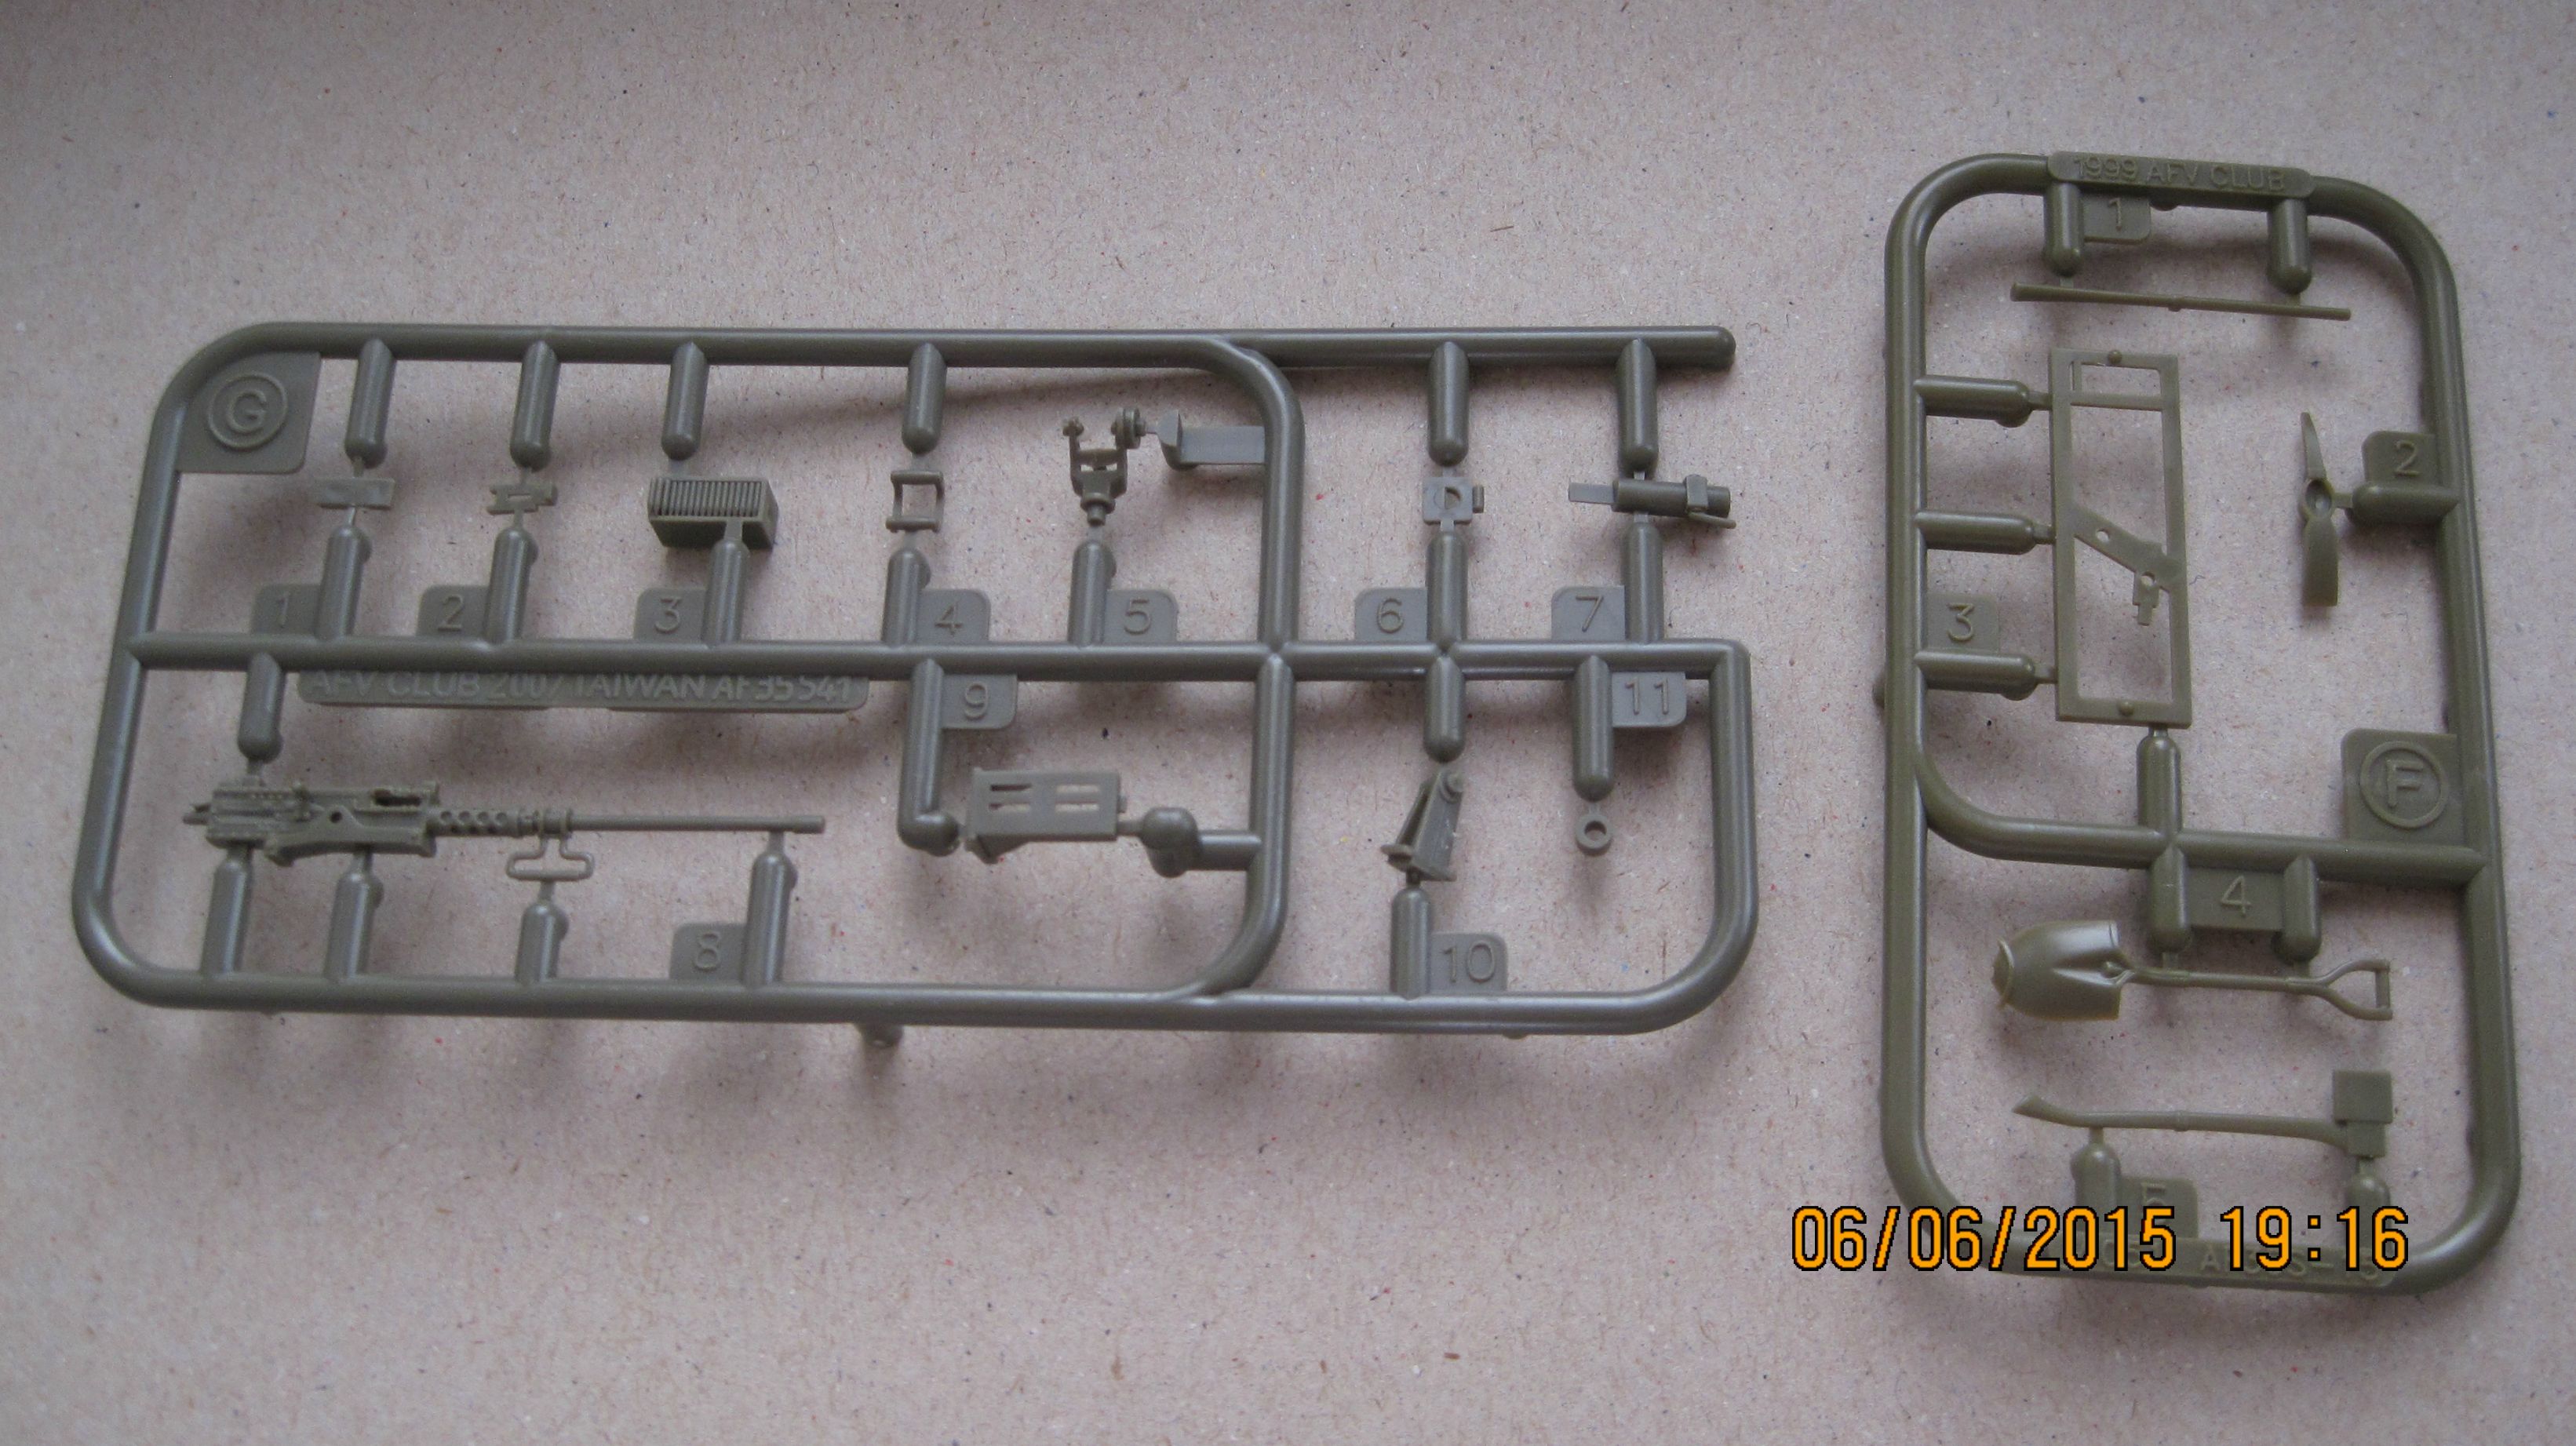
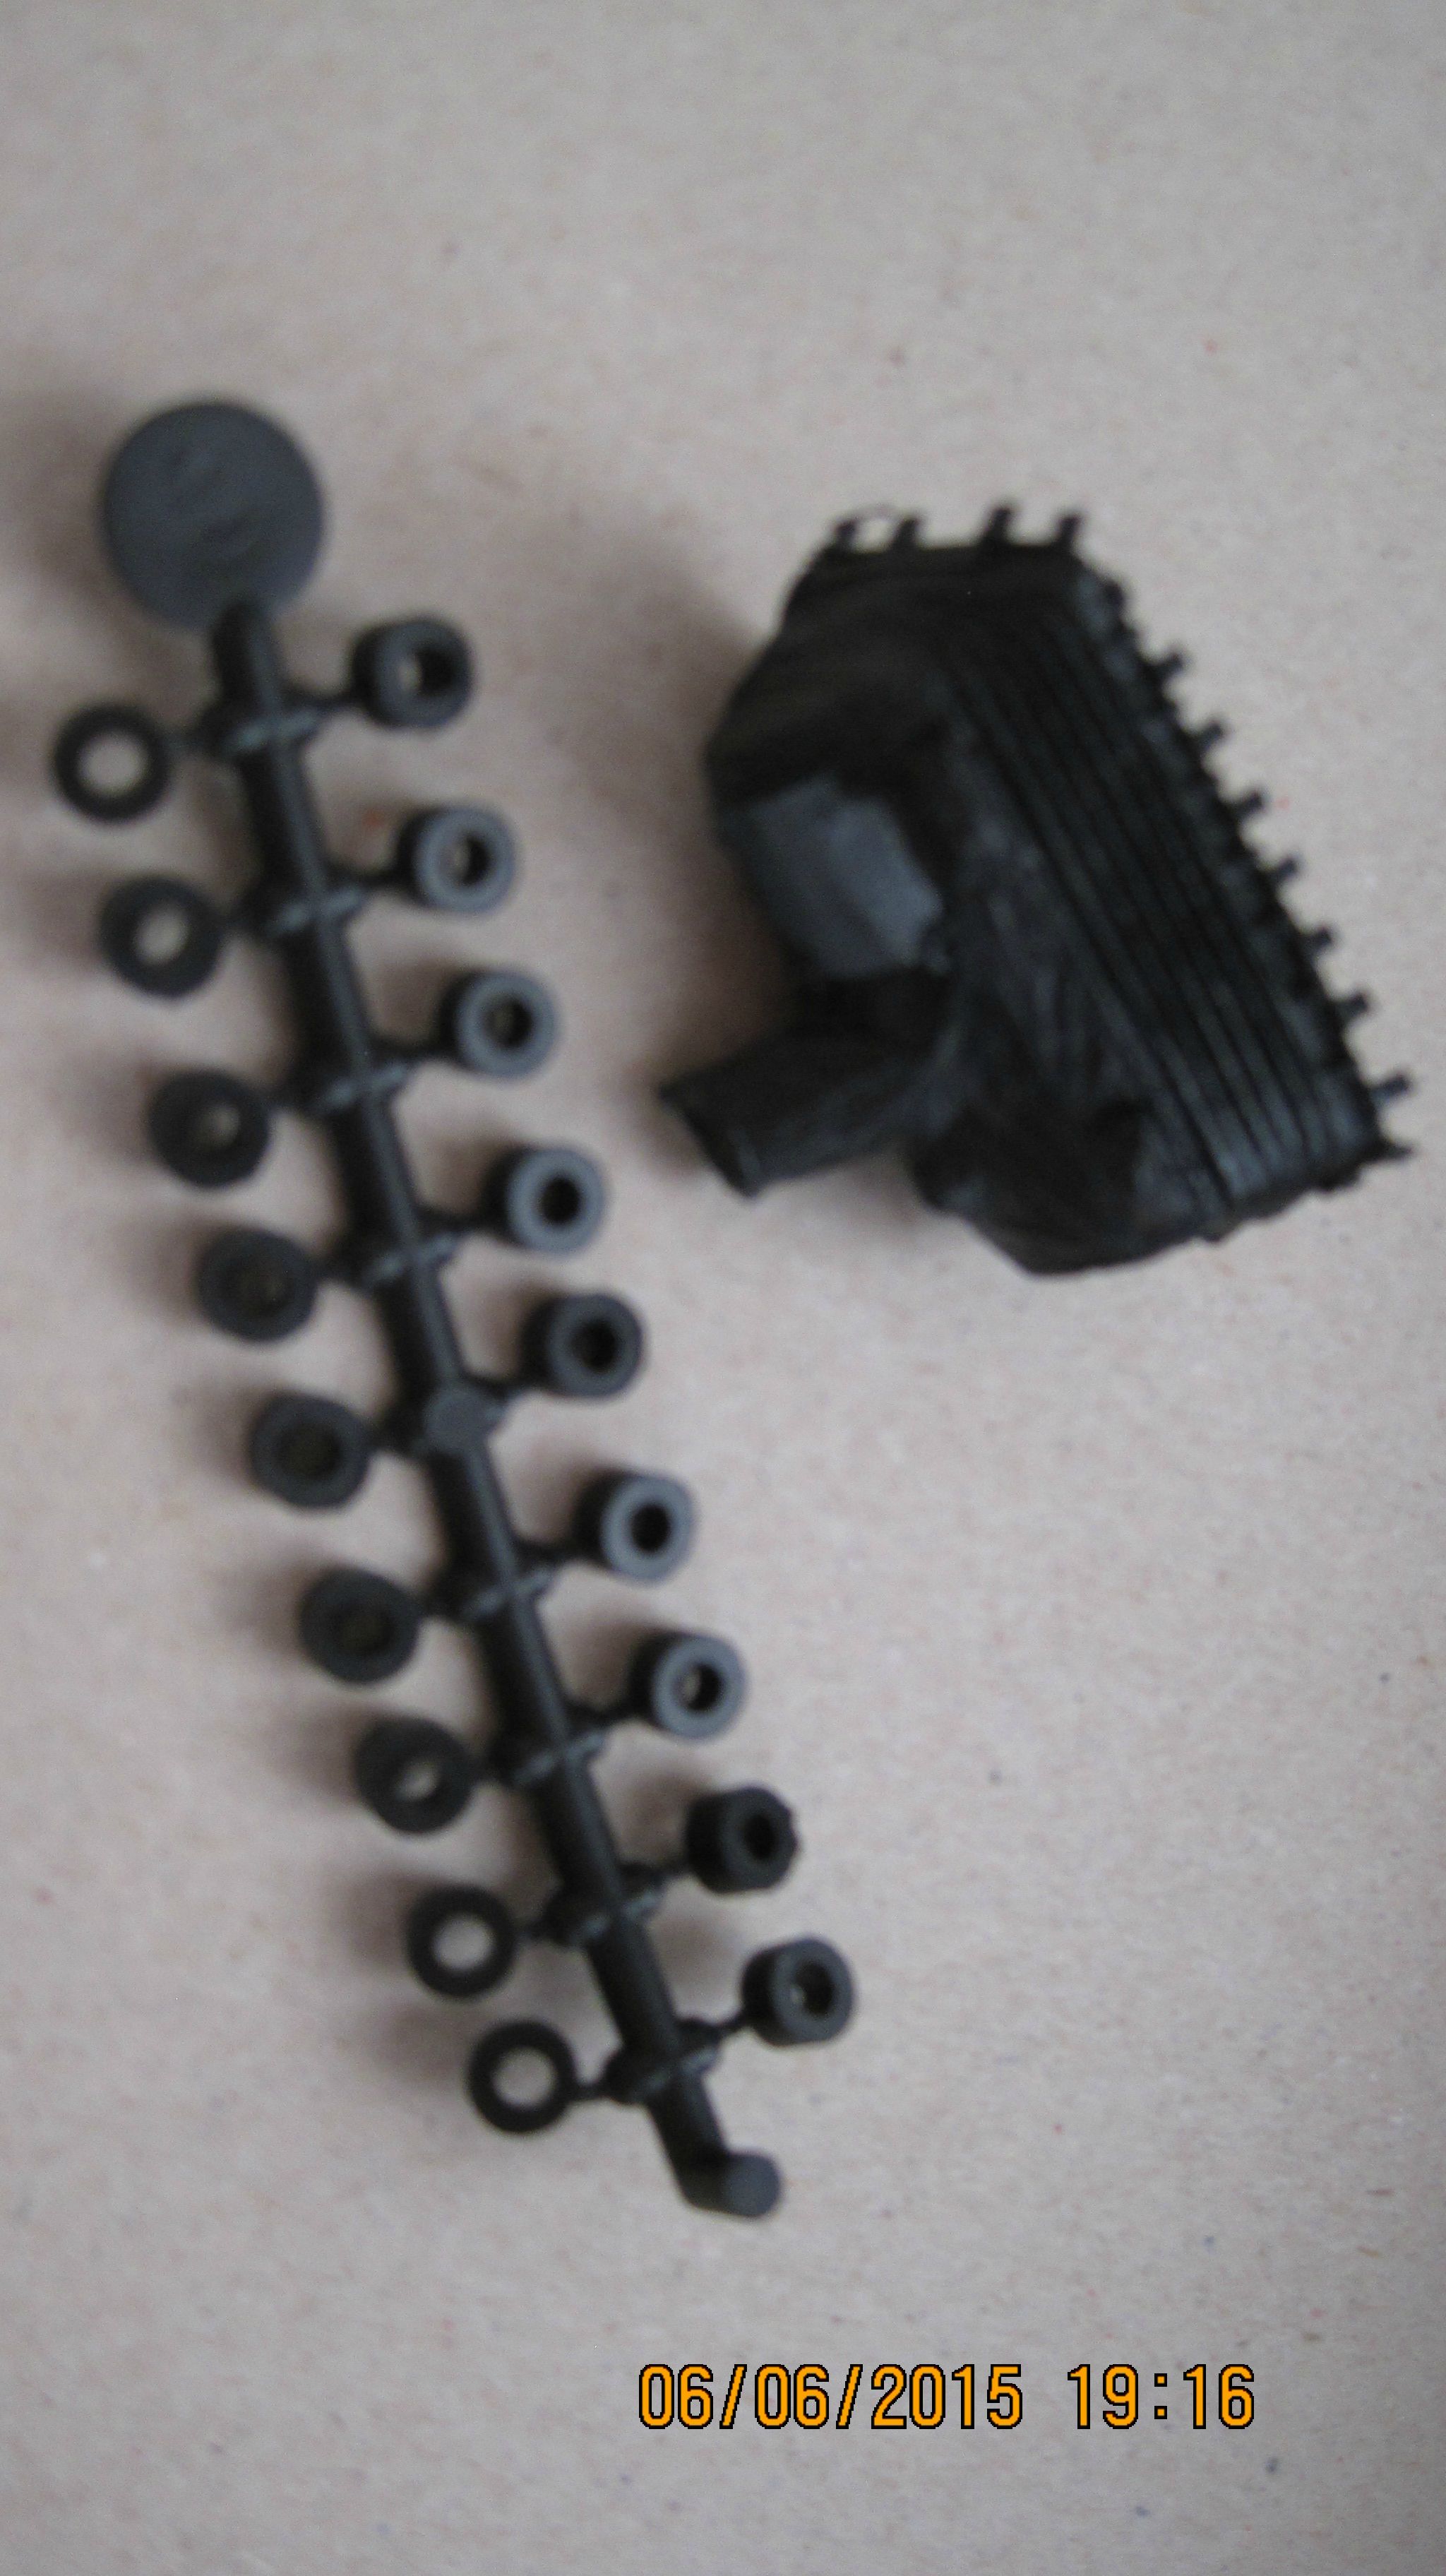
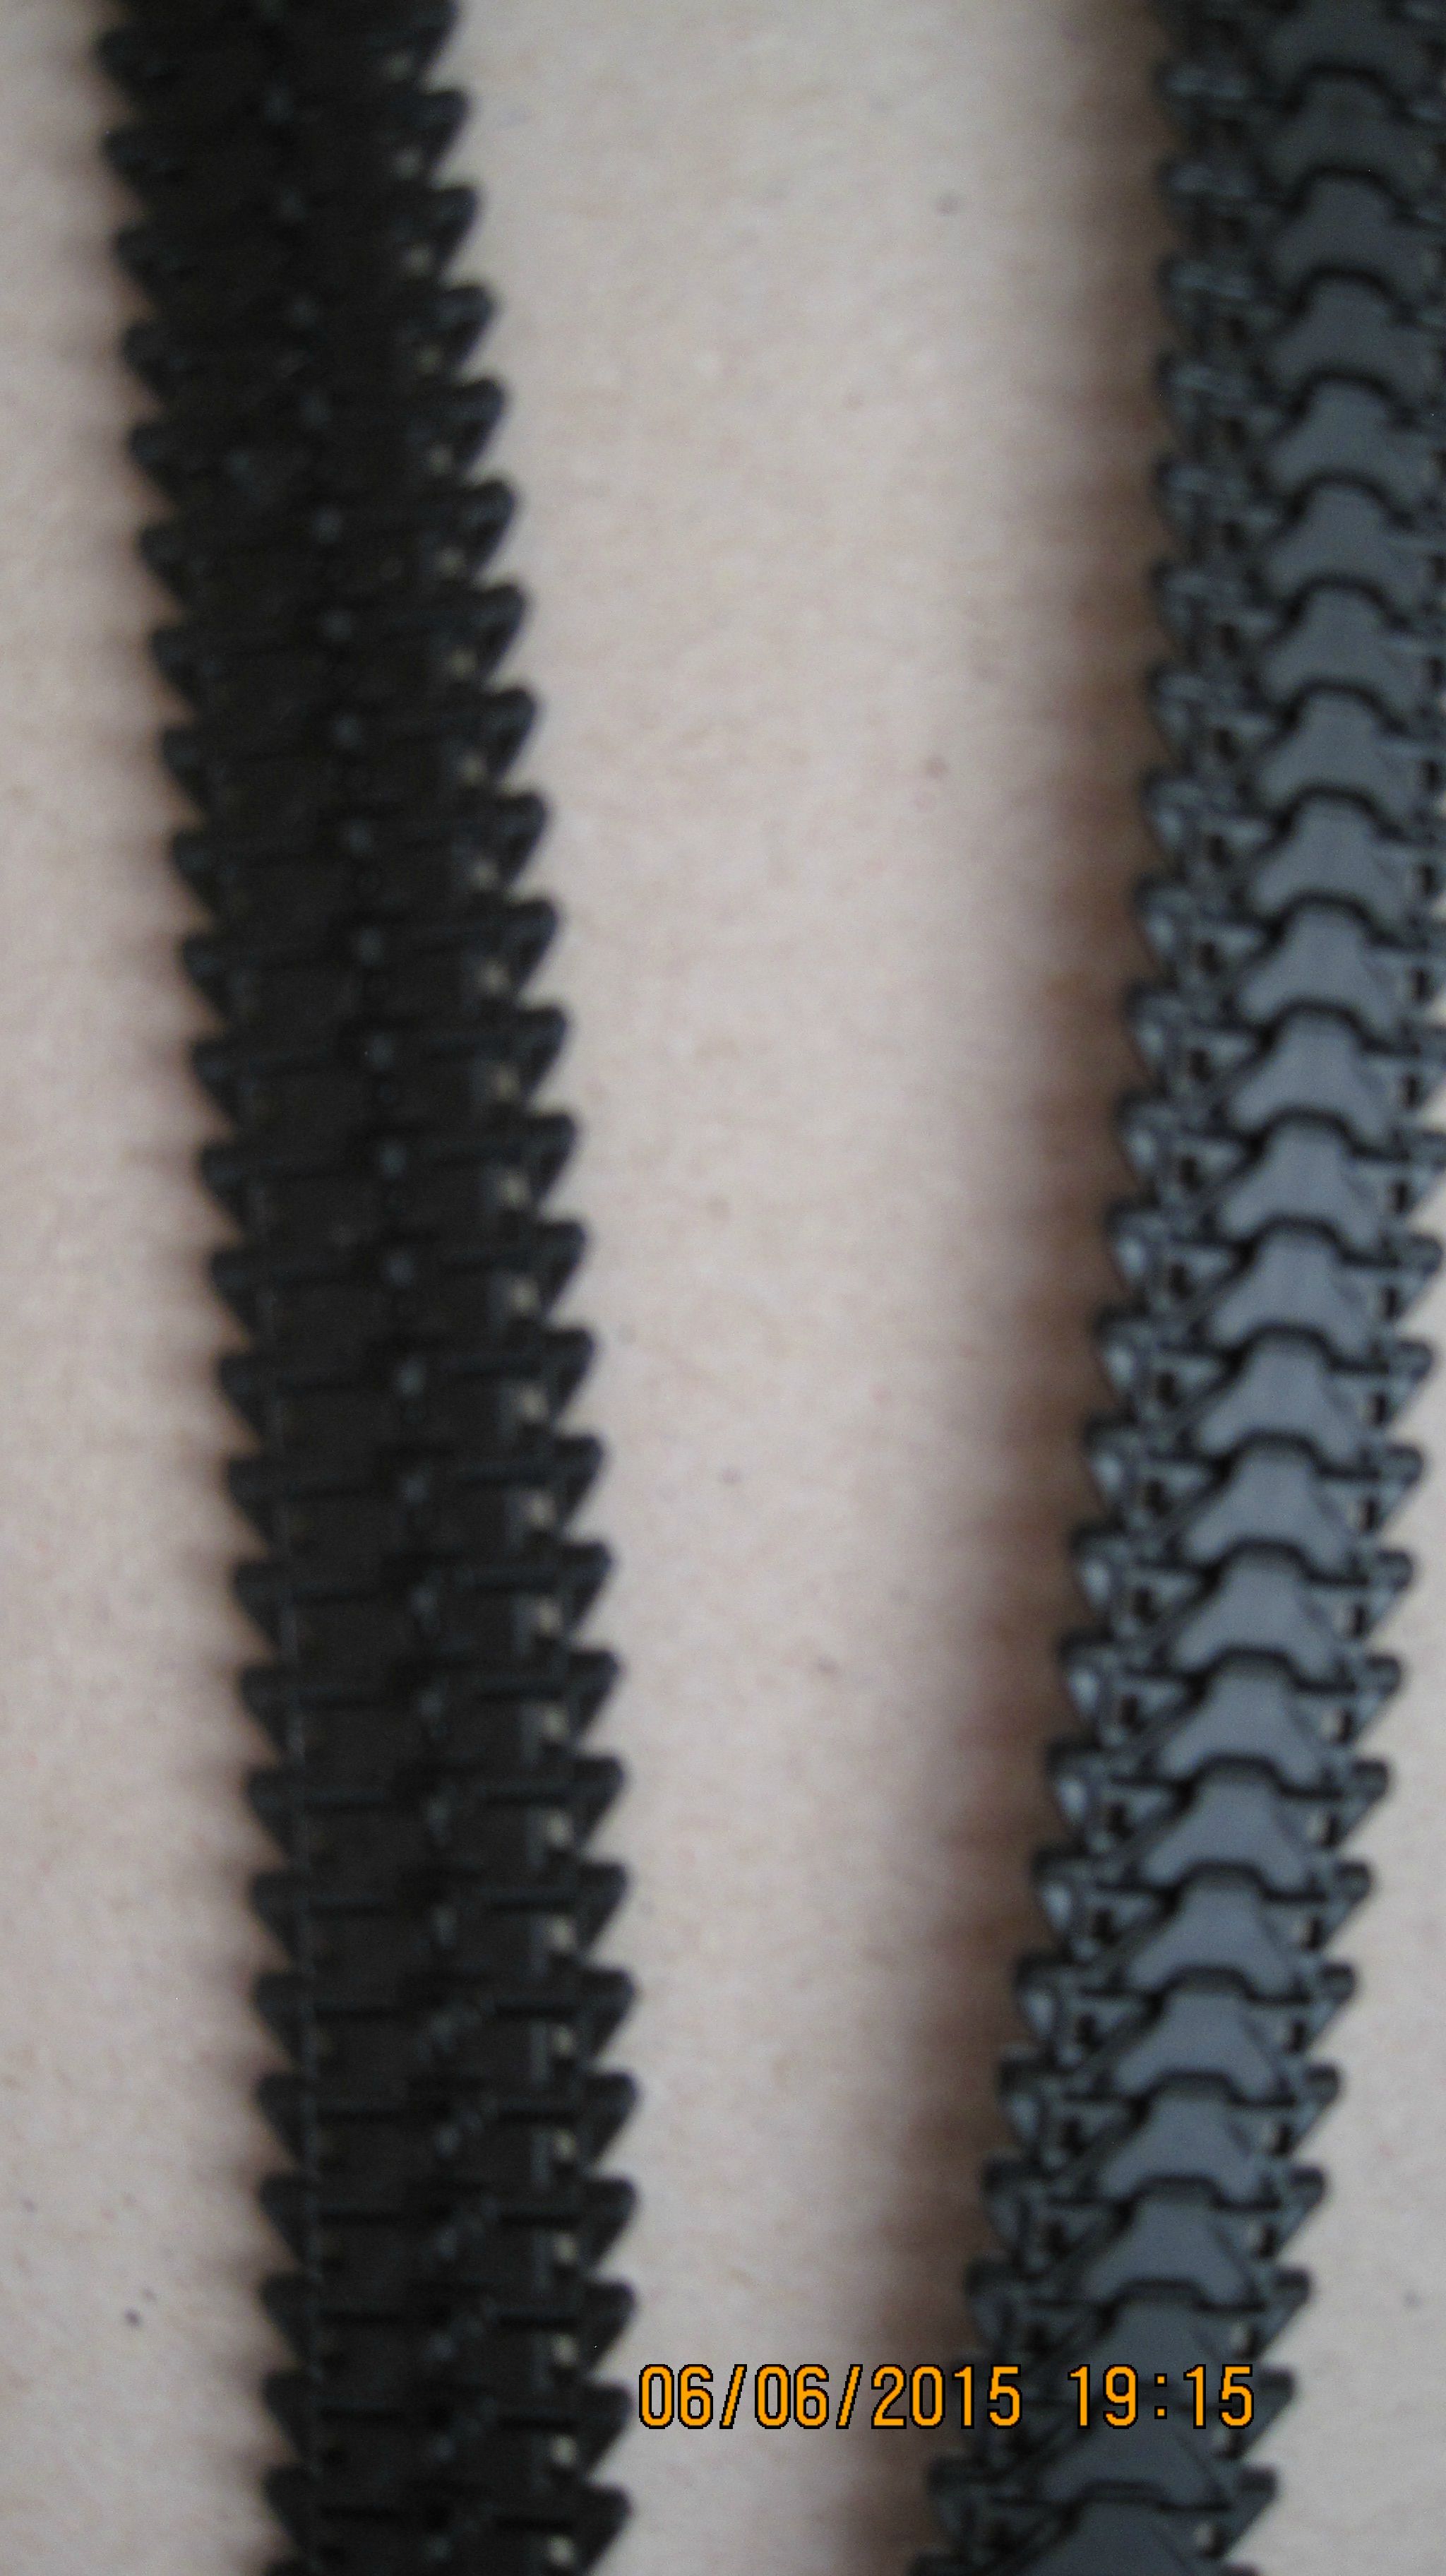
Here's the sprues of the AFV Club M41G
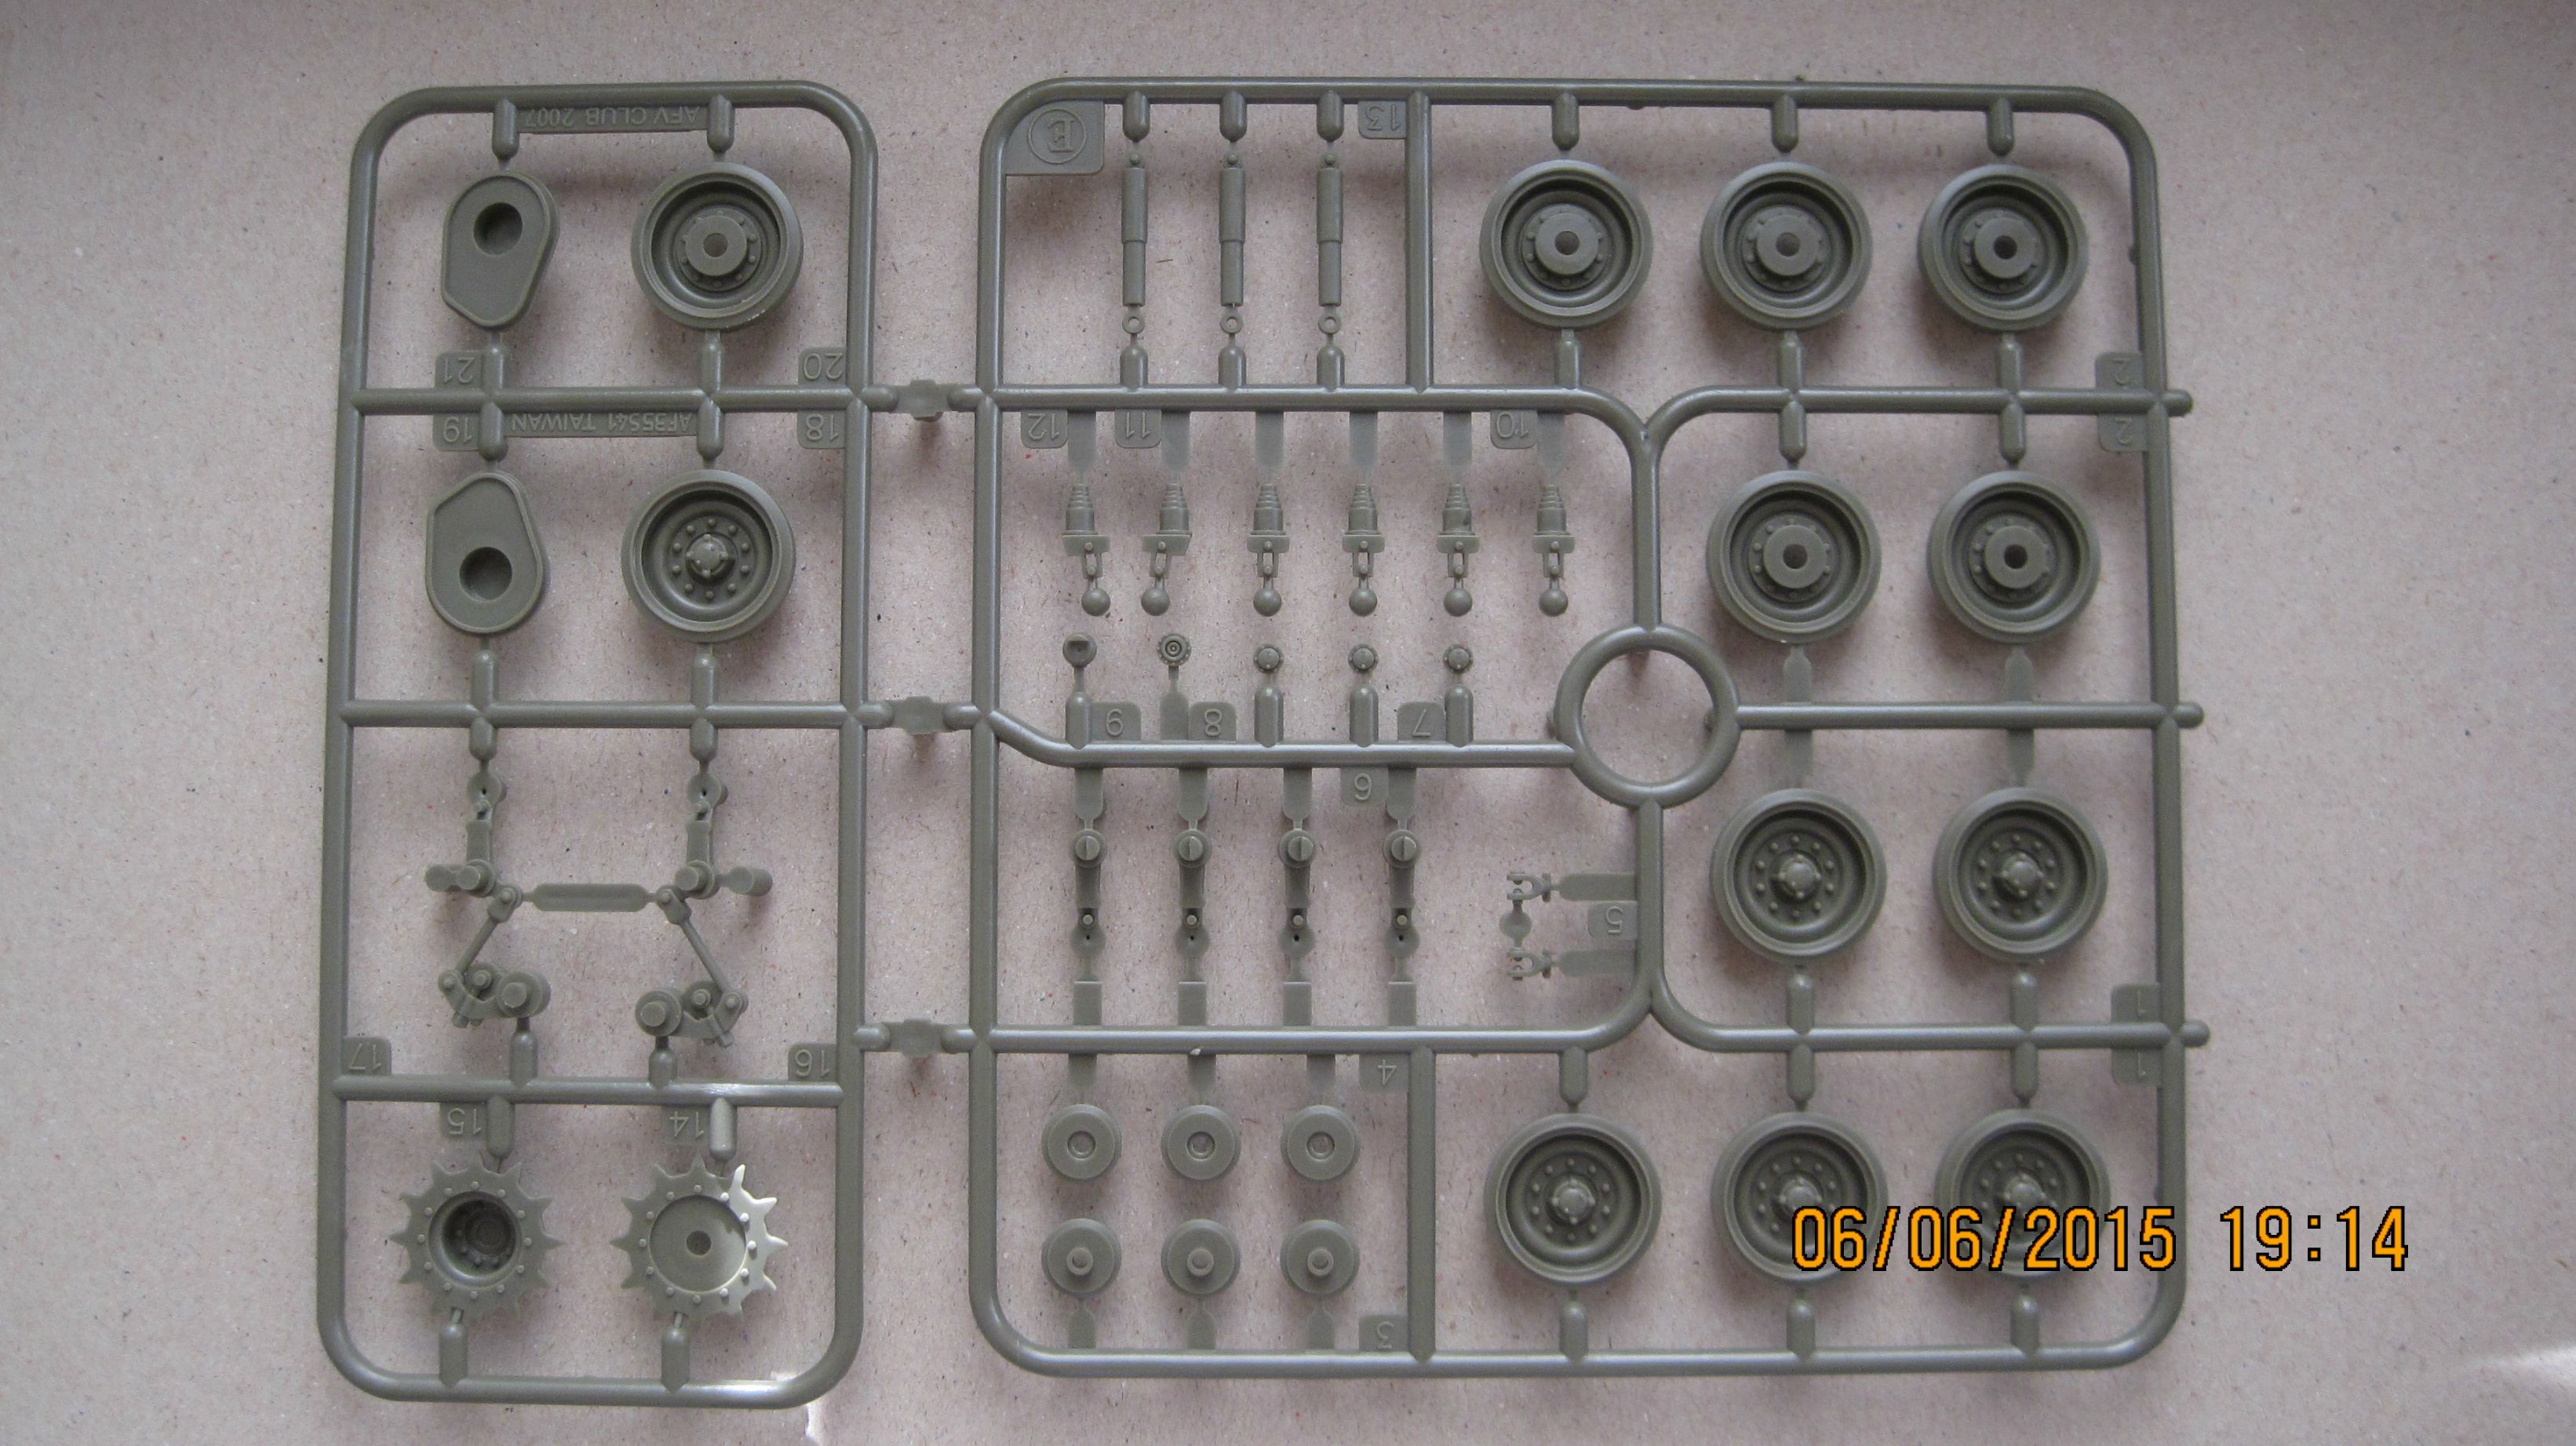

X2
X2
X2


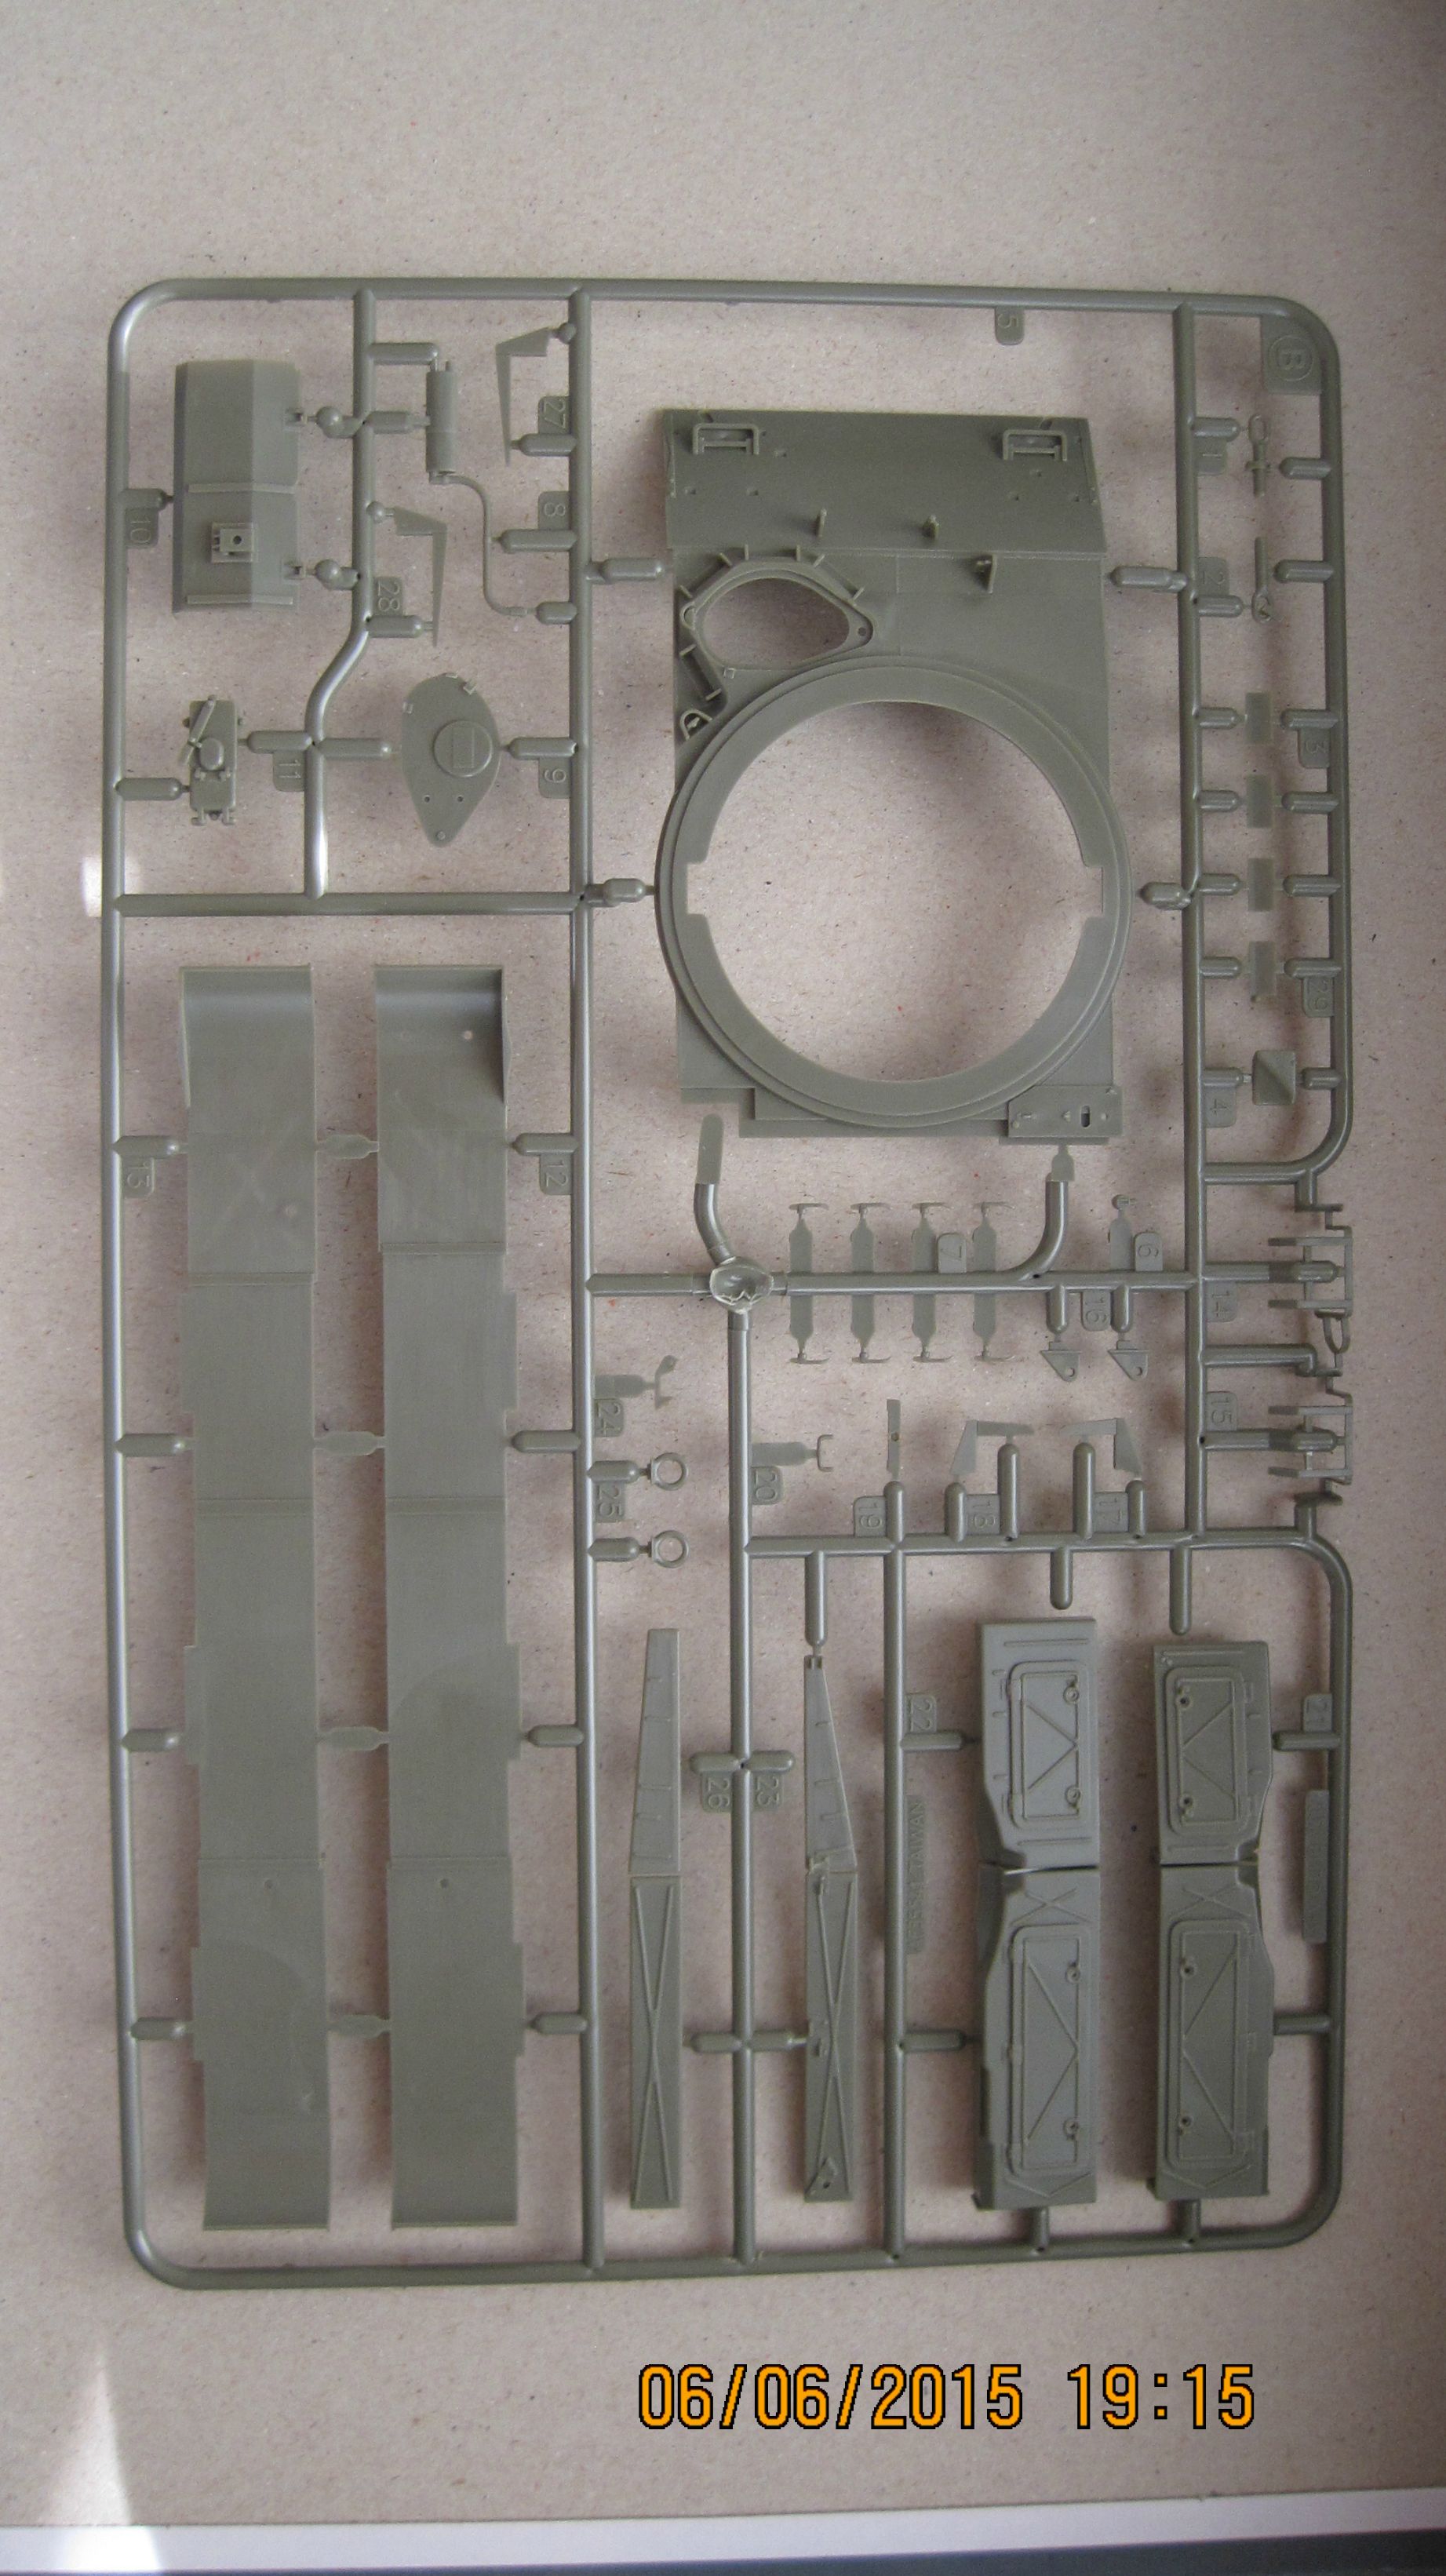
Will provide a new update in a day or two, see you then!
kurnuy
Visit this Community
West-Vlaaderen, Belgium
Joined: August 22, 2009
KitMaker: 1,491 posts
Armorama: 997 posts
Posted: Saturday, June 06, 2015 - 02:02 PM UTC
Hi Alan ,

this project is very ambitious and therefore i have to say it's very cool.... . Allow me to say that in those days the Belgian army had a large armored force of more than 1000 tanks. However these days it's a complete other story .

Okay Back to your project now , it's very promising and i'm looking forward to see the water effect

Good luck !

Kurt
Cookiescool2
Visit this Community
Georgia, United States
Joined: May 09, 2014
KitMaker: 273 posts
Armorama: 270 posts
Posted: Sunday, June 07, 2015 - 06:30 AM UTC
Thanks for the reply Kurt, will do my best!

Here's today's update. This is basically steps 1-5. I put the upper hull pieces in place to test their fit, and it fit together very well! I also finished the rear and suspension of the tank. When building the suspension, I found that I needed to be very careful wit the bars, or else they would've been out of alignment, so if you're building this kit just watch out. The shock absorbers got a little fiddly as well.though.

The instructions for the rear were drawn at an awkward angle. While I had built an M41 before, I still had some issues locating where all the bits needed to go, so just be careful when placing these parts. There was a good shot of the rear a few pages afterwards though.


Like many AFV Club kits, the M41 comes with separate fenders. I had hoped this wouldn't be an issue, but found that when I attempted to dryfit them there was a sizable gap present. I will search the web and attempt to fix this issue, so stay tuned!
jrutman
Visit this Community
Pennsylvania, United States
Joined: April 10, 2011
KitMaker: 7,941 posts
Armorama: 7,934 posts
Posted: Sunday, June 07, 2015 - 07:56 PM UTC
Ah yes,my favorite part. Millions of running gear pieces to assemble.
J
J
DG0542
Visit this Community
New York, United States
Joined: March 04, 2015
KitMaker: 125 posts
Armorama: 125 posts
Posted: Sunday, June 07, 2015 - 08:30 PM UTC
That's the re-release of the Skybow M41...Its on the Sprues...great kit.
Cookiescool2
Visit this Community
Georgia, United States
Joined: May 09, 2014
KitMaker: 273 posts
Armorama: 270 posts
Posted: Monday, June 08, 2015 - 01:40 AM UTC
Today was road wheels' day! Everything went fairly well. The wheels and sprockets required only minimal clean up, the sprockets themselves lined up perfectly.

However, I encountered a small issue on the idler wheels. The idlers on the M41 have small holes to allow mud to be removed, the kit has you build the two wheels separately and then bring them together. There's no pins or horns to allow you to properly place these together. So you just have to use the MK.1 Eyeball to hopefully line up the holes from the two wheels. Not a major issue but just an small obstacle.
Cookiescool2
Visit this Community
Georgia, United States
Joined: May 09, 2014
KitMaker: 273 posts
Armorama: 270 posts
Posted: Tuesday, June 09, 2015 - 06:01 AM UTC
I figured out a way to fix the fender gap! Just add a s**t ton of glue! I think I used about 1/4 of my tamiya bottle to get these fenders on, but it was worth it; the huge gap is gone! Took me about 10 minutes of maneuvering and pushing to get everything to stay in place. The fenders are basically welded on now.....

The dreaded gap is no more!

Also finished up the upper plate. The headlight guards were a nightmare for me to clean up though
Cookiescool2
Visit this Community
Georgia, United States
Joined: May 09, 2014
KitMaker: 273 posts
Armorama: 270 posts
Posted: Monday, June 22, 2015 - 03:57 AM UTC
Nothing of interest really occurred so I've waited to post until now. This is the final built up stage of the kit before priming. The next update will be the basecoat!

Now the Tamiya putty is there because I didn't use many of the tool mounts and so I needed to fill the locating holes. Also the mantlet cover is not glued yet since I still need to paint it.


kurnuy
Visit this Community
West-Vlaaderen, Belgium
Joined: August 22, 2009
KitMaker: 1,491 posts
Armorama: 997 posts
Posted: Wednesday, June 24, 2015 - 02:06 AM UTC
Hi Alan .

looking good , keep up the good work

Kurt
PanzerGeek
Visit this Community
Alberta, Canada
Joined: February 10, 2008
KitMaker: 221 posts
Armorama: 217 posts
Posted: Wednesday, June 24, 2015 - 08:06 PM UTC
Looking good so far Alan, I can’t wait to see that Panzer rolling across the bridge!

Cheers

Todd
 _GOTOTOP