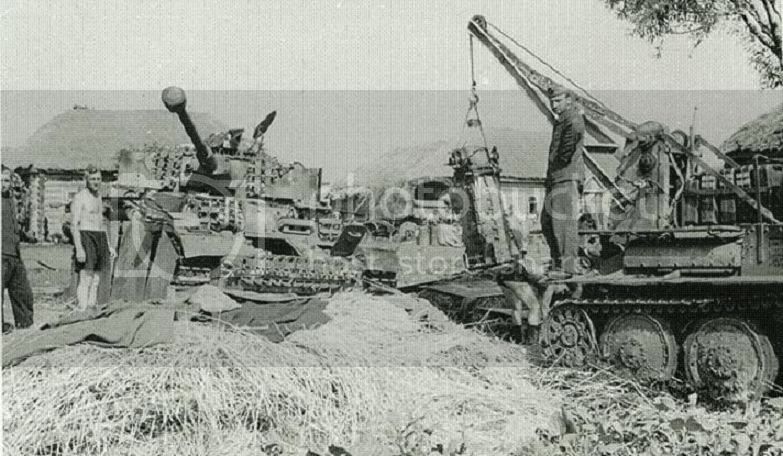
Mmmmm. That is a very nice PE set and crane! Thanks for sharing John. It is pretty close to the other cranes I have seen mounted to turretless 38's Maintenance Units (see pic below) and it certainly would make things easier. I will check it out more.
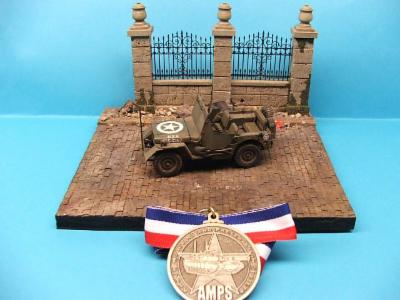
Is that a pic of your own model? Would be great to see it painted up and weathered. Though it would be sad too because the PE kit details looks so nice unpainted too.
I am currently using Evergreen Sheet and Rod Styrene to build the crane. Adding to this some PE parts from various kits.
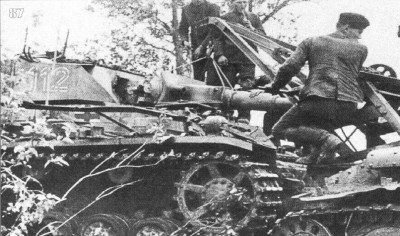
I have considered designing the crane in the reference image as a PE set and maybe doing short runs on it, since I cannot find this particular crane available as a kit yet.
Ok, I know, this is OT, but your pic really got me thinking about pulling it all out again and making the crane myself in PE.

A couple years back I decided to build my own photo etch tank. I got most of the chemical powders, air pump, fish tank heater, brass, film, laminator and gear-box motor (for rotating the plate in the tank while etching) on ebay, all the plastic tubs and trays came from a local dollar store. It was about $400 for everything (the laminator itself was about $120 of that, and a used HP color laser printer on craigslist was like $50 to make the film positives). It works pretty well, you just have to monitor the process as the etchant loses it's potency after a couple etches, so you have to keep adding Ferric Chloride powder over time to keep it potent and that affects the etch time almost every etch session. Though, I have only made about 6 small brass plate etches with it so far, and a lot of work building the etch tank, getting all the trays, film, lights, glass, gloves, etc to do the work, but it does allow me to make custom PE parts when necessary. This might be one of those cases.
I started off with an interior PE kit for a 1/72 airfix JU-52 (still have to finish that model though). Also did some custom fences, gates, detailed stained glass windows, etc. and these also came out pretty good. But the whole process is pretty intense. There is also the leg work of designing the front and back plates in a vector app, printing and checking the film positives, cleaning and laminating the brass plates with the photofilm, exposing it, then etching and cleaning.
Yeah, it's a load of work (and can be messy if not organized with plastic tubs and sheets) which is probably why not many folks choose to go that route. Not to mention the Ferric Chloride will destroy just about anything it touches with a hard yellow stain. Also, you have to find a place locally to properly dispose of the used etchants. But, with some creativity mixed in, you can make amazing things that have never been made or seen before in PE. That reason alone should justify the cost and work involved for those seriously interested in building unique works of art.
If anyone is interested in how I did it, I have a Word document (with pics) that documents the whole shebang (required materials, costs, and a step by step of the whole process from start to finish). Let me know and I can PM you the doc. I was going to put it up online somewhere eventually. There were a few other forums/blogs posts out there at the time (early 2014) that I gleaned info from (plus some experimentation and ingenuity on my own part) to get it all going.