P.S.P./Scale-Link 20 ton US Low Bed Trailer

#521
Kentucky, United States
Joined: April 13, 2011
KitMaker: 9,465 posts
Armorama: 8,695 posts
Posted: Wednesday, July 15, 2015 - 04:19 PM UTC
The model trailer I have has the dolly. I am just not using it. Scale-Link also markets this kit without the dolly however the one with the dolly was the only one in stock at the time and I did not want to wait.

Photos of the dolly contact plate are already available elsewhere on this thread. The contact plate seems extra long and just sits directly on top of the dolly without the usual support structure. I chose not to use it.
Rhone, France
Joined: December 02, 2002
KitMaker: 12,719 posts
Armorama: 12,507 posts
Posted: Wednesday, July 15, 2015 - 04:47 PM UTC
Quoted Text
The contact plate seems extra long and just sits directly on top of the dolly without the usual support structure.
Just like the real thing (I guess the one below may be a lighter model)


H.P.
"Find the Bastards, then Pile On"
Col. George W.Patton III 's standing order for the troopers of the 11th Armoured Cavalry Regiment
#521
Kentucky, United States
Joined: April 13, 2011
KitMaker: 9,465 posts
Armorama: 8,695 posts
Posted: Wednesday, July 15, 2015 - 05:49 PM UTC
Wow Frenchy you have photos of EVERYTHING!
You are correct in that the dolly you are showing is a lighter version but the fifth wheel contact plate is exactly the same as that used on the TD20 dolly.
I guess since the entire dolly is free to rock as a unit they don't need all the hardware between the dolly structure and the contact plate.
Tennessee, United States
Joined: January 10, 2005
KitMaker: 337 posts
Armorama: 332 posts
Posted: Thursday, July 16, 2015 - 04:34 AM UTC
Thnx for the photo! Explains everything. I completely overlooked the fact you had bought the kit WITH the dolly.... LOL
In Memory of Cpl. Cecil T. Nicholson, U.S. Army, 1931-2006
#521
Kentucky, United States
Joined: April 13, 2011
KitMaker: 9,465 posts
Armorama: 8,695 posts
Posted: Thursday, July 16, 2015 - 09:37 AM UTC
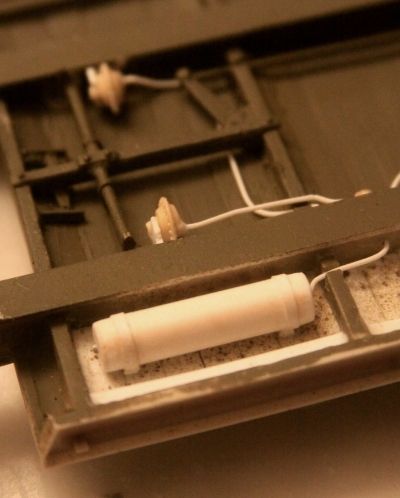
Some plumbing progress tonight:

2 Brake Actuators, 2 Air Filters, a Regulator, an Air Tank plus Associated Plumbing
#521
Kentucky, United States
Joined: April 13, 2011
KitMaker: 9,465 posts
Armorama: 8,695 posts
Posted: Thursday, July 16, 2015 - 04:33 PM UTC
Reserse side photo showing the air tank. Darn I forgot to install the drain cock!
Count on it, it will happen!
#521
Kentucky, United States
Joined: April 13, 2011
KitMaker: 9,465 posts
Armorama: 8,695 posts
Posted: Thursday, July 16, 2015 - 06:54 PM UTC
Air line and brake diagram: Note check item W.

Wiring diagram:
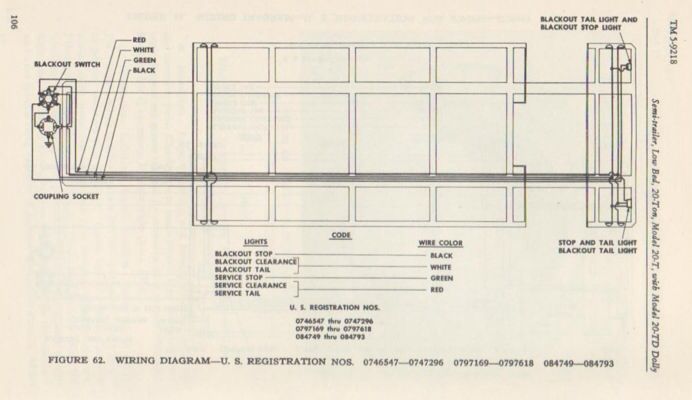
Actually there were four different wiring schemes depending on the manufacturer building the trailer and on the Army order contract number. Most 20T trailers did not have a rear mounted trailer lighting socket though all 20T's had a towing pintle.
#521
Kentucky, United States
Joined: April 13, 2011
KitMaker: 9,465 posts
Armorama: 8,695 posts
Posted: Friday, July 17, 2015 - 06:51 AM UTC
Underbody detailing is done, manual brake mechanism, air lines, air tank AND electrical! Thank Heavens! Ready to paint!

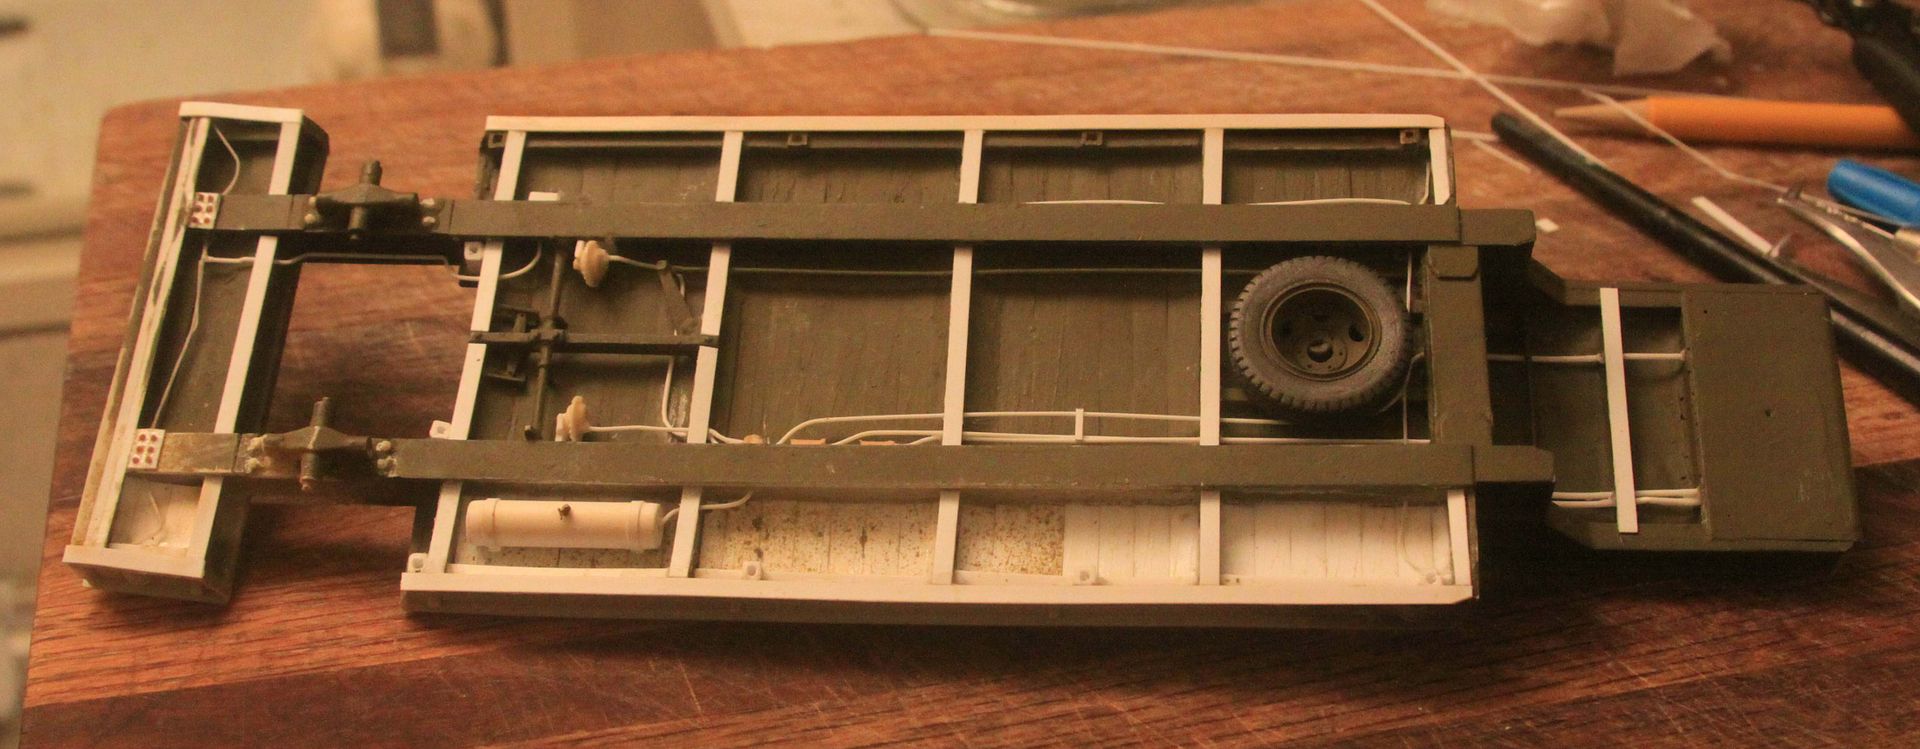
And I even got in my drain valve on the air tank!
#521
Kentucky, United States
Joined: April 13, 2011
KitMaker: 9,465 posts
Armorama: 8,695 posts
Posted: Friday, July 17, 2015 - 09:23 AM UTC
And now painted:

#521
Kentucky, United States
Joined: April 13, 2011
KitMaker: 9,465 posts
Armorama: 8,695 posts
Posted: Friday, July 17, 2015 - 09:51 PM UTC
Trailer wheels painted and ready to mount.
In case anyone might be interested; On resin or cast plastic tires I usually prime them with Matte Olive Drab (In this case Model Masters #1911) and then finish coat the tire using a semi-transparent, metalizing, Gun Metal color. I feel this gives me a proper aged, faded, silvery, oxidized rubber look. I don't tend to like the look I get when I just paint them with straight flat black, it ends up looking too "parade ready!"

As you can see from the photo, on any solid tires I also grind a "weighted" spot into the ground contact area of the tire for greater realism. I usually also go over the brake drum area with a bit of diluted rust because hot brakes, just like exhaust pipes, mufflers, and flexing leaf springs do not tend to hold onto their paint for very long so they rust first.
I tend to overdo this rust treatment and will usually try and tone it down a bit in the weathering process.
#521
Kentucky, United States
Joined: April 13, 2011
KitMaker: 9,465 posts
Armorama: 8,695 posts
Posted: Sunday, July 19, 2015 - 12:23 AM UTC
Another detail I just noticed on the trailer are these rectangular steel plates welded to the main "I" beams just above the trunnion axle assemblies. I assume these are to add strength and ridigity to the wheel support structure.

So . . . .


#521
Kentucky, United States
Joined: April 13, 2011
KitMaker: 9,465 posts
Armorama: 8,695 posts
Posted: Sunday, July 19, 2015 - 07:39 AM UTC
Well here is a look at my standard light / medium dose of weathering.
(I did go a little heavier on the red clay mud around the rear wheels and on the underside of the goose neck as the tractor tires would splash mud there.) Normal road dust everywhere else.

I may get even more serious with the weathering as time goes by.
England - East Midlands, United Kingdom
Joined: April 29, 2004
KitMaker: 1,336 posts
Armorama: 1,137 posts
Posted: Sunday, July 19, 2015 - 11:42 AM UTC
Nice work, but suggest a washdown dio?
shame to cover your work in crud as it were...
Mitglied: East Mids Model Club Show: 24th March 2013
#521
Kentucky, United States
Joined: April 13, 2011
KitMaker: 9,465 posts
Armorama: 8,695 posts
Posted: Sunday, July 19, 2015 - 12:20 PM UTC
Thanks for your kind words but I love the crud! The crud makes it real! The light dusty crud makes all the detail more visible, it really makes it pop. If I where to just leave it the original clean matte Olive Drab so much detail would disappear into the dark shadows. Dust makes every nut and bolt stand out!
Also I'm not one that believes in a lot of "panel shading and highlighting". I know it wins hobby competitions but I have worked around 1:1 scale armor just enough to know that "panel shaded" is not how a vehicle ends up looking after it has gotten a bit dirty and dusty in the field. Panel shading is just not my cup of tea, but run a AFV through some fields and around a gravel exhibit oval for a day and let the dust settle, now that's something else entirely!
#521
Kentucky, United States
Joined: April 13, 2011
KitMaker: 9,465 posts
Armorama: 8,695 posts
Posted: Sunday, July 19, 2015 - 09:23 PM UTC
A little naturally occurring Ft. Knox dusty weathering: 1 to 1 scale.
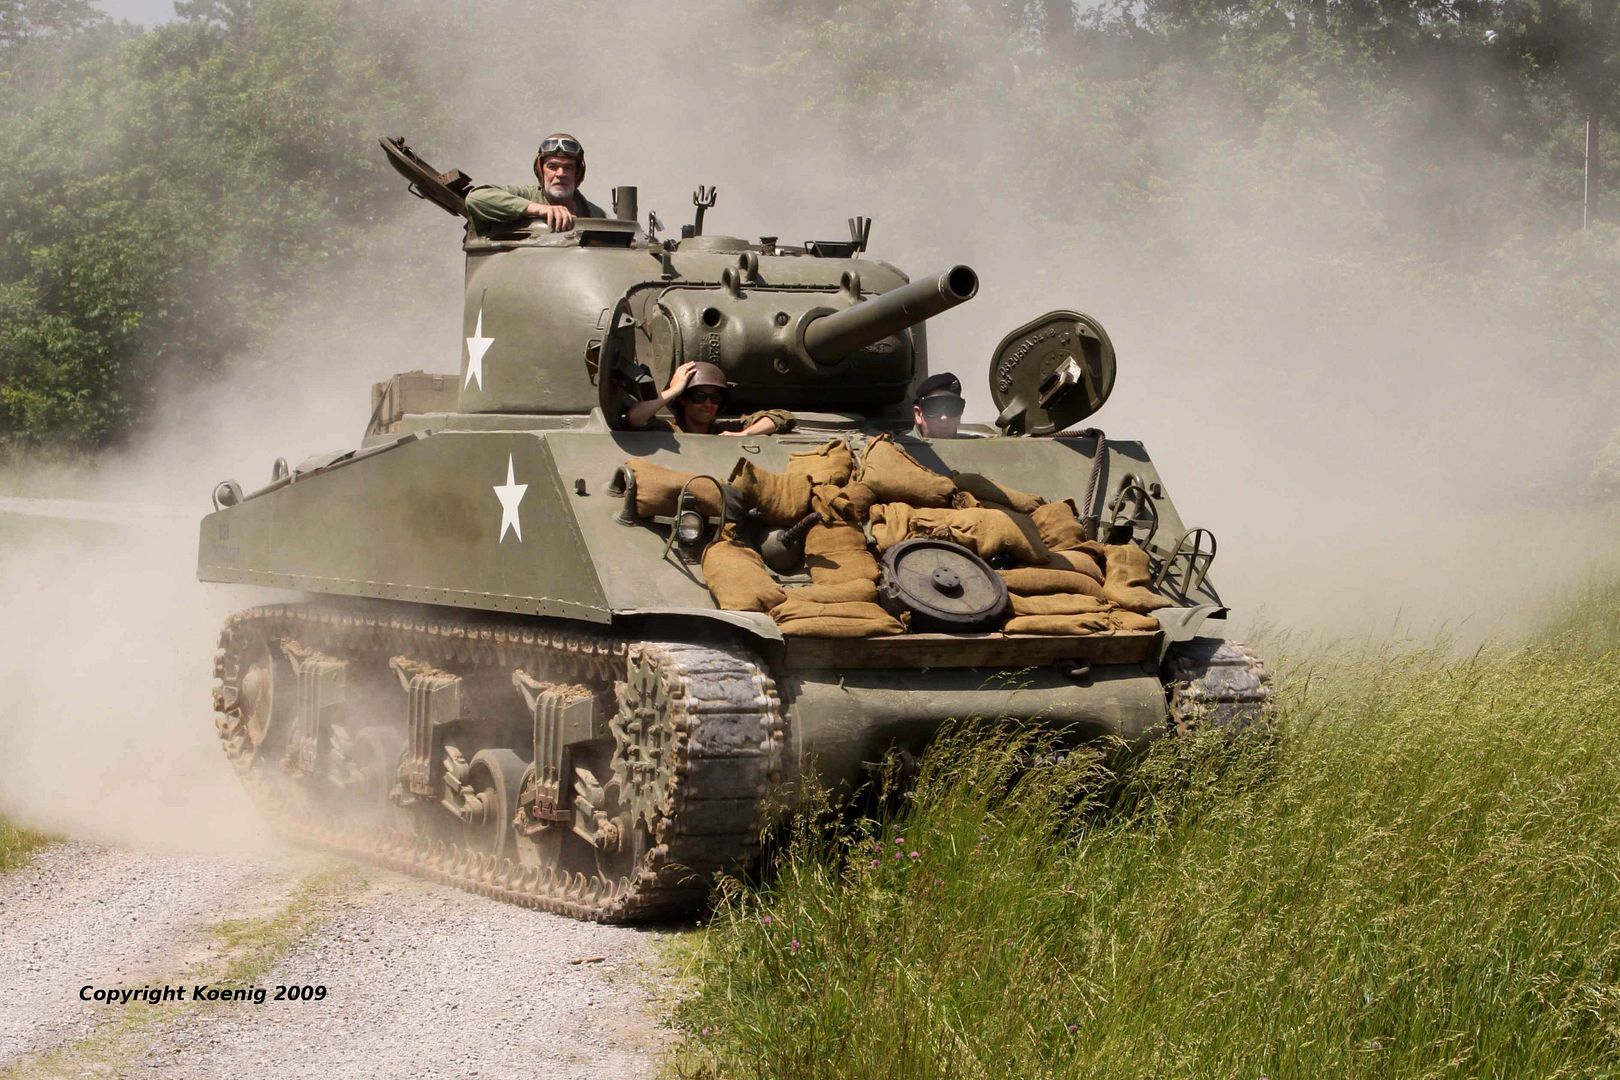

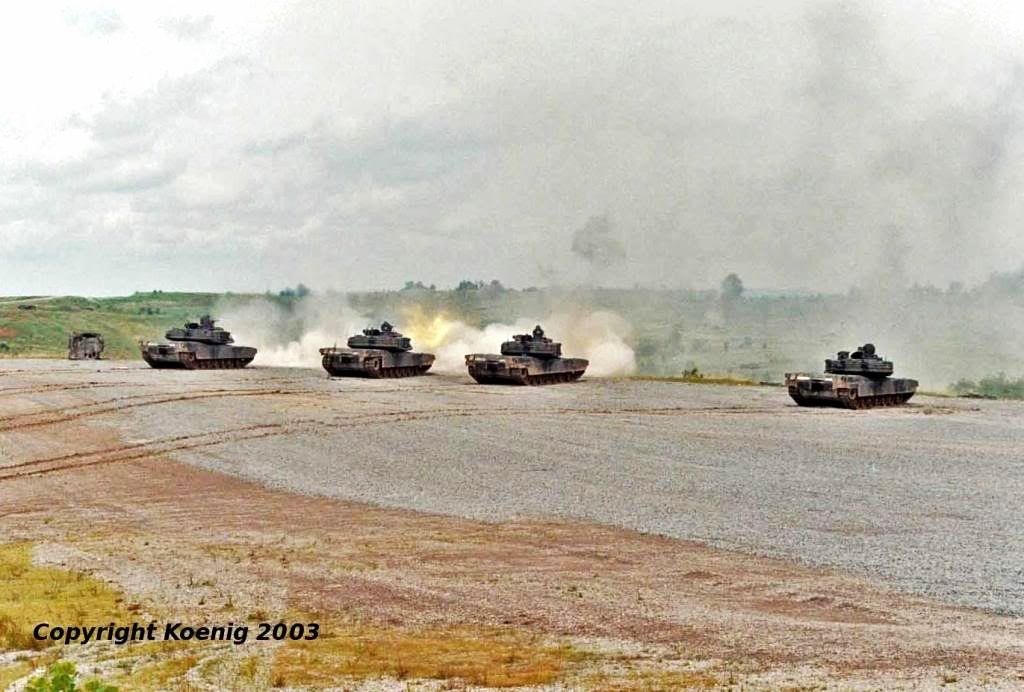
All three photos copyright Michael Koenig
#521
Kentucky, United States
Joined: April 13, 2011
KitMaker: 9,465 posts
Armorama: 8,695 posts
Posted: Monday, August 03, 2015 - 06:01 AM UTC
Started today "distressing" the top deck of the trailer:


Borrowed a trick from my War Hammer modeling son; he uses a staining wash from Citadel (Games Workshop Ltd. UK) called "Shade Nuln Oil". So after a base coat of basic OD I went over the decking with this shading oil. Weathering pastels to follow.

I was looking for a serious "lamp black" style stain and I think I found it in this Nuln Oil.
#521
Kentucky, United States
Joined: April 13, 2011
KitMaker: 9,465 posts
Armorama: 8,695 posts
Posted: Monday, August 03, 2015 - 09:30 AM UTC
#521
Kentucky, United States
Joined: April 13, 2011
KitMaker: 9,465 posts
Armorama: 8,695 posts
Posted: Monday, August 03, 2015 - 09:32 AM UTC
A couple of additional set-ups.


#521
Kentucky, United States
Joined: April 13, 2011
KitMaker: 9,465 posts
Armorama: 8,695 posts
Posted: Tuesday, August 04, 2015 - 02:49 AM UTC
#521
Kentucky, United States
Joined: April 13, 2011
KitMaker: 9,465 posts
Armorama: 8,695 posts
Posted: Tuesday, August 04, 2015 - 02:50 AM UTC
#521
Kentucky, United States
Joined: April 13, 2011
KitMaker: 9,465 posts
Armorama: 8,695 posts
Posted: Friday, August 07, 2015 - 03:09 AM UTC
Just for scale and also to feed the imagination; here is the frame, radiator, engine, transmission and final drive from the Mirror Model's Cat Dozer that will ride this trailer in the coming months. including the blade in the photo with the chassis gives us an even better feel for just how large the Mirror Bulldozer really is and how it will fill out the 20 ton flat bed.

#521
Kentucky, United States
Joined: April 13, 2011
KitMaker: 9,465 posts
Armorama: 8,695 posts
Posted: Tuesday, August 11, 2015 - 07:31 PM UTC
#521
Kentucky, United States
Joined: April 13, 2011
KitMaker: 9,465 posts
Armorama: 8,695 posts
Posted: Thursday, August 27, 2015 - 12:37 PM UTC
Been spending a lot of time focused on this Caterpillar D7 bulldozer not to mention the 20 ton low bed trailer.

The White tractor has not been getting much attention of late.
#521
Kentucky, United States
Joined: April 13, 2011
KitMaker: 9,465 posts
Armorama: 8,695 posts
Posted: Tuesday, September 01, 2015 - 03:26 AM UTC
Keeping the hope alive that I will make it with all three pieces to the Dayton Show on 9/19!

Don't know what competition class to put this rig into??? The tractor by itself could go in the "Scratch Build & Conversions" class. The trailer and the Bulldozer are more or less "Out of the Box" soft skins with many, many extra details added.


