CMOT
 Editor-in-Chief
England - South West, United Kingdom
Joined: May 14, 2006
KitMaker: 10,954 posts
Armorama: 8,571 posts
Posted: Sunday, July 12, 2015 - 01:18 PM UTC
George Bacon shares with us images of his 1/35th scale Flammpanzer I at Tobruk in 1941. This is modelled using the old HPM kit with some of the Eduard photo etch made for that kit.
Link to Item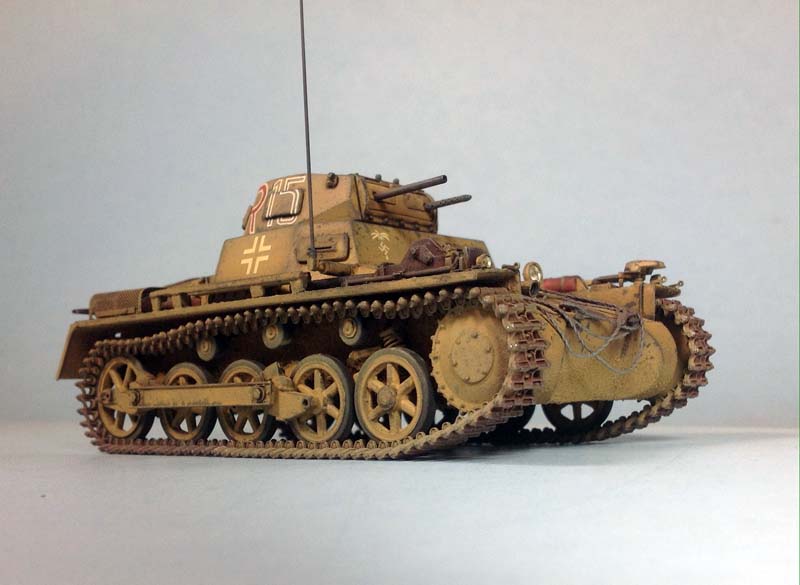
If you have comments or questions please post them here.
Thanks!
Noord-Holland, Netherlands
Joined: October 10, 2010
KitMaker: 764 posts
Armorama: 742 posts
Posted: Sunday, July 12, 2015 - 03:52 PM UTC

#523
Idaho, United States
Joined: February 28, 2014
KitMaker: 342 posts
Armorama: 41 posts
Posted: Sunday, July 12, 2015 - 09:14 PM UTC
Nicely done George, good to see another Mad dog on here............
Texas, United States
Joined: April 07, 2009
KitMaker: 1,063 posts
Armorama: 1,049 posts
Posted: Monday, July 13, 2015 - 12:13 AM UTC
Very nicely done!! How did you manage to get the decals to sit so well over the hatches?? The weathering looks great!
Even my pick-up is panzer grey.
#041
Kobenhavn, Denmark
Joined: July 20, 2006
KitMaker: 10,069 posts
Armorama: 4,677 posts
Posted: Monday, July 13, 2015 - 02:25 PM UTC
Beautiful build and excellent desert weathering!
Campaign'oholic - 252+ campaigns completed
Washington, United States
Joined: February 19, 2005
KitMaker: 5 posts
Armorama: 5 posts
Posted: Tuesday, July 14, 2015 - 01:22 AM UTC
Thanks everybody! They need a "Like" button

Washington, United States
Joined: February 19, 2005
KitMaker: 5 posts
Armorama: 5 posts
Posted: Tuesday, July 14, 2015 - 01:30 AM UTC
Obg153, the decals were hit with Microsol, which settled them down pretty well. After that dried, a little slicing along the seams with a sharp blade and another application of Microsol finished the job.


