_GOTOBOTTOM
Armor/AFV: Axis - WWII
Armor and ground forces of the Axis forces during World War II.
Hosted by Darren Baker
Opel Blitz 4x4, KernKit, 1:48 - review build
Mecenas
Joined: December 23, 2007
KitMaker: 1,596 posts
Armorama: 165 posts
Posted: Monday, July 13, 2015 - 12:40 AM UTC
Hi All!
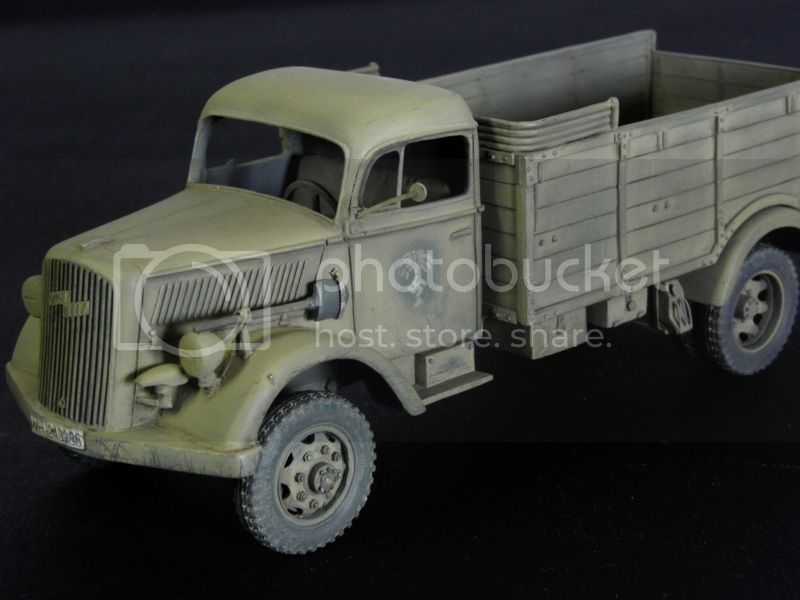
In this thread I'm going to present a build review of the KernKit 1:48 scale Opel Blitz 4x4 with Africa Plate. The kit was kindly supplied to Armorama by the producer. It was already presented and reviewed by Jim Starkweather in his video review so I will focus on the assembly and finishing.

Here's the box:


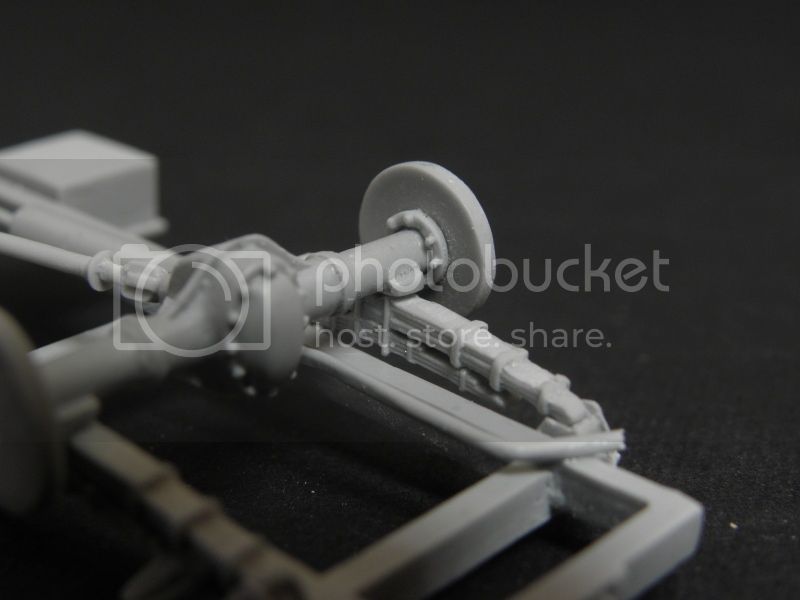
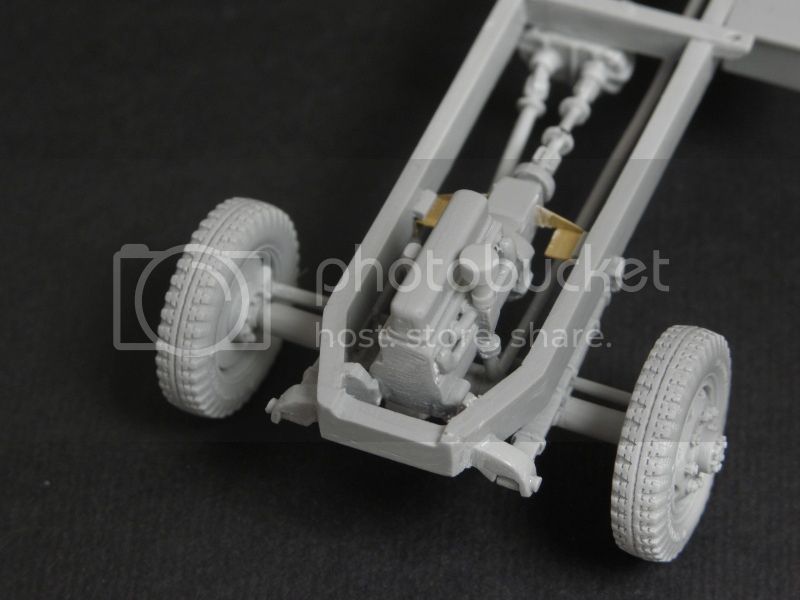
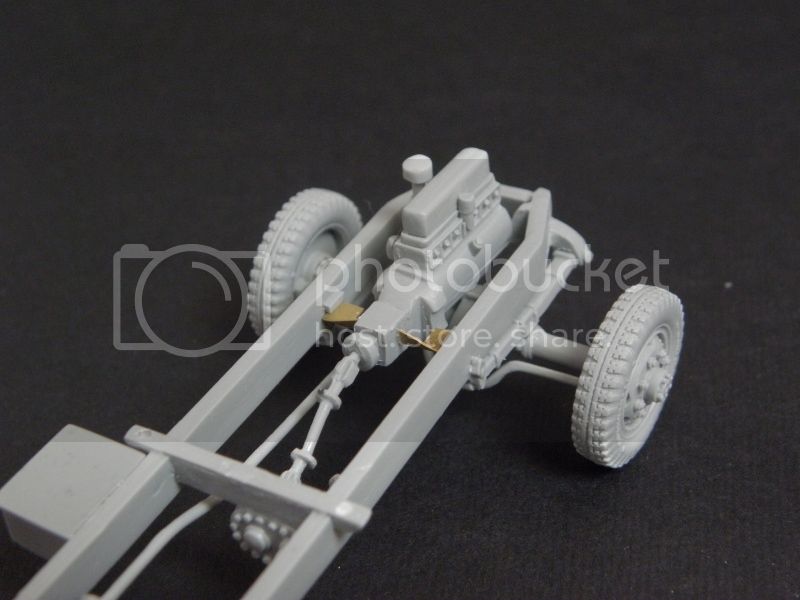
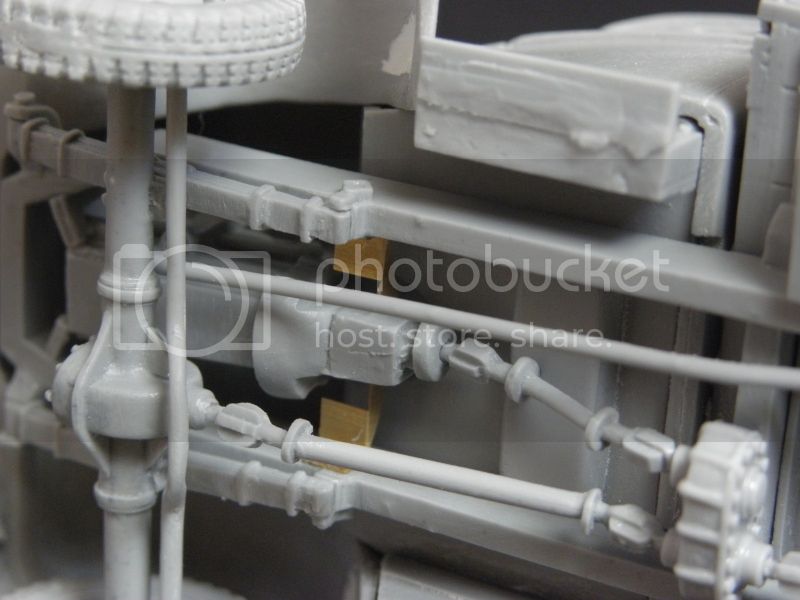
And here's what I have done so far. It's not much, I know. Most of the time I spent on the kit was separating the parts from the casting blocks. What's really good advantage of the kit is that the parts don't need much cleaning. Of course some carefull treatment with small files and sanding papers will be neccessary but this is quite natural for resin kits, at least from my point of view.


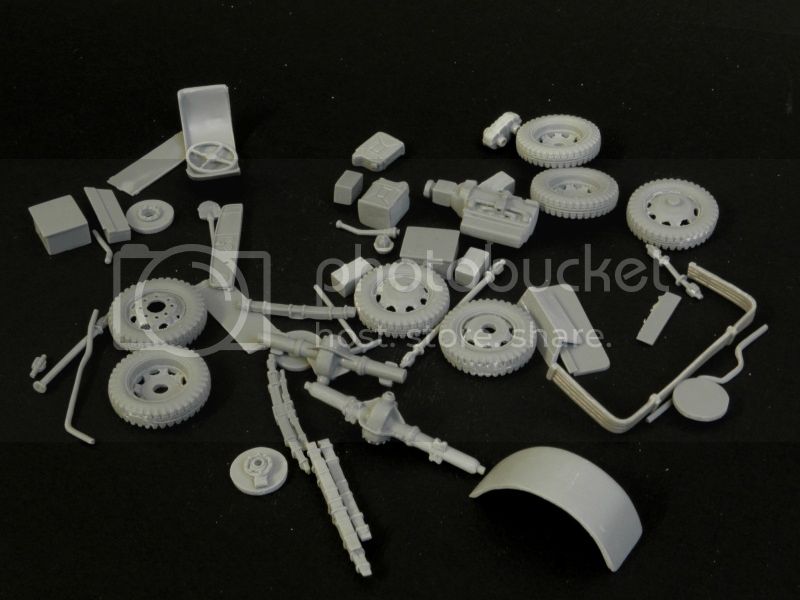
I left the smallest parts on the blocks as they can be easiely lost.


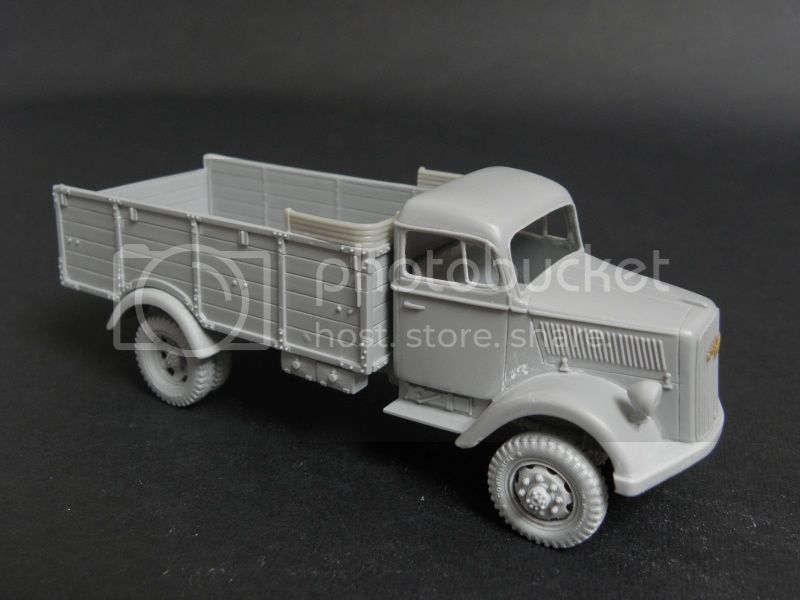
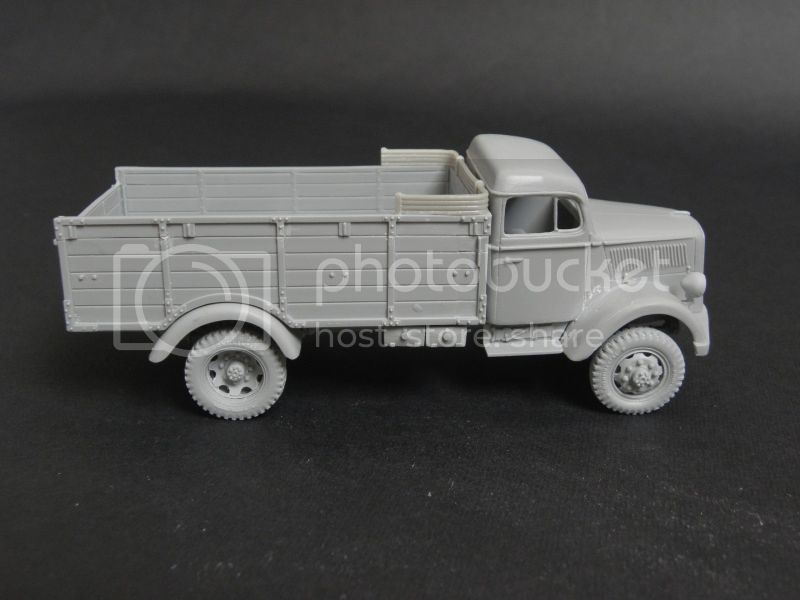
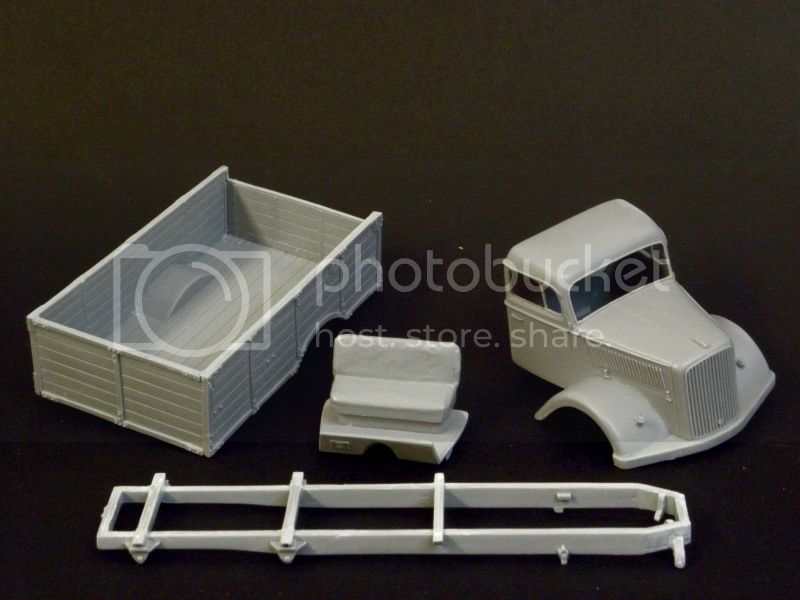
Driver cab and engine hood is a single part. It looks really good however on the bottom we have few places which are a bit dissapointment and will need some sanding and careful "chopping" with a scalpel.


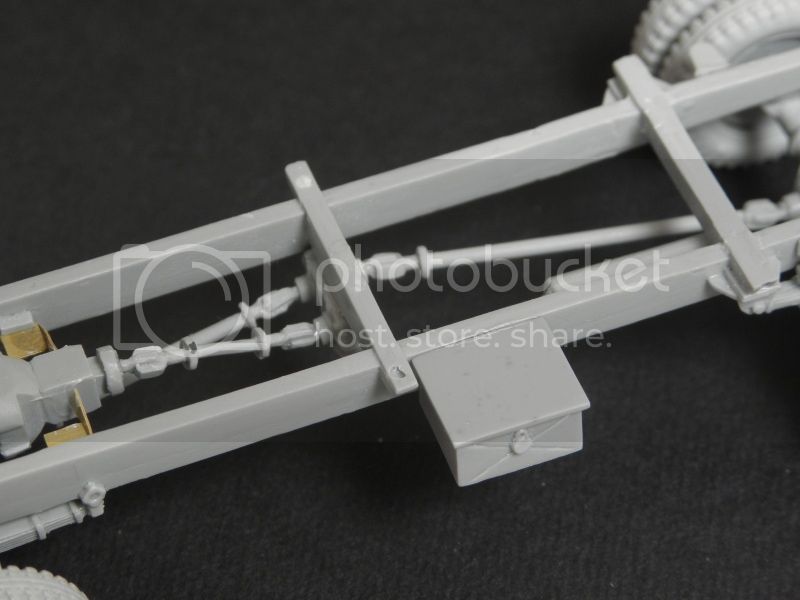
General fit of the major part is more than good. I don't expect any unpleasant surprises.

Many thanks for visiting this thread. In the next update I hope to present some more progress and build up few parts.

I'm still a newbie in the "vehicles branch" so if you'll have any ideas or improvements I should do please don't hasitate to share.
Mecenas
Joined: December 23, 2007
KitMaker: 1,596 posts
Armorama: 165 posts
Posted: Thursday, July 30, 2015 - 10:09 AM UTC
Hi!
I'm on the road again. In this post I'd like to show you a bit of work with the chassis. It's assembly is child easy however you will need to pay a lot of attention while cleaning the parts from their casting blocks and do a lot of carefull fitting.

Here's the rear wheel transmission glued to the spring. Don't haste at this point and fit parts carefull as any error will result in the "warped" shape of the finished model - your Blitz will be standing just on three wheels. I will have to rework this point a bit.


And here's the front drive axle and the same problem.


When working on the driving mechanism I advice to rework the engine mounting, especially the front "base" casted in resin. It's simply crooked so you will have a chance to practice your sculpting skills. It shouldn't be difficult. Another step which is worth attention is attachment point of the PE frets. It would be best if you could attach the engine block as low as possible. In my configuration it is placed a bit too high and makes a resting base for the driver cab floor and an obvious result of it is a wraped cab.


Bodeen
#026
Visit this Community
Pennsylvania, United States
Joined: June 08, 2002
KitMaker: 1,744 posts
Armorama: 1,359 posts
Posted: Thursday, July 30, 2015 - 12:38 PM UTC
Very nice build so far. I don't build many 1/48 scale, or resin, kits but I am interested in this one. It looks like the parts are well molded. Resin scares me a little bit. I'm much more comfortable with styrene plastic.

I will be following your build.

Jeff
Mecenas
Joined: December 23, 2007
KitMaker: 1,596 posts
Armorama: 165 posts
Posted: Friday, August 14, 2015 - 05:29 PM UTC
Not much progress today. I'd just like you to ask you for paying some attention while assembling the exhaust pipe. I'm affraid it's a bit too short behind the muffler. Picture below shows how it fits together straight from the box. It takes just 10 minutes to solve the problem by adding a piece of syrigne needle, just cutted more-less to the needed lenght.


And the cargo platform mostly assembled.


In the next update I'll try to show you how the model looks with all the major parts assembled.
Mecenas
Joined: December 23, 2007
KitMaker: 1,596 posts
Armorama: 165 posts
Posted: Thursday, August 27, 2015 - 01:39 AM UTC
Hi All!
Summer holiday is not the best time for modelling as there too many other funny activities, of which the most time consuming is drinking cold beer However I struggled with myself and got some time at the workbench. The progress is not outstanding but it's still better than none.

The model is more-less assembled using the main parts. Wheels, driver cab and cargo platform are glued to the frame and chassis using patafix and tiny ammounts of glue so forgive me please that not everything is straight.


Mecenas
Joined: December 23, 2007
KitMaker: 1,596 posts
Armorama: 165 posts
Posted: Monday, November 30, 2015 - 01:01 AM UTC
Hi!
I'm very sorry for not posting regularly. The kit occured to be much more problematic than I would ever expect at the first steps. Anyway it's already finished. Thank God it wasn't only the rought play but there were also many good and pleasant moments of building. I'll describe them all in a build feature.

In the meantime just three pics of the final result of my efforts.


 _GOTOTOP