_GOTOBOTTOM
Constructive Feedback
For in-progress or completed build photos. Give and get contructive feedback!
Whippet Mk A "Musical Box"
geogeezer
Visit this Community
Arizona, United States
Joined: February 17, 2011
KitMaker: 263 posts
Armorama: 258 posts
Posted: Tuesday, August 04, 2015 - 04:08 AM UTC
Hi All,

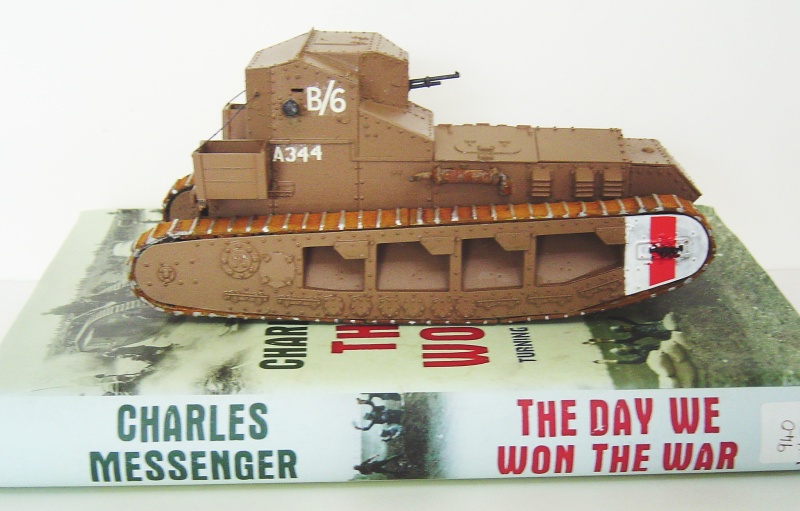
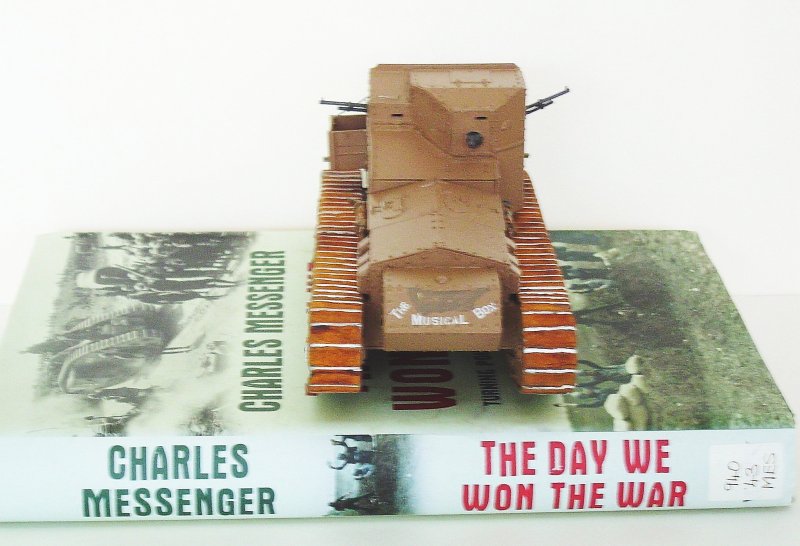
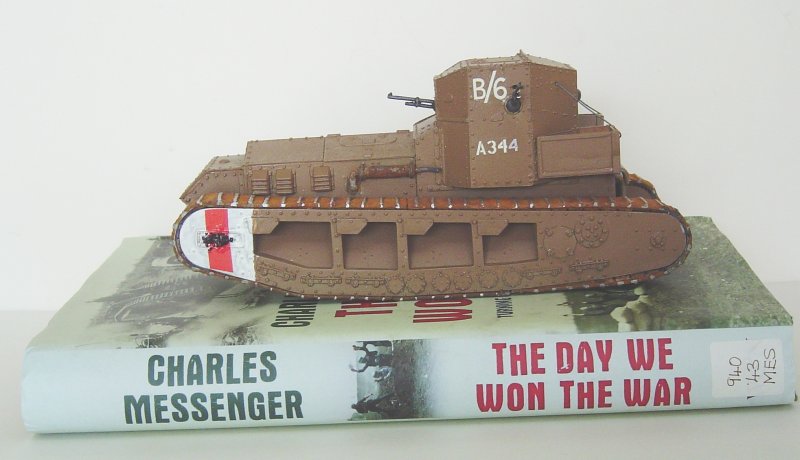
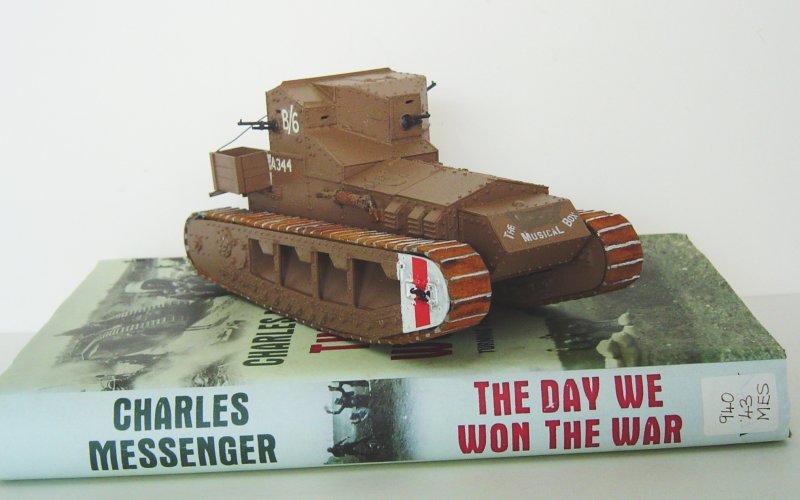
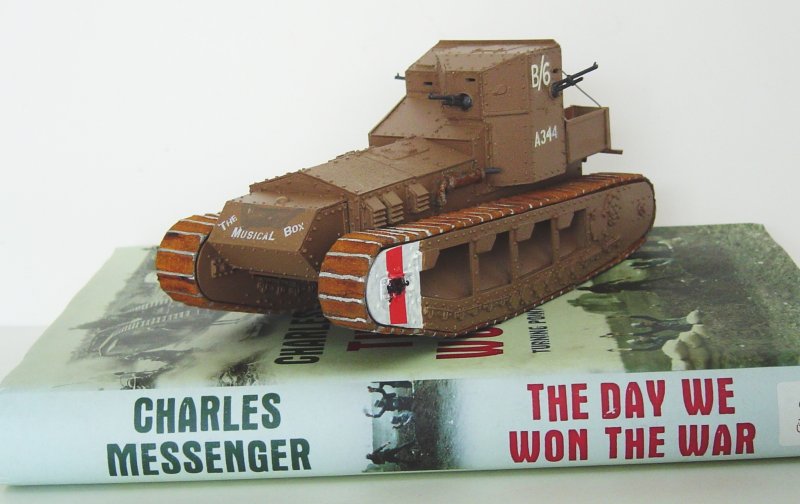
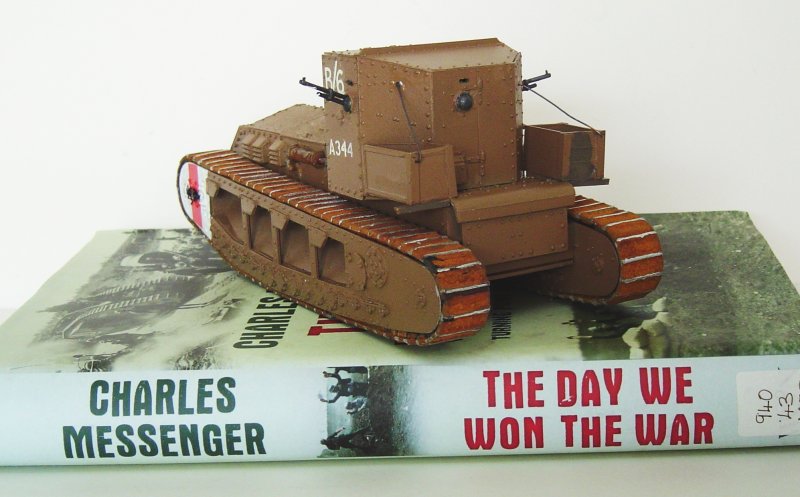
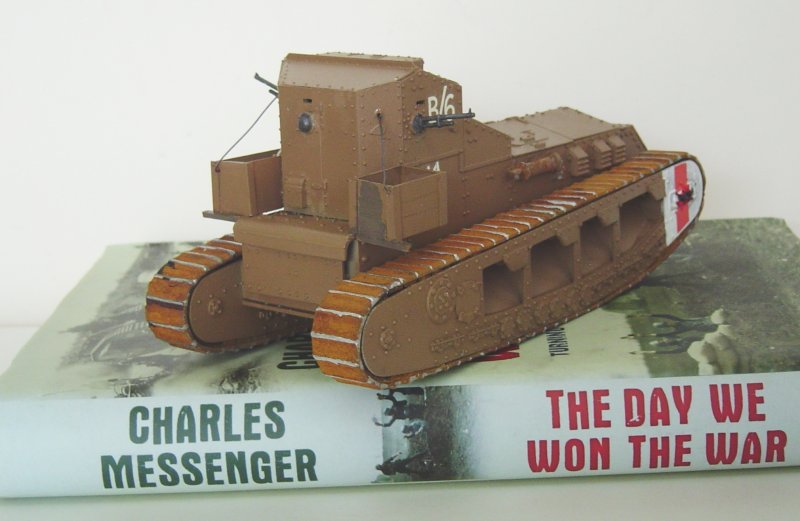
It's been a while since I've posted anything as I was hoping to enter this Whippet in another Great War campaign. Since nothing has appeared on the horizon, I've decided to go ahead and post it here. For those unfamiliar with the feats of Musical Box and her valiant crew, it was the most outstanding action by a single tank in WW I, taking out a four gun artillery battery and then roaming behind German lines for about eight hours, in the process shooting up motor transport, a rear area encampment, a train, and an observation balloon.

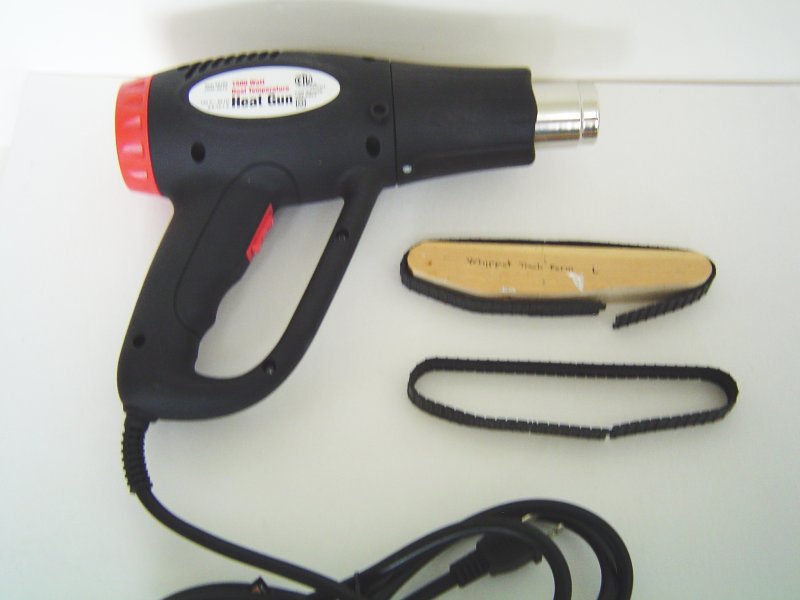
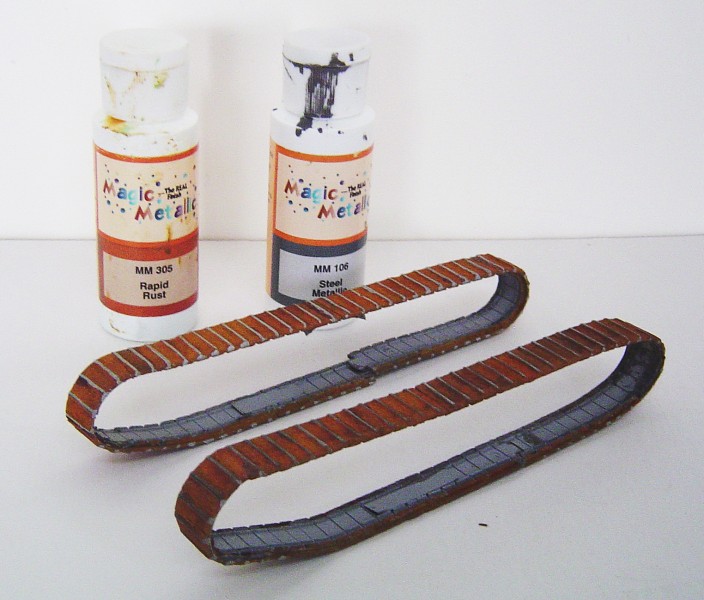
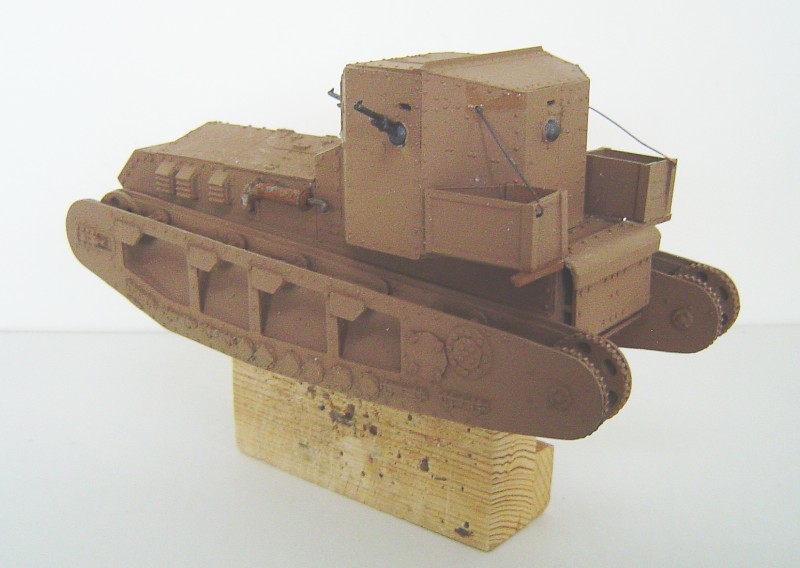
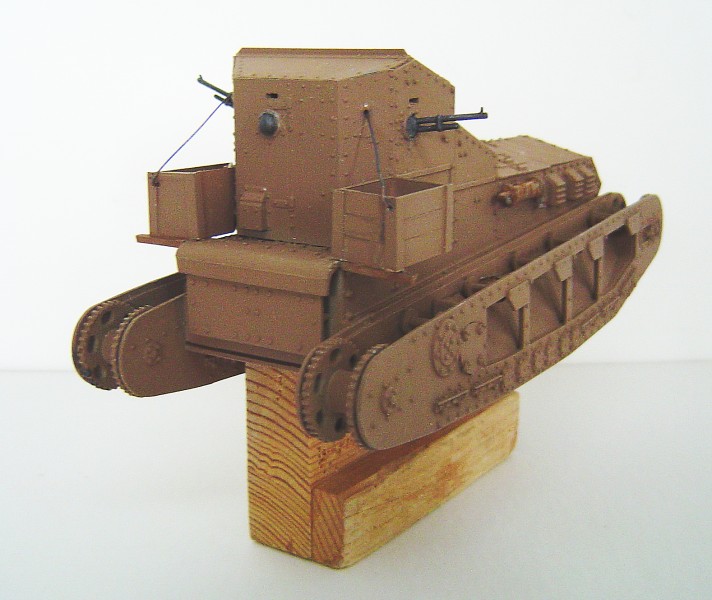
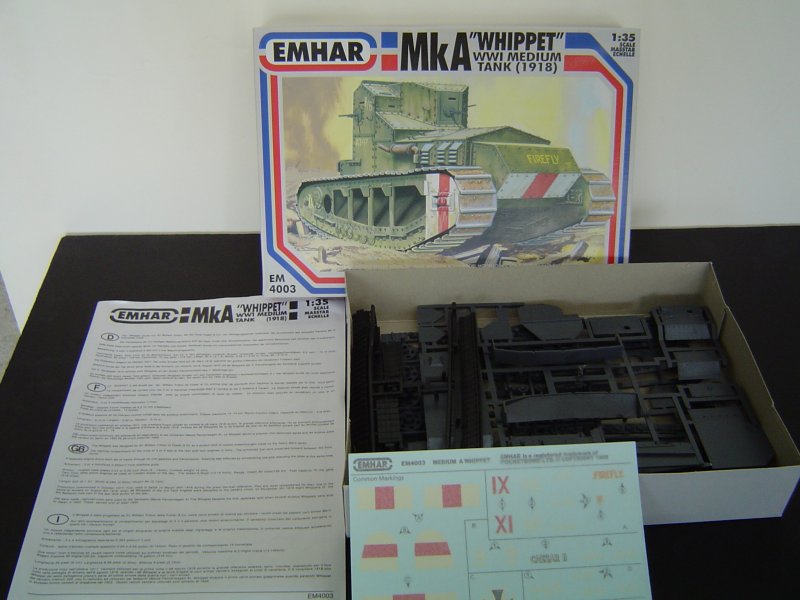
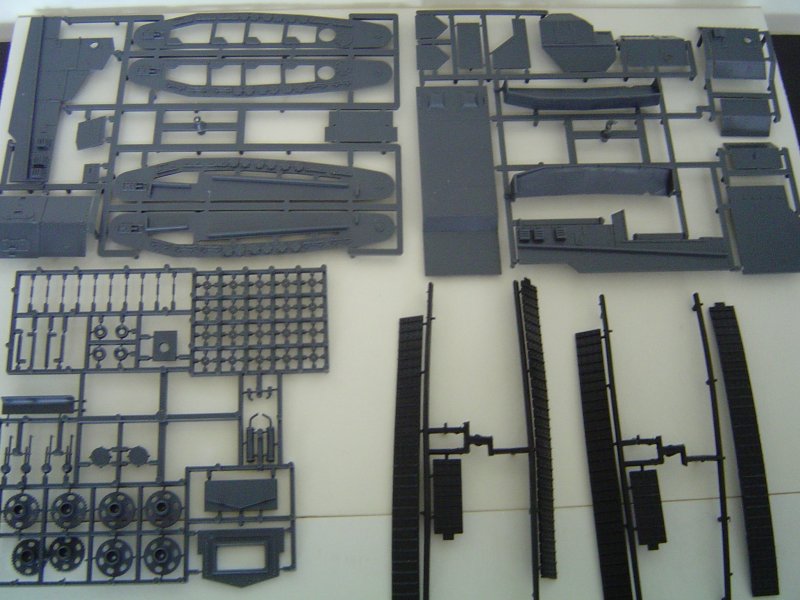
The kit is the well known Whippet Mk A from Emhar, not a bad kit overall except for the dreadful tracks. I have a few ideas on improving those, and failing that, scratch build some replacements.

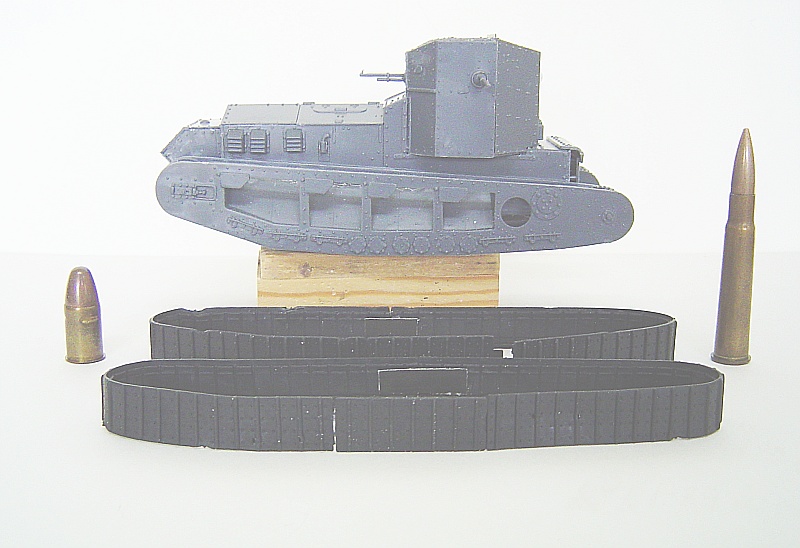
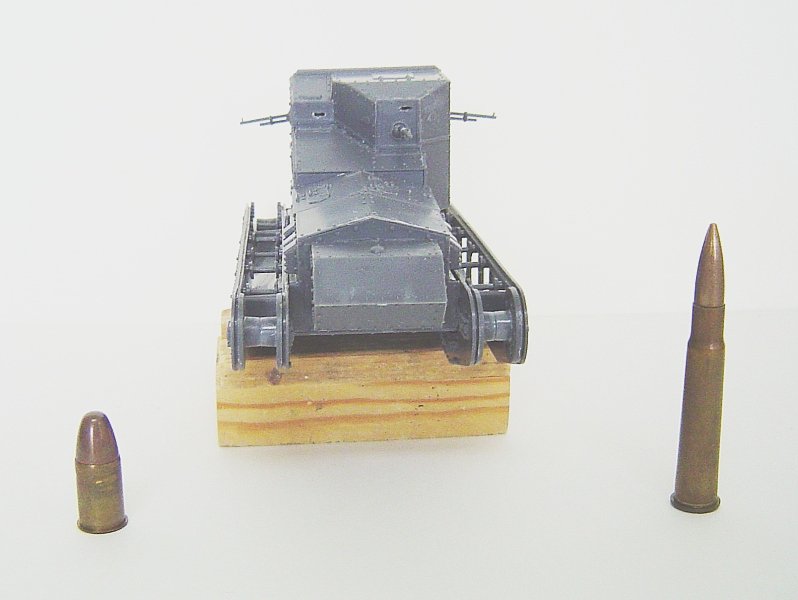
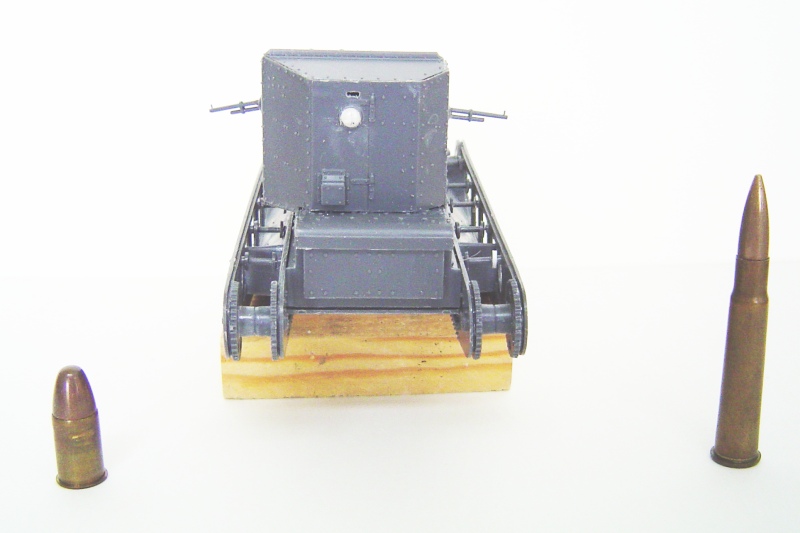
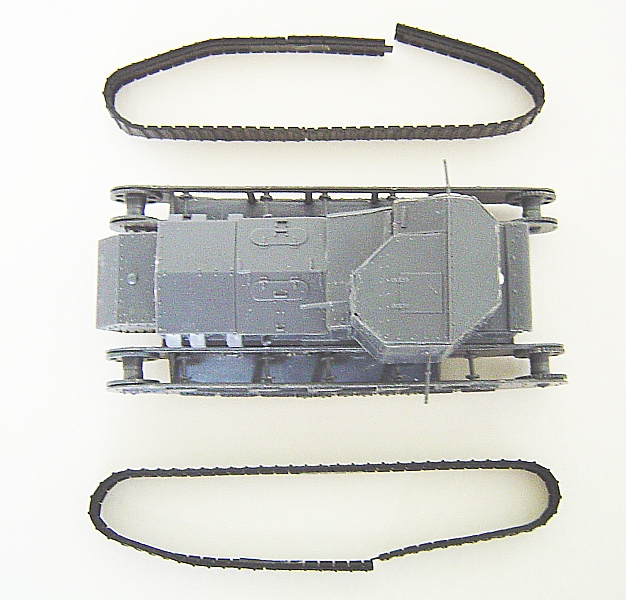
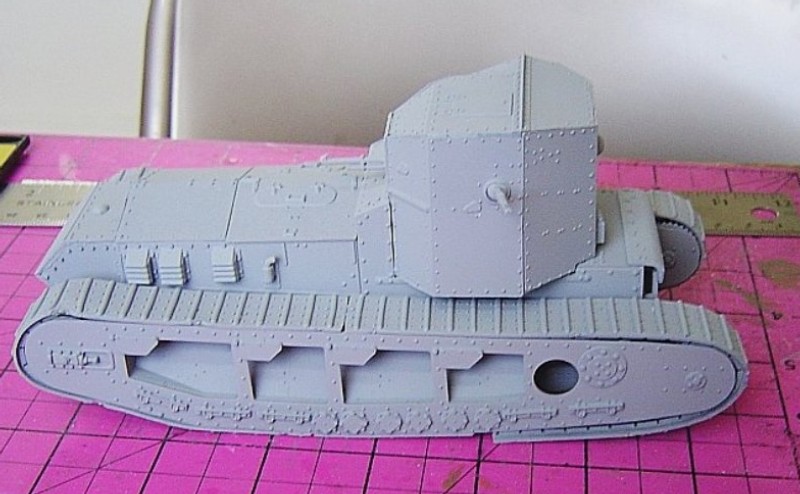
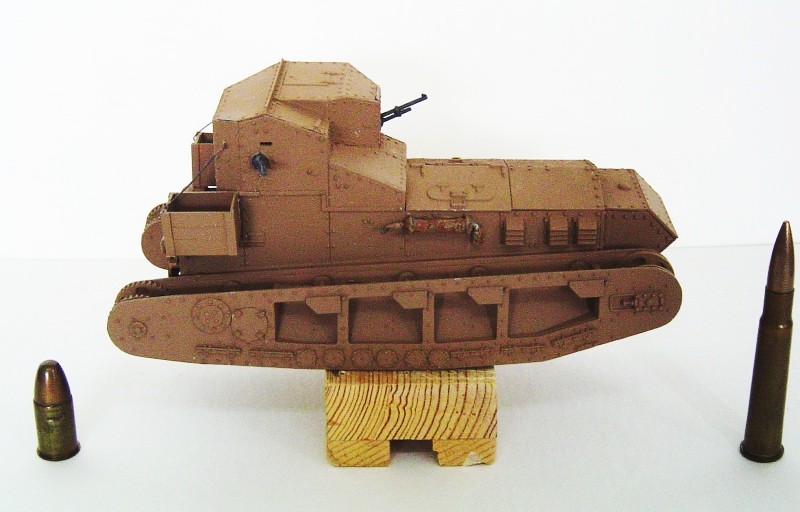
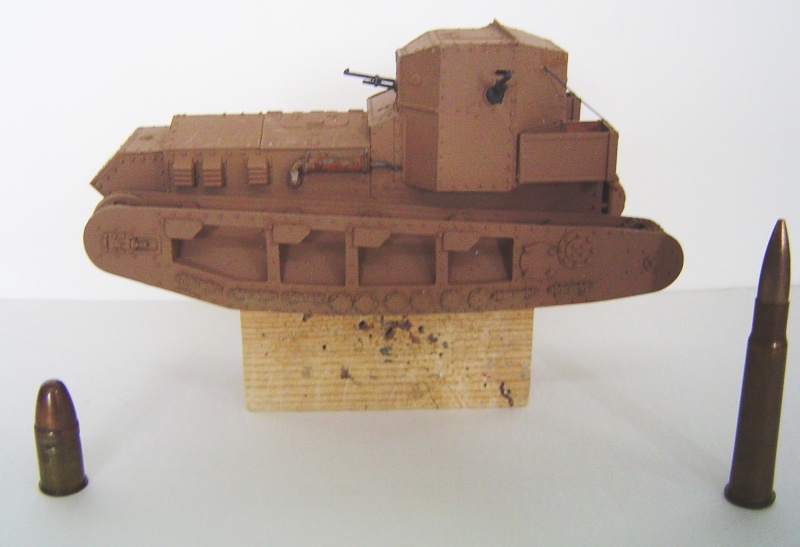
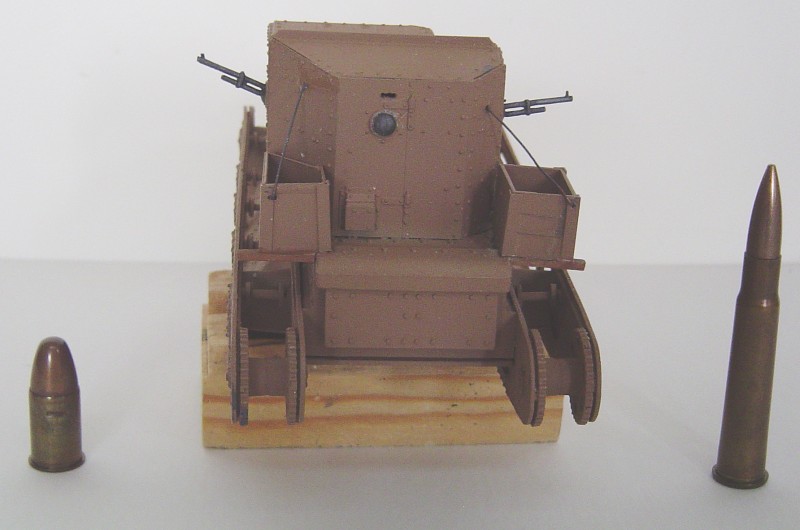
The photos below show the start of the build. The plastic is quite thick, but little cleanup was required. I did have to drill out the vision slits for the driver and gun positions, and had to add one above the left side gun mount which for some reason was left out, although it is obvious in photos of actual Whippet tanks.


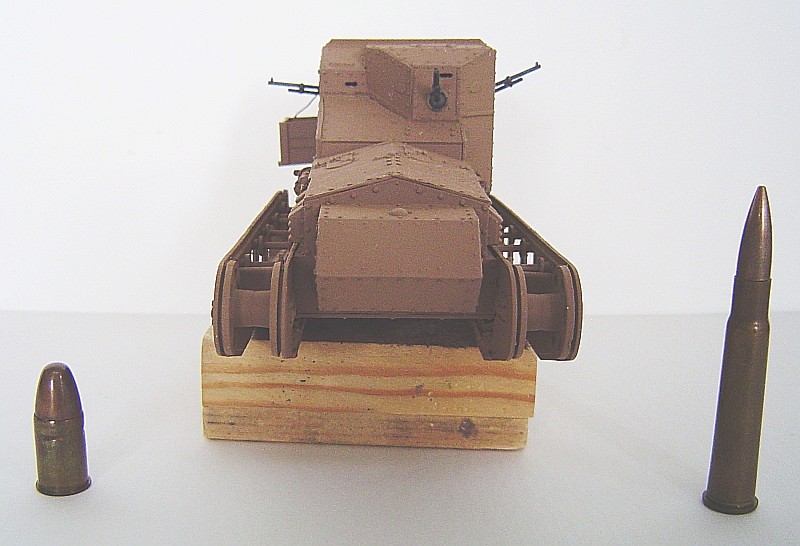
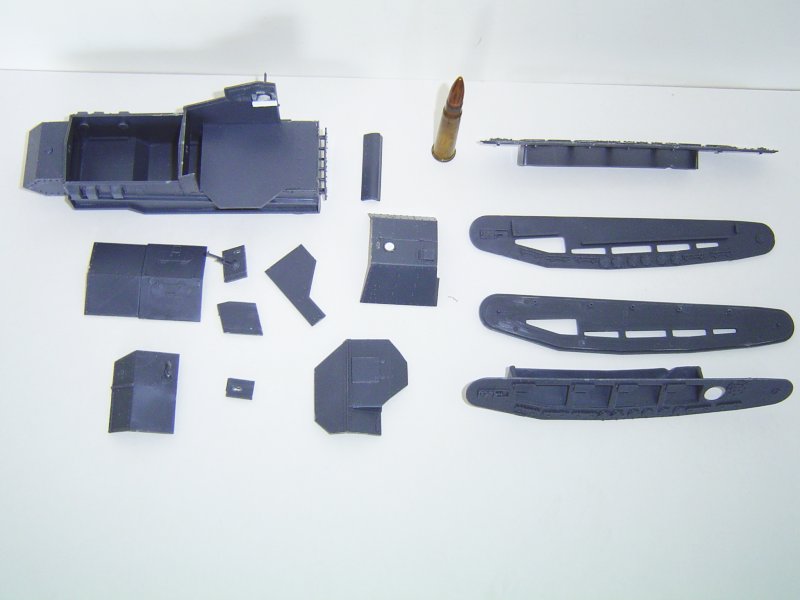
I put the .303 cartridge in the following photos for scale. It's the same round that was used in Musical Box's .303 Hotchkiss machine guns, although this particular cartridge is of WWII vintage.


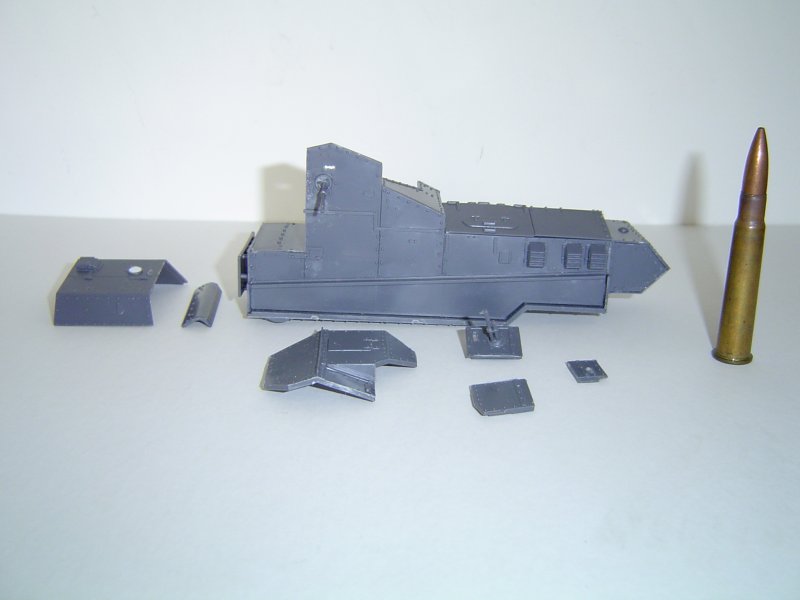
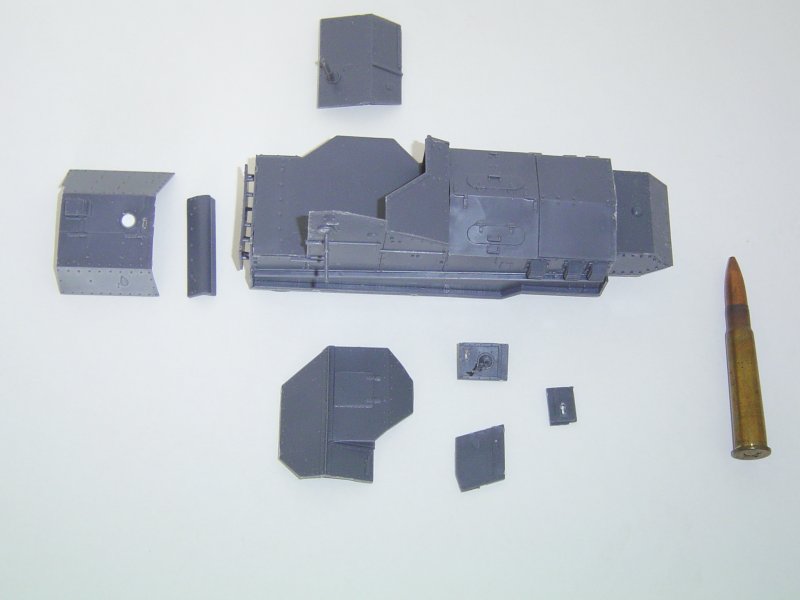
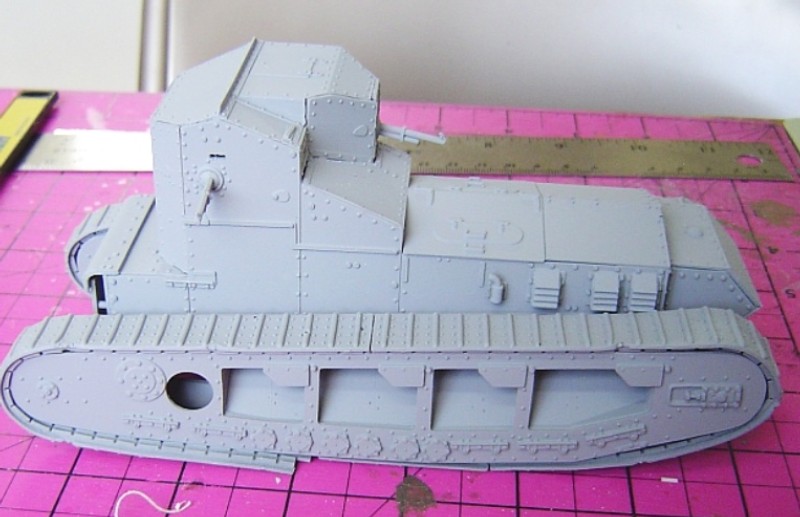
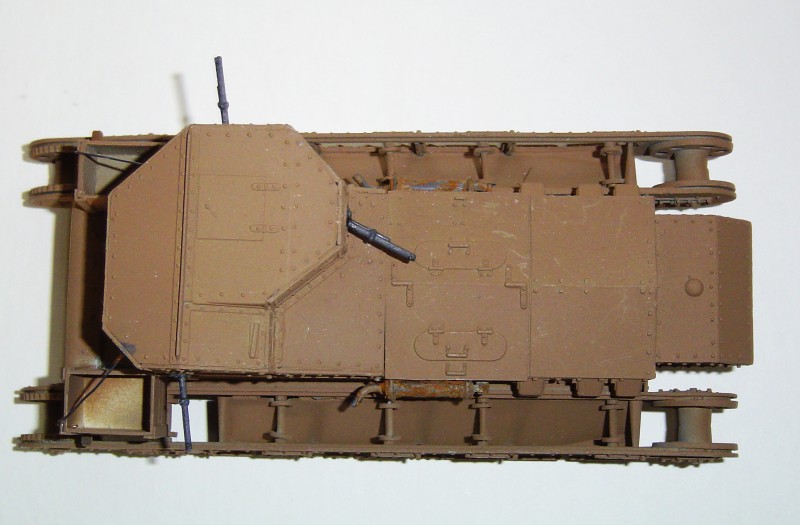
The machine guns have to be installed before the cab is closed up, and it is very difficult to cement the rings holding the ball mounts in place without getting glue on the ball and immobilizing the gun. My first attempt resulted in a frozen ball, but I managed to pry it loose, and then resorted to cementing bits of plastic strip on either side of the ball retaining ring and avoided getting glue on the ring itself. That solved the problem.
More to follow soon.

Cheers

Dick
paulo
Visit this Community
Wales, United Kingdom
Joined: January 02, 2006
KitMaker: 72 posts
Armorama: 66 posts
Posted: Tuesday, August 04, 2015 - 01:02 PM UTC
Looking forward to this! I agree that the Emhar kits are not too bad but those tracks????? I'll be interested to learn how you tackle them! Good luck, Paul
geogeezer
Visit this Community
Arizona, United States
Joined: February 17, 2011
KitMaker: 263 posts
Armorama: 258 posts
Posted: Wednesday, August 05, 2015 - 09:58 AM UTC
Hi All,

An update on the Musical Box build. The cartridges in the photos are for scale. The one on the left is for the .455 Webley revolver Lieutenant Arnold, Musical Box's commander would have carried. The round on the right is a .303 ball cartridge of the type used in the tank's Hotchkiss machine guns. That particular round was manufactured during WWI. A Whippet's normal combat ammo load was 5,400 rounds, stowed in flat six-compartment metal trays, each compartment holding a coiled 50-round belt. Hotchkiss belts consisted of a series of three-round metal strips linked together, very unlike the canvas belts used in Vickers machine guns or the disintegrating link belts of modern machine guns.

Left side view of assembled hull with the tracks in the foreground.


Front view of assembled hull.


Right side view of assembled hull.


Rear view of assembled hull with the machine gun in the door removed.


Heat gun and wooden mandrel used to shape Musical Box's tracks.


I traced the outline of the track sponson onto a block of scrap one-inch pine, cut it out with a scroll saw, then sanded it smooth. The track was then wrapped around the mandrel with the ends secured with a staple. With the heat gun set on low, I gently heated the plastic until it conformed to the shape of the mandrel. CAUTION! If anyone wishes to try this technique, great care must be taken or the plastic will melt. Practice on a piece of the track sprue to determine the proper distance (with my heat gun, about 3 inches or 8 cm is about right) and keep the gun moving at all times.

Top view of assembled hull and the reformed tracks.


Priming of the hull and rusting of the tracks comes next.

Cheers

Dick


geogeezer
Visit this Community
Arizona, United States
Joined: February 17, 2011
KitMaker: 263 posts
Armorama: 258 posts
Posted: Friday, August 07, 2015 - 09:56 AM UTC
Hi all

A brief update on the Musical Box build showing what it looks like after priming. I find that a light coat of gray Rust-Oleum metal primer from a spray can works very well.


The tracks are loose-fitted so they can be removed for final painting.

More to come soon.

Cheers

Dick


DaGreatQueeg
Visit this Community
Napier, New Zealand
Joined: August 01, 2005
KitMaker: 1,049 posts
Armorama: 841 posts
Posted: Friday, August 07, 2015 - 10:35 AM UTC
Nice job on forming the tracks ..... !!!
geogeezer
Visit this Community
Arizona, United States
Joined: February 17, 2011
KitMaker: 263 posts
Armorama: 258 posts
Posted: Friday, August 07, 2015 - 11:49 AM UTC
Hi Brent - thanks for looking in.

On the subject of Musical Box's tracks, this is what they look like after rusting.


Although one track appears darker than the other, when mounted on the tank, they don't look much different.

To rust the tracks I use a product from Magic Metallic which I heard about several years ago from someone on Armorama who reported using it and decided to try it. Simple to use and works very well. I got it at a place which deals in supplies for potters and people who decorate ceramics.
I usually brush on two base coats of metallic steel and let them dry, then put on a third coat of steel, and while it is still wet, brush on Rapid Rust. That starts the oxidation process, which is indeed quite rapid.
Incidentally, the metallic steel really is powdered iron or steel, and once it dries, the plastic tracks are quite magnetic.
The raised cleats on the tracks were done with a Craftsmart fine line silver paint pen after letting the rusting process sit for a couple of days. The paint is acrylic and odorless.

Next up, a little scratch work and some tank brown paint.

Cheers

Dick
geogeezer
Visit this Community
Arizona, United States
Joined: February 17, 2011
KitMaker: 263 posts
Armorama: 258 posts
Posted: Saturday, August 08, 2015 - 08:42 AM UTC
Hi all

I'll start with a historical note. Today, 08 August, is the 97th anniversary of what some British historians call "The day we won the war." General Ludendorff said "8 August was the black day of the German Army in the history of the war. Both refer to the battle which began around 04:20, 08 August, 1918 at Amiens, and it was on this day that a certain Whippet Mk A tank called Musical Box became famous in the annals of the Tank Corps.

On to the update. I scratch-built two stowage bins for the back end of the tank, based on my best precision guesswork. I have many images of Whippet tanks with such bins, and my one reference photo for Musical Box, found in Charles Messinger's fine book, "The Day We Won the War," is of Musical Box at the place it was abandoned south of Vauvillers. The photo was taken August 09 after British troops advanced through the area. The soldiers on the ground around the tank are not Musical Box's crew. At the time, the tank was being used as a collection point for wounded,

According to Lieutenant Arnold's report, written after his return from a German POW camp, the crew had to abandon the tank after a German shell set fire to petrol leaking from bullet riddled gas cans carried on the roof of the tank. The driver, Private William Carnie was shot and killed, and Lieutenant Arnold and his gunner, Private Ribbins were beaten up and taken prisoner.

In the photo, the diagonal brace rod and metal frame of the left side stowage bin are still visible, and I'm assuming the rest of the bin, made of wood, was burned. The fire seems to have been confined to the rear of the tank, as there is no damage to the main fuel tank at the very front, and some of the painted letters of the tank's name are still legible.
There is also a bundle wrapped around the left side front track cover support arm, and I'm assuming that it is the canvas track cover, a further indication that the fire did not burn the front half of the tank. The right side track cover support is bare.

Musical Box now has a coat of what I hope is close to what some call "Tank Brown" paint. The paint used was Model Master 1942 Dark Tan and in my opinion, it looks about right.


Musical Box - Right side view.


Musical Box - Head on view.


Musical Box - Left side view.


Musical Box - Rear view.


Musical Box - Left rear quarter view.


Musical Box - Right rear quarter view.


Musical Box - View from above.


The stowage bins were made from Evergreen styrene sheet and angle strips. The brace rods are copper wire, anchored in holes drilled in the cab and the top outside corners of the bins.

Next up - Petrol cans on the roof, a coat of Future and some decals.

Cheers

Dick

geogeezer
Visit this Community
Arizona, United States
Joined: February 17, 2011
KitMaker: 263 posts
Armorama: 258 posts
Posted: Friday, August 14, 2015 - 08:28 AM UTC
Hi all

Since the last update the model has been given a coat of Future and decals have been added. I found that Emhar's decals are nearly as obstinate as their tracks and the ones intended for the forward ends of the track sponsons are about as flexible as saddle leather. I finally gave up and used white paint on the sponsons, then cut out the red stripes from the decals and applied them over the paint. After many coats of Micro-Sol, I managed to get them to conform to the surface.
No trouble at all with the numbers and such on the cab. Since Musical Box's number was A344, I used the kit's A347 decals and cut off the last digit, replacing it with the number 4 from the third decal. For the other side, I used a 4 from a set of number decals, although it is slightly smaller than the other numbers.
In the one photo I found of the original Musical Box, I could see it had its name painted across the bow front in a rather whimsical manner. My attempt to duplicate it was not a great success, as I had to use individual letters cut from a sheet and it was hard to get them lined up and properly spaced. I tried to add a treble clef symbol and some musical notes freehand and they looked awful, so I painted over them. I have some material on order, and when it arrives, I'll see if I can do better.
I also installed the tracks after splicing the ends together with two staples each. They went on without a problem and fit quite well, and they'll look better with a little dull coat and some dirt on them.


I fabricated some 2 gallon petrol cans to go on the roof, but I'm leaving those for last.
Next comes a bit of weathering plus some new decals (I hope.)

Cheers

Dick
Garioch
Visit this Community
United States
Joined: August 17, 2016
KitMaker: 1 posts
Armorama: 1 posts
Posted: Tuesday, August 16, 2016 - 08:51 PM UTC
Just came across this while doing a Google search. The driver of Musical Box, William Carnie was my Great Uncle.
 _GOTOTOP