M4A3 Sherman 105mm Howitzer
Puerto Rico
Joined: December 05, 2013
KitMaker: 314 posts
Armorama: 253 posts
Posted: Sunday, November 29, 2015 - 06:14 PM UTC
Hi Fellas:
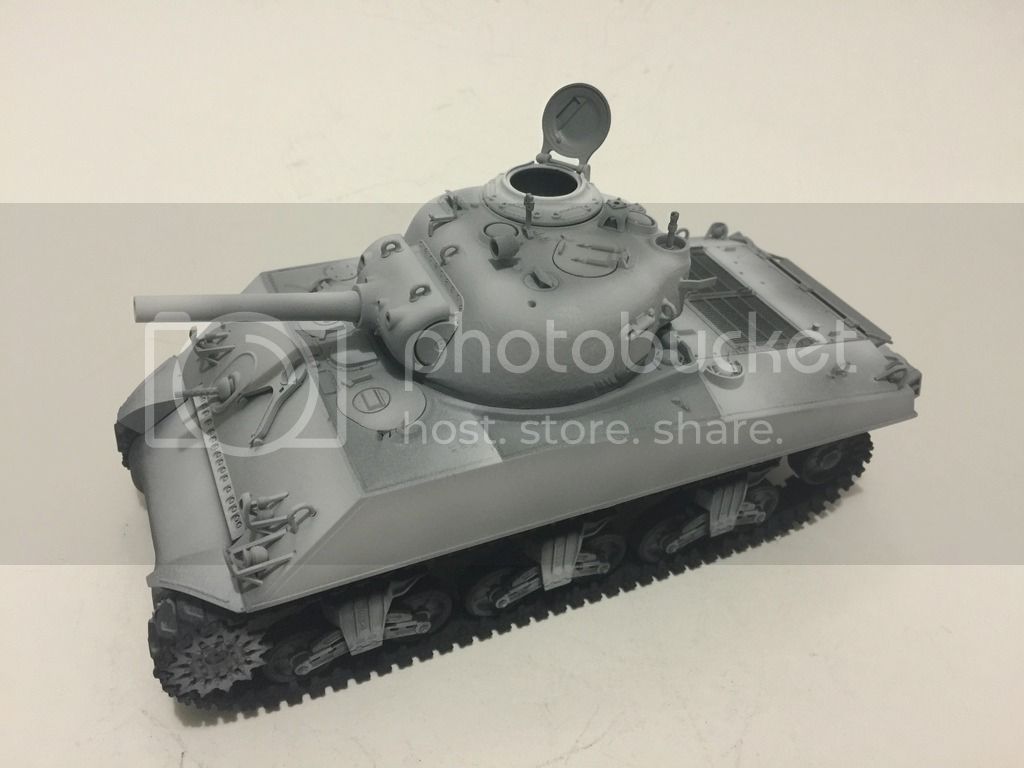
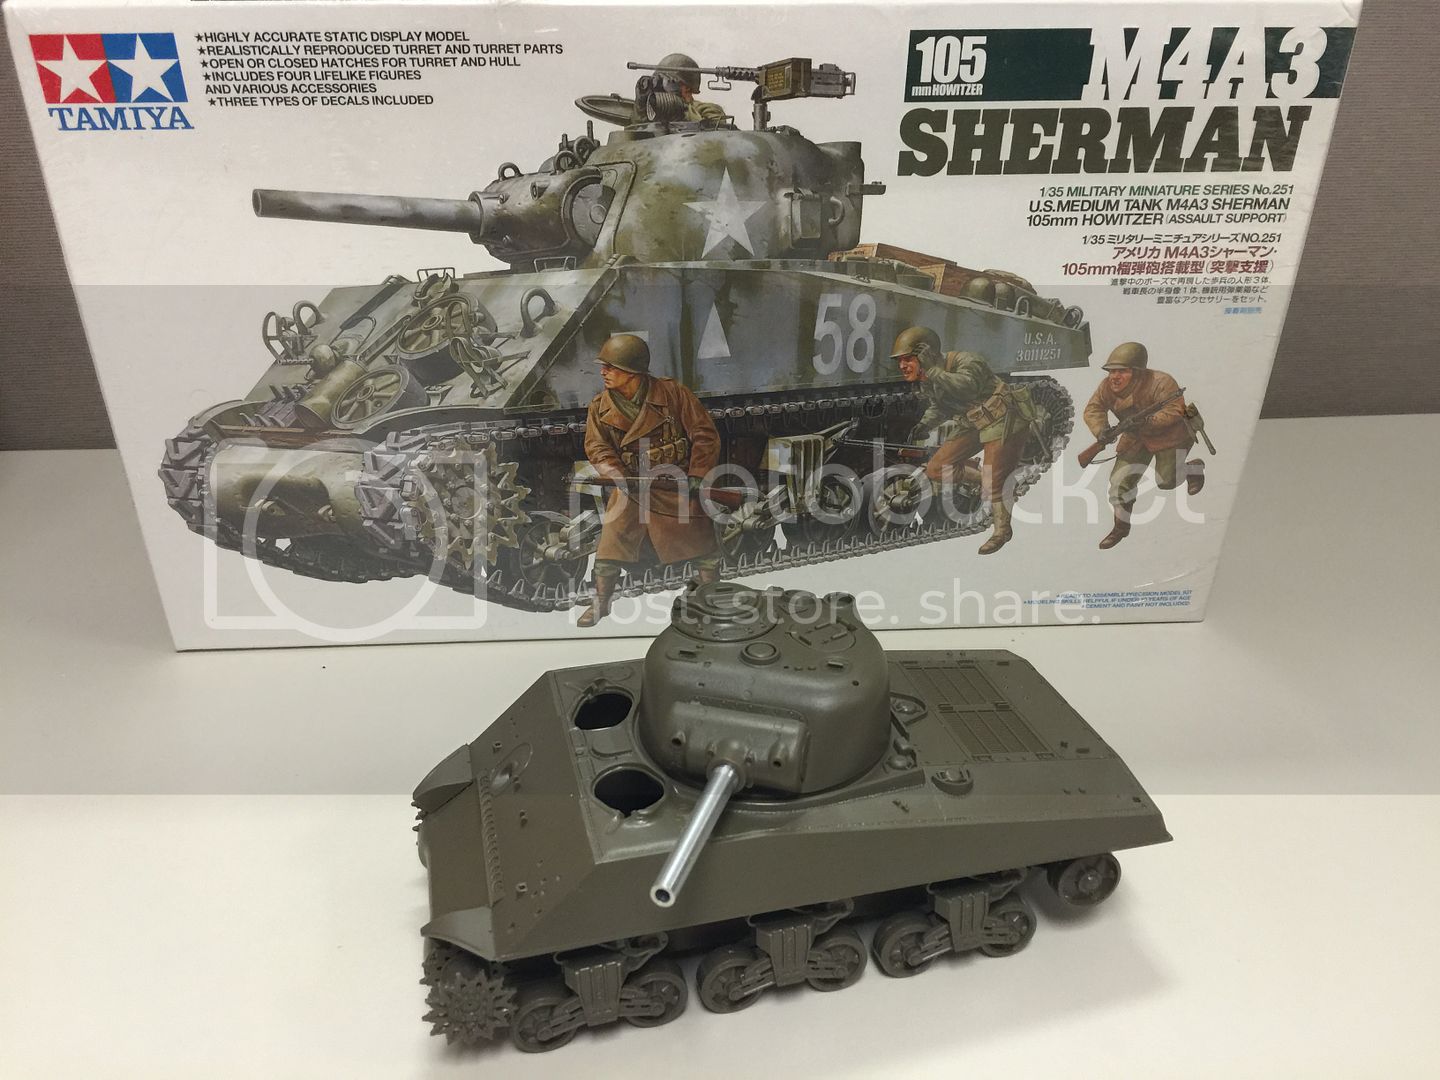
Almost December, weather is getting really cold, so lets make a weekend kit, like the Tamiya oooooooooold really old Sherman M4A3 105 mm Howitzer just for the fun of it.
Lot of stuff can be done to correct here and there, adding PE, changing wheels for AFV, and hull from Italeri, etc..but forget it, this is a build to have fun, so is going out of the box, except for the metal barrel of course.
Here was my start during the spare time in the week. The kit is done in a few hours.
Visit our site and learn more about our Club:
www.ipmsborinqueneers.com
Puerto Rico
Joined: December 05, 2013
KitMaker: 314 posts
Armorama: 253 posts
Posted: Sunday, November 29, 2015 - 06:21 PM UTC
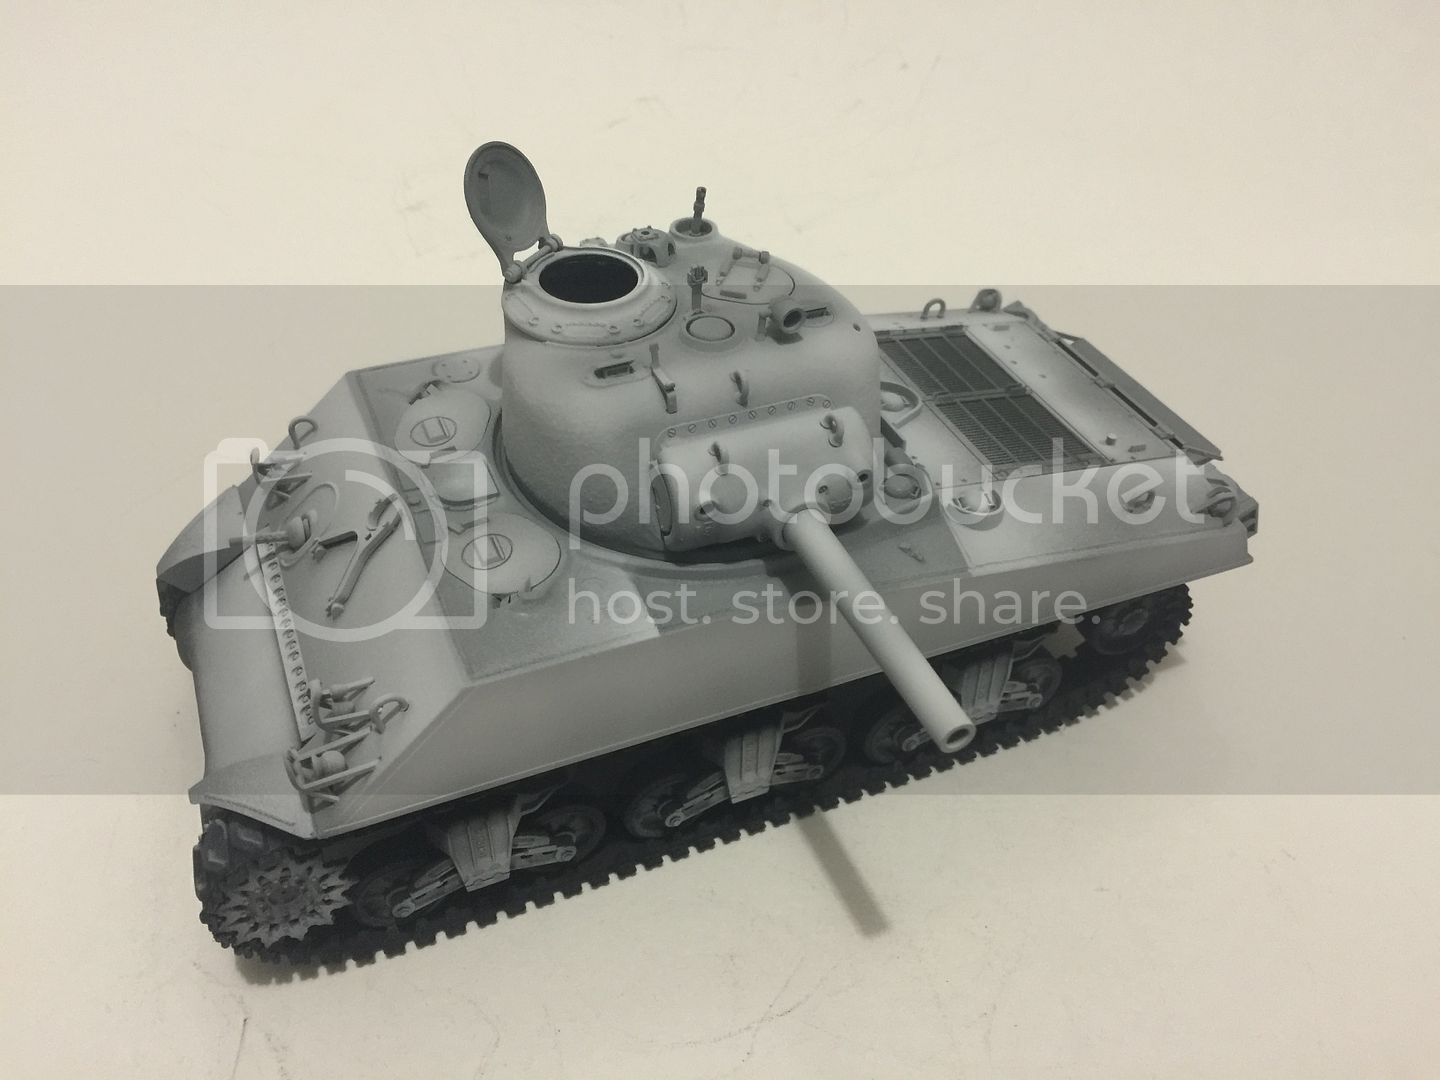
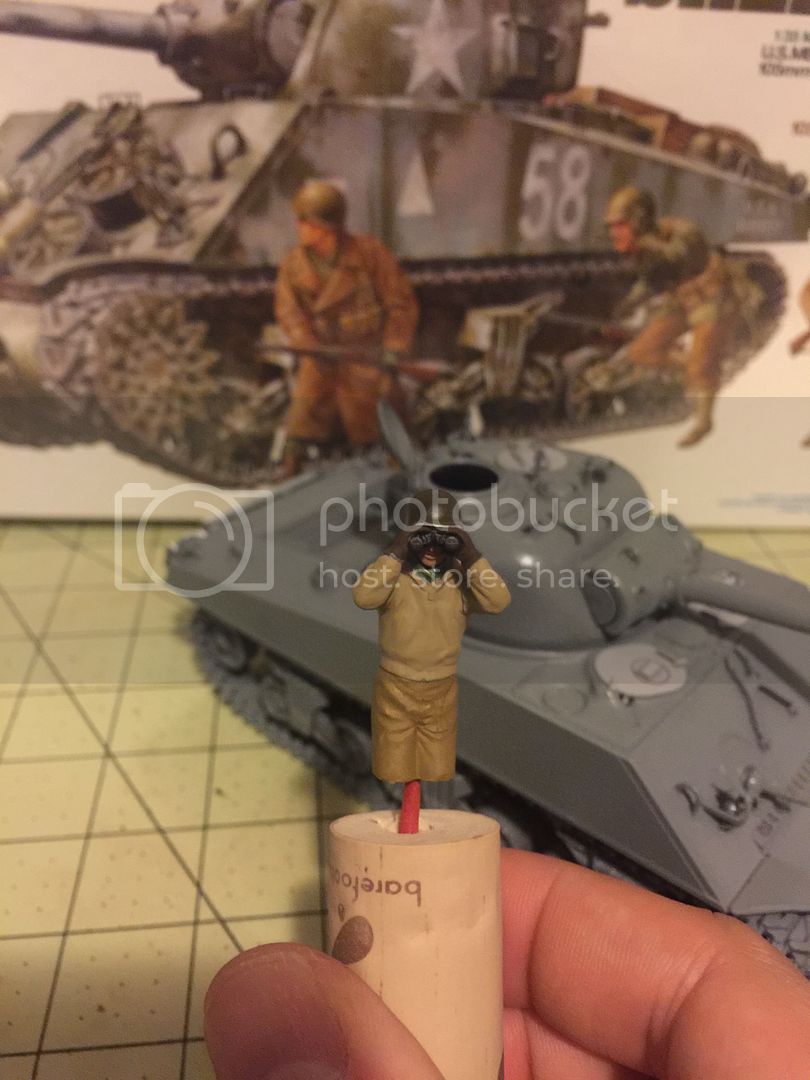
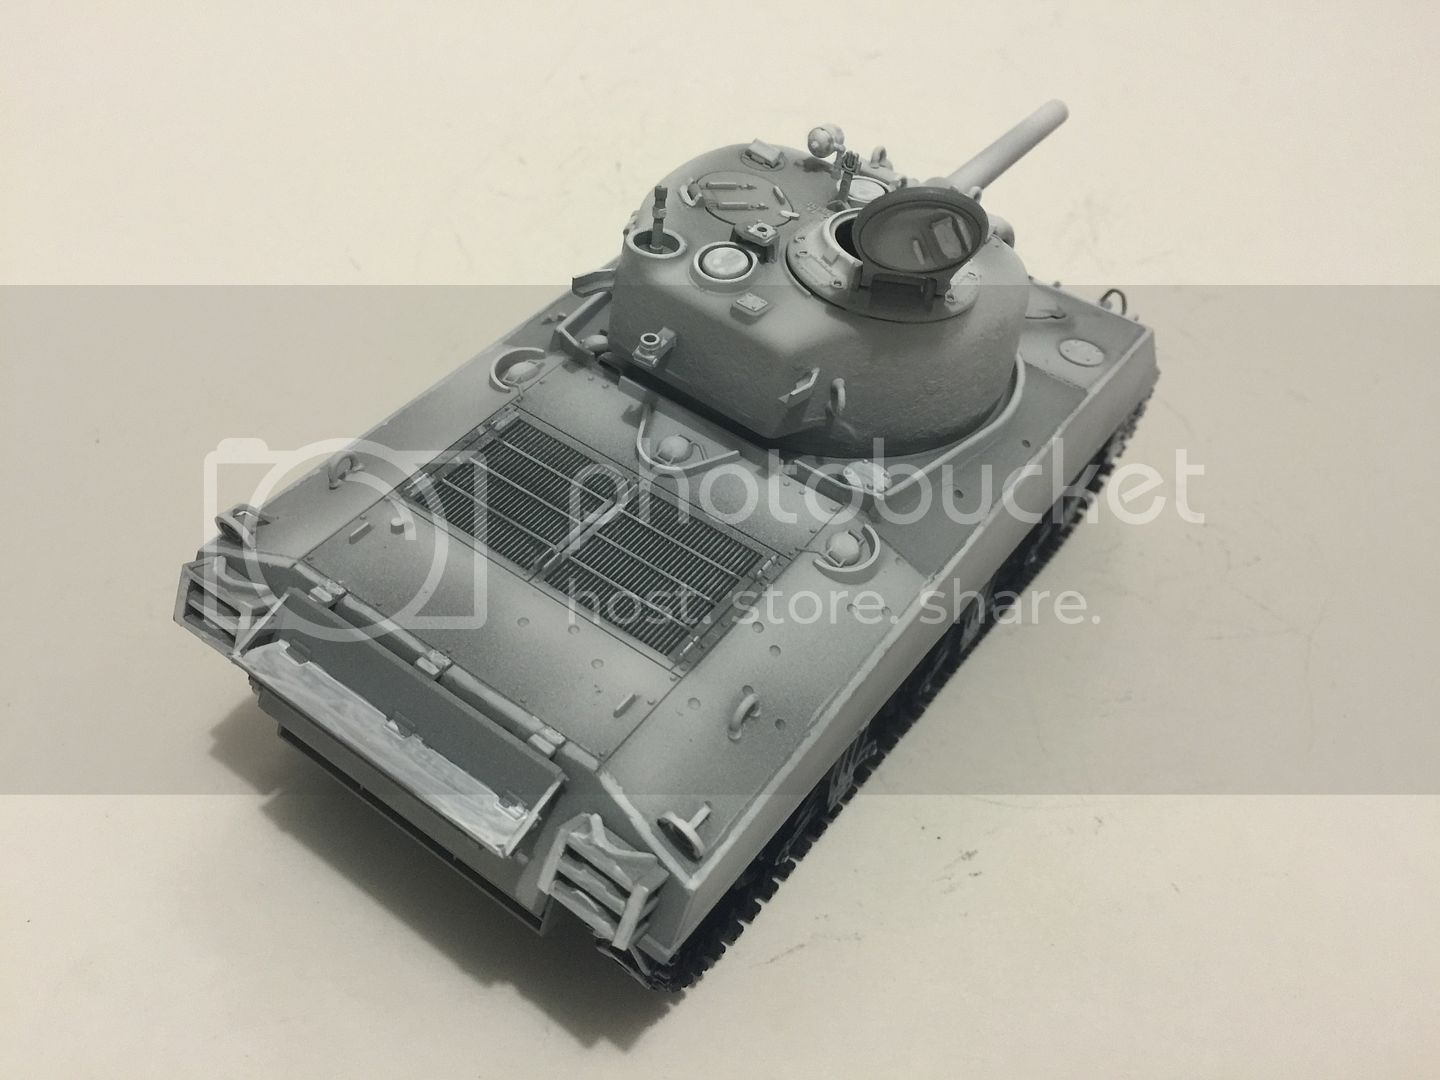
The next day, after sanding the lines in the turret and make some texture on it using the Tamiya thin glue (melting the plastic surface and making texture using a brush with stiff bristles.)
Primer was applied using a can from Walmart. Also the figure was base painted using vallejo colors.

Visit our site and learn more about our Club:
www.ipmsborinqueneers.com
Puerto Rico
Joined: December 05, 2013
KitMaker: 314 posts
Armorama: 253 posts
Posted: Sunday, November 29, 2015 - 06:24 PM UTC
Visit our site and learn more about our Club:
www.ipmsborinqueneers.com
Puerto Rico
Joined: December 05, 2013
KitMaker: 314 posts
Armorama: 253 posts
Posted: Sunday, November 29, 2015 - 06:27 PM UTC
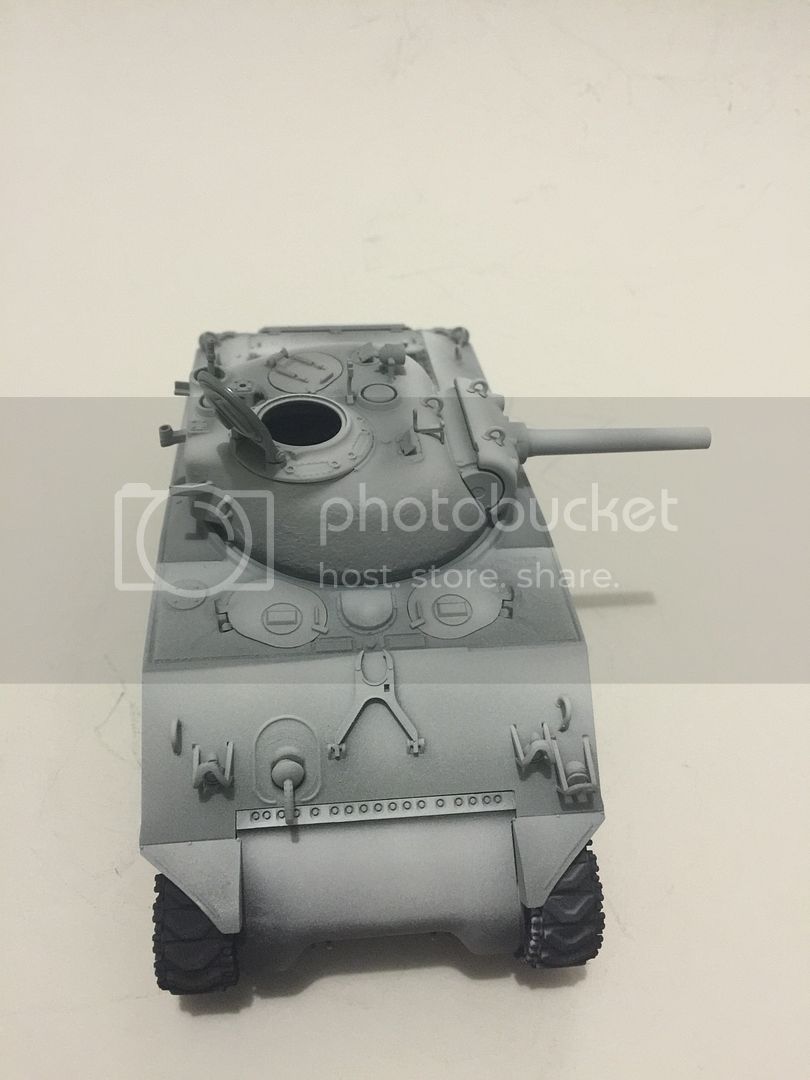
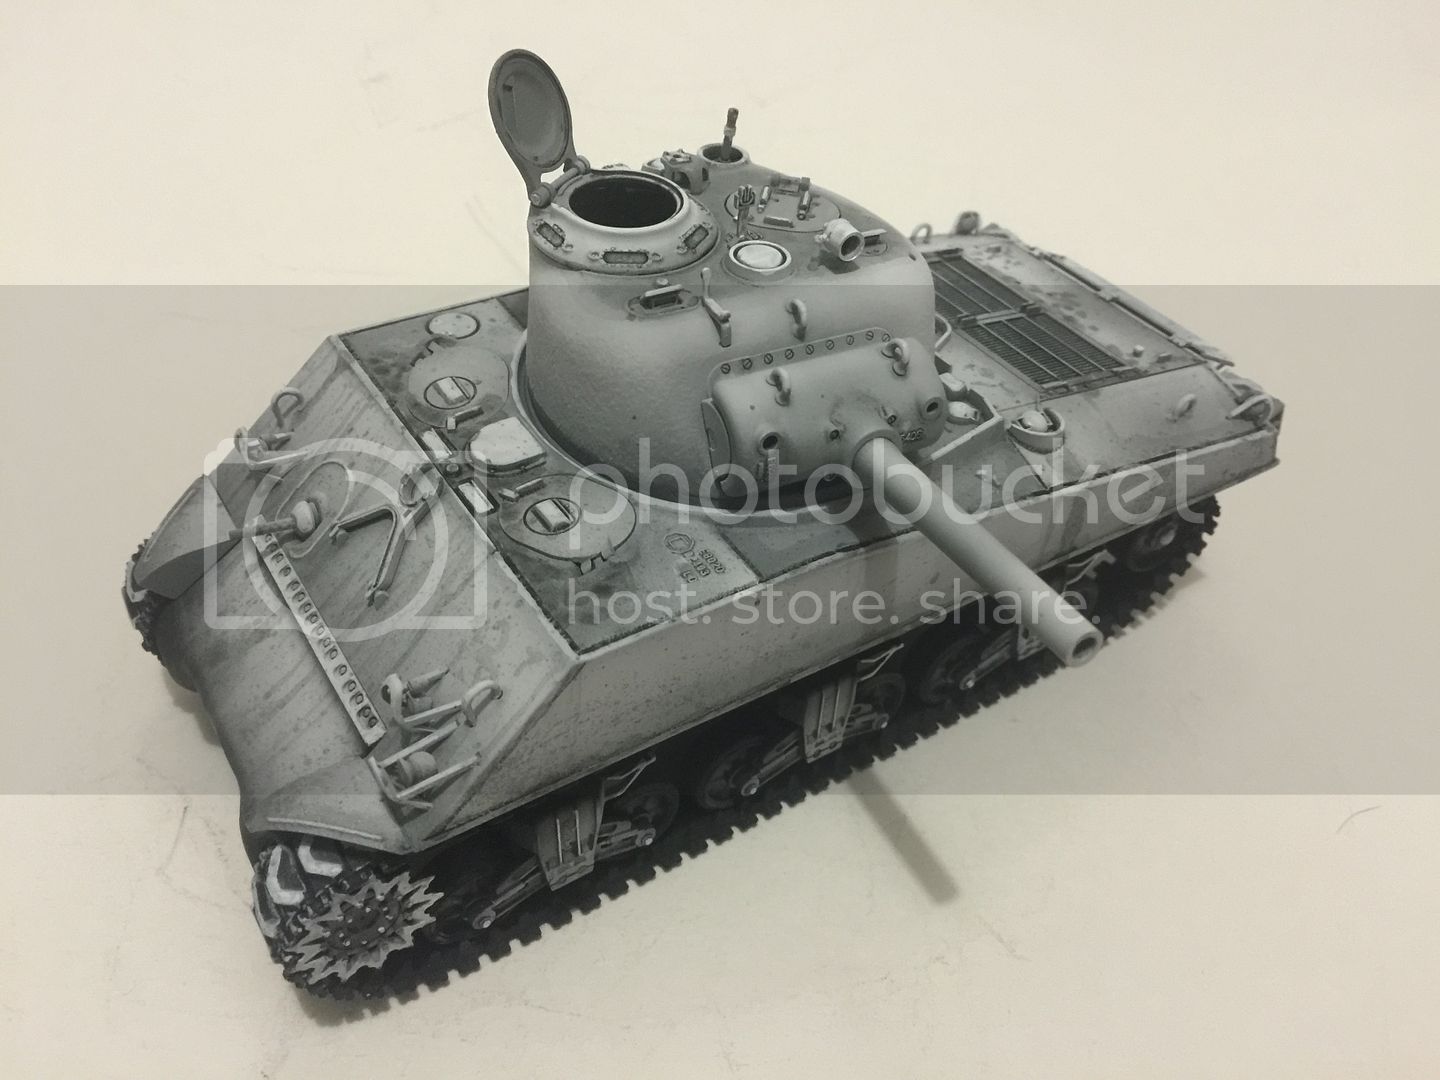
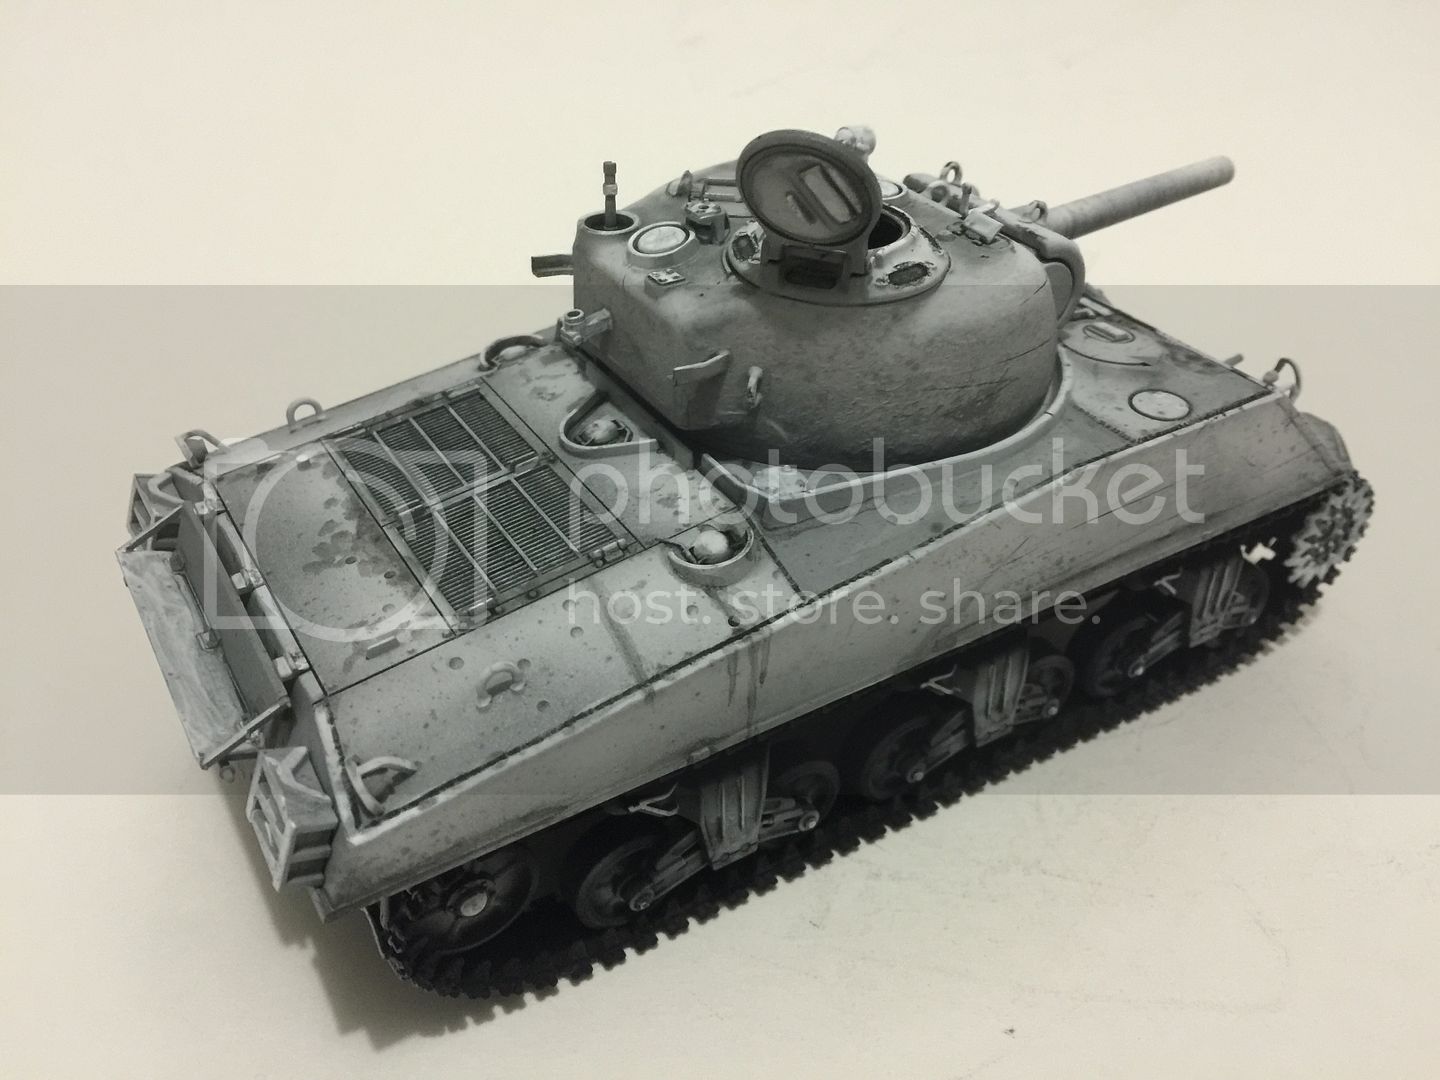
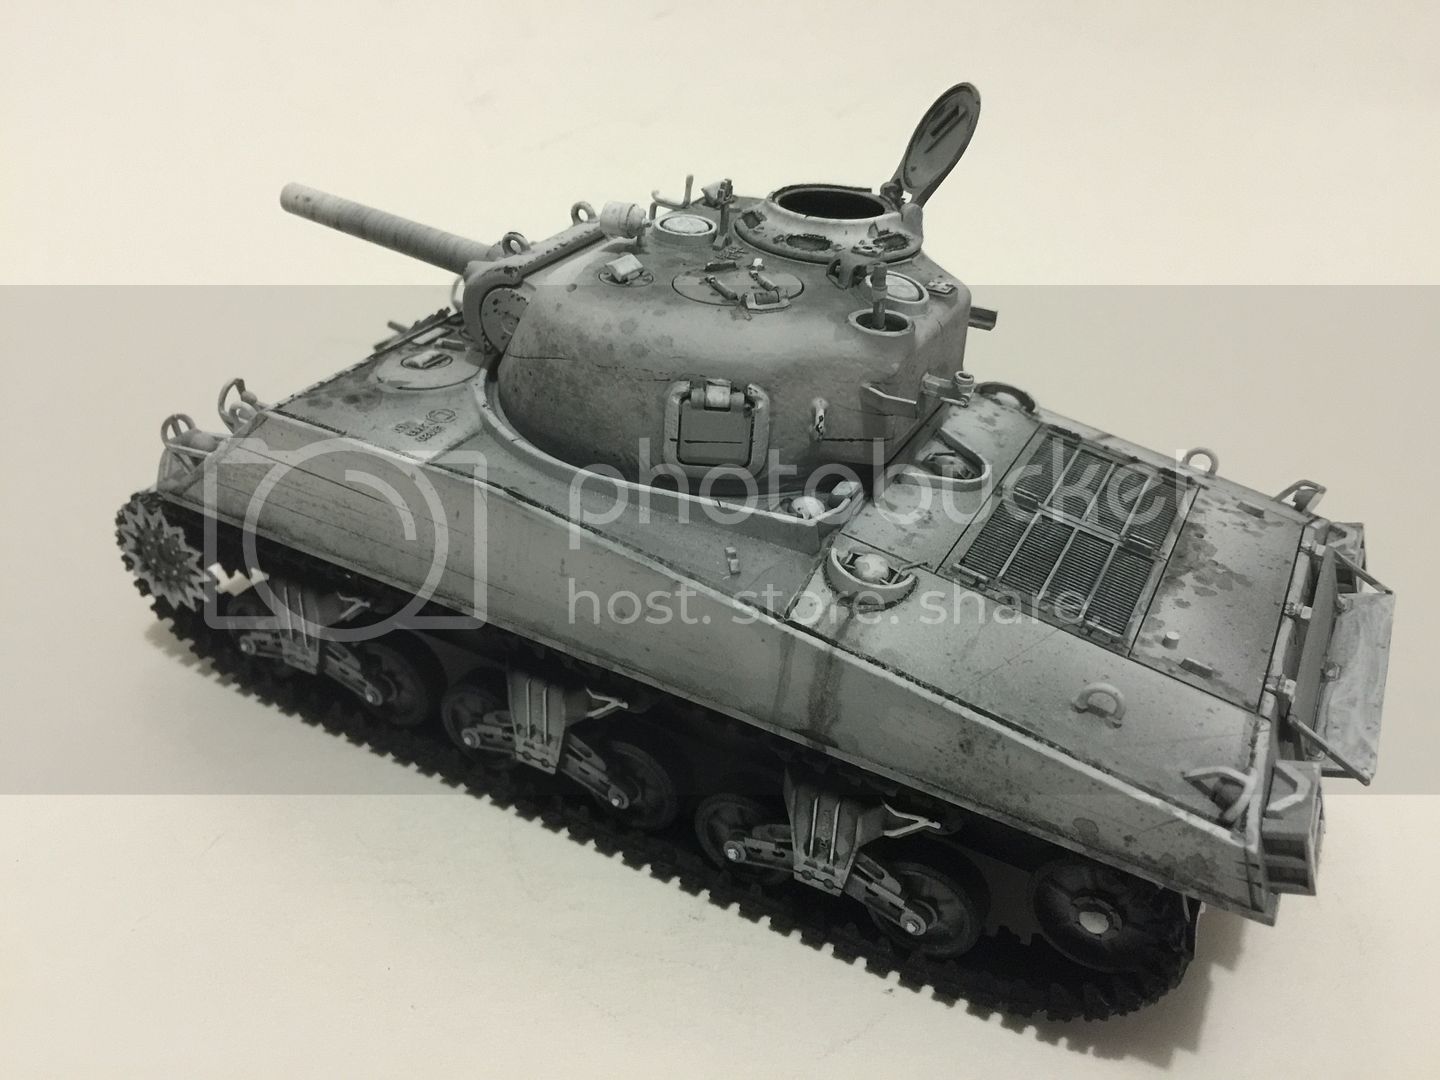
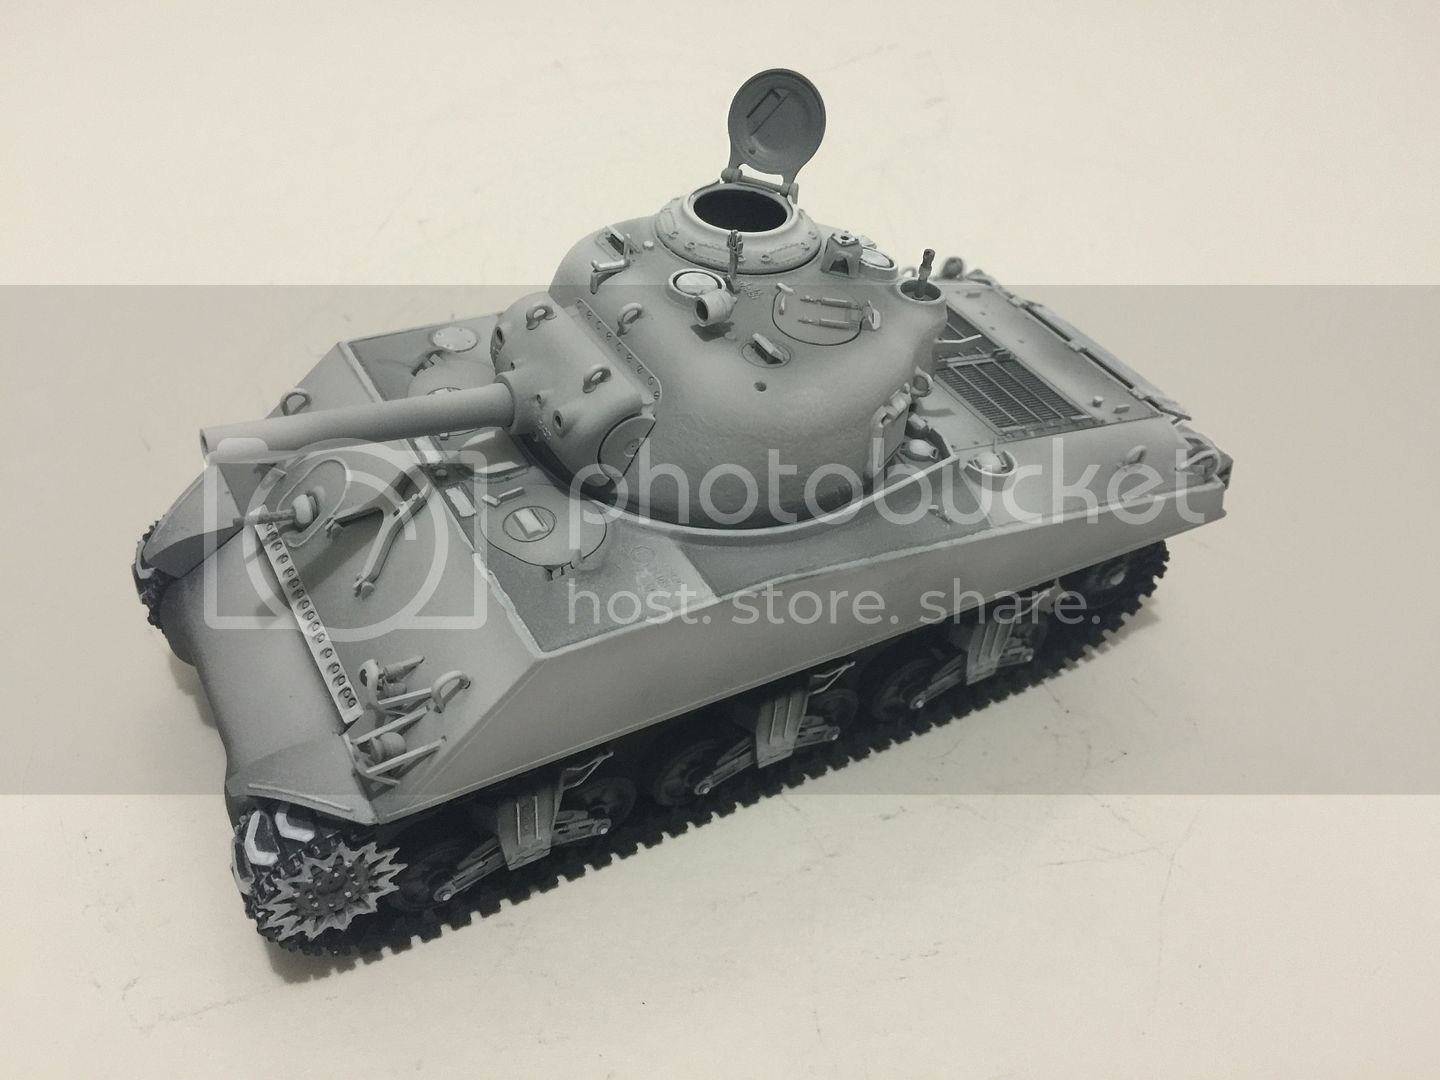
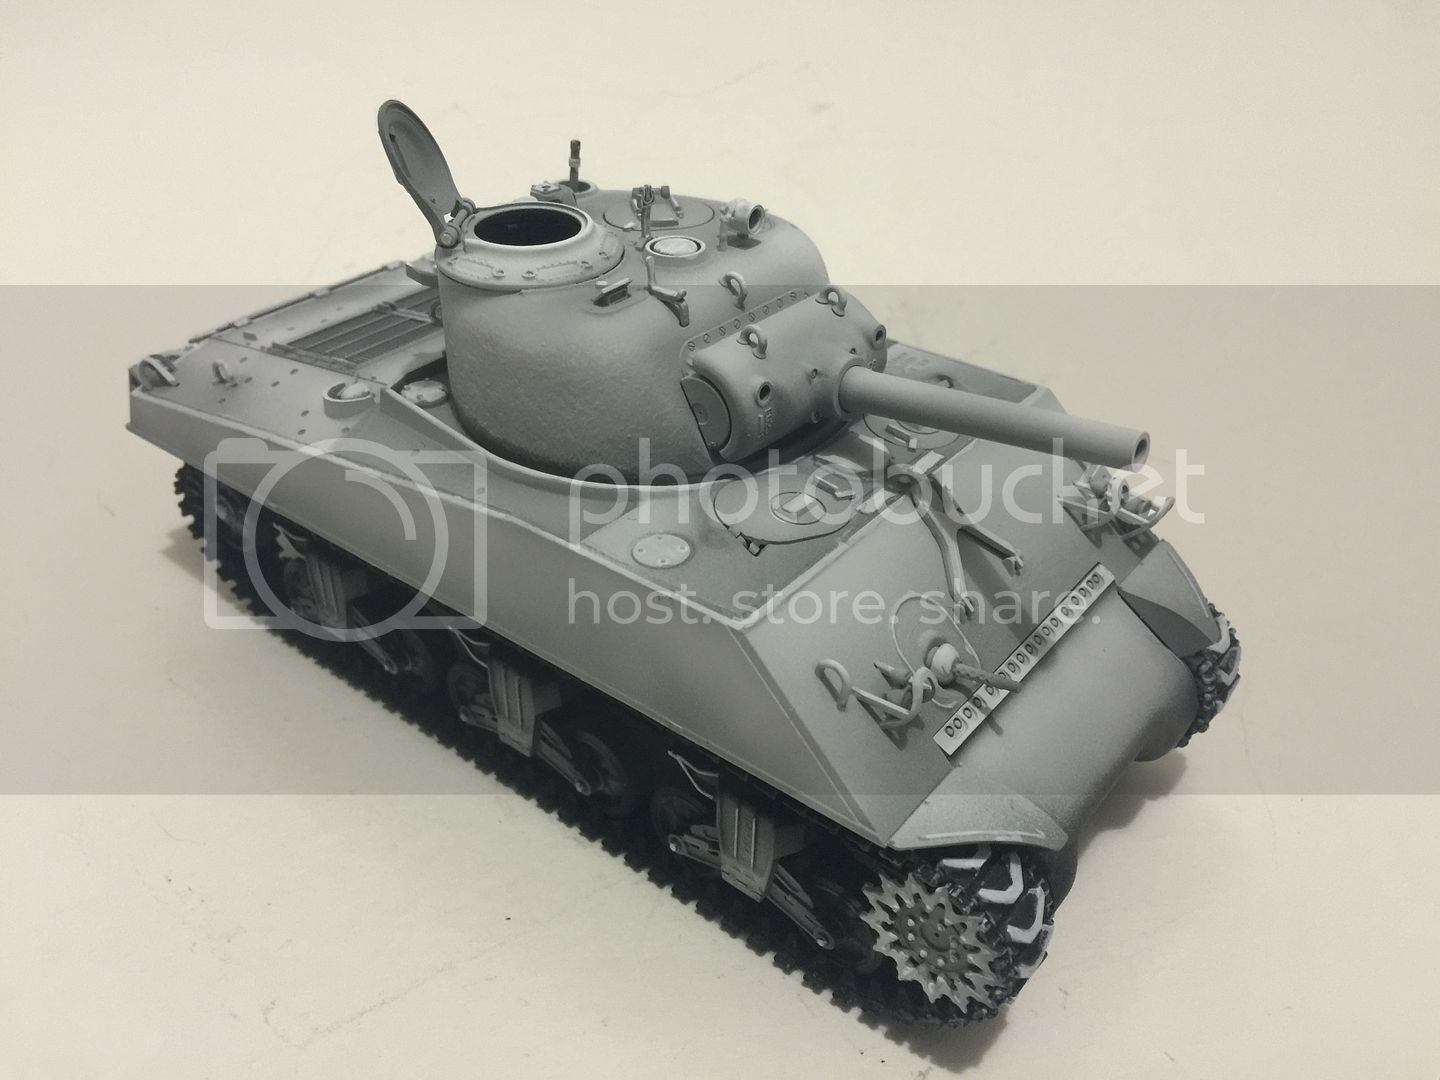
Step two of the Black & White modulation continues with detailing white parts using a brush with Vallejo white.
Look how the parts painted in brush pop out of the kit!
Visit our site and learn more about our Club:
www.ipmsborinqueneers.com
Puerto Rico
Joined: December 05, 2013
KitMaker: 314 posts
Armorama: 253 posts
Posted: Sunday, November 29, 2015 - 06:52 PM UTC
Visit our site and learn more about our Club:
www.ipmsborinqueneers.com
Puerto Rico
Joined: December 05, 2013
KitMaker: 314 posts
Armorama: 253 posts
Posted: Sunday, November 29, 2015 - 06:57 PM UTC
Visit our site and learn more about our Club:
www.ipmsborinqueneers.com
Virginia, United States
Joined: February 05, 2002
KitMaker: 6,149 posts
Armorama: 4,573 posts
Posted: Sunday, November 29, 2015 - 07:02 PM UTC
Pedro-- nice work! You inspire me to get her off the shelf and finish it
DJ
DJ Judge
COL (R), USA
"Tanker Boots do not a Tanker Make."
New York, United States
Joined: January 05, 2007
KitMaker: 236 posts
Armorama: 174 posts
Posted: Monday, November 30, 2015 - 06:21 AM UTC
Which shade of OD are you going to use?
How well do you anticipate that the "chipping" and washes will show through the OD?
Puerto Rico
Joined: December 05, 2013
KitMaker: 314 posts
Armorama: 253 posts
Posted: Monday, November 30, 2015 - 06:30 PM UTC
Quoted Text
Which shade of OD are you going to use?
How well do you anticipate that the "chipping" and washes will show through the OD?
Hi Matt:
I will apply very thin layers of acrylics, probably 4-5. Most of it will show as a shadow, so I need to retouch it in some areas. I'm still learning a long the way, so I'm doing some testing first before doing anything to the kit, including the color to be use.
Visit our site and learn more about our Club:
www.ipmsborinqueneers.com
Puerto Rico
Joined: December 05, 2013
KitMaker: 314 posts
Armorama: 253 posts
Posted: Monday, November 30, 2015 - 06:31 PM UTC
I make this gif file so you can see more clearly the progress between the Black & White steps.

Visit our site and learn more about our Club:
www.ipmsborinqueneers.com
England - North East, United Kingdom
Joined: June 22, 2010
KitMaker: 1,224 posts
Armorama: 1,207 posts
Posted: Monday, November 30, 2015 - 06:36 PM UTC
dont think I have ever seen weathering done as B&W before the base coat. Looking forward to seeing how this comes out when she "goes green"....
Noord-Holland, Netherlands
Joined: December 25, 2008
KitMaker: 2 posts
Armorama: 2 posts
Posted: Monday, November 30, 2015 - 10:01 PM UTC
Quoted Text
dont think I have ever seen weathering done as B&W before the base coat. Looking forward to seeing how this comes out when she "goes green"....
Neither have I, but therefore is think it's an very interesting topic. Awesome work Btw!

#417
Ontario, Canada
Joined: March 01, 2004
KitMaker: 3,123 posts
Armorama: 2,539 posts
Posted: Tuesday, December 01, 2015 - 01:59 AM UTC
Is it going to be OD at all? If so, why weather it before overpainting?
Colour me confused.
I like the B&W look as it is. I just don't see painting and decaling over it.
Paul
Paul Roberts
Past Editor, Boresight
Armor Modeling and Preservation Society
Puerto Rico
Joined: December 05, 2013
KitMaker: 314 posts
Armorama: 253 posts
Posted: Tuesday, December 01, 2015 - 06:52 PM UTC
Quoted Text
Is it going to be OD at all? If so, why weather it before overpainting?
Colour me confused.
I like the B&W look as it is. I just don't see painting and decaling over it.
Paul
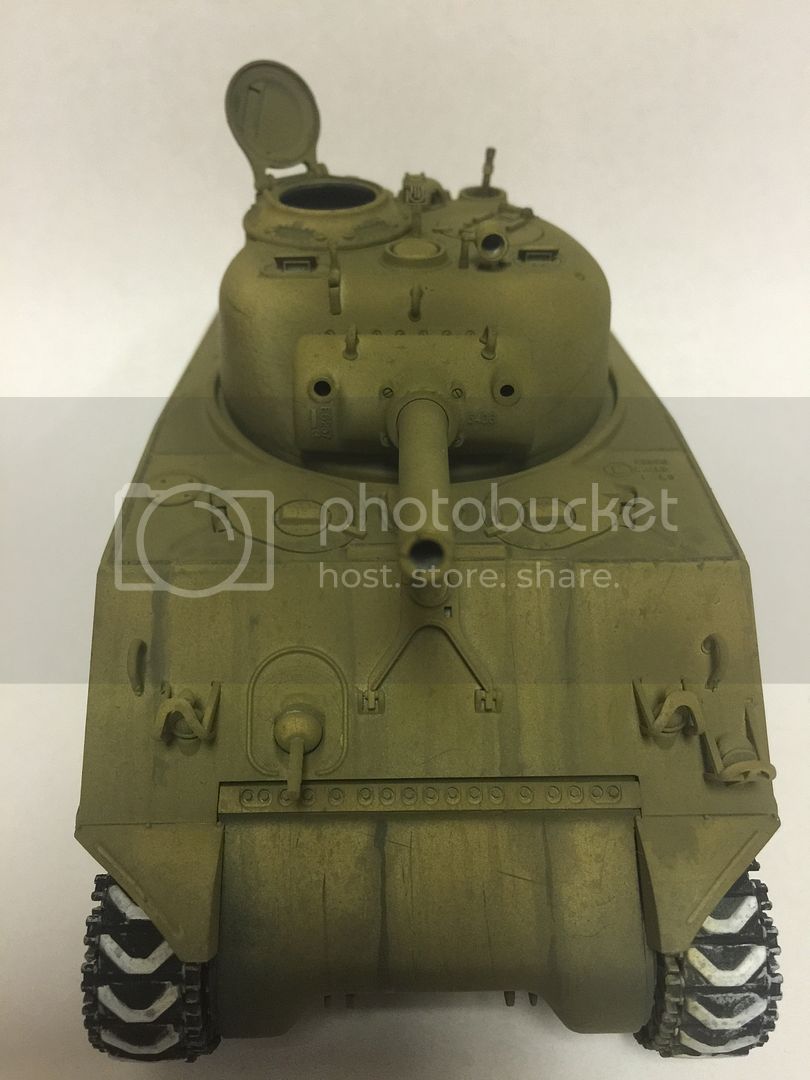
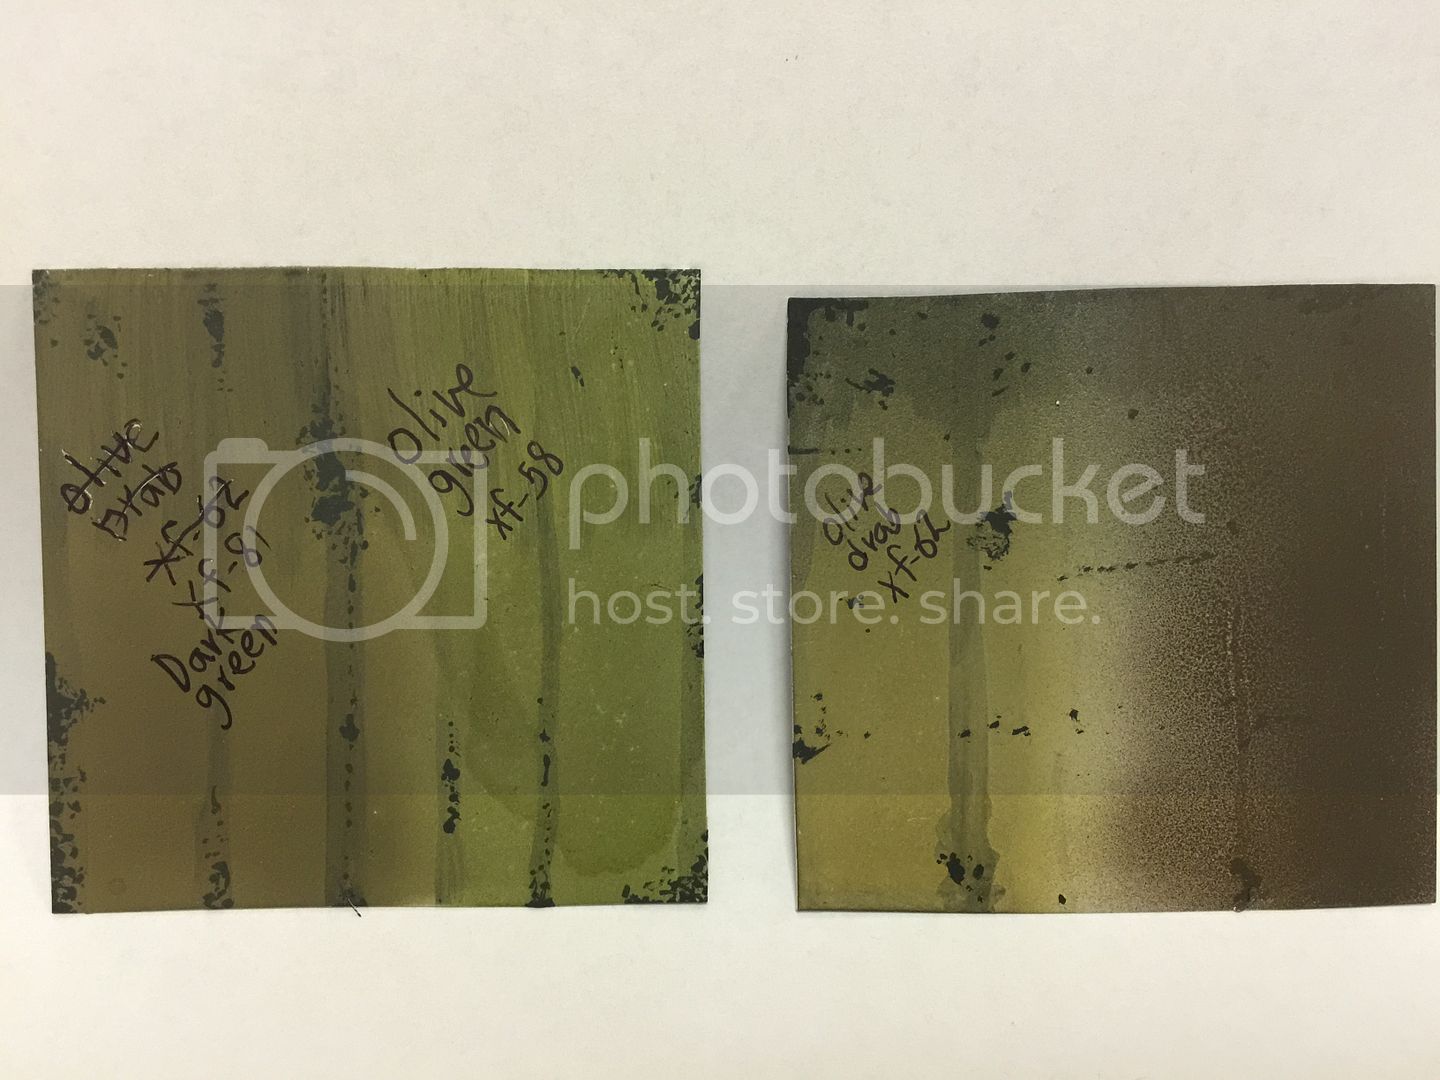
Hi, thank you for asking. Well last night I was making a test to get the best color, so far tamiya colors are winning but still need to check on model master.
Here is the test results, I'm inclining for the dark green, looks great. Also you can see that the chipping and black and white effect can be seen after the color.
Visit our site and learn more about our Club:
www.ipmsborinqueneers.com
Puerto Rico
Joined: December 05, 2013
KitMaker: 314 posts
Armorama: 253 posts
Posted: Tuesday, December 01, 2015 - 09:19 PM UTC
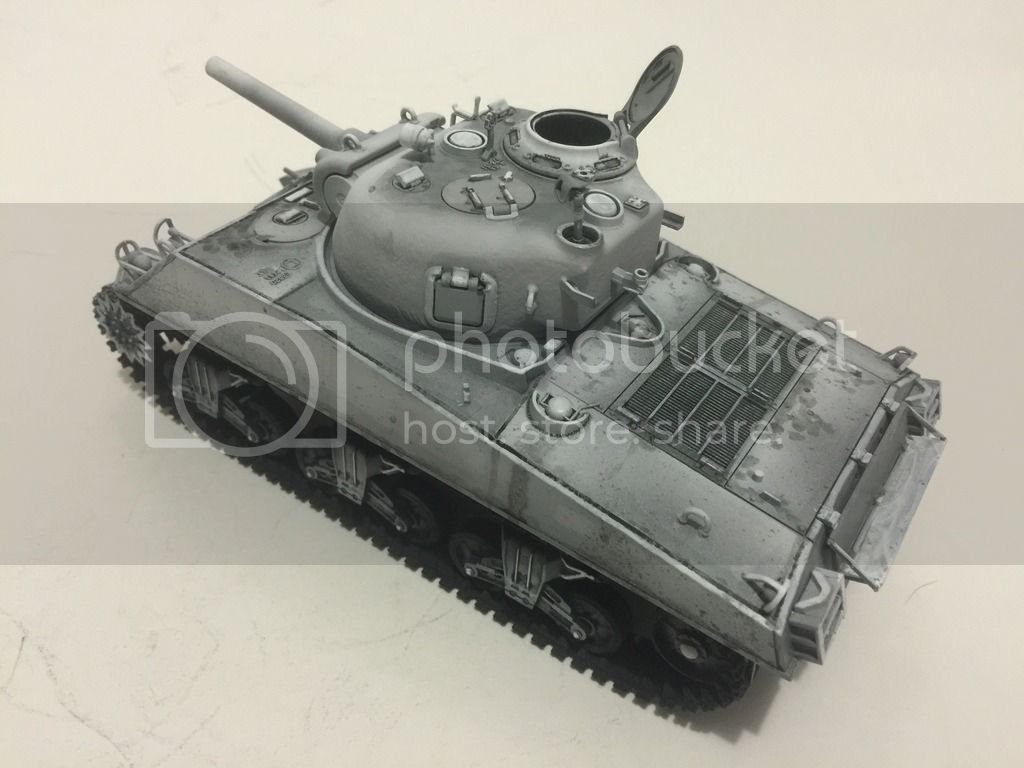
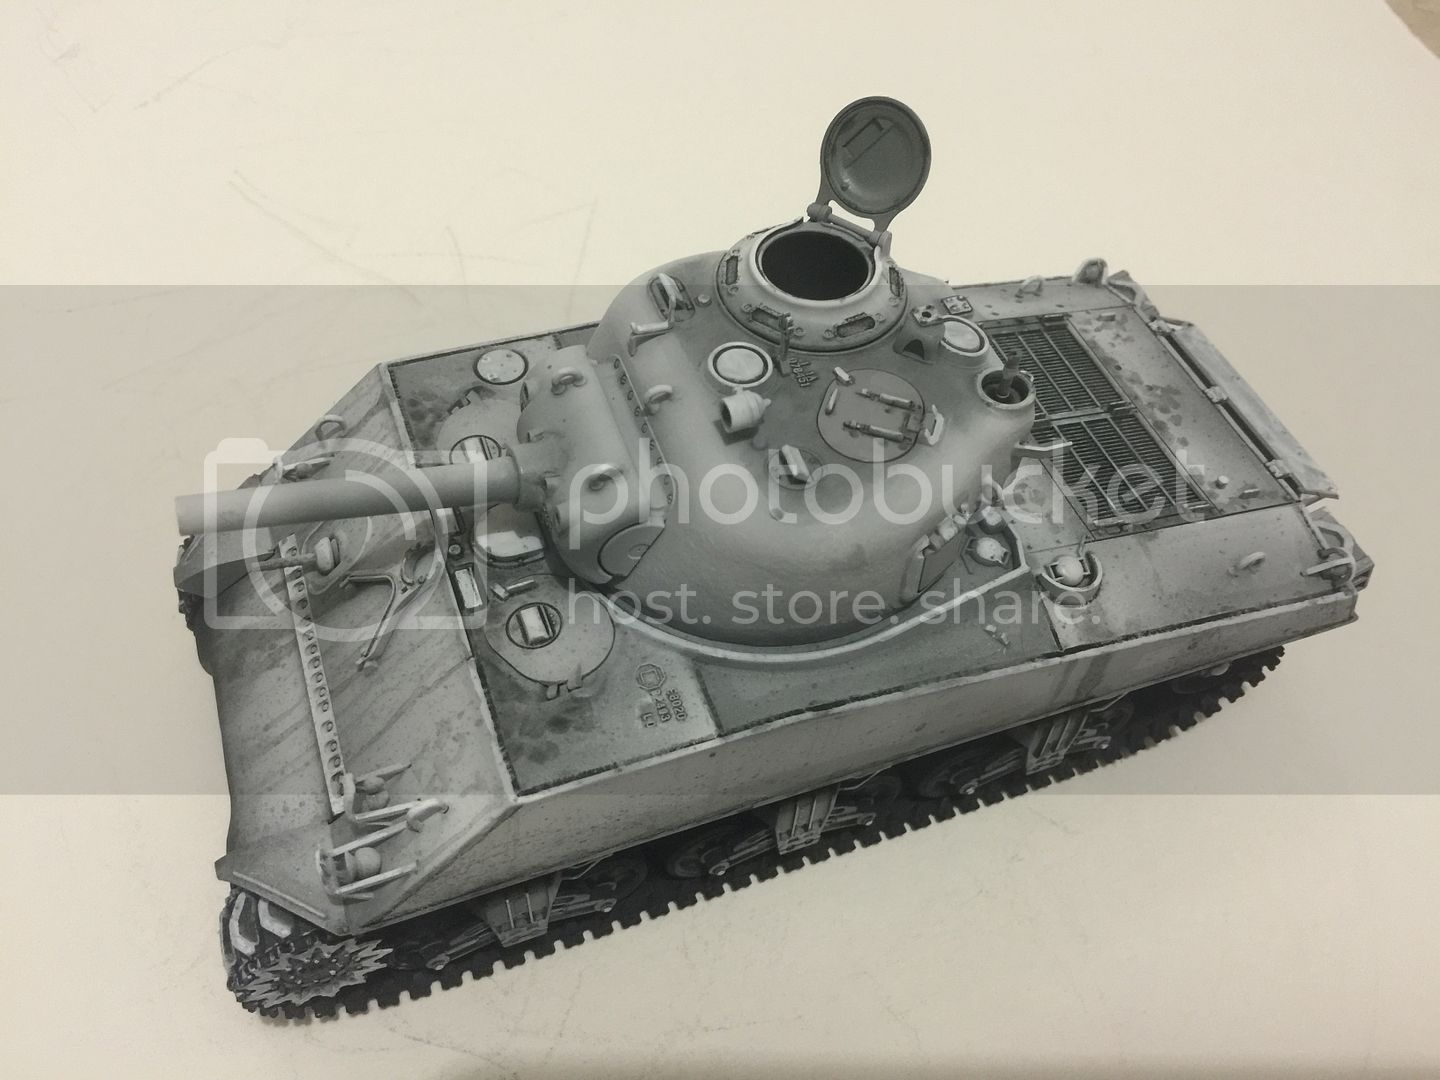
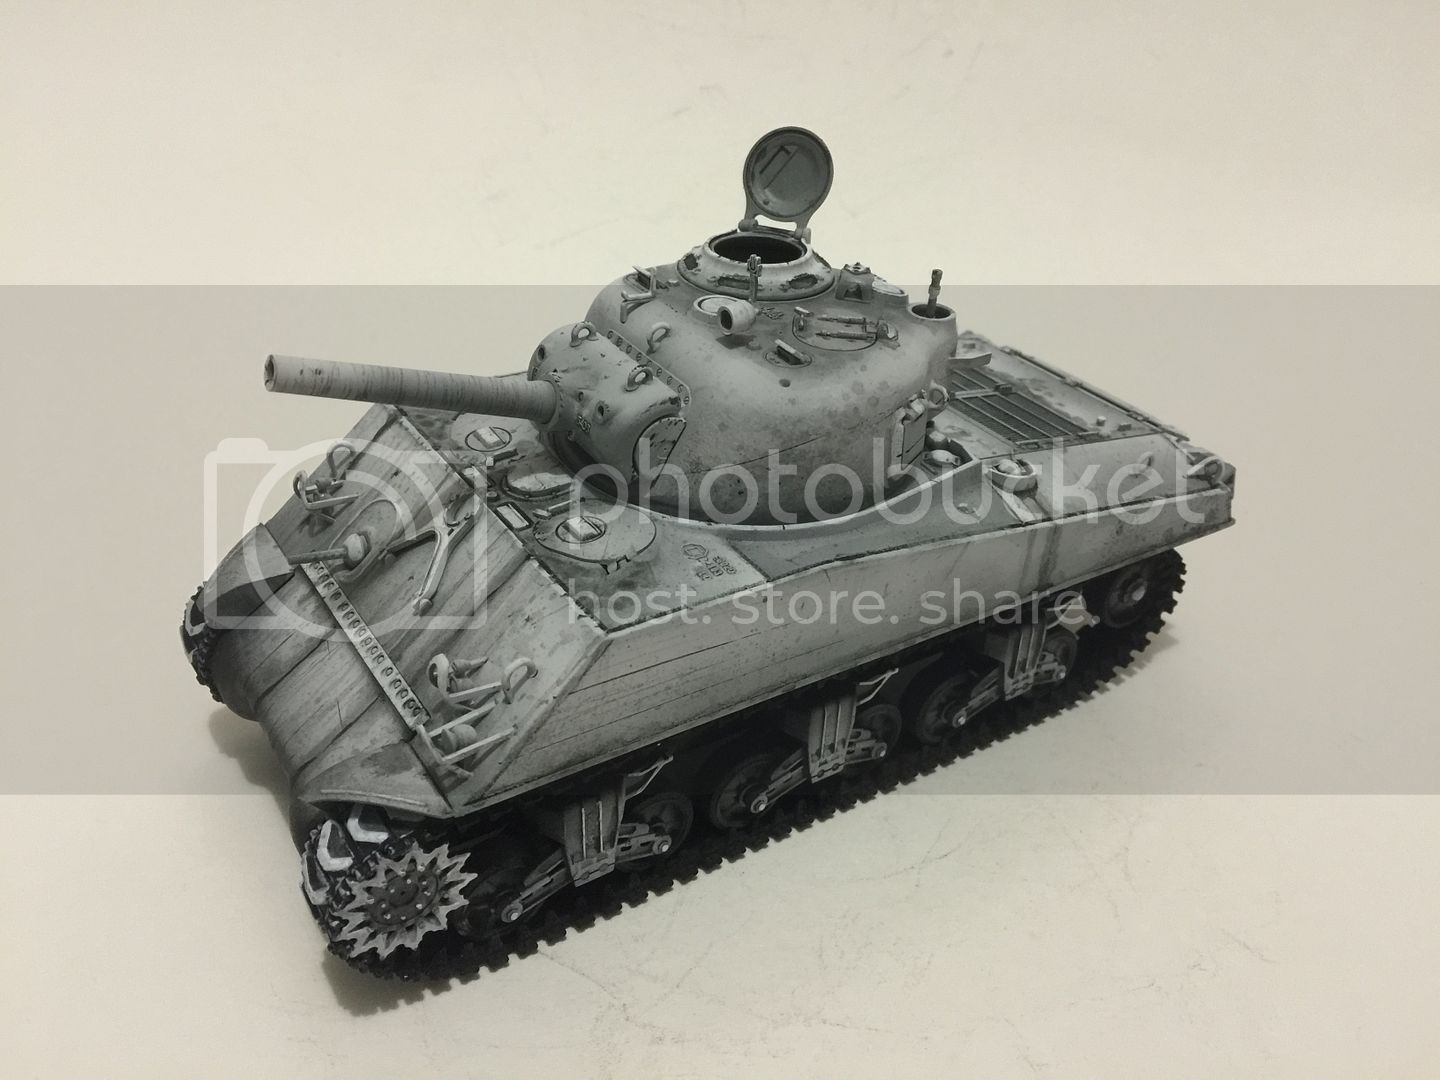
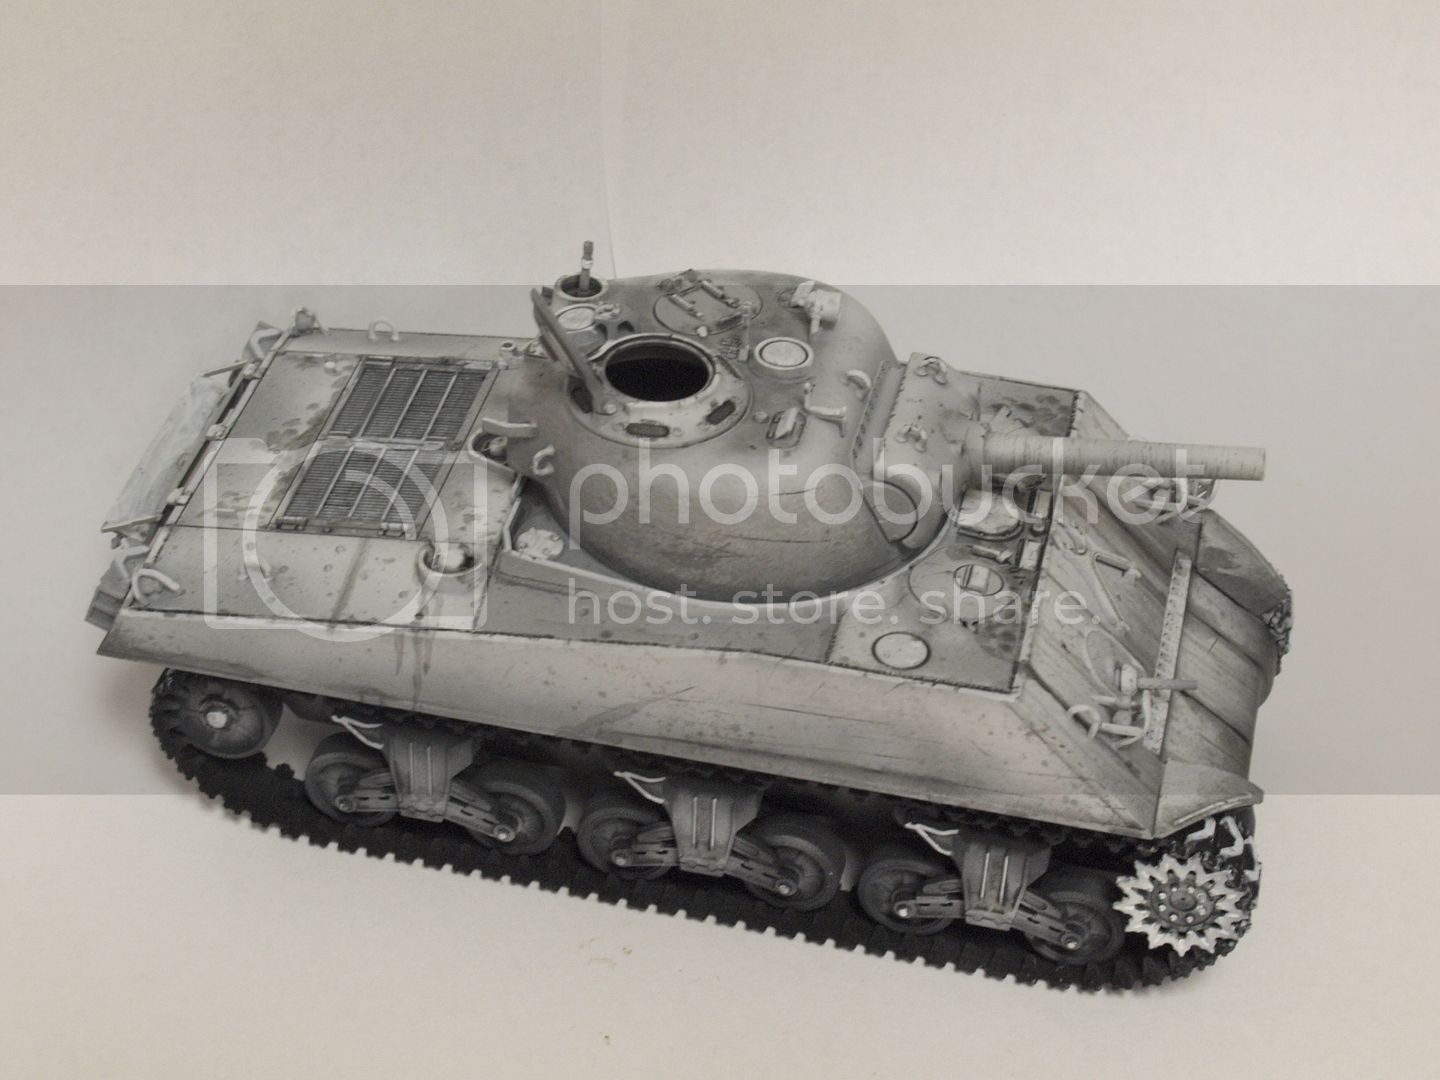
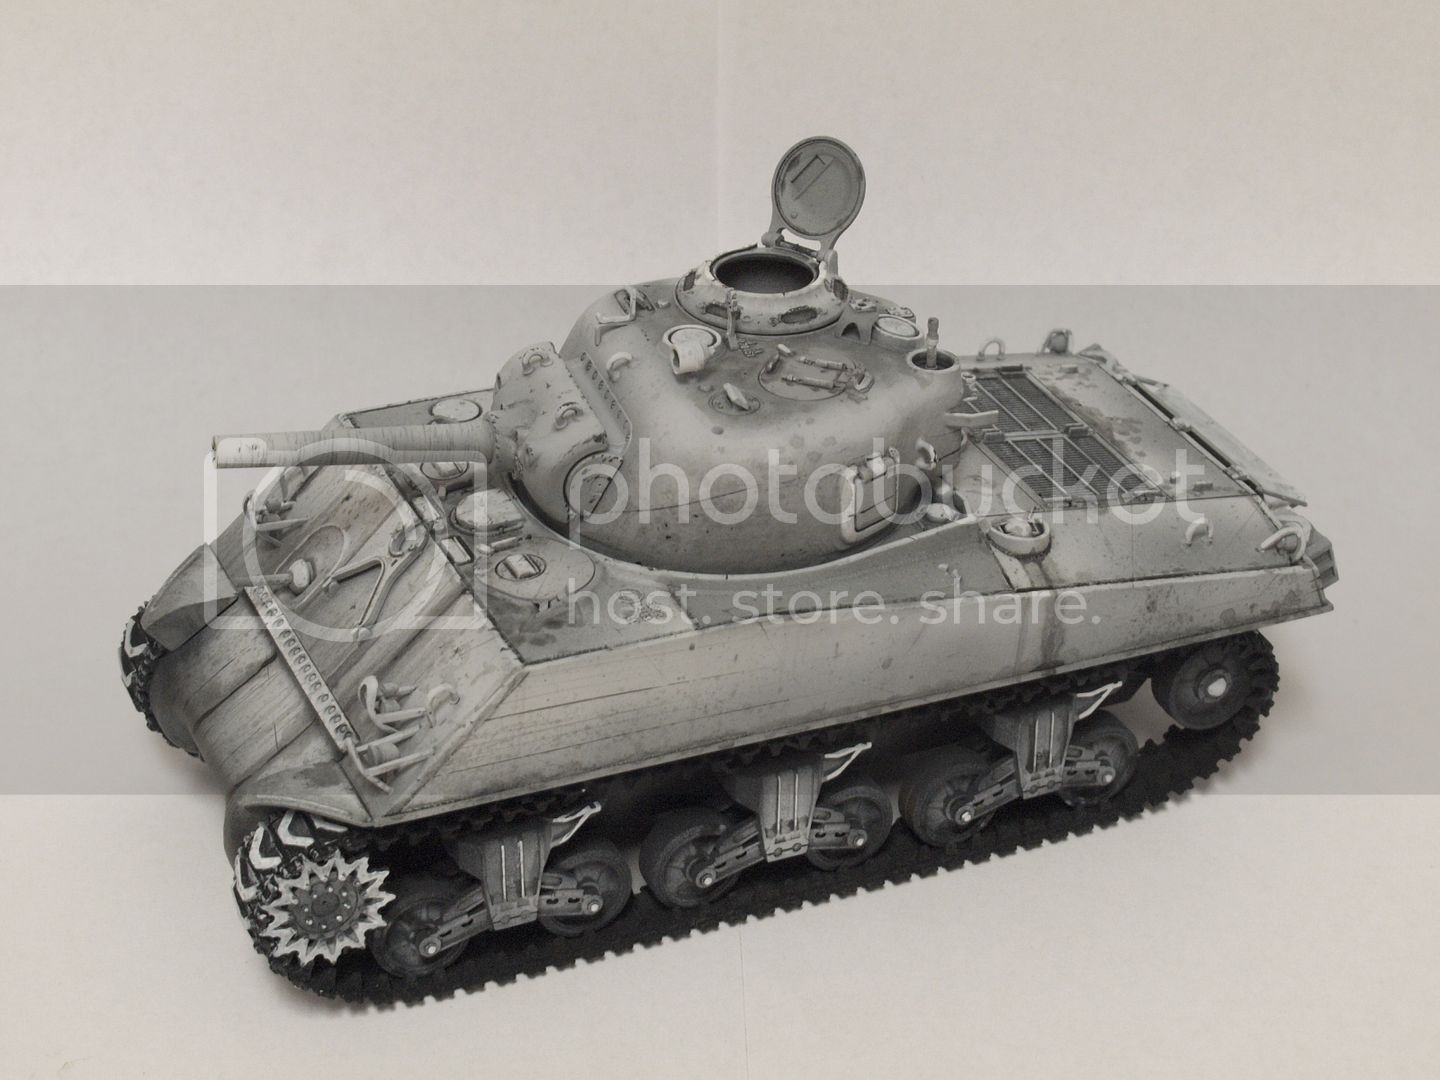
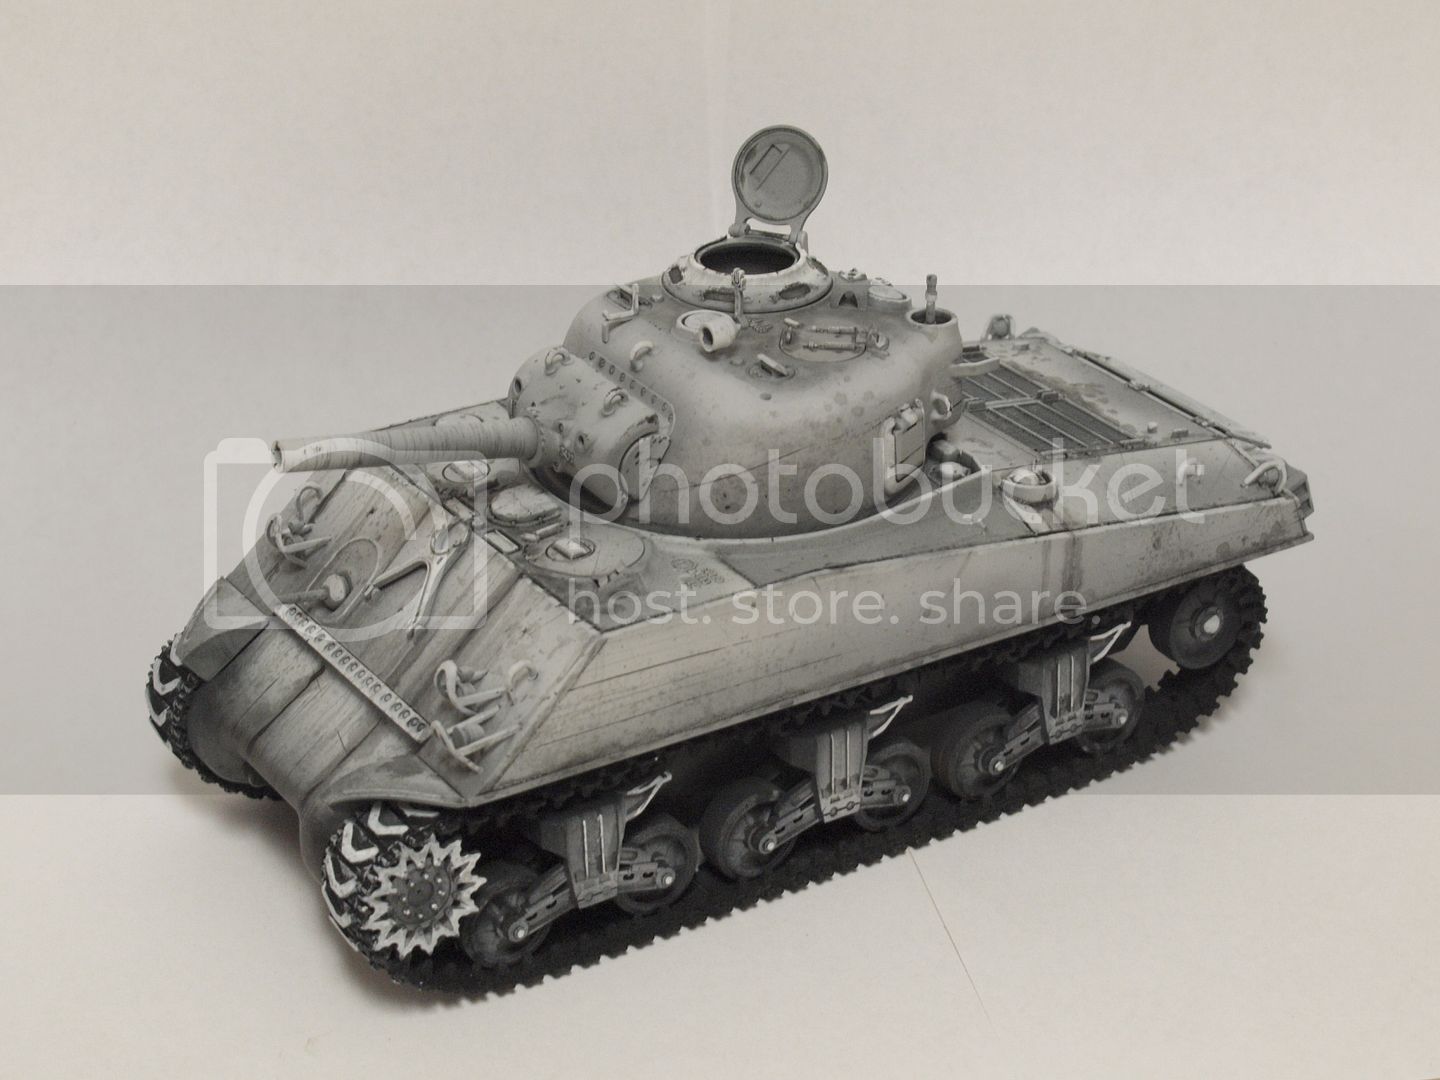
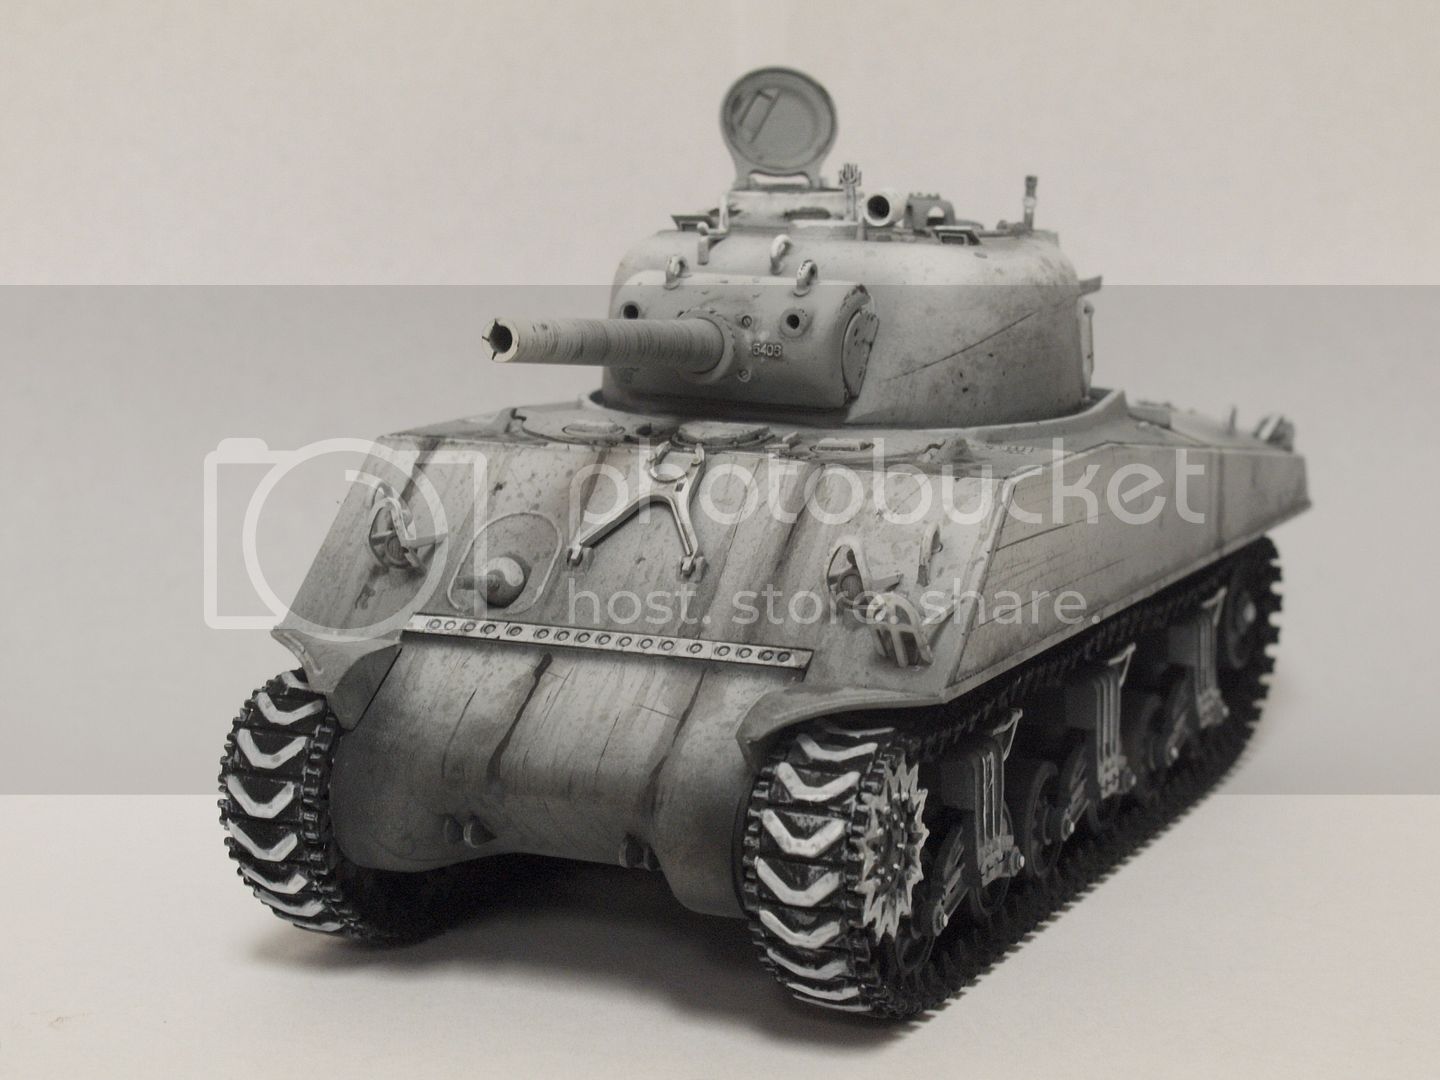
Well Before I start painting, I make a new set of pictures, this time with my old reliable Olympus E-30. Here you can see more angles and details of the Black & White steps. Hope you like it.
Visit our site and learn more about our Club:
www.ipmsborinqueneers.com
Puerto Rico
Joined: December 05, 2013
KitMaker: 314 posts
Armorama: 253 posts
Posted: Tuesday, December 01, 2015 - 09:21 PM UTC
Visit our site and learn more about our Club:
www.ipmsborinqueneers.com
Puerto Rico
Joined: December 05, 2013
KitMaker: 314 posts
Armorama: 253 posts
Posted: Wednesday, December 02, 2015 - 05:27 PM UTC
Visit our site and learn more about our Club:
www.ipmsborinqueneers.com
England - North East, United Kingdom
Joined: June 22, 2010
KitMaker: 1,224 posts
Armorama: 1,207 posts
Posted: Wednesday, December 02, 2015 - 05:40 PM UTC
must say that does give a good result... i am always too heavy handed in spraying over any pre-shading, really should try harder
Pennsylvania, United States
Joined: April 09, 2015
KitMaker: 1,063 posts
Armorama: 1,000 posts
Posted: Wednesday, December 02, 2015 - 05:57 PM UTC
Quoted Text
must say that does give a good result... i am always too heavy handed in spraying over any pre-shading, really should try harder
I pre and post shade extensively. Two things to remember to get good results: paint should be thinned more than usual, almost like a wash, and build the finish in thin layers. You also don't need to be concerned with completely even coverage of the base coat as everything comes together with the post shading and weathering process. Hope this helps.
"No plan survives contact with the enemy." Helmuth von Moltke the Elder
Pennsylvania, United States
Joined: April 09, 2015
KitMaker: 1,063 posts
Armorama: 1,000 posts
Posted: Wednesday, December 02, 2015 - 06:01 PM UTC
Quoted Text
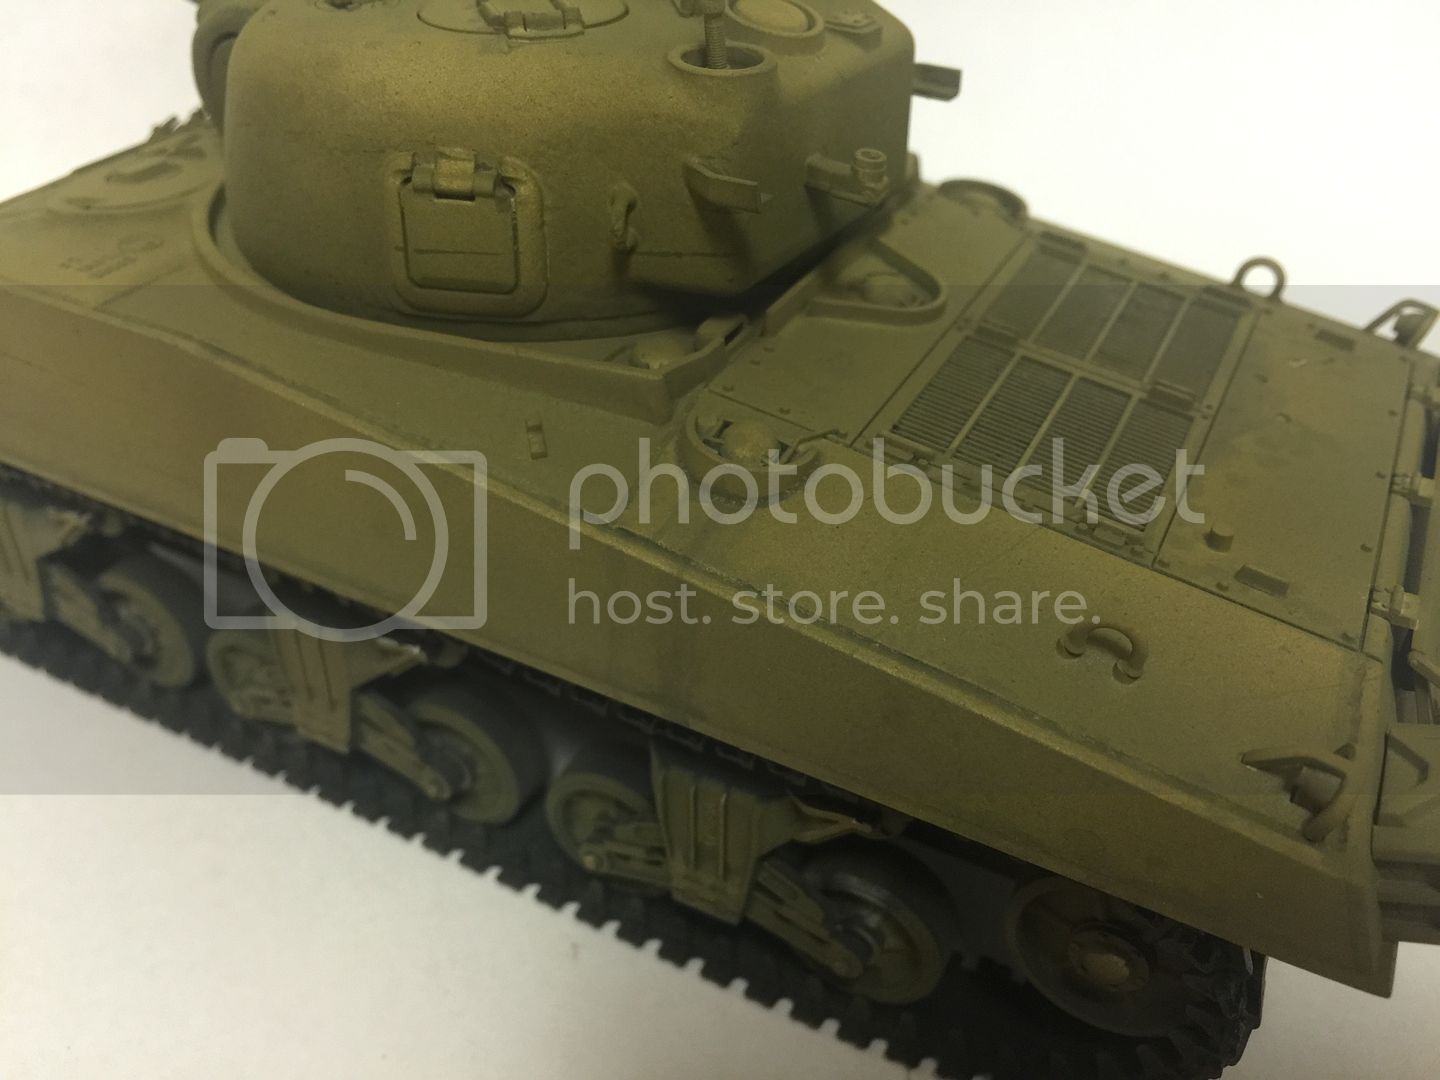
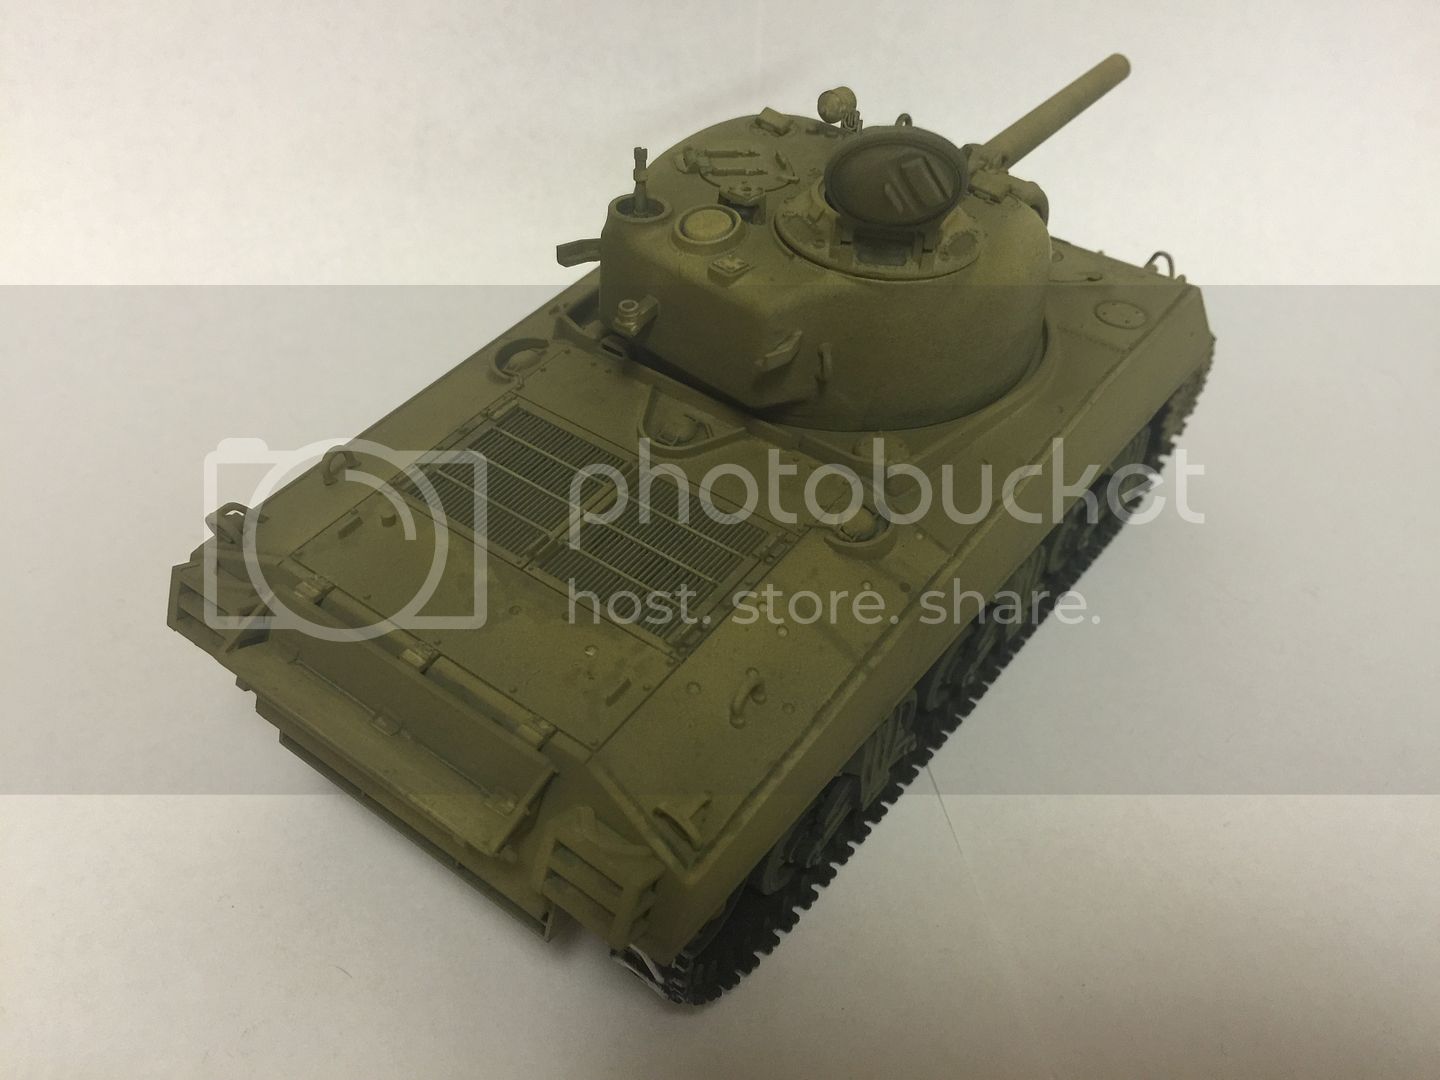
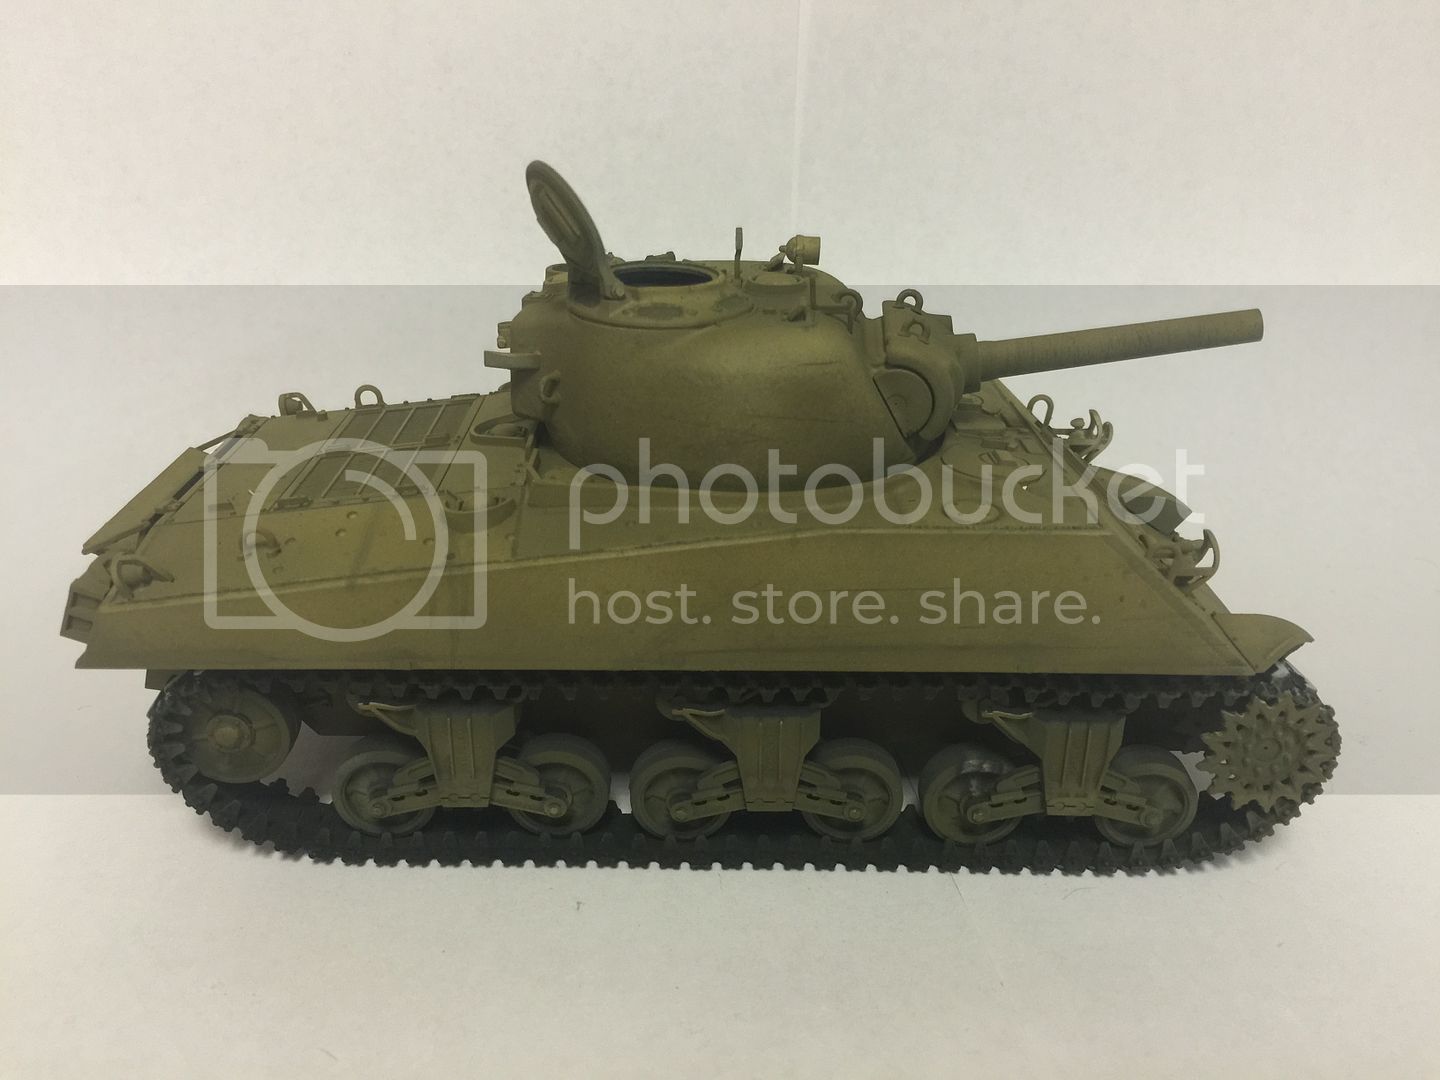
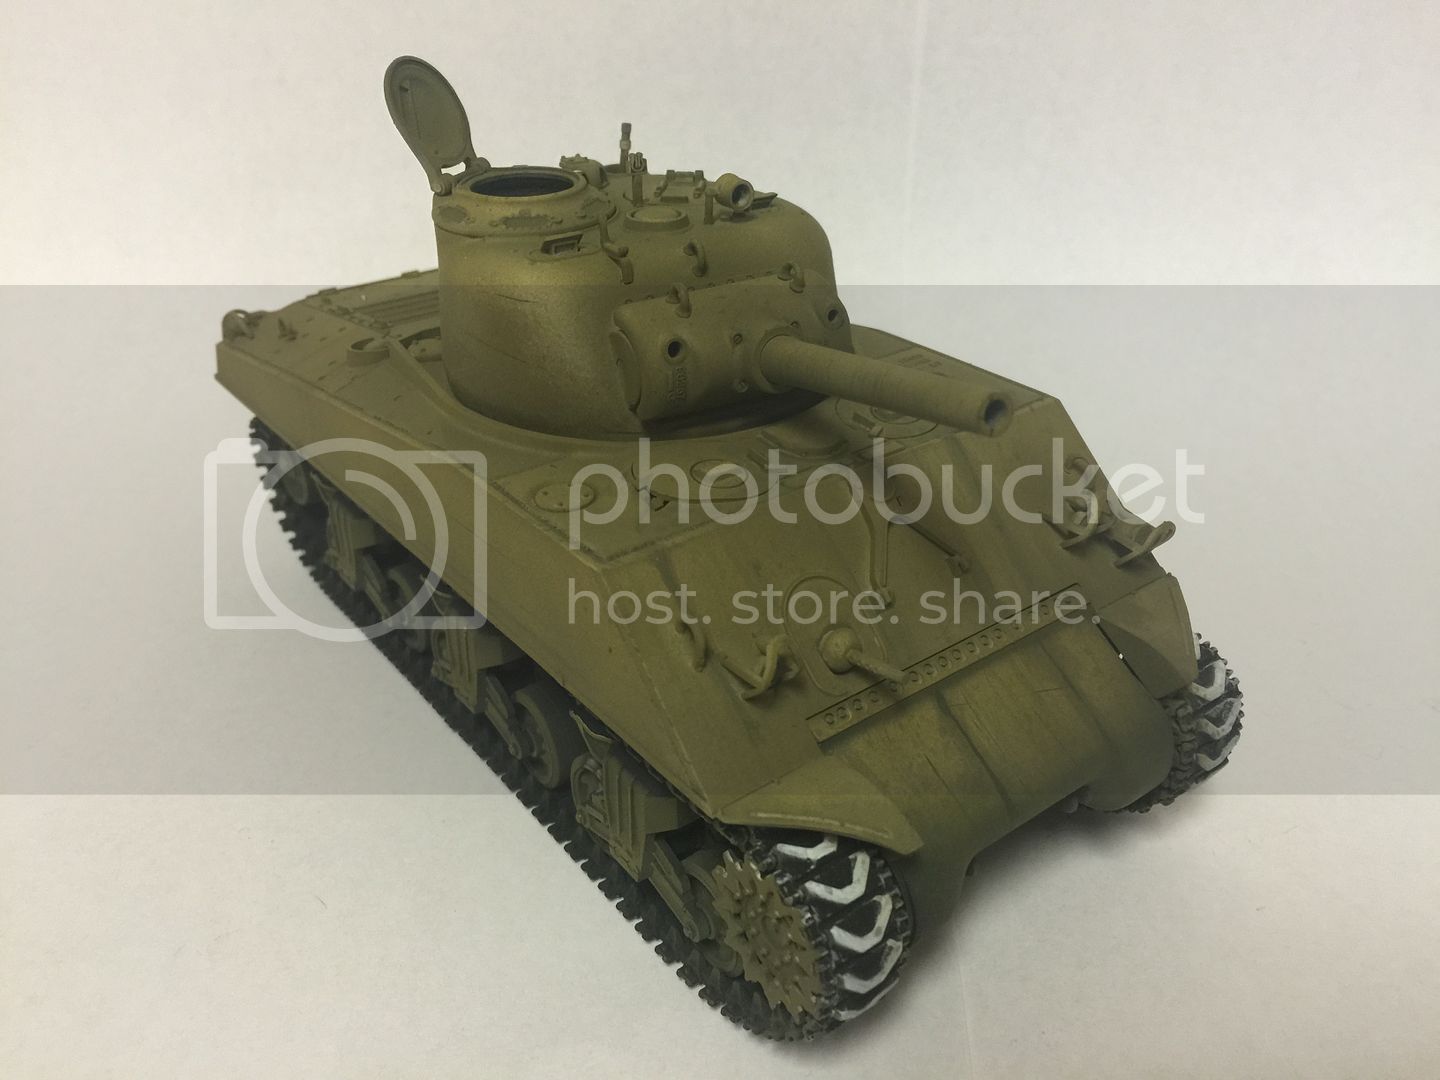
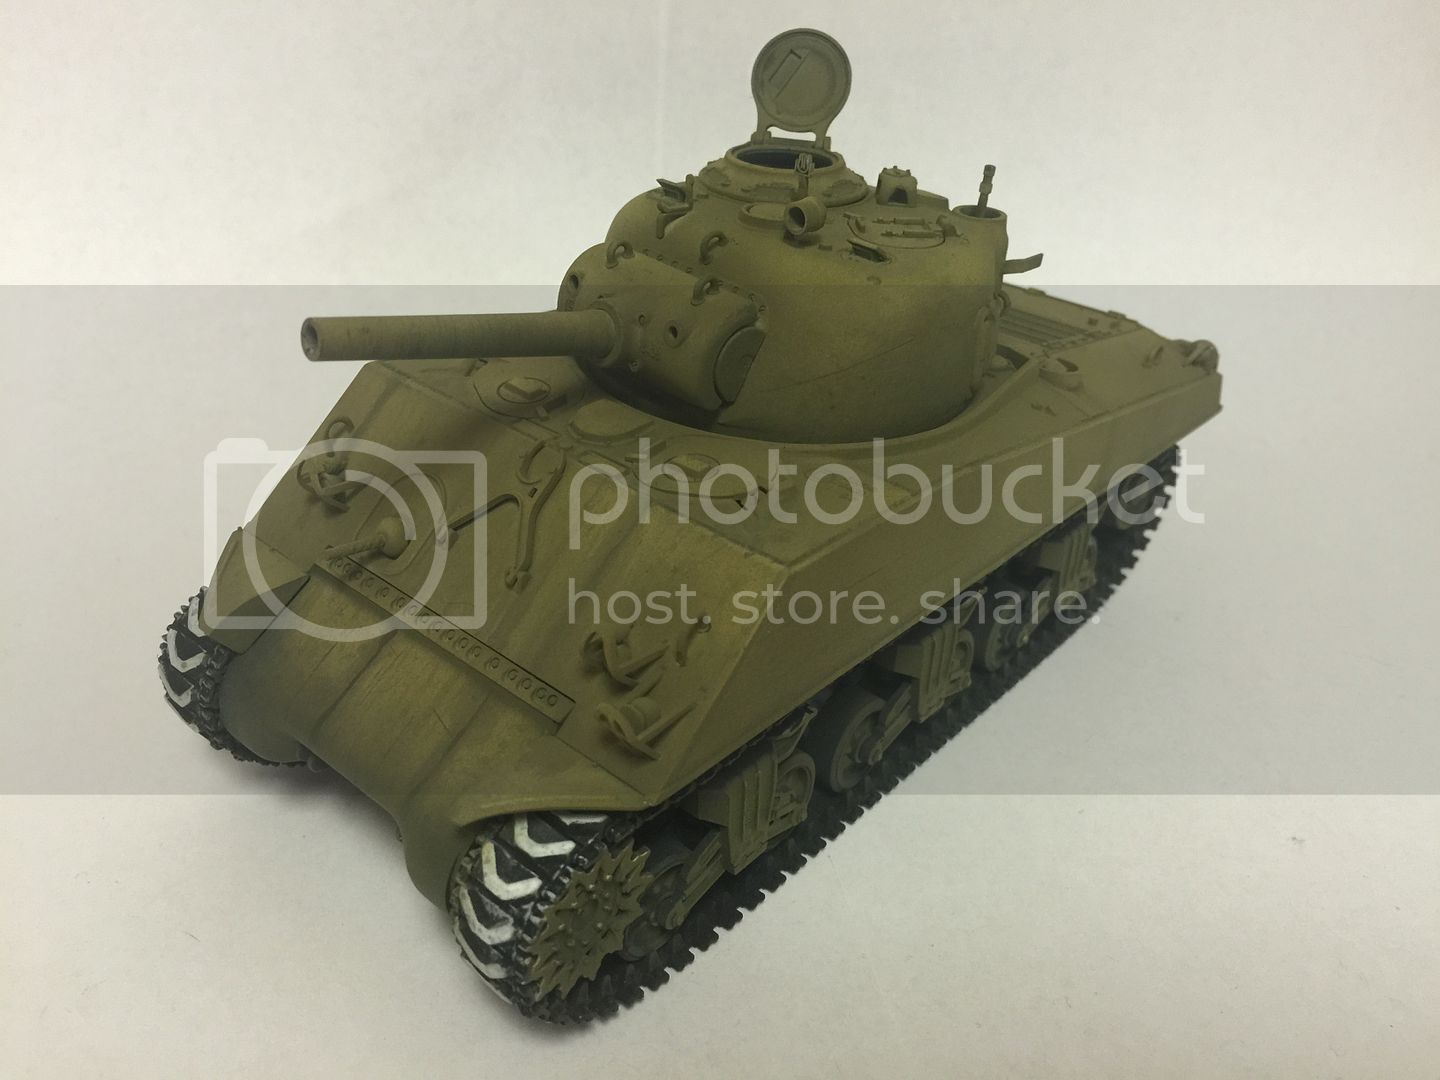
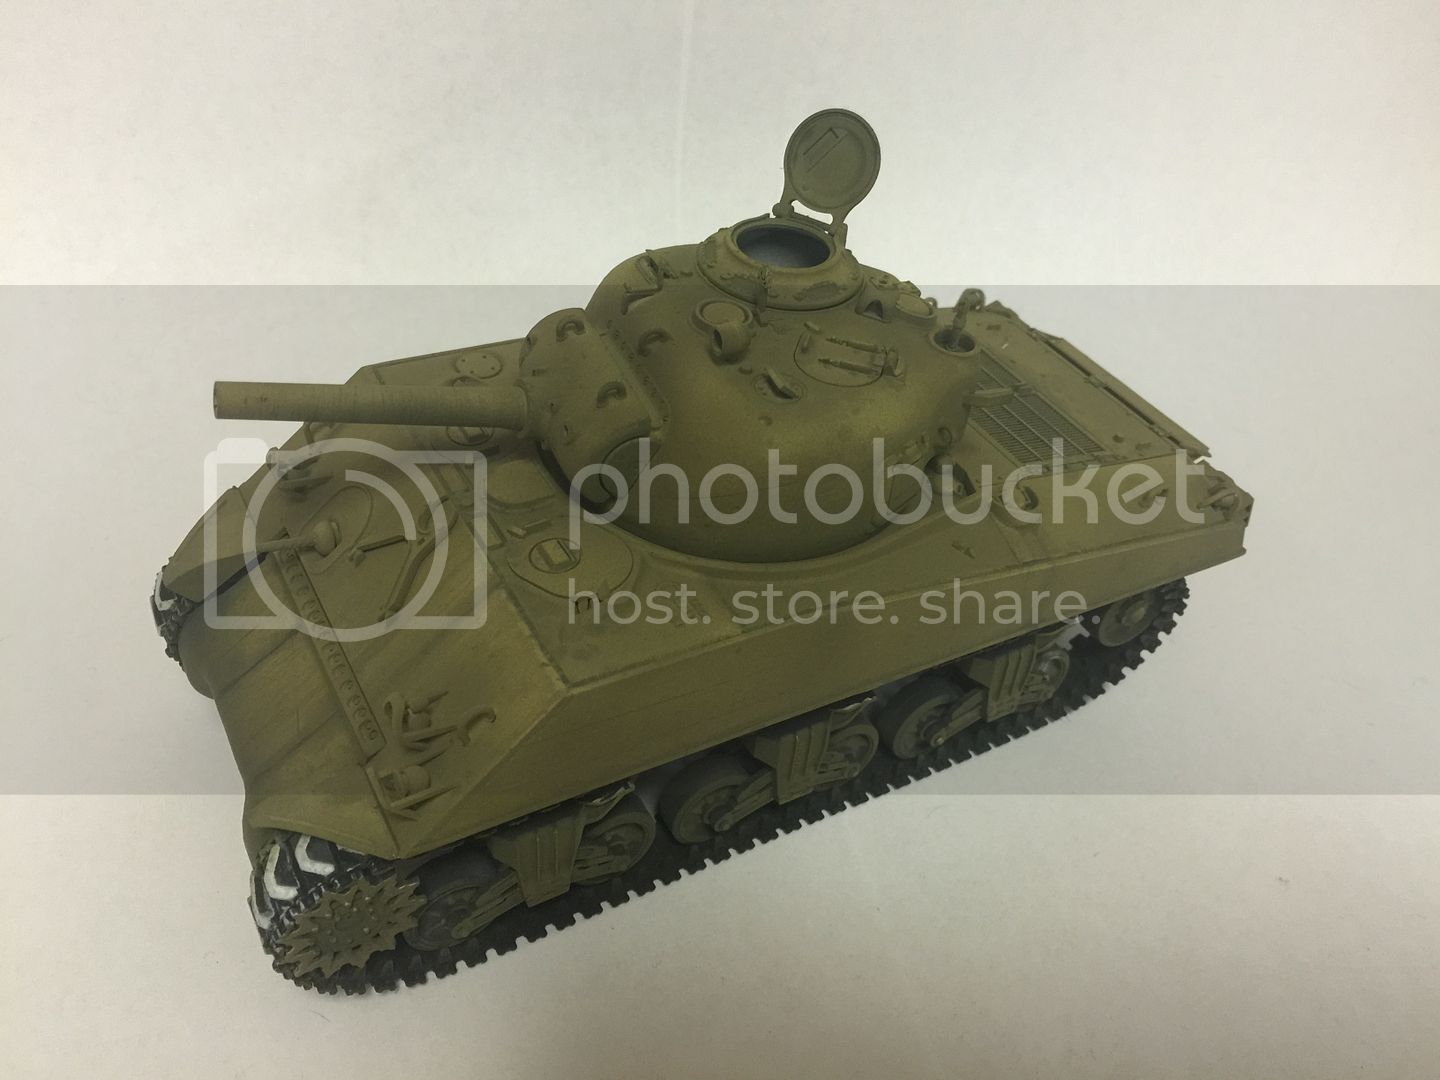
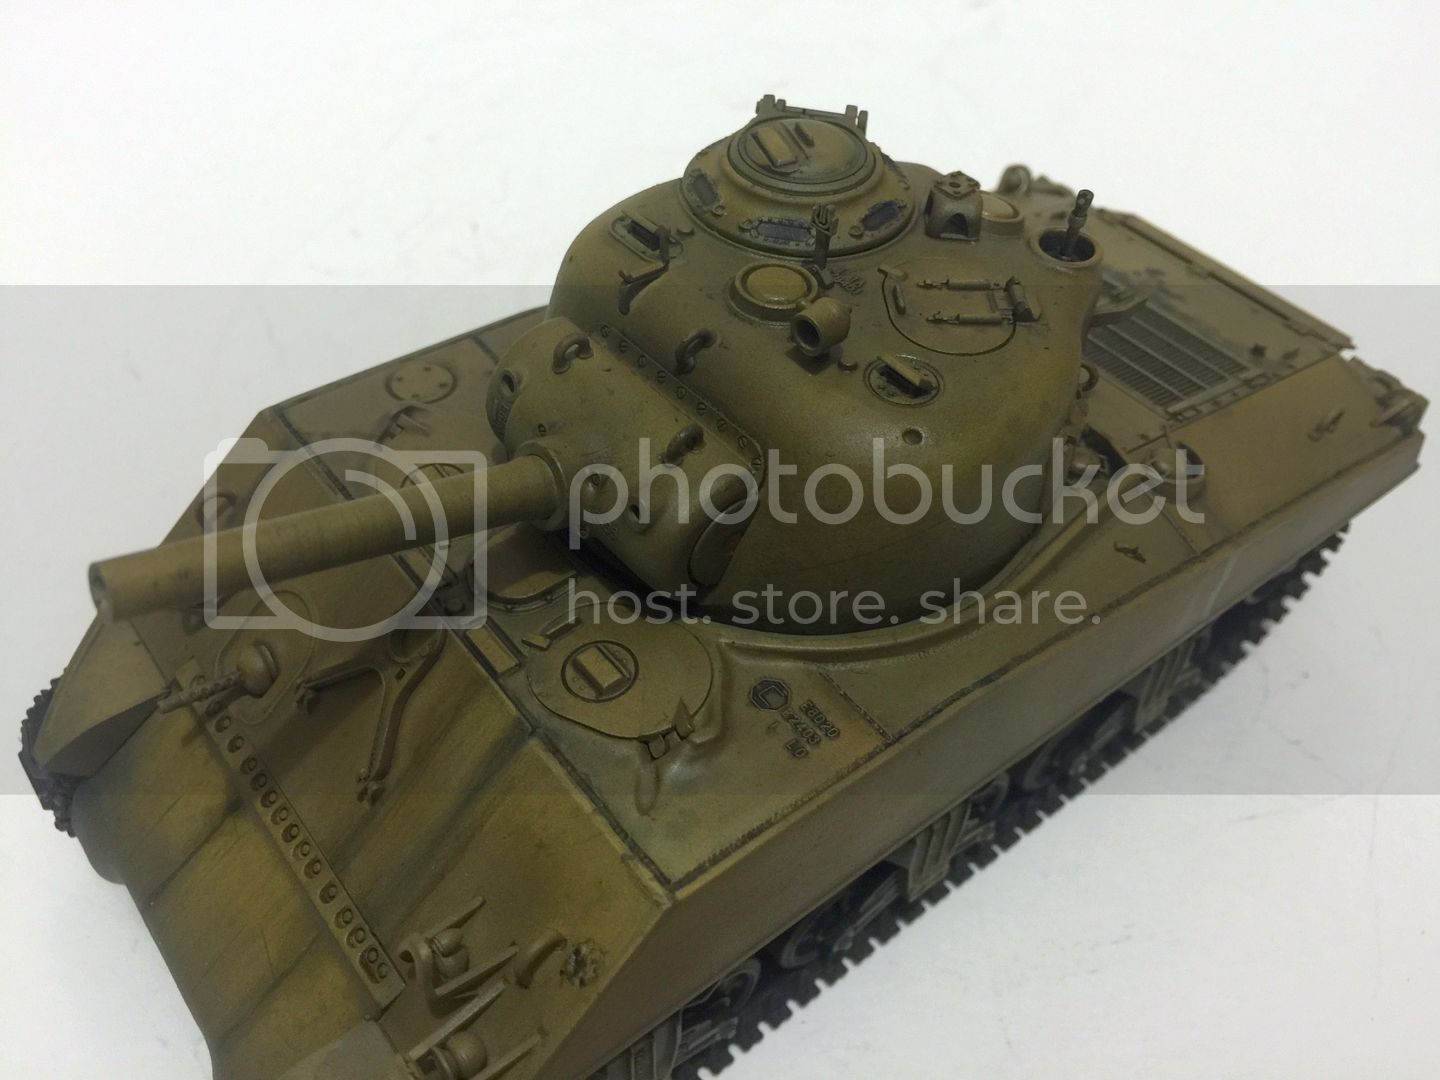
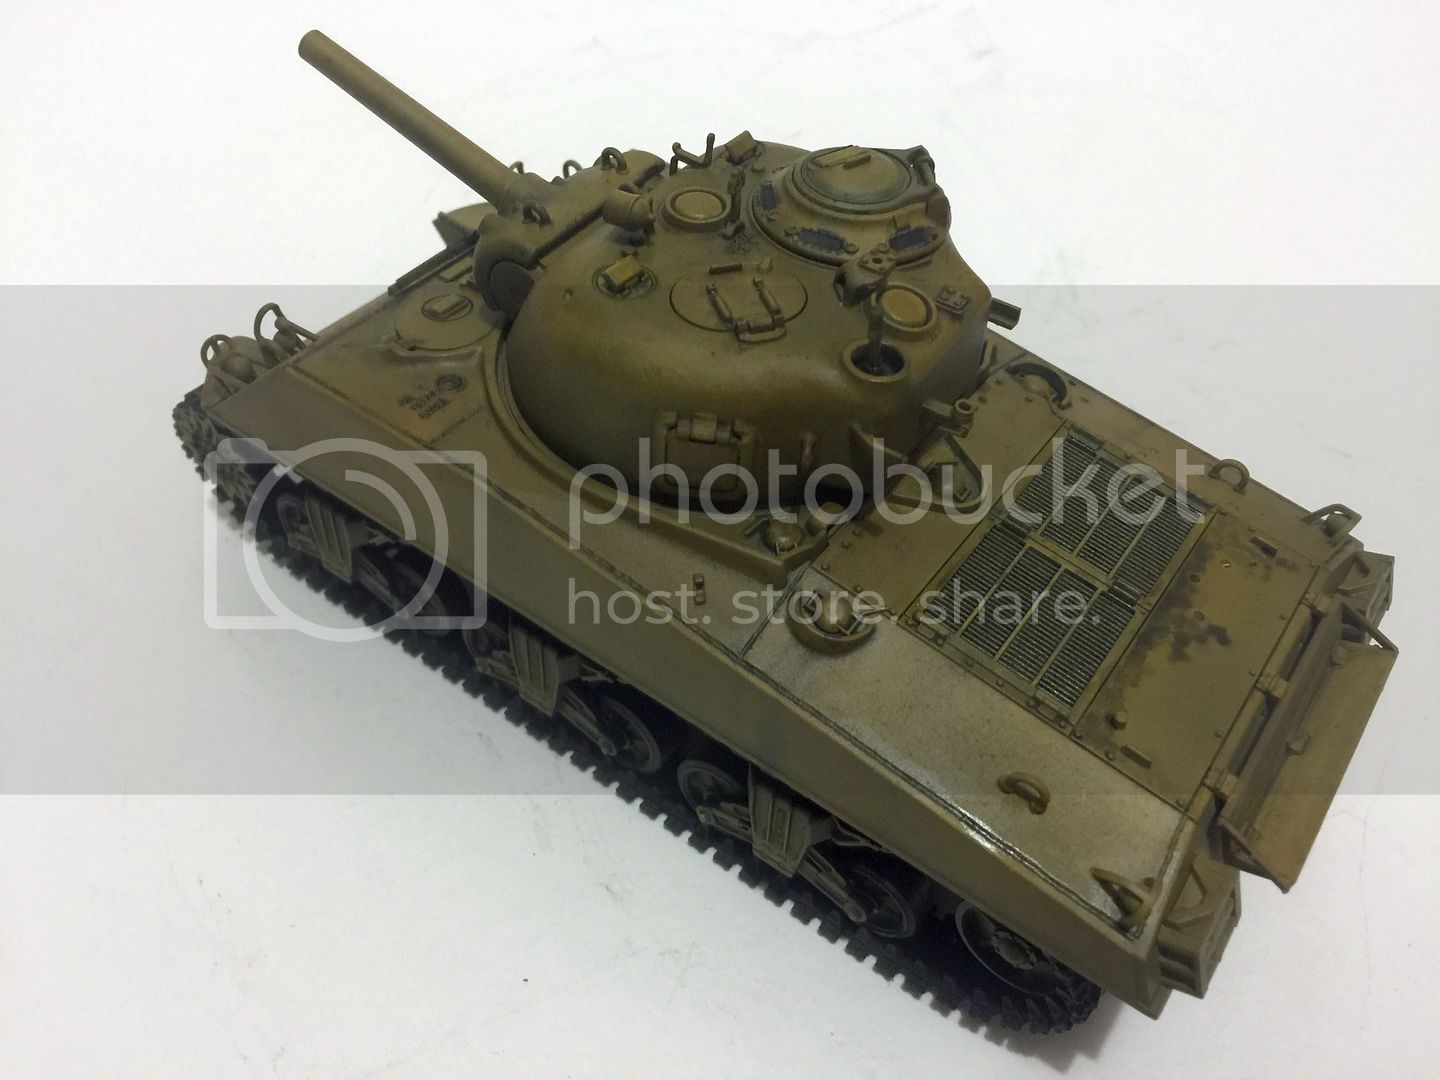
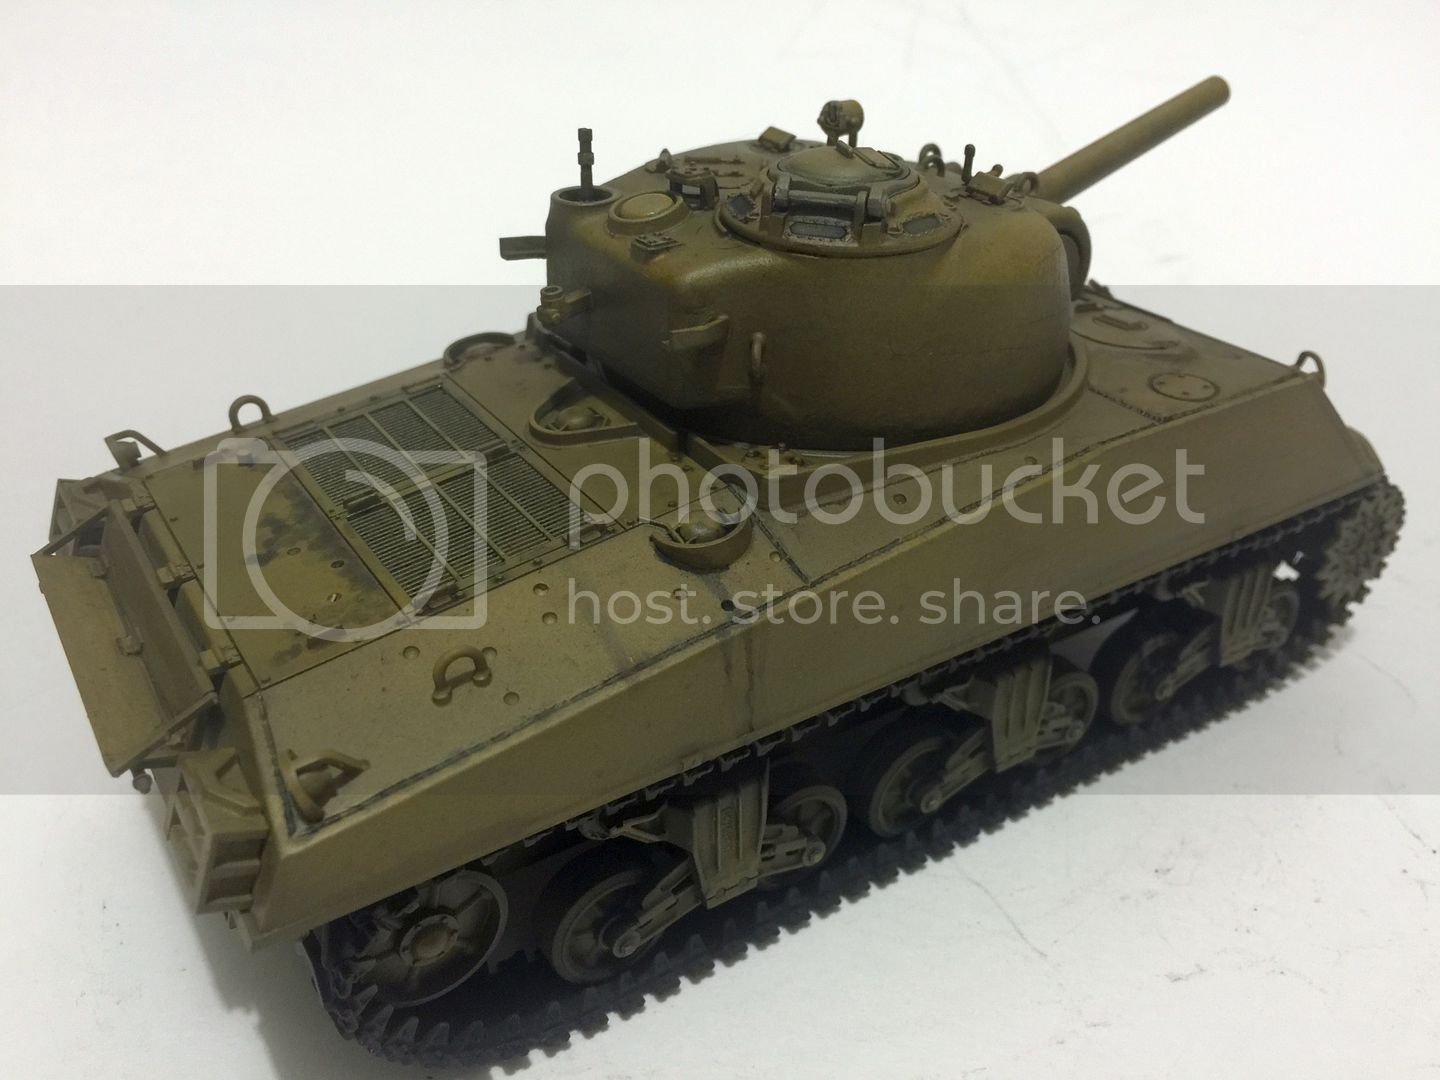
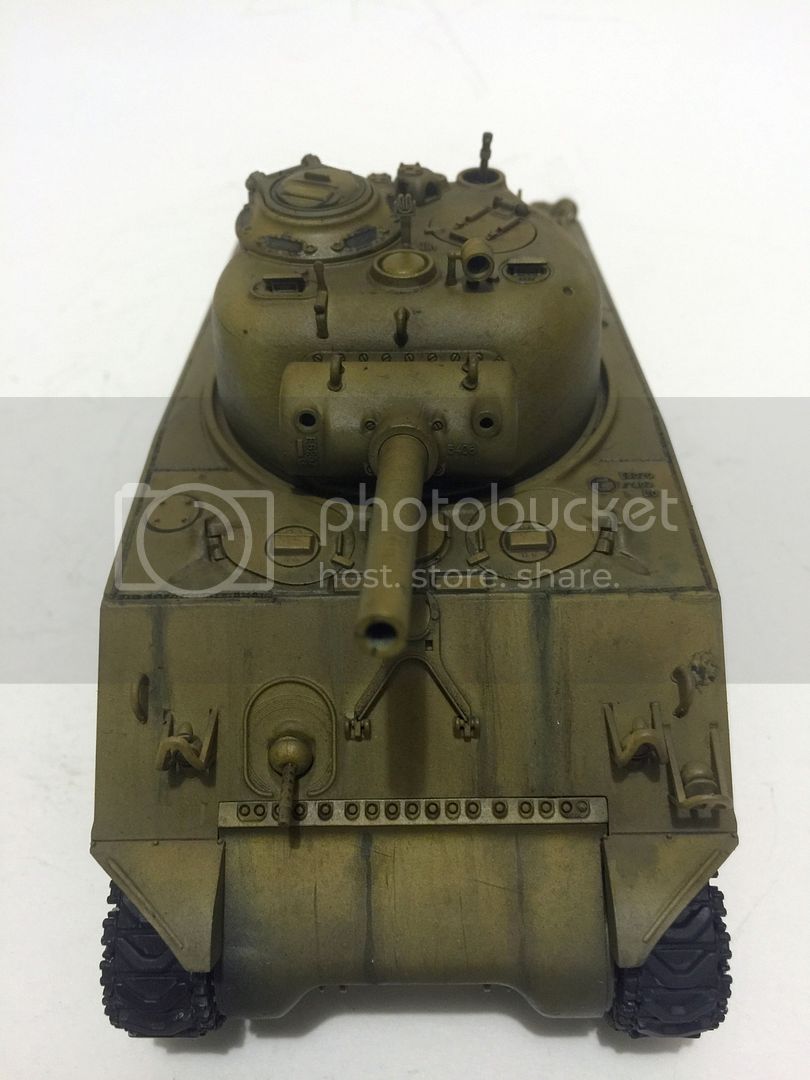
Yesterday progress, 2 layers of faded olive drab using a mix of tamiya olive drab and dark yellow.
On a closer look you can see the details done in black & white showing between the layers.
Very nice results although I don't know if I would have the patience with the black/white pre shading. Still I might have to give it a try. Not sure about the pre weathering concept as it seems backwards. Still it looks good. Curious to see how you complete the weathering process from this point. Interesting indeed.
"No plan survives contact with the enemy." Helmuth von Moltke the Elder
Puerto Rico
Joined: December 05, 2013
KitMaker: 314 posts
Armorama: 253 posts
Posted: Wednesday, December 02, 2015 - 06:02 PM UTC
Quoted Text
Quoted Text
must say that does give a good result... i am always too heavy handed in spraying over any pre-shading, really should try harder
I pre and post shade extensively. Two things to remember to get good results: paint should be thinned more than usual, almost like a wash, and build the finish in thin layers. You also don't need to be concerned with completely even coverage of the base coat as everything comes together with the post shading and weathering process. Hope this helps.
Perfectly explained, the color must be as thin as a wash, like using watercolors. Don't worry if the color is to light, the next washes, and weathering will help to achieve the final color and a great result overall.

Visit our site and learn more about our Club:
www.ipmsborinqueneers.com
England - North East, United Kingdom
Joined: June 22, 2010
KitMaker: 1,224 posts
Armorama: 1,207 posts
Posted: Wednesday, December 02, 2015 - 06:13 PM UTC
Quoted Text
Quoted Text
Quoted Text
must say that does give a good result... i am always too heavy handed in spraying over any pre-shading, really should try harder
I pre and post shade extensively. Two things to remember to get good results: paint should be thinned more than usual, almost like a wash, and build the finish in thin layers. You also don't need to be concerned with completely even coverage of the base coat as everything comes together with the post shading and weathering process. Hope this helps.
Perfectly explained, the color must be as thin as a wash, like using watercolors. Don't worry if the color is to light, the next washes, and weathering will help to achieve the final color and a great result overall.
thanks - whenever i over thin i lose control - i think its a PSI question too... got an old kit to try on....
Pennsylvania, United States
Joined: April 09, 2015
KitMaker: 1,063 posts
Armorama: 1,000 posts
Posted: Wednesday, December 02, 2015 - 06:23 PM UTC
You are correct. The thinner the paint the less pressure required. Even though your paint has a wash like consistency, it should still go on like a normal paint, it should not pool or puddle and dry fairly quickly. I also tend to work in an irregular pattern which also helps to give a more varied look to the overall finish making it more visually interesting. Again everything gets tied together through the weathering process.
"No plan survives contact with the enemy." Helmuth von Moltke the Elder
Puerto Rico
Joined: December 05, 2013
KitMaker: 314 posts
Armorama: 253 posts
Posted: Thursday, December 03, 2015 - 05:08 PM UTC
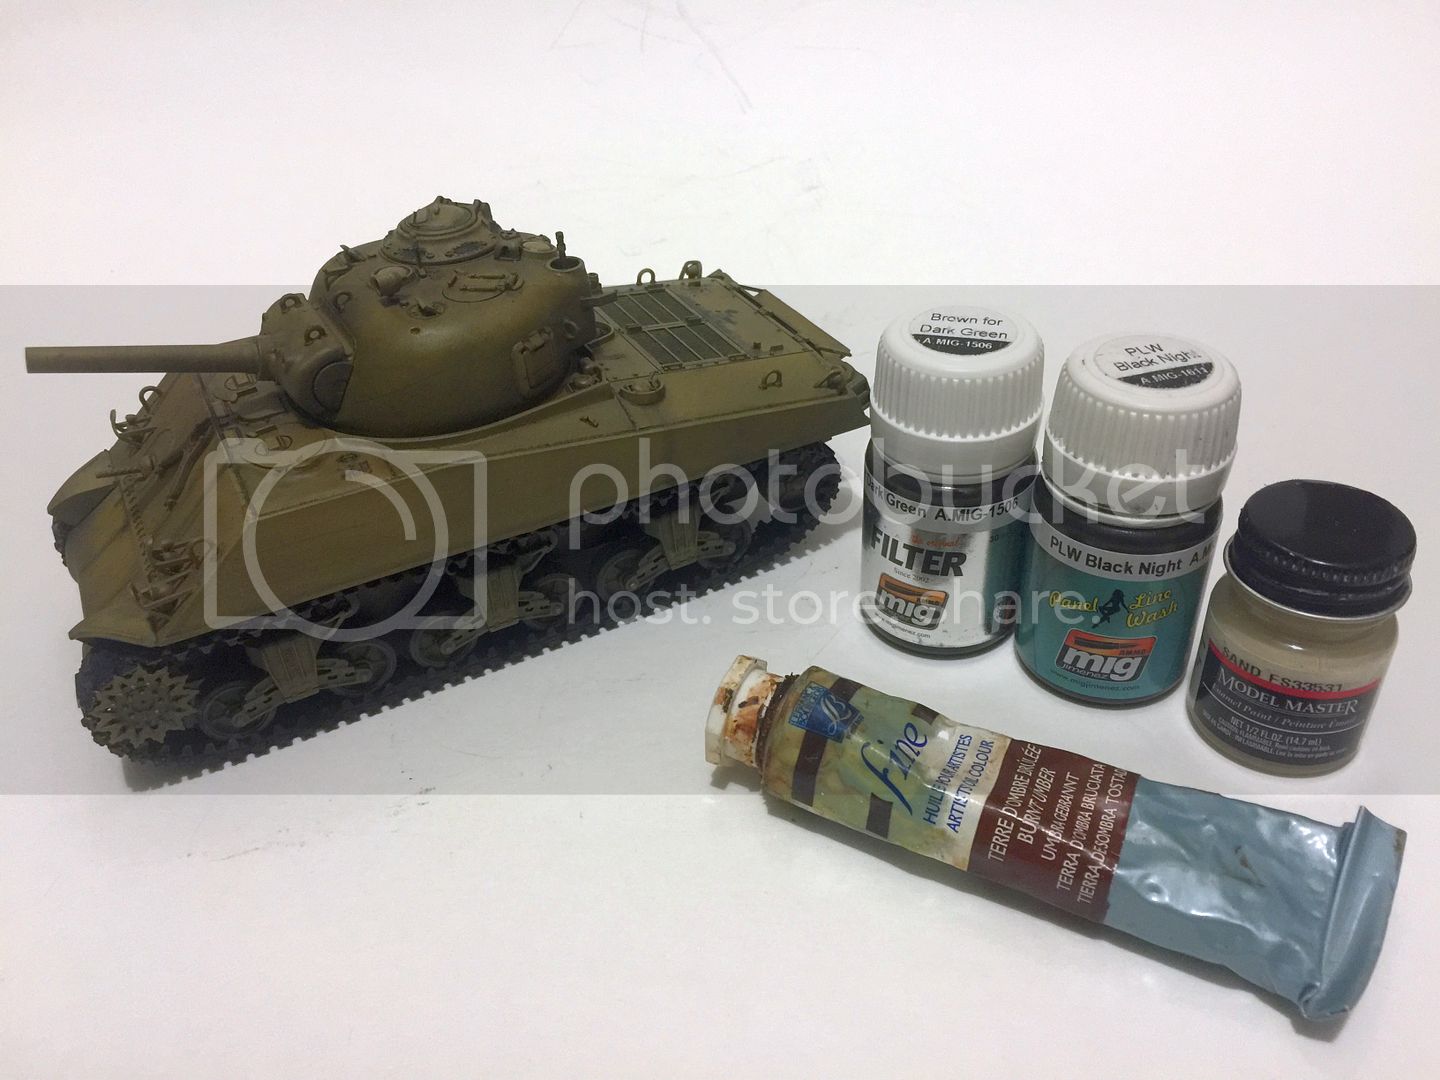
Last night I sealed again the kit with satin varnish and leave it to rest for 24 hours, so while this goes on, Here I share another Gif showing the steps of the tank in black and white but now showing the first step with colors.

Visit our site and learn more about our Club:
www.ipmsborinqueneers.com
Puerto Rico
Joined: December 05, 2013
KitMaker: 314 posts
Armorama: 253 posts
Posted: Saturday, December 05, 2015 - 07:12 AM UTC
Visit our site and learn more about our Club:
www.ipmsborinqueneers.com