_GOTOBOTTOM
Constructive Feedback
For in-progress or completed build photos. Give and get contructive feedback!
Asuka M4 Late
russamotto
Visit this Community
Utah, United States
Joined: December 14, 2007
KitMaker: 3,389 posts
Armorama: 2,054 posts
Posted: Tuesday, December 15, 2015 - 11:42 PM UTC
This is my first venture into an Asuka/Tasca kit. After having read for years of how great they were, and seeing that I could get this at a decent price, I decided to jump in.

First off, the box art and build up photos supplied by Asuka make the kit look toy-like. Only having one marking option may also turn some modelers off of the subject. The kit subject is a Pullman Standard built M4 with the 54 degree hull, round single piece transmission cover, applique armor and late D50878 turret with the low bustle, cast cheek armor and no pistol port, split commander's hatch and no loaders hatch.

Markings are for "Fay", an "F" company tank from the 66th tank regiment, 2nd armored division US, which landed at Normandy on June 9, 1944. This information is from the box art. I have searched all over the internet and can only find photos of "Fury" from the 2nd AD. I did, however, find this nice photos of tanks from the 754th tank battalion at Bougainville. The tanks were received in a batch in March 1944, and rushed into battle on the 12th of that month when the Japanese launched a counter attack.

http://www.worldwarphotos.info/gallery/usa/tanks/m4-sherman-tank/37-infantry-division-m4-shermans-platoon-in-column-in-bougainville-jungle-1944/

I'm not expert enough to pick out other tanks and determine clearly if they are Pullman Standard or ALCO.

The kit looks very nice in the box, but did not include the M2 .50 cal MG. I was able to contact Asuka and they have informed me a replacement will be sent.

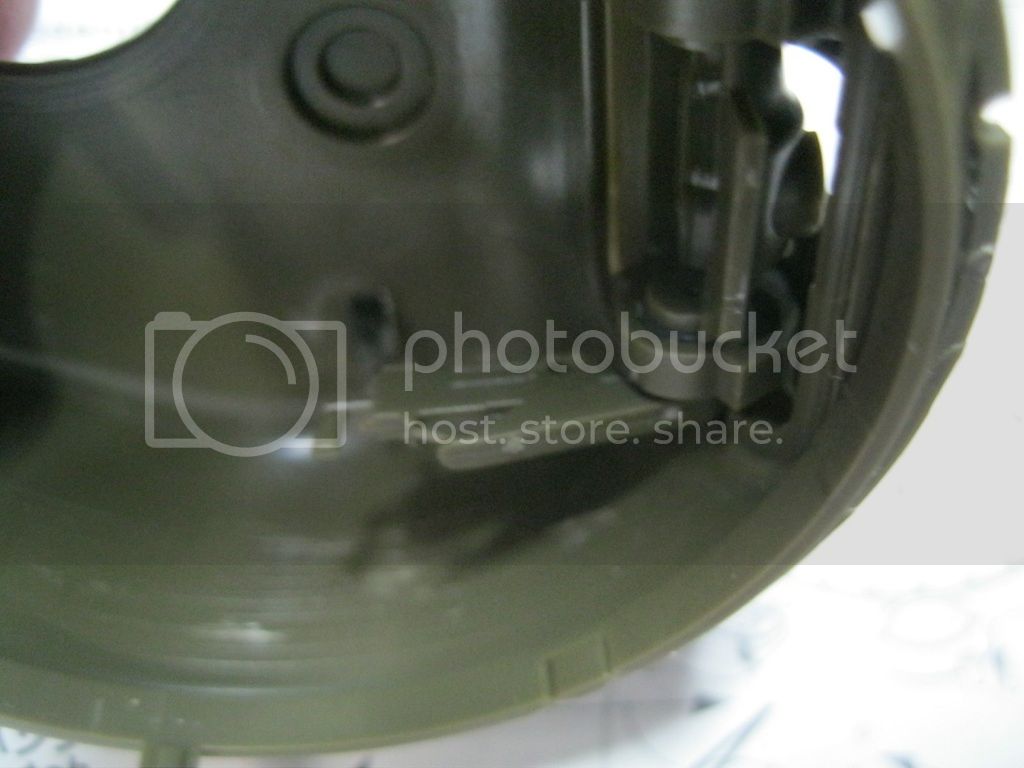
The quality of the kit parts looks excellent overall though there is quite a bit of flash on many of the small parts and a surprising number of sink marks. Most won't be seen but a few are noticeable. Also, there are very fine machining marks visible on many of the parts from the mold. This leaves a very fine lined pattern on some parts.

Construction begins with the drive sprocket and idler, transmission housing and bogie assemblies. There are casting numbers on the bogies but none on the transmission.
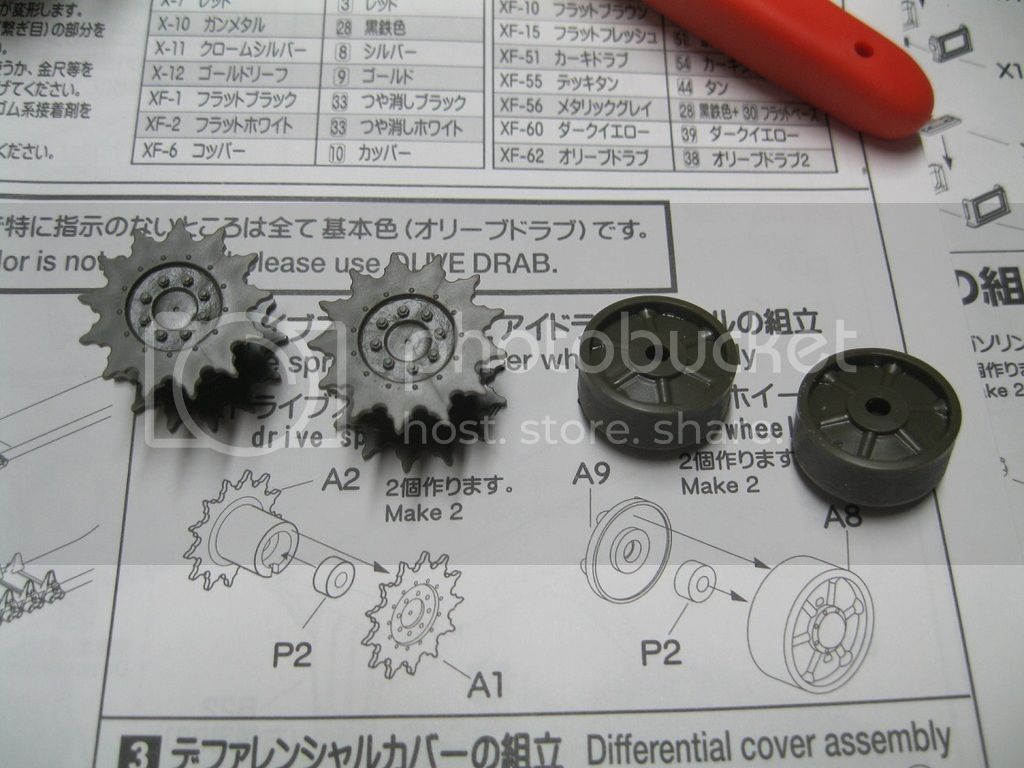
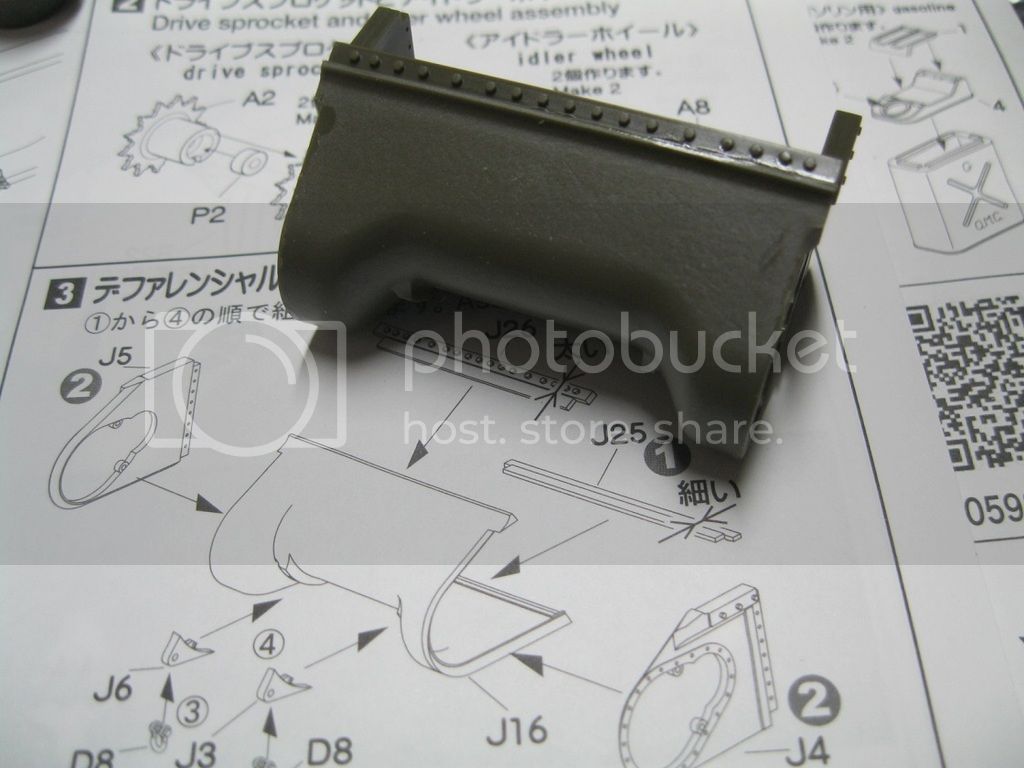
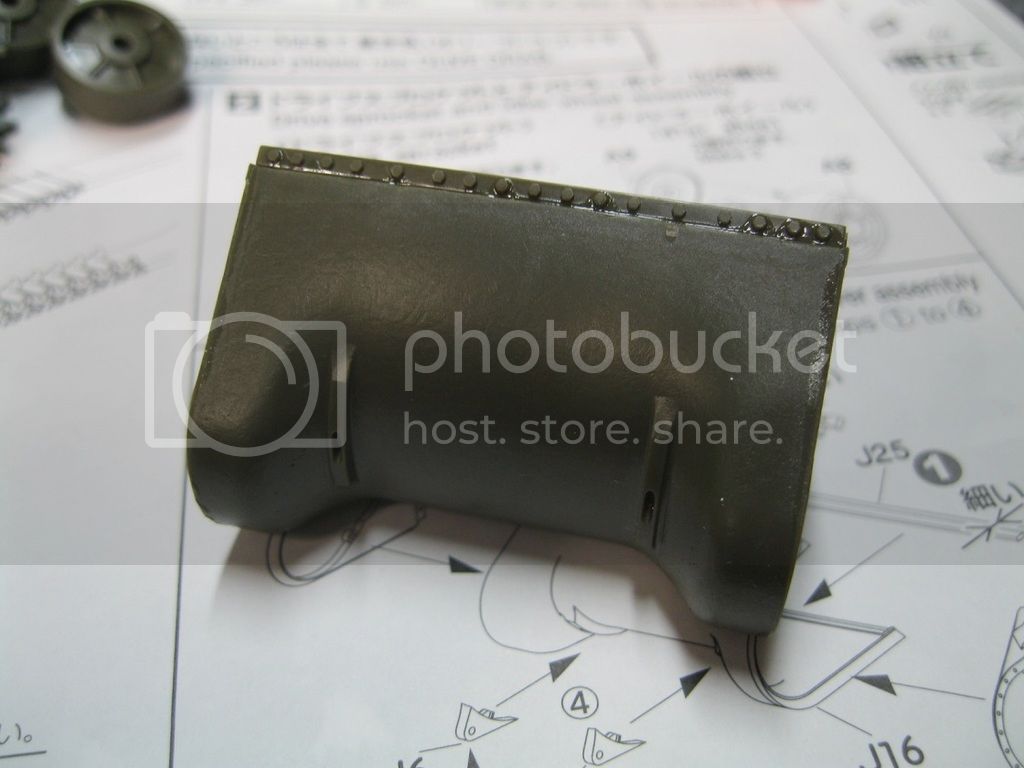
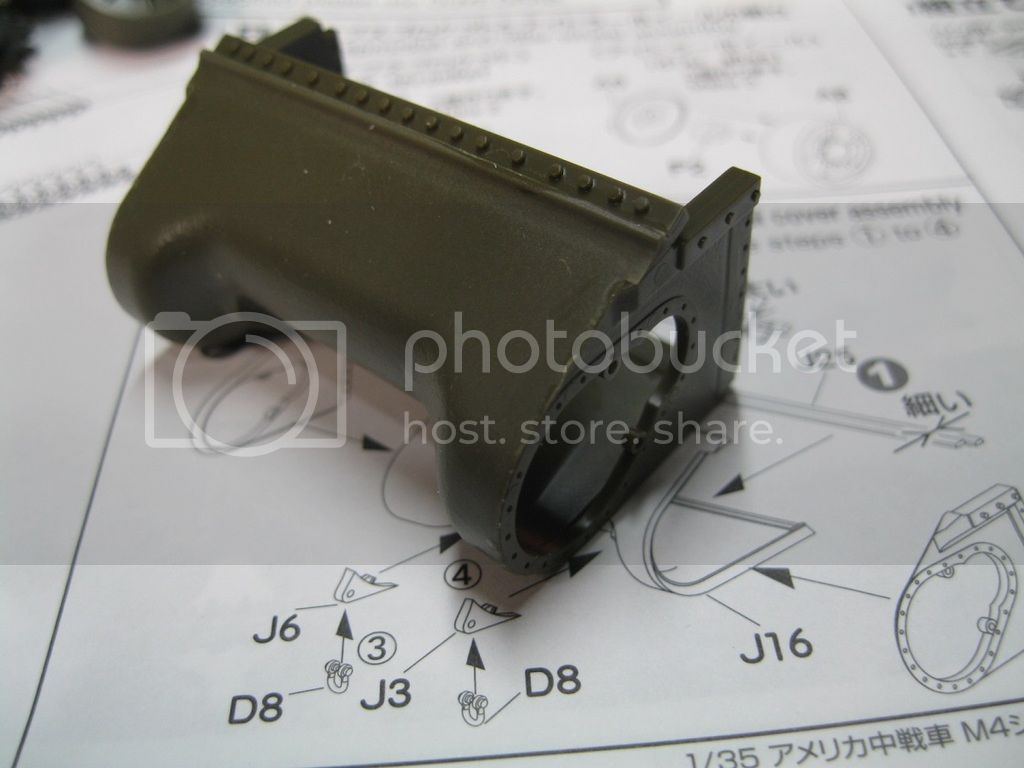

The transmission includes the top and bottom bolt strips and the bolt strip along the side of the hull, which is nice to see.

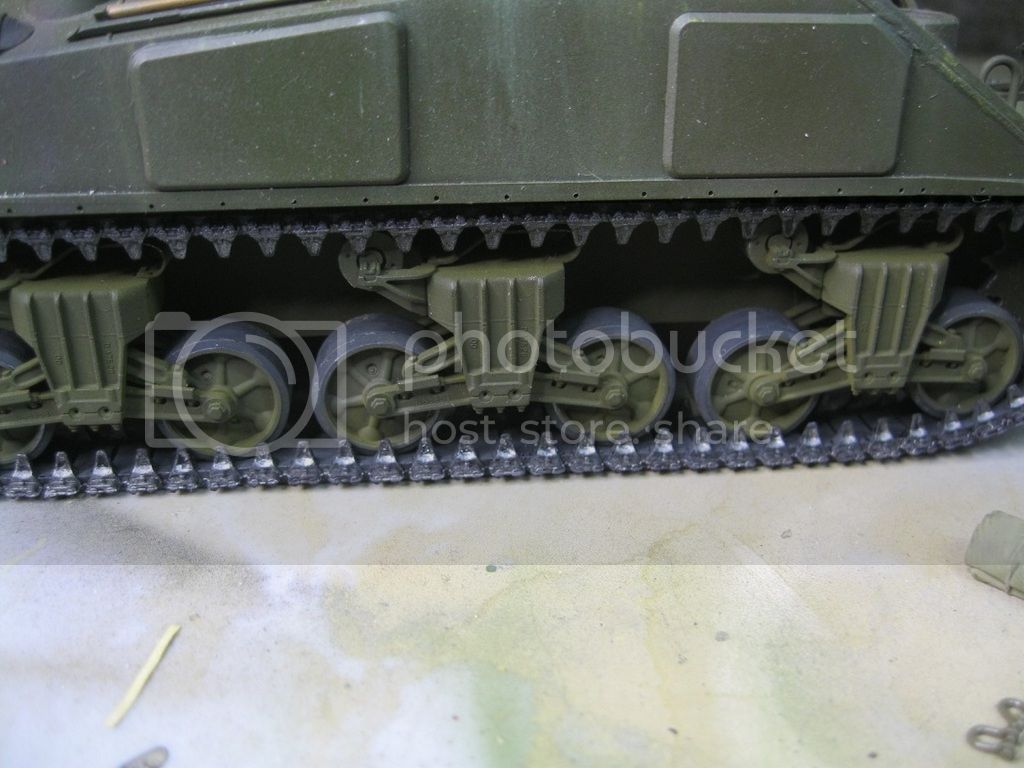
The bogies can be built with some rubber type inserts that allow the VVSS suspension to articulate and compress. You cut three small pieces out and place them inside the bogie unit and the compression spring unit can move up and down in a groove. The material is fairly soft and my concern is that over time it would compress on its own and the suspension would flatten out. The included option is a plastic insert that holds everything in place. Not indicated in the instructions is that there are three different pieces that will allow you to show the suspension at different degrees of compression. I opted to go for this route, selecting option B.
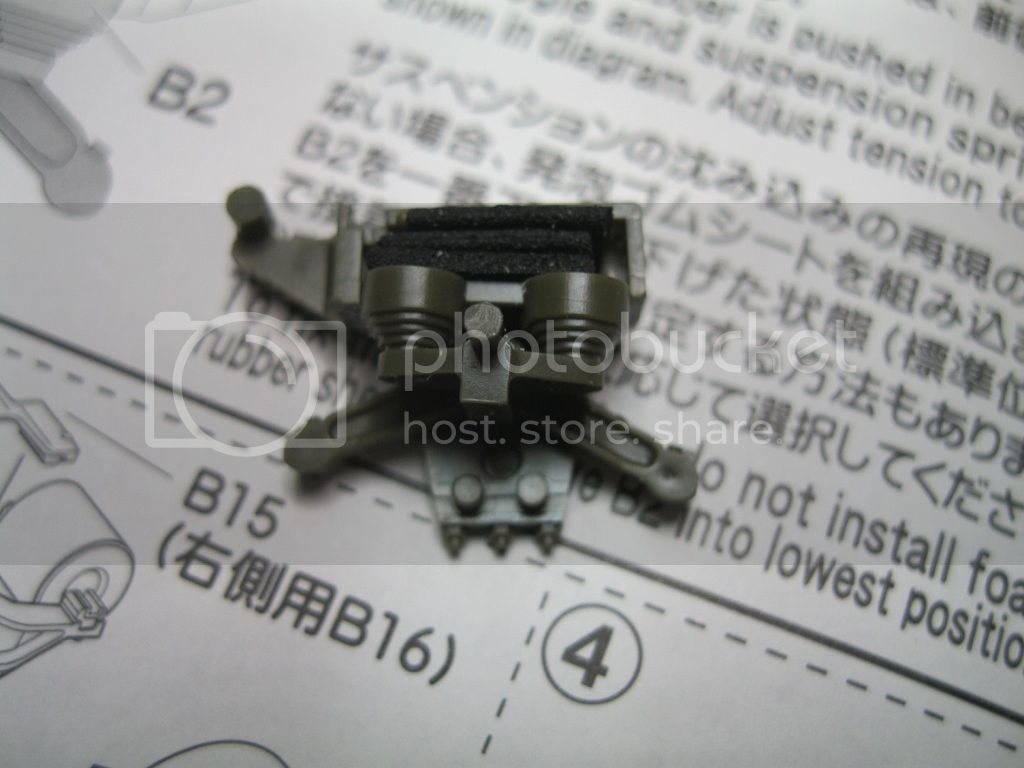
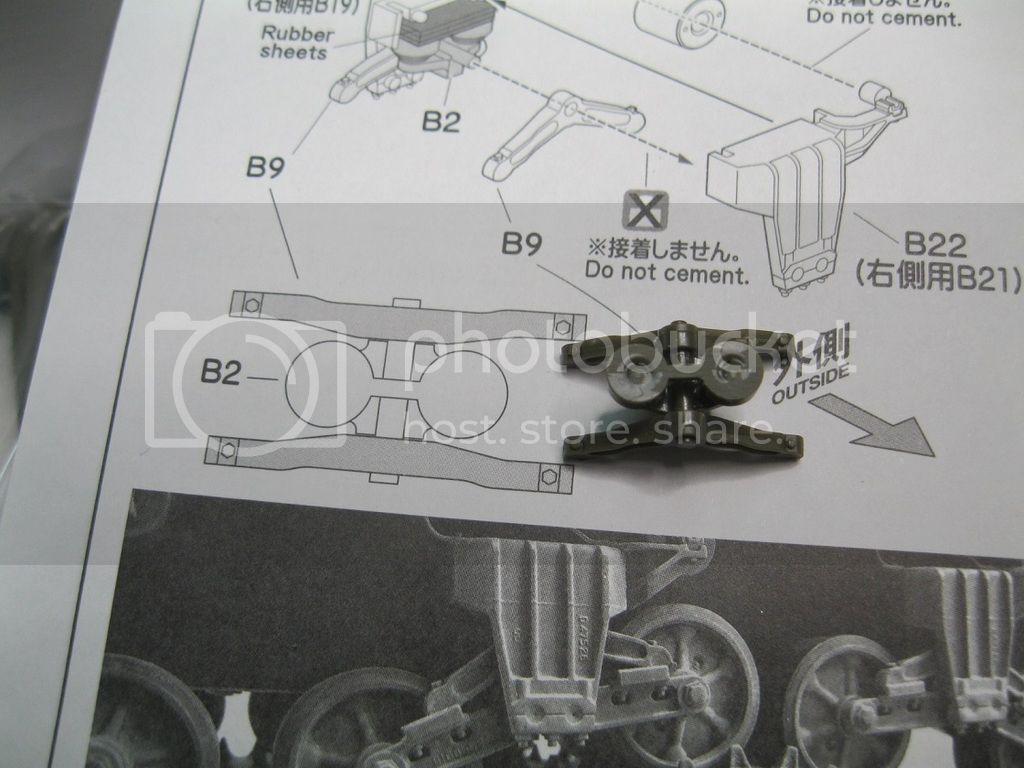

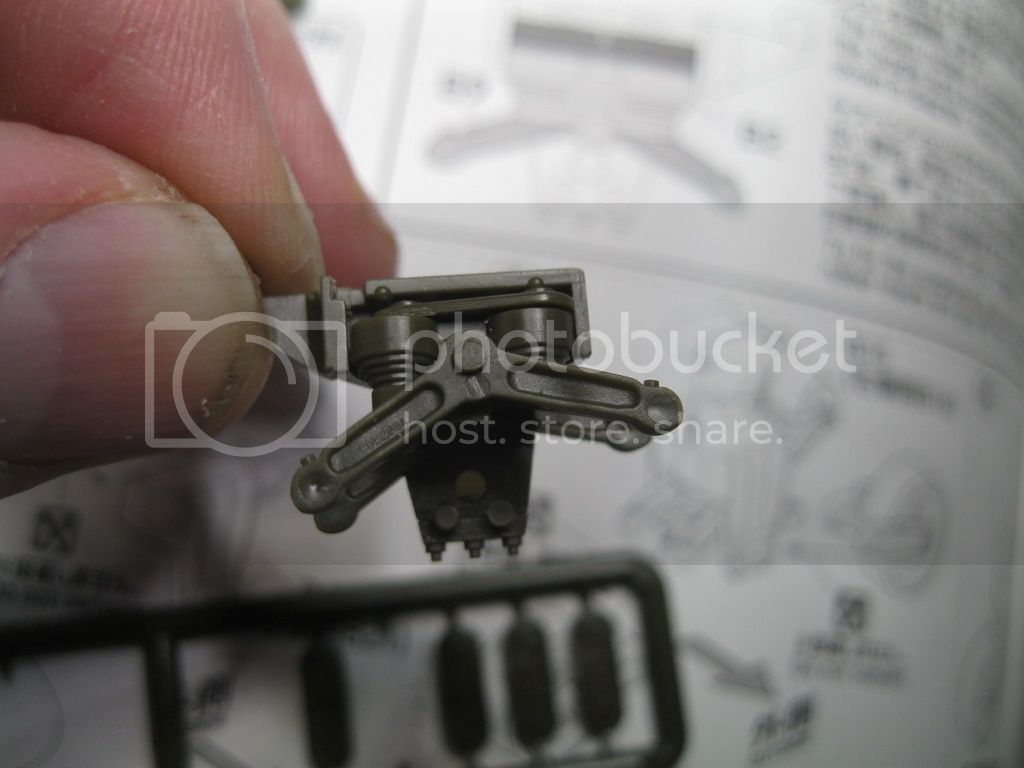


The road wheels needed to be sanded down to remove the heavy mold seam and even out the tire. The area at the mold seam was somewhat sunken on two of the wheels and required a little more sanding to get it even. Once everything was assembled the suspension was still poseable but didn't compress.

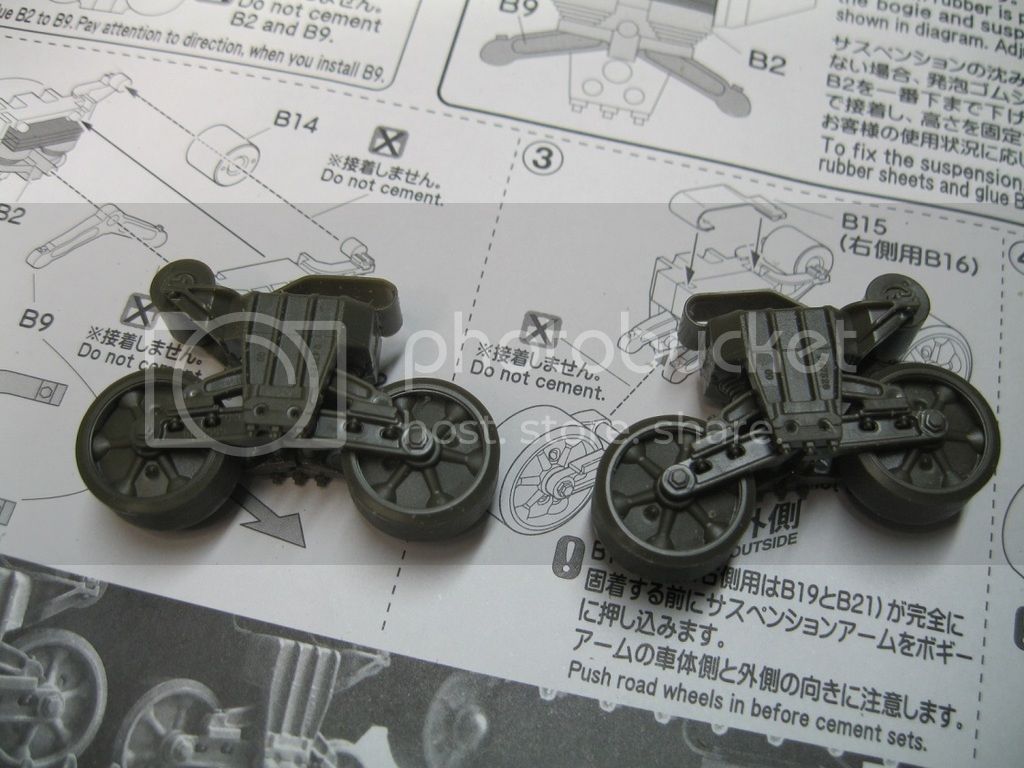


The offset skid is missing one bolt on the inside front that can be sourced from the early type skid also offered in the kit. There are small rivets that can be placed around the rim of the road wheel for enhanced accuracy but I can't see the parts that well.

Next up is assembly of the lower hull. It comes as multiple parts and is a perfect setup for an interior kit that I hope will one day be offered in plastic.


I then skipped over a couple of steps and added the upper hull to the lower. For me it is easier to add the big parts and then do the small parts as I don't knock them off as often. Once the hull sections were together I went about adding the details.


The little white tabs on the rear are styrene stock to fill two small holes not used for this version. As I looked over the kit I could see more clearly some of the sink marks and how visible they would be.


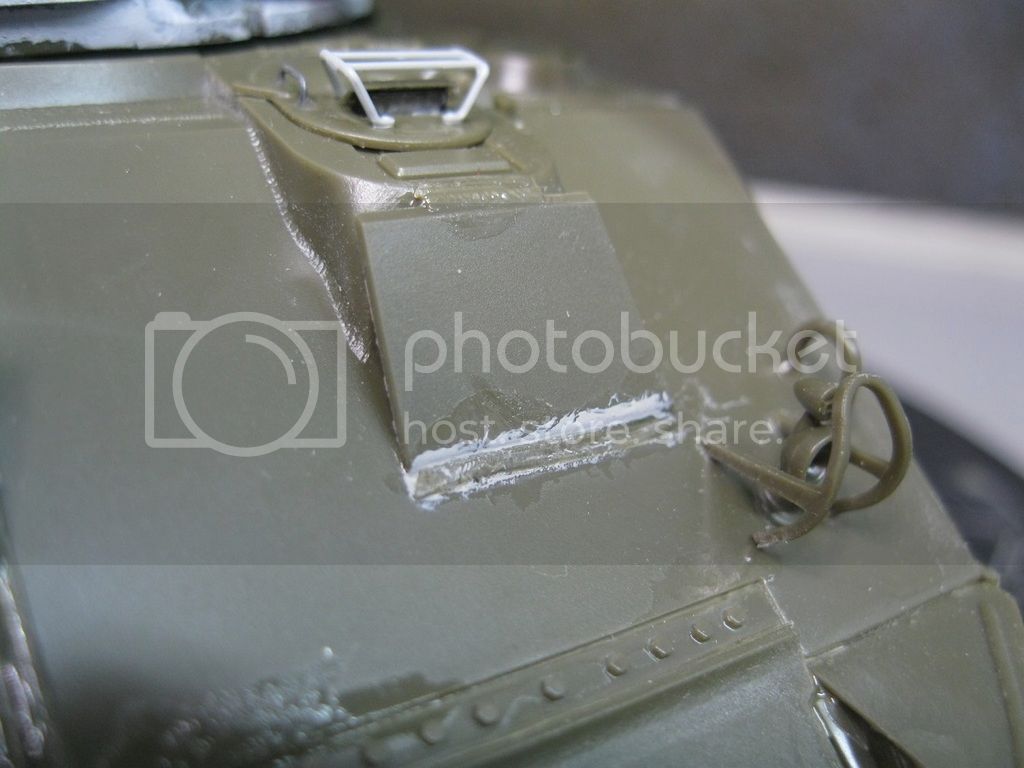
When I went to add the applique armor for the hoods I discovered that I was supposed to have drilled out two small holes in front of each hood to place the armor plates. This was not indicated in the instructions. Going off of photos I placed them as best I could. I will need to add the weld lines.
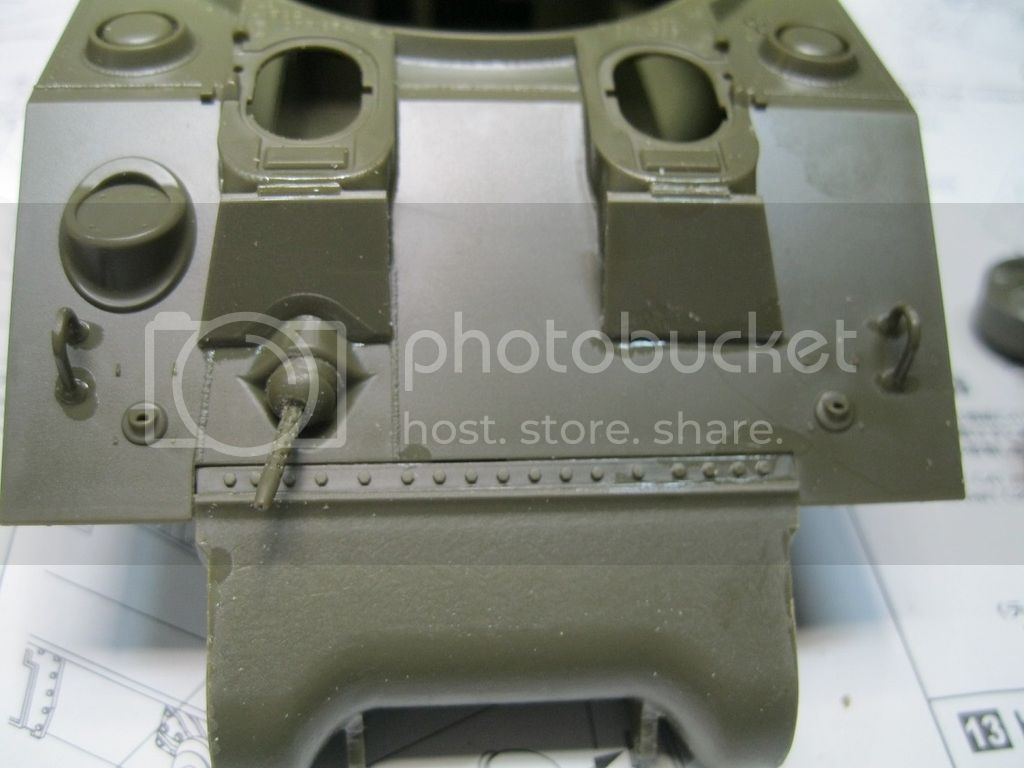

One little note. The hull MG is a full piece and is moveable. Of all the Sherman kits I have built, only the Italeri had this feature, while almost every German tank has a fully detailed gun.

Next I added the round air cleaners called out for in the instructions. They require some cleanup as the two halves didn't mate perfectly. There are four tie rods included. I lost two to the carpet, but only two are visible unless you look really closely, so I wasn't too worried. I then added the plates for the engine deck. The plastic is quite hard, but reacts quickly to Tamiya thin cement. Even a tiny amount looks like a major spill on the plastic.
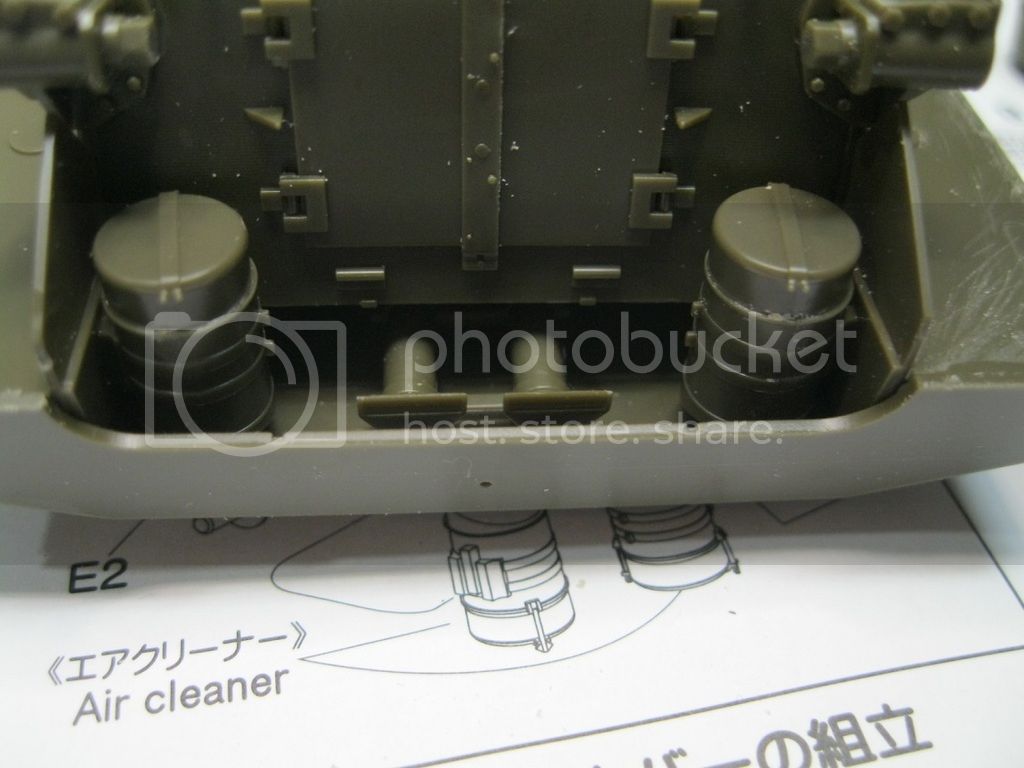


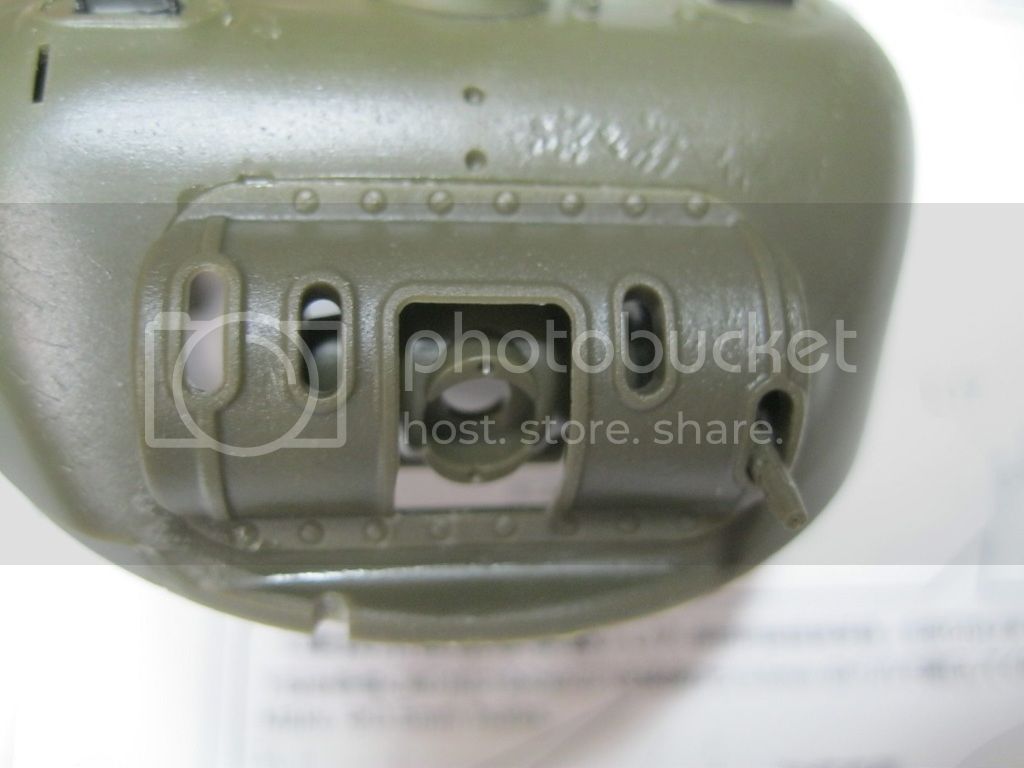
The etch mesh insert for the air intake attaches to the cover, which is then placed on the hull. Other items like vent covers and fuel lids, lifting rings and shackle mounts have been put on as well.
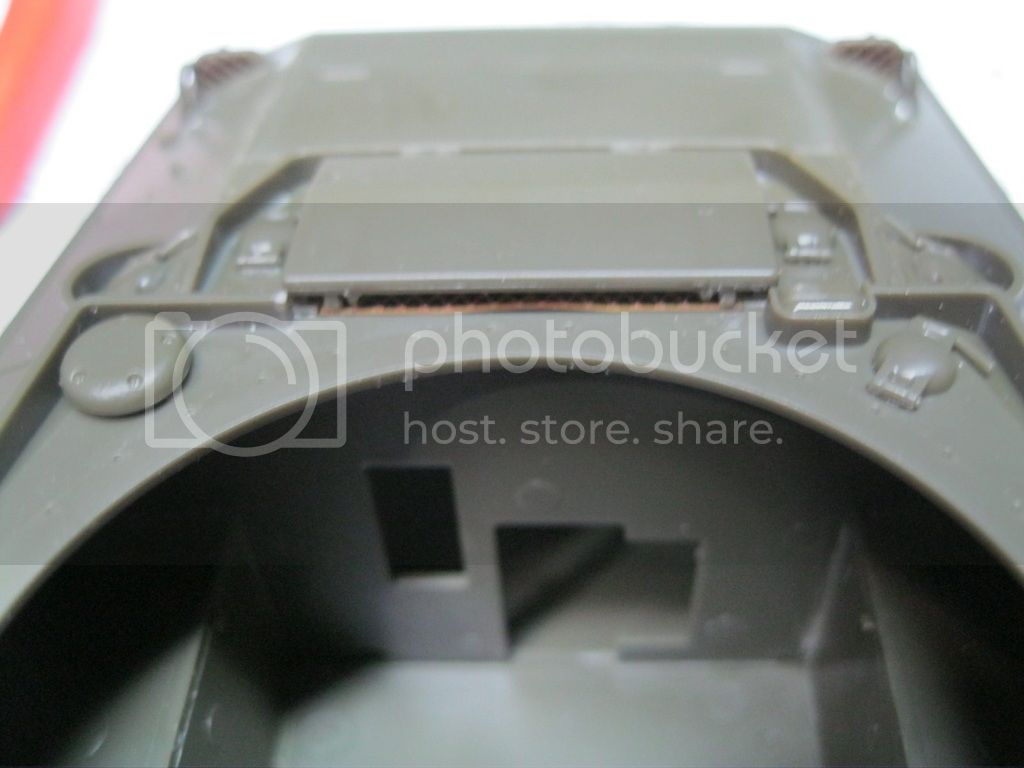

There are casting numbers on the hoods which look very nice. The hatches can be posed open or closed. As there is no interior detail and I don't have figures for the driver and co driver, I closed them up. You can choose between clear and solid green plastic periscopes. I went with the clear. The spring attachment is indicated with a full scale drawing on the instructions and there are good photos of the real thing at Sherman minutia for reference. There is a periscope cover but not the wire brush guard.
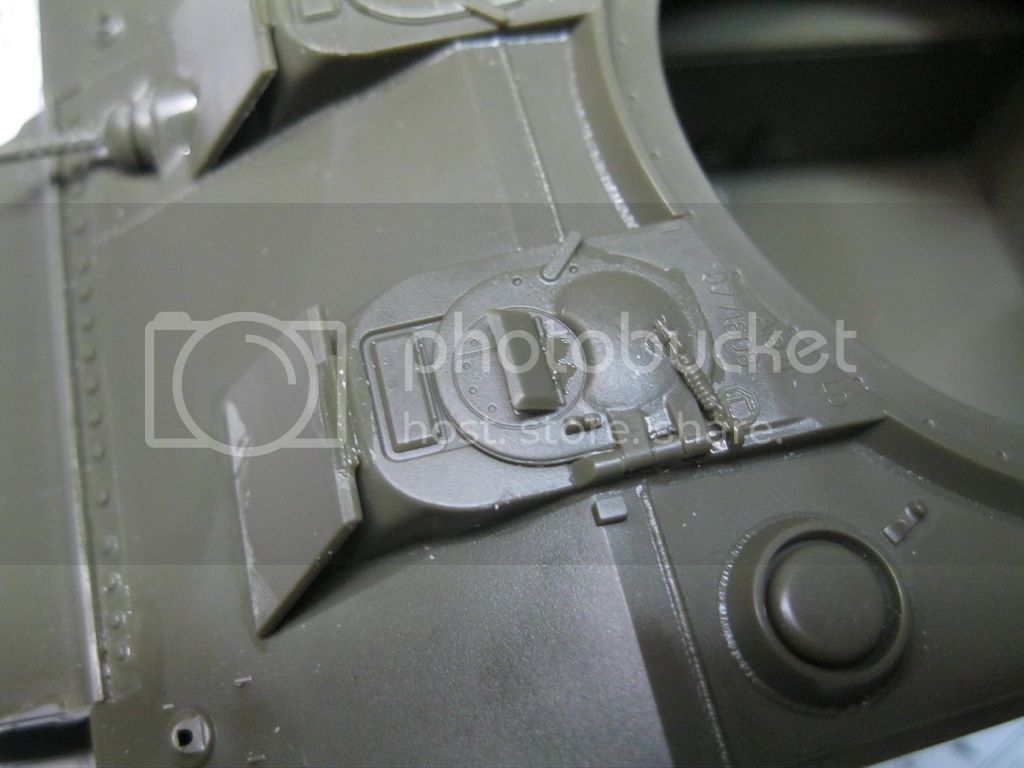

That is as far as I have made it for now. Tonight I will finish off the main details on the hull and complete the turret. Even with the extra parts in the suspension there aren't a lot of parts to this kit, and the build is going very quickly.

If you have tips or suggestions, or a photo of "Fay", please post them. Thanks.
retiredyank
Visit this Community
Arkansas, United States
Joined: June 29, 2009
KitMaker: 11,610 posts
Armorama: 7,843 posts
Posted: Wednesday, December 16, 2015 - 01:34 PM UTC
Thank you for posting this. I was under the impression that Asuka/Tasca models were the holy grail of Shermans. This post proves that wrong. I look forward to your progress, but will remain dubious.
pseudorealityx
Visit this Community
Georgia, United States
Joined: January 31, 2010
KitMaker: 2,191 posts
Armorama: 1,814 posts
Posted: Wednesday, December 16, 2015 - 07:39 PM UTC
I've built at 4 Tasca Shermans, and own more. That's the first time I've ever seen a sink mark on a return roller.
panamadan
Visit this Community
Minnesota, United States
Joined: July 20, 2004
KitMaker: 1,513 posts
Armorama: 1,449 posts
Posted: Wednesday, December 16, 2015 - 08:38 PM UTC
I'm with Jeese on this. Something has happened to their molds.
Dan
M4A1Sherman
Visit this Community
New York, United States
Joined: May 02, 2013
KitMaker: 4,403 posts
Armorama: 4,078 posts
Posted: Wednesday, December 16, 2015 - 09:34 PM UTC

Quoted Text

I'm with Jeese on this. Something has happened to their molds.
Dan


Sink marks happen when the molds are operating at higher temperatures than they should be. This can be corrected easily enough, but it sometimes goes unnoticed. The kit looks great, otherwise.
M4A1Sherman
Visit this Community
New York, United States
Joined: May 02, 2013
KitMaker: 4,403 posts
Armorama: 4,078 posts
Posted: Wednesday, December 16, 2015 - 09:36 PM UTC

Quoted Text

I've built at 4 Tasca Shermans, and own more. That's the first time I've ever seen a sink mark on a return roller.


Agree, as to the sink marks. And ditto on the building of TASCA Shermans plus what's on my "To Build" shelves... Then again, ASUKA took the molds over from TASCA- It's entirely possible that ASUKA's production crews aren't as watchful when it comes to quality control and molding machine set-ups. I worked in a plastic injection-molding plant from 1978 to 1984, so I know a few things about the set-up and molding processes on plastic injection molding machines...
pseudorealityx
Visit this Community
Georgia, United States
Joined: January 31, 2010
KitMaker: 2,191 posts
Armorama: 1,814 posts
Posted: Wednesday, December 16, 2015 - 10:51 PM UTC

Quoted Text


Quoted Text

I've built at 4 Tasca Shermans, and own more. That's the first time I've ever seen a sink mark on a return roller.


Agree, as to the sink marks. And ditto on the building of TASCA Shermans plus what's on my "To Build" shelves... Then again, ASUKA took the molds over from TASCA- It's entirely possible that ASUKA's production crews aren't as watchful when it comes to quality control and molding machine set-ups. I worked in a plastic injection-molding plant from 1978 to 1984, so I know a few things about the set-up and molding processes on plastic injection molding machines...


My understand is that Asuka IS Tasca, not a case of taking over molds. Just a brand rename.
marcb
Visit this Community
Overijssel, Netherlands
Joined: March 25, 2006
KitMaker: 1,244 posts
Armorama: 1,226 posts
Posted: Thursday, December 17, 2015 - 03:21 AM UTC
Shapeways offers printed periscope guards
http://www.shapeways.com/shops/mmcdesign
pbudzik
Visit this Community
California, United States
Joined: January 12, 2014
KitMaker: 55 posts
Armorama: 47 posts
Posted: Thursday, December 17, 2015 - 10:48 AM UTC
Reading your posting, I was curious to verify your findings on Tasca's latest kit. Indeed, the sink marks that you show are present in the "Fay" kits that I have. They are not present in any of the 20 odd other Tasca kits that I have.

That said ... I also looked through some of your earlier postings of Sherman subjects and noticed that while you describe certain aspects of a kit, you seem to steer clear of dimensional and detail accuracy as well as rendition of shapes ... very important aspects that Tasca nails and seem to be illusive to other manufacturers like Academy and, to some extent, Dragon. Tasca's rendition of the final drive assembly is the best of the Sherman bunch. You mention the parting lines on the wheels, yet if you compare them to any other manufacturers wheel, the parting line is less pronounced and the wheel cross section is the squarest of any wheel out there. Detail of the Tasca kits are generally finer and cleaner than other Shermans. The small delicate parts are thinner and more prototypical as well as better sprued so as not to obliterate surrounding detail. Properly assembled, a Tasca lower hull will be the squarest hull available. So while I appreciate your efforts, IMHO, some of what you are presenting is a bit misleading especially when compared to the other Shermans on the market.

My 2p
Paul Budzik
M4A1Sherman
Visit this Community
New York, United States
Joined: May 02, 2013
KitMaker: 4,403 posts
Armorama: 4,078 posts
Posted: Thursday, December 17, 2015 - 01:57 PM UTC

Quoted Text


Quoted Text


Quoted Text

I've built at 4 Tasca Shermans, and own more. That's the first time I've ever seen a sink mark on a return roller.


Agree, as to the sink marks. And ditto on the building of TASCA Shermans plus what's on my "To Build" shelves... Then again, ASUKA took the molds over from TASCA- It's entirely possible that ASUKA's production crews aren't as watchful when it comes to quality control and molding machine set-ups. I worked in a plastic injection-molding plant from 1978 to 1984, so I know a few things about the set-up and molding processes on plastic injection molding machines...


My understand is that Asuka IS Tasca, not a case of taking over molds. Just a brand rename.


Hi, Jesse! I'm not sure on that, but you probably know more about ASUKA being TASCA- I admit that I don't know much about the name switch. I know from personal experience that sometimes when there is new ownership or even just a name change with supposedly the same crew running things, changes are not always for the better.

It could be that ASUKA/TASCA management might have made changes in their production staff. Or, more likely, the machine set-ups weren't checked as closely as they could have been; sink marks in plastic can be dealt with just by just turning down the operating temperatures in the molding process by a few degrees...
27-1025
Visit this Community
North Carolina, United States
Joined: September 16, 2004
KitMaker: 1,281 posts
Armorama: 1,222 posts
Posted: Monday, December 21, 2015 - 12:58 AM UTC
Think your kit might be an anomaly. I just got my 'Fay' kit today and none of the sink marks you showed us are present on my kit. Was the first thing I checked since reading this thread.
M4A1Sherman
Visit this Community
New York, United States
Joined: May 02, 2013
KitMaker: 4,403 posts
Armorama: 4,078 posts
Posted: Monday, December 21, 2015 - 01:31 AM UTC

Quoted Text

Think your kit might be an anomaly. I just got my 'Fay' kit today and none of the sink marks you showed us are present on my kit. Was the first thing I checked since reading this thread.


Must be Russ just received a "fluke". I haven't bought any of ASUKA's kits yet, but will probably buy their M4 soon... My TASCA kits have all been OK...
russamotto
Visit this Community
Utah, United States
Joined: December 14, 2007
KitMaker: 3,389 posts
Armorama: 2,054 posts
Posted: Monday, December 21, 2015 - 06:51 AM UTC
I wondered if the sink marks were just an issue with it being the first run, as I have seen that issue before. I am glad the sink marks are not in every box, but they are easily taken care of.

Marc, thanks for the link to shapeways.

Paul, I don't provide measurements because I don't have equipment to make accurate measurements beyond school type rulers and protractors that my kids use for school, and my only references are from online sources. As far as the kit is concerned, I consider this the best fitting M4 I have built, and I really like all the detail, particularly with the suspension. I have also used your construction tips as reference for many of my builds, for which I offer sincere thanks. I'm not trying to be misleading, just showing what I have in my box, and what I have assembled with my skill level.
I do have some progress to show, but I need to get access to my computer with enough time to load photos.
Me109G
Visit this Community
United States
Joined: December 12, 2007
KitMaker: 170 posts
Armorama: 138 posts
Posted: Monday, December 21, 2015 - 08:13 AM UTC
I've built Tasca Sherman's and have had no issues with flash or sink marks. They are great kits. I'm surprised yours did. Seems like an anomoly.
russamotto
Visit this Community
Utah, United States
Joined: December 14, 2007
KitMaker: 3,389 posts
Armorama: 2,054 posts
Posted: Monday, December 28, 2015 - 12:08 AM UTC
After an unintended delay here is a brief update. First, John Hale over at Missing Lynx posted this link to video footage showing Fay in England prior to crossing the Channel. http://www.criticalpast.com/stock-footage-video/65675074621

It was nice to see the details not just for Fay but for other vehicles and preparations being made to get them ready.

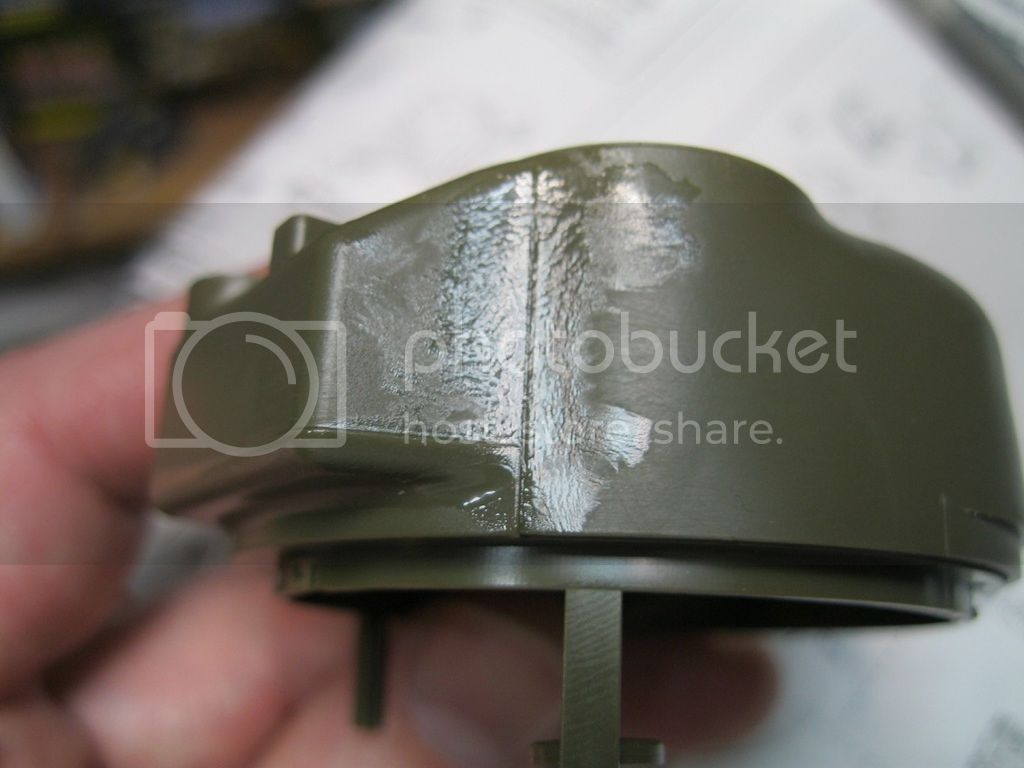
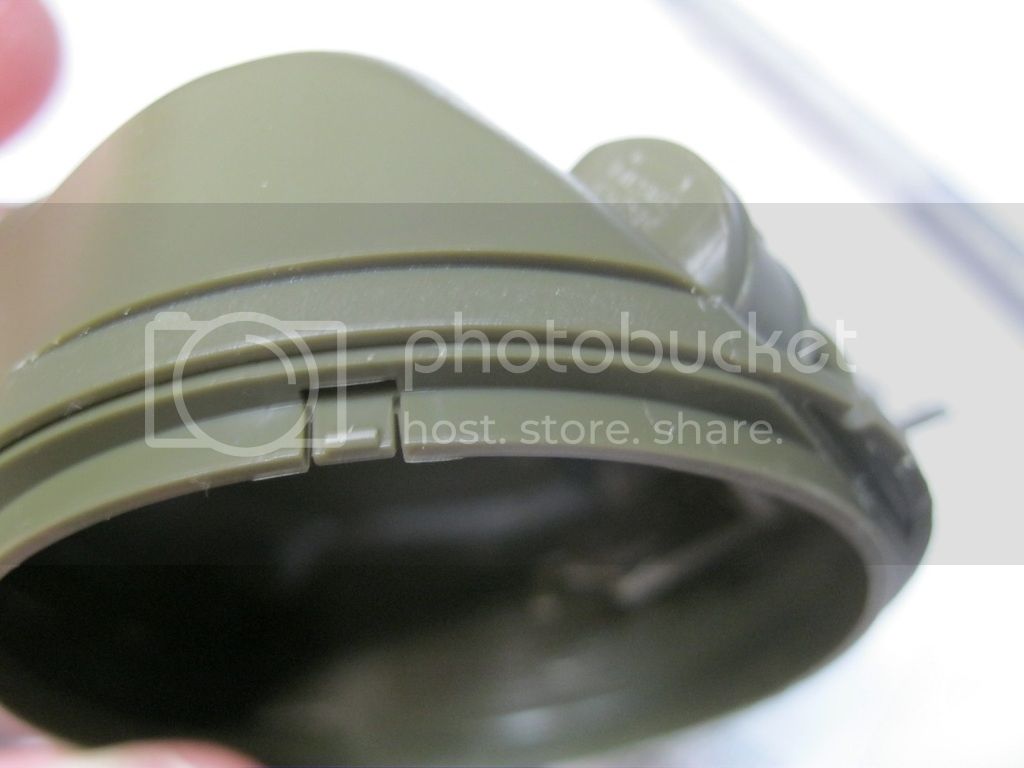
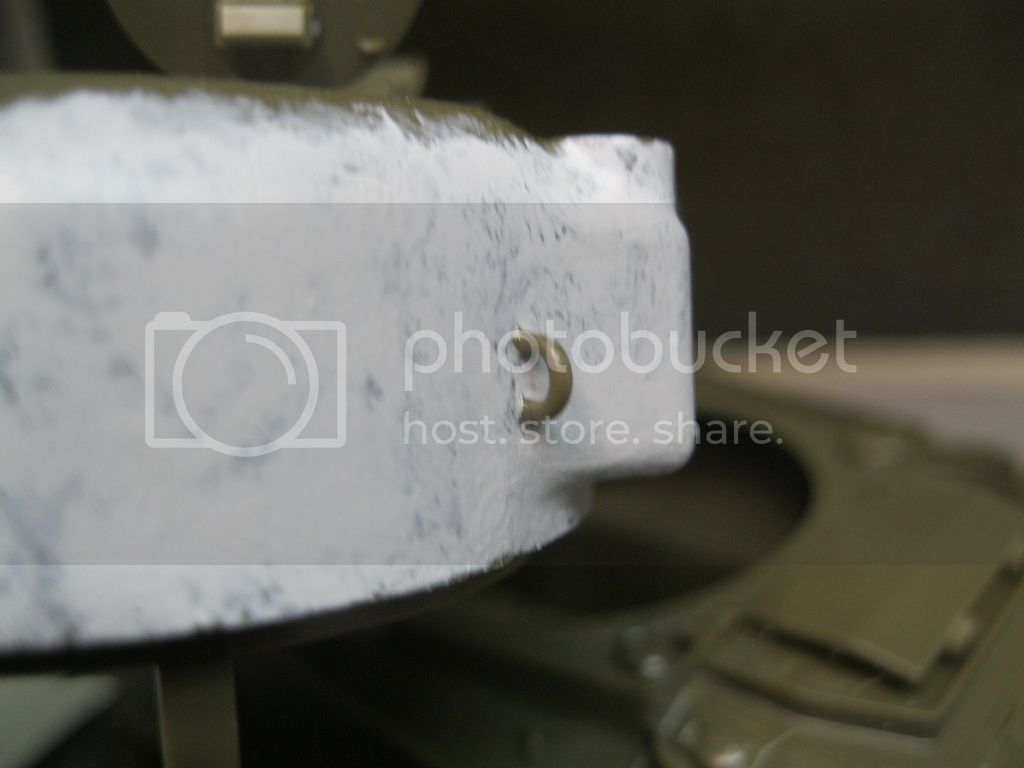
For this build, I went back and forth between the turret and hull. The turret gun mount has vinyl washers that allow it to move more easily. The .30 cal MG is a full gun mount but as there is no breech for the 75mm gun it doesn't really matter. Still, it is nice to see it included. The gun mount has nice detail, including casting numbers on the side. The turret has a seam line from molding on the right rear at the bustle. I also provided a photo of the built up cheek armor.


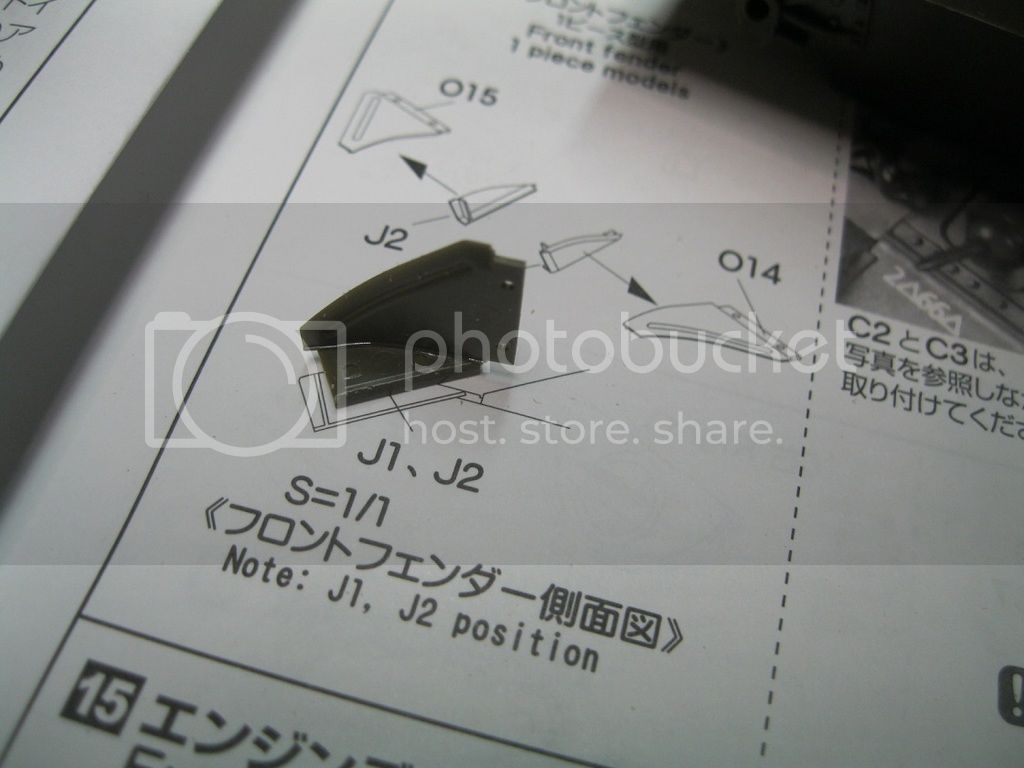
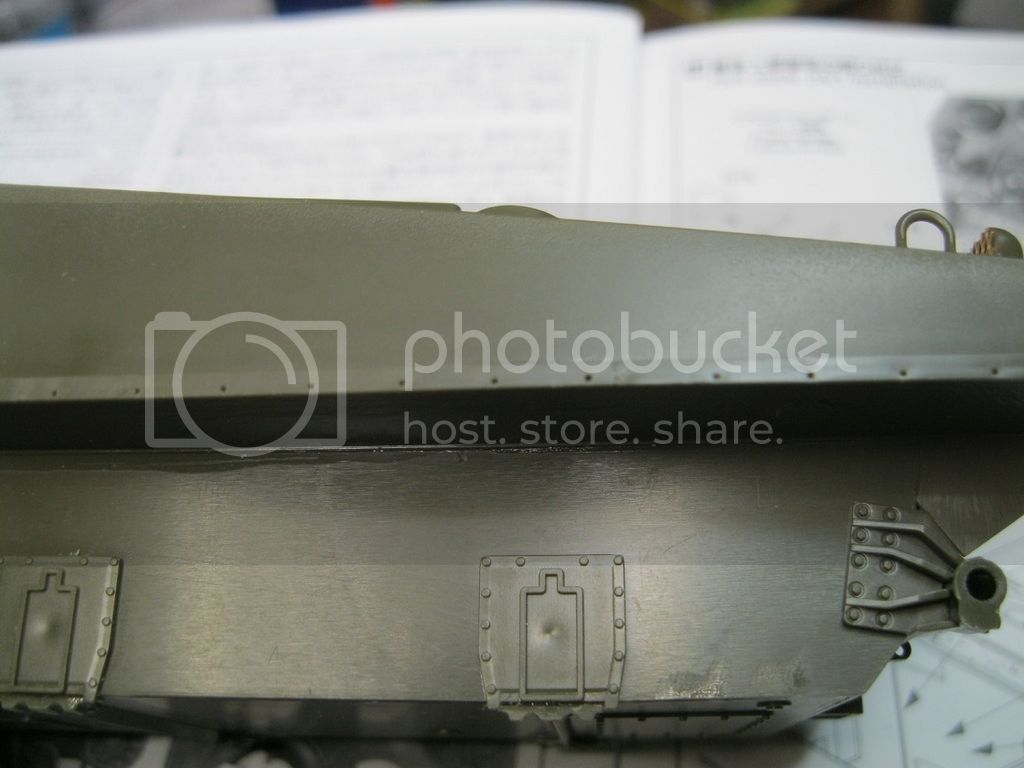
Back to the hull. The fenders are beveled on the sides to give a nice, thin appearance. The instructions have a 1/35 scale drawing to show placement of the two parts. There is a bit of flash on the transmission cover that needs to be cleaned out to get the assembled fender to fit cleanly. I also placed the mounting strips for the sand skirts. They attach easily to the hull. Fay has the front sand skirt section mounted, but there are no skirts included in the box. I don't know if it was kept in place after landing.


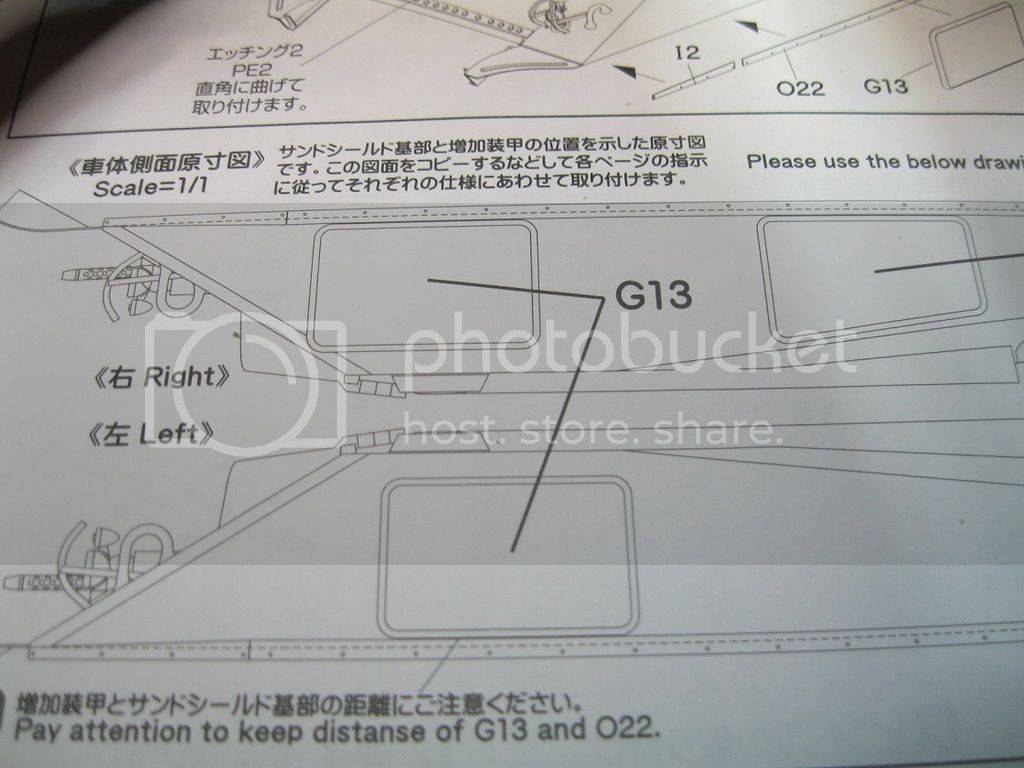
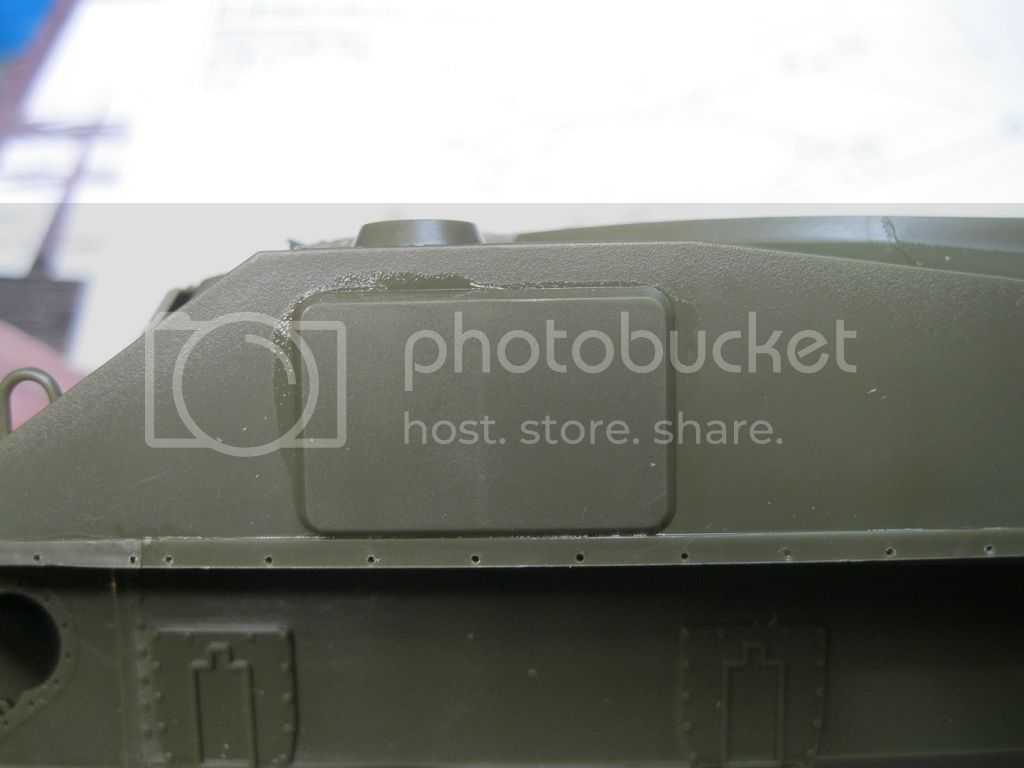
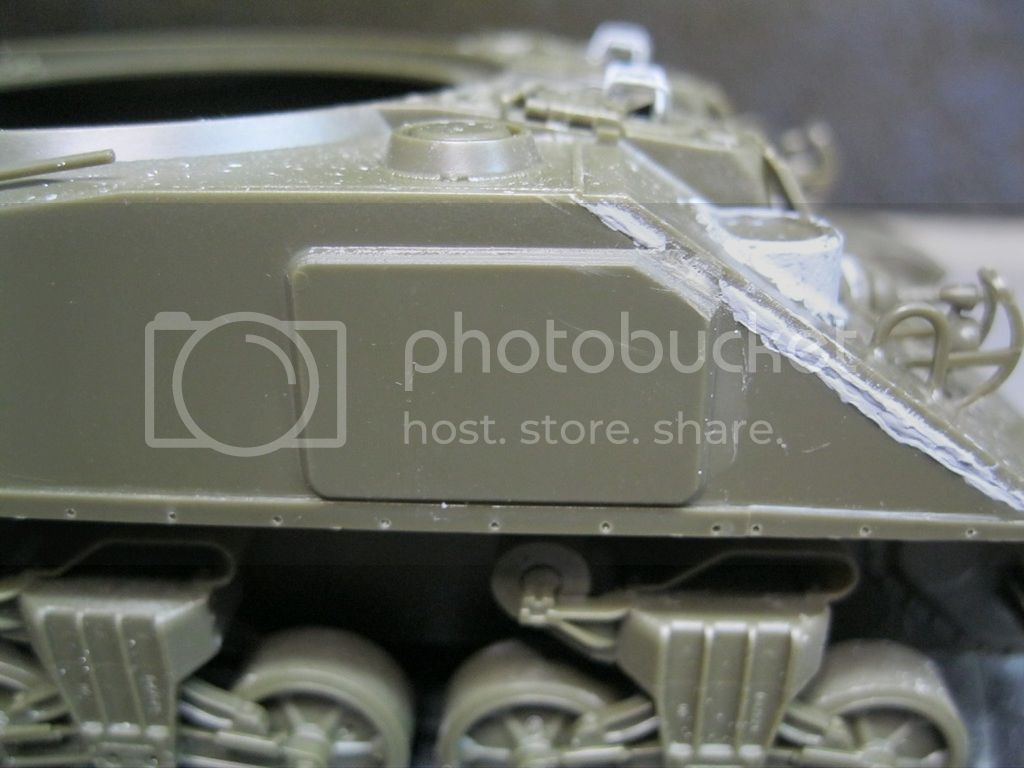
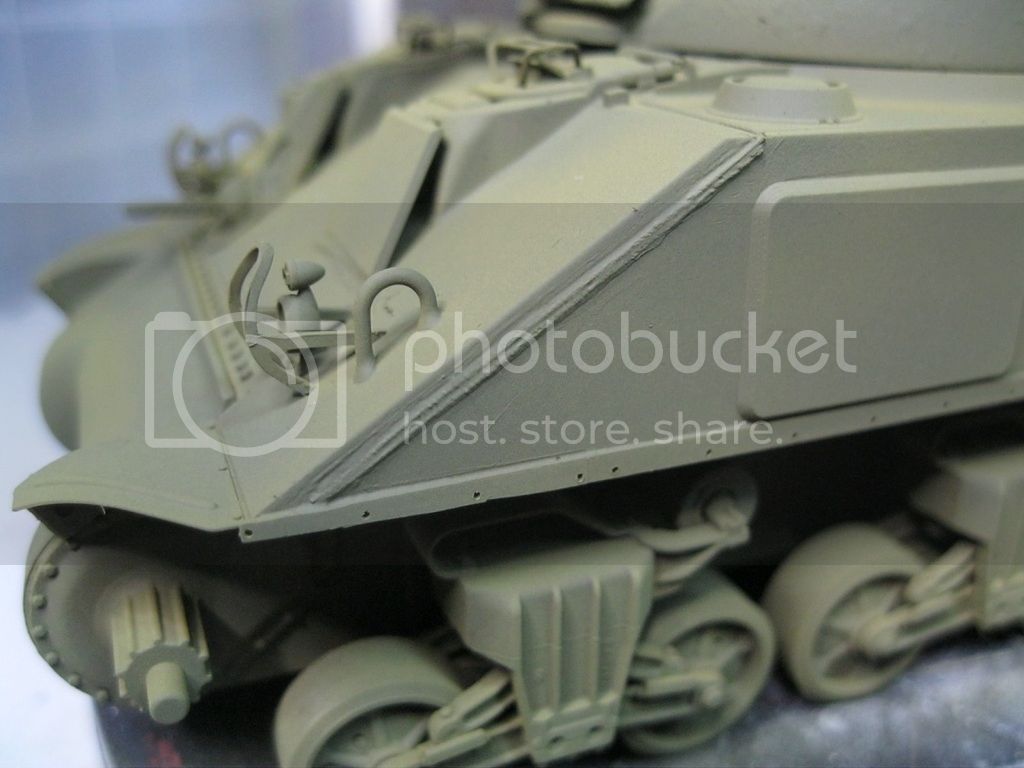
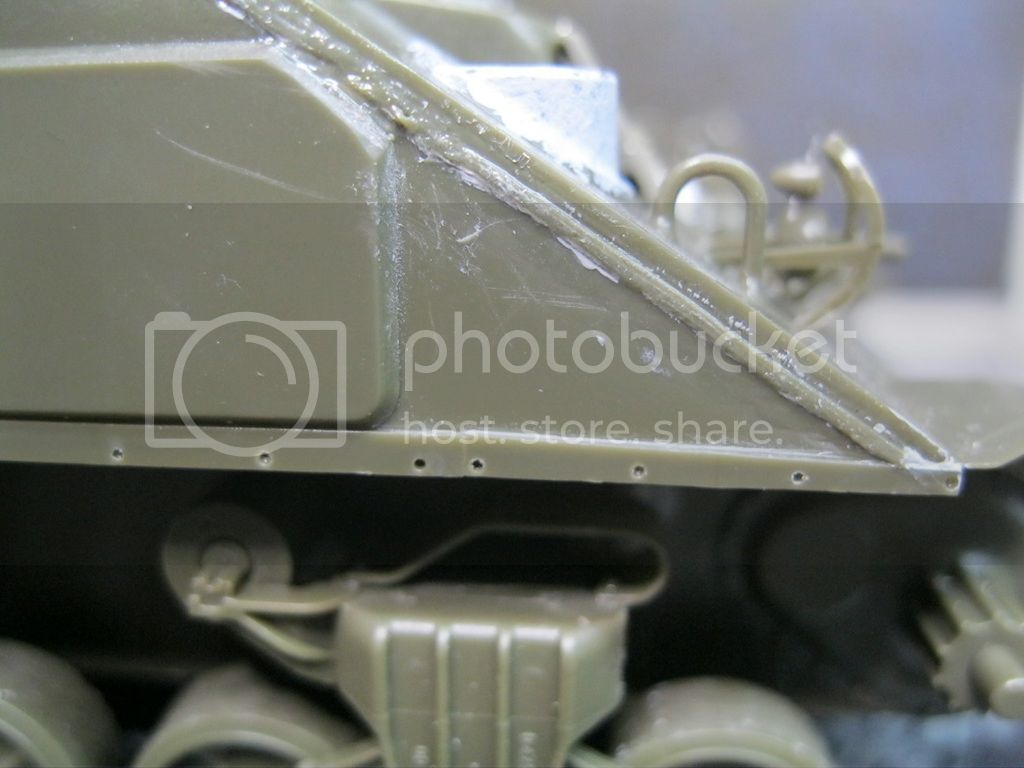
The instructions also include a 1/35 scale diagram for placement of the applique armor panels on the hull sides, as well as for placement of the sand skirt mounting strip. The part indicated is a rectangular section for the right front but the video of Fay shows it was angled on the top front corner so I had to make the fix. I also attempted to create the weld for the hull front to side joint as there is none represented. My effort will need to be redone.


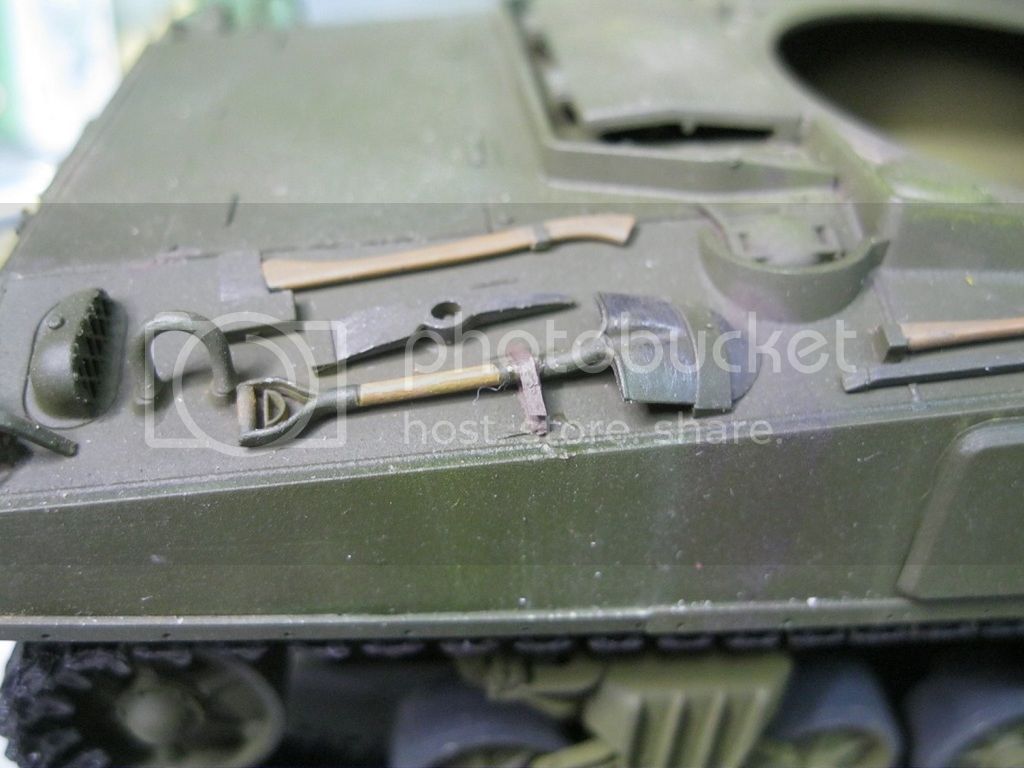
I added the final drive housing. It was a shame to cover up all the detail Asuka provides here. Maybe someday they will offer the full transmission. I can't afford the resin aftermarket. I added the bogies and then the hull details-tools, light guards and lights. If you want to pass on the headlights, plugs are provided in the kit. Clear and solid styrene lenses are provided as an option for the modeler. There are no straps on the tools, so they will need to be added, which will provide a more accurate appearance. I did sand down the rear hull plate to remove the tool marks from the mold.


Going back to the turret I added texture to the turret sides as they were smooth and did not match the turret top. I placed the small details and added some periscope guards from the spares bin. Two piece guns are always a problem for me. I put the two parts together and then spun the barrel and carefully ran sandpaper up and down the barrel to smooth it out. There is a diagram for the lifting rings that is not quite 1/35 scale but shows the position fairly well. I then added wire for the hatch handles (none are provided and the instructions recommend you use wire) and also for the rear hull engine access door. The hatches were placed open and have great detail on the inside.


I tried to scrape the casting numbers off of a Dragon gun shield but the plastic curled and crumbled. There aren't any on the turret top either. It is frustrating because they are so well done on some of the other parts. Aside from that, the model is ready for paint.
jasegreene
Visit this Community
Florida, United States
Joined: October 21, 2013
KitMaker: 751 posts
Armorama: 751 posts
Posted: Monday, December 28, 2015 - 02:24 AM UTC
I think I am going to go ahead and get one of these Shermans.
russamotto
Visit this Community
Utah, United States
Joined: December 14, 2007
KitMaker: 3,389 posts
Armorama: 2,054 posts
Posted: Monday, December 28, 2015 - 06:31 PM UTC
I think the kit is very worth it. I just read a very good post by Kurt Laughlin about the lack of foundry marks on Tasca kits. It came down to him stating that the focus was on accuracy and modelers getting the best detail they could on their own as opposed to having something that may not be accurate depicted. It seems Archer was the best recommended option.
M4A1Sherman
Visit this Community
New York, United States
Joined: May 02, 2013
KitMaker: 4,403 posts
Armorama: 4,078 posts
Posted: Monday, December 28, 2015 - 08:03 PM UTC

Quoted Text

I think the kit is very worth it. I just read a very good post by Kurt Laughlin about the lack of foundry marks on Tasca kits. It came down to him stating that the focus was on accuracy and modelers getting the best detail they could on their own as opposed to having something that may not be accurate depicted. It seems Archer was the best recommended option.


Hi, Russ! You might try ARCHER 1/35 US Casting and Foundry Marks- They are decals with the casting and foundry marks formed in resin. You apply them as you would any decal. I personally have had good luck with them; scavenging casting and foundry marks from other kits can be a bit troublesome, as they sometimes curl and break apart. In any case, Good Luck. Great work with the "step-by-step" build! I LOVE these kinds of posts!
russamotto
Visit this Community
Utah, United States
Joined: December 14, 2007
KitMaker: 3,389 posts
Armorama: 2,054 posts
Posted: Friday, January 01, 2016 - 06:39 AM UTC
I've been browsing the internet looking for good photos of Pullman tanks. Some have a gun travel lock, some don't. Most have the siren. Some have the earlier turret with applique armor and pistol port, others have the sharp nosed transmission housing. Details beyond that are very hard to find.

Looking at the photo I first posted, it also looks like the second tank in the column has a camouflage pattern over the olive drab, but no other references on this, so I don't know if it is paint or mud that was applied by the crew. I am looking at the turret and the driver's side hull.
http://www.worldwarphotos.info/wp-content/gallery/usa/tanks/m4-sherman-tank/37_Infantry_Division_M4_Shermans_platoon_in_column_in_Bougainville_jungle_1944.jpg

I have fixed the weld seams and started painting. I hope to have photos to post soon. I figured I could paint and add foundry marks after.
russamotto
Visit this Community
Utah, United States
Joined: December 14, 2007
KitMaker: 3,389 posts
Armorama: 2,054 posts
Posted: Sunday, January 10, 2016 - 11:18 PM UTC
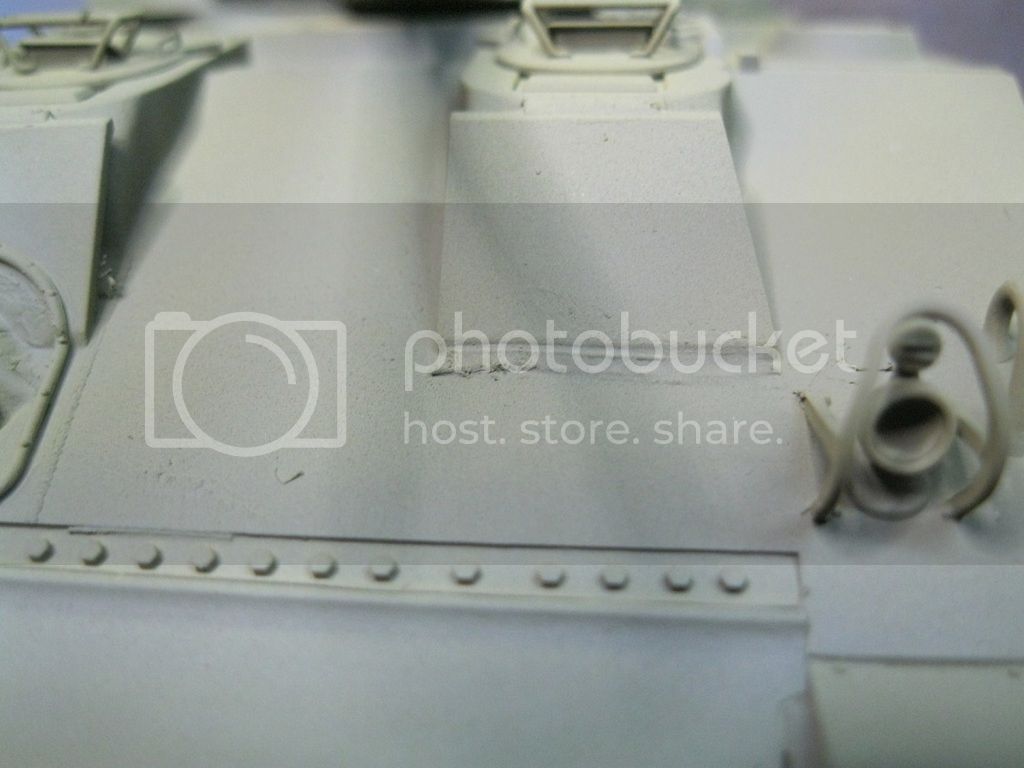
Here is the latest update. I fixed the weld beads on the hull sides and also added welds to the applique armor on the front. Paint was added and I have started some weathering. Light is poor so little variation in the color shows up.


the dark mottling around the hatches and bolt strip are my initial attempt to replicate the waterproofing. I'm still not set on markings but I am leaning more towards the Bougainville tanks. The 754th went on to serve on Luzon, using the same equipment. In most photos there aren't any external markings that I can see other than platoon numbers and tank names. Even the turret star is not very commonplace.

Not clearly visible, but there is a name and just under the stowage on both the side and rear there is a platoon number.


Nothing clearly visible on this one.
http://www.worldwarphotos.info/gallery/usa/tanks/m4_sherman/m4-sherman-tank-bougainville-march-1944/

The tank in the top photo here is listed as at Guadalcanal, but my guess is Bougainville, as they worked closely with the M3A1 in countering the Japanese attacks on March of 1944. The details are very, very similar to the lead tank in the linked image of my first post at the top.
http://parentseyes.arizona.edu/militarynoseart/FrankCline5.htm

This page has photos halfway down of an M4A1 from the same battalion, the white star on the hull front is partially painted over.
http://www.ww2f.com/topic/46600-seeking-information-754th-tank-battalion/

Most of the tanks have the T-48 track, but a few have the rubber block. Some things I learned-the tanks went through engines quickly because they remained in 1st gear during most of the advances to maintain pace with the infantry. A field telephone was installed inside the tank and a line with the headset was run out to the rear for infantry to talk on. Based on experience on Bougainville, the 754th fabricated canister shot from both ammunition for both the tank gun and the 75mm pack howitzer. According to a guy on a discussion forum I cannot find now who claimed to have spoken with the tank commander,Lucky Legs was named as a good luck token after the tank threw its tracks three times in two days. After it was named, they had no further problems.

n_tuma749
Visit this Community
Nebraska, United States
Joined: October 05, 2014
KitMaker: 45 posts
Armorama: 16,777,215 posts
Posted: Thursday, February 11, 2016 - 09:07 AM UTC
Excellent work so far! This kit is definitely on my list now.

I've found something a bit interesting that might be a unique Pullman Standard feature; the change in the positioning of the siren. This photo throws a monkey wrench into the idea that it was a unit-specific modification:


There aren't very many pine trees in the south Pacific! This photo was most likely taken in France or Germany. It's a really far-fetched coincidence that a Pullman Standard tank in the Pacific and one in Europe had the siren behind the new style guard, welded on in the same place!

Chrysler began production of the M4 Composite in August 1943. It had the new automotive-style horn behind this guard. It's possible that Pullman Standard could have repositioned the siren from the fender and borrowed this part; tanks that looked like the ones the 754th used are then probably limited to the last two months of PSCC production, August and September 1943, due to the presence of the smoke mortar and the turret with the thickened cheek armor.
russamotto
Visit this Community
Utah, United States
Joined: December 14, 2007
KitMaker: 3,389 posts
Armorama: 2,054 posts
Posted: Monday, March 07, 2016 - 12:19 AM UTC
Nicholas, thanks for the photo. It is interesting to see the features and details from the different manufacturers.

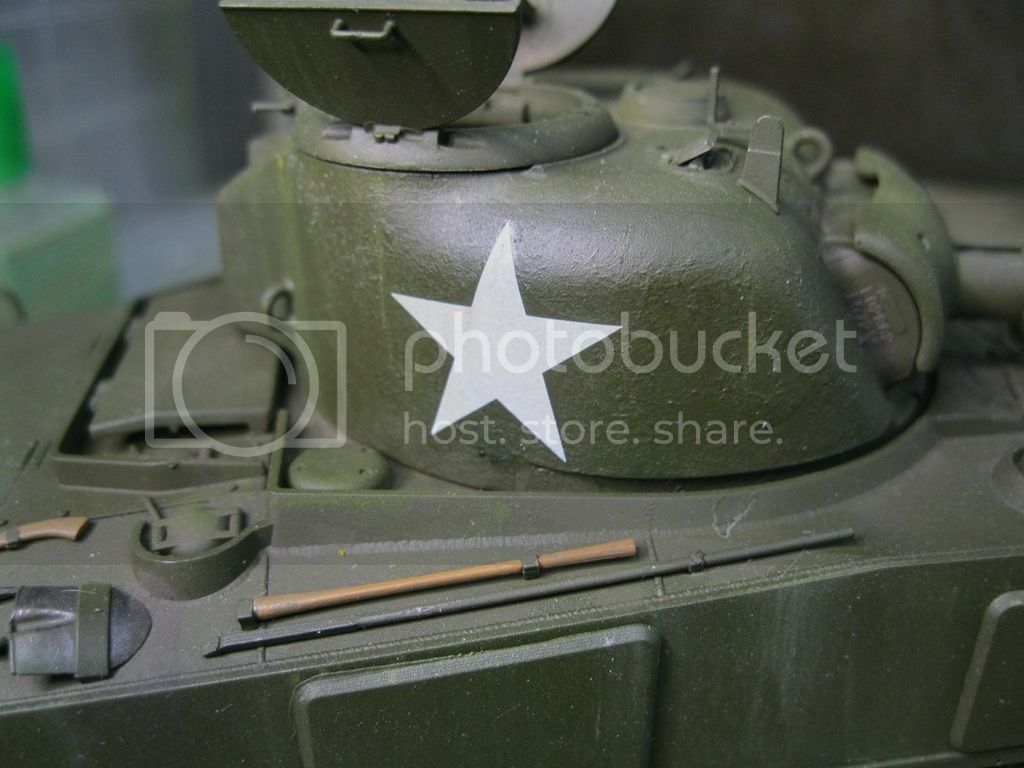
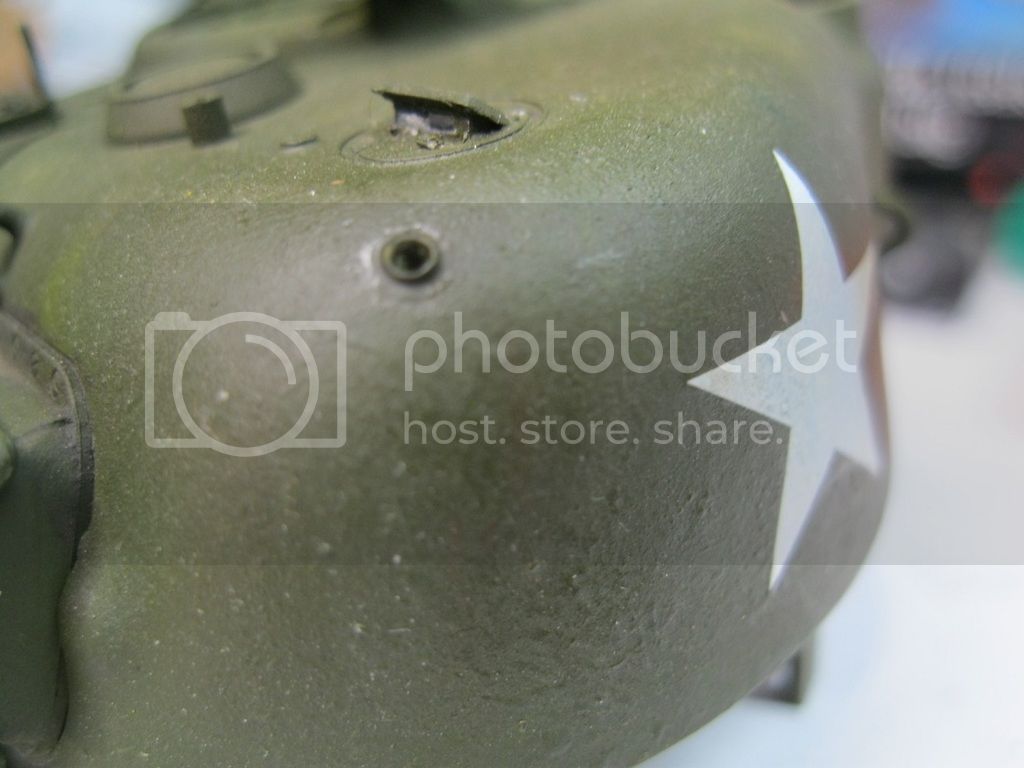
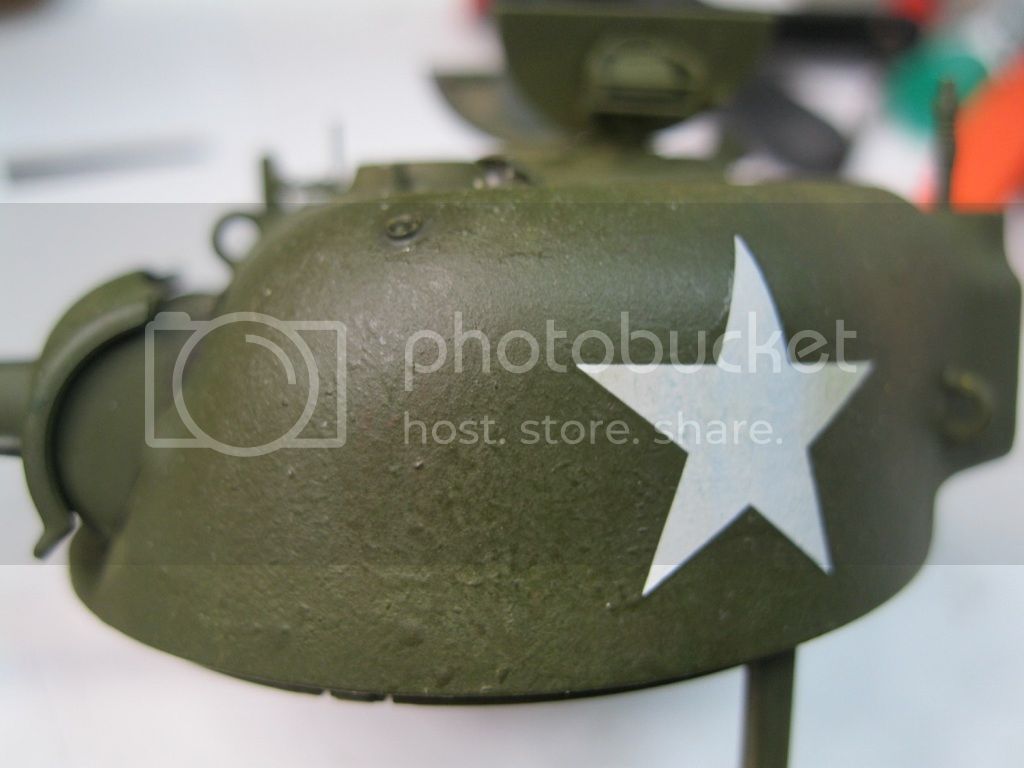
I have made some limited progress with the kit. I added the 2" smoke mortar and head light brackets, made some straps for the tools and experimented with some stowage. I added stars to the turret in part to see how well the decals worked. They are very thin and go on with no problem. The turret has a recess on the inside that shows where to drill to mount the smoke mortar but I guessed on the angle, trying to figure from photos how it should look.


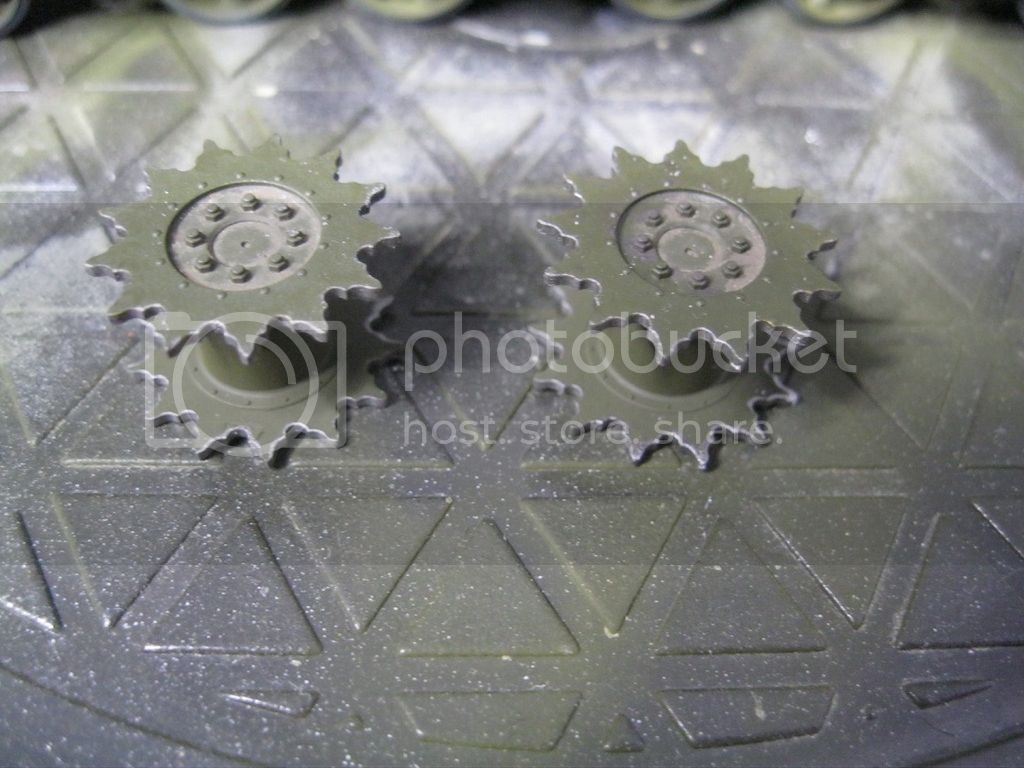
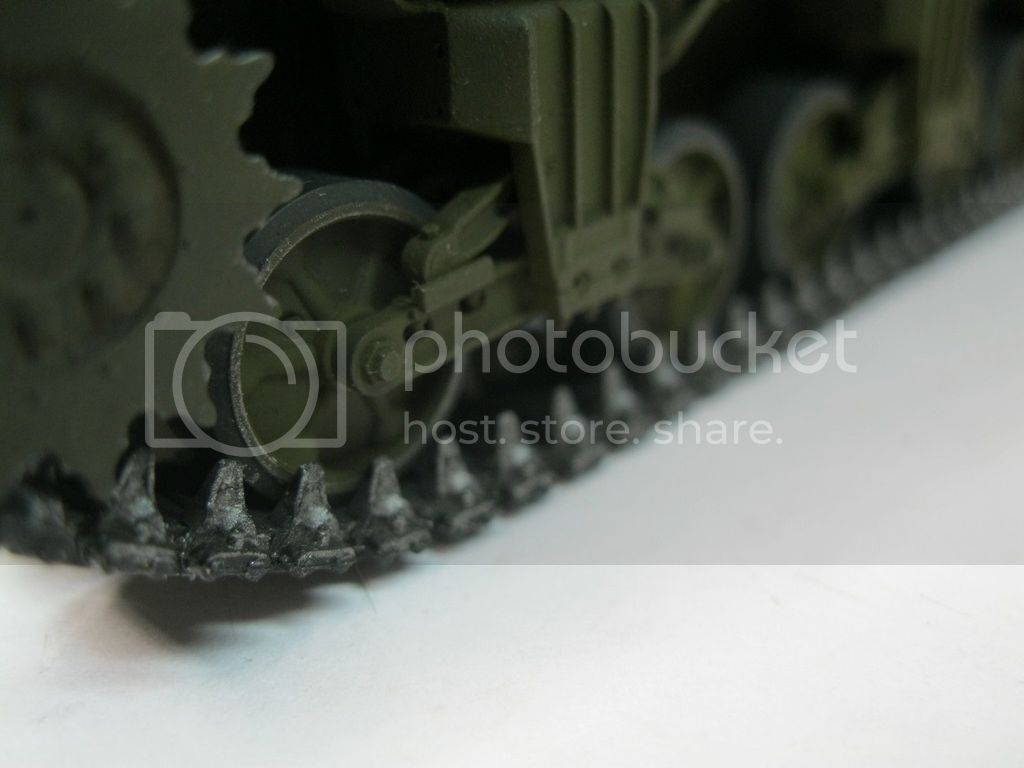
Every paint I have has flaked off the tracks. None of my primer's will work. The tracks are workable, enough that I could run it carefully through some mud to try for realistic weathering. This kit was on sale cheap at Lucky Model last month, so I hope folks took advantage of the price.
I'm still not sure how I want to depict the tank. There aren't many photos of tanks in Luzon, especially inside Intramuros. 754th tanks supported the assault on the government buildings, and were the same tanks from Bougainville. I have found a few that I think are Pullman made but details aren't clear.
27-1025
Visit this Community
North Carolina, United States
Joined: September 16, 2004
KitMaker: 1,281 posts
Armorama: 1,222 posts
Posted: Monday, March 07, 2016 - 01:26 AM UTC

Quoted Text

I think the kit is very worth it. I just read a very good post by Kurt Laughlin about the lack of foundry marks on Tasca kits. It came down to him stating that the focus was on accuracy and modelers getting the best detail they could on their own as opposed to having something that may not be accurate depicted. It seems Archer was the best recommended option.


Agreed for the most part. That was the route I took on mine with regard to foundry marks. Are they 100% correct probably not but I like the look of them


These I know are not "correct" but I just wanted to say I did it

 _GOTOTOP