Great job, Brett! That is an absolutely beautiful build. I thought long and hard about trying that kit, but ended up building the Academy and new Tamiya Easy 8 because I knew the Dragon offering would be tough. They came out okay, but nothing like yours.
Thanks for sharing!
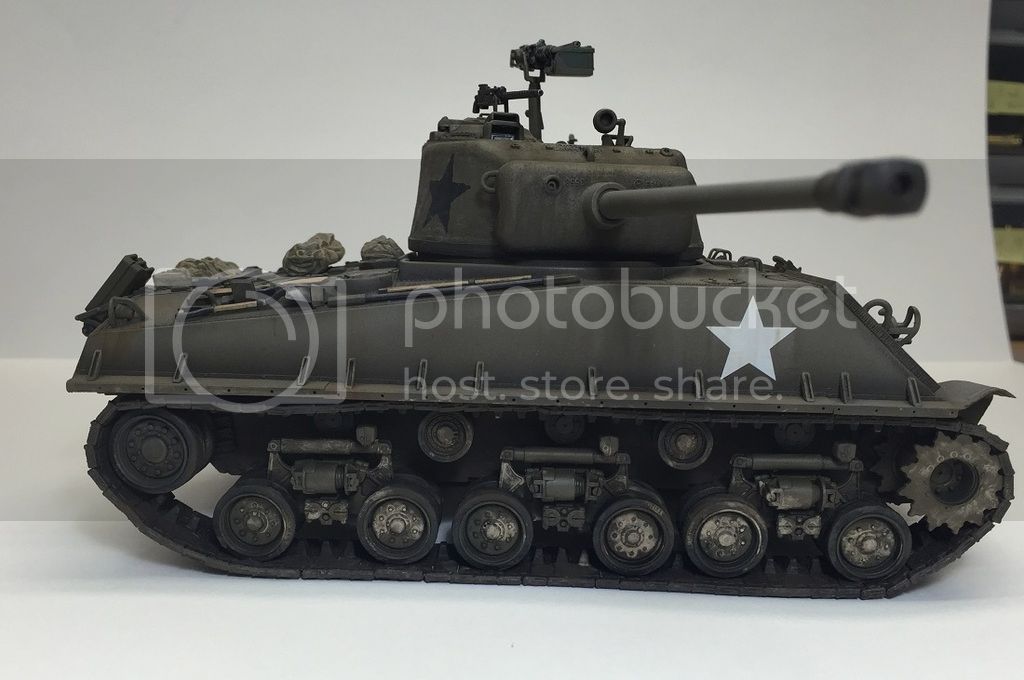
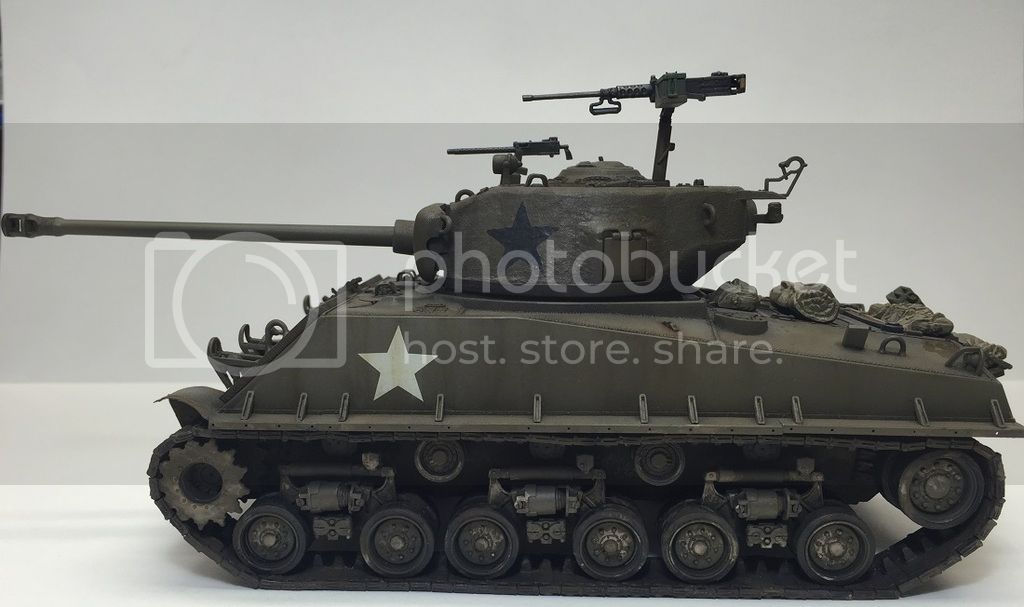
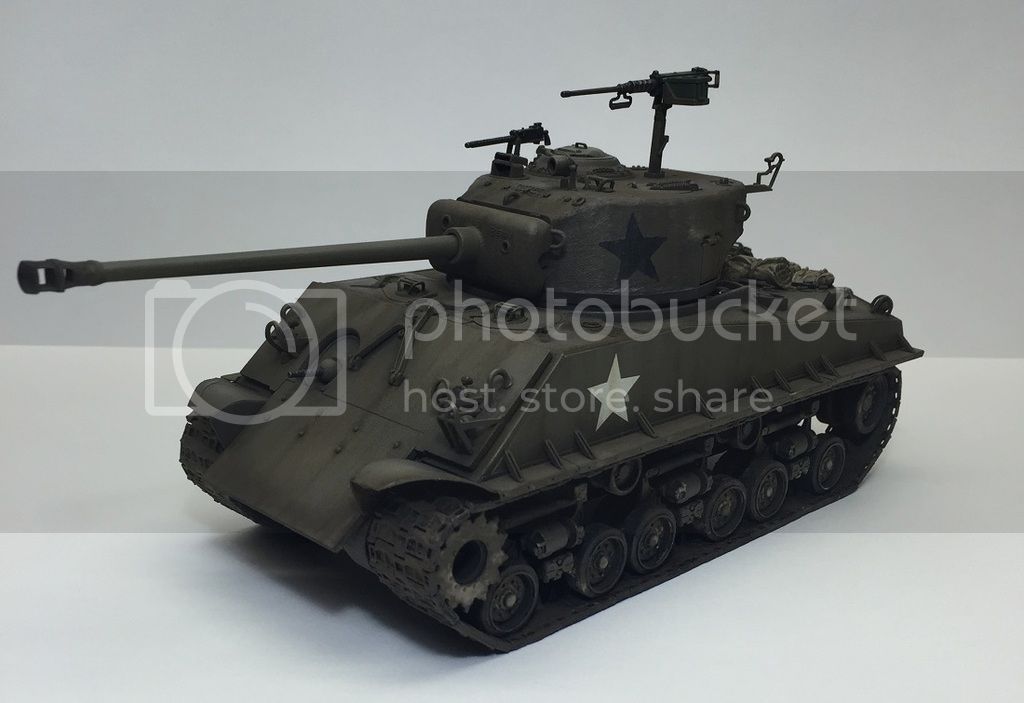
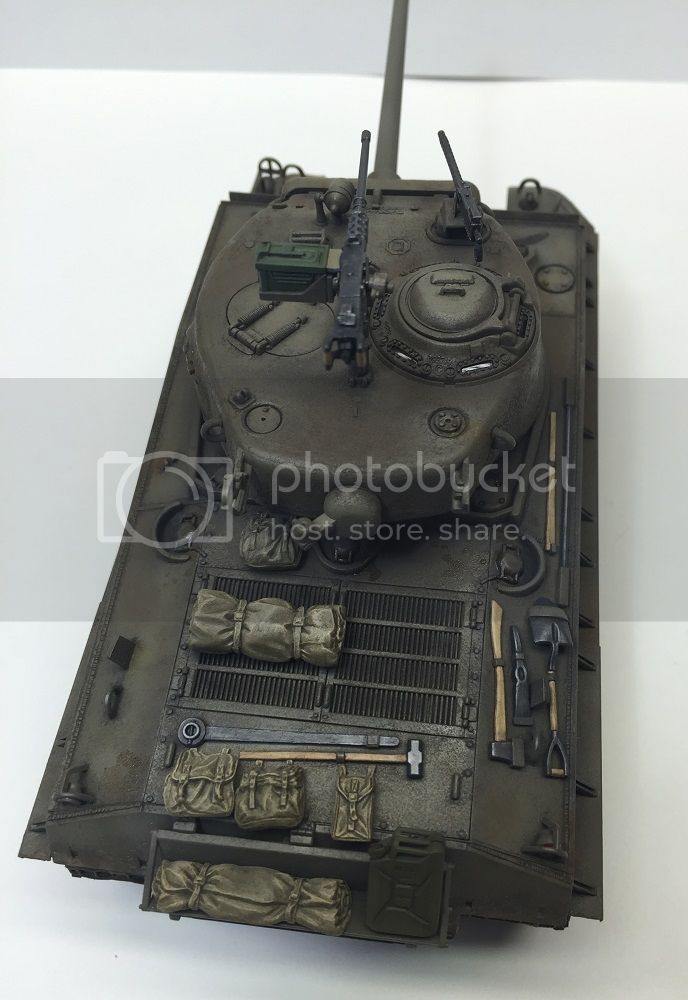
UPDATE - LOL I just read your build log! It's funny, because I went through the exact same experience you did with the infamous Dragon M4A3 (76)W HVSS Sherman (#9010). I just HAD to have an Easy 8 and boy did I pay for it. The mandatory lower hull renovation and the sink-hole infested single link tracks (that I cleaned, painted, glued together and then unwittingly installed BACKWARDs) provided enough trauma to put me out of the hobby for 20 years!
Again, thanks for your photos and you story made my day!