Campaigns
Where Armorama group builds can be discussed, organized, and updates posted.
Where Armorama group builds can be discussed, organized, and updates posted.
Hosted by Darren Baker, Richard S.
Animals Campaign
Removed by original poster on 04/20/17 - 14:35:07 (GMT).
Posted: Wednesday, April 19, 2017 - 07:36 PM UTC
Posted: Thursday, April 20, 2017 - 03:44 PM UTC
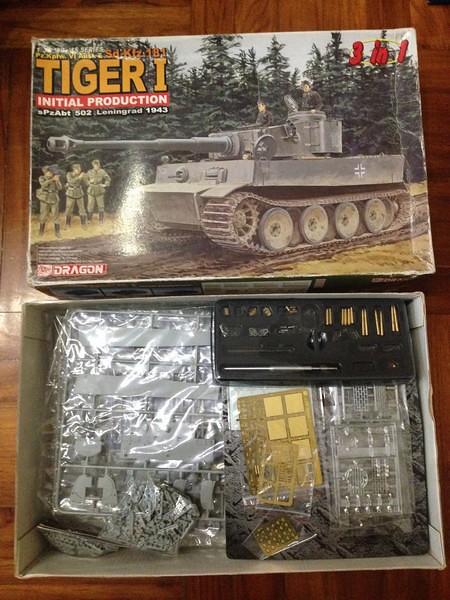
Just started to build my entry, Dragon 1/35 Tiger I initial production. 


Posted: Friday, April 21, 2017 - 08:29 AM UTC
That's a nice one Lap Man -- I see its the original issue with individual links.
Last night I did the PE screens, and other small bits on the engine deck. But before retiring I thought I'd test the fit of the upper and lower hulls. Struggled with it for a while and after a few moments of cursing I found out where the issue was:
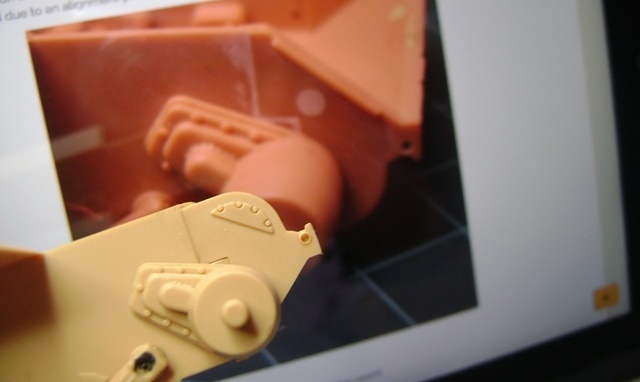
More cursing followed but that didn't get me anywhere. I thought of prying it off but then I may just have further issues with the sprocket arm alignment when I put it back again. As it is the sprocket arm seems to be at the correct angle even though the plate was installed incorrectly.
So I then proceeded to cut the offending part and built a pair using styrene. I've filled in the towing eye and drilled a new hole as well.
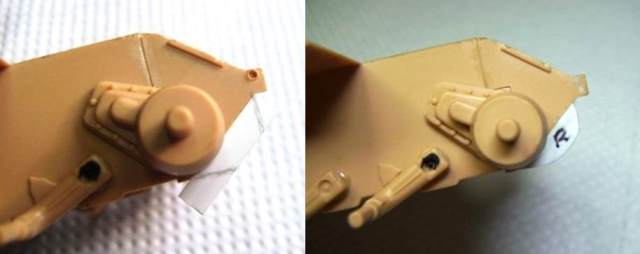
There are bolt details on the insides of the plate so the best I could do was to put in something close -- I've cut some ends of a hair-brush and glued them on. Hopefully the wife doesn't notice it as much
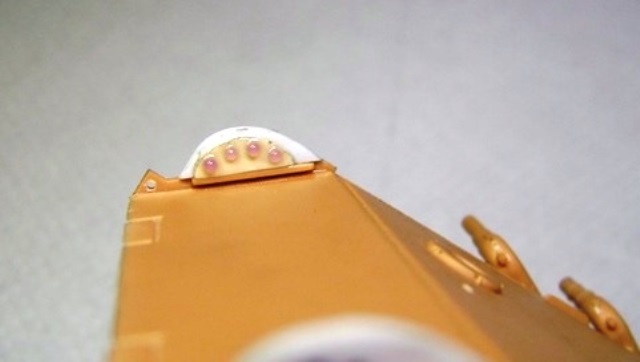
Did another fitting, so now it seems ok.
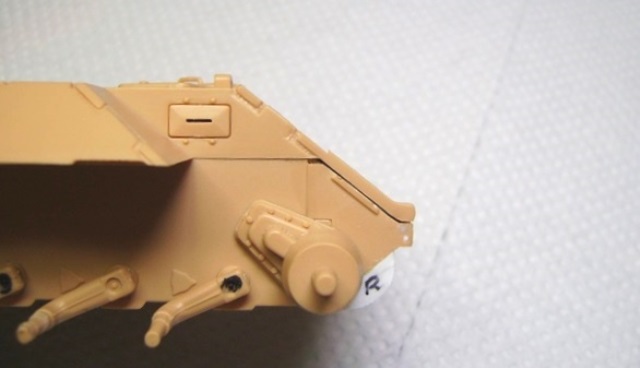
Am not too worried about the gaps as these will be covered once I put on the fenders.
Will be doing the turret next.
Cheers,
Tat
Last night I did the PE screens, and other small bits on the engine deck. But before retiring I thought I'd test the fit of the upper and lower hulls. Struggled with it for a while and after a few moments of cursing I found out where the issue was:
More cursing followed but that didn't get me anywhere. I thought of prying it off but then I may just have further issues with the sprocket arm alignment when I put it back again. As it is the sprocket arm seems to be at the correct angle even though the plate was installed incorrectly.
So I then proceeded to cut the offending part and built a pair using styrene. I've filled in the towing eye and drilled a new hole as well.

There are bolt details on the insides of the plate so the best I could do was to put in something close -- I've cut some ends of a hair-brush and glued them on. Hopefully the wife doesn't notice it as much

Did another fitting, so now it seems ok.
Am not too worried about the gaps as these will be covered once I put on the fenders.
Will be doing the turret next.
Cheers,
Tat
Posted: Friday, April 21, 2017 - 02:46 PM UTC
Tough luck, Tat, but nice recovery!


Removed by original poster on 04/22/17 - 22:27:25 (GMT).
Posted: Saturday, April 22, 2017 - 04:46 AM UTC
Cheers Mark!
Posted: Saturday, April 22, 2017 - 05:43 AM UTC
Quick fix, good thinking...
Posted: Sunday, April 23, 2017 - 04:20 AM UTC
Thanks Clayton! 

Posted: Monday, April 24, 2017 - 08:21 AM UTC
Hello,
Finished work on the turret.
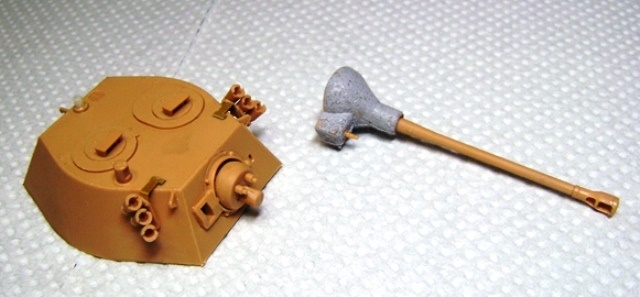
Next comes the tracks.
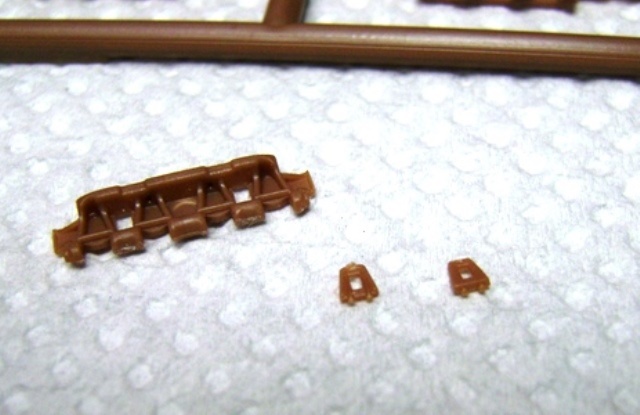
It has 3 parts per link. The instructions call for 66 links per track run, so doing that twice comes to about 400 bits that need to be cut, cleaned, and glued -- this surely is more than the parts that I've put together with all the other sub-assemblies combined!

Cheers,
Tat
Finished work on the turret.
Next comes the tracks.
It has 3 parts per link. The instructions call for 66 links per track run, so doing that twice comes to about 400 bits that need to be cut, cleaned, and glued -- this surely is more than the parts that I've put together with all the other sub-assemblies combined!

Cheers,
Tat
TheDiggs

Joined: April 25, 2008
KitMaker: 338 posts
Armorama: 75 posts

Posted: Friday, April 28, 2017 - 05:23 AM UTC
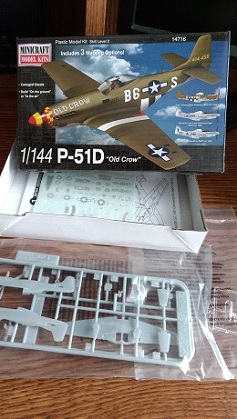
Just signed up with this little guy

Thirian24

Joined: September 30, 2015
KitMaker: 2,493 posts
Armorama: 2,344 posts

Posted: Saturday, April 29, 2017 - 09:30 PM UTC
Posted: Sunday, April 30, 2017 - 02:07 AM UTC
The tarp and the paint job look great, Dustin!
Thirian24

Joined: September 30, 2015
KitMaker: 2,493 posts
Armorama: 2,344 posts

Posted: Sunday, April 30, 2017 - 02:49 AM UTC
Posted: Sunday, April 30, 2017 - 06:11 AM UTC
Since I started this campaign I should but in. I haven't started anything yet but follow this everyday. My choice is a Dodge Charger SuperBee.
All the builds so far have been great. Cudo's to all the builders.
All the builds so far have been great. Cudo's to all the builders.
LeftyDan

Joined: November 03, 2013
KitMaker: 77 posts
Armorama: 76 posts

Posted: Sunday, April 30, 2017 - 08:56 AM UTC
Quite impressed with the builds here.
I just finished my whatever campaign build. I have a LAV Piranha I've been just waiting to start on.
I just finished my whatever campaign build. I have a LAV Piranha I've been just waiting to start on.

LeftyDan

Joined: November 03, 2013
KitMaker: 77 posts
Armorama: 76 posts

Posted: Monday, May 01, 2017 - 08:24 AM UTC
Yep. I might cut this one close but here's my start. Trumpeter's LAV 25 Piranha.


Thirian24

Joined: September 30, 2015
KitMaker: 2,493 posts
Armorama: 2,344 posts

Posted: Tuesday, May 02, 2017 - 05:25 AM UTC
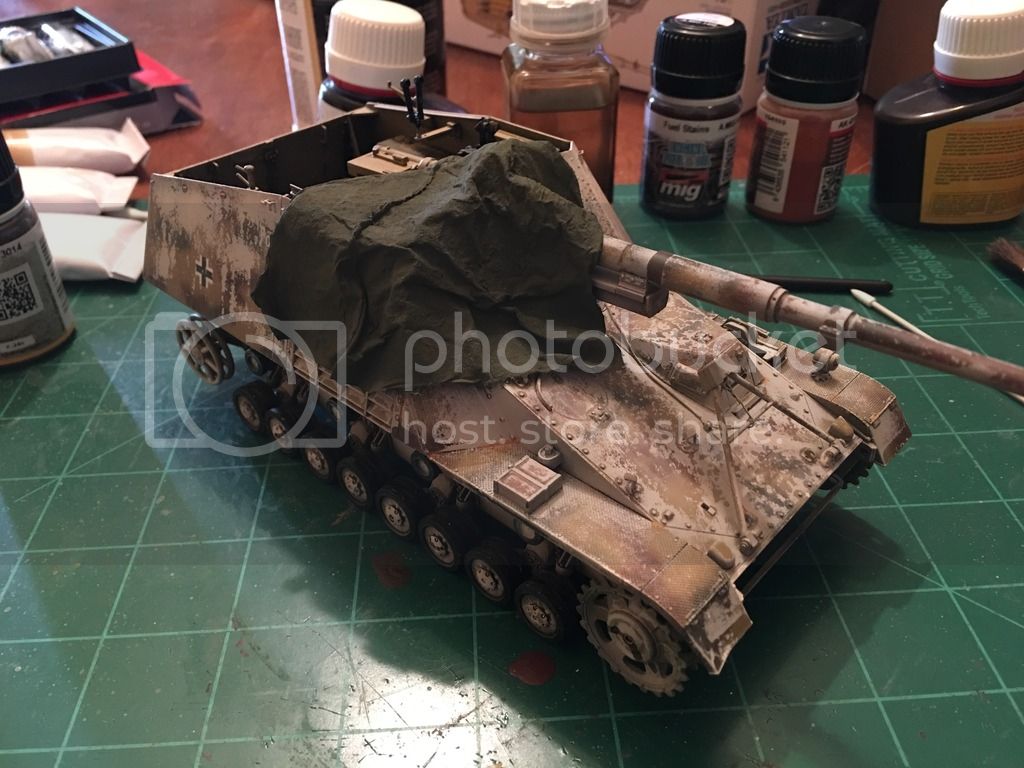
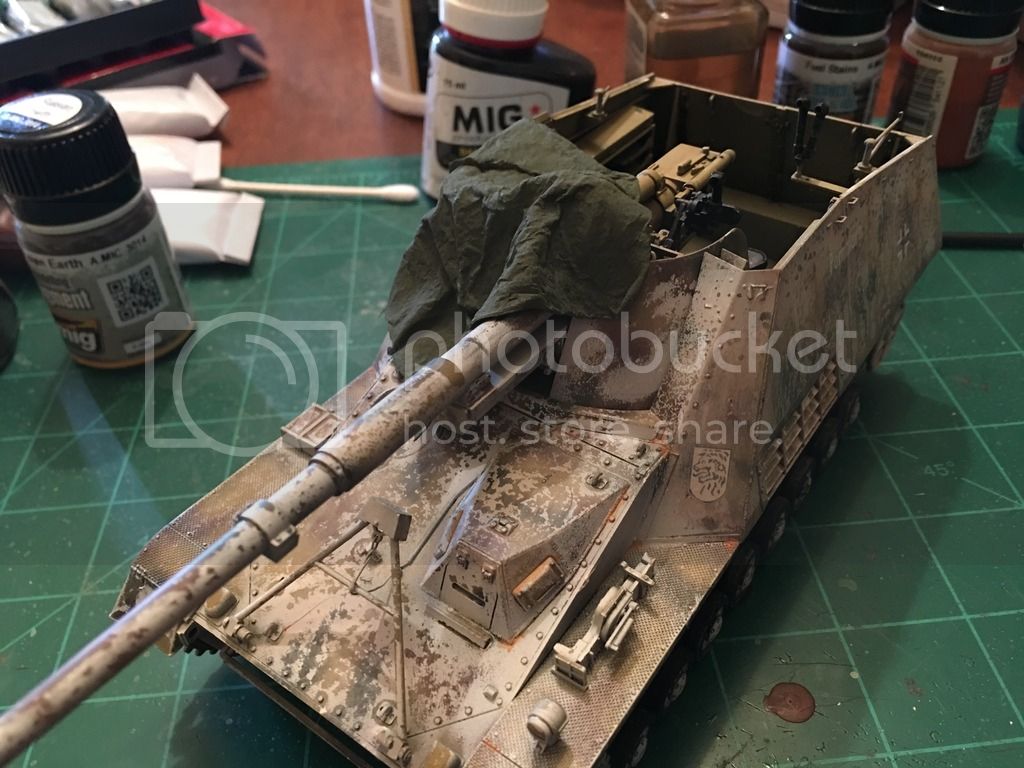
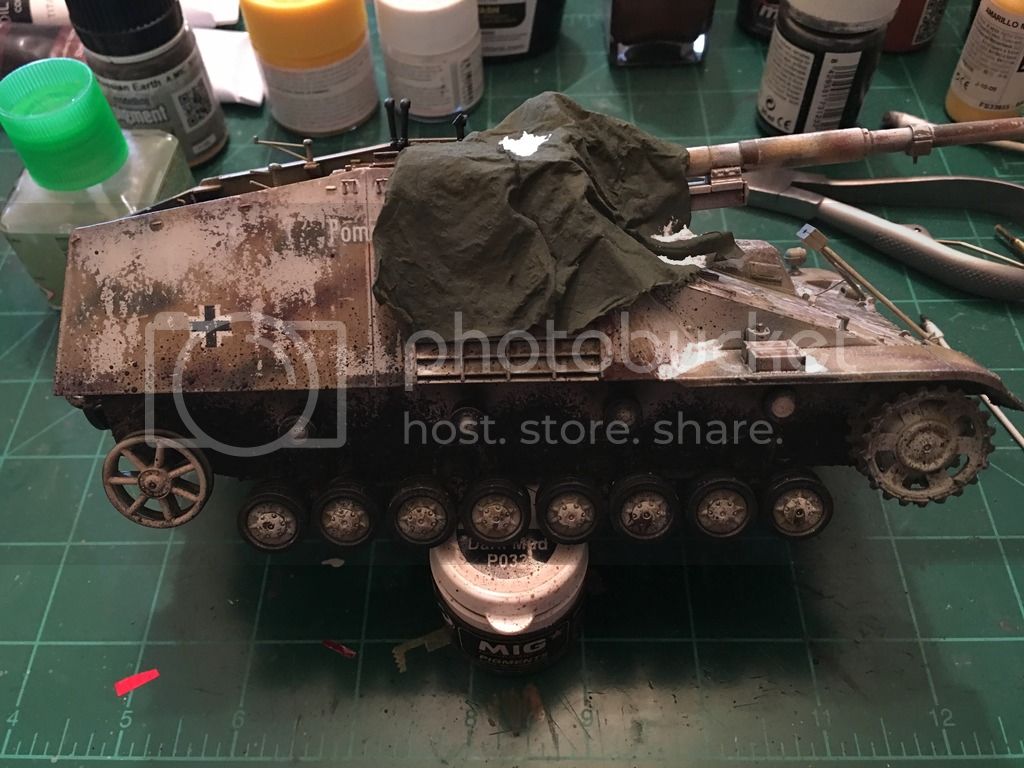
Hey fellas. I decided to redo the snow on the Nashorn. I just wasn't happy with it, but now I think it looks better. I also tossed on the kit tracks instead of the Friuls. I just didn't wanna mess with them right now.
So I'm calling this done. I'm pretty happy with it.


Thank you for the great campaign. I enjoyed it very much.
So I'm calling this done. I'm pretty happy with it.


Thank you for the great campaign. I enjoyed it very much.
Posted: Tuesday, May 02, 2017 - 05:35 AM UTC
Gives me a chill just looking at it, very nice, Dustin! Did you use that Krycell for the snow?
Thirian24

Joined: September 30, 2015
KitMaker: 2,493 posts
Armorama: 2,344 posts

Posted: Tuesday, May 02, 2017 - 05:40 AM UTC
Thank you Clayton. Very much appreciated. At first I used a pre made product from Vallejo. I wasn't too happy with how it looked. So this time, I tried thinned down white glue/water and baking soda. I was amazed at how it turned out. Looks pretty real to me. Easy and cheap.
Posted: Tuesday, May 02, 2017 - 05:52 AM UTC
Looks good Dustin. Talcum powder is another option for DIY snow. 

Posted: Tuesday, May 02, 2017 - 06:05 AM UTC
I've tried talcum, I found it too fine to work with, I like baking soda, though... 

Posted: Tuesday, May 02, 2017 - 06:41 AM UTC
Am trying to recall where I read baking soda turns a shade of yellow over time, though I've also read some who swear by it. Anyways I guess whatever works, cheaply available, and looks the part should do 

Thirian24

Joined: September 30, 2015
KitMaker: 2,493 posts
Armorama: 2,344 posts

Posted: Tuesday, May 02, 2017 - 06:48 AM UTC
Thanks Tat! I sure hope it doesn't turn yellow. Lol
Posted: Tuesday, May 02, 2017 - 08:02 AM UTC
Yikes, don't eat the yellow snow!!!
 |


