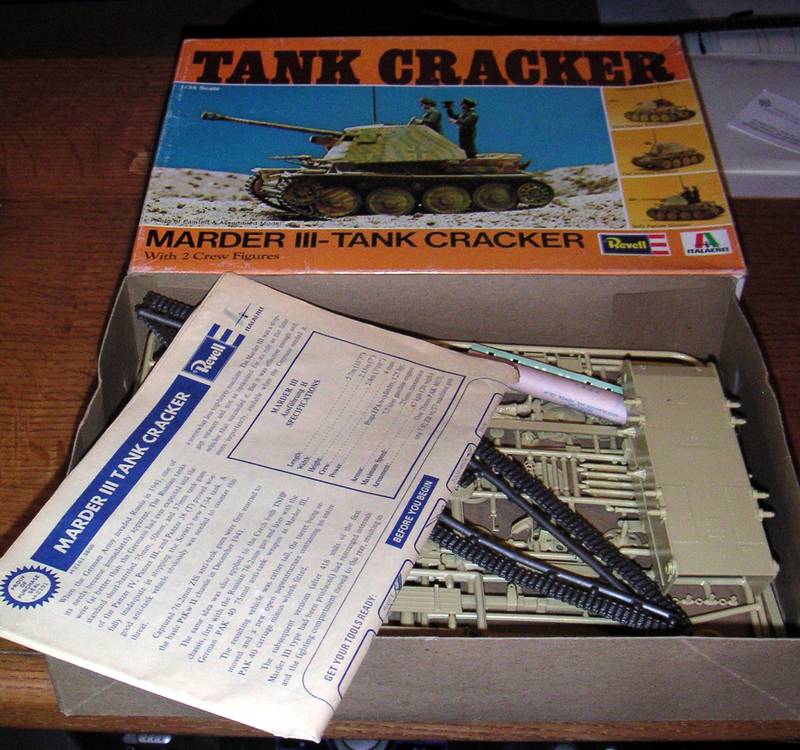
Back to work on the Whippet....whip it good.
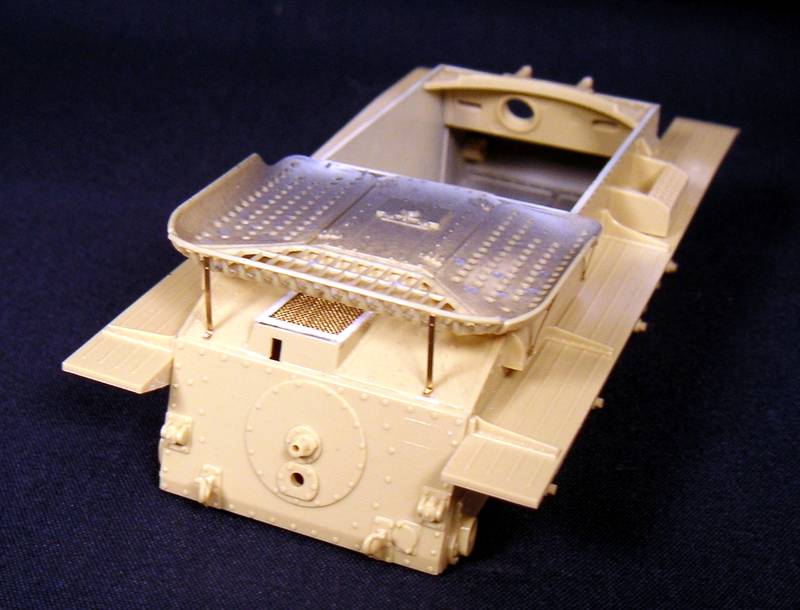
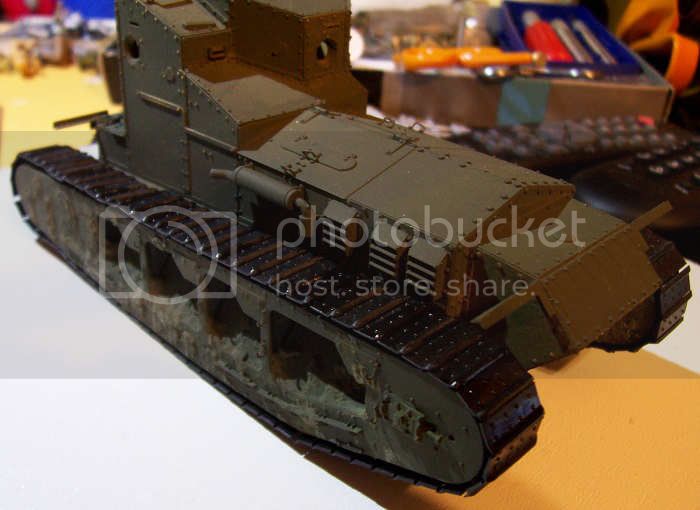
Assembly was basically done. When I think of WW1, I think about mud. For mud I used Sculpamold. A pinch was more than enough to get the mud build up I wanted. My hope was to simulate the soupy mud running down the track assemblies, resulting in build-up. I'll do a second mud-job to add mud to the tracks.
I painted the tank and then added the tracks. Meng sends workable tracks. They snap-together a bit oddly but they go together. There's not a lot of room for fit. You may want to spend some extra time cleaning and test fitting track-links to the drive sprockets.
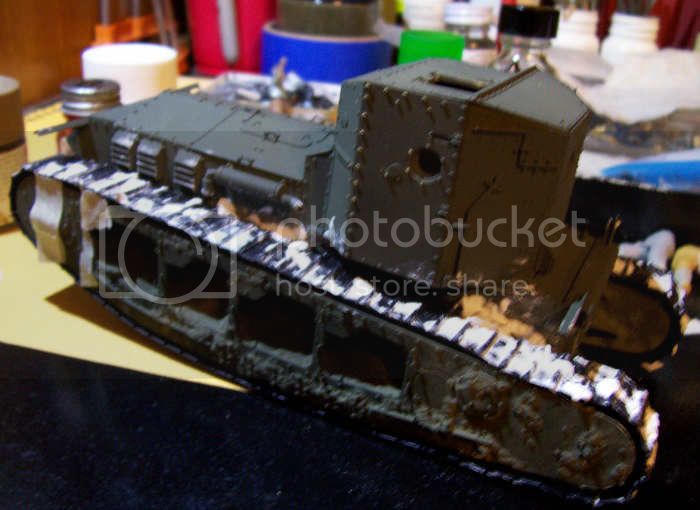
Mudded the tracks. I didn't want to over-do things. What I did was put a dab of Sculptamold on the tracks and push it along the links with my finger. The mud built up along the track cleats and some even flowed down the sides. You can also see where I masked the track sponsons for their red and white stripes. I had planned on doing this Whippet as Firefly. Firefly has a set of extra markings on the rear sides of the track sponsons. I did not notice until after I had added the mud. So, I changed to Caesar II, which just has the stripes on the front.
I'm sort of hustling along here. The mud and tracks were painted a thinned coat of Tamiya Dark Earth. The decals were added....Caesar II. Stripes were painted on. Muddied areas painted Dark Earth and an extra thinned wash allowed to run down the sides. Dry-brushed the model to let the rivet detail standout more. Add pigment to represent dirt.
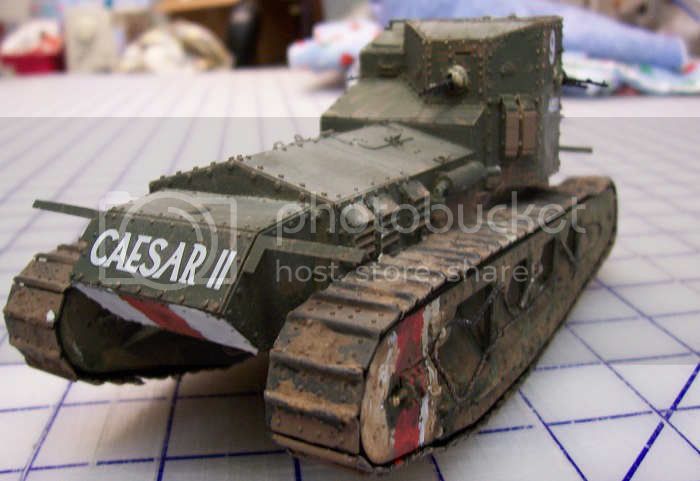
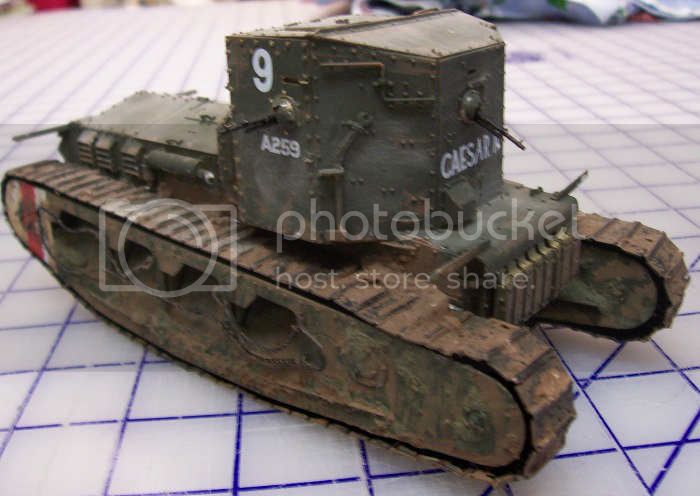
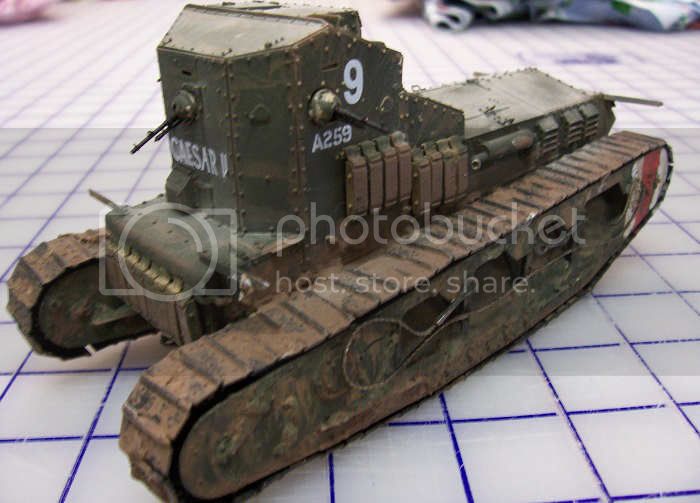
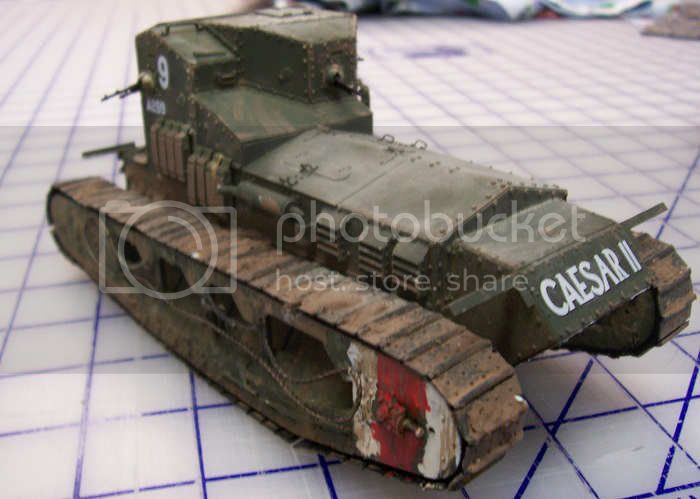
And with that I consider this one to be finished. I enjoyed the build and would recommend the kit for anyone wanting to dabble in WW1 armor. The kit went together fairly well. Fit was tight so I'd stress test-fit everything. And cleanup those drive sprockets and test fit the tracks. Care and patience will be needed with the abundant running gear parts.