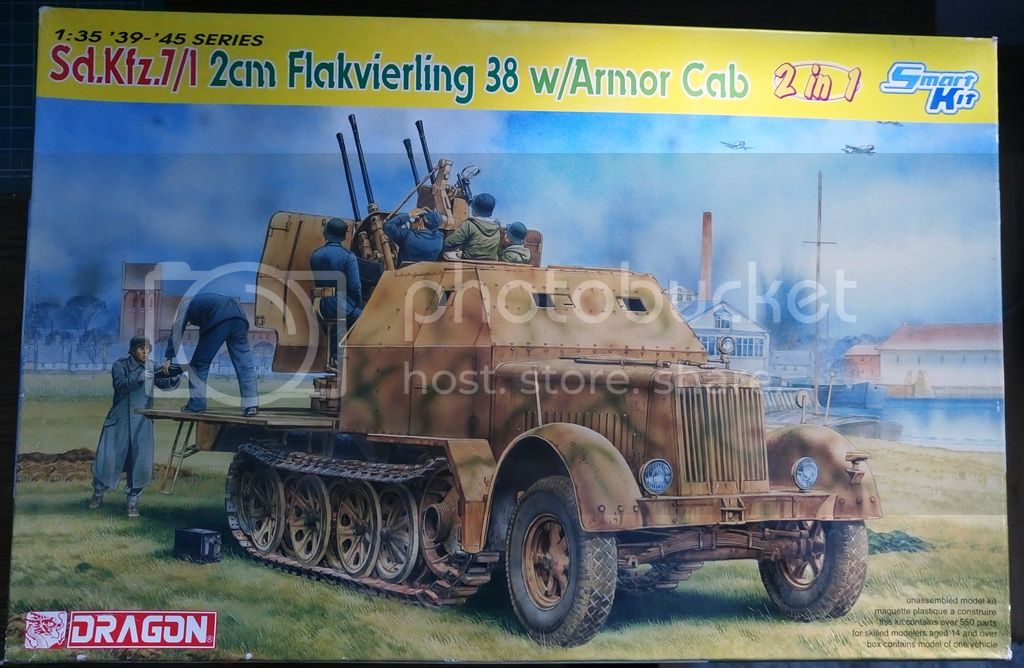
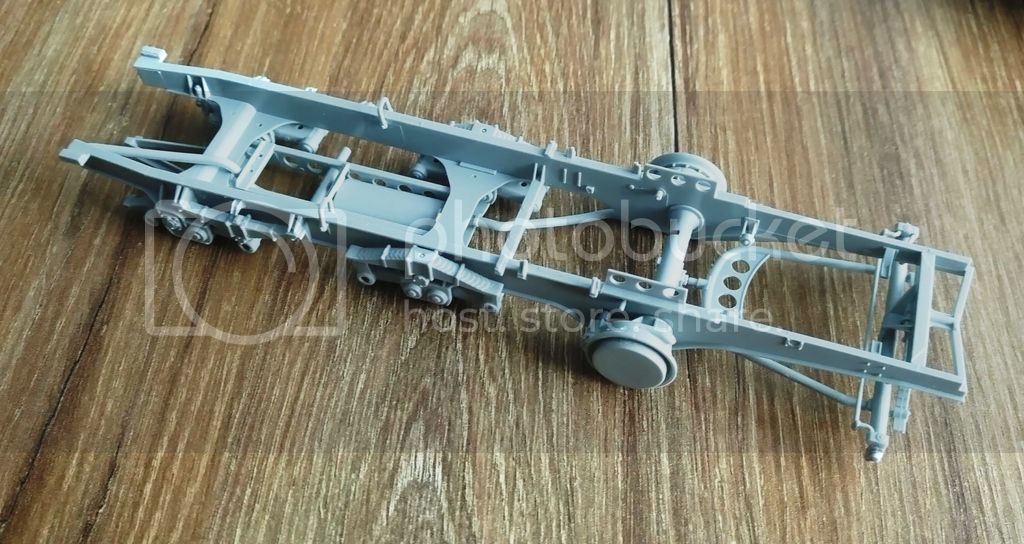
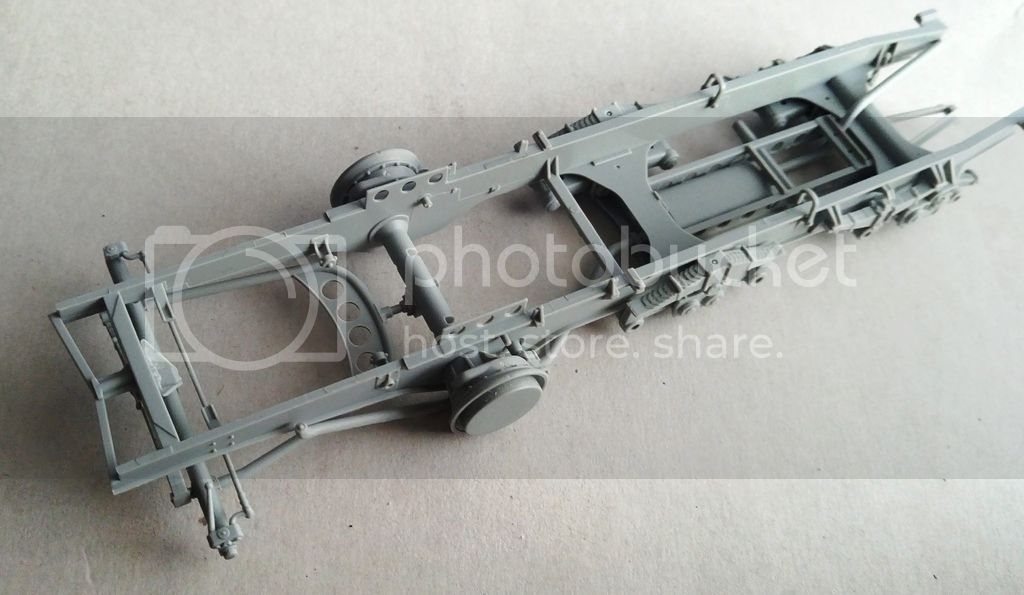
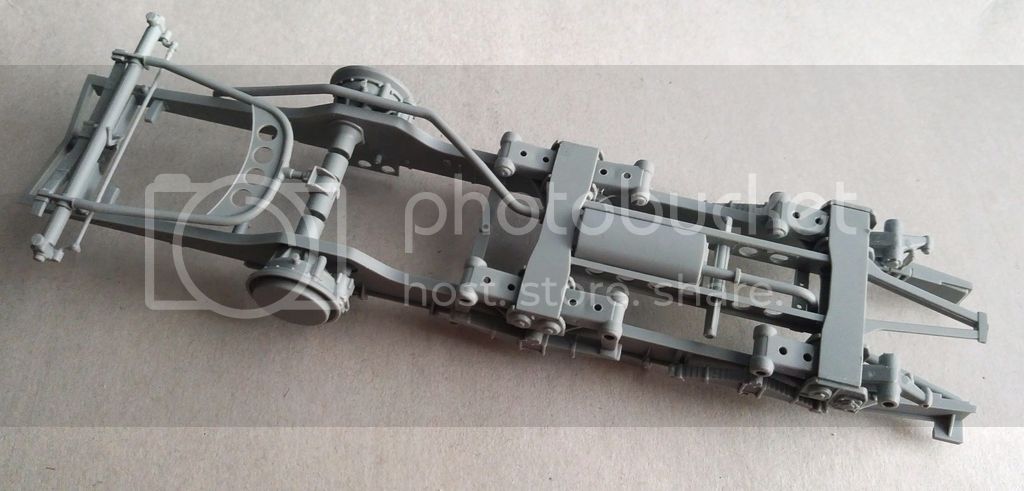
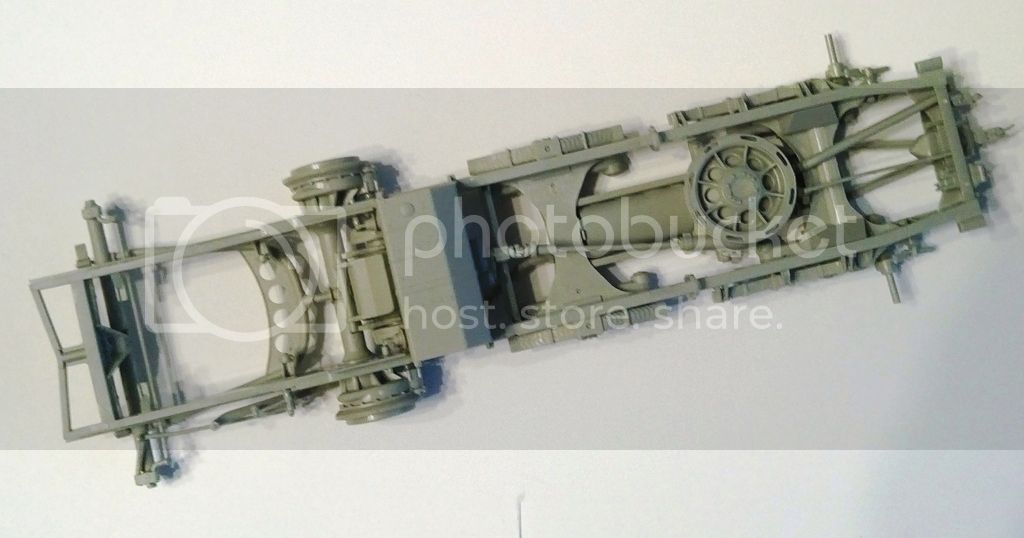
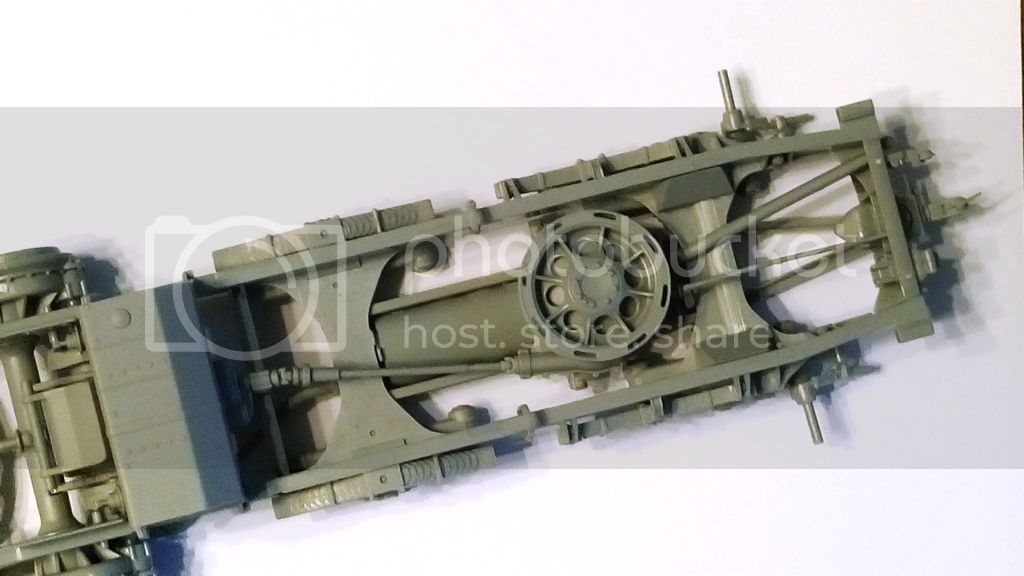
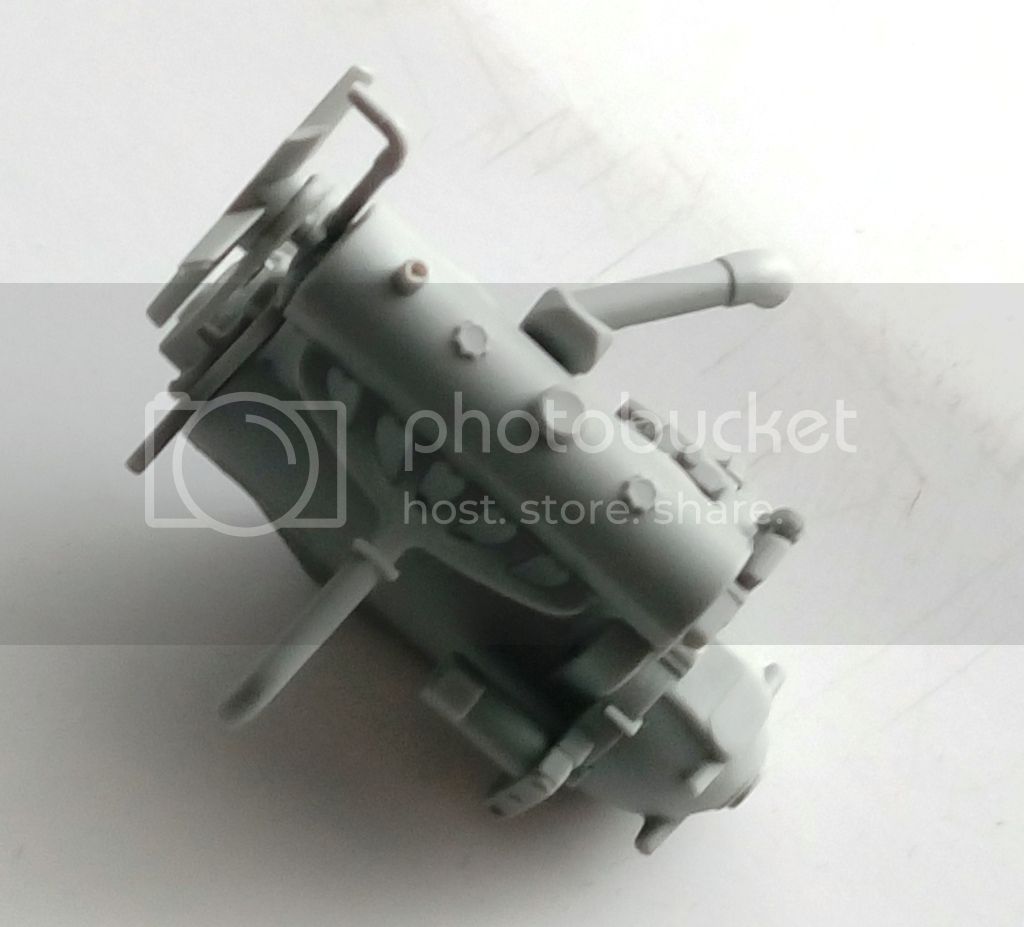
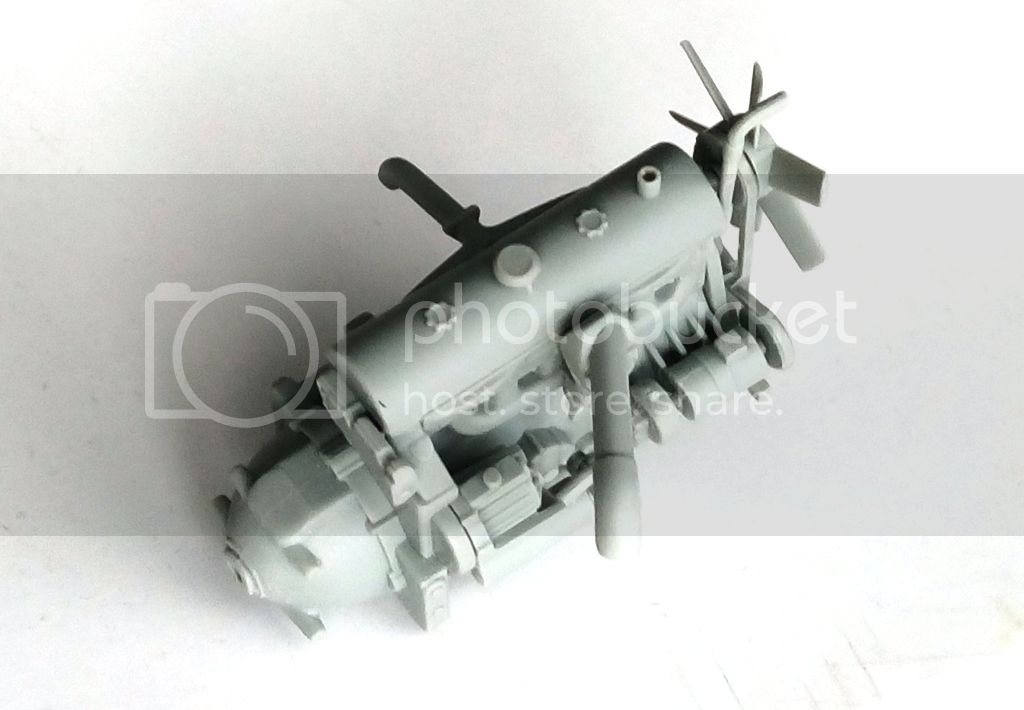
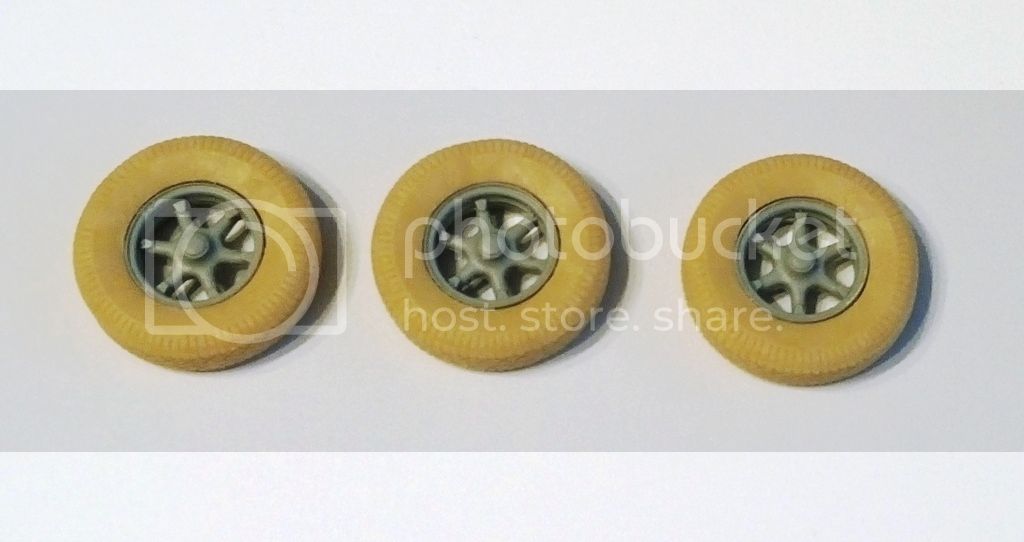
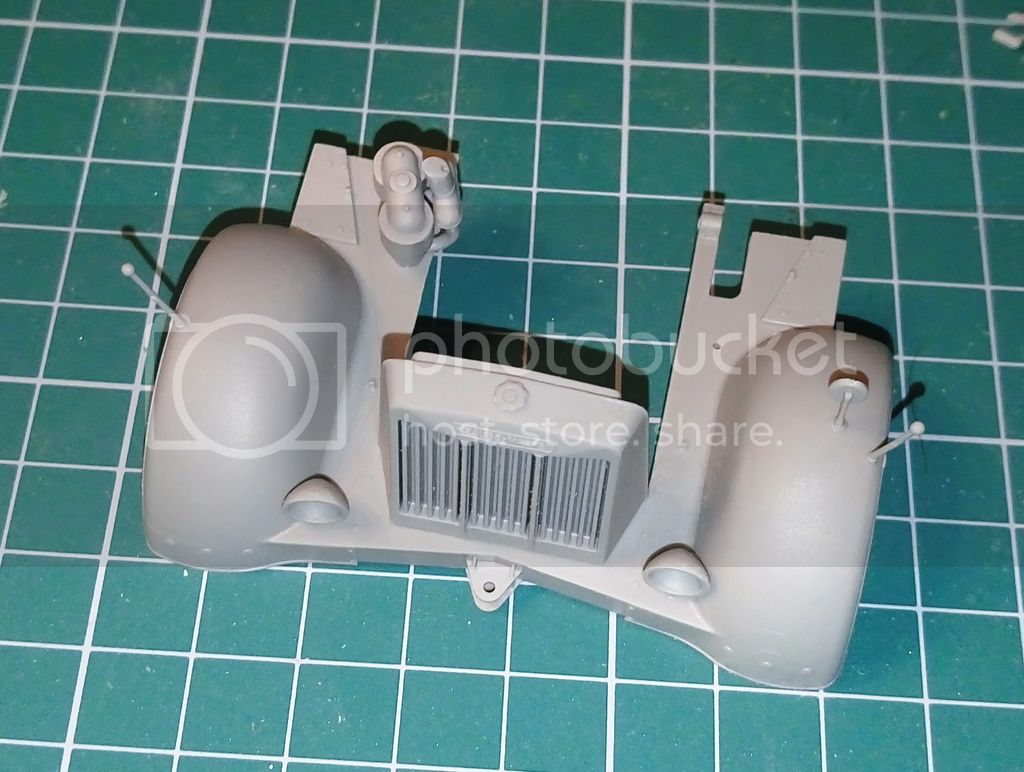
Sd. kfz 7/1 z 2 cm Flak 38 - Dragon 1:35
Wojewodztwo Slaskie, Poland
Joined: March 26, 2015
KitMaker: 255 posts
Armorama: 254 posts
Posted: Thursday, January 05, 2017 - 12:13 AM UTC
Nil satis nisi Optimus :)
varanusk
 Managing Editor
Santa Cruz de Tenerife, Spain / España
Joined: July 04, 2013
KitMaker: 1,288 posts
Armorama: 942 posts
Posted: Saturday, January 07, 2017 - 03:52 AM UTC
Looks good, very nice kit. Keep sharing your progress!
Wojewodztwo Slaskie, Poland
Joined: March 26, 2015
KitMaker: 255 posts
Armorama: 254 posts
Posted: Tuesday, January 10, 2017 - 01:32 PM UTC
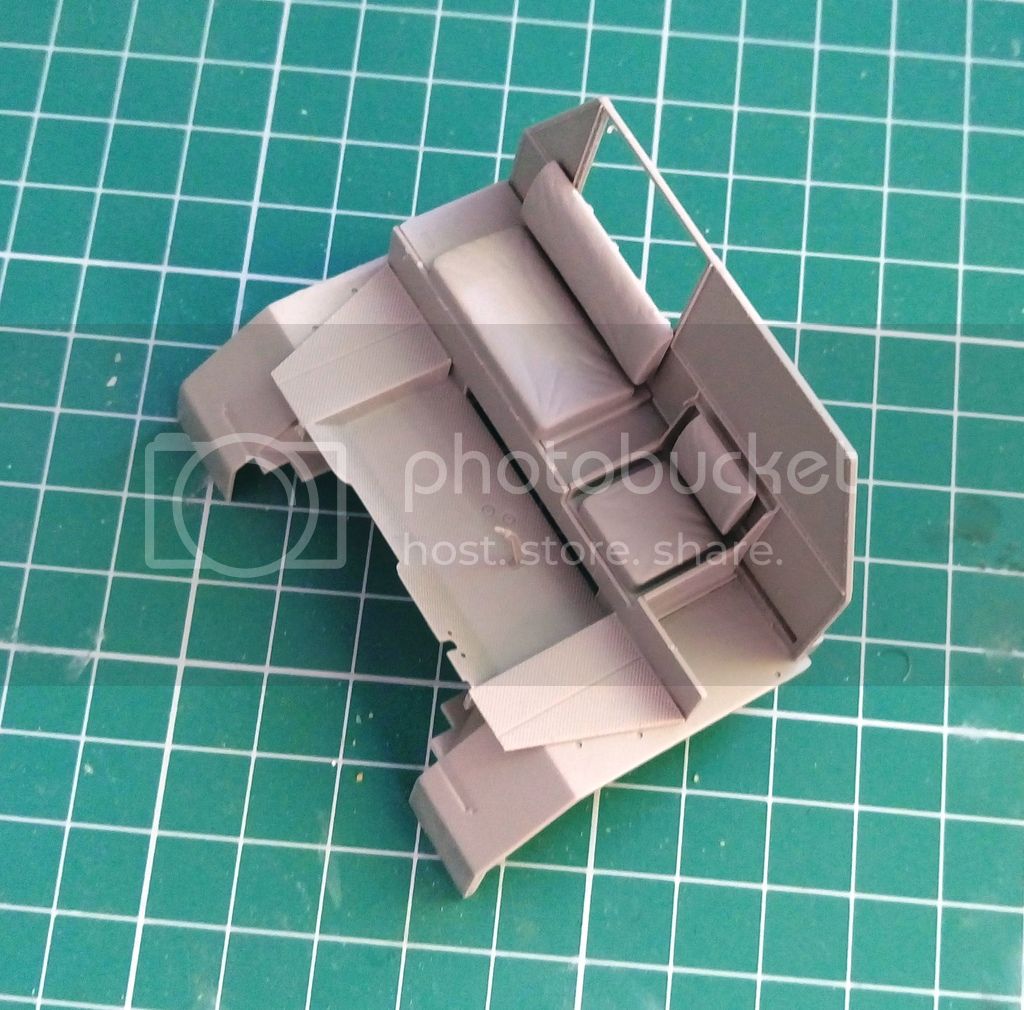
Lets see whats done.
Some main elements are getting shape
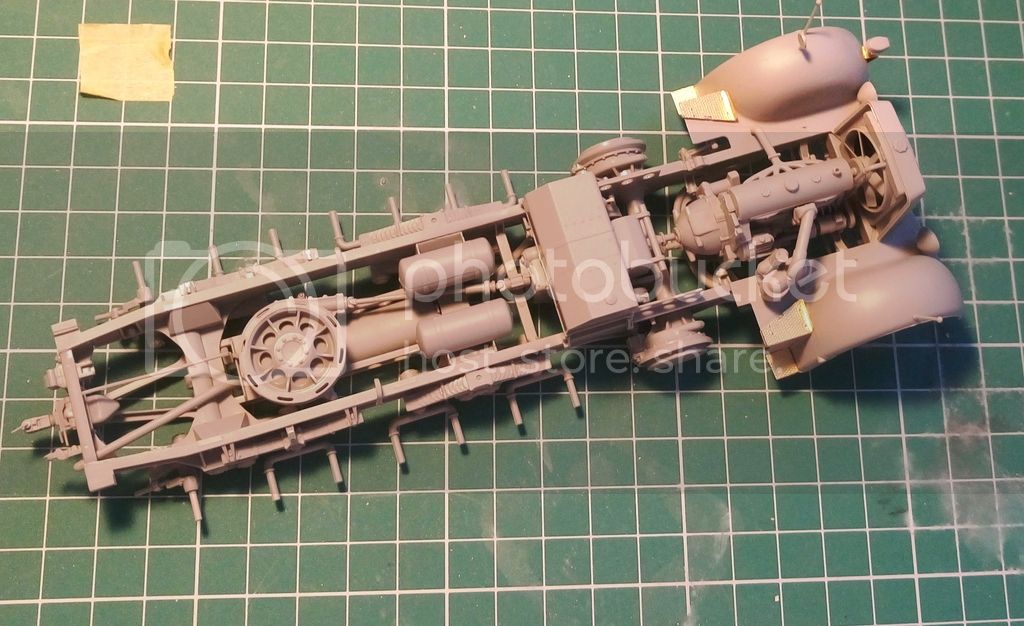
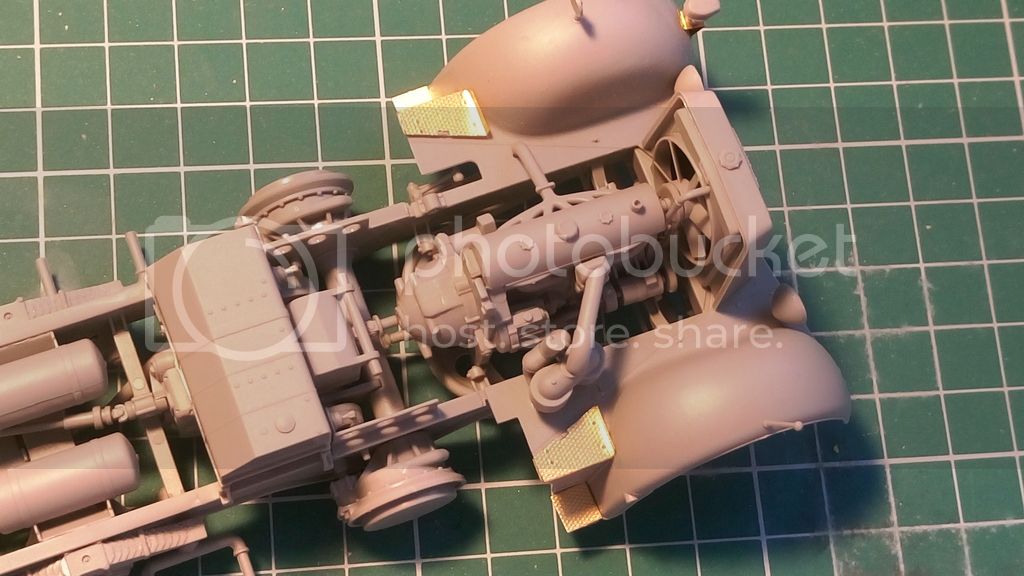
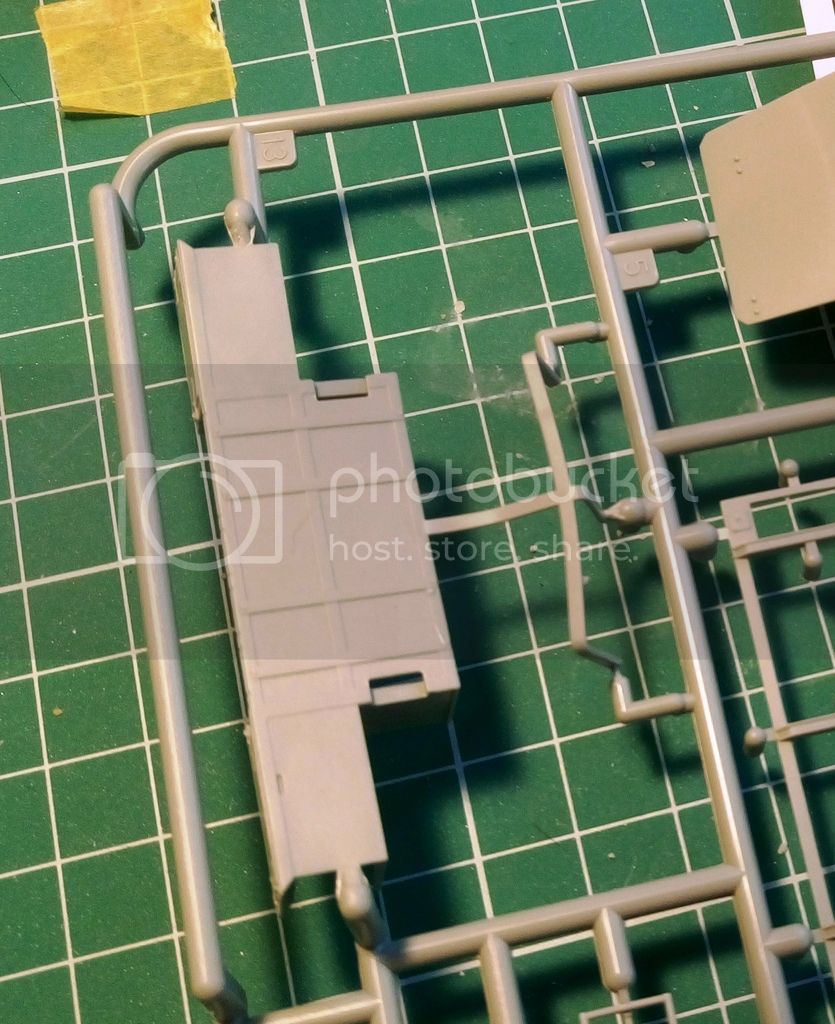
Warped element and errors in numbering on sprue "J" also noticeble. Such a great kit with such simple defects. Come on Dragon!
Brniemy dalej

Nil satis nisi Optimus :)
Bulgaria
Joined: December 07, 2013
KitMaker: 908 posts
Armorama: 698 posts
Posted: Tuesday, January 10, 2017 - 02:18 PM UTC
I have the same kit in my stash and it has several omissions, most important the rear bench with the weapons rack is not included, just behind the cabin

I will follow your build with interest
Regards,
Venelin
Joined: November 25, 2006
KitMaker: 45 posts
Armorama: 31 posts
Posted: Sunday, January 15, 2017 - 09:33 AM UTC
Venelin, I did a request to Dragon and they send me the missing parts without charge.
Wojewodztwo Slaskie, Poland
Joined: March 26, 2015
KitMaker: 255 posts
Armorama: 254 posts
Posted: Monday, January 30, 2017 - 11:53 AM UTC
Next part of workshop photos.
The main work with the cab is done.
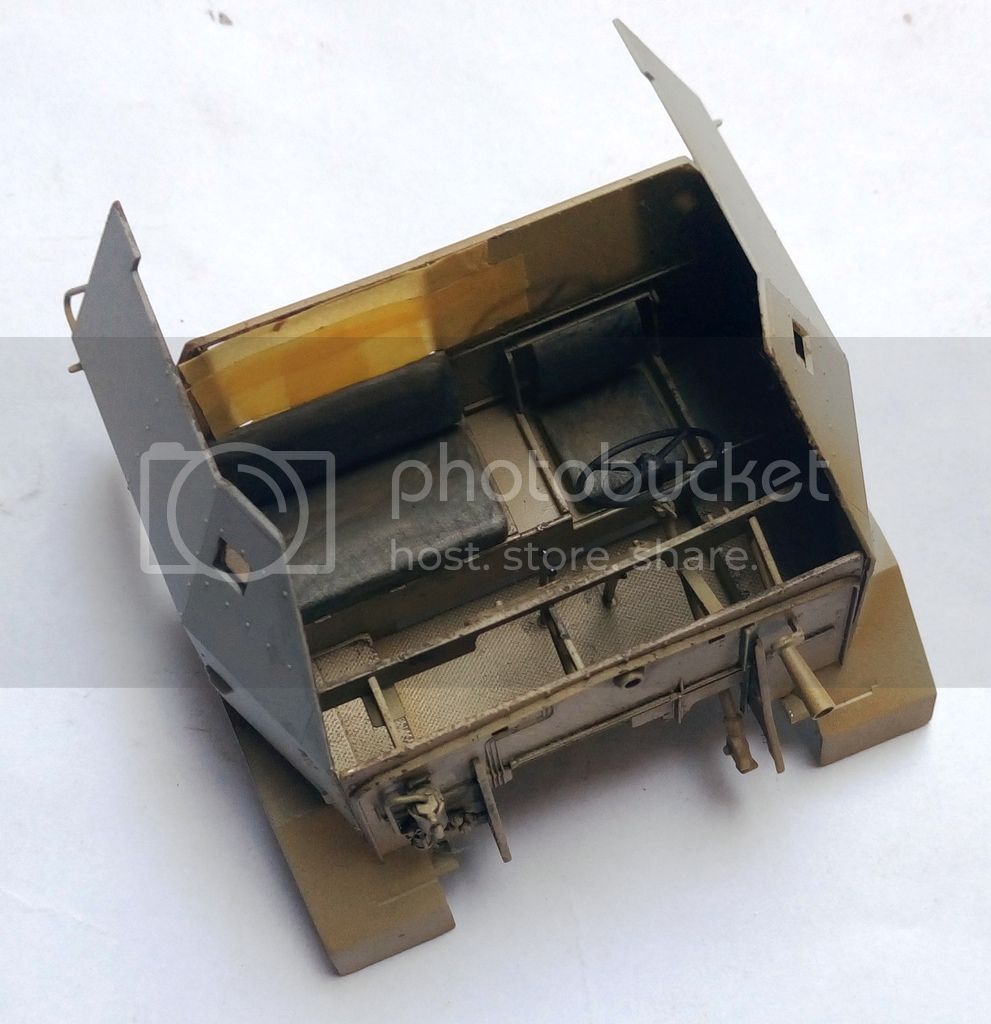
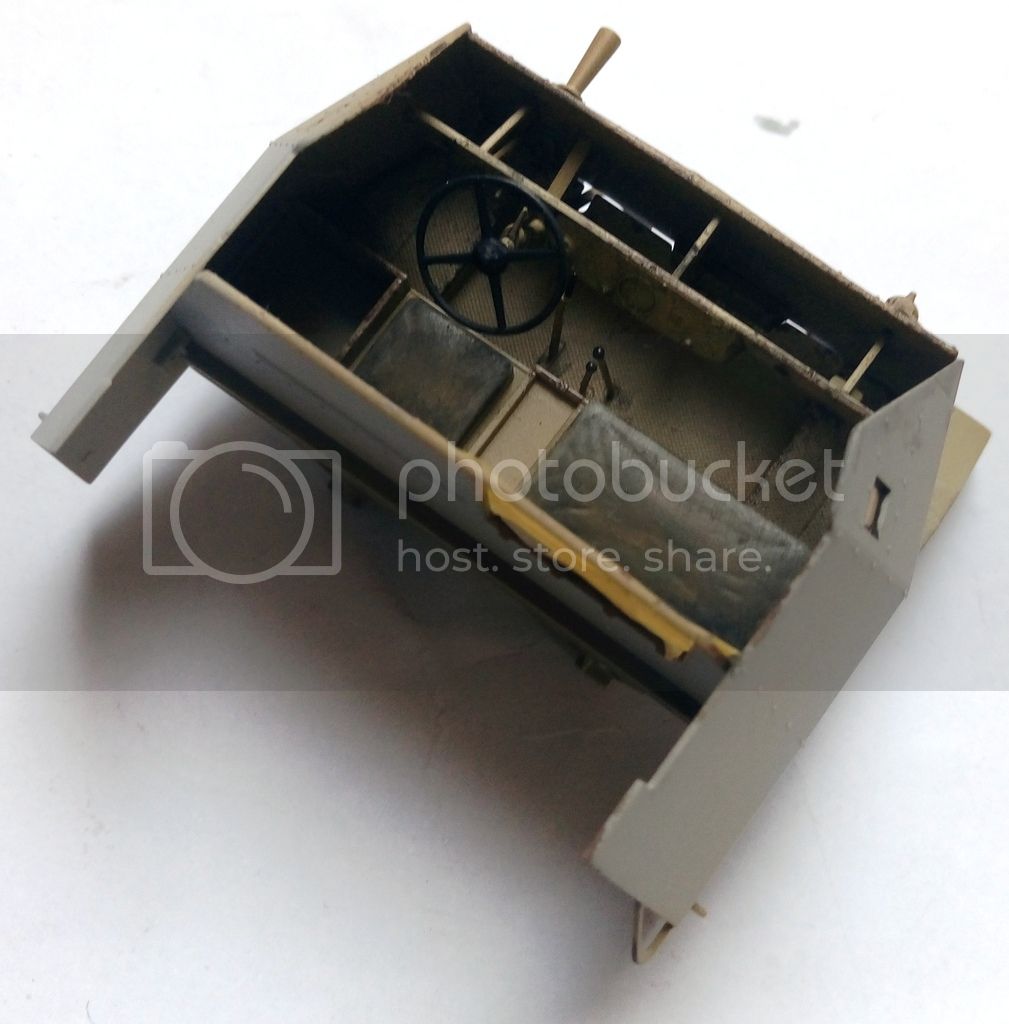
Well legendary too-short hood issue is true in ths kit as seen below.
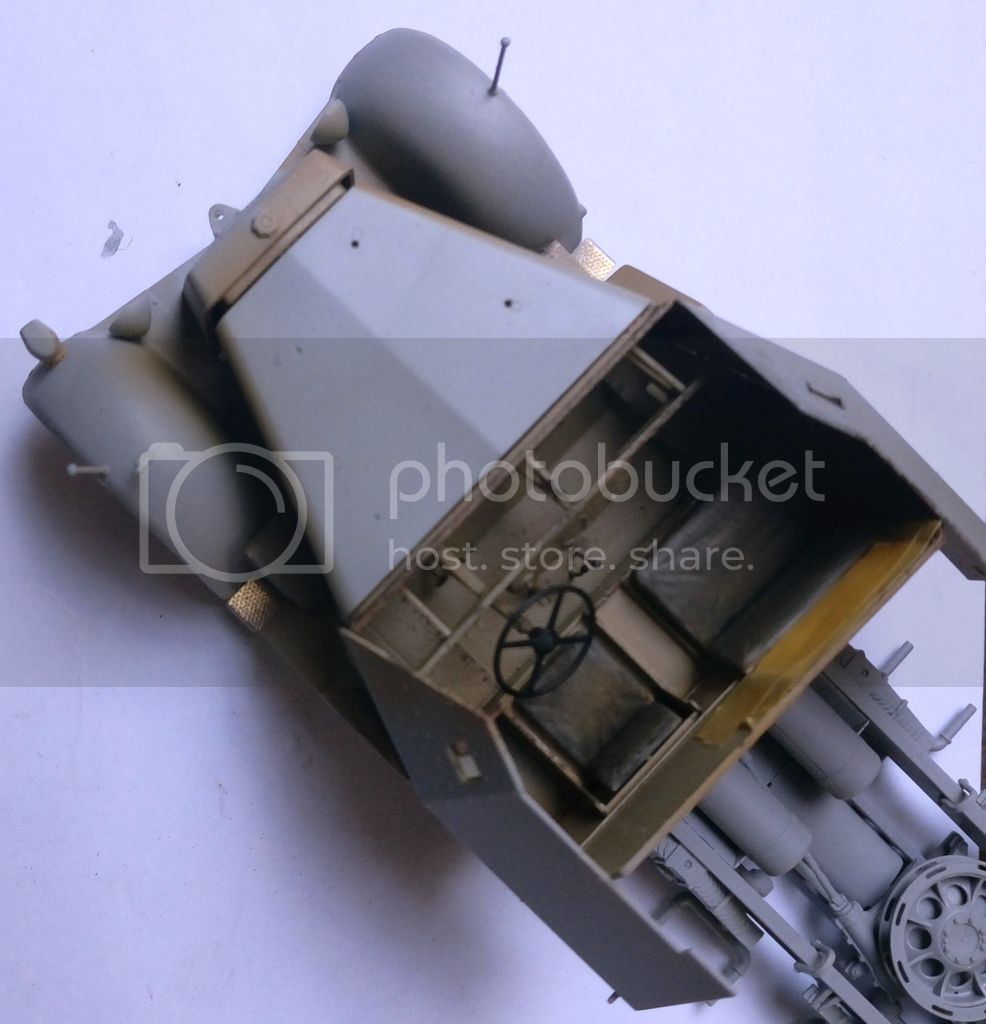
The engine in it's place
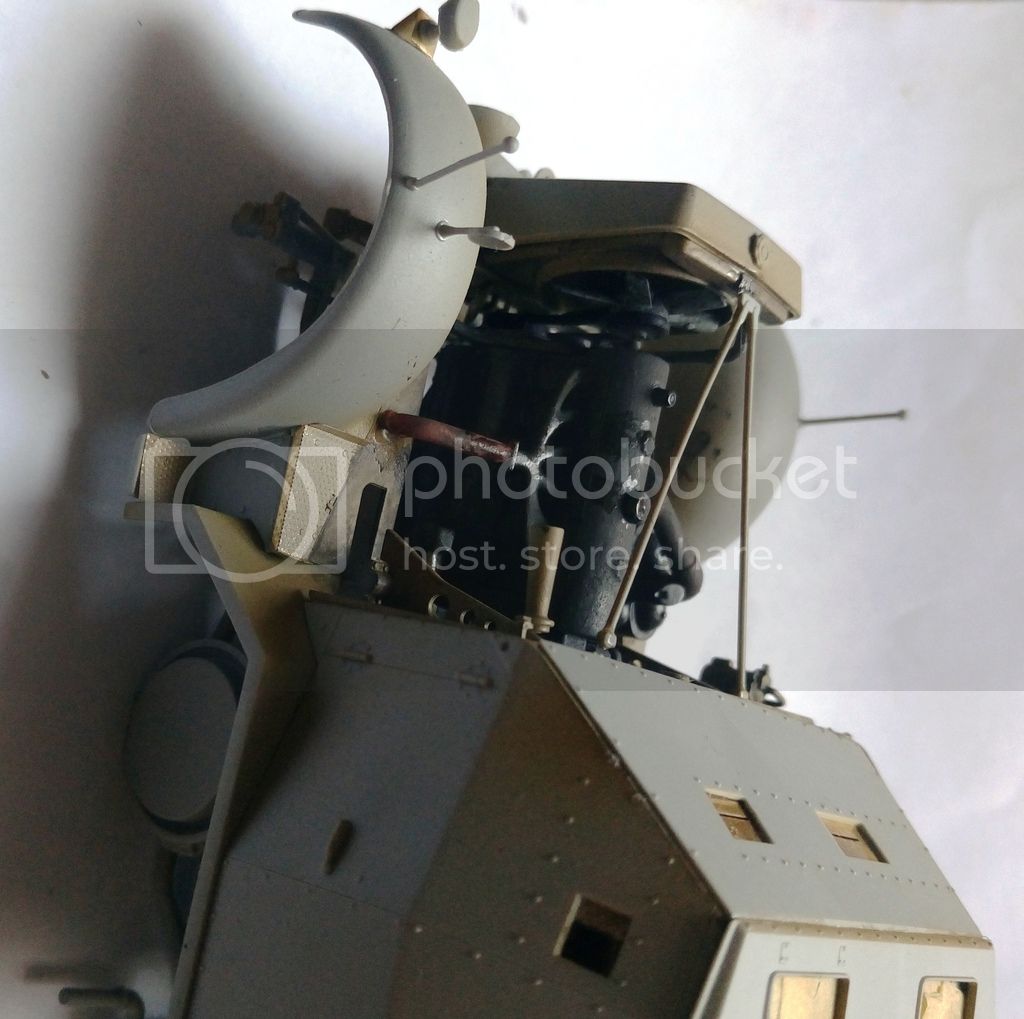
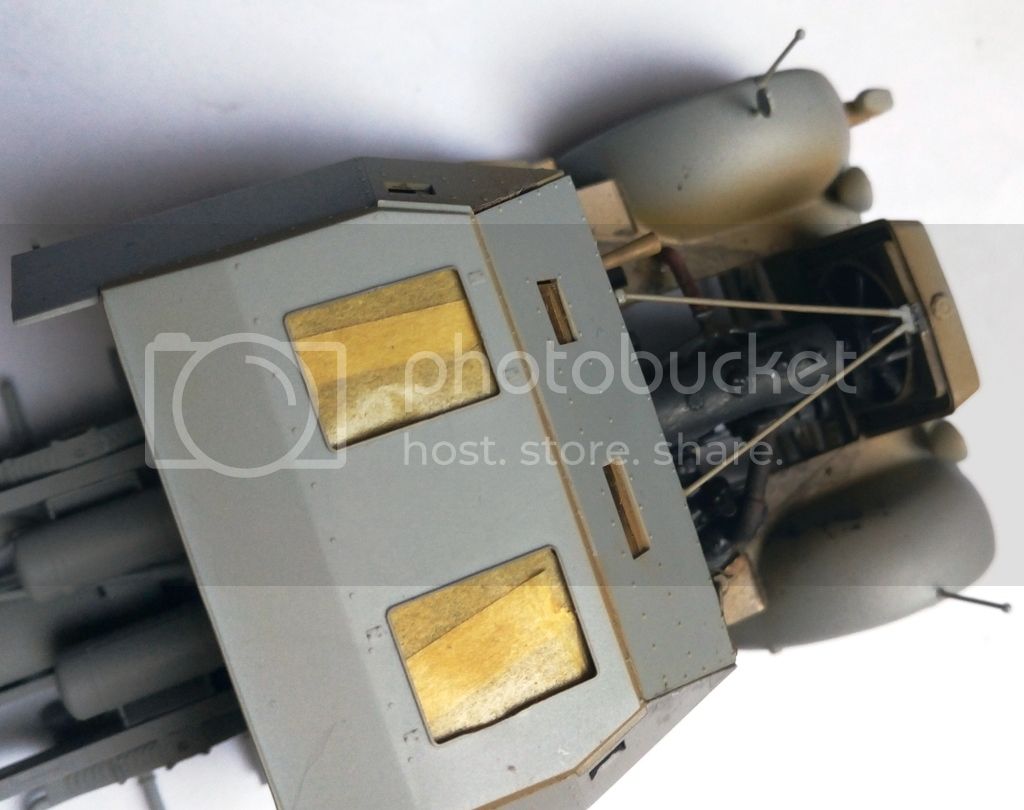
Now the main problem to slove is the hood. Will try to use some Miliput stuff.
Nil satis nisi Optimus :)
Wojewodztwo Slaskie, Poland
Joined: March 26, 2015
KitMaker: 255 posts
Armorama: 254 posts
Posted: Wednesday, February 22, 2017 - 02:03 PM UTC
Hello Comrades!
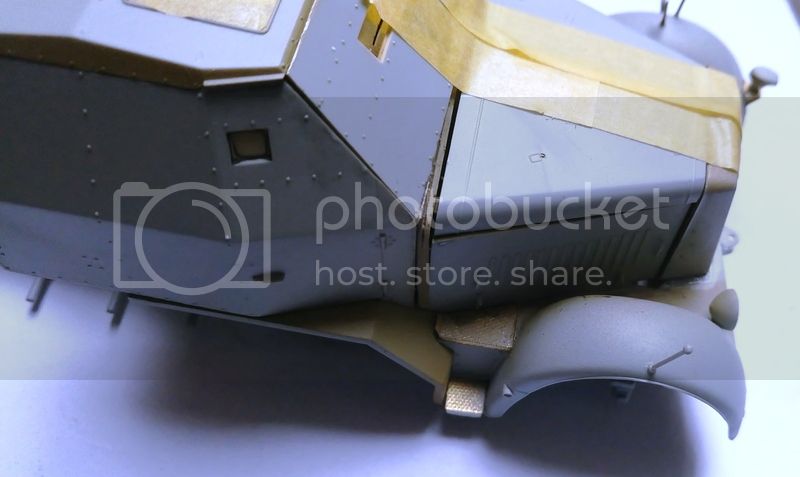
Actually I manager to set the intercooler body with the hood. Its still not perfect, but closer than before.
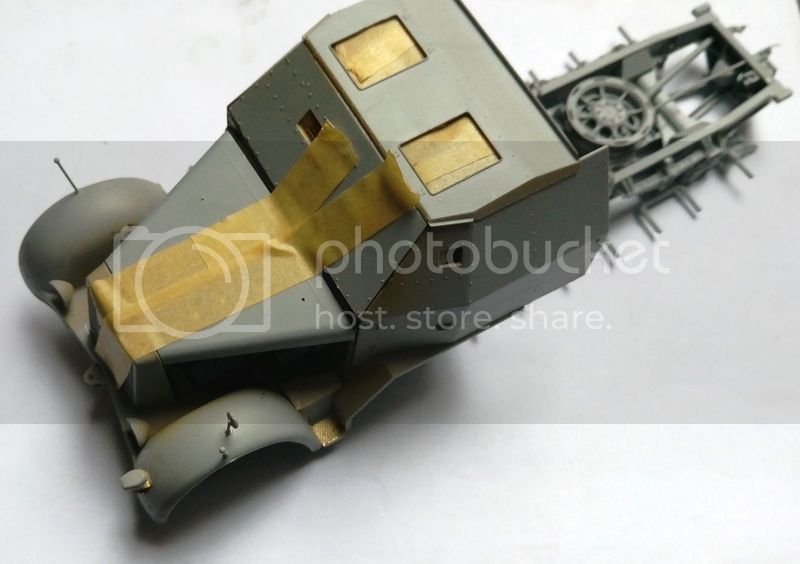
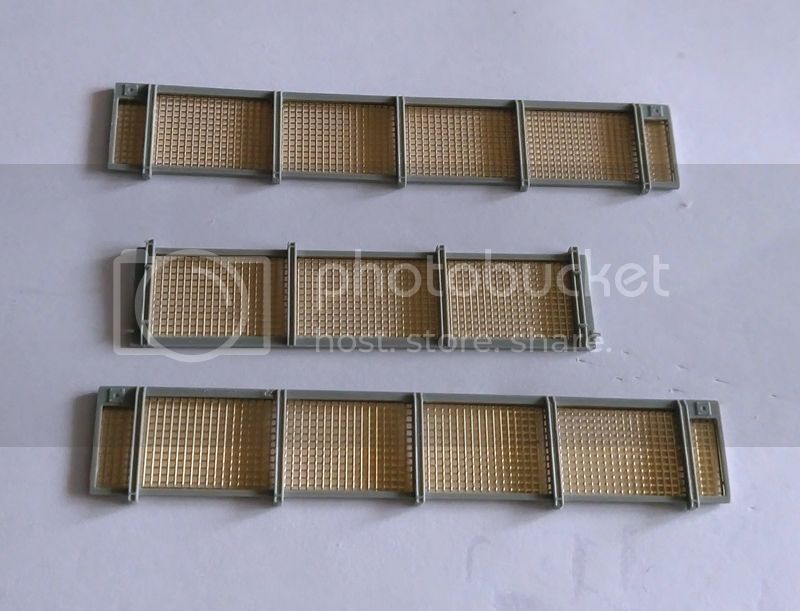
Also just ended the side skirts of the platform
Now the Flak itself needed to complete the rear of the vehicle
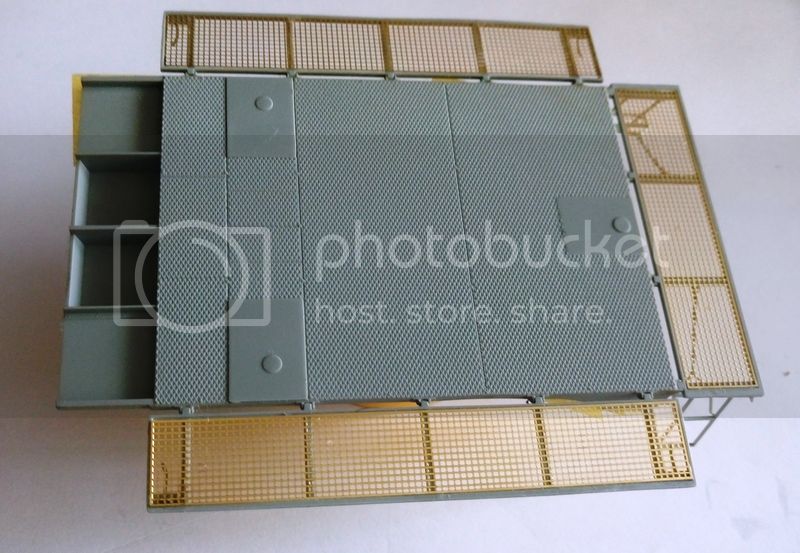
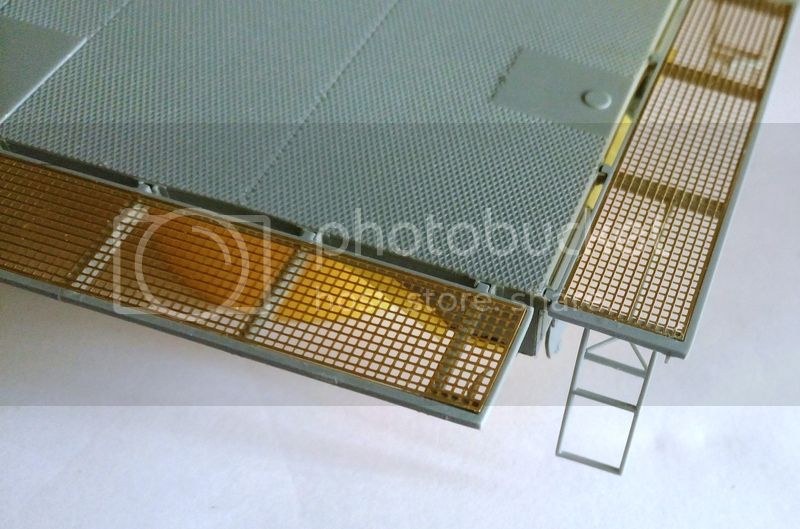
Updates soon
Nil satis nisi Optimus :)
varanusk
 Managing Editor
Santa Cruz de Tenerife, Spain / España
Joined: July 04, 2013
KitMaker: 1,288 posts
Armorama: 942 posts
Posted: Wednesday, February 22, 2017 - 04:03 PM UTC
Good progress!
How did you paint the seats? I like them
England - South East, United Kingdom
Joined: January 09, 2010
KitMaker: 979 posts
Armorama: 959 posts
Posted: Wednesday, February 22, 2017 - 04:11 PM UTC
Very nice build, looking forward to the next update
Wojewodztwo Slaskie, Poland
Joined: March 26, 2015
KitMaker: 255 posts
Armorama: 254 posts
Posted: Thursday, February 23, 2017 - 01:22 PM UTC
Thanks guys.
Every suport is a good thing during the building proces.
The seats painting was created with vallejo stuff. Exactly I used leather colour for base, then added some beige and made highlights and the beige itself for some delicate torns on sufrace made with driver motion on the seat.
Nil satis nisi Optimus :)
Wojewodztwo Slaskie, Poland
Joined: March 26, 2015
KitMaker: 255 posts
Armorama: 254 posts
Posted: Friday, February 24, 2017 - 09:53 PM UTC
Nil satis nisi Optimus :)
Wisconsin, United States
Joined: April 05, 2007
KitMaker: 2,023 posts
Armorama: 1,234 posts
Posted: Friday, February 24, 2017 - 10:34 PM UTC
Lukasz, I dug out my copy of this kit. Mine has 2 engine hoods. Sprue D I am not to use this one. Sprue J is the correct one. Did dragon correct the problem. The J hood is much longer that D's hood.
Anyway, I am now hooked on you build. Keep up the good work !
Thanks for sharing !


Tom
On the bench :
A whole bunch of figures, Too many half built kits and a (gasp) wing thing
Florida, United States
Joined: March 18, 2008
KitMaker: 173 posts
Armorama: 168 posts
Posted: Friday, February 24, 2017 - 11:23 PM UTC
Paintwork looks fantastic!
Wojewodztwo Slaskie, Poland
Joined: March 26, 2015
KitMaker: 255 posts
Armorama: 254 posts
Posted: Sunday, March 05, 2017 - 06:16 PM UTC
Hello,
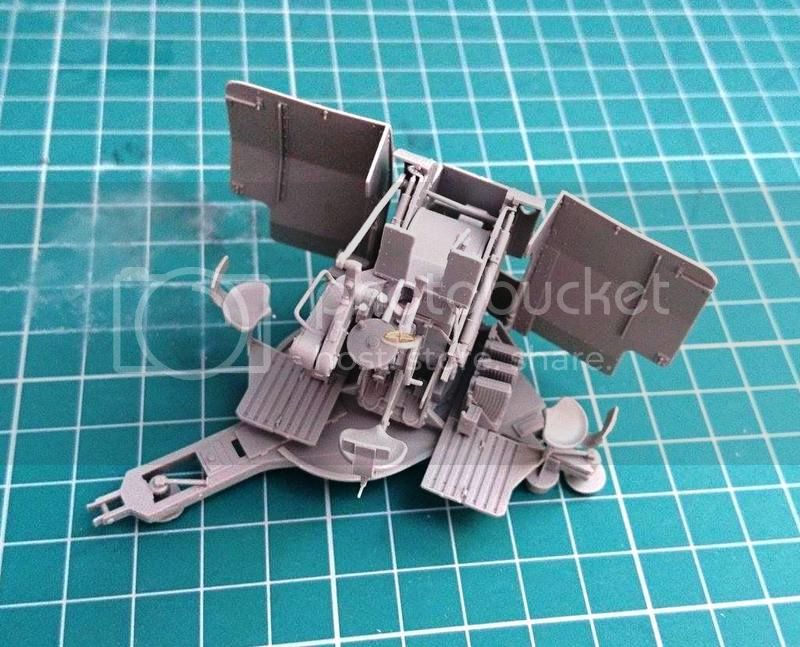
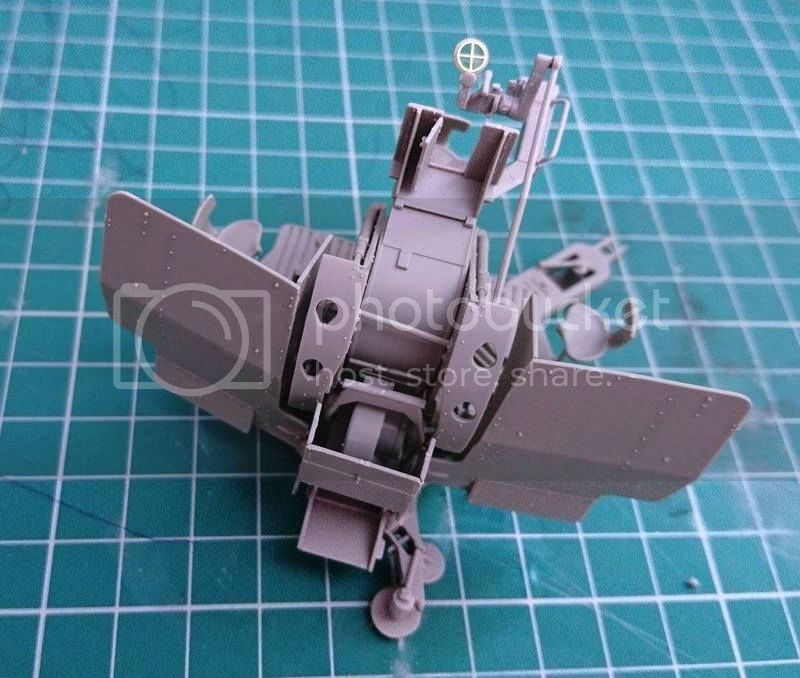
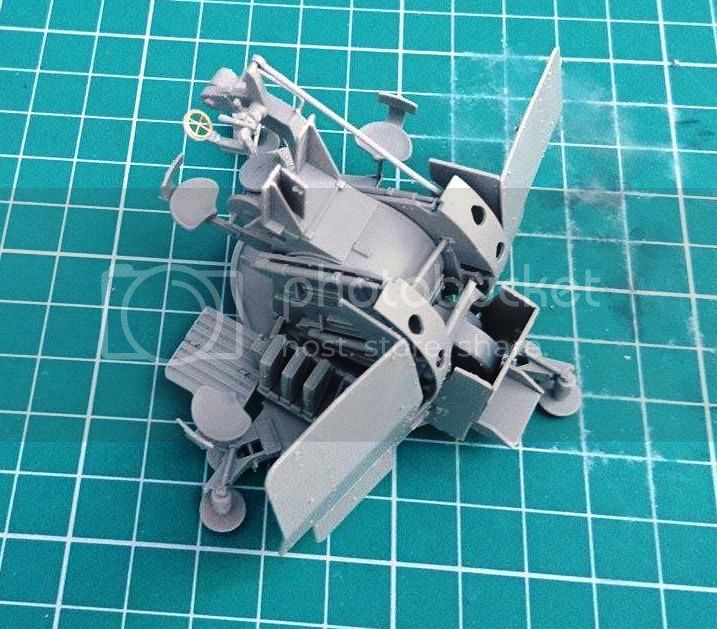
This time the Flak itself is almoust completed.
The side skirts are just dry-fitted so dont worry about their angle. The guns will be painted separately.
Nil satis nisi Optimus :)
Wojewodztwo Slaskie, Poland
Joined: March 26, 2015
KitMaker: 255 posts
Armorama: 254 posts
Posted: Saturday, March 11, 2017 - 11:28 PM UTC
Nil satis nisi Optimus :)
Wojewodztwo Slaskie, Poland
Joined: March 26, 2015
KitMaker: 255 posts
Armorama: 254 posts
Posted: Friday, March 17, 2017 - 09:59 PM UTC
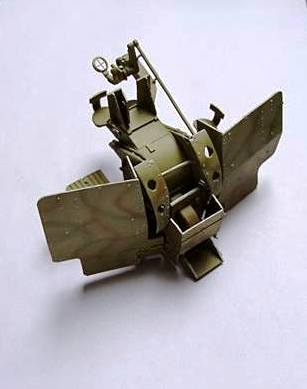
Hello,
Very small progres. Just added the shine shade to the rivets and edges of the Flak gun.
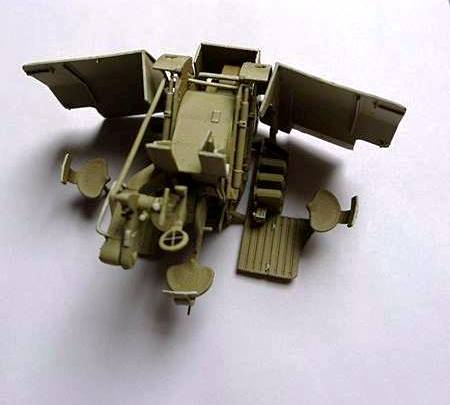
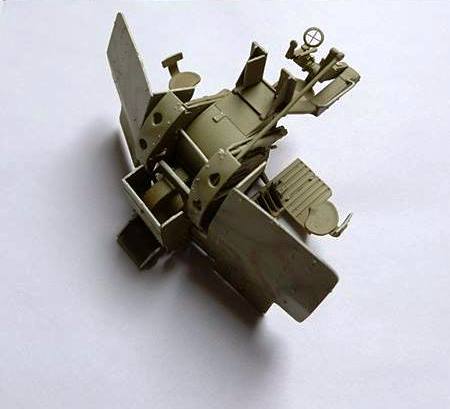
All the best!
Nil satis nisi Optimus :)
Wojewodztwo Slaskie, Poland
Joined: March 26, 2015
KitMaker: 255 posts
Armorama: 254 posts
Posted: Thursday, March 23, 2017 - 12:43 AM UTC
Nil satis nisi Optimus :)
Putrajaya, Malaysia
Joined: March 04, 2004
KitMaker: 2,511 posts
Armorama: 913 posts
Posted: Thursday, March 23, 2017 - 07:13 AM UTC
wow...splendid... love the cammo...
The more i know, the less I understand!!!!
Wojewodztwo Slaskie, Poland
Joined: March 26, 2015
KitMaker: 255 posts
Armorama: 254 posts
Posted: Sunday, April 30, 2017 - 10:50 AM UTC
Nil satis nisi Optimus :)
Wojewodztwo Slaskie, Poland
Joined: March 26, 2015
KitMaker: 255 posts
Armorama: 254 posts
Posted: Wednesday, May 10, 2017 - 10:17 AM UTC
Nil satis nisi Optimus :)

#521
Kentucky, United States
Joined: April 13, 2011
KitMaker: 9,465 posts
Armorama: 8,695 posts
Posted: Wednesday, May 10, 2017 - 07:58 PM UTC
Quoted Text
Next part of workshop photos.
The main work with the cab is done.
Well legendary too-short hood issue is true in ths kit as seen below.
Now the main problem to slove is the hood. Will try to use some Miliput stuff.
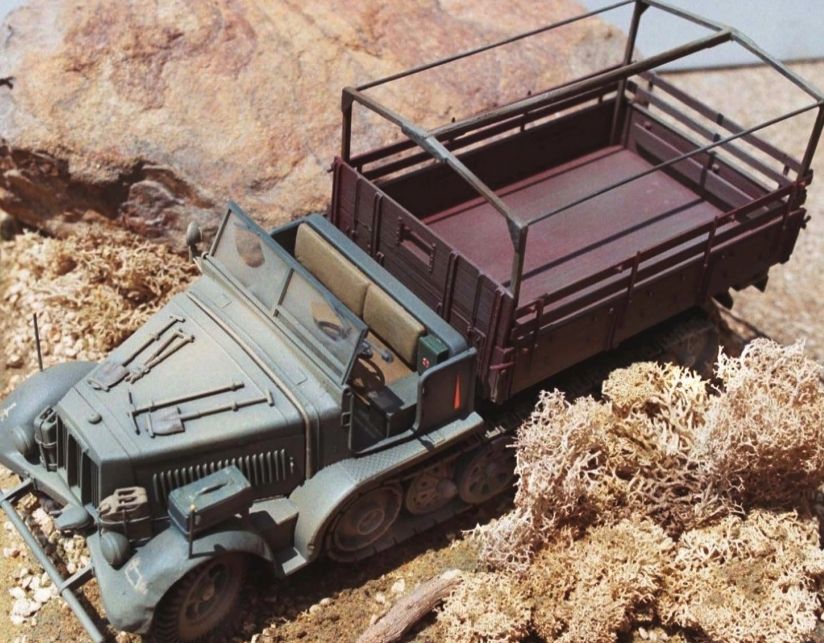
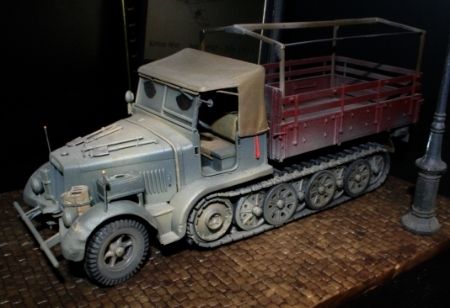
There is supposed to be a two or three inch wide leather/canvas vibration damper between the bonnet (hood) assembly and the cowl. The kit does not include this damper.
I suspect the folks that originally created the model measured the hood and the cowl correctly but then failed to include this cloth damper feature in the kit which is the cause of the incorrect hood length.
I usually glue together 2 or 3 pieces of small diameter plastic rod to represent this wrinkled canvas piece and add them to the rear edge of the hood.
If I am representing a factory fresh vehicle I will paint these in a canvas or leather color. If doing a weathered, combat hardened vehicle that might have been repaint or shot with camo colors I just paint the body color right across this leather/canvas area.

#521
Kentucky, United States
Joined: April 13, 2011
KitMaker: 9,465 posts
Armorama: 8,695 posts
Posted: Friday, May 12, 2017 - 03:35 AM UTC
Here is a 7 that I kit bashed into a 8 ton MSW. It has the vibration dampener added to the rear edge of the bonnet:

#424
Queensland, Australia
Joined: April 23, 2015
KitMaker: 4,648 posts
Armorama: 2,248 posts
Posted: Friday, May 12, 2017 - 09:49 AM UTC
Did the kit come with a crew? Maybe even manning the gun?
"Artillery adds dignity, to what would otherwise be an ugly brawl."
Frederick The Great

#521
Kentucky, United States
Joined: April 13, 2011
KitMaker: 9,465 posts
Armorama: 8,695 posts
Posted: Friday, May 12, 2017 - 08:37 PM UTC
A 7 from the Littlefield Collection:

This flexible band allowed the hood to torque with the lighter, forward portion of the frame while the main body sheet metal moved with the rear tracked portion of the structure.
Wojewodztwo Slaskie, Poland
Joined: March 26, 2015
KitMaker: 255 posts
Armorama: 254 posts
Posted: Saturday, May 13, 2017 - 11:42 PM UTC
Nil satis nisi Optimus :)
