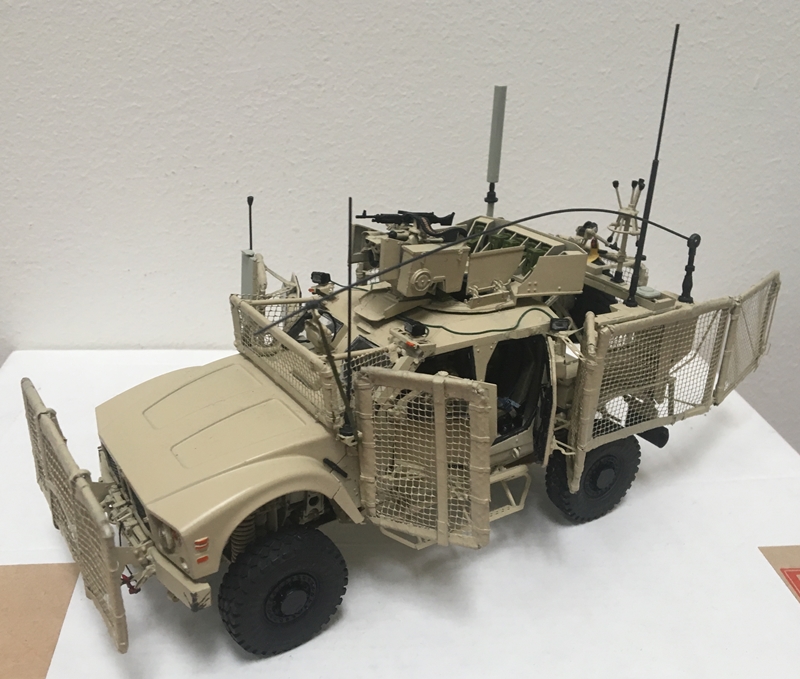
Hi fellow model builders - back with an update - the mesh is done! and the truck is in the paint shop! For those of you wondering about the armor, attached is a reference photo - I don't recall the source:
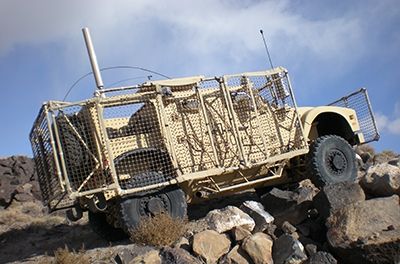
The above is what I'm trying to achieve - on to the update -
Hi Cheyenne - yes! you'd think a "little screen" would be easy to build...you'd be wrong! sounds like you've made one or two of these!
Hi Jerry - About your comment...I wonder? - you always nail all the details - I'll bet you'd fix it! or, not make the mistake to begin with!
Hi Matt - thanks - this has turned into a remarkably challenging build...between this and the slat armor on the buffalo...ugh!
Hi Eric - I'm guessing the spacing is 2"x 2" only a guess, but compare the openings to the support frame - that looks like 1.5" or 2" tubing to me - I have a few other pics too for reference...
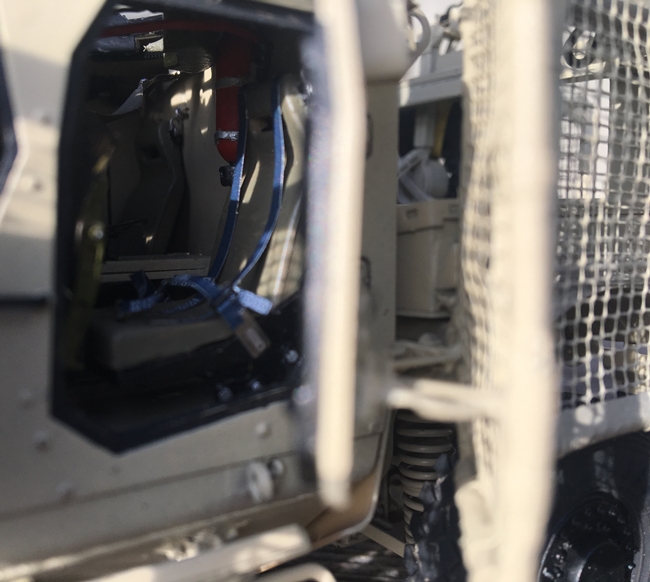
Hi Ski - yes, this build has involved a lot of all sorts of stuff - the kit, brass, resin, plastic, metal rod, solder, wire, and mesh...woohoo!! a materials extravaganza...haha...
Ok - enough fun and games, on to the build:
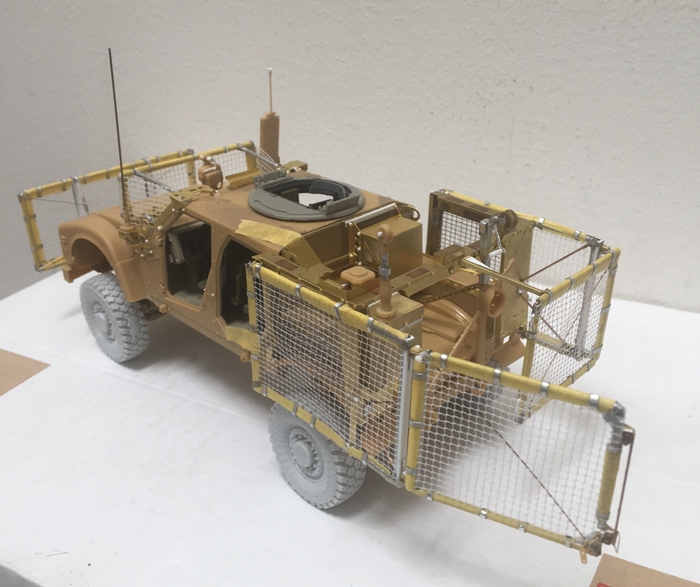
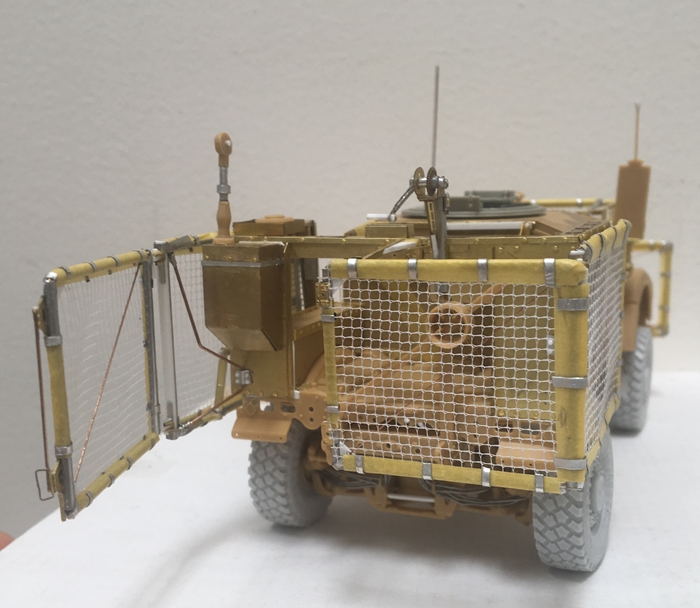
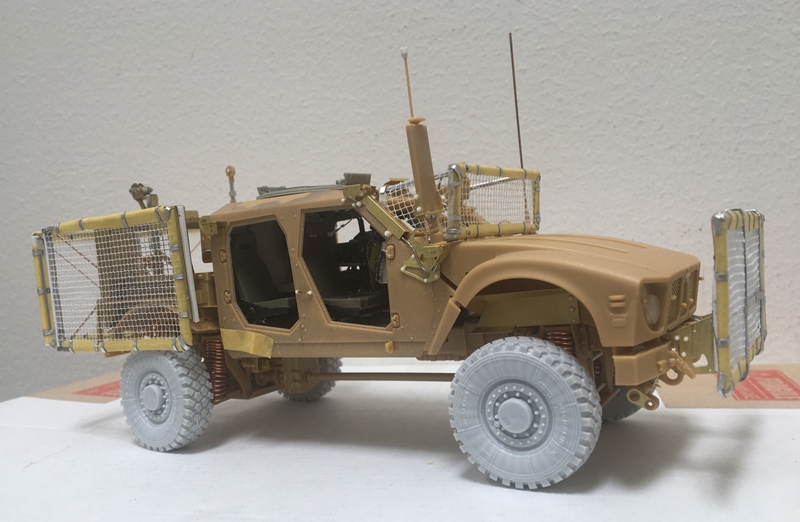
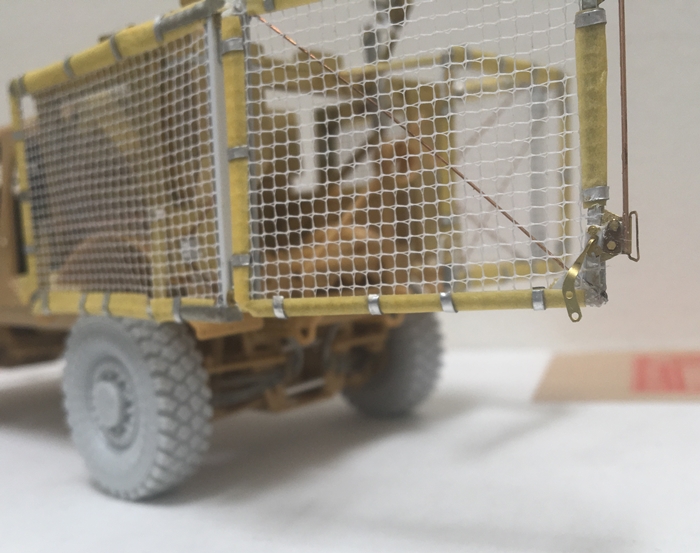
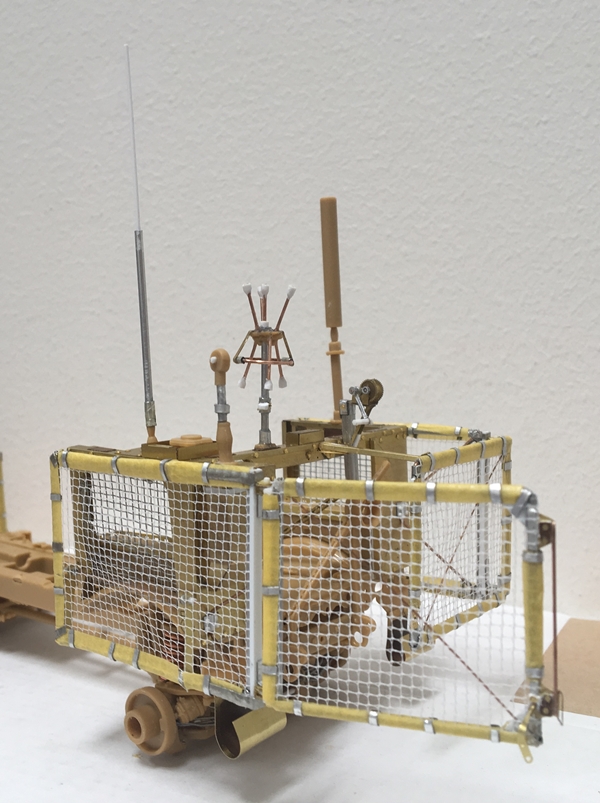
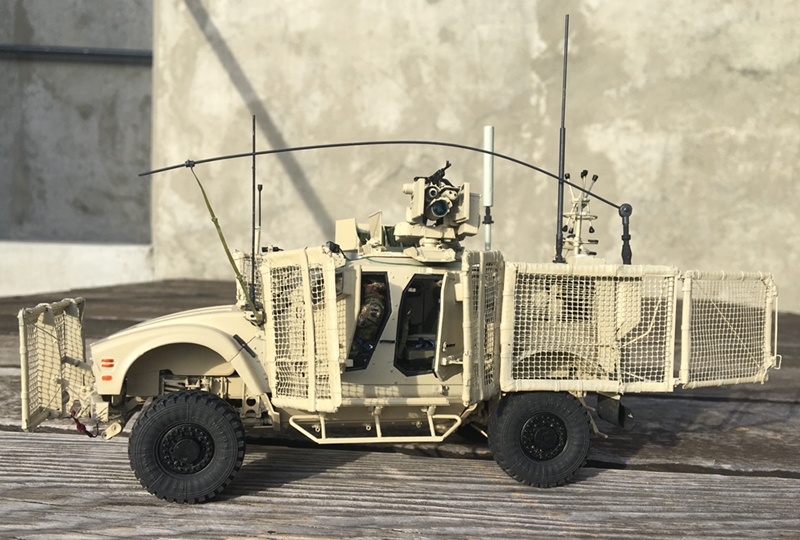
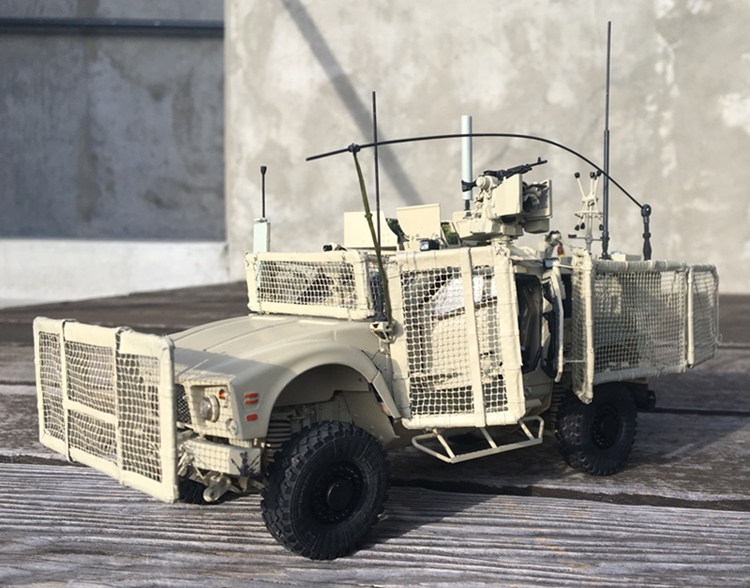
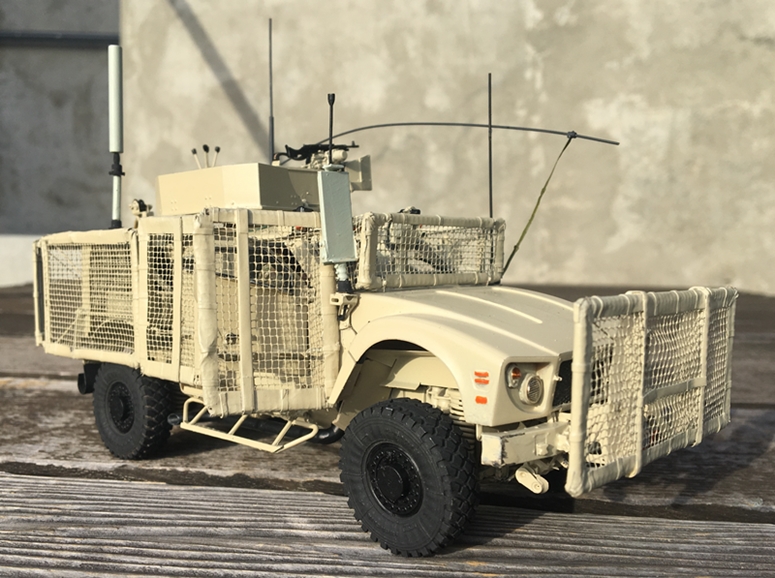
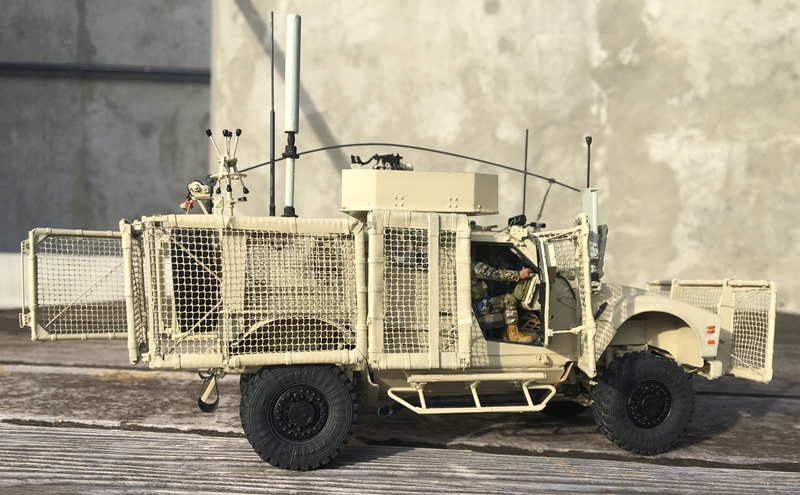
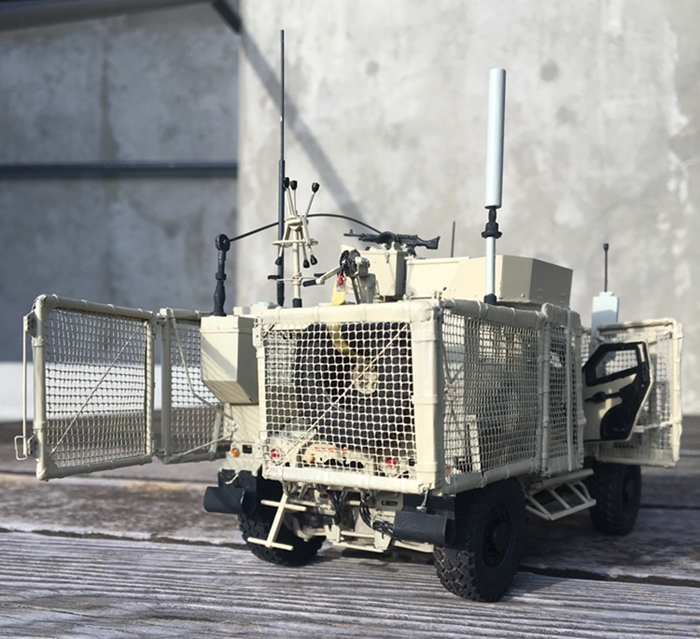
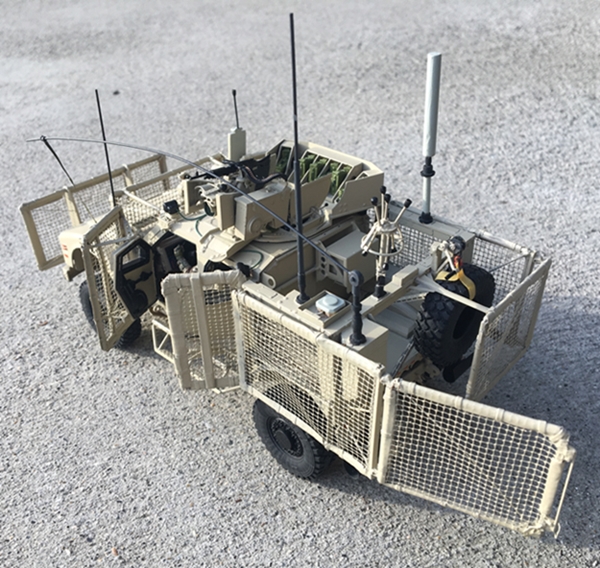
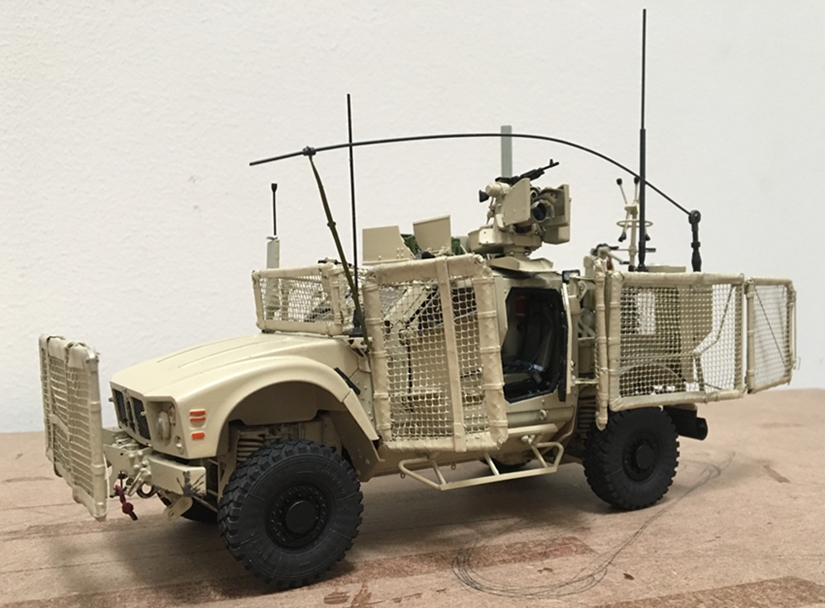
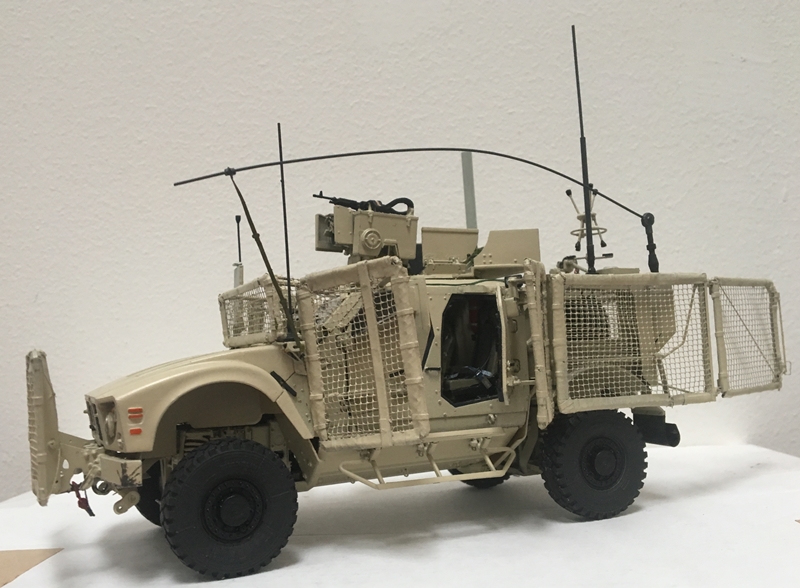
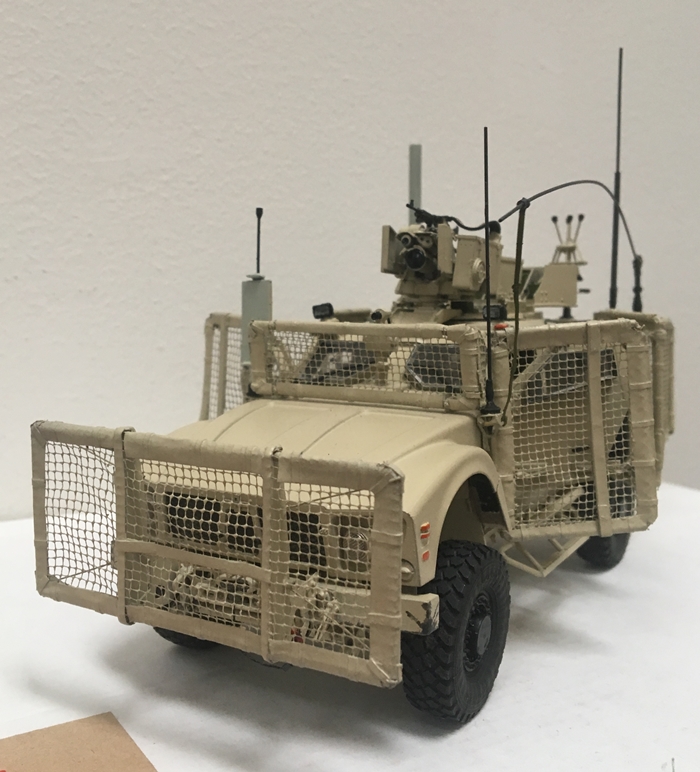
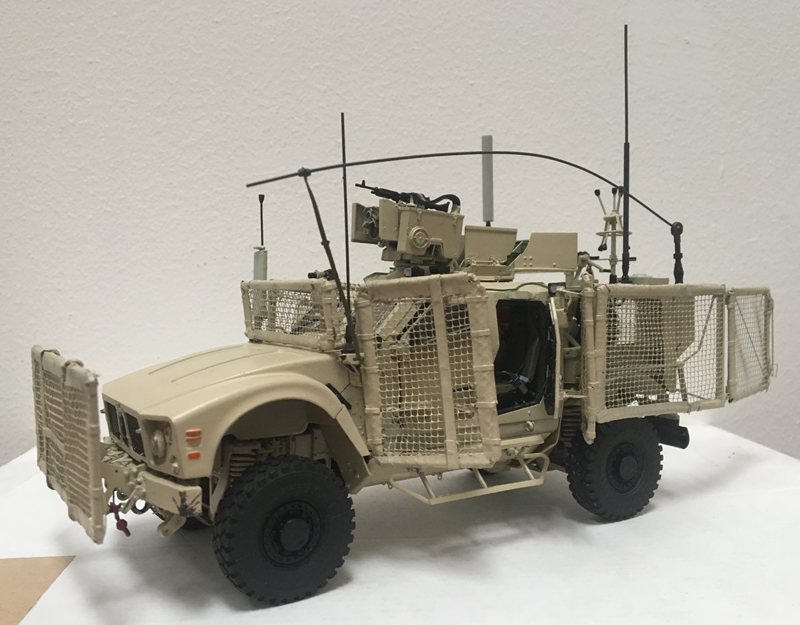
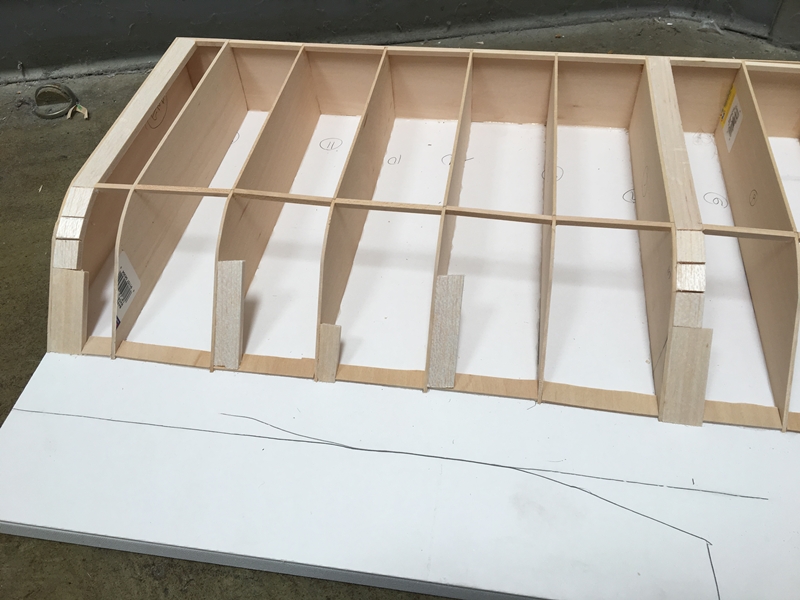
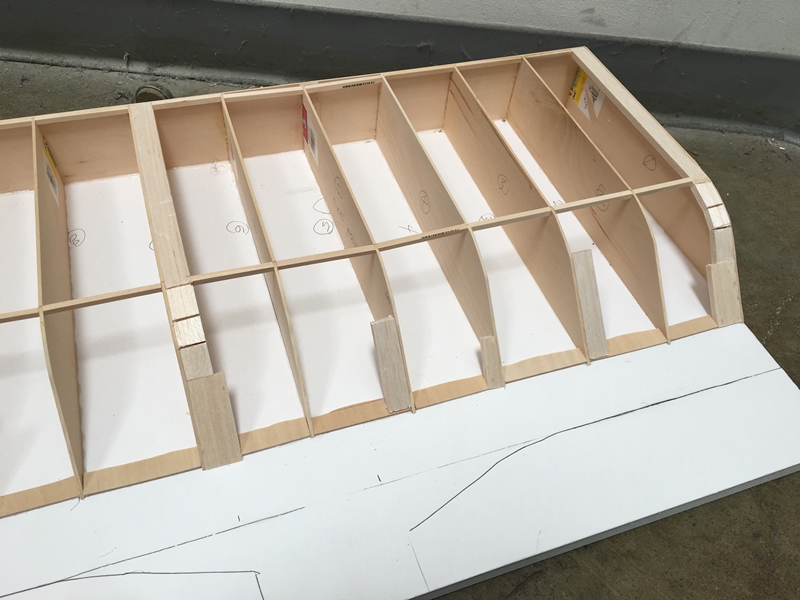
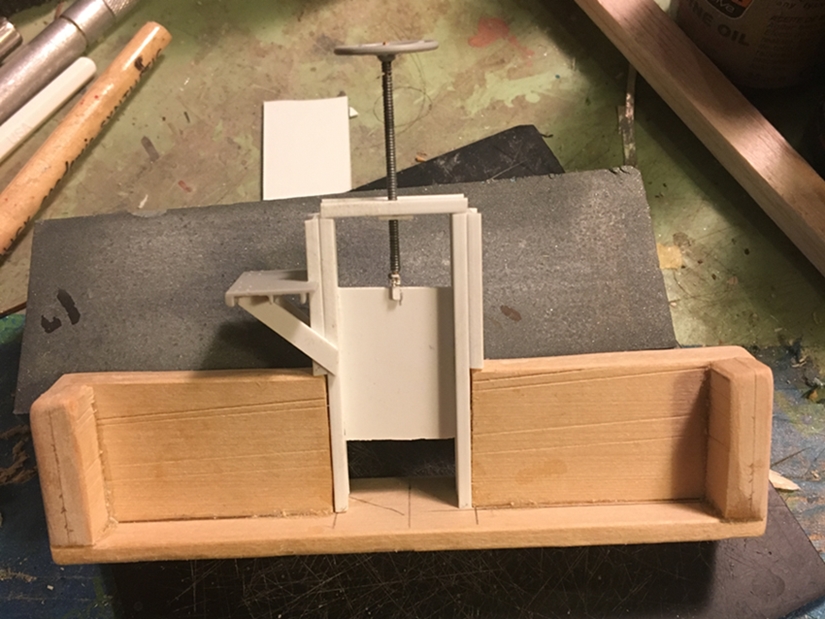
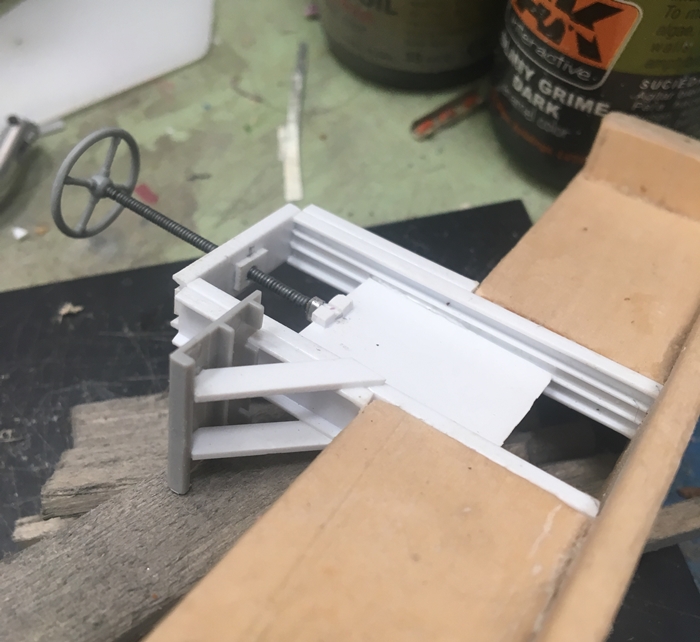
As you can see, the mesh cage moved right along - this has required a lot of thought and patience - not to mention "calm" - that is, to not destroy the build while making the build....
and, while i was at it, I scratch built a boomerang for grins -seems to have turned out fine:
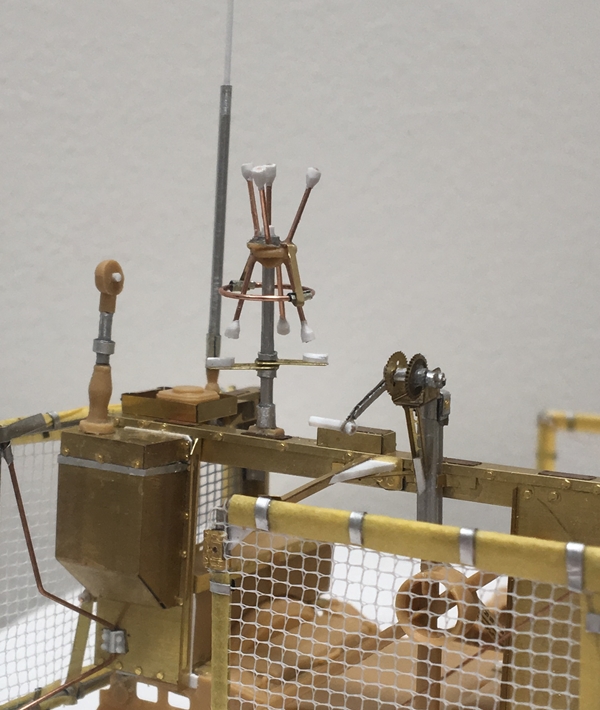
Talk about a junk box special!! odds, ends, and more patience!
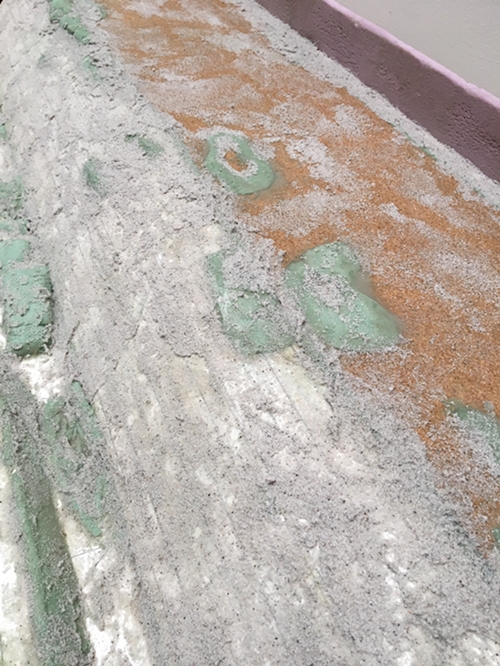
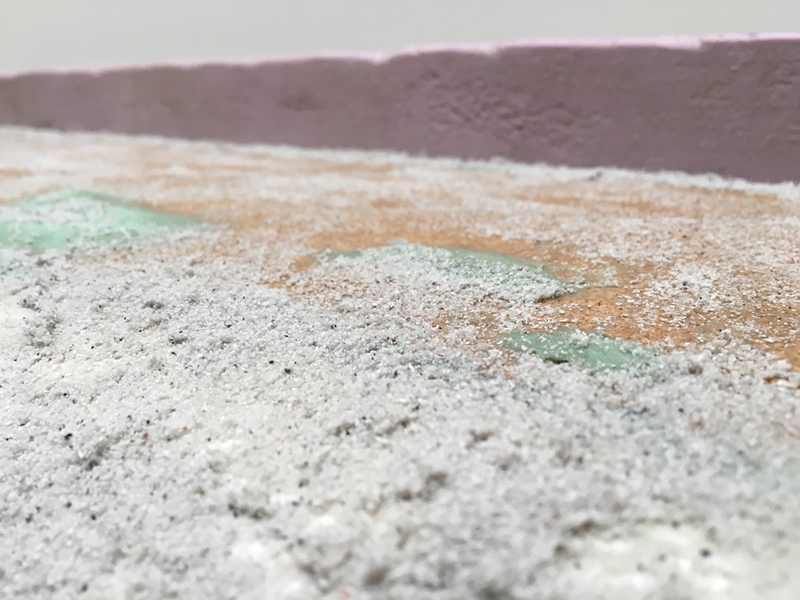
Next, to the paint shop:
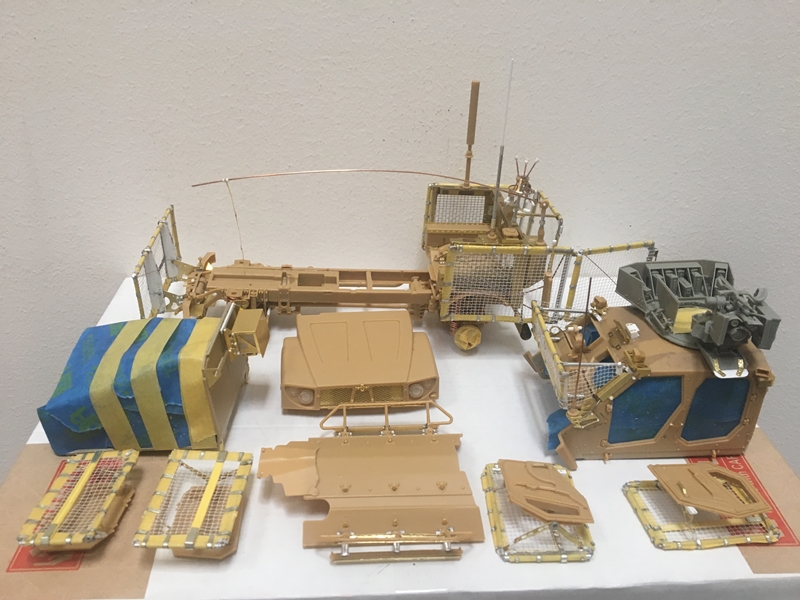
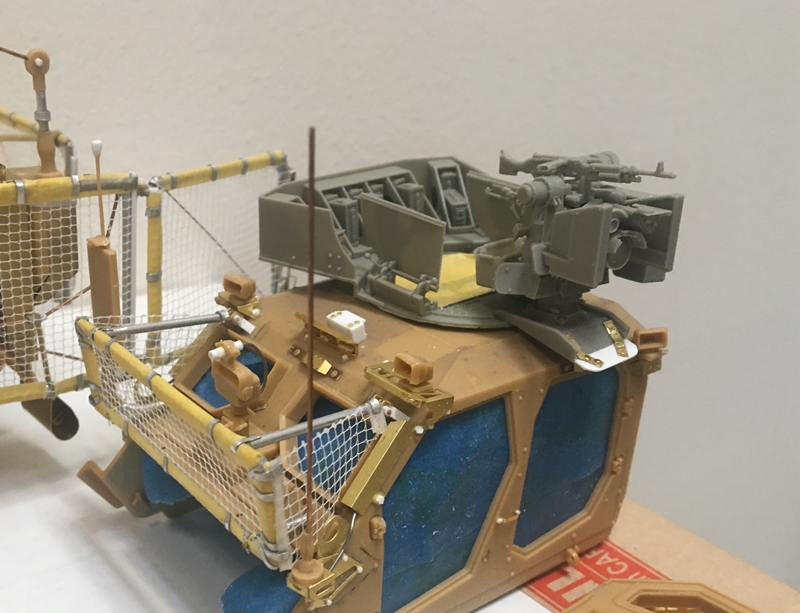
Above, all is taped up and, since last night, primed! You'll also see a pretty cool CROWS - it's from Live Resin - and is very nice - that said, and having built my share of their kits....the instructions leave a lot to be desired.....
OK - I've got to get to the real job! thanks for having a look and your comments -
Cheers
Nick


