Howdy fellow Model builders.
I just recently bought the A7V Tank from Meng. So i thought, since that is not a Tank you usually see (not like the thousands of Tiger and Panthers), you guys would like to take part in the progress of building this beauty. Any help along the way is highly appreciated.
But lets not waste any more time.
Here is that beauty:
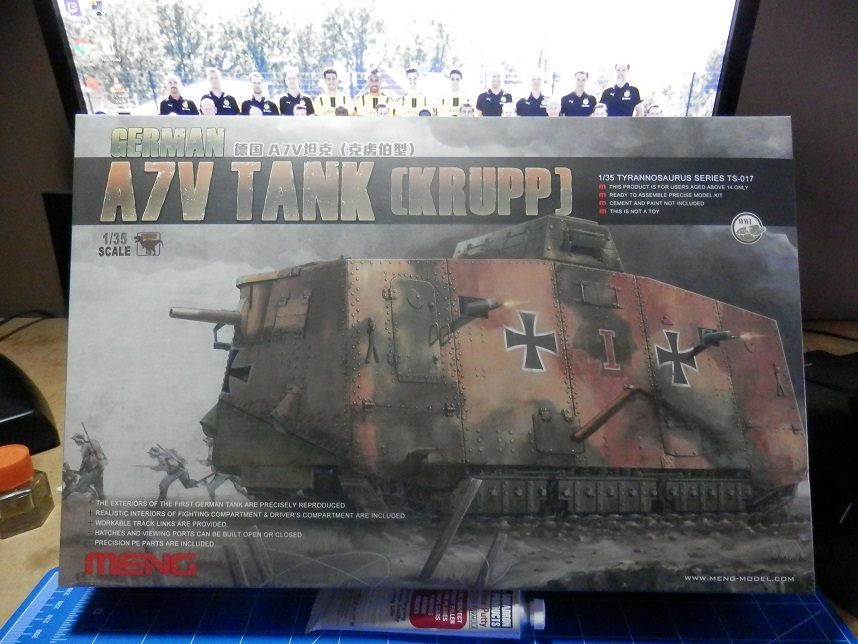
The Kit has 22 sprues, one set of Photo Etch, one small string and a set of Decals.
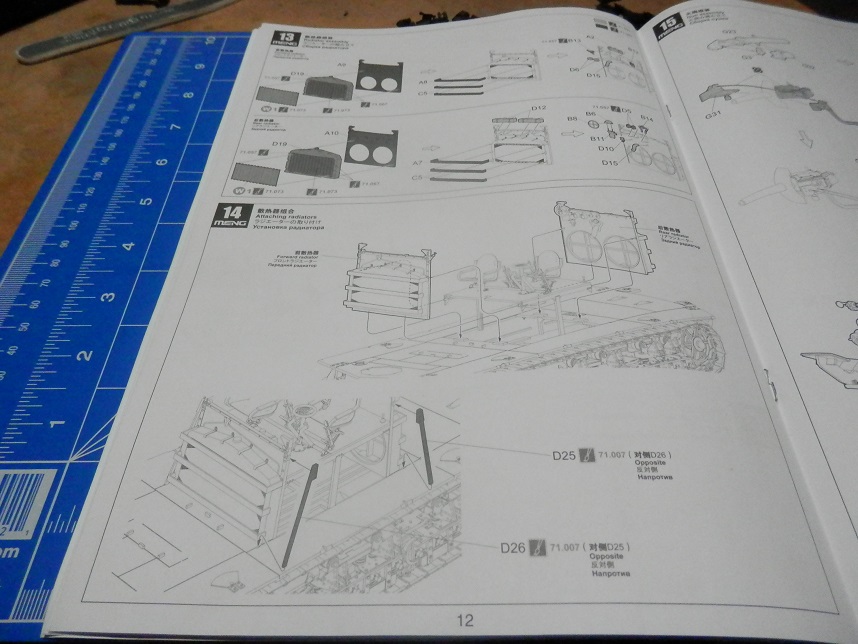
The instructions are beautiful made, they are in Chinese, English and Russian. With a little Story about the History of the Tank, the usual building instructions and nice color pictures of the camouflage.
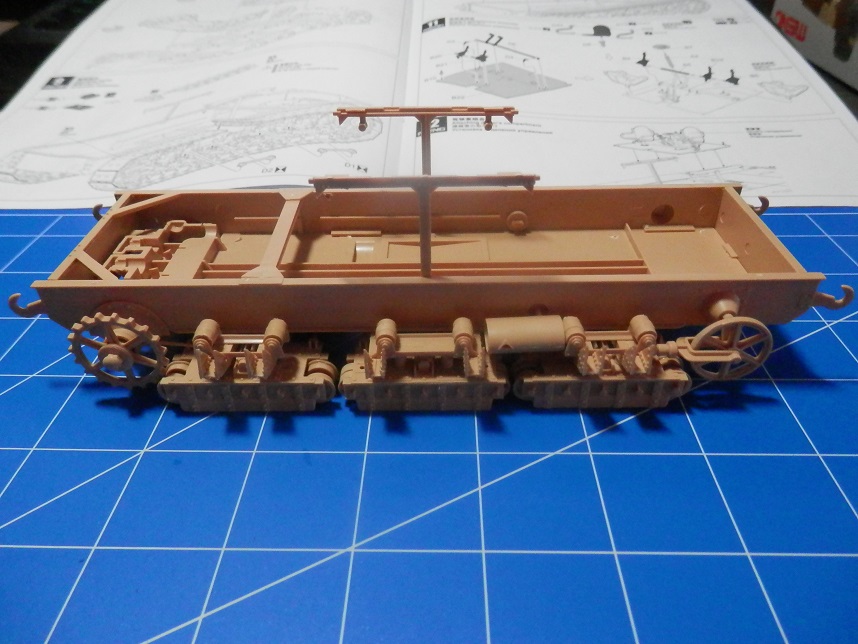
That is so far my progression:
Next step are the Tracks:
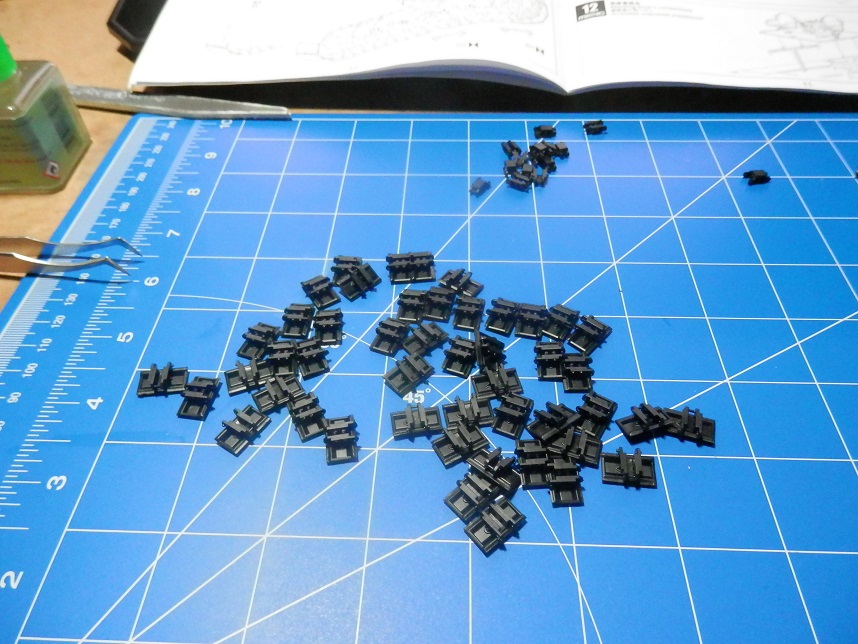
And here are all little pieces of the track (grand total of 192! ):
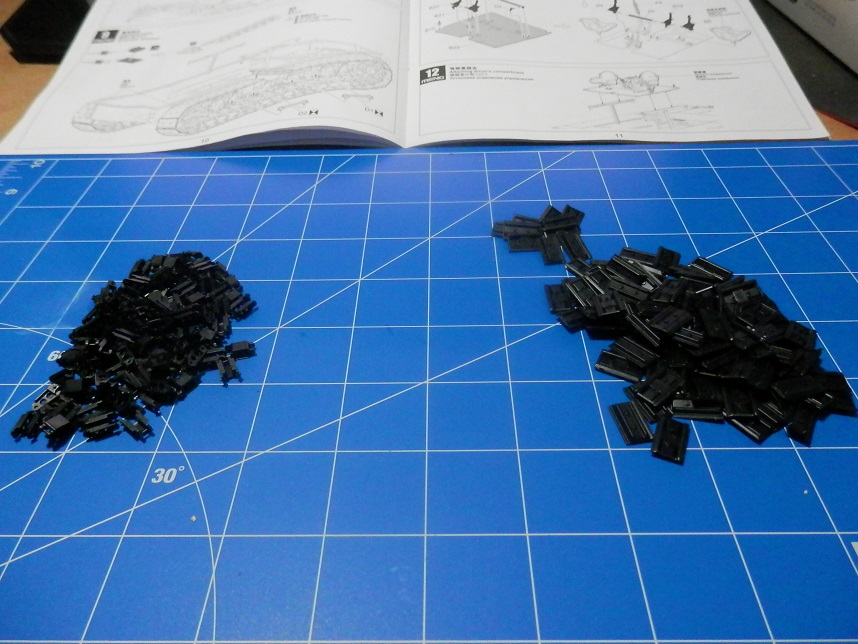
So far from me.... i will let you guys know when i m done with the tracks
cheers
David
Constructive Feedback
For in-progress or completed build photos. Give and get contructive feedback!
Hosted by Darren Baker, Dave O'Meara
A7V Tank (Krupp) 1/35-Meng
Sergas
Ontario, Canada
Joined: April 13, 2017
KitMaker: 51 posts
Armorama: 37 posts
Joined: April 13, 2017
KitMaker: 51 posts
Armorama: 37 posts
Posted: Sunday, April 23, 2017 - 10:36 AM UTC
Posted: Sunday, April 23, 2017 - 12:19 PM UTC
Cool, David!
Gonna enjoy watching this go together.
Gaz
Gonna enjoy watching this go together.
Gaz
BigSplashBear
Australia
Joined: November 26, 2011
KitMaker: 25 posts
Armorama: 25 posts
Joined: November 26, 2011
KitMaker: 25 posts
Armorama: 25 posts
Posted: Sunday, April 23, 2017 - 03:02 PM UTC
Hope these photos of the last real A7V inspire you.
https://www.scalemates.com/profiles/mate.php?id=16947&p=albums&album=31530
Regards,
Craig M
https://www.scalemates.com/profiles/mate.php?id=16947&p=albums&album=31530
Regards,
Craig M
210cav
Virginia, United States
Joined: February 05, 2002
KitMaker: 6,149 posts
Armorama: 4,573 posts
Joined: February 05, 2002
KitMaker: 6,149 posts
Armorama: 4,573 posts
Posted: Sunday, April 23, 2017 - 06:55 PM UTC
Quoted Text
Hope these photos of the last real A7V inspire you.
https://www.scalemates.com/profiles/mate.php?id=16947&p=albums&album=31530
Regards,
Craig M
I can recall see an A7V in the German Tank Museum in Munster, does anyone know if that was an original?
covkid
United Kingdom
Joined: March 13, 2015
KitMaker: 252 posts
Armorama: 194 posts
Joined: March 13, 2015
KitMaker: 252 posts
Armorama: 194 posts
Posted: Sunday, April 23, 2017 - 07:00 PM UTC
Hi, the vehicle in Germany is a very skillful copy of the original.The only survivor is in Australia.
regards Jason
regards Jason
Sergas
Ontario, Canada
Joined: April 13, 2017
KitMaker: 51 posts
Armorama: 37 posts
Joined: April 13, 2017
KitMaker: 51 posts
Armorama: 37 posts
Posted: Monday, April 24, 2017 - 04:32 AM UTC
Hey guys, glad people are interested in following the building process of this A7V.
Thanks for the link Craig. I will most definitely have a closer look.
@DjJudge:
As jdyde already stated. The A7V Wotan that you can see in the Munster Tank Museum, is a replica and the only "real" A7V is the one in Australia.
The original Wotan went back to Germany after the War. And according to the Versailles peace treaty. Germany had to disassemble the majority of their Equipment (Tanks, Heavy Artillery, Plains etc.). So the original Wotan was literally made into scrap metal!
The Wotan you can see today, is a replica that was build by the German Bundeswehr in 1987.
cheers
David
Sergas
Ontario, Canada
Joined: April 13, 2017
KitMaker: 51 posts
Armorama: 37 posts
Joined: April 13, 2017
KitMaker: 51 posts
Armorama: 37 posts
Posted: Monday, April 24, 2017 - 08:44 PM UTC
Little upgrade on my progression:
So yesterday i finished the tracks.
Each track consists of 2 pieces, the track itself and the little "guide-teeth". They have to be assembled in a specific direction. But as longs you follow the instructions, you wont have any problems
And here are some pictures:
The nice (but at the same time bad) thing about these Tracks. You just "click" the individual Track links together. Myself, i tried to save me some time (i was to lazy to sand 92 guide teeth!) and cut them really close to the sprue. I ended up with a couple where i cut right into the guide tooth. And when you do that, the track will just keep falling apart. A problem that i had with the second side of tracks, so i had to glue some of the tracks, but i m still able to take them off for painting later.
So little tip from me: Don`t try to save time, you wont be able to see those teeth`s later anyways.
Next step is assembling the first parts for the upper hull:
so far from me
cheers
David