Following the in-box review of the said vehicle, I will now shed further light on this one with the accompanying build blog.

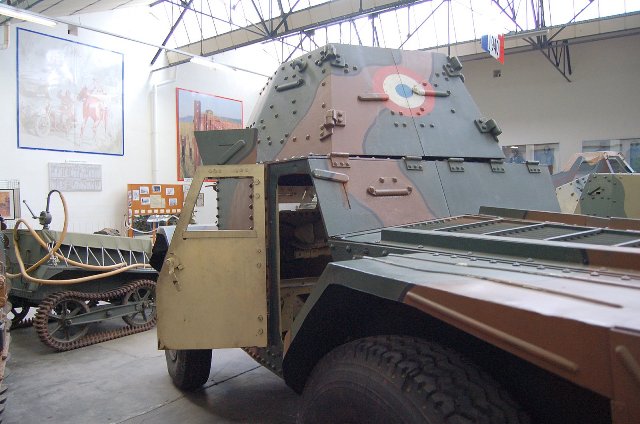
After the end of World War I the cavalry had become a medium of debate and by 1931 the French Army was focusing on the mechanization of its cavalry. Panhard, Berliet, Latil and Renault had acted upon the request for proposals for a vehicle meeting the following specs, 4 tons, 400km range and a maximum speed of 70km/h amongst others. In October 1933 Panhards Automitrailleuse de Découverte Panhard Modèle 1935 (the official designation of the vehicle) was completed and by 1934 Panhard won the bid after trials. The vehicle was now simply being called Panhard voiture spéciale type 178 or Panhard 178. The vehicle was significantly heavier with 8 tons and its range was limited to 300km, however it was chosen as the best of all the prototypes. The Panhard 178 was a 4x4 vehicle and had a driver seat in both forward and backward facing directions, distinguishing it from many other armored cars.
*
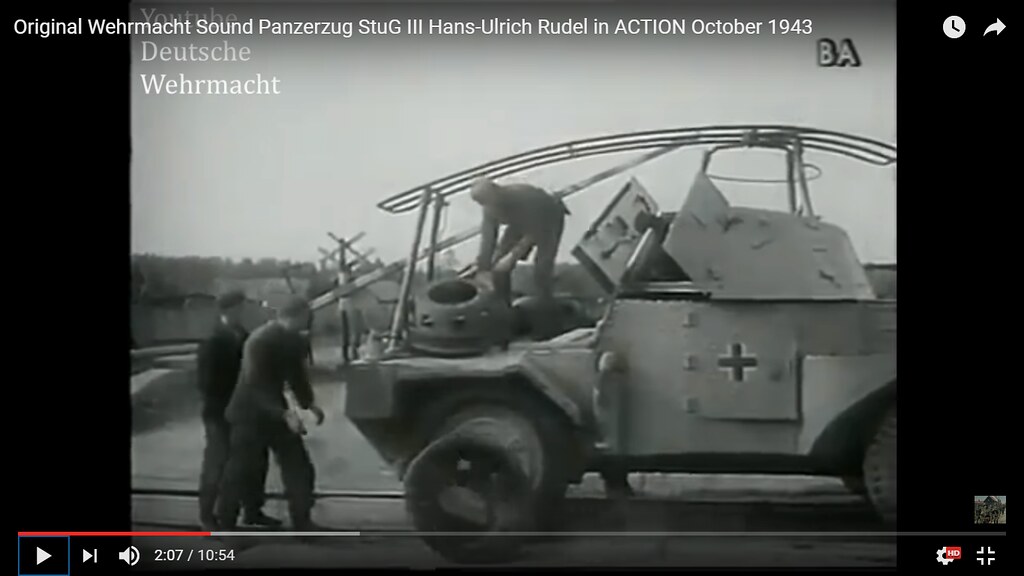
Production of the first 30 vehicles started in 1935 and by 1937 many flaws were apparent and major modifications and new trials were carried out after the production of the first 30 vehicles. By May 1940 some 339 Panhard 178 had been produced. By June 1940 a total of 491 vehicles had been completed of which 480 vehicles were in service in Escadron units according to French sources. In total there were 729 units built, including 176 during the German occupation in 1940. As the German Army did not have organized cavalry units as the French, the captured Panhards were used as Panzerspähwagen, or reconnaissance vehicles attached to armored divisions. In total 40 of all 190 captured vehicles were modified to receive rail wheels and classified as Schienenpanzer or Eisenbahnschutzfahrzeuge, though some sources claim 43 vehicles were converted.
The converted vehicles were in some cases attached to armored trains, however, they were mostly used for anti-partisan duty in the East, patrolling important railway lines and driving ahead of important cargo trains guarding their path.
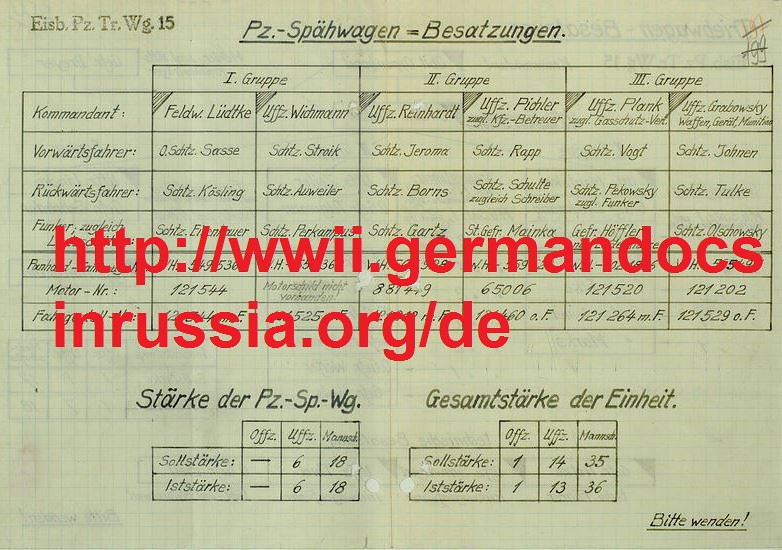
Before we begin, a bit more information is needed. According to OKH Akten 457 ** of Panzerzug 3, the respective vehicles were classified as Pz. Sp. Wg. aka Panzerspähwagen, without any further annotations distinguishing the different kinds of such vehicles. See the image from official OKH documents from 1943. As there are 640 pages, and I only got to page 54 so far, it will take some more time going through this one.

As such, I will comply and refer to the vehicle as the Panzerspähwagen (Pz. Sp. Wg.) from now on unless more insights to the official nomenclature arise (or are given to me by experts).
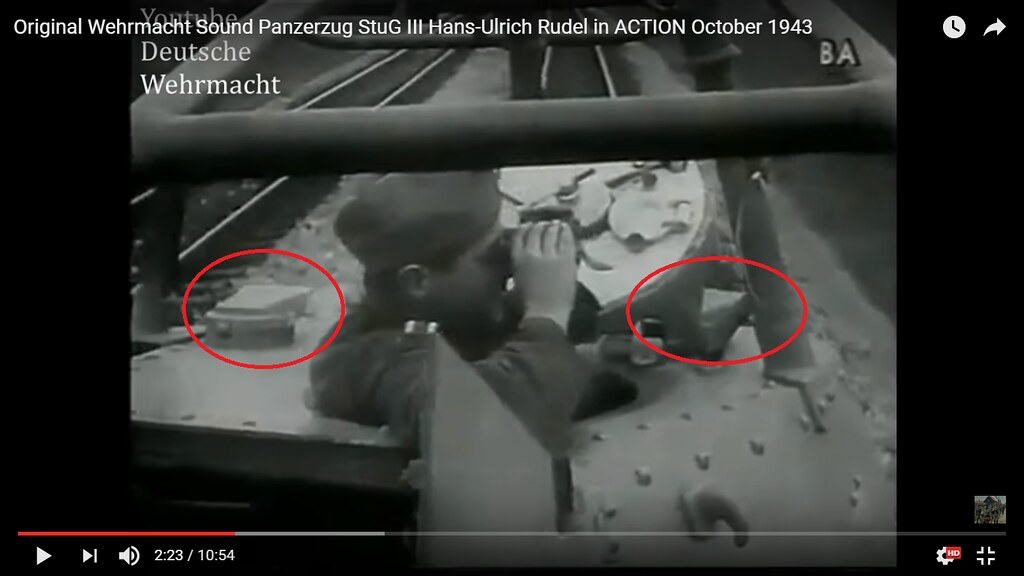
As stated in the review, about 40 or 43 of the captured Panhard 178s were converted and were fitted with the late type APX3 turrets. These distinguish them from the earlier models, which lacked a rear view episcope and the two Gundlach periscopes on the turret roof. Most, if not all of them saw action on the Eastern front.
The vehicles were modified so that the wheels could be changed from rail to roadwheels in about ten minutes. As such it was a very versatile and highly mobile vehicle.
Further readings and research suggestions for interested modellers:
For photos of the original Panhard 178, check out:
http://bit.ly/2qqbAH8
This French page is loaded with info and has some nicely written text about its qualities.
Further information can be found on tanks-encyclopedia:
http://bit.ly/2qqk94S
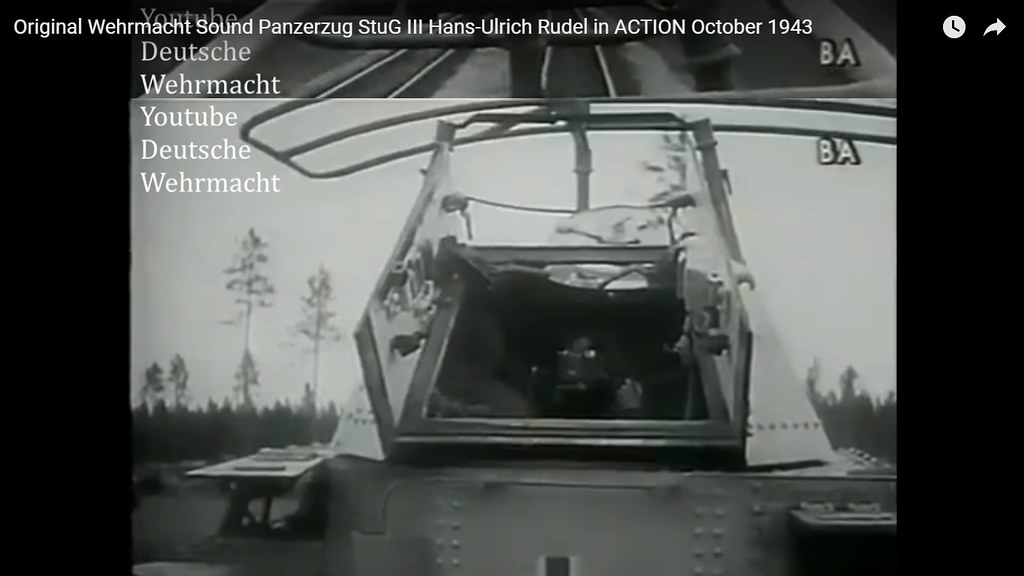
Some live-footage is available on youtube:
http://bit.ly/2qlBHC3
Have a good day,
/Stefan
sources:
*) On Tbof
http://bit.ly/2pAZPji
**) OKH Akten 457 p.12:
http://bit.ly/2pPLujB


 *
*


.jpg)


 [/url]
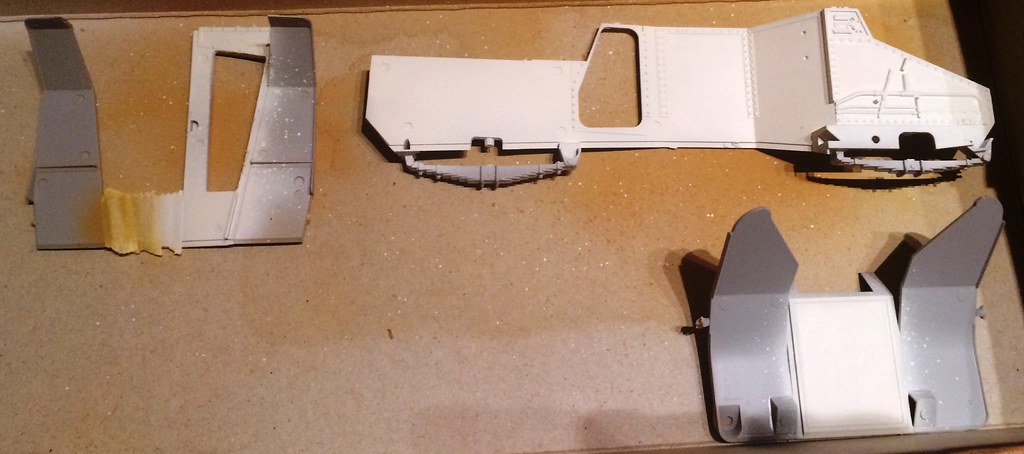


 *1)
*1)


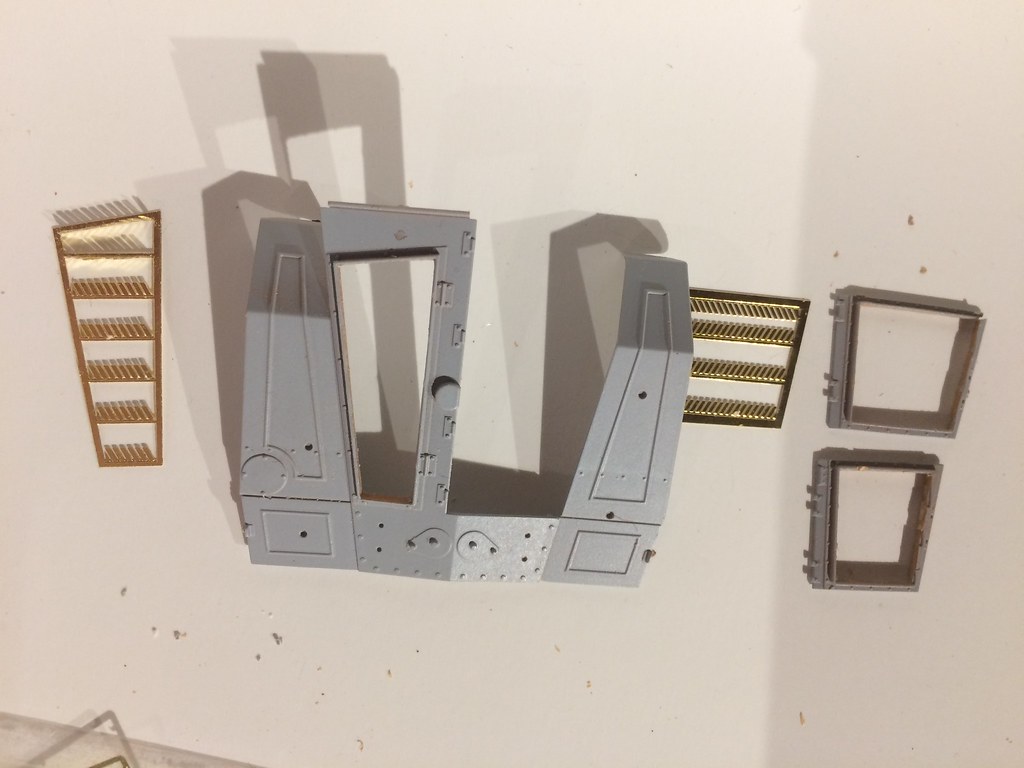
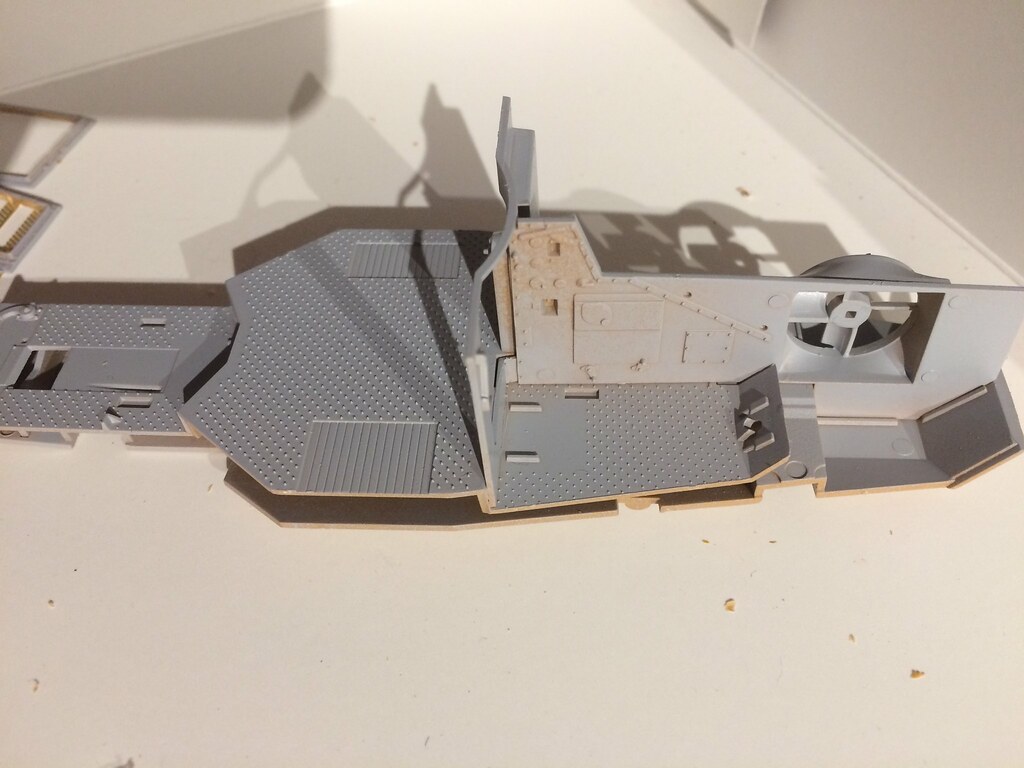
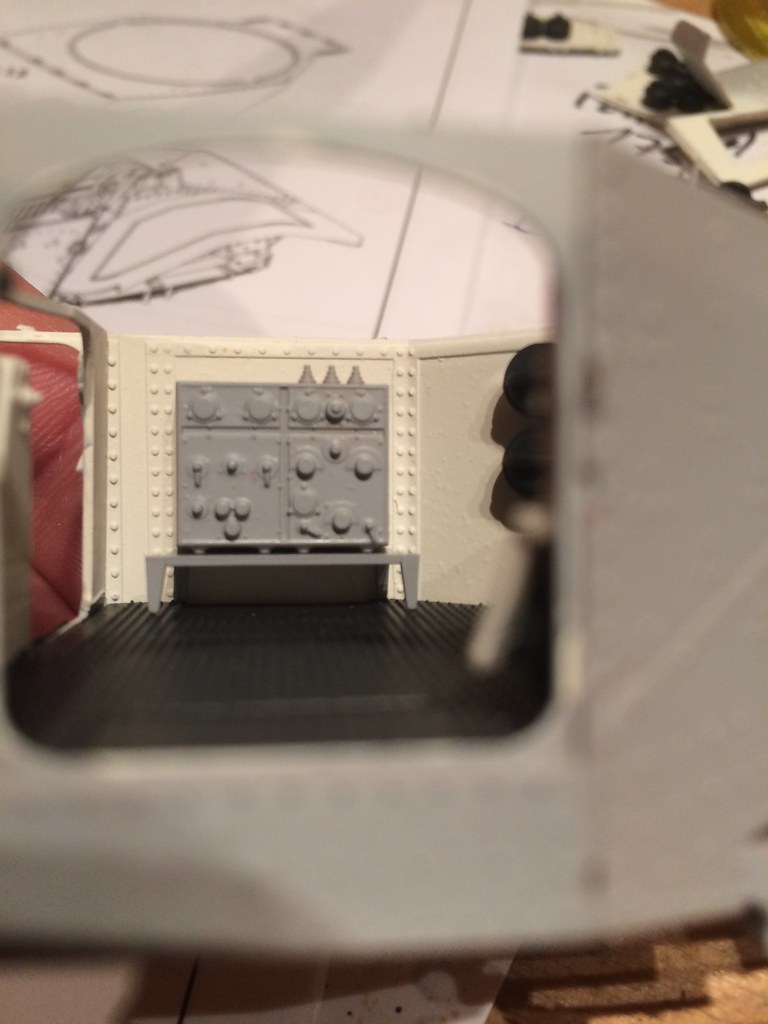
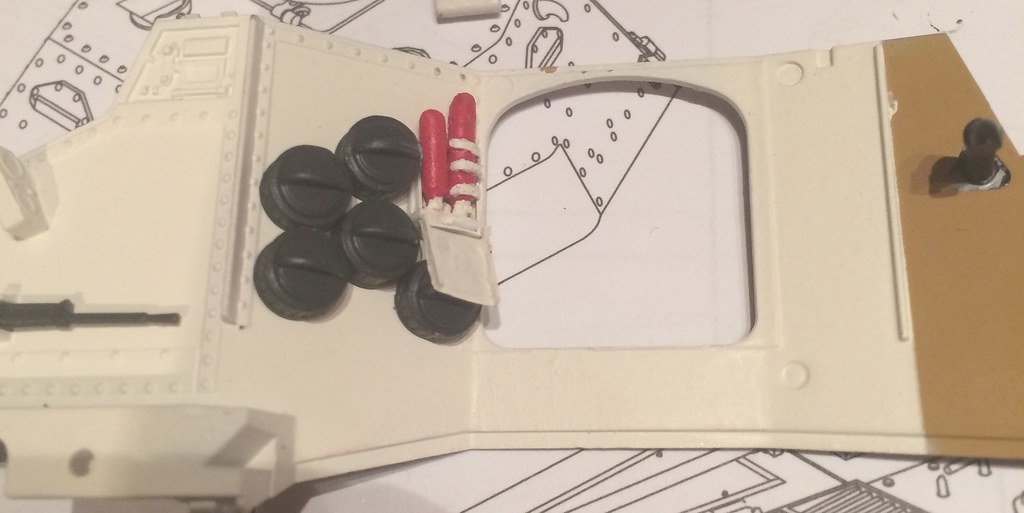
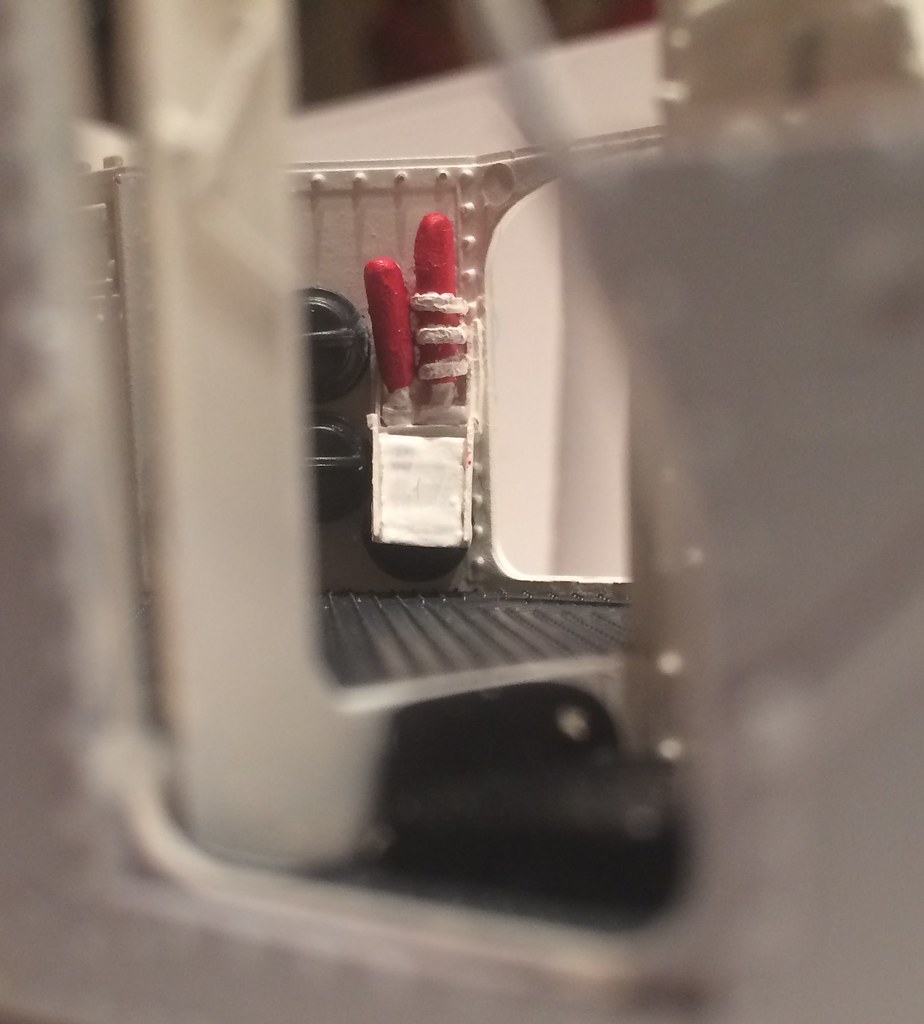
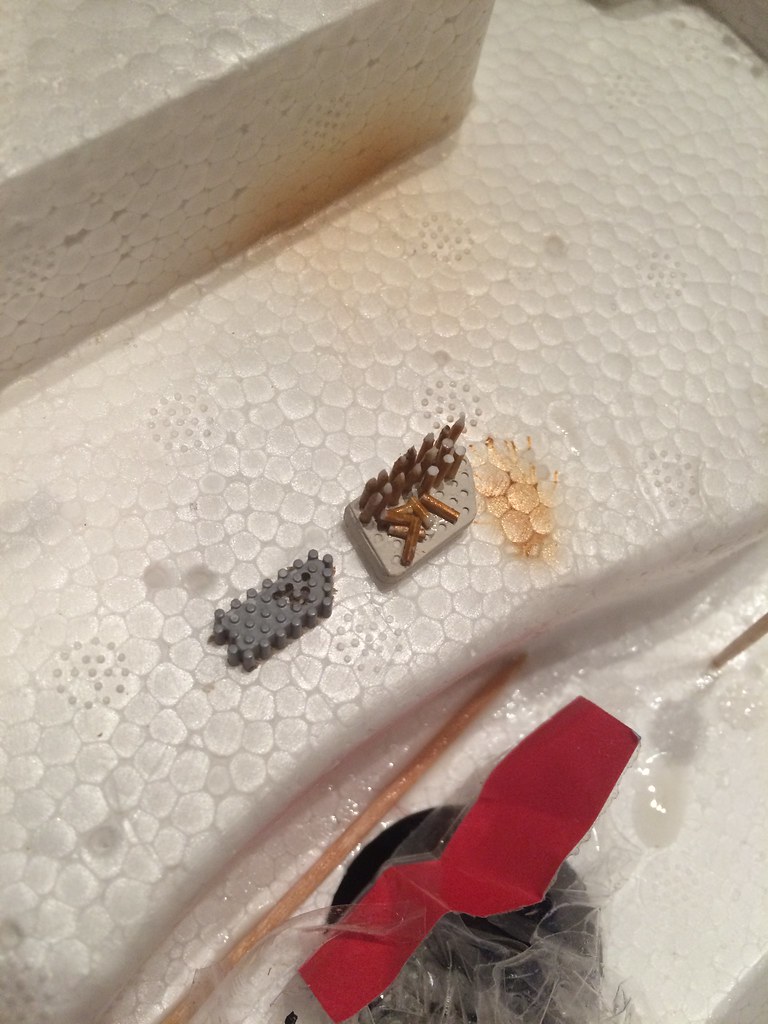
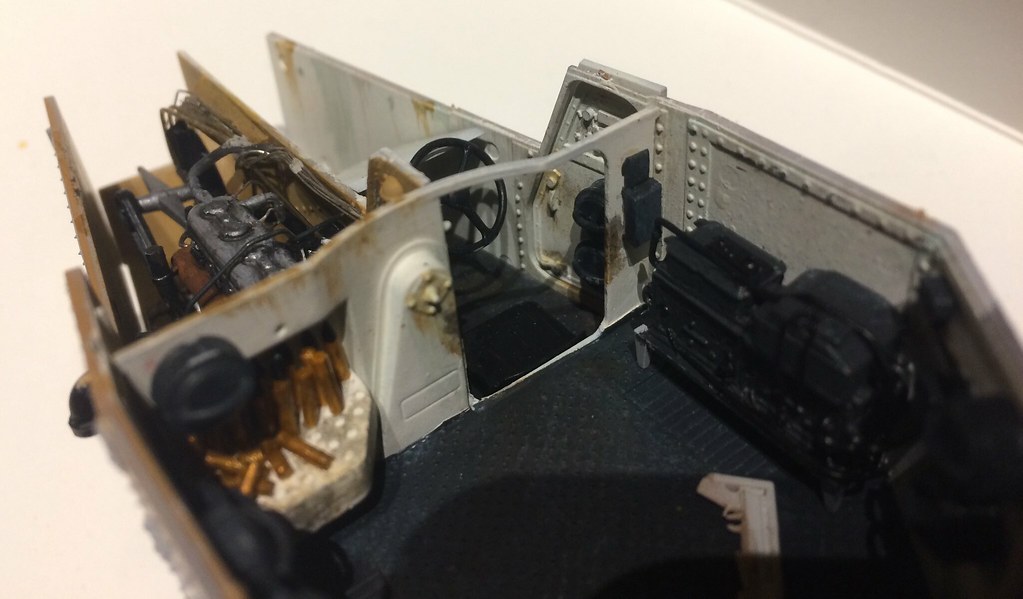
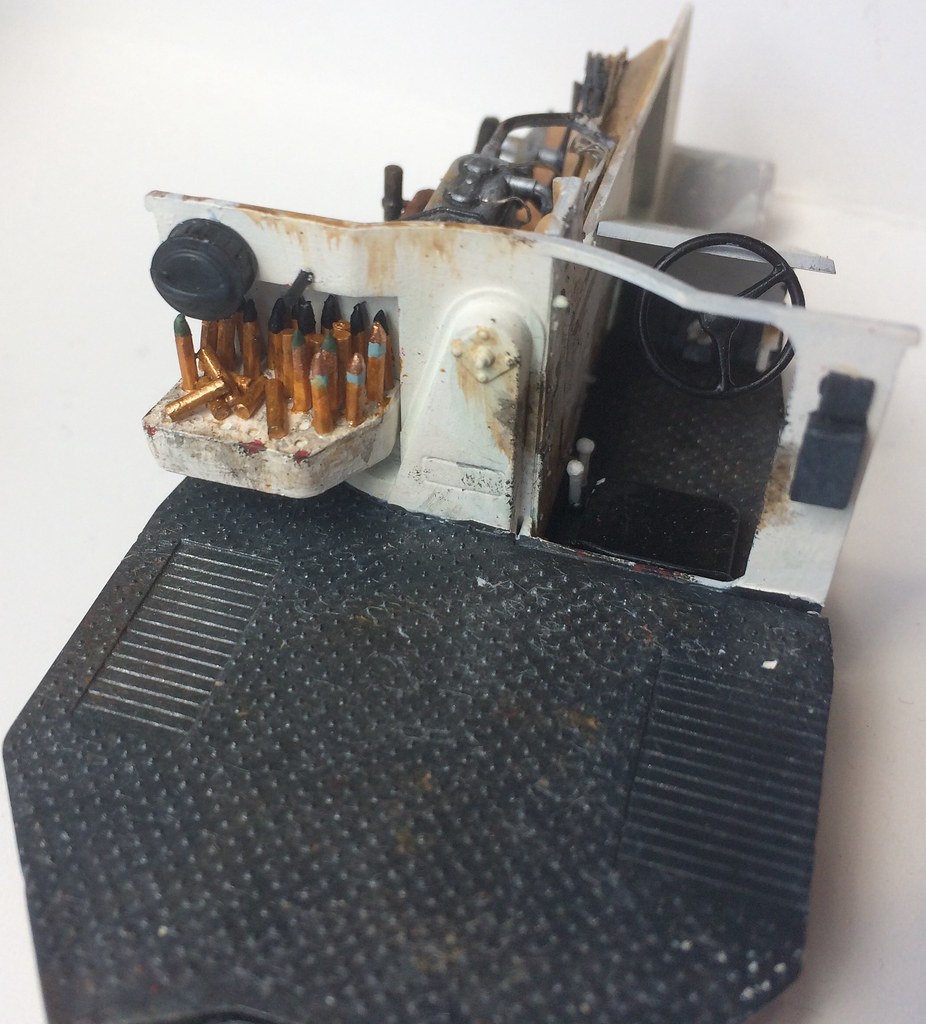
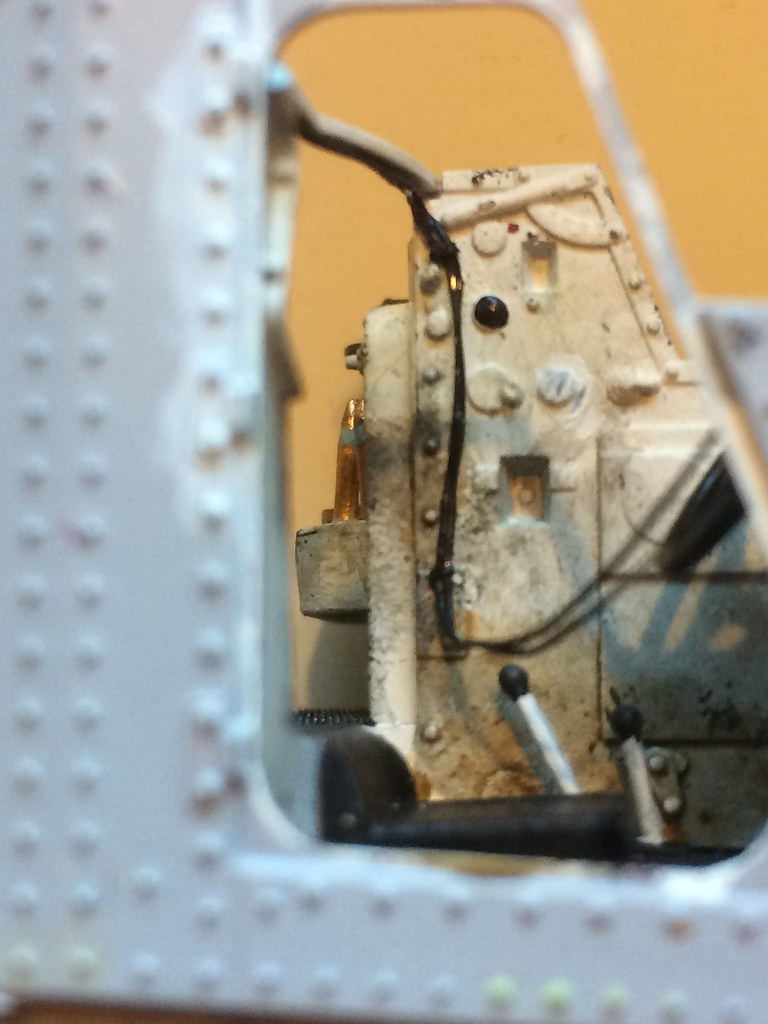
 There will be quite a few additions to add some more detail to the driver's compartment. I need to find a FUG now and produce 25mm rounds, as the kit 25mm ammo is the only useless part there is!
 *)
*)

 *)
*)


 *)
*)


 *
*  **
**