


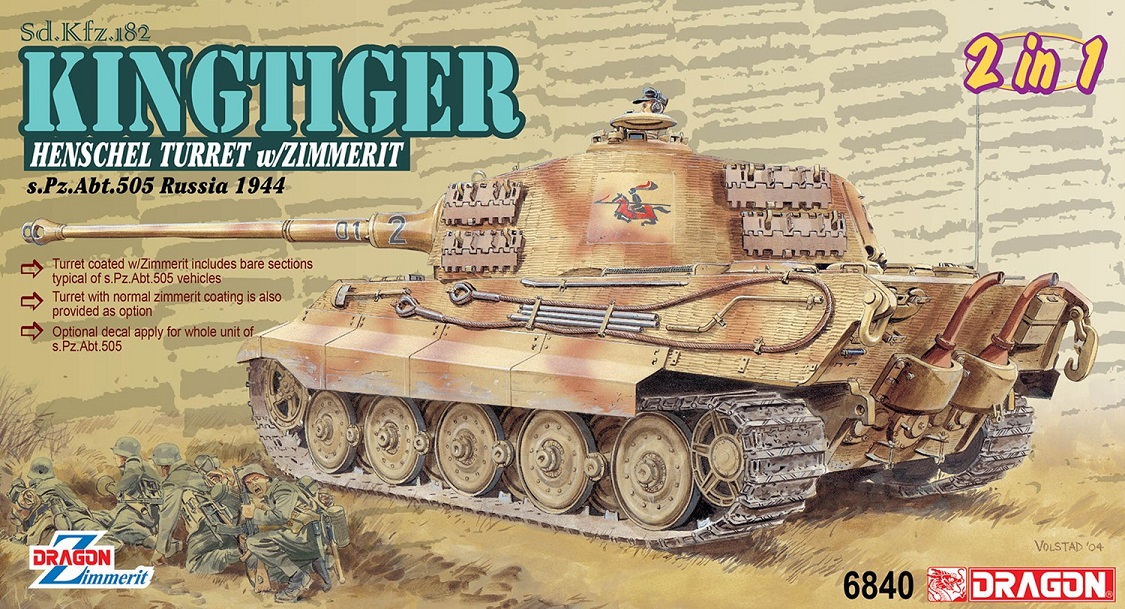
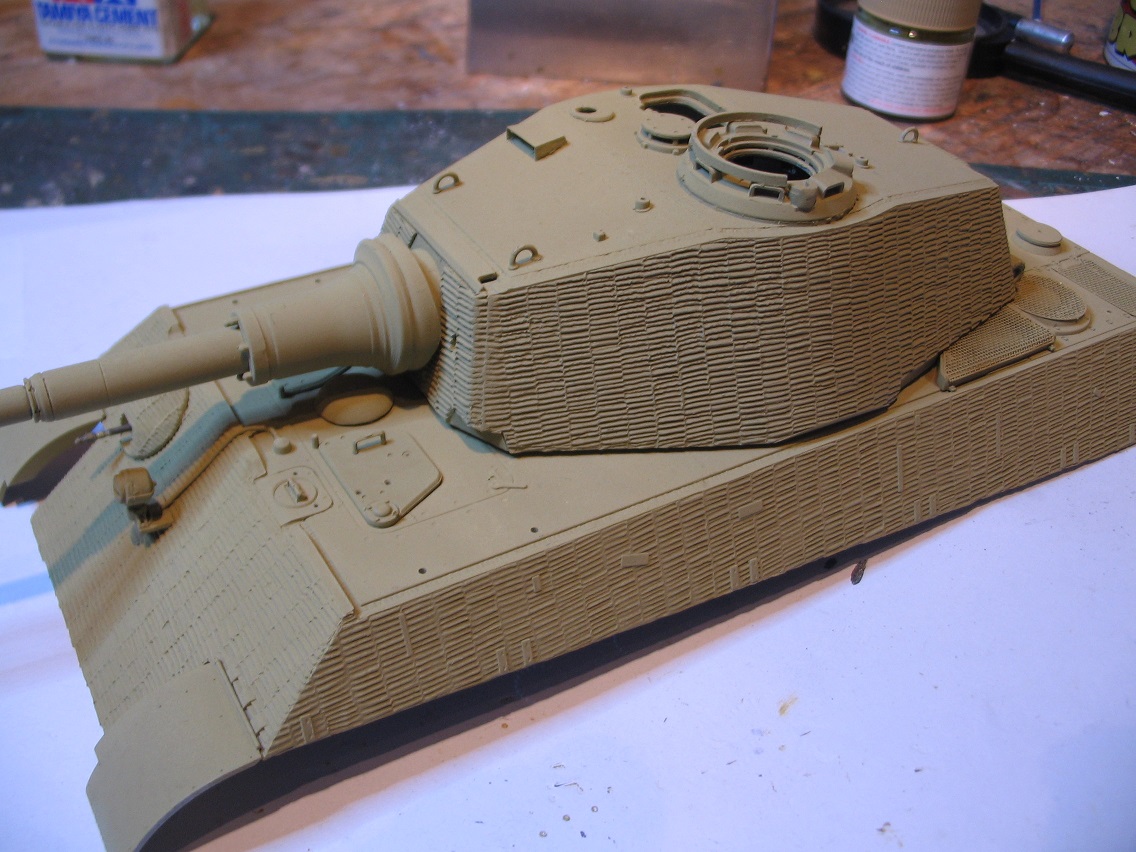
This is Dragon's King Tiger with zimmerit 6840. Zimmerit is one of those things that many of us daren't attempt for fear of wrecking a perfectly good kit so when DML started to release kits with zim already there it was a blessing in disguise. For years the only King Tigers that were available were the Tamiya Porsche and Henchel turreted versions. I've only built the Ardennes marketted one so can't comment on the others but it was a fun build and well..looks like a King Tiger. While I'm building this I'll point out the positives and negatives as there's no point in a build blog if I don't point out problems as well as the good bits

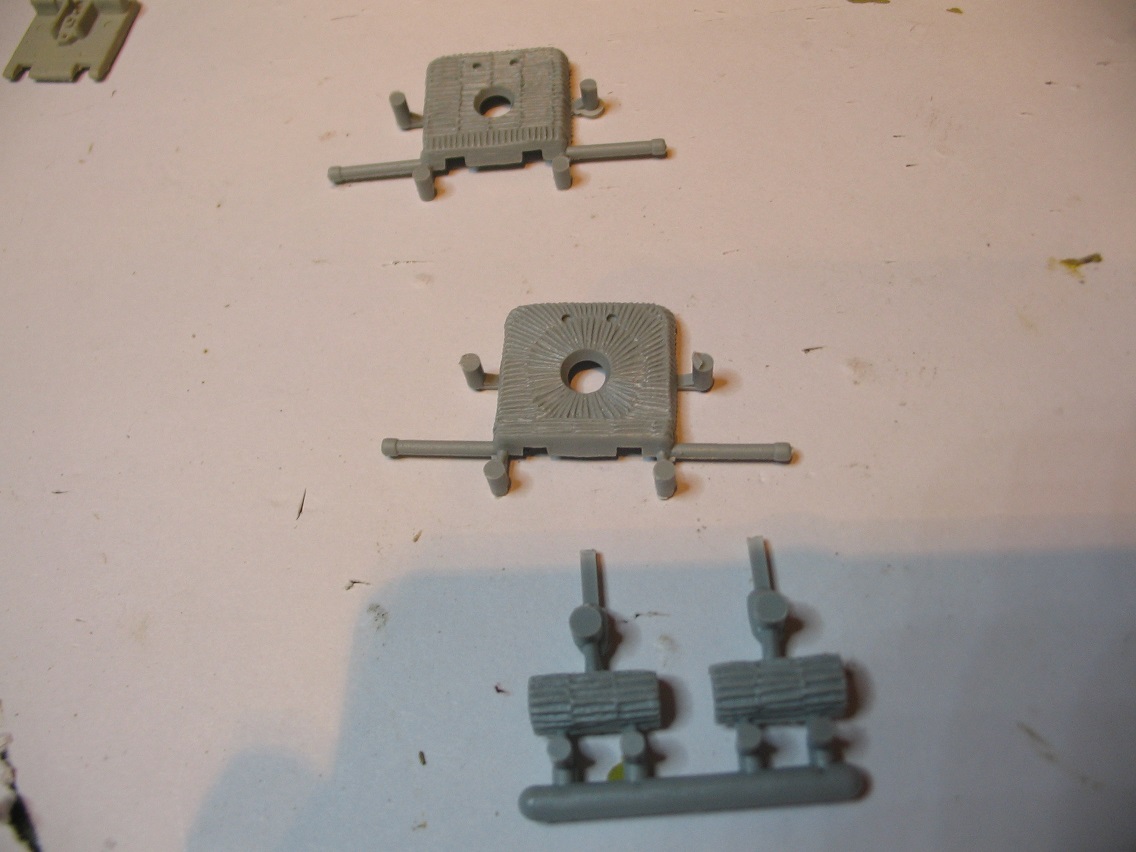
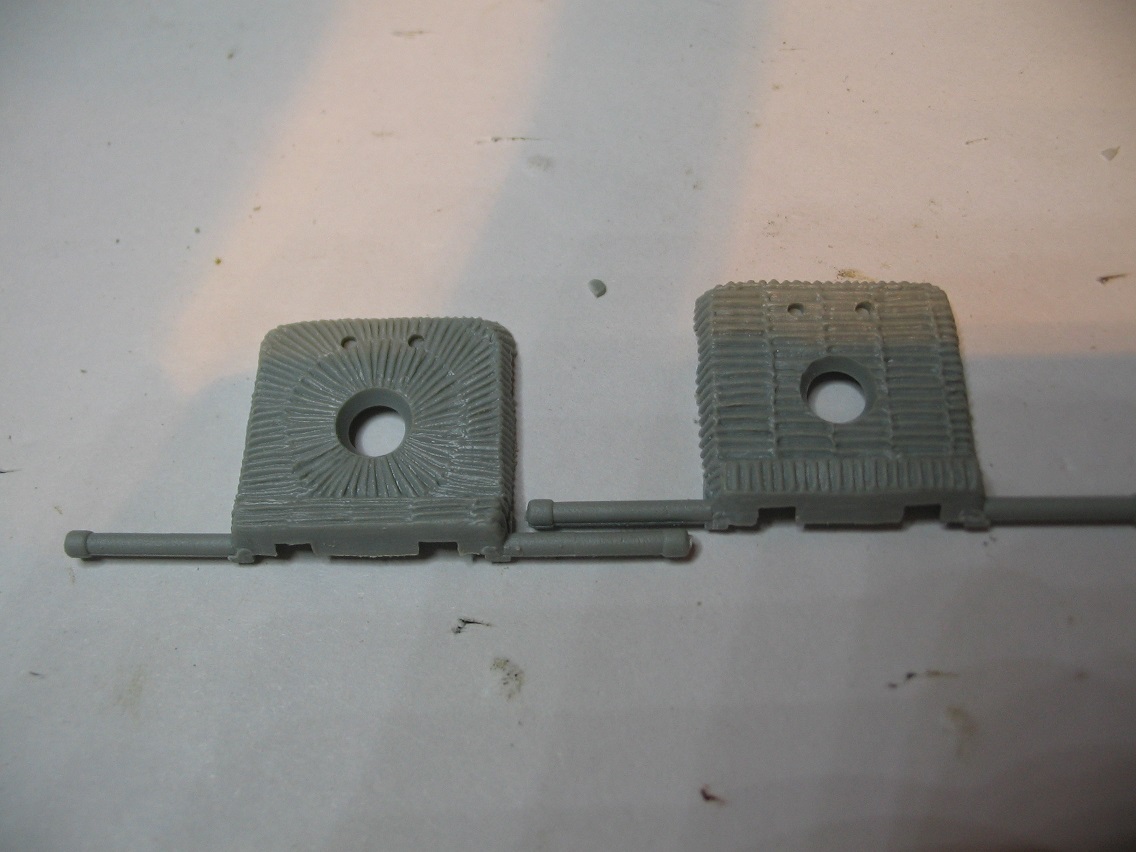
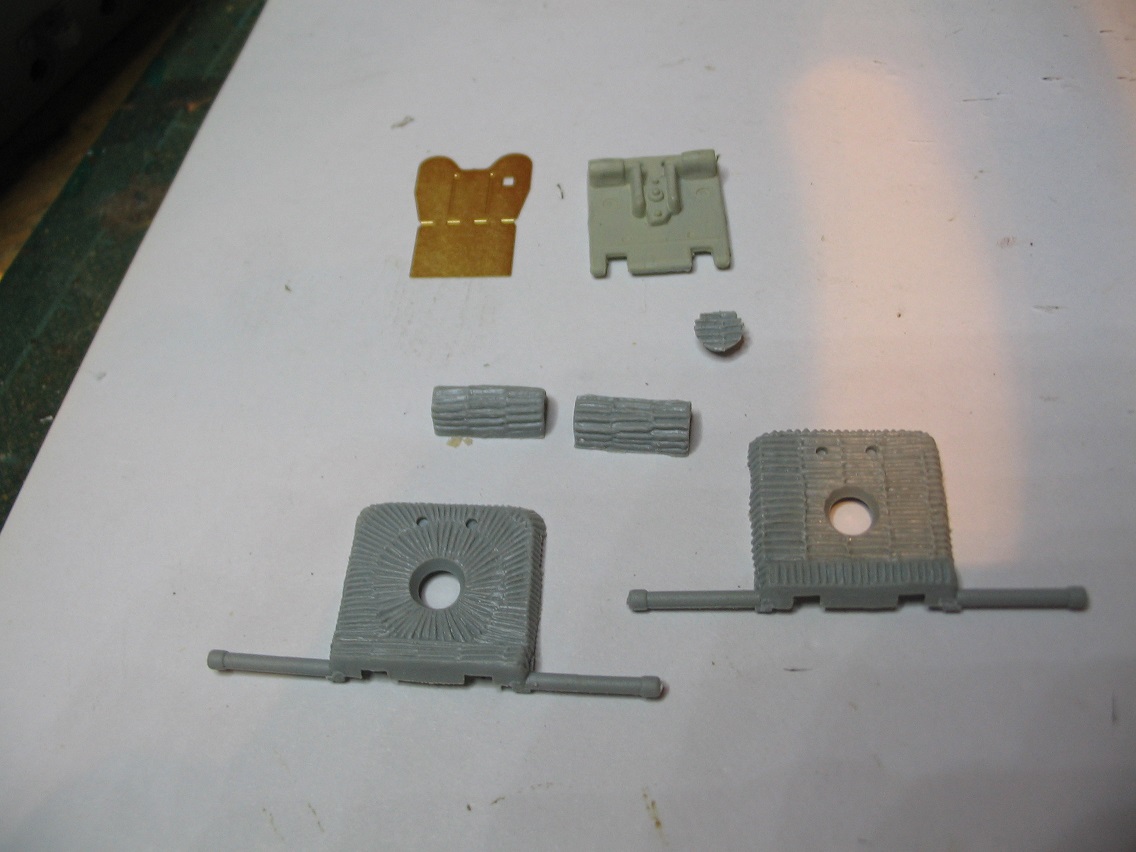
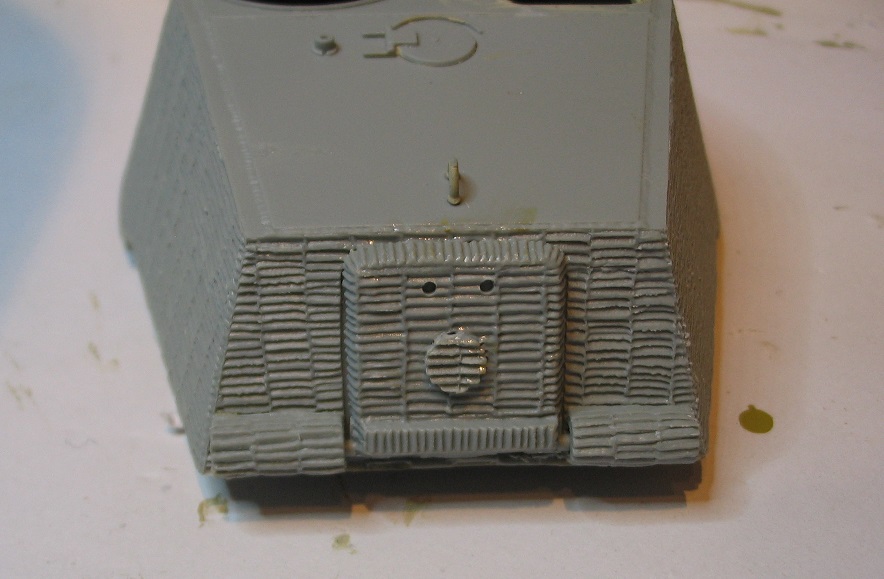
With this kit you have an option on the turrets. The markings are for Schwere Panzer Abteilung 505 which was a Wehrmacht unit. By this stage of the war heavy tanks such as Tigers and King Tigers were in independent Heavy Tank Battalions which were Korps assets and not permanently attached to a division therefore could move from division to division according to where they were needed. All three sets of markings denote tanks of this unit serving on the Eastern Front. One peculiarity of this units King Tigers is that they cleared a square area of zimmerit on the turret for their unit insignia a charging knight on horseback. In the kit there is a turret with complete zim coverage and also one with the square cleared.
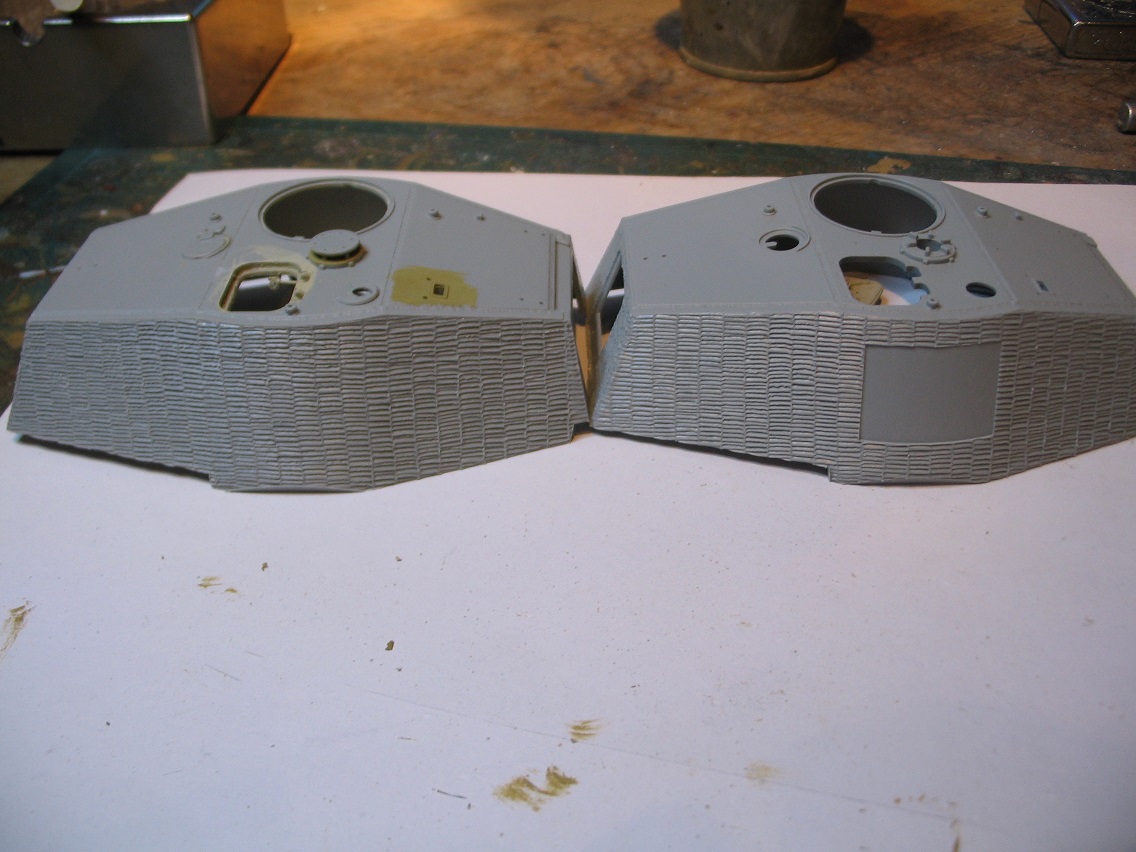
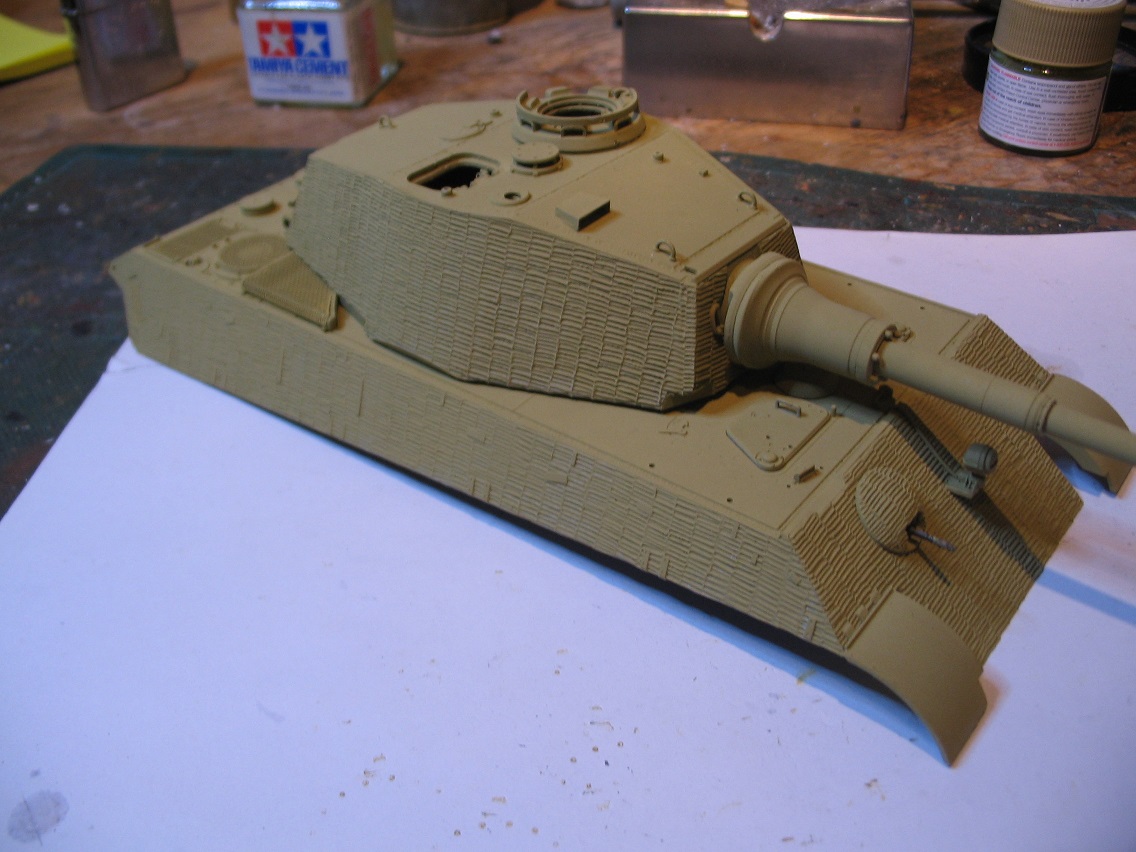
Yes, I'd made a start then realised I'd not taken a photo of the turrets together. The area that's been cleared looks to be the right depth scalewise when you look at the thickness of the zimmerit in profile. I've decided not to build the 505 version but to mark it as a 1 SS Panzer Korps KT so am using the fully zimmerited turret. Not only because I tend to model more Waffen SS stuff but I just prefer the full zimmerit.
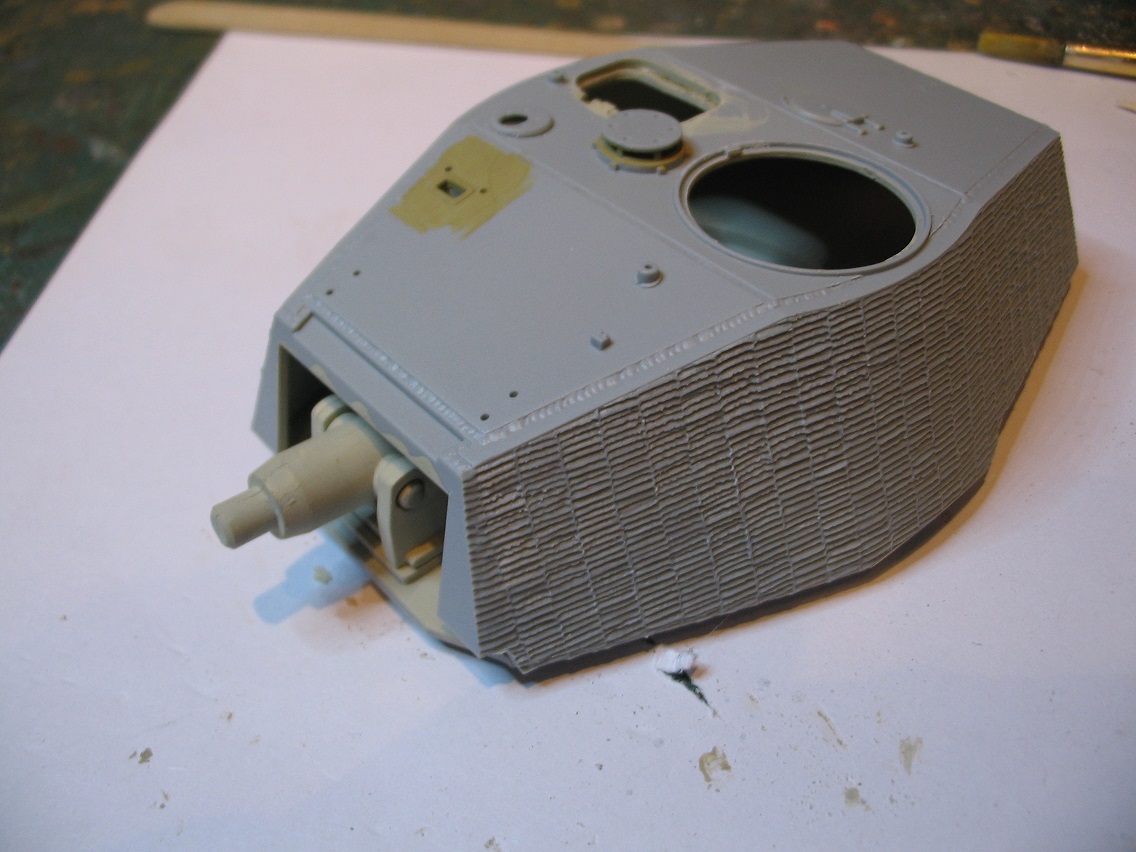
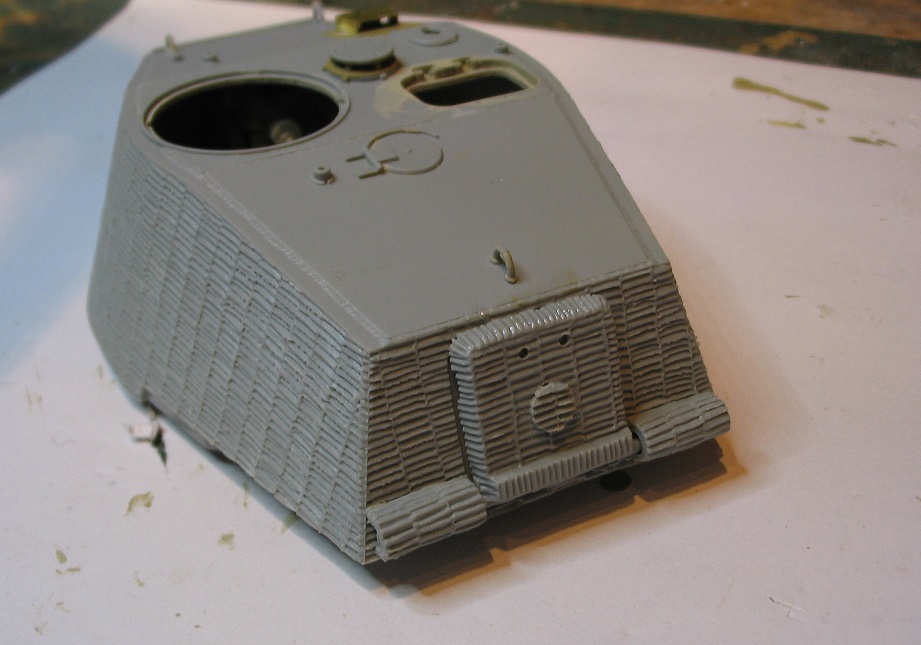
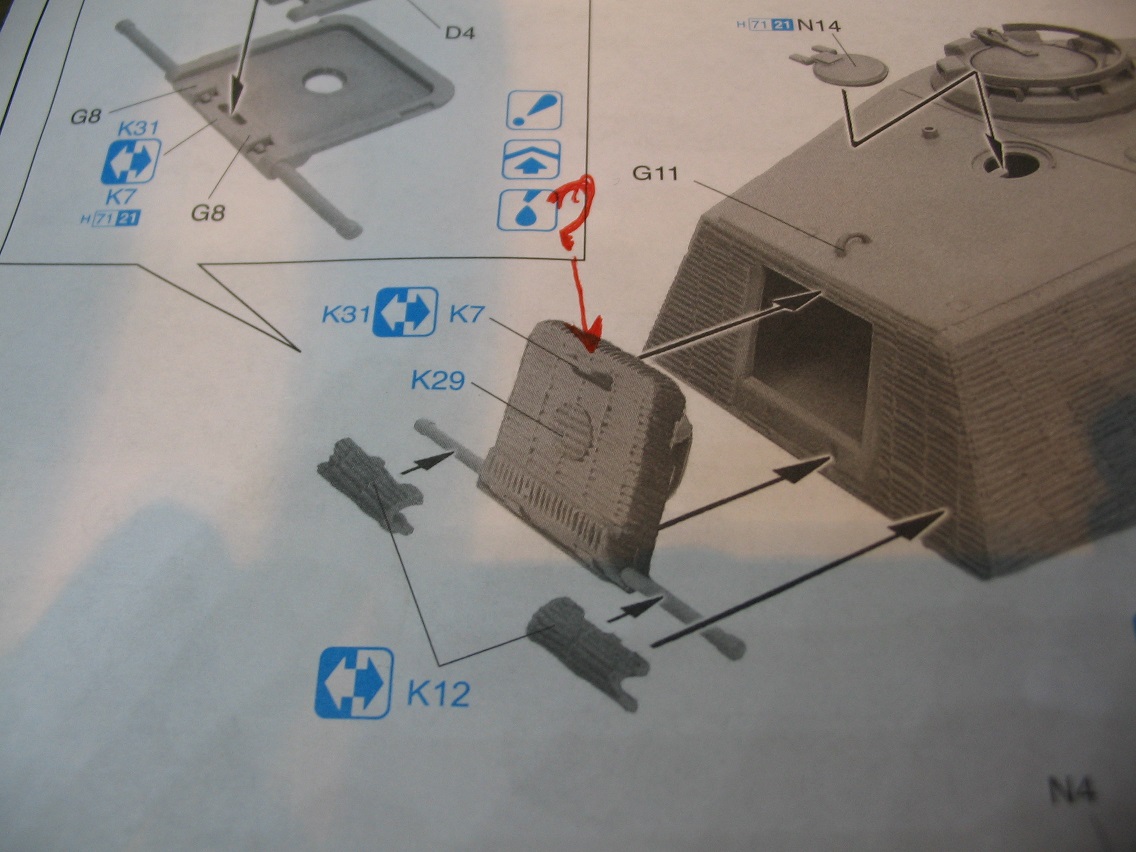
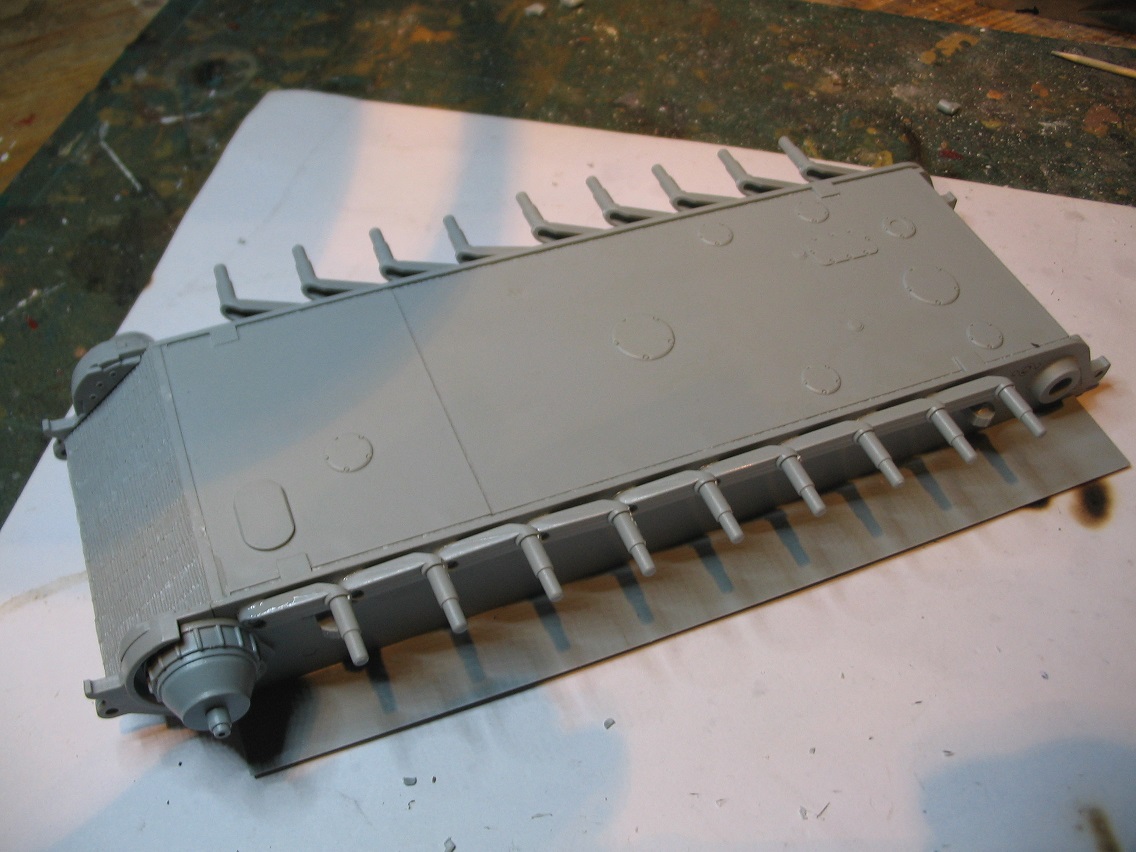
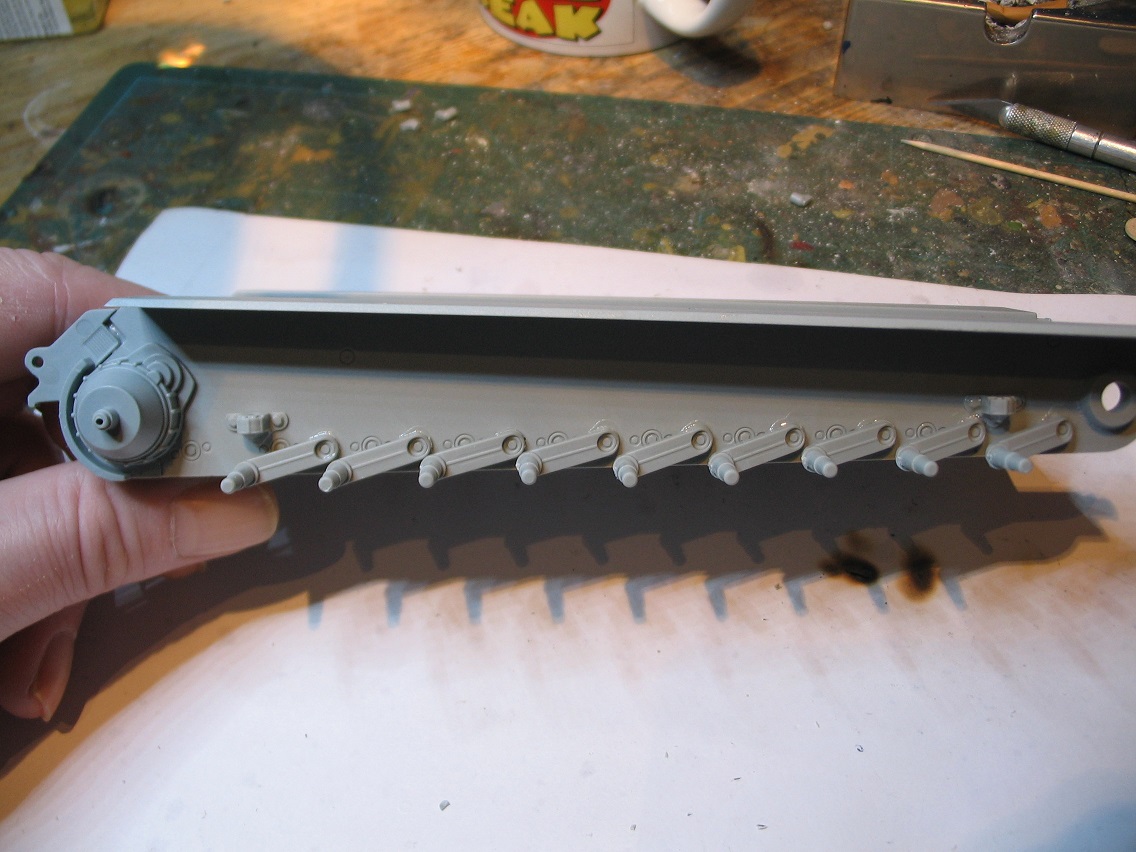
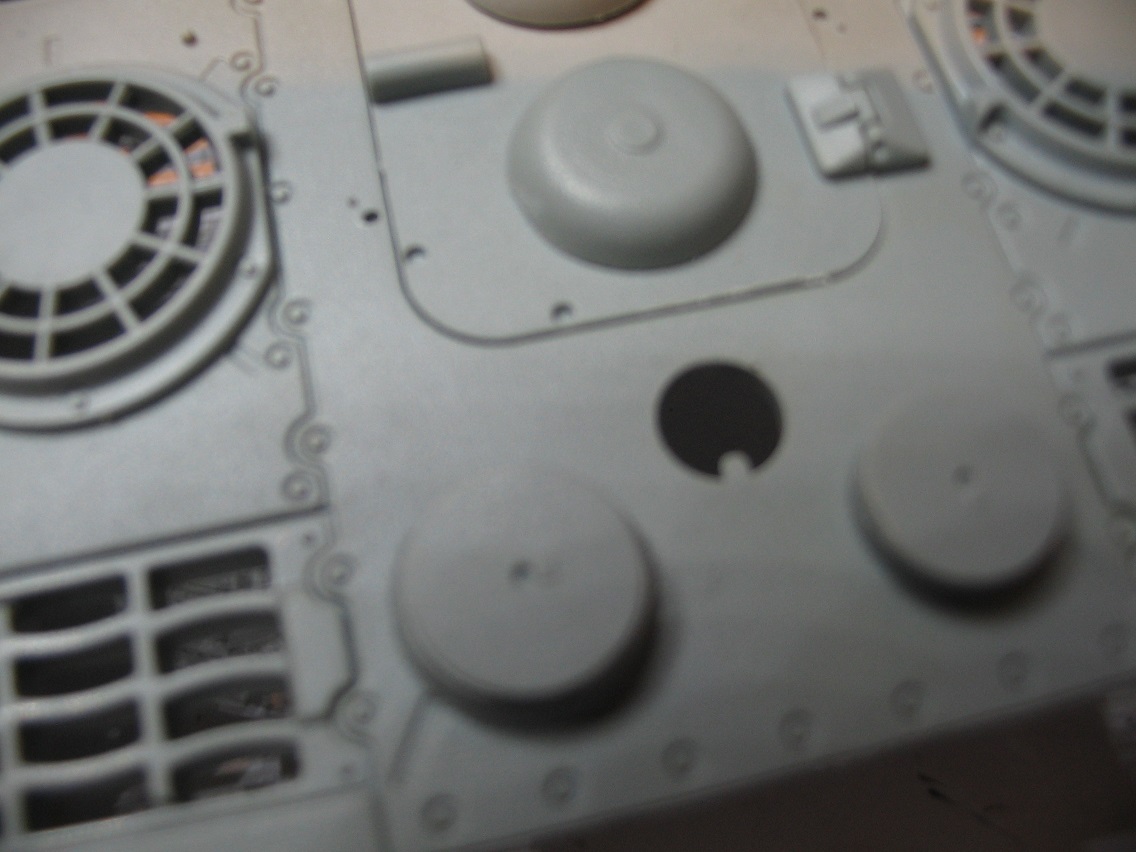
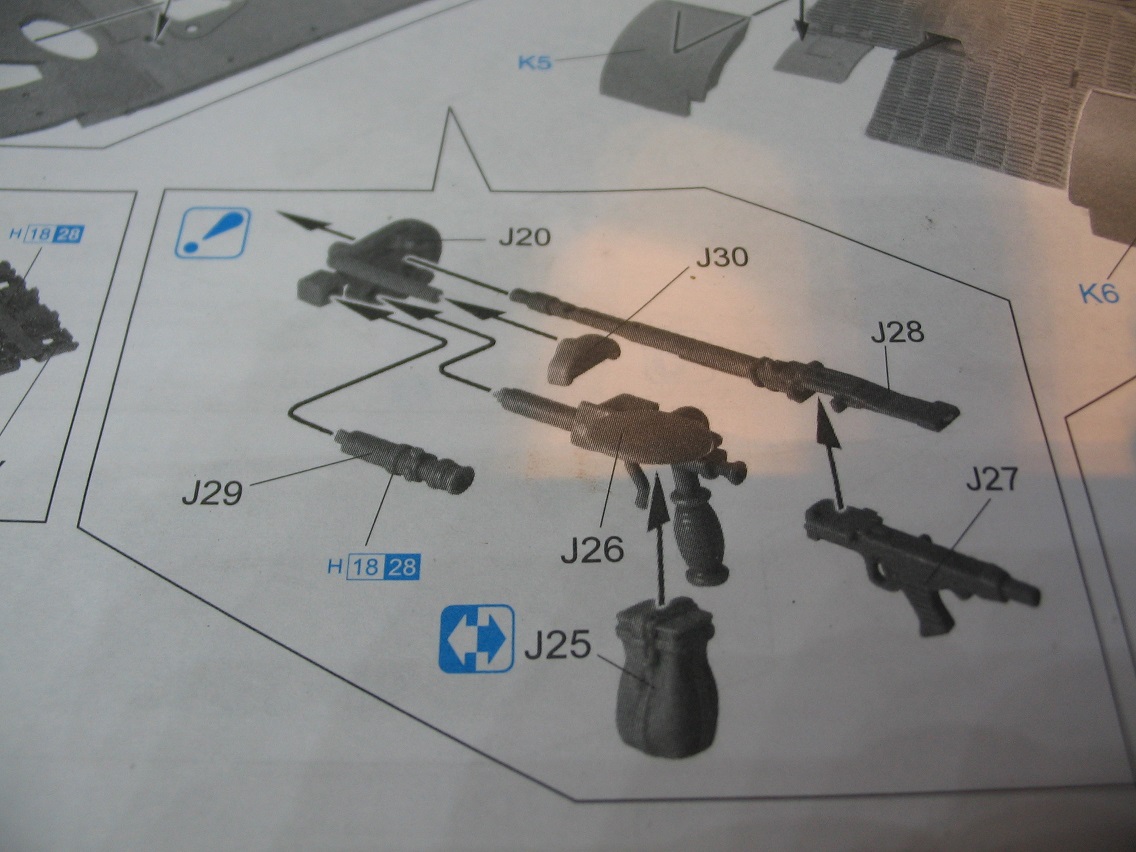
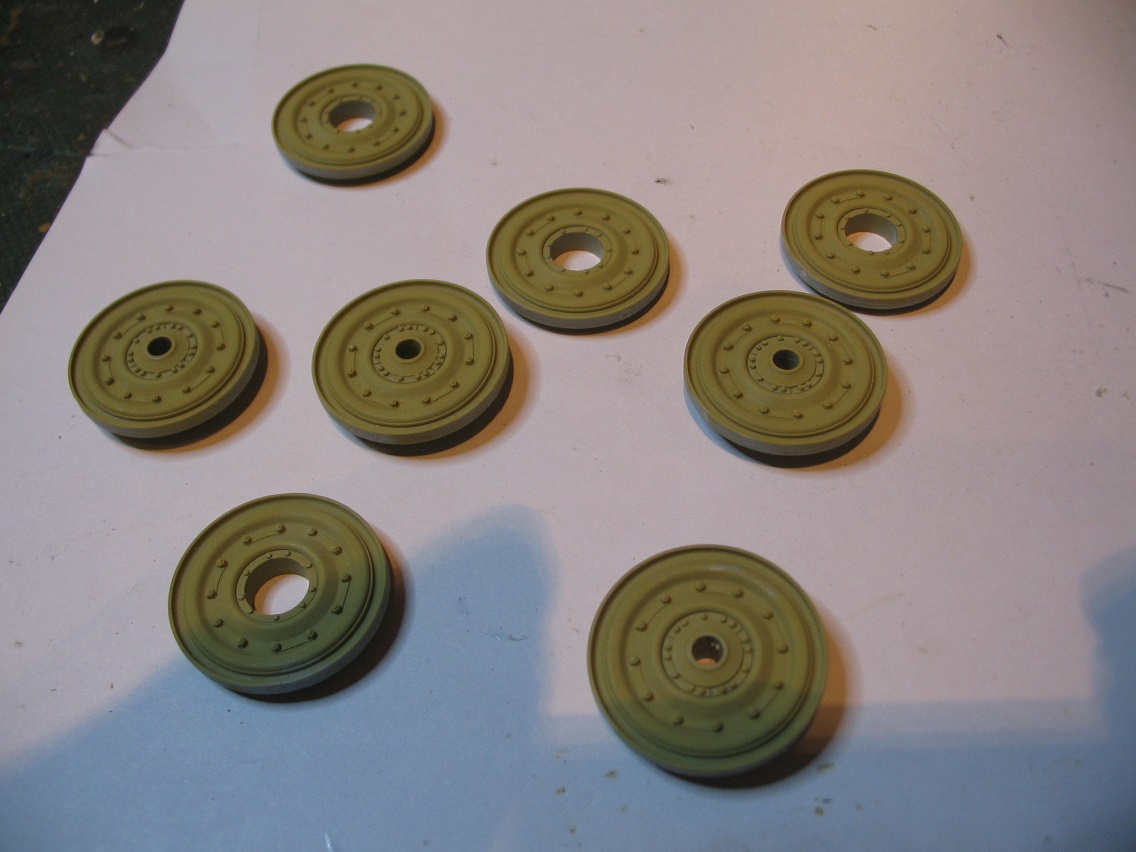
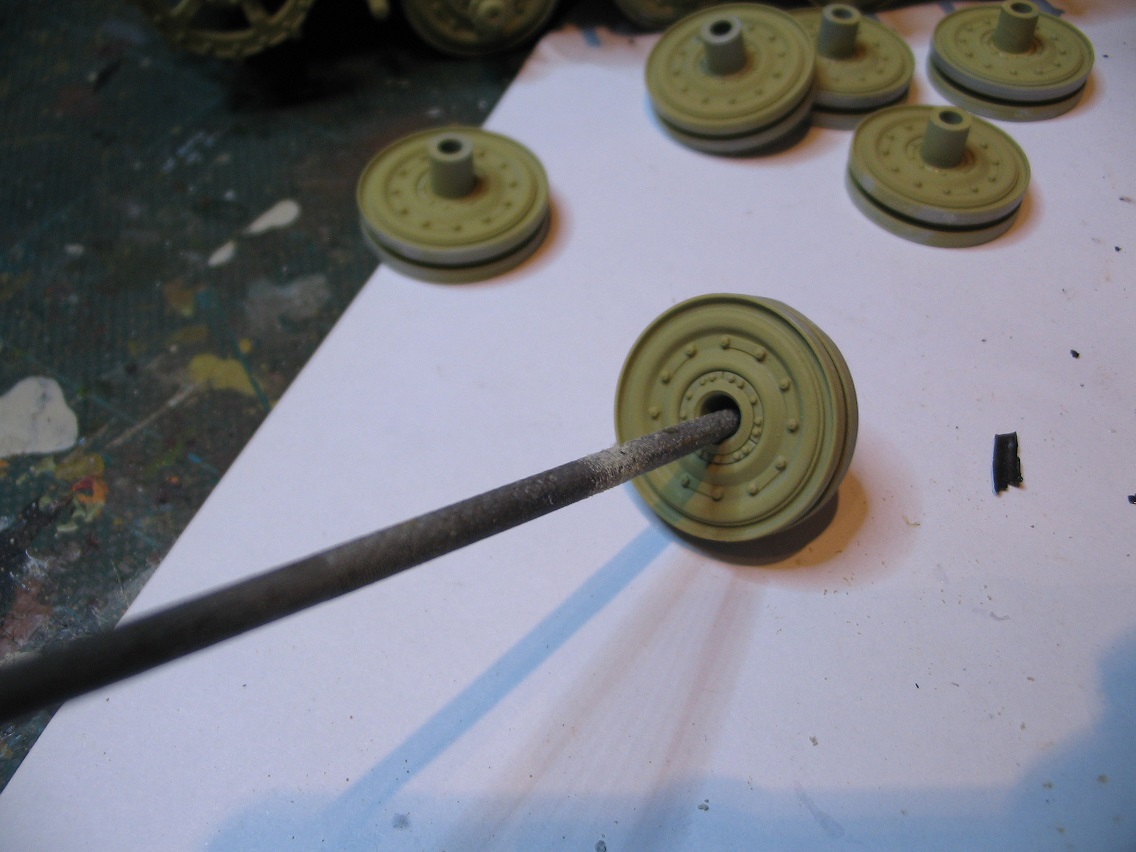
Onto business. I decided to build the turret first which is not how the instructions tell you to do it but I find DML instructions quite confusing as a rule and it should be the quickest part to build. In theory anyway. Parts are nicely moulded with a minimum of flash. There are a lot of sprues (twelve) and some contain three sprues in one so familiarise yourself with them. One thing I have noticed while building the turret is that parts that you require are on about 4 or 5 different sprues rather than being grouped logically on one. Makes me think I need a bigger desk. The instructions look easier to follow than I'm used to with DML but we'll see.
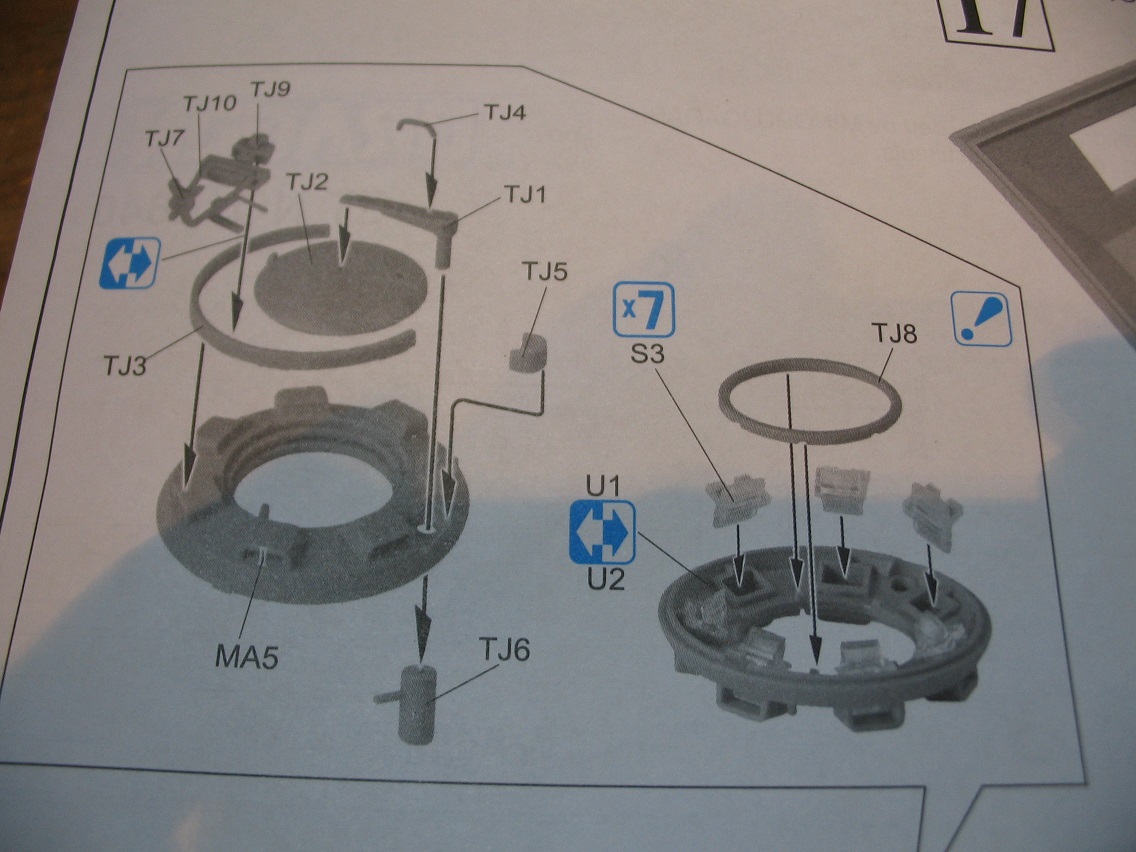
One thing I did notice at this stage is that if you attach TJ1 (the turret hatch arm) to TJ6 (a barrel inside) you can't have the hatch open anymore. I've left it. I plan on having the hatch open but always dry fit hatches when airbrushing so when I've finished I can glue it in place with the right colour sprayed on.
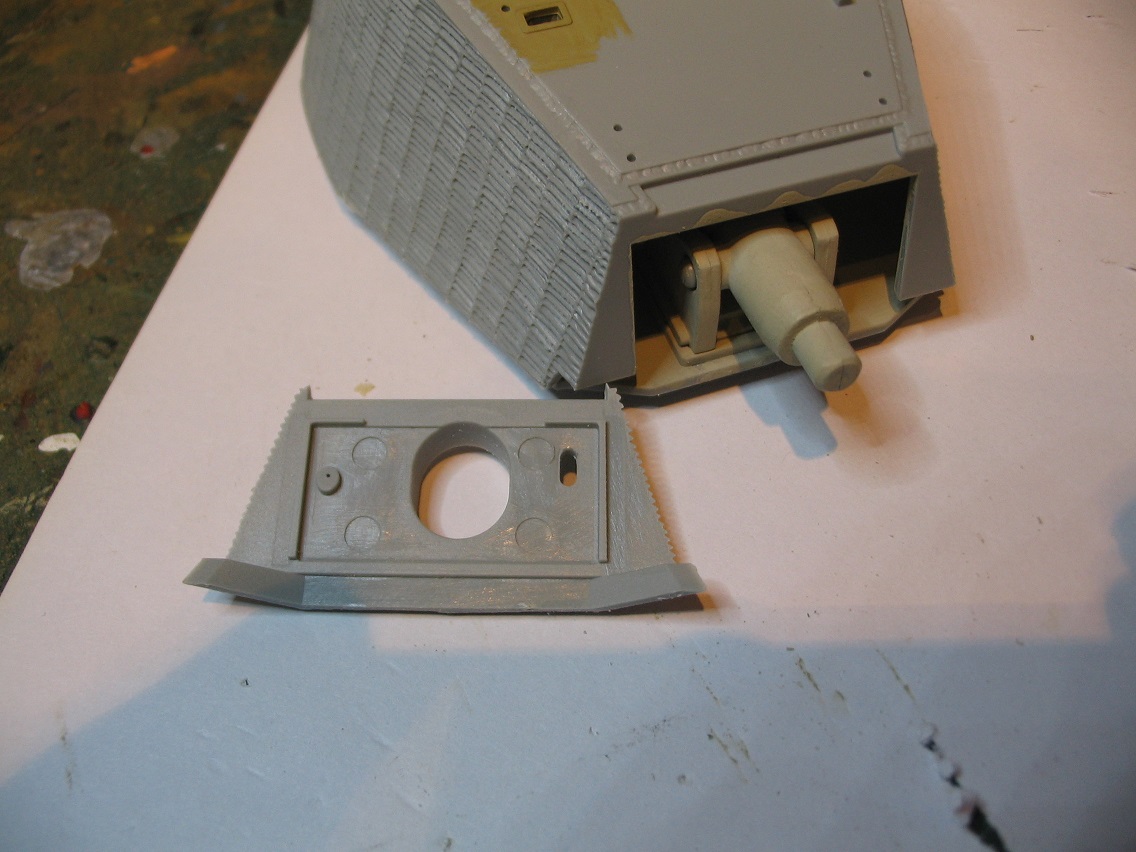
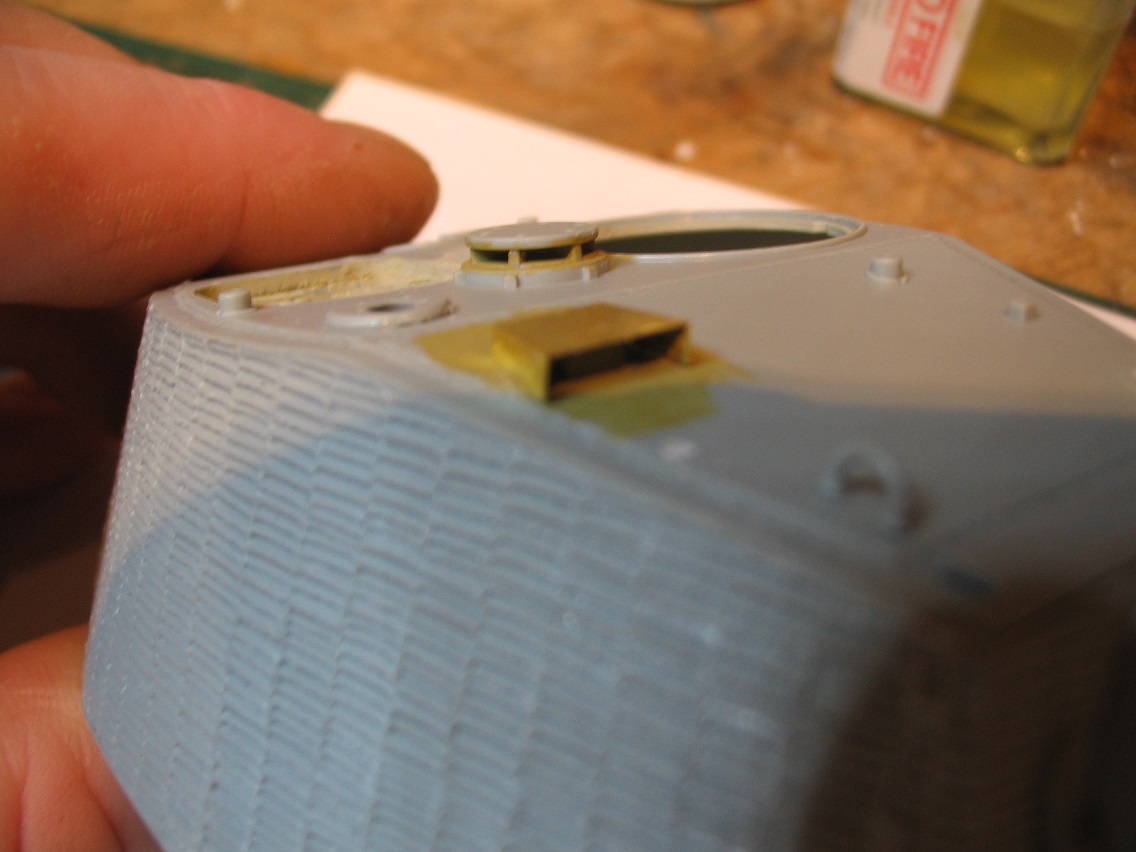
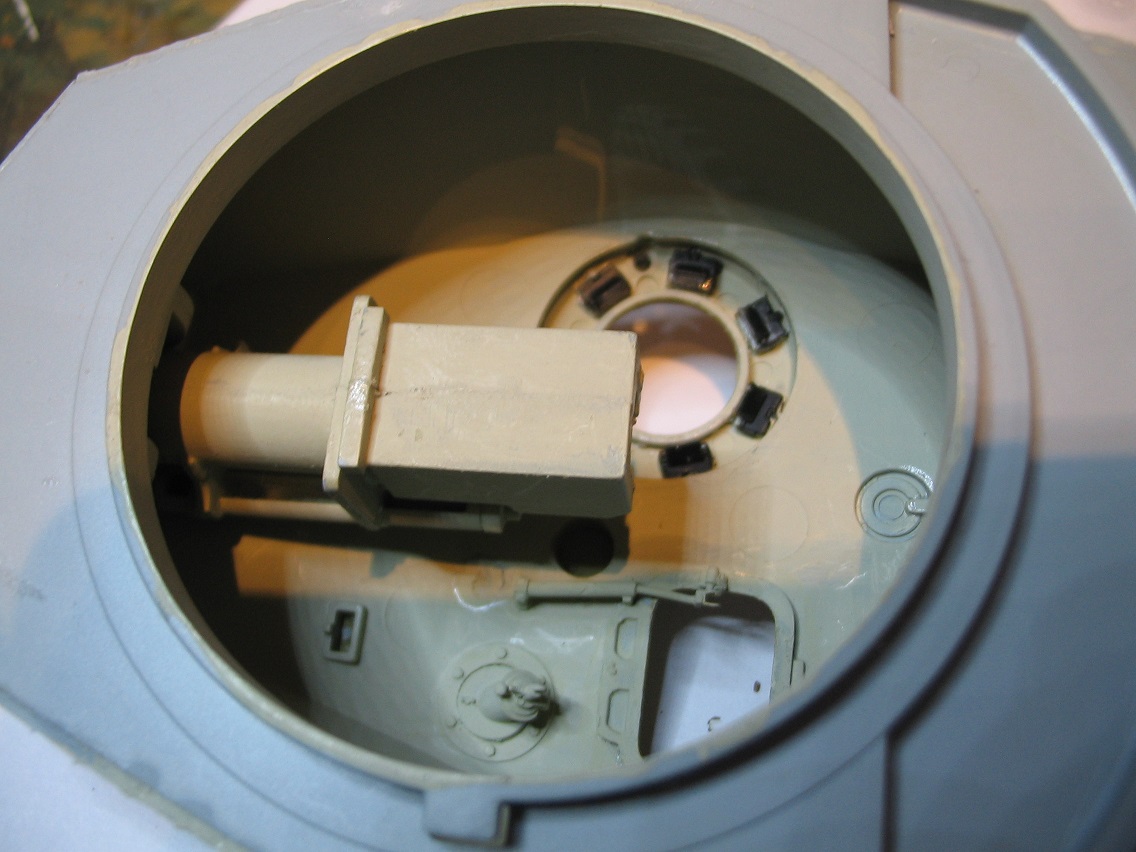
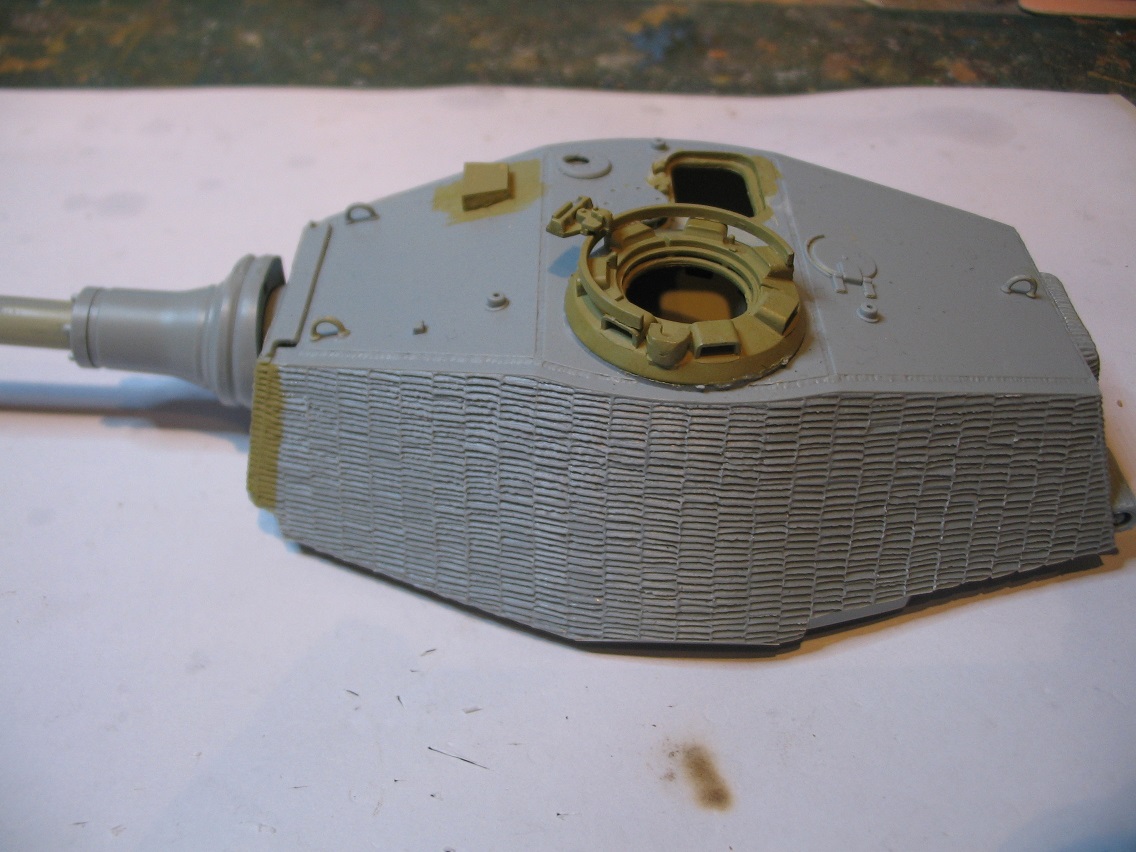
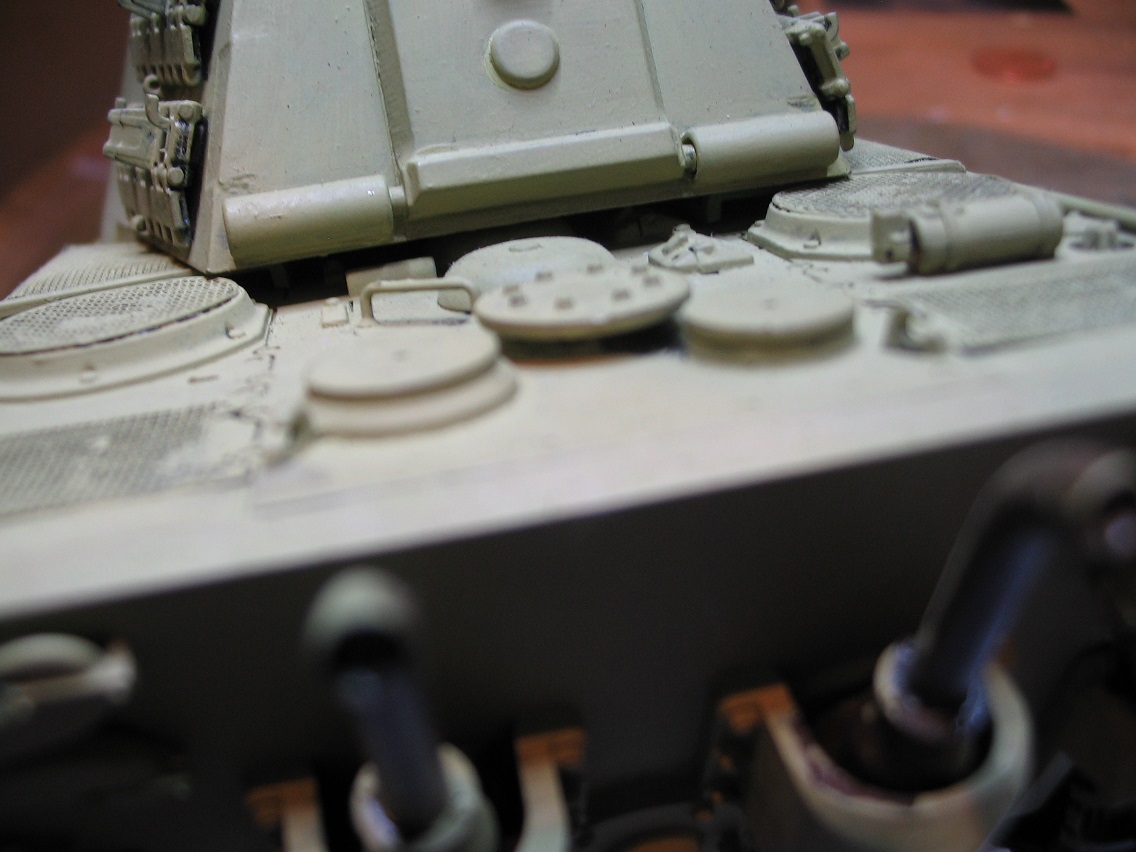
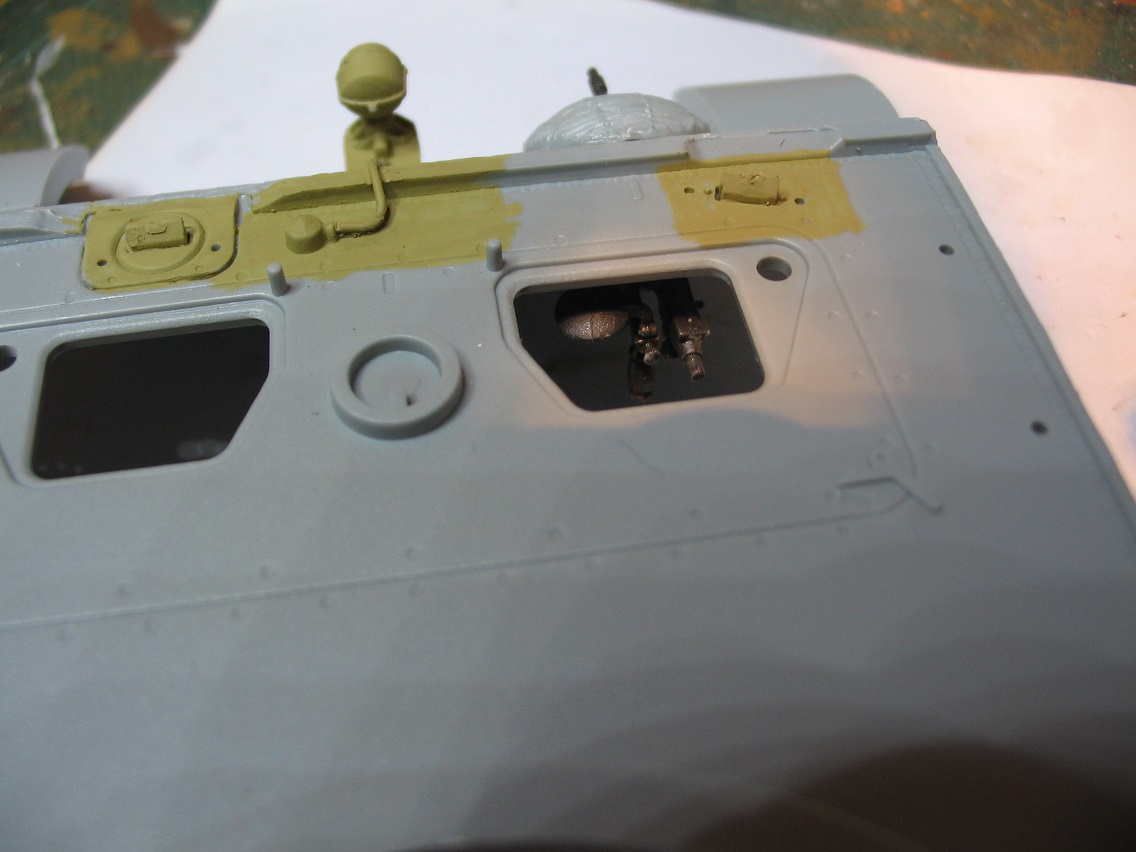
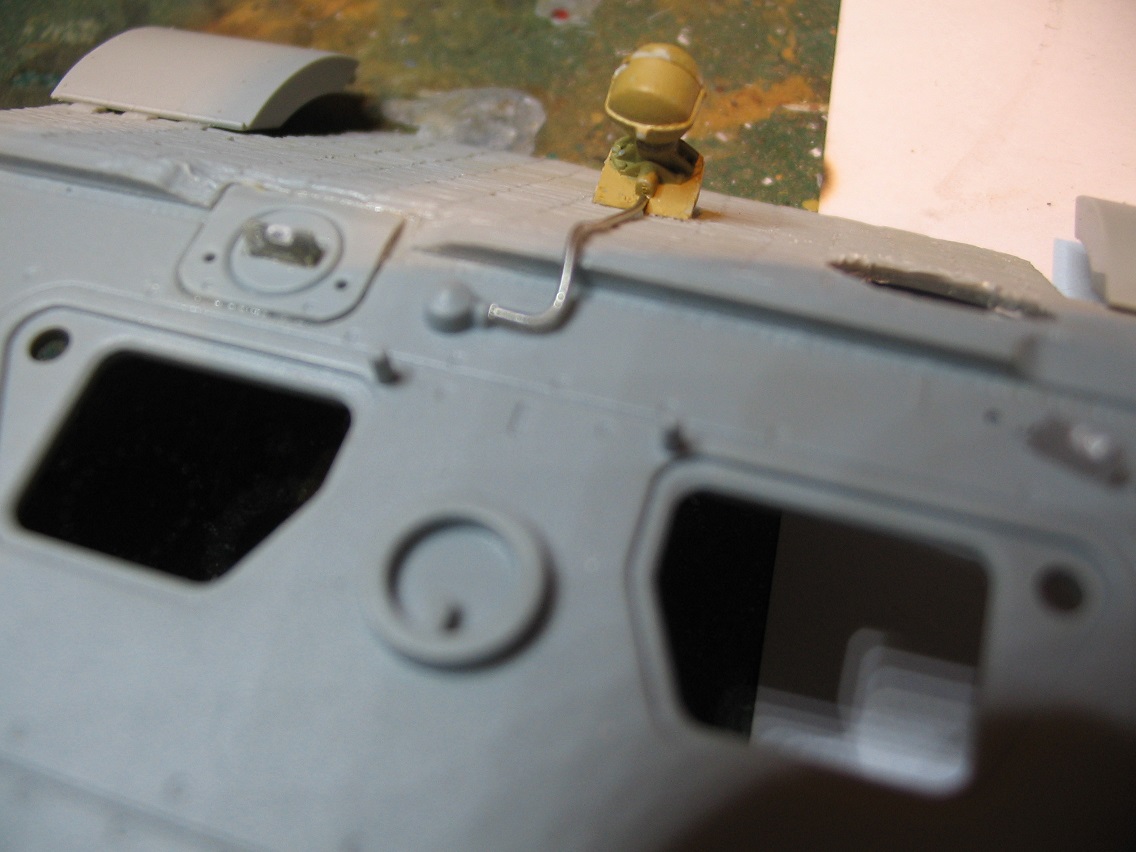
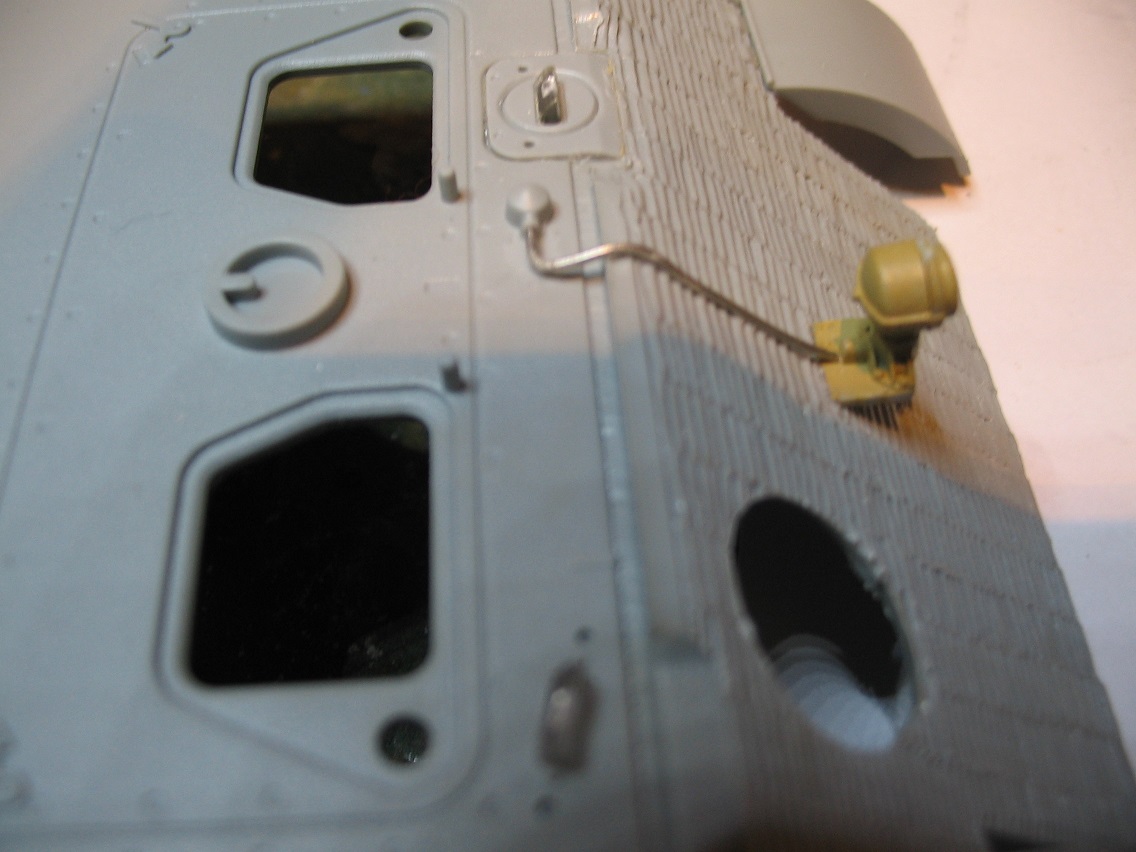
I've given the inside of the turret a quick coat of ivory (Tamiya XF55 Deck Tan + White) just as a base coat There's a rather nice flare discharger (I think) in the turret roof which just needs a cord to finish it off. Unfortunately you can't see it. This however means you get two choices on the hatch on the outside of the turret. One open and one closed.
Both shown for comparison. I've gone for the open one.
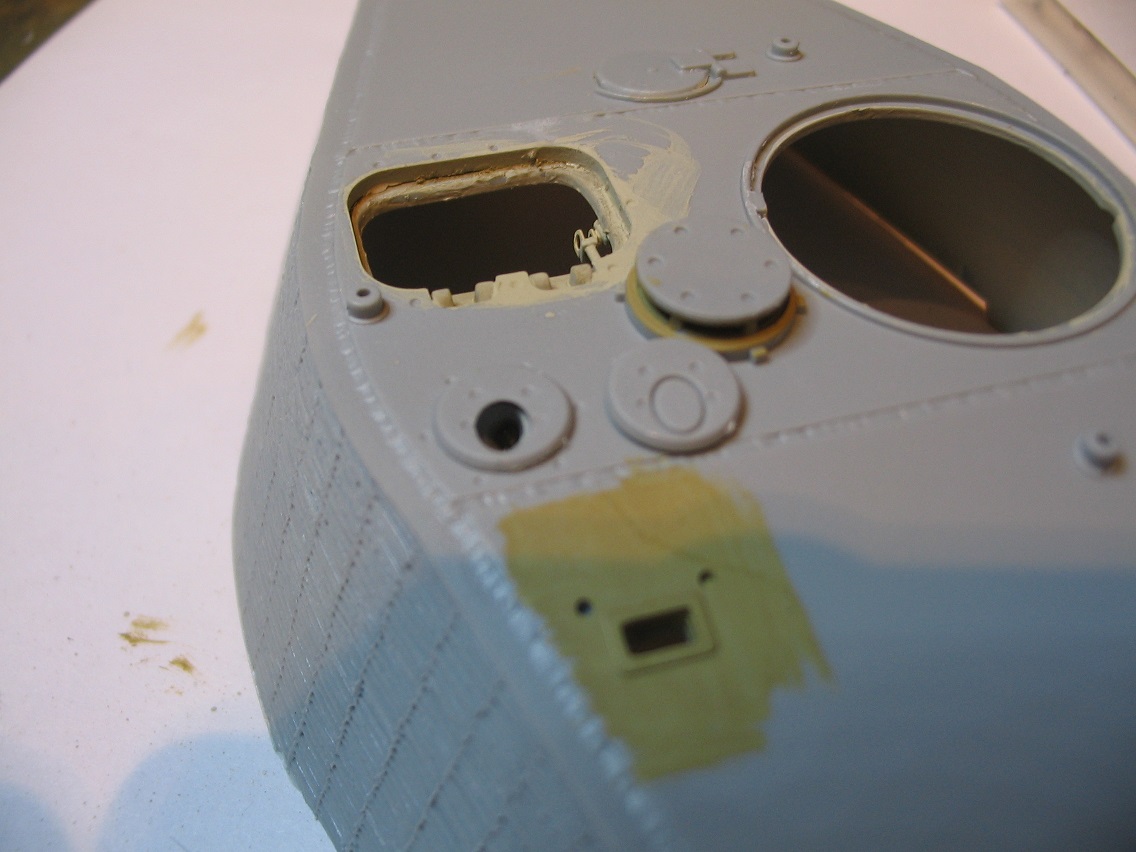
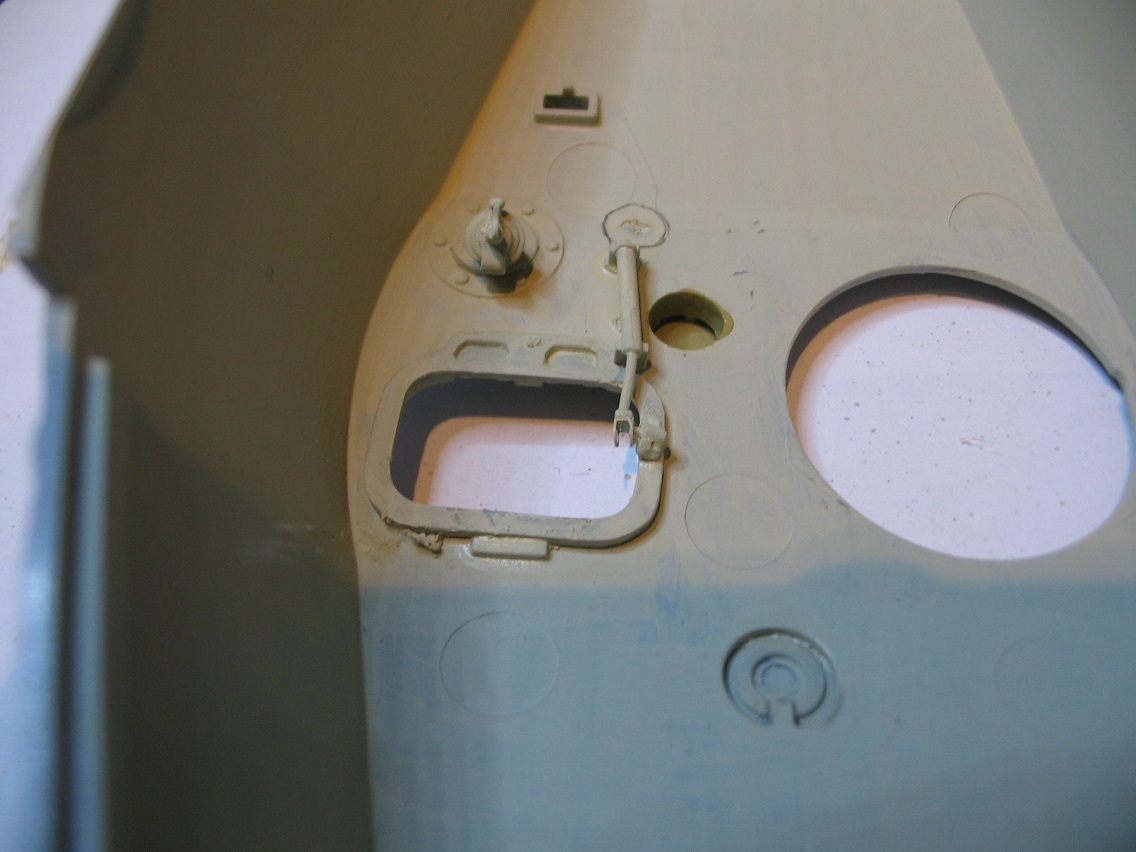
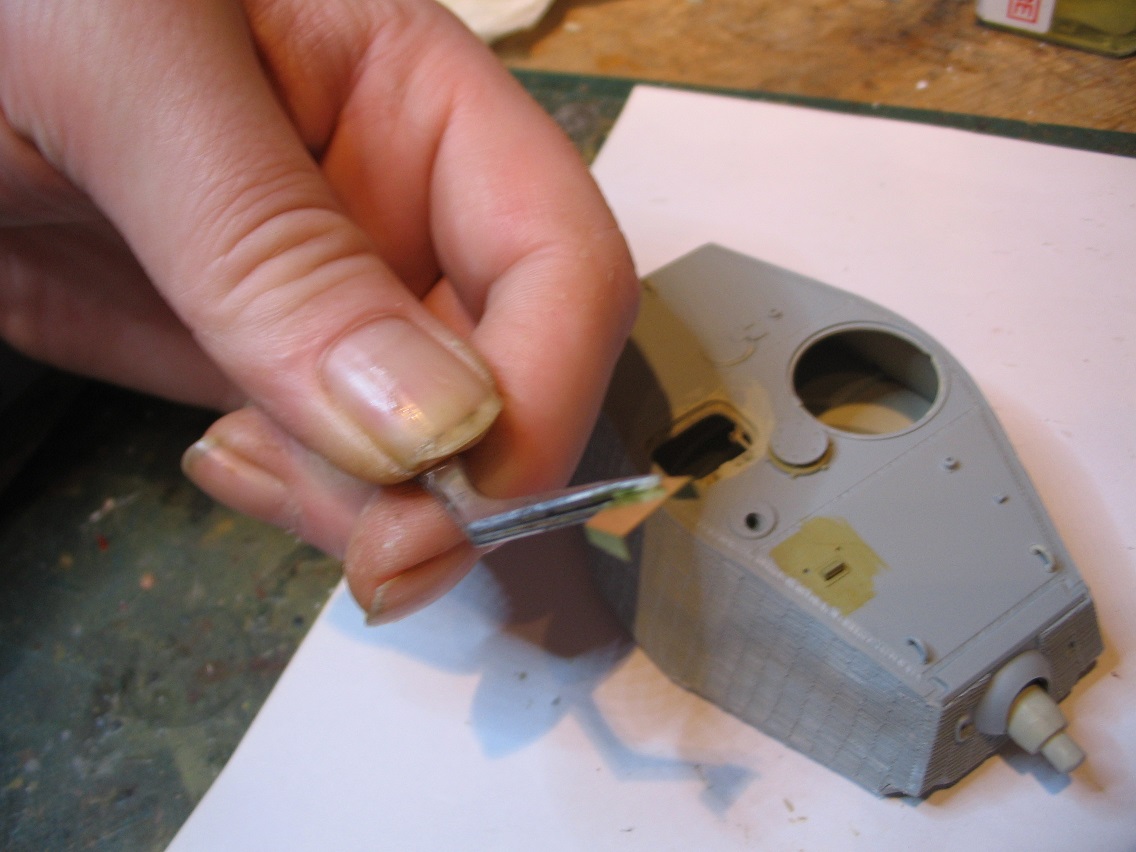
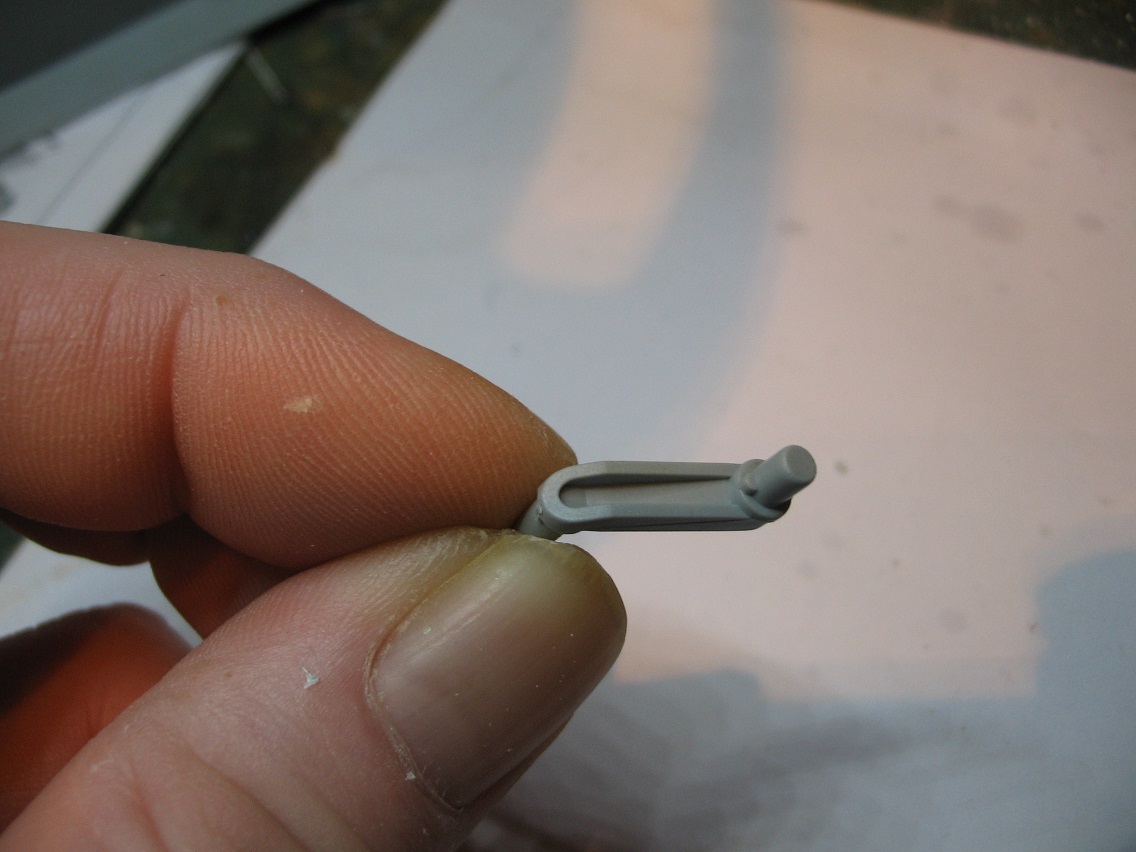
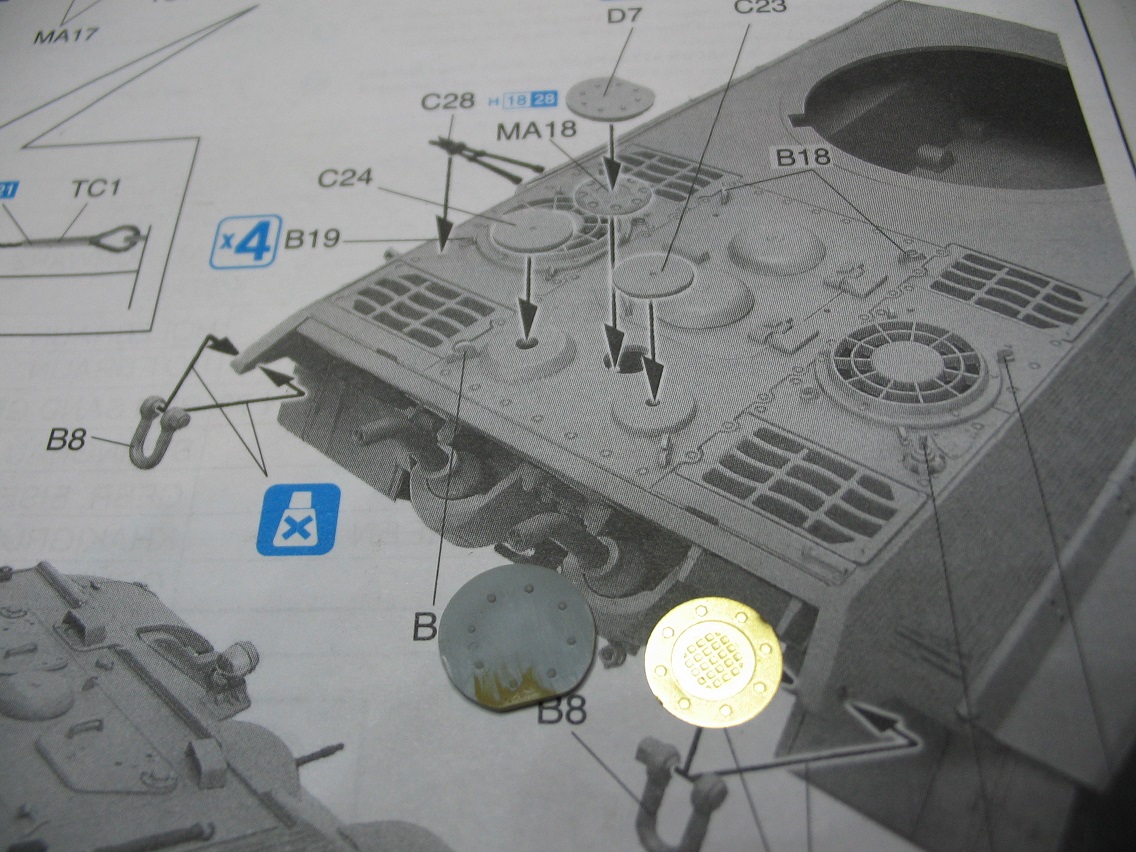
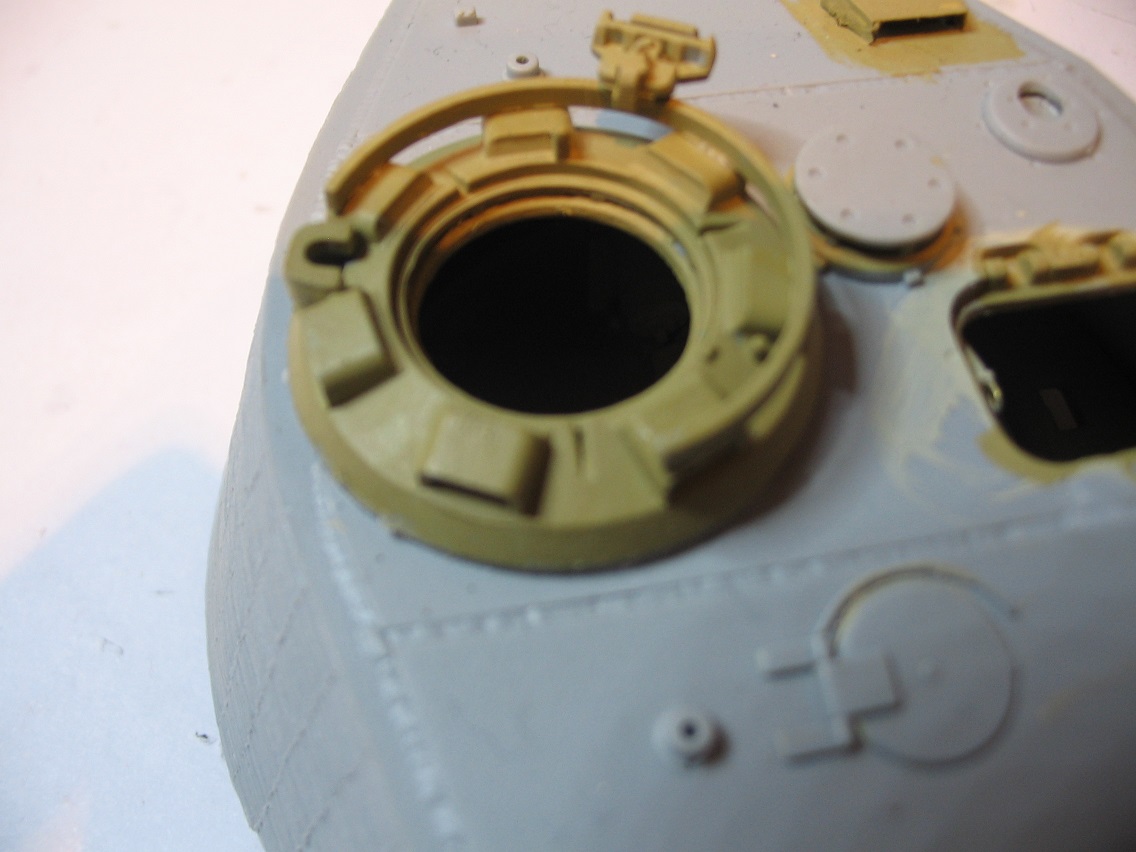
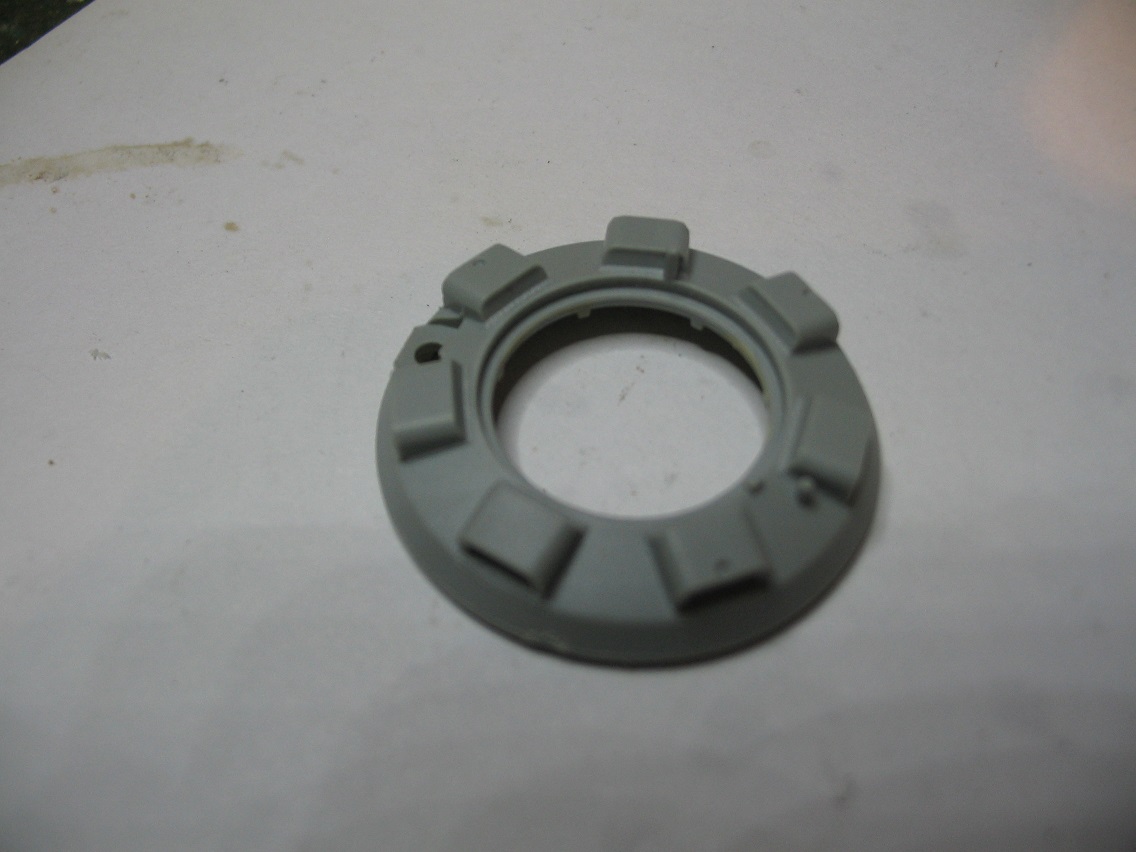
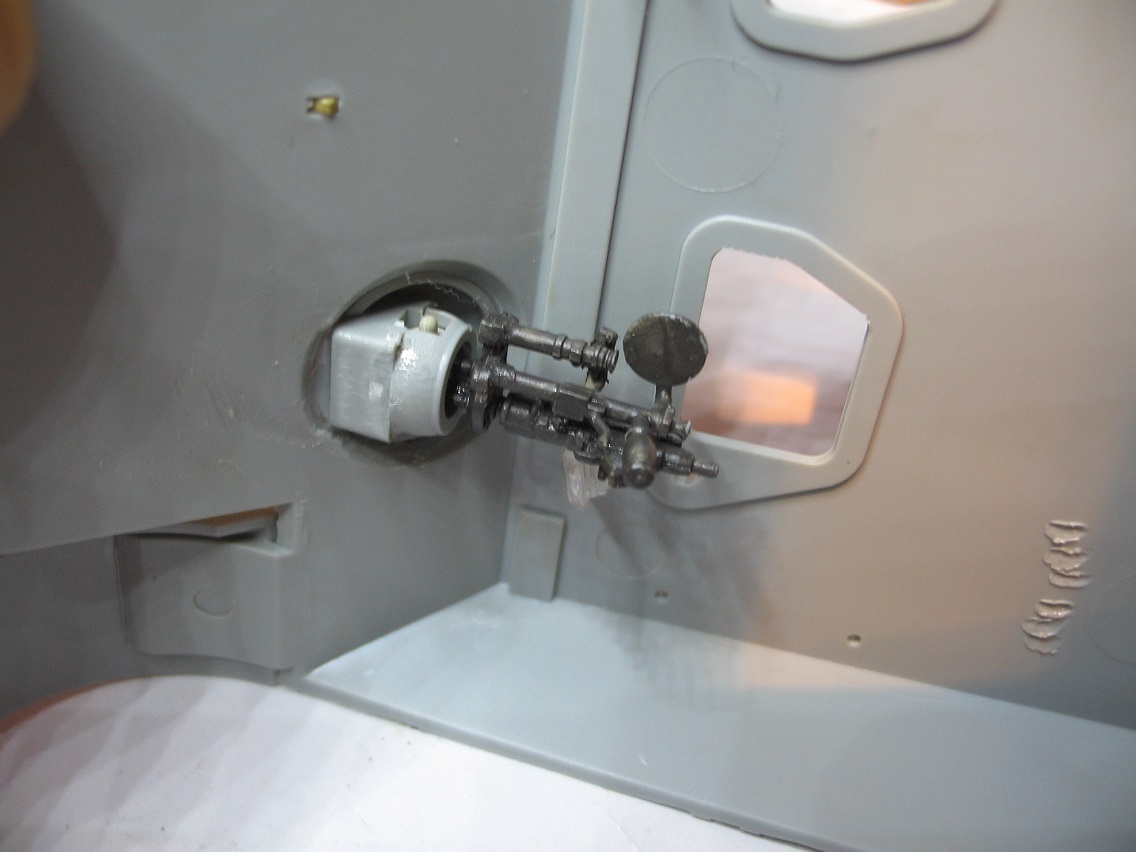
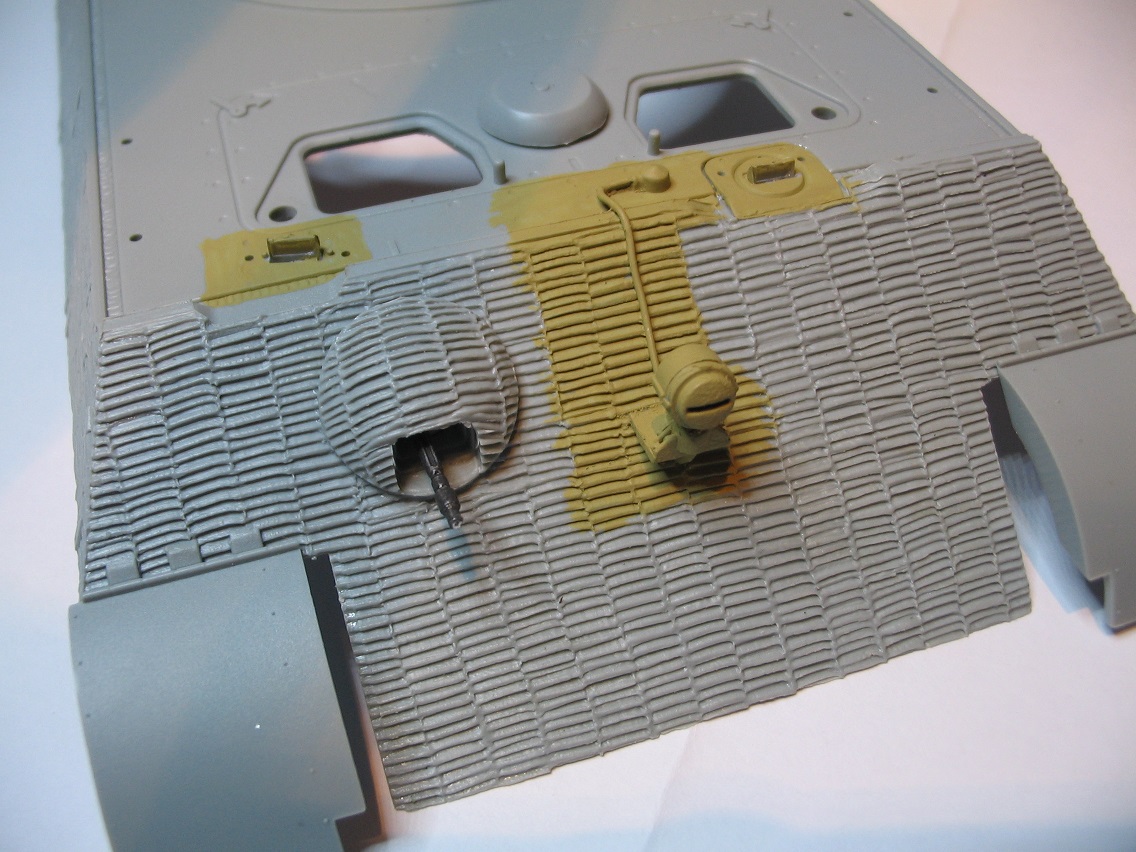
Inside the turret roof as there is the hydraulic mechanism for the loaders hatch. Now this was my first problem. If you attach it as per the instructions it doesn't match up with the connection to the hatch if you want it open. There's a nifty little PE bracket to attach to the end which wraps around the crescent shaped bracket on the hatch. You have to move it quite a way forward. In the photo the circle denotes where it should be as per the instructions. Beware of this part as it's very fragile and mine bent while cleaning it up and didn't want to bend it back for fear of snapping it. As it won't be seen and it now lines up with the hatch bracket I wasn't too bothered about the angle etc. The fit was more important here. I've painted underneath what I assume to be a ventilation cover before attaching the top to make sure I cover it. That's where I'm up to today.


