_GOTOBOTTOM
Dioramas
Do you love dioramas & vignettes? We sure do.
M4A1 - Monument 'La Roche' (Belgium)
Steven000
Visit this Community
Antwerpen, Belgium
Joined: August 07, 2016
KitMaker: 191 posts
Armorama: 120 posts
Posted: Monday, August 14, 2017 - 04:49 AM UTC
Hello everyone,
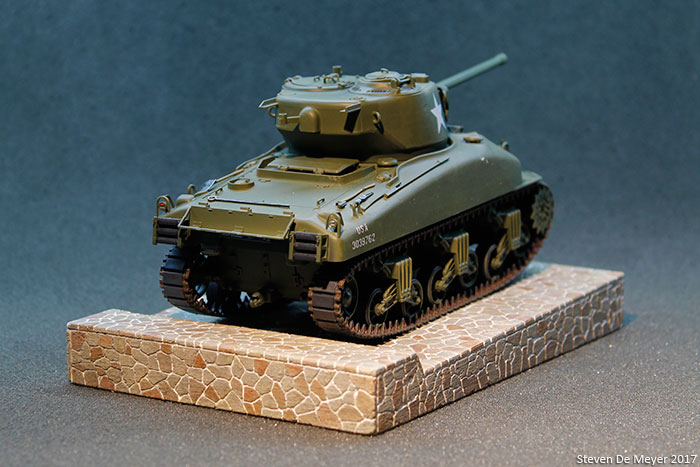
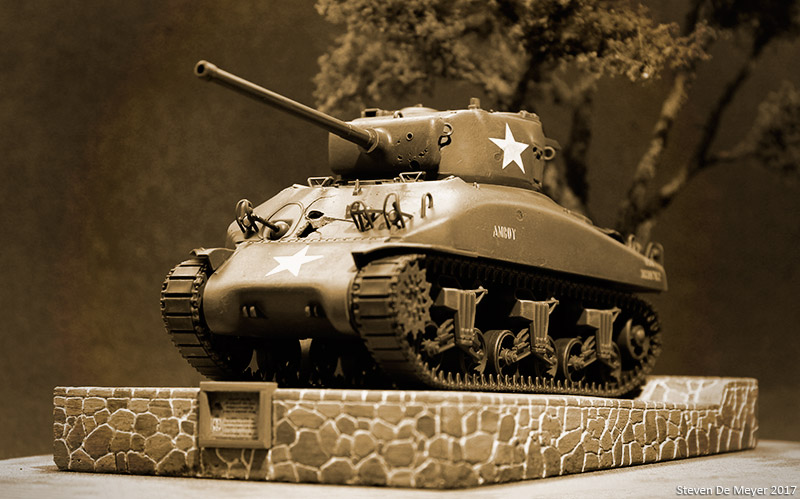
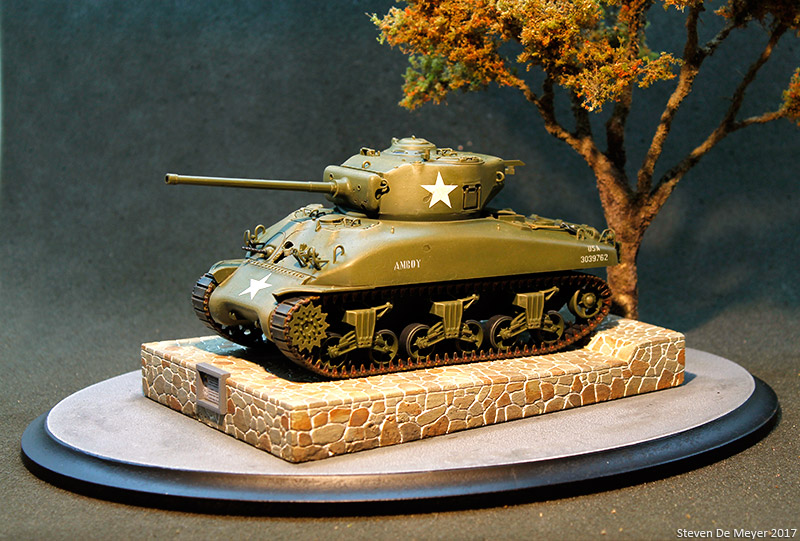
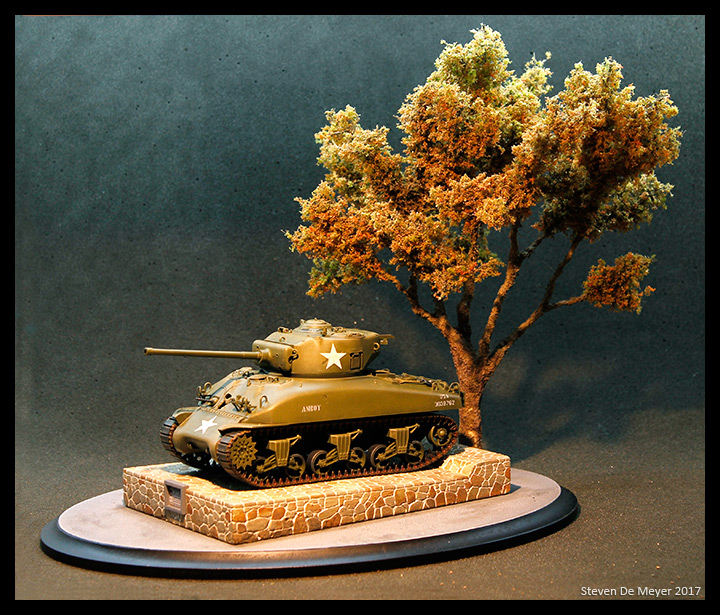
At the moment I'm working on a small project based on the M4A1 Sherman monument in 'La Roche' (Belgium Ardennes). The 'M4A1 Sherman' replaced the 'M26 Pershing' on december 17, 2004.


I'm not a 'rivet counter' so I might ignore some details, but in the end I will try to make it as recognizable as I can.

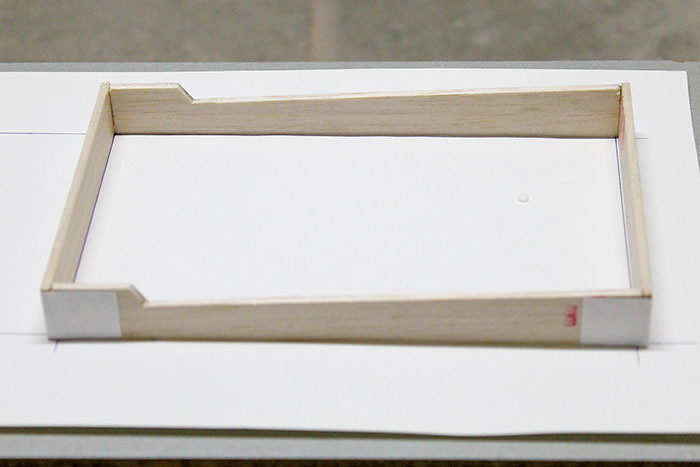
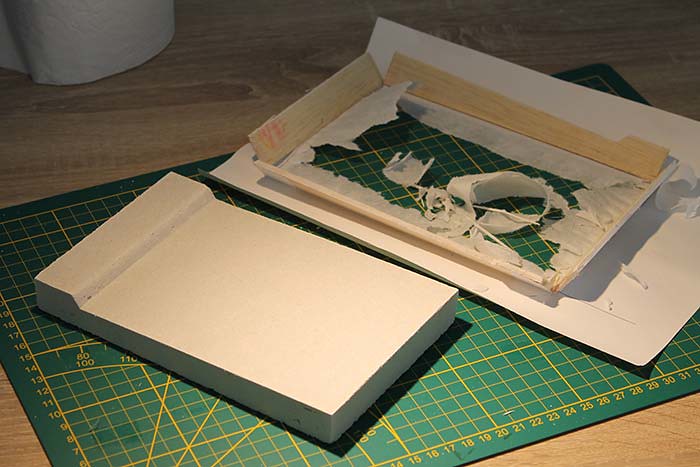
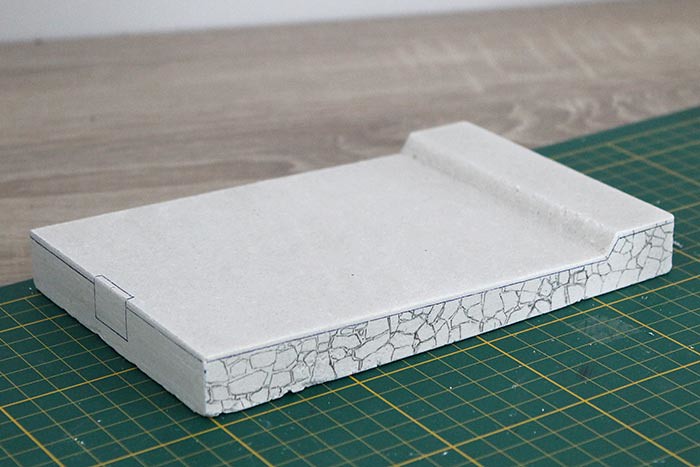
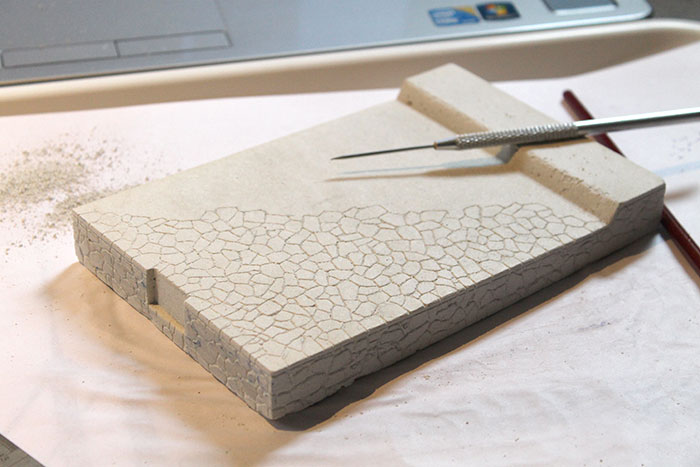
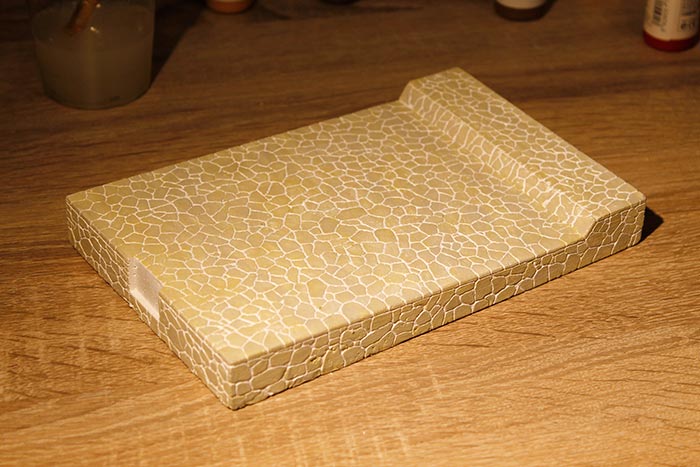
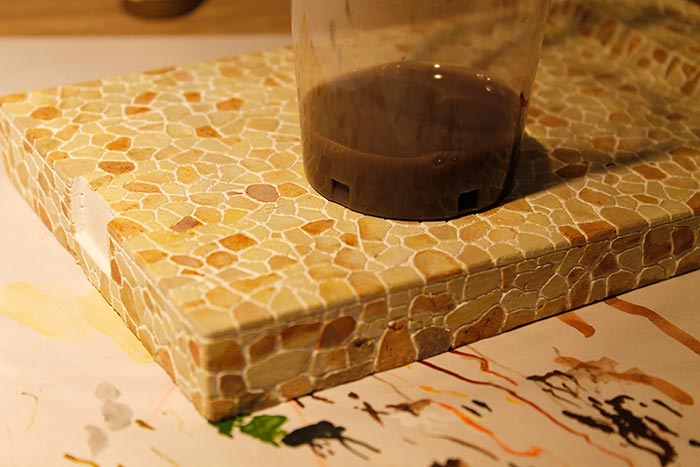
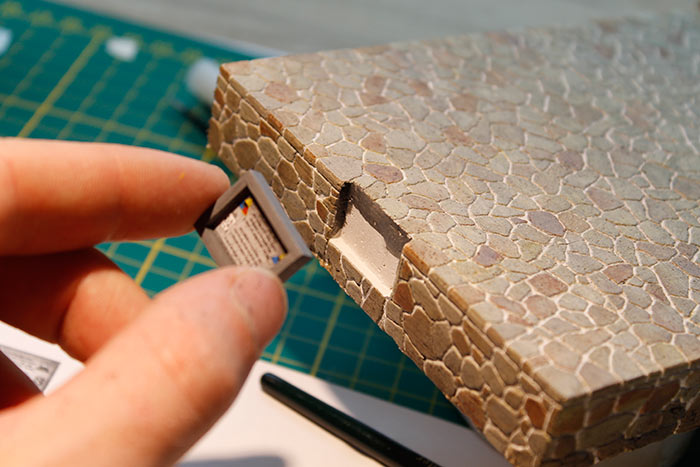
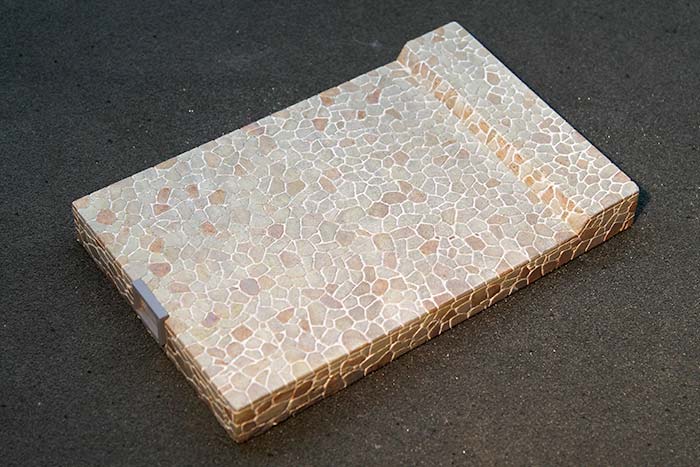
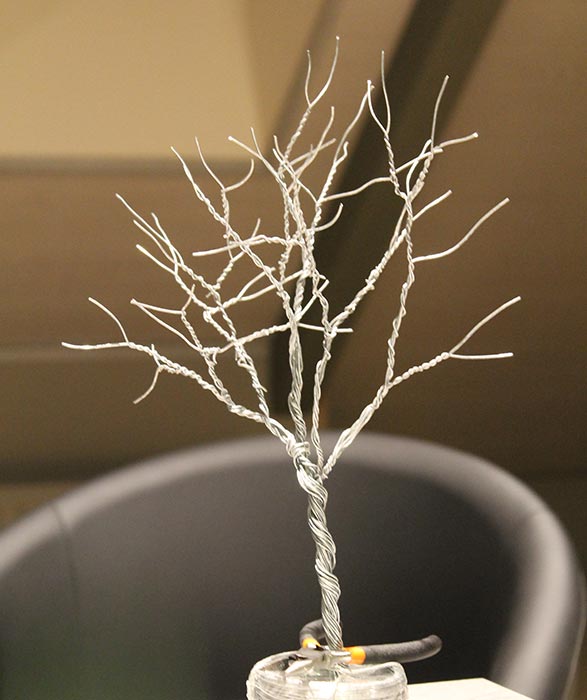
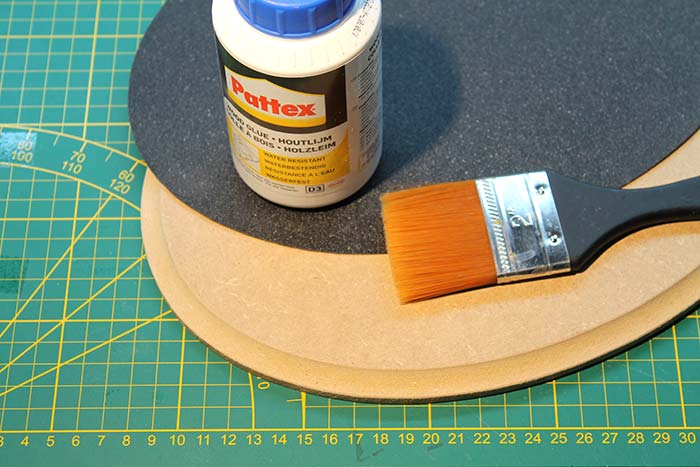
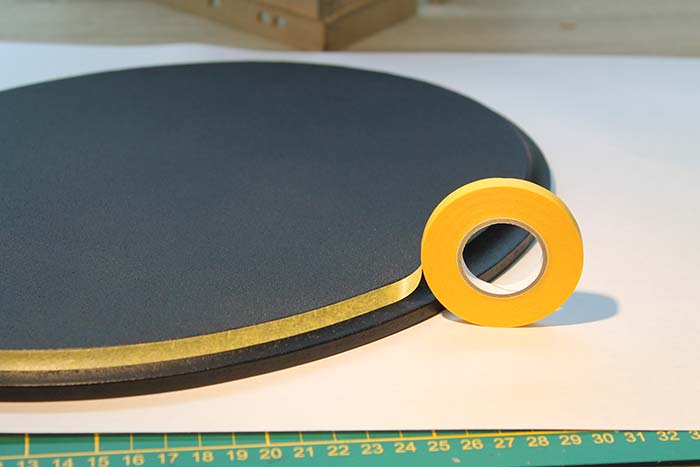
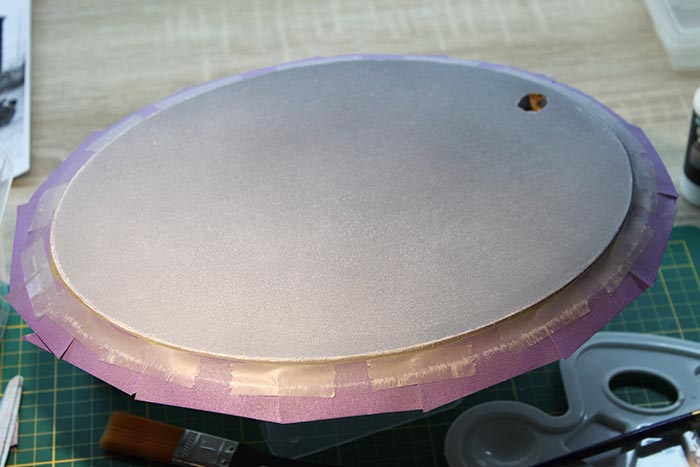
The small dio will include the stone base with the Sherman on top of it and also the tree behind it.

---

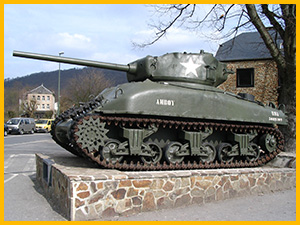
(Some reference from google for those who never been there before.)

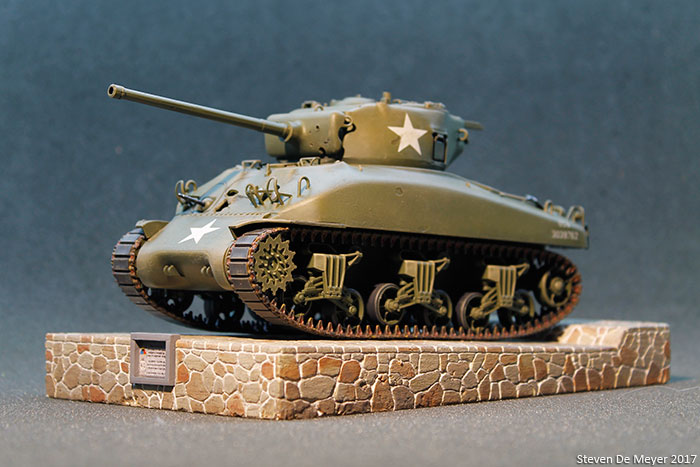
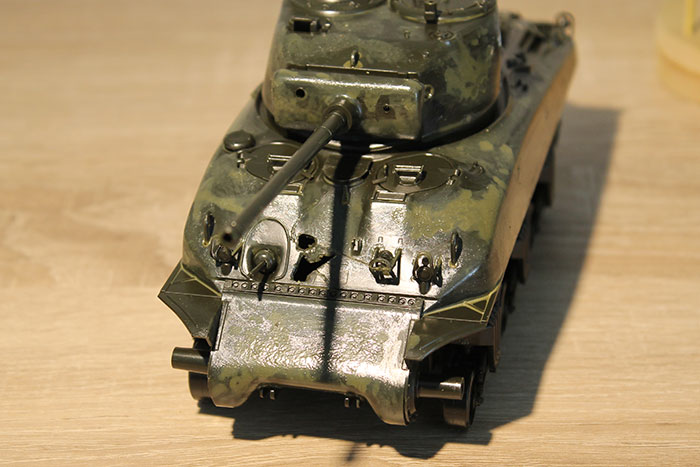
This image shows the damage to the hull and mantlet killing the crew...
(1 hit by a German high explosive shell and two hits by armour piercing rounds)


I had this Italeri M4A1 kit still lying around in my closet (half build and intended for a different project), this was an ideal project to get it finished.
(The kit comes with 'T41' or 'T51' tracks, the 1:1 tank has 'T48' tracks mounted. I might add the 'chevron' shape later)


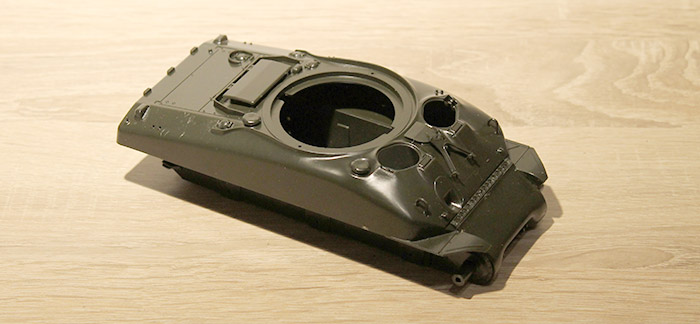
I used a dremel tool to recreate the damage to the hull and mantlet.
Also some glue was brushed onto the model and stamped with a brush to get some sort of basic 'casting' texture. (Doug method)


Today I airbrushed some preshading, black and white.


US dark green.


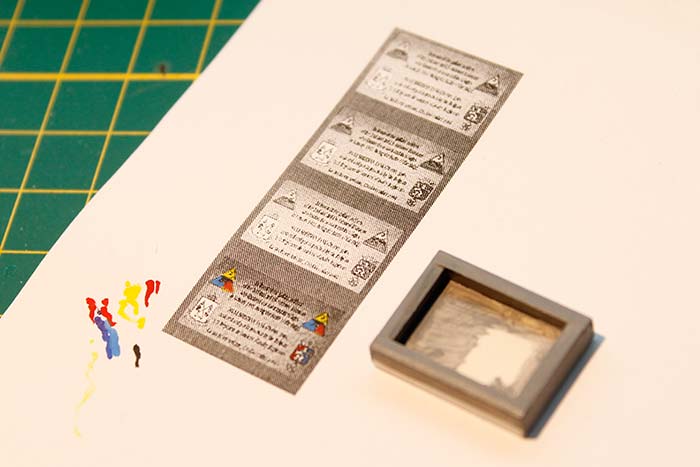
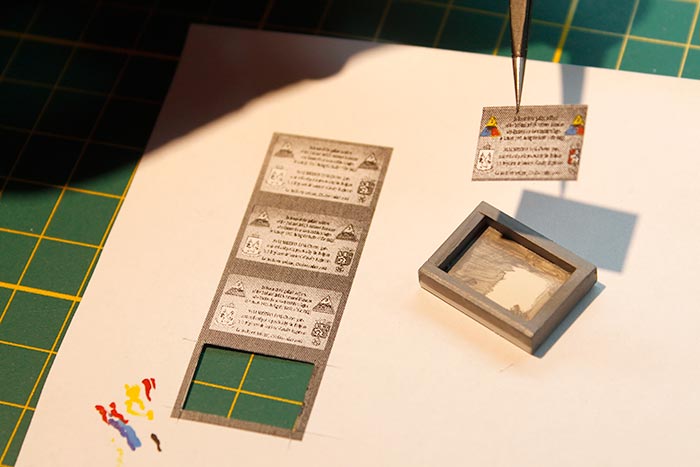
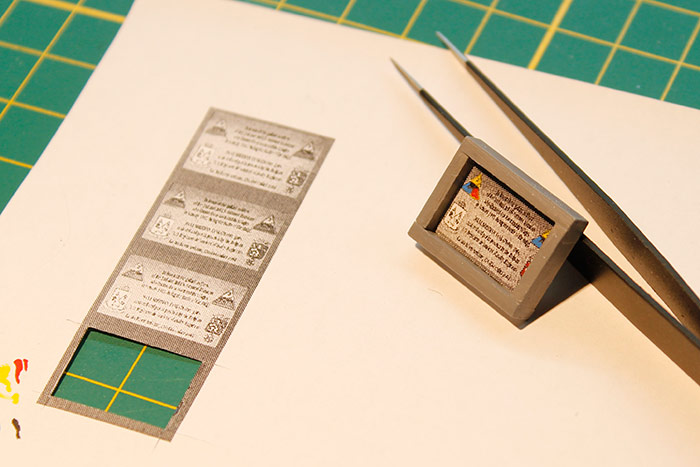
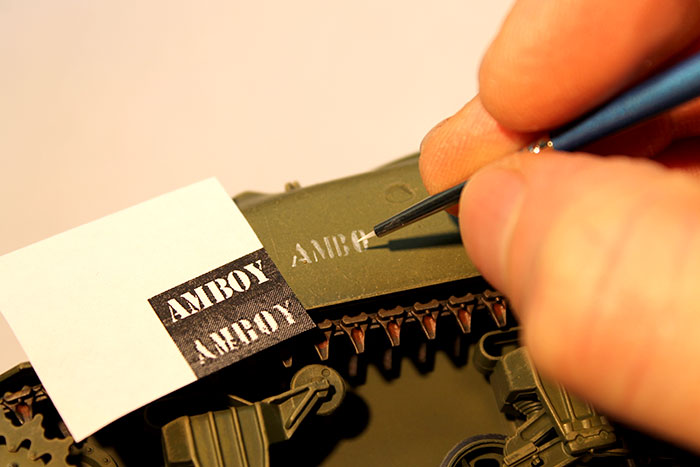
The decals were added with 'Vallejo decal medium'.

Here you can see the damage (hull and mantlet)


Maybe add a filter?
I Will add some subtle weathering when the stone base is ready.


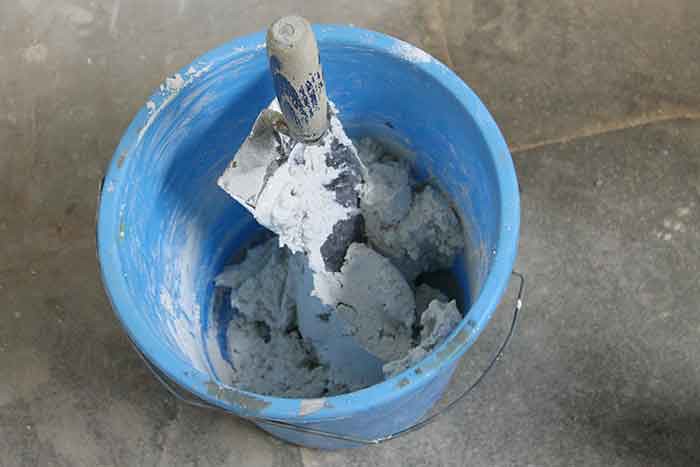
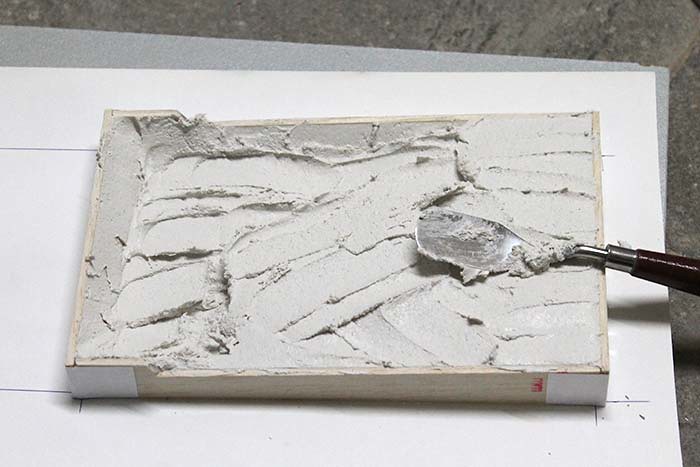
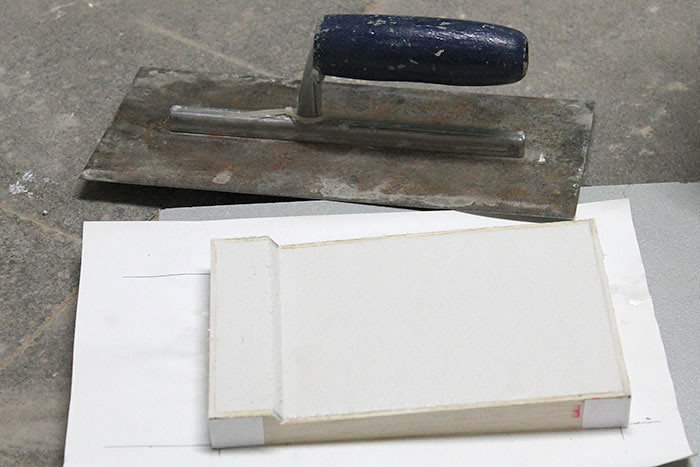
Next thing is making the stone base and tree...


Thanks for reading and kind regards!
Steven
Cookiescool2
Visit this Community
Georgia, United States
Joined: May 09, 2014
KitMaker: 273 posts
Armorama: 270 posts
Posted: Monday, August 14, 2017 - 05:11 AM UTC
Photobucket strikes again I can't see your wonderful build photos, are you able to upload them to a different hosting site like flickr or imgur? Photobucket doesn't always work well on the site
Steven000
Visit this Community
Antwerpen, Belgium
Joined: August 07, 2016
KitMaker: 191 posts
Armorama: 120 posts
Posted: Monday, August 14, 2017 - 05:40 AM UTC

Quoted Text

Photobucket strikes again I can't see your wonderful build photos, are you able to upload them to a different hosting site like flickr or imgur? Photobucket doesn't always work well on the site


I didn't say they were 'wonderful' but I reuploaded the pictures to Flickr and updated the post...
(strange because I could still see the photobucket pics )

Kind regards!
Steven
Bodeen
#026
Visit this Community
Pennsylvania, United States
Joined: June 08, 2002
KitMaker: 1,744 posts
Armorama: 1,359 posts
Posted: Monday, August 14, 2017 - 08:59 AM UTC
I like it a lot. I was in Belgium and Luxembourg in April but was unable to get to the WWII battle sites. We were on kind of a whirlwind tour of Europe. I would love to have seen monuments like this one and the one in La Gleize. Thanks for sharing.
Steven000
Visit this Community
Antwerpen, Belgium
Joined: August 07, 2016
KitMaker: 191 posts
Armorama: 120 posts
Posted: Tuesday, August 15, 2017 - 09:52 PM UTC

Quoted Text

I like it a lot. I was in Belgium and Luxembourg in April but was unable to get to the WWII battle sites. We were on kind of a whirlwind tour of Europe. I would love to have seen monuments like this one and the one in La Gleize. Thanks for sharing.


Thanks, the Tiger II in La Gleize is indeed very impressive, hopefully you can visit it another time!


Here is a small update on the 'stone base'...

I decided to make the base with 'wall gipsum' as I'm still renovating the house and I like to have something solid into my hands. I think most people would use foam for this.


So I made a mold with some old balsa-scrap-wood.


Then mixed some wall gipsum.


I filled the corners first to minimize air bubles on the sides.


Then filled the rest of the mold.


I finished the surface with a trowel.


The next day I removed the balsa-wood, the gipsum is now hard but not yet fully cured, this takes some time.


After en few hours the sides were dry enough for the next step, drawing the flagstone pattern.
I used a lot of reference pictures from the monument (google) to make it sort of look right...


Then I used a sharp tool to give it some depth.


At the moment the front and one side is done, need to fix a few spots at the bottom and then do the other sides...
Here's a test with the Sherman...


After that it will be painted...


Thanks for reading and kind regards!
Steven
kurnuy
Visit this Community
West-Vlaaderen, Belgium
Joined: August 22, 2009
KitMaker: 1,491 posts
Armorama: 997 posts
Posted: Tuesday, August 15, 2017 - 11:08 PM UTC
Hi steven ,

very nice lay out and the result so far is excellent . Great job .

Kurt
Steven000
Visit this Community
Antwerpen, Belgium
Joined: August 07, 2016
KitMaker: 191 posts
Armorama: 120 posts
Posted: Wednesday, August 30, 2017 - 05:07 AM UTC
Thanks Kurt


I have a small update on the stone platform,

First I had to carve the other sides (left, back, top)
Very therapeutic


Then I put on a primer,
and carefully started painting the flagstones in a light color.


I added some variety with different colors.


Then it looked too light, so I added a few filters to make it a little bit darker
(in the pic the filter in not yet added)


I made the (honor)plate out of some scrap plastic plate


Glued together


I made a small print of the plate from reference pictures.
Because I only have a black/white printer I added the colors with paint.


Then the print was glued with some wood-glue.


Ready


The plate was then installed - moment of honor


Base


Here are some pictures of the tank on the stone base,
I might have to add some weight to get the rubber-band-tension out...


Next thing is the tree and ground.

Thanks for reading!
Kind regards
Steven

Steven000
Visit this Community
Antwerpen, Belgium
Joined: August 07, 2016
KitMaker: 191 posts
Armorama: 120 posts
Posted: Friday, September 29, 2017 - 07:01 PM UTC
Hi guys,
I have been working on other projects lately but today I finished the tree for the small diorama, so I have an update...


The tree was made from iron wire, this technique is widely used on model railroads. You can find a good tutorial here : https://www.youtube.com/watch?v=0FNQTxX_jT4 (A tree in 1/35 is a lot larger of course.)


Here the tree was cut to size, about 29cm (11,4 inch) high.


I used basic hobby materials,
to cover the wire I made a mixture of wood glue and wood dust, this was brushed on to hide the wires.


When it's cured it looks like some sort of resin.


After that I've put on a few other layers to make the trunk thicker,
Then I added fibers and dust to give it some smaller branches, this way there is more area for the foliage.


Then I added black primer (spray can) and some brown paint.
The bottom was cut of with a grinder. (that loop was used to hang the tree)


Here you can see the build-up of the trunk...


Then foliage was added, this is a mix of materials, mainly chinese-ebay flocking.


------

I painted the name 'AMBOY' onto the hull with a small brush.
First I made a print with the right size, the top font is made in a text editor, the lower font is a picture from the tank itself.
I used it as a real-size reference while painting.


The rubber-band track problem was partly fixed by seeping in some glue behind the suspension parts, the track is very stiff, so I gently clammed the hole tank to my spray booth for about 24h...


------

The bottom plate was made from MDF board, an elips was printed on paper and cut out...


Then I used a jig saw and a small router to finish the plate.


Sandpaper was used for the asphalt, the small hole is for the tree trunk.


The sandpaper was glued with wood glue and clammed up.


black primer


The edge is masked with Tamiya tape


More masking and some grey tones were added with the airbrush.


A little bit of weathering, then added some construction glue to glue the stone base to the asphalt.


-------

At the moment this is the result,
some smaller detail might be added later (fallen leaves, small weathering...)


Thanks for reading!
Kind regards
Steven
j76lr
Visit this Community
New Jersey, United States
Joined: September 22, 2006
KitMaker: 1,081 posts
Armorama: 1,066 posts
Posted: Friday, September 29, 2017 - 07:38 PM UTC
Great Job !! I like the nuts quote .
210cav
Visit this Community
Virginia, United States
Joined: February 05, 2002
KitMaker: 6,149 posts
Armorama: 4,573 posts
Posted: Friday, September 29, 2017 - 10:01 PM UTC
Steven-- fantastic workmanship!
Great job
DJ
ReconTL3-1
Visit this Community
Texas, United States
Joined: June 07, 2006
KitMaker: 726 posts
Armorama: 687 posts
Posted: Friday, September 29, 2017 - 11:56 PM UTC
Excellent concept and worksmanship, Steven.

Outstanding job!

Cheers,
James
babaoriley
Visit this Community
California, United States
Joined: June 23, 2017
KitMaker: 195 posts
Armorama: 179 posts
Posted: Saturday, September 30, 2017 - 12:48 AM UTC
I love this sort of build where someone is inspired by an actual vehicle, it brings real meaning to the work. Well done.
Steven000
Visit this Community
Antwerpen, Belgium
Joined: August 07, 2016
KitMaker: 191 posts
Armorama: 120 posts
Posted: Saturday, September 30, 2017 - 02:16 PM UTC
Lou, DJ, James and Doug, thank you guys for the kind replies!

They all died in there, so I hope it does some justice to the real tank...

Kind regards
Steven
Spartak
Visit this Community
Croatia Hrvatska
Joined: May 26, 2013
KitMaker: 130 posts
Armorama: 108 posts
Posted: Saturday, September 30, 2017 - 07:11 PM UTC
Original idea, nice work, excellent result.
strongarden
Visit this Community
Florida, United States
Joined: May 14, 2012
KitMaker: 730 posts
Armorama: 624 posts
Posted: Saturday, September 30, 2017 - 10:28 PM UTC
Steven,
I also love dios based on actual vehicles and/or events etc. Great research, rendition and presentation, well done my friend. Really nice job on the Memorial Plaque.
I actually have that same Italeri M4 A1 loafing in the stash somewhere, albeit w/ the Testors boxing. I'm now inclined to bring it out and up to snuff bc of your beautiful example.
Lastly, I appreciate your efforts to share the in-progress steps regardless of their simplicity or mundane nature.
I'll be using the twisted tree technique for sure.

Cheers
Dave
Steven000
Visit this Community
Antwerpen, Belgium
Joined: August 07, 2016
KitMaker: 191 posts
Armorama: 120 posts
Posted: Sunday, October 01, 2017 - 12:49 AM UTC
Thanks Val and Dave!

I'm glad I inspire you to get it out of the stash Dave, for its age it is still a very nice kit.

Kind regards
Steven
 _GOTOTOP