Digging into the packed box, which is absolutely stuffed, first impressions are a tad bit intimidating there is a LOT to this kit, and there are a lot of very small, delicate parts. Sorting things out we have the following:
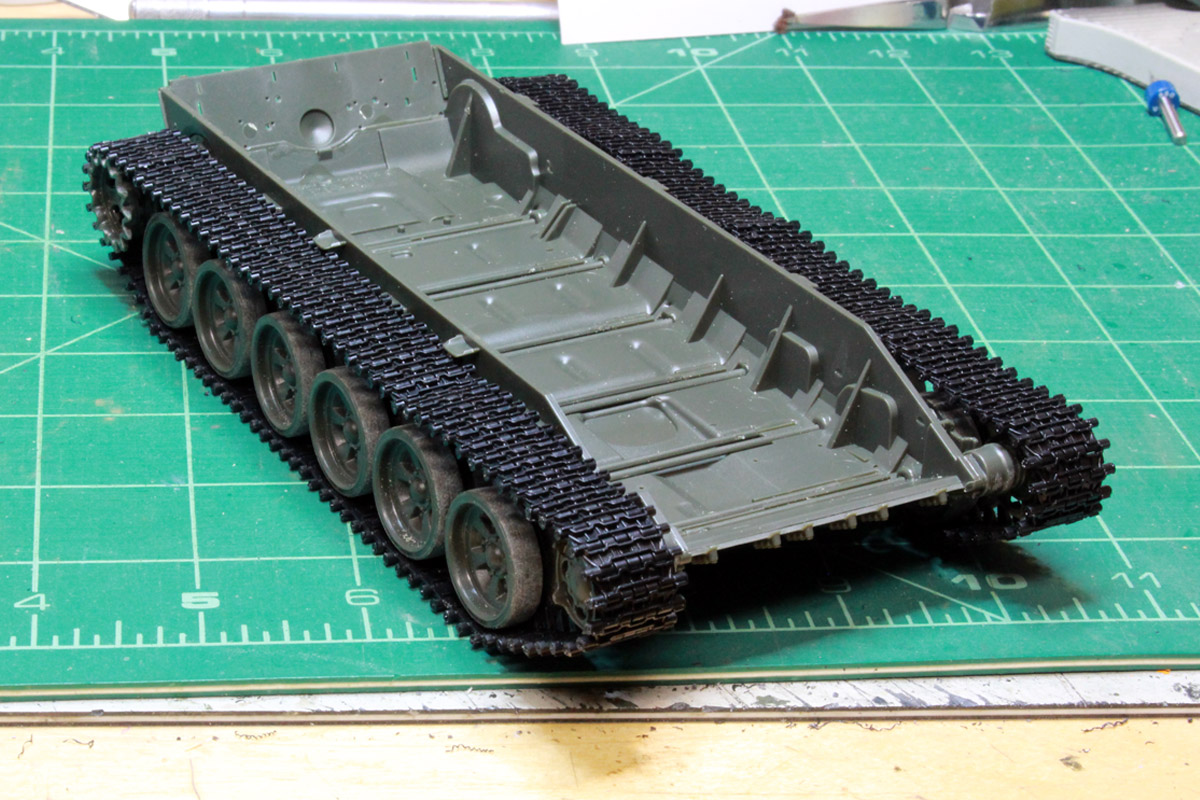
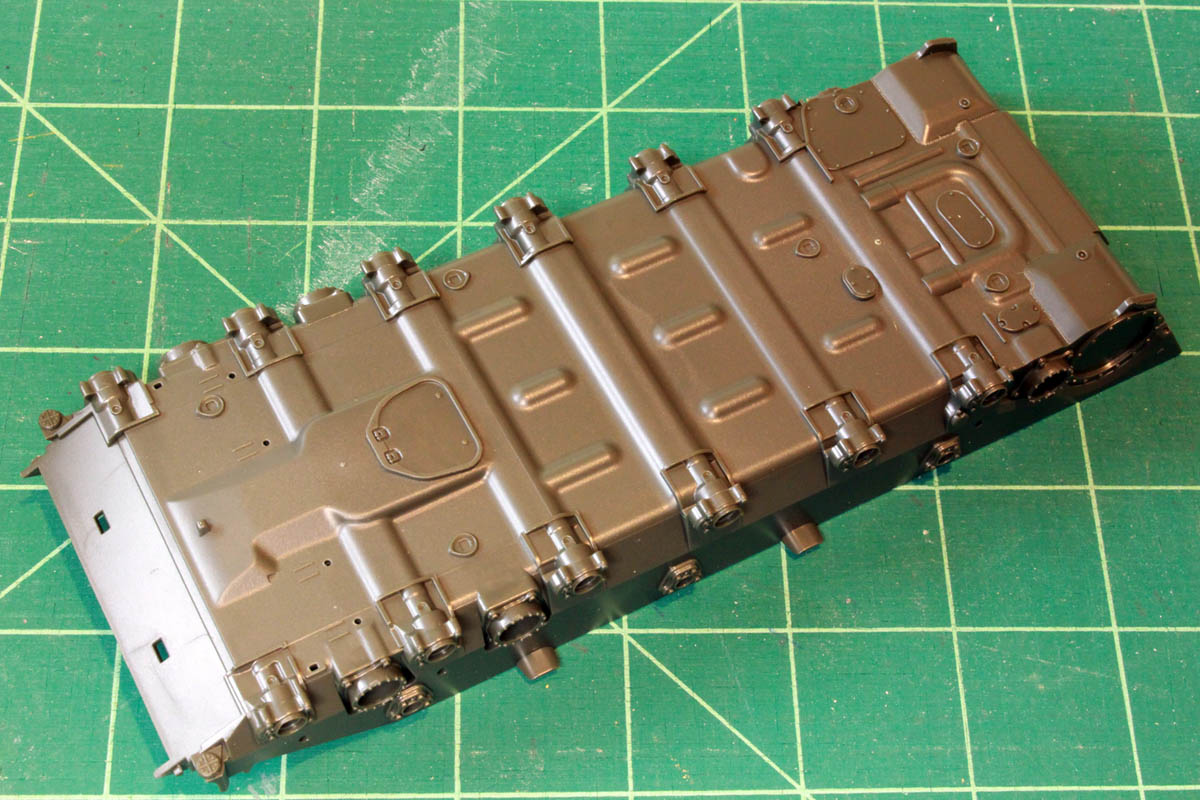
Upper and lower hull, molded in dark green plastic
Upper half of turret, molded in dark green plastic
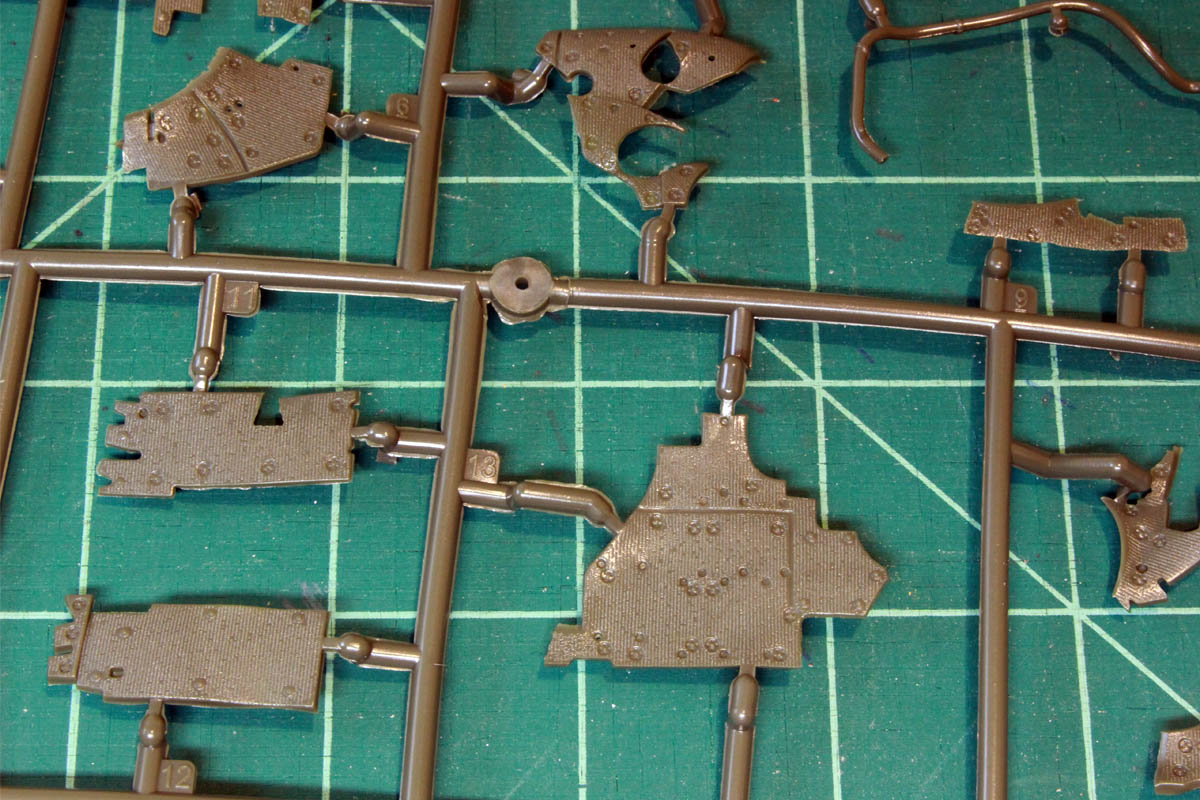
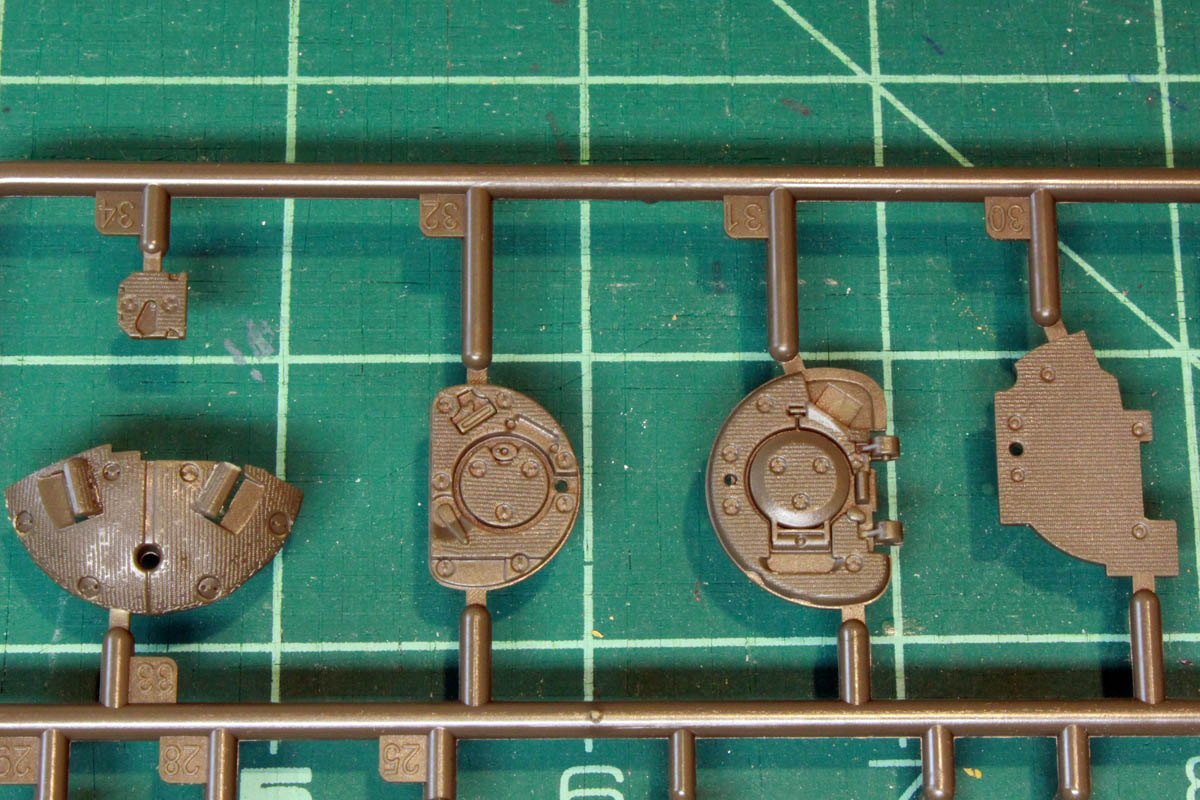
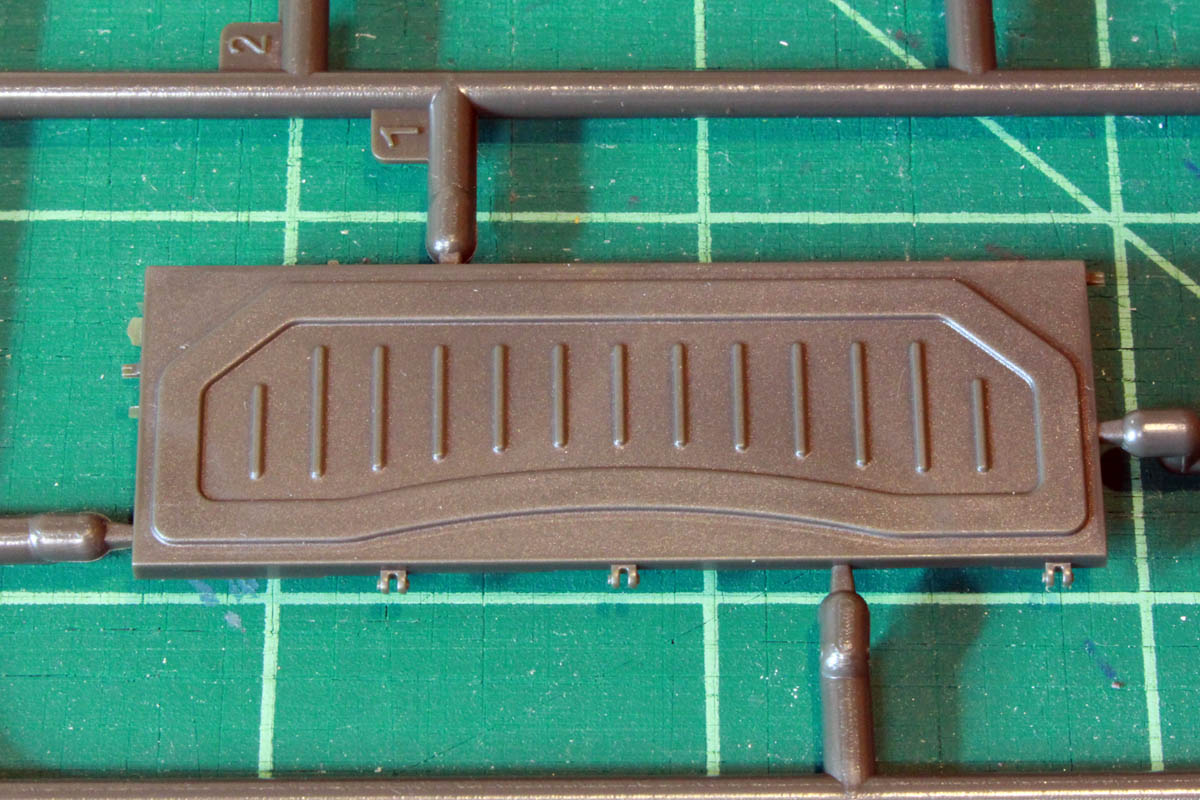
13 various parts sprues molded in dark green plastic
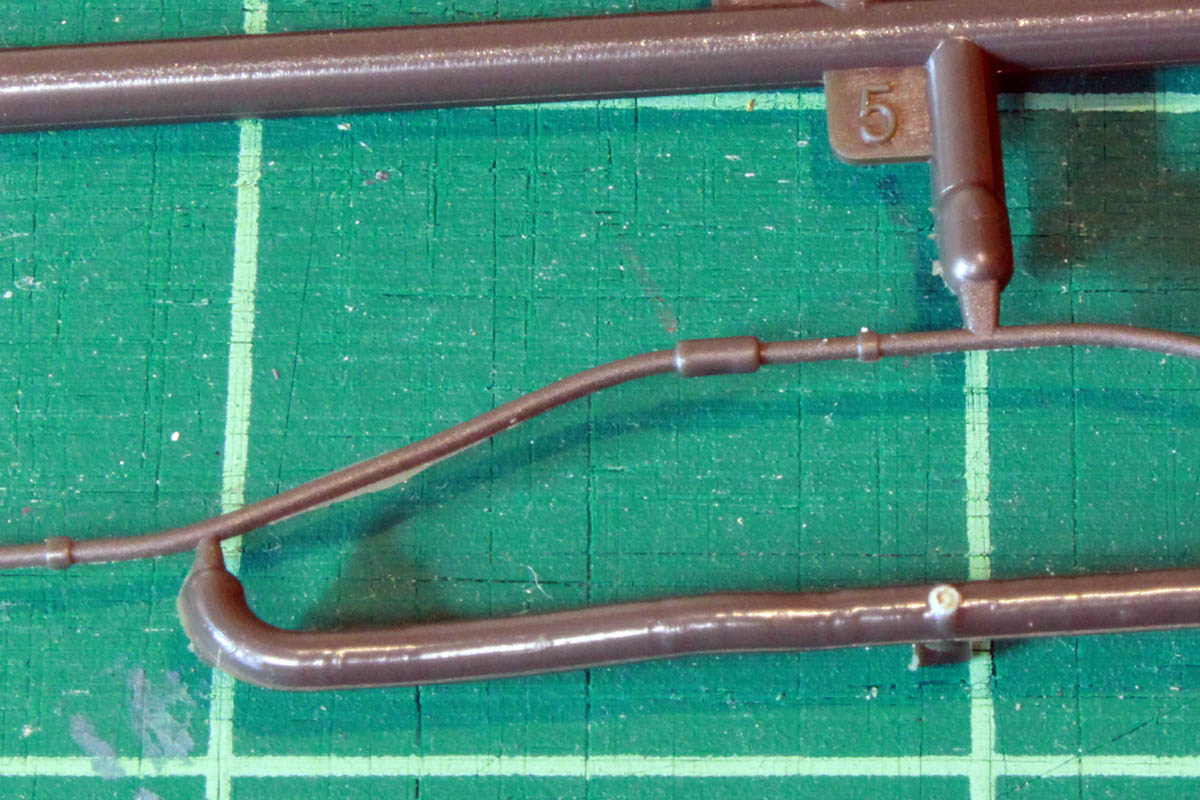
1 sprue of soft nylon for the anti-radiation panels for the turret
1 soft nylon gun mantlet
A sprue of soft poly caps for the road wheels, drive sprockets and idlers
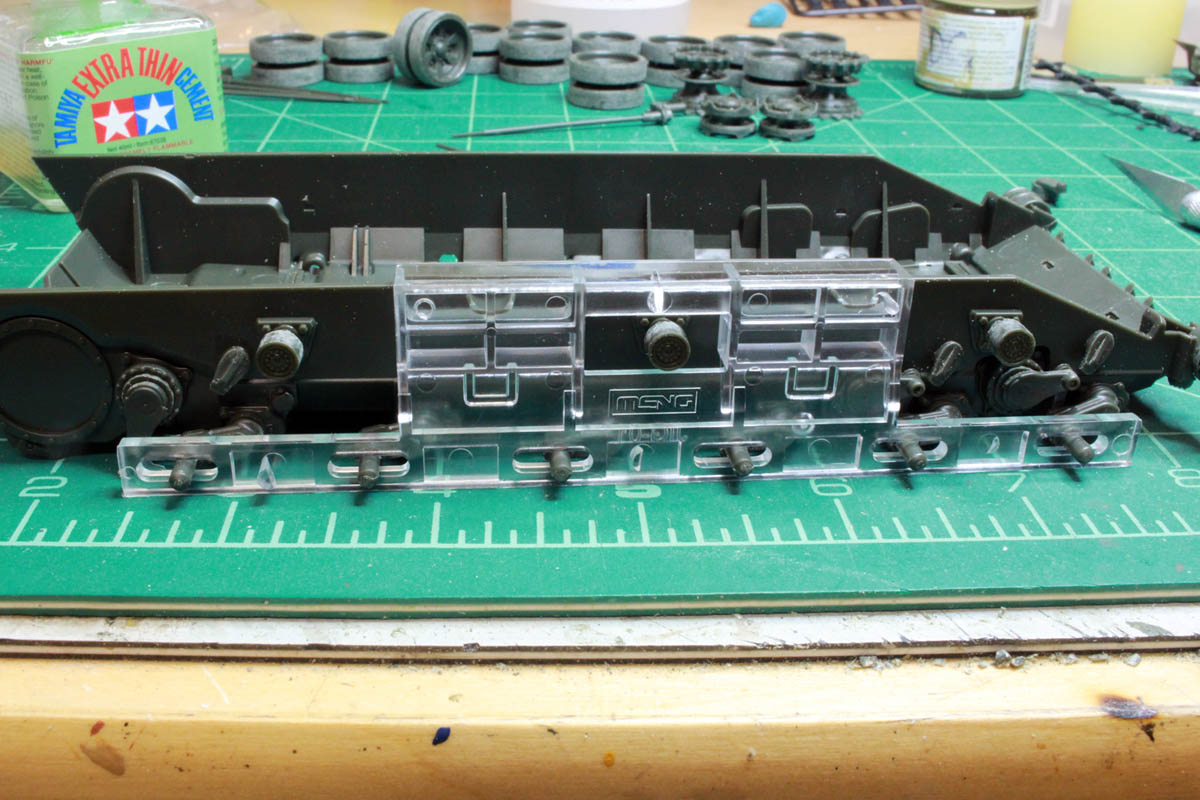
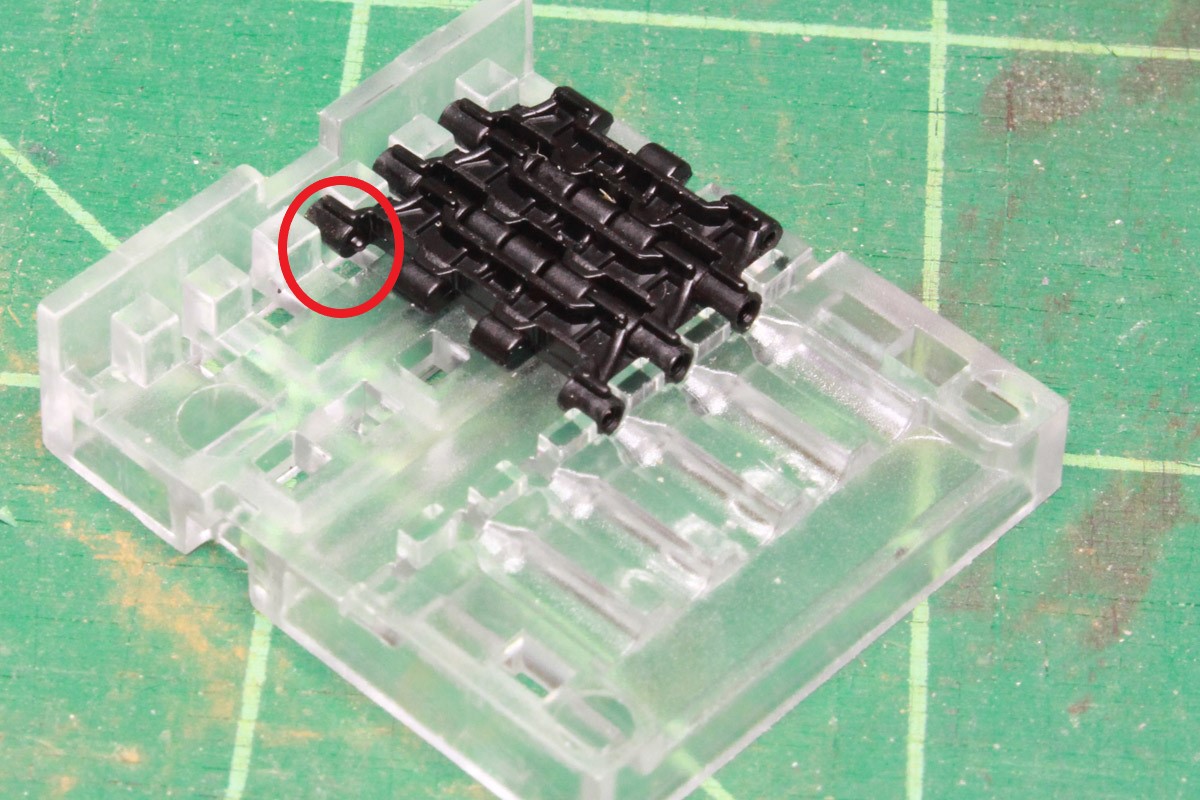
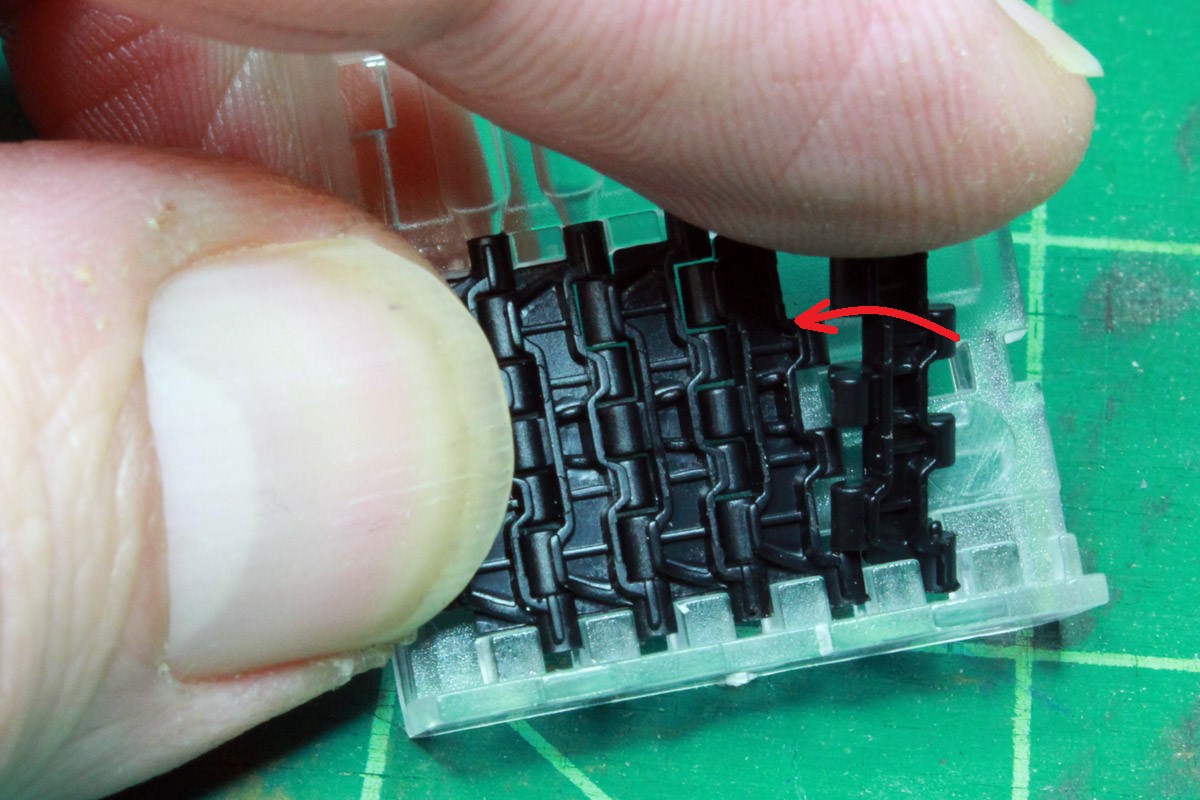
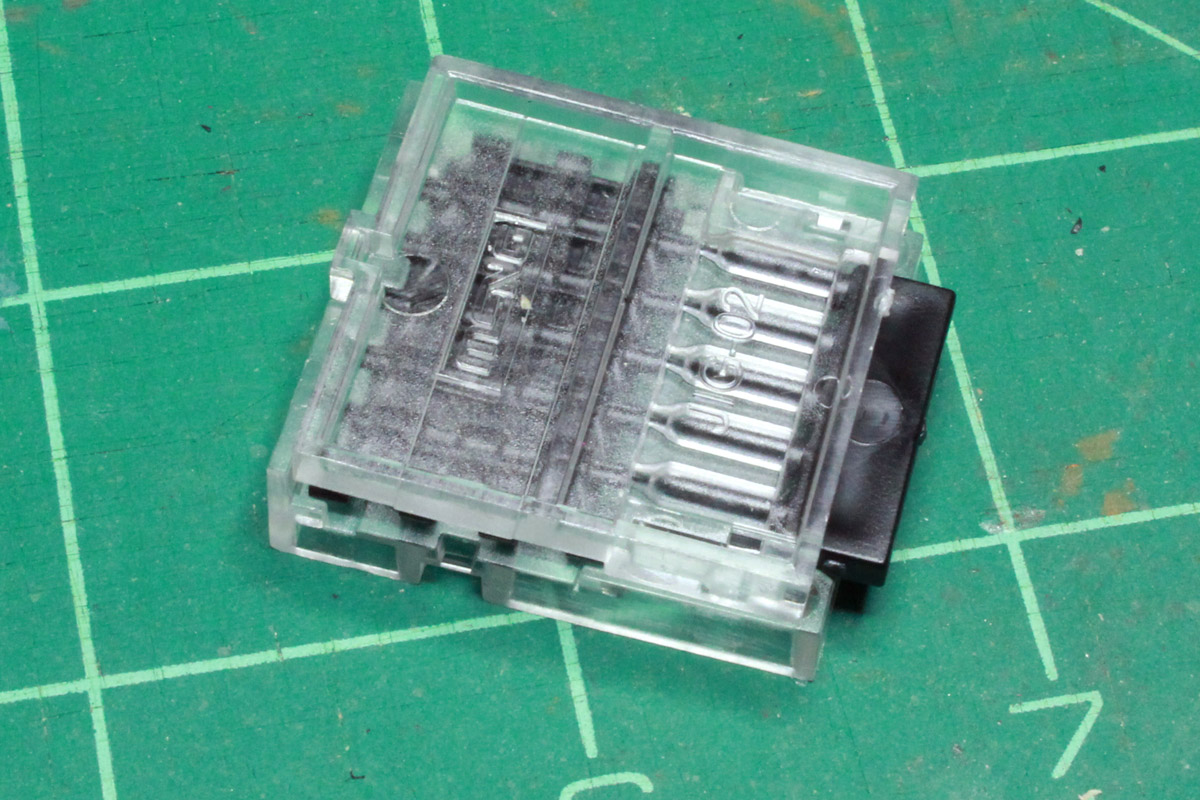
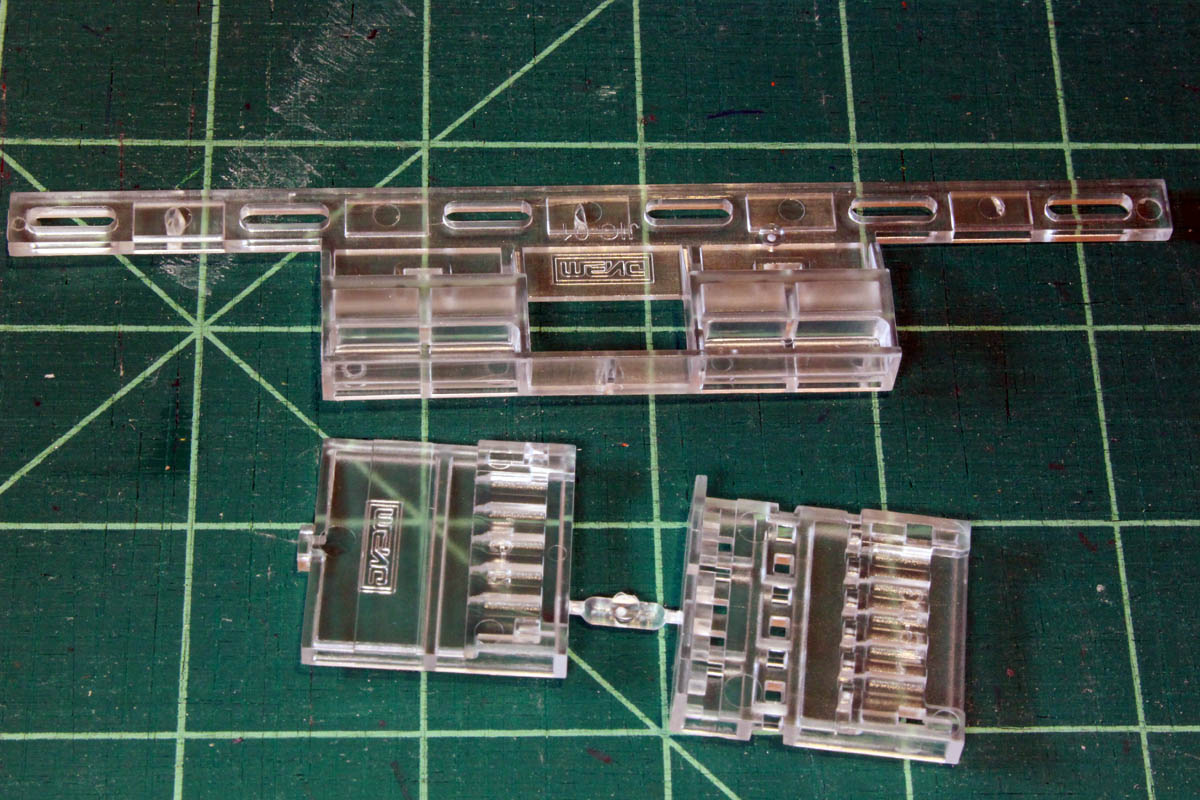
Suspension and track jigs in clear plastic
2 clear plastic sprues for vision blocks, headlights and IR emitters
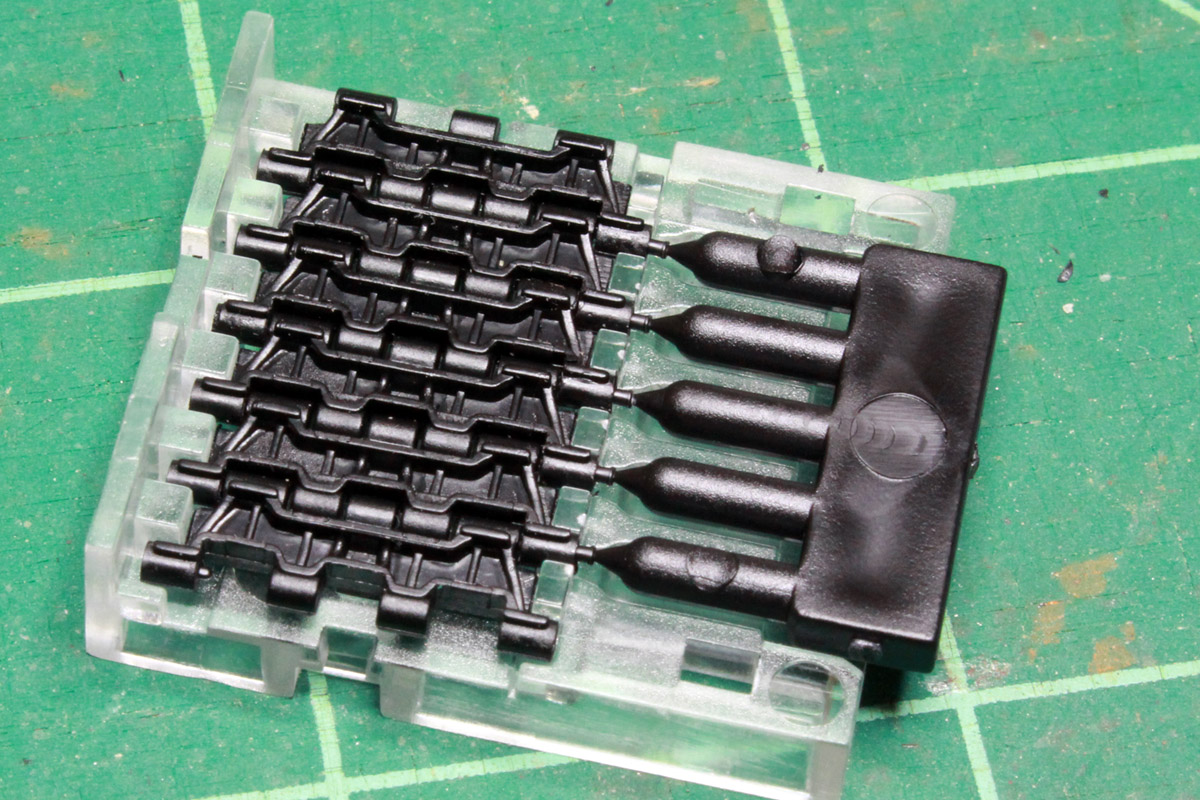
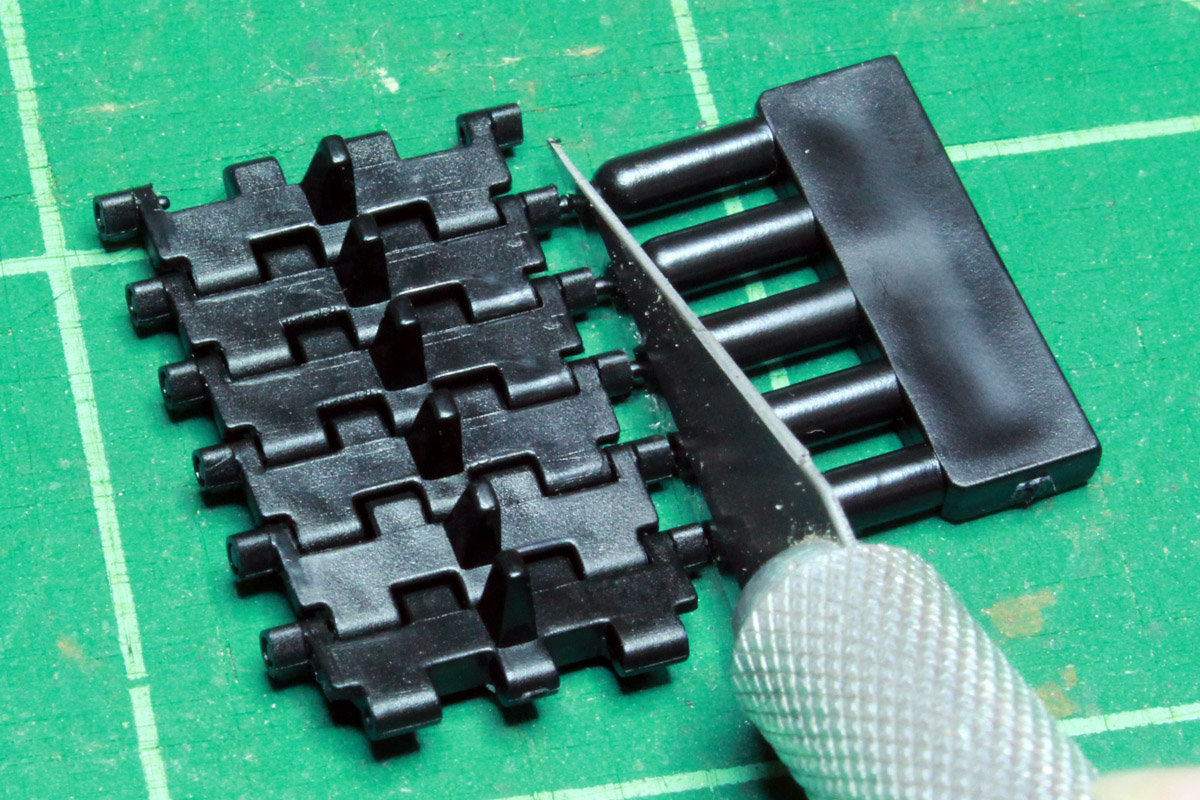
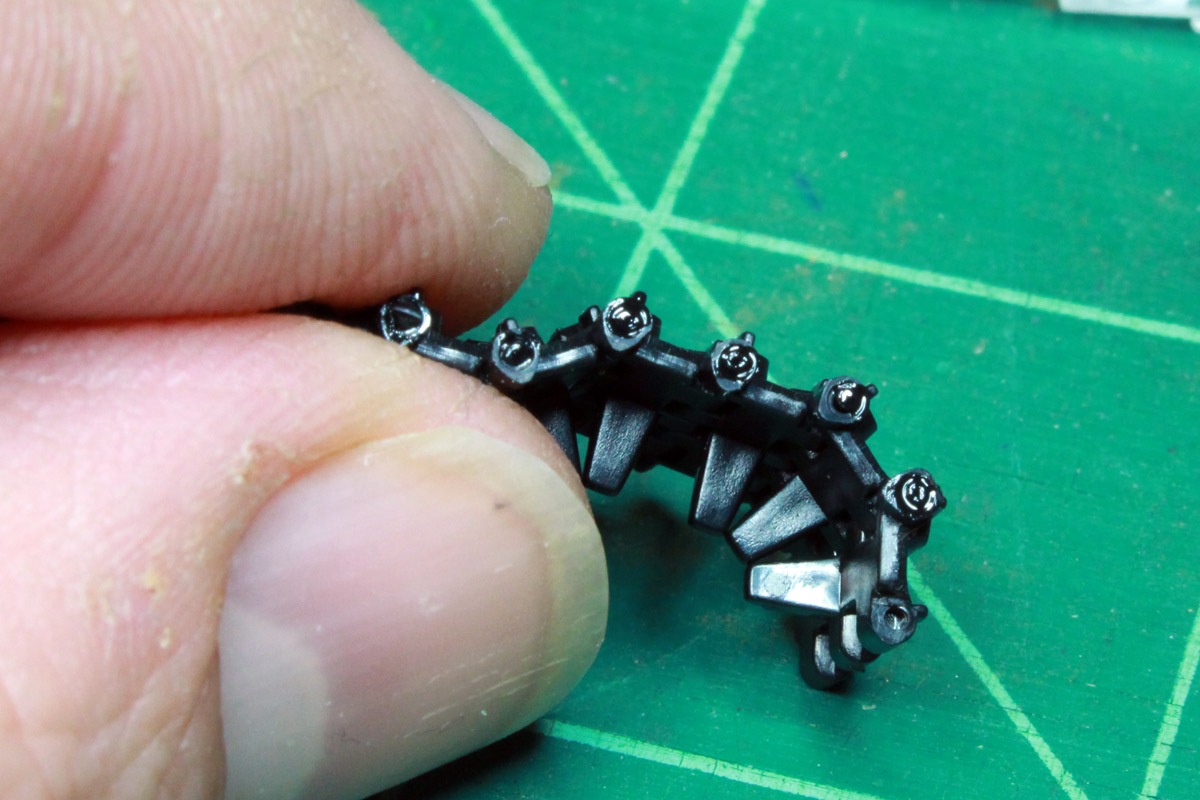
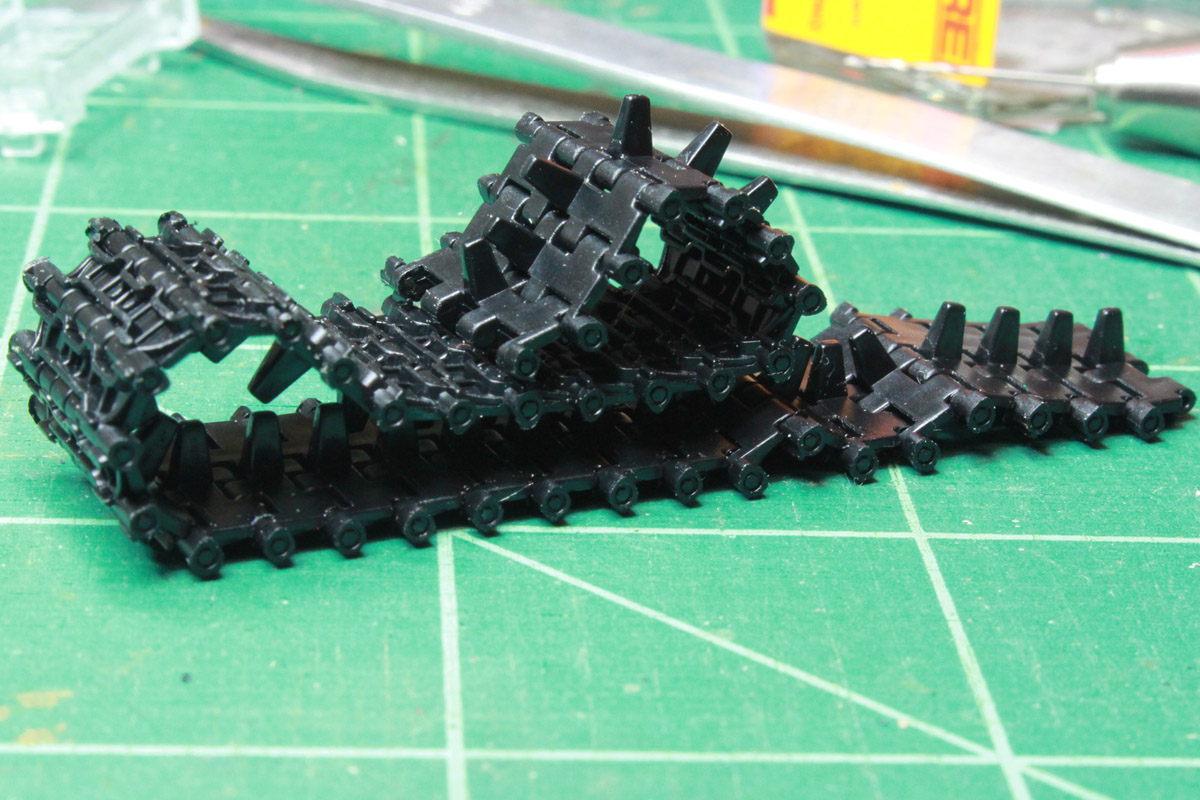
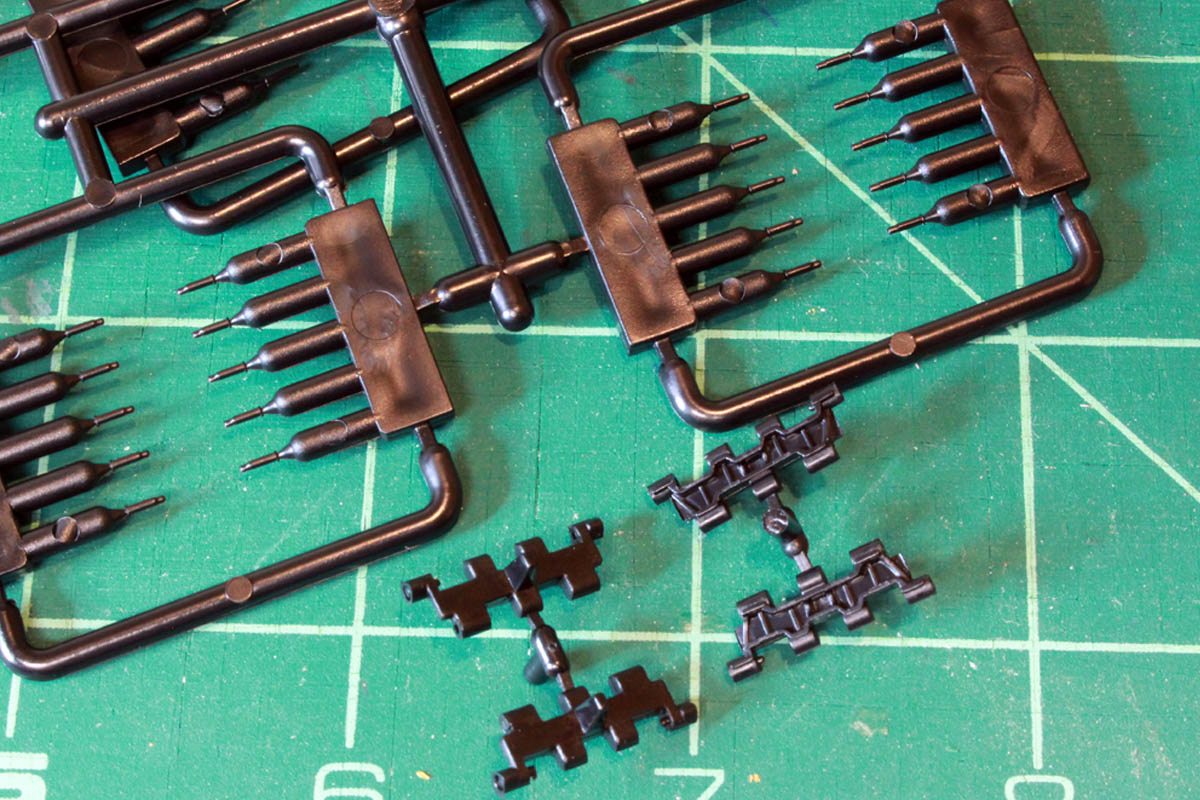
One bag of 200 track links
20 small sprues of track pins
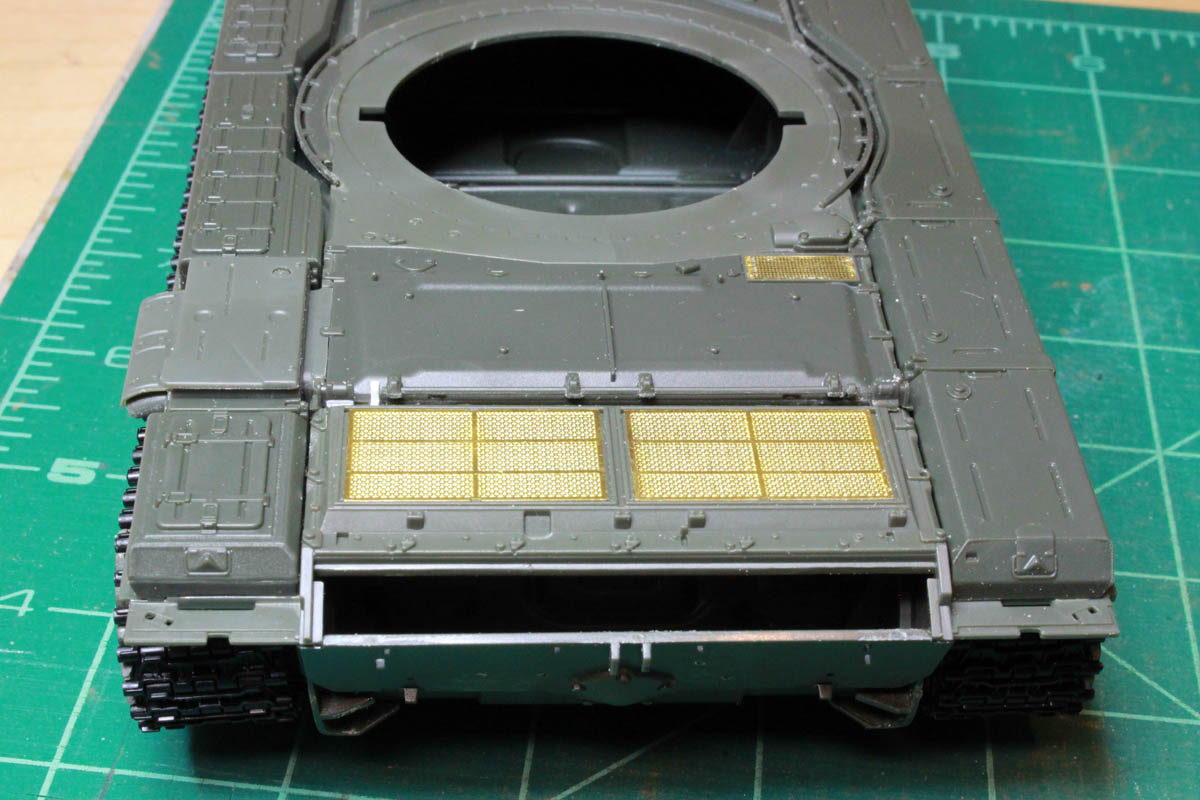
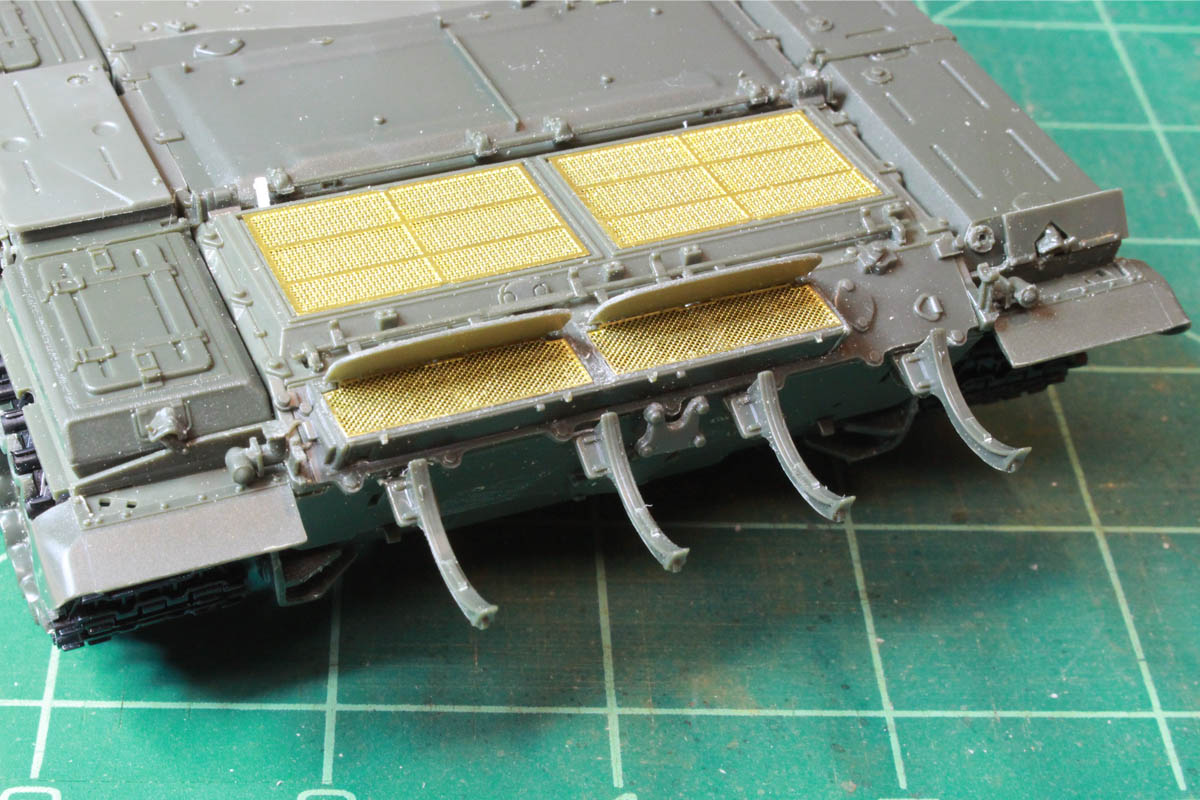
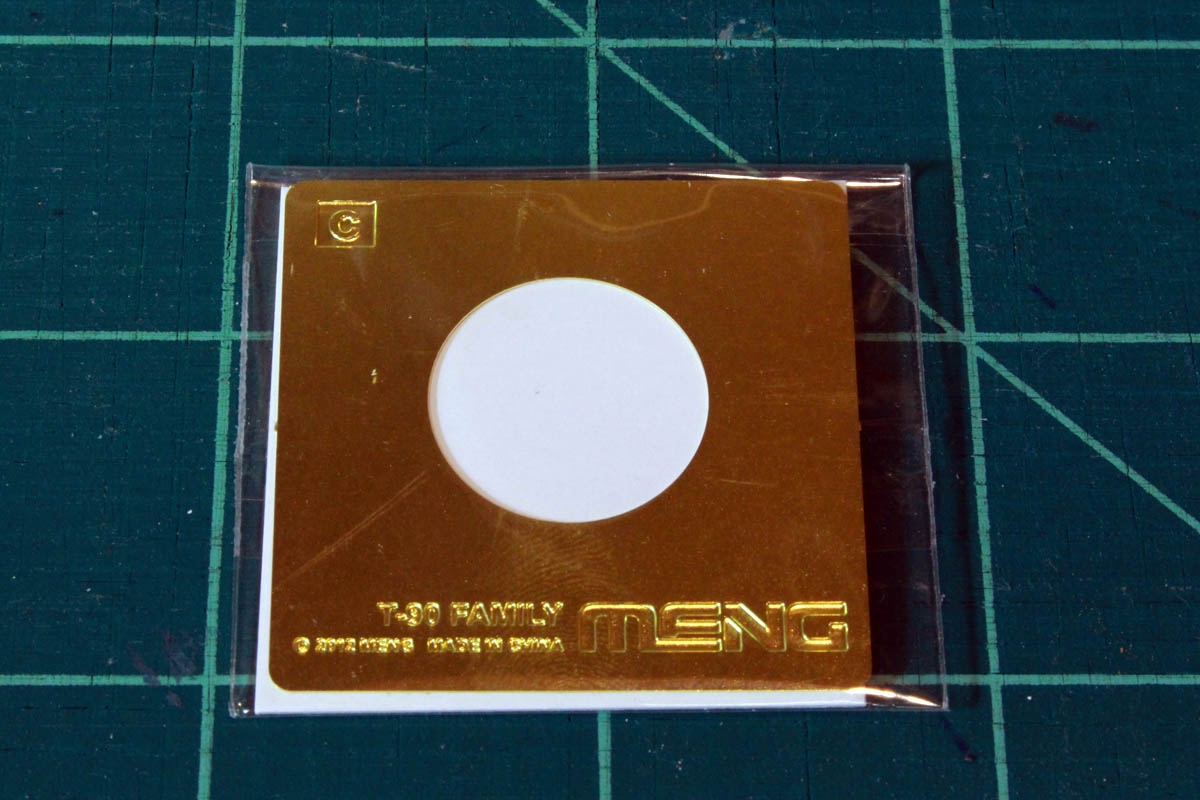
1 sheet of photo-etch
String for the tow cables (looks a bit fuzzy, Ill make my own)
1 wheel painting template
1 small box containing the electronics and wire for the IR dazzler lights
1 decal sheet
You will need to supply your own battery, it is a standard 3 volt watch battery, model CR2032.
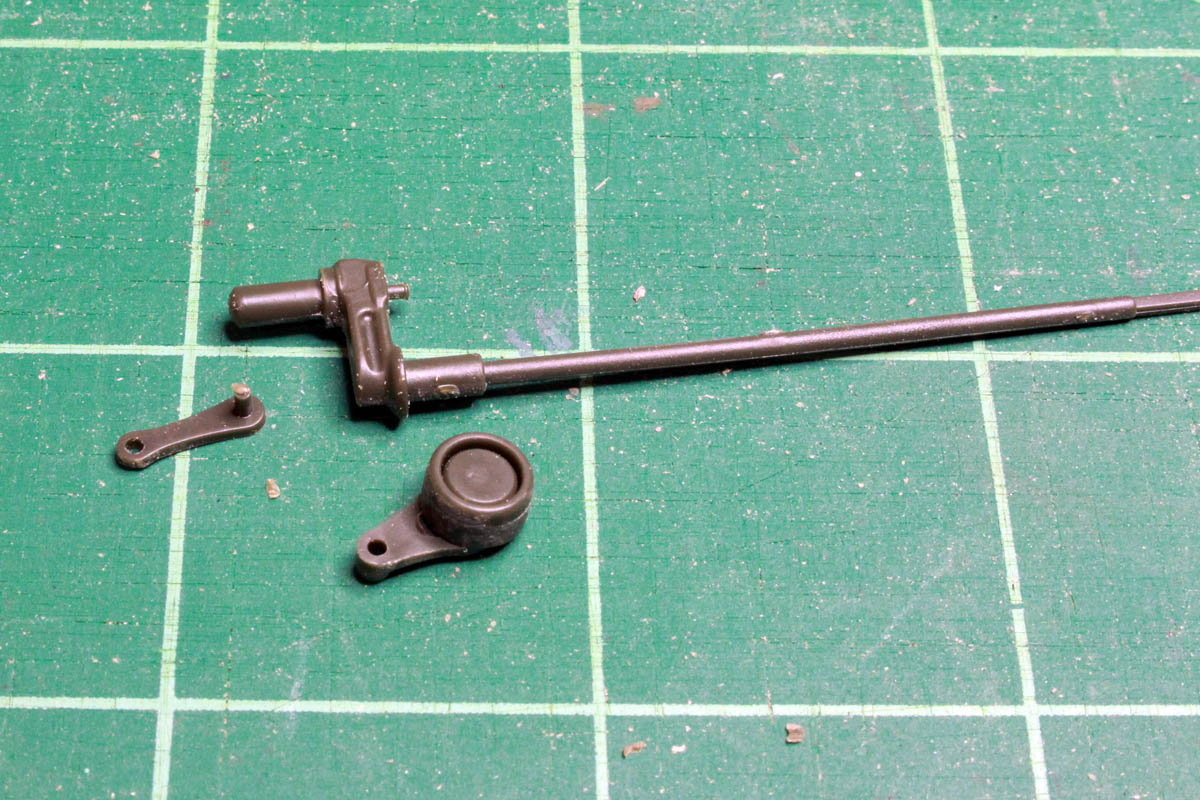
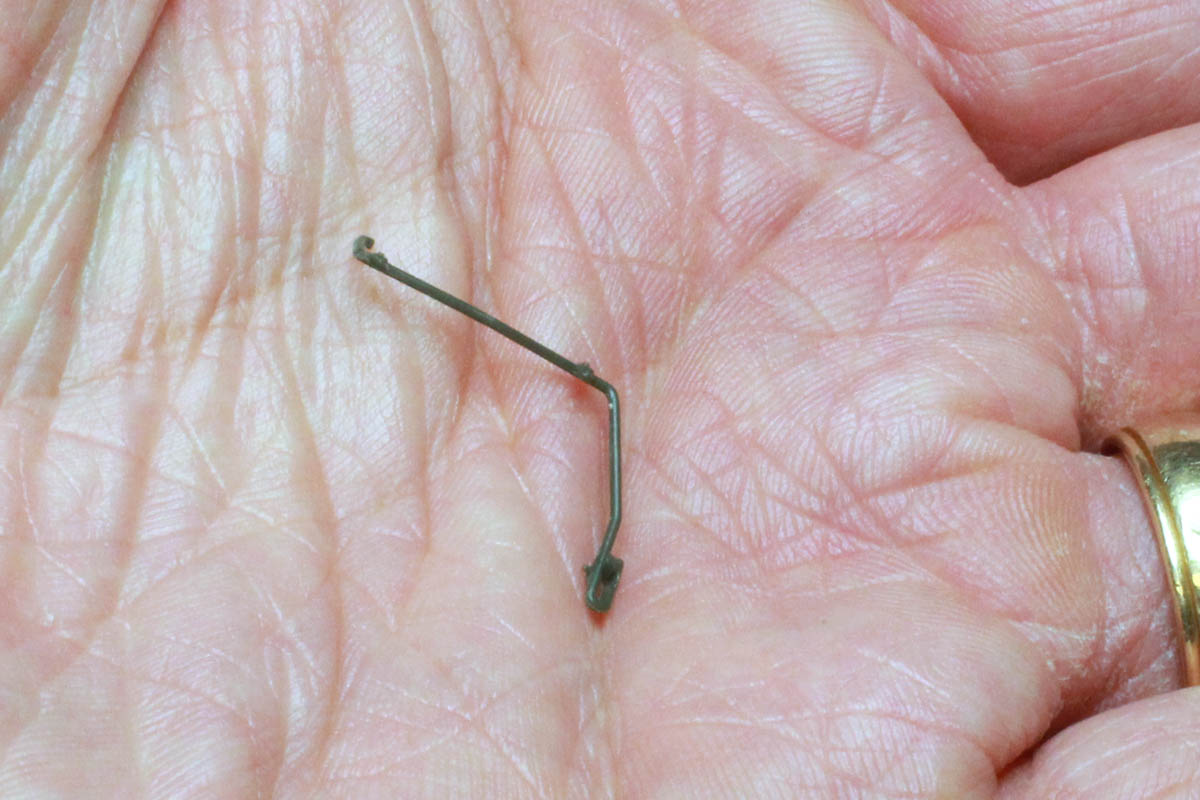
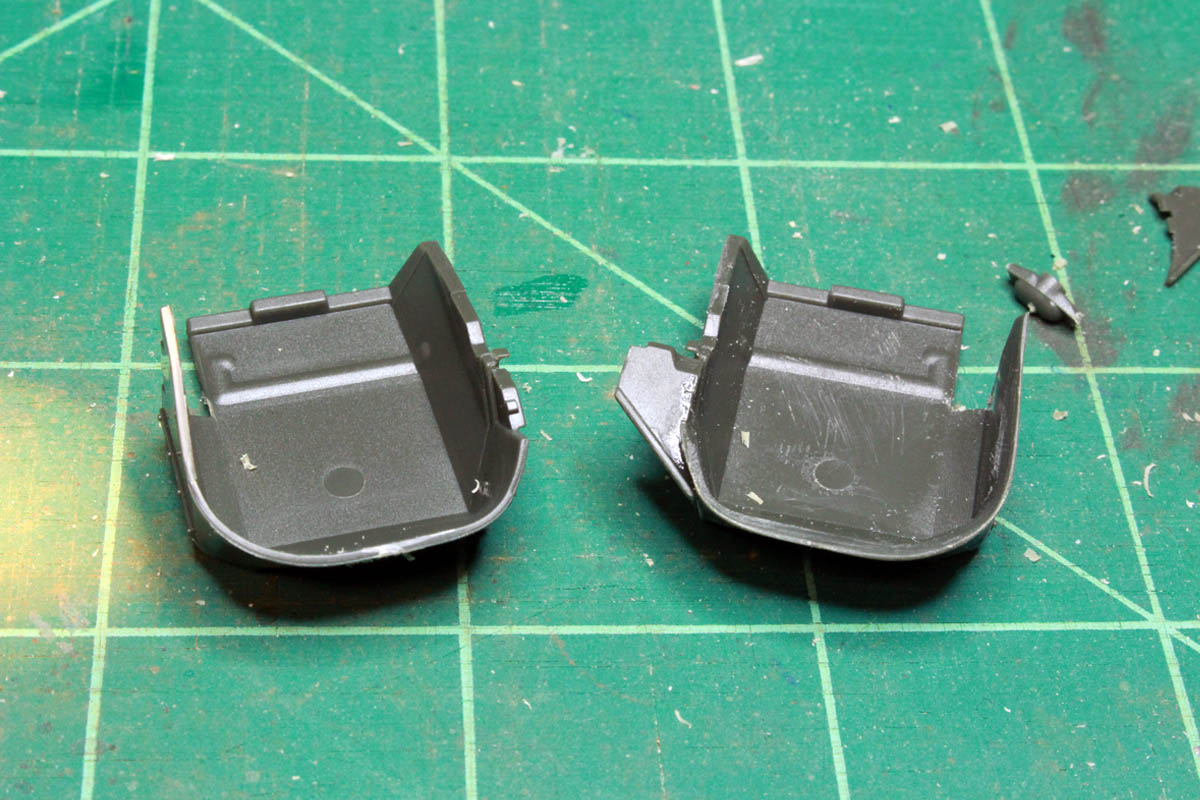
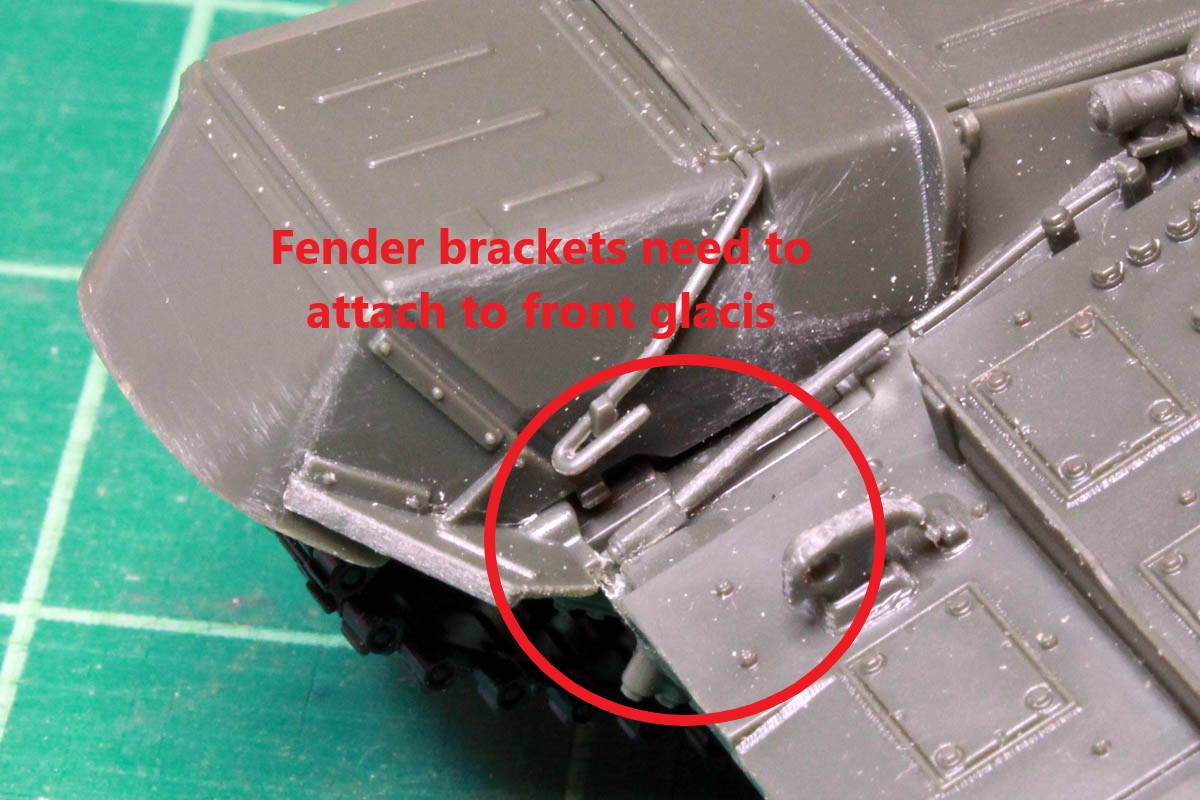
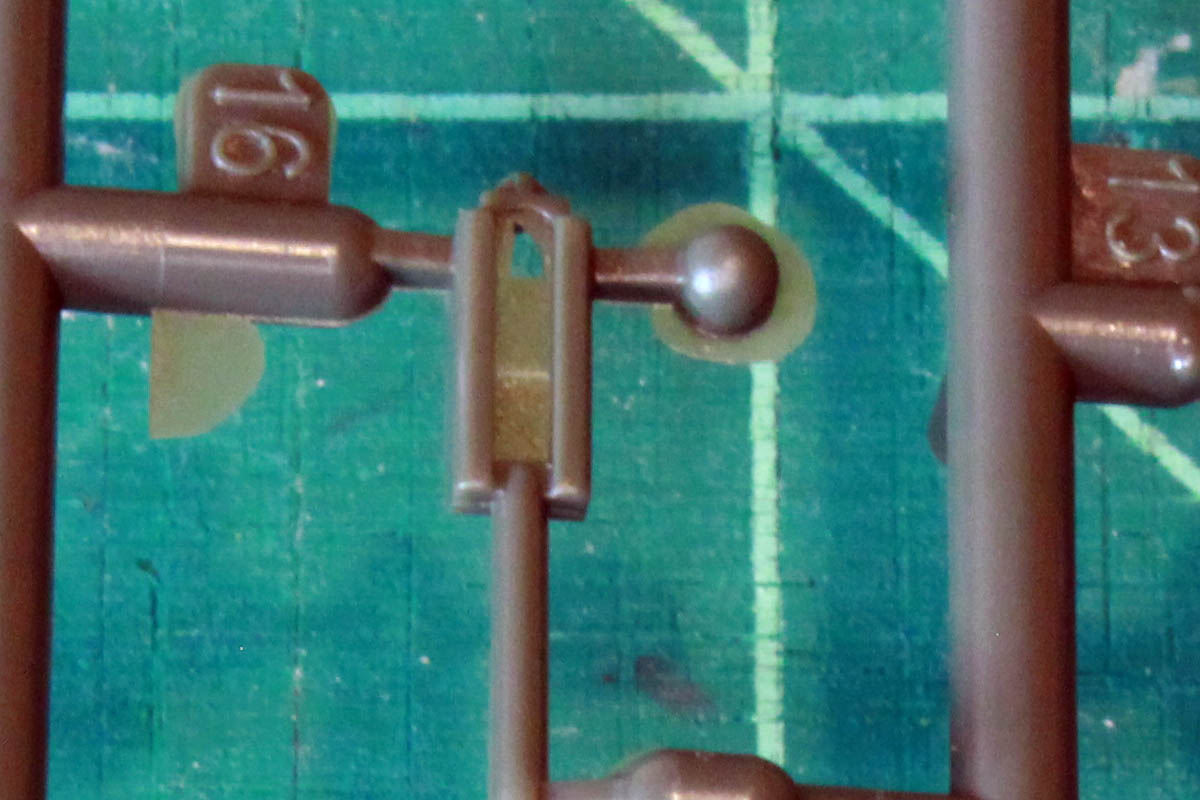
While everything was packaged up well, and every sprue was separate except where there were identical sprues, there were a few damaged parts. On the lower hull tube one of the molded on fender supports was broken and needed to be glued back on, and the delicate locating pins on several of the road wheels were broken off. I can also see some stress marks on some of the many delicate pieces and will have to be very careful removing them from the sprues.
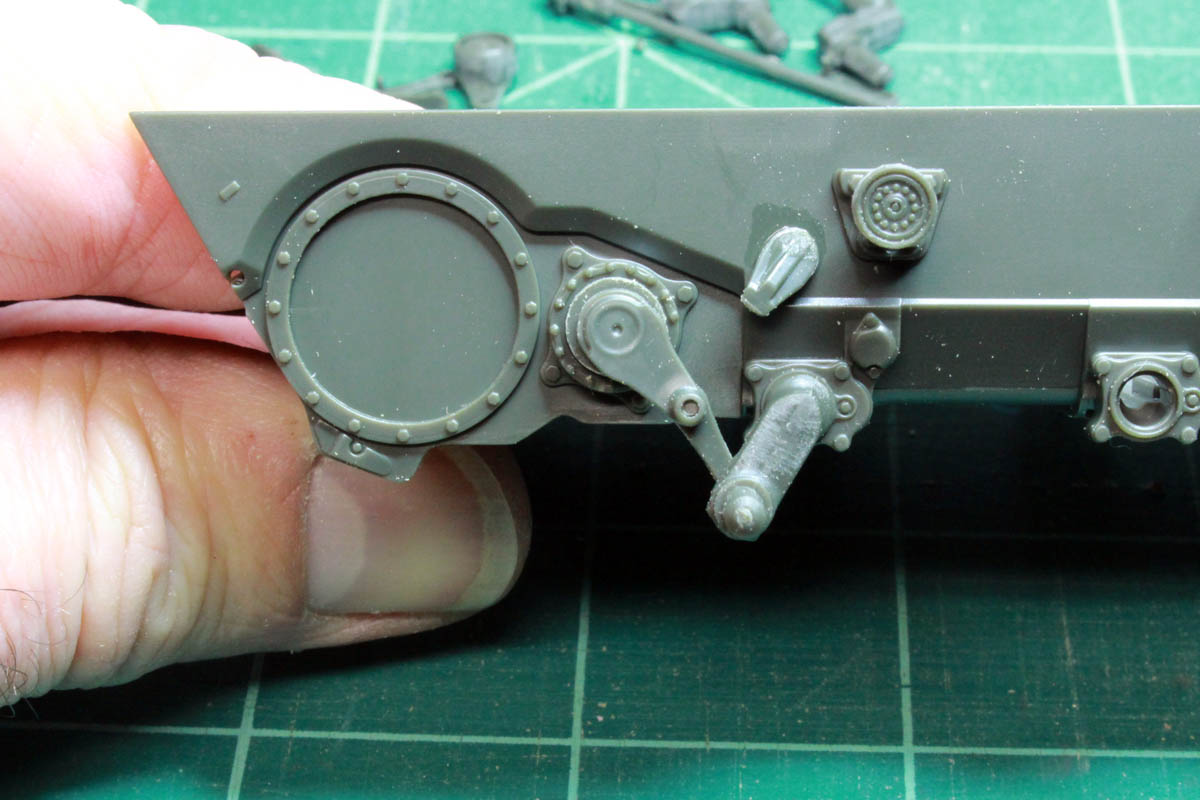
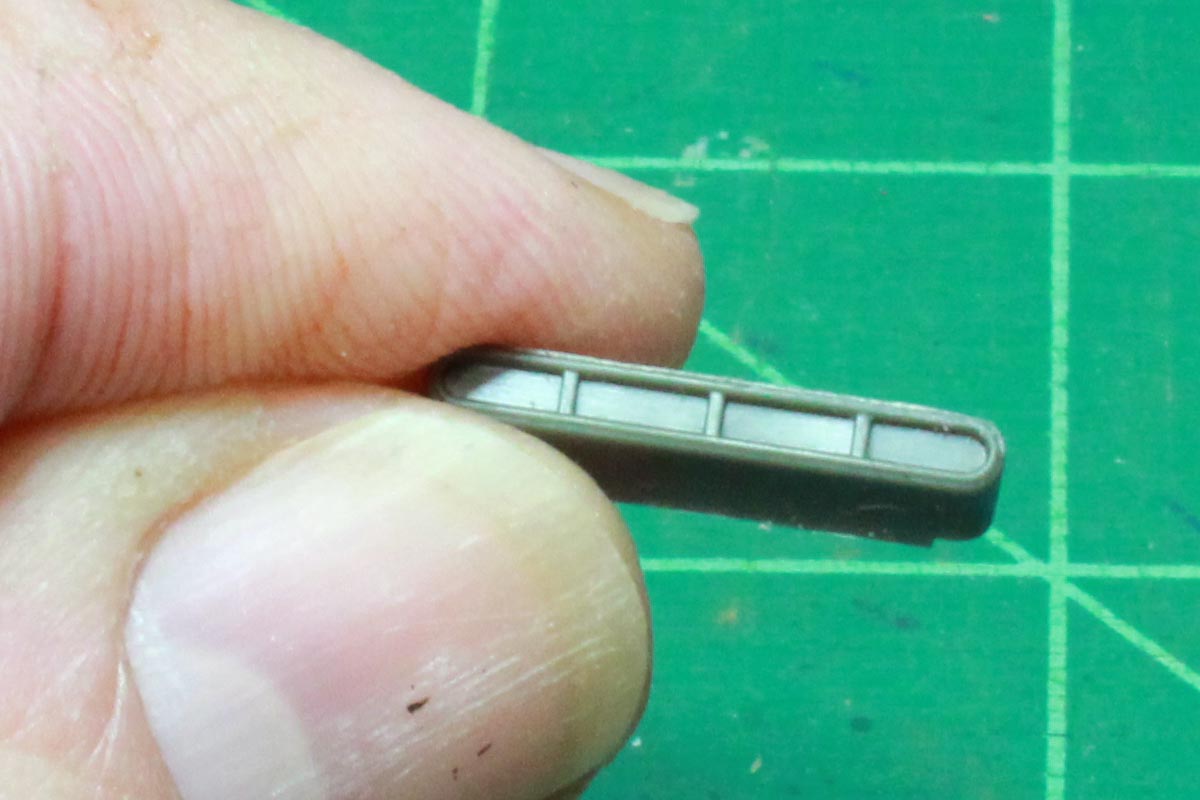
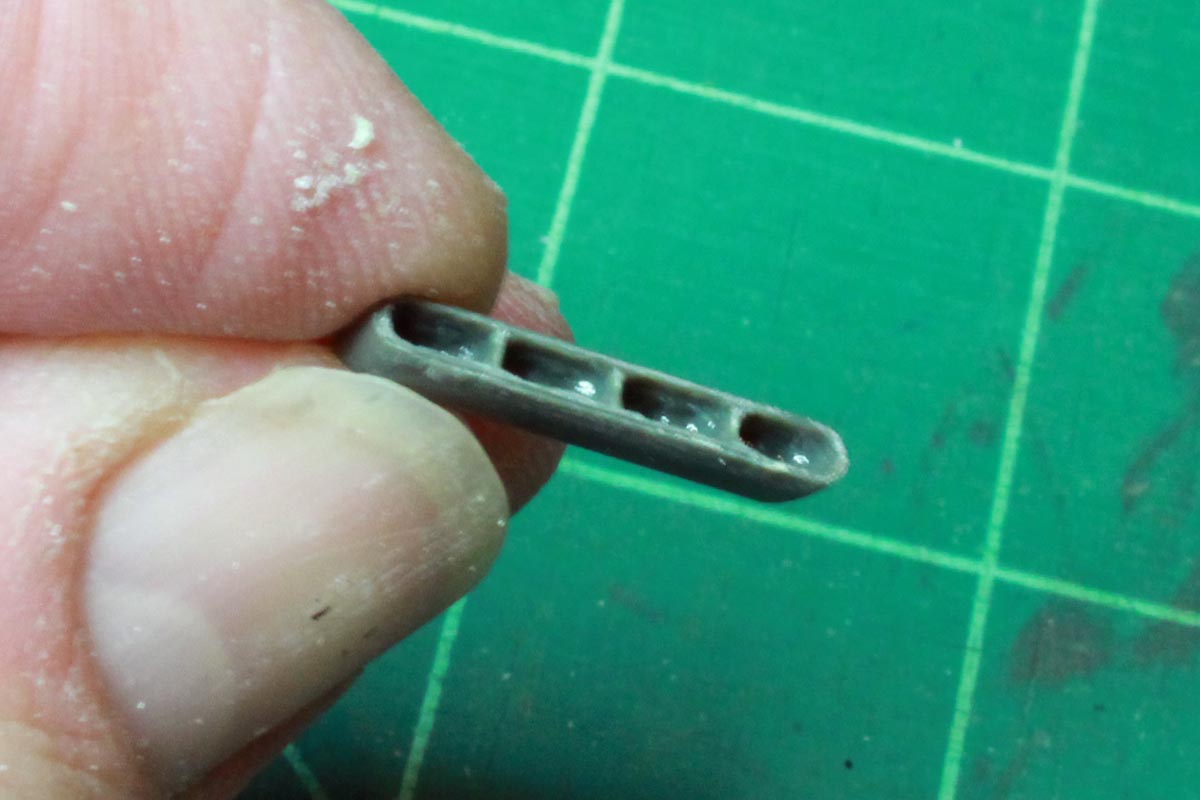
Detail on the nylon parts is impressive:
The PE wheel painting template is a nice touch:
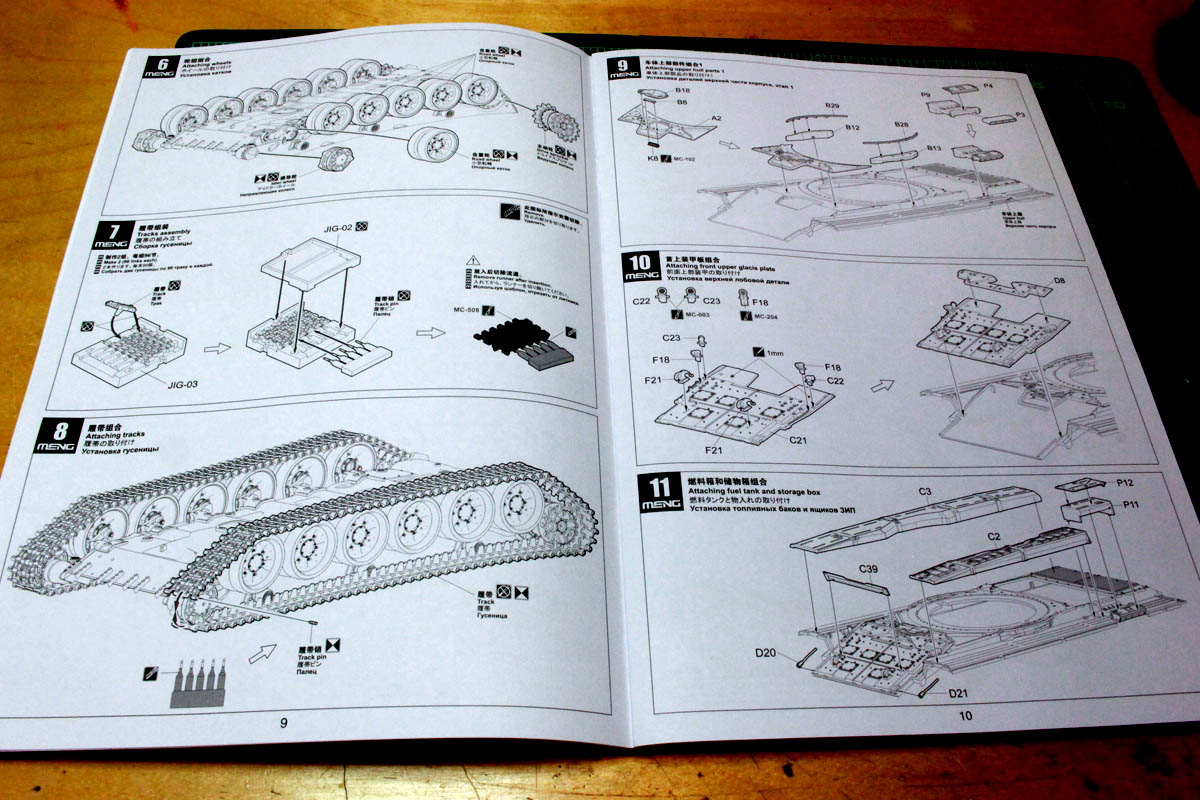
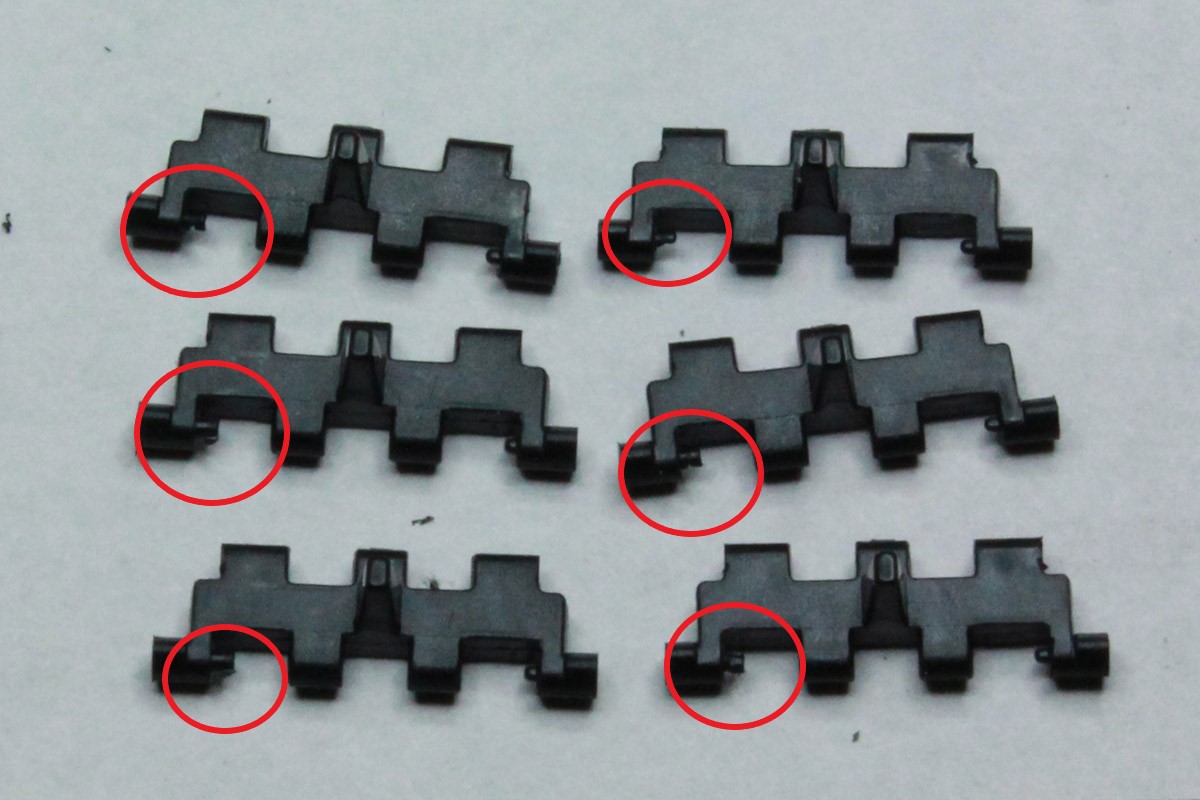
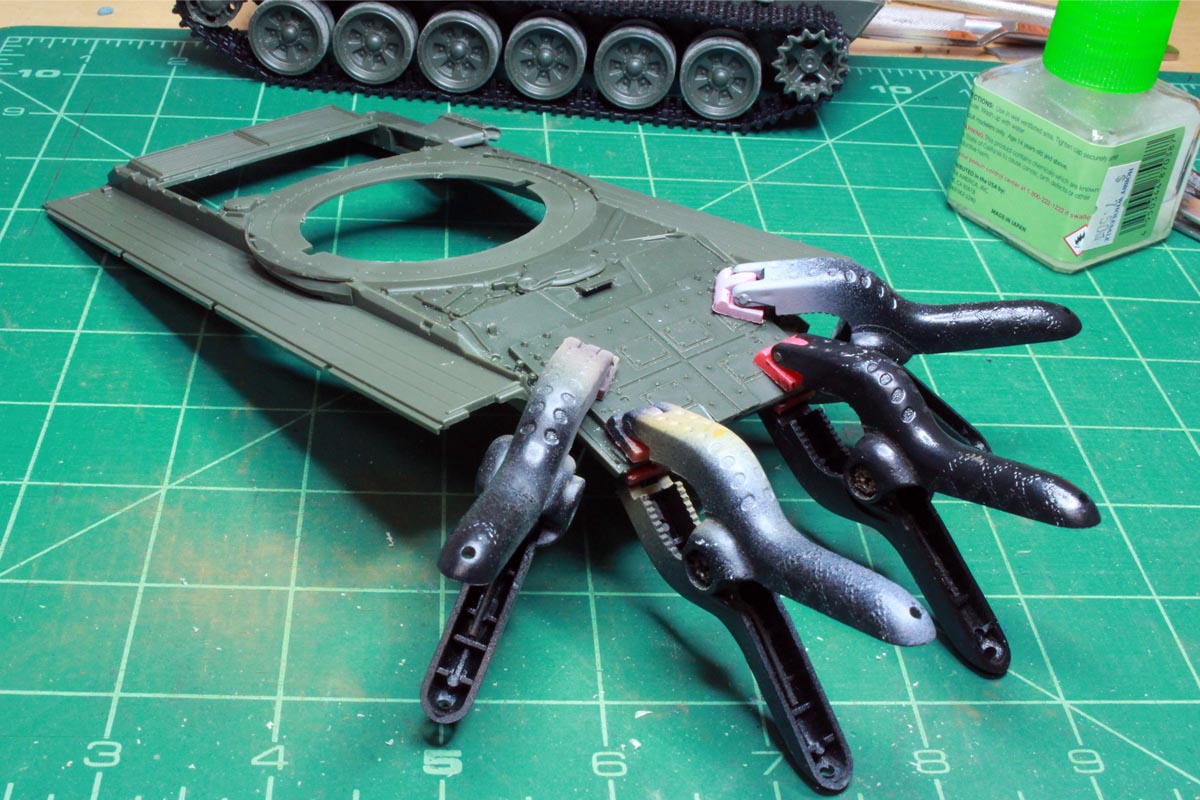
Track and suspension jigs:
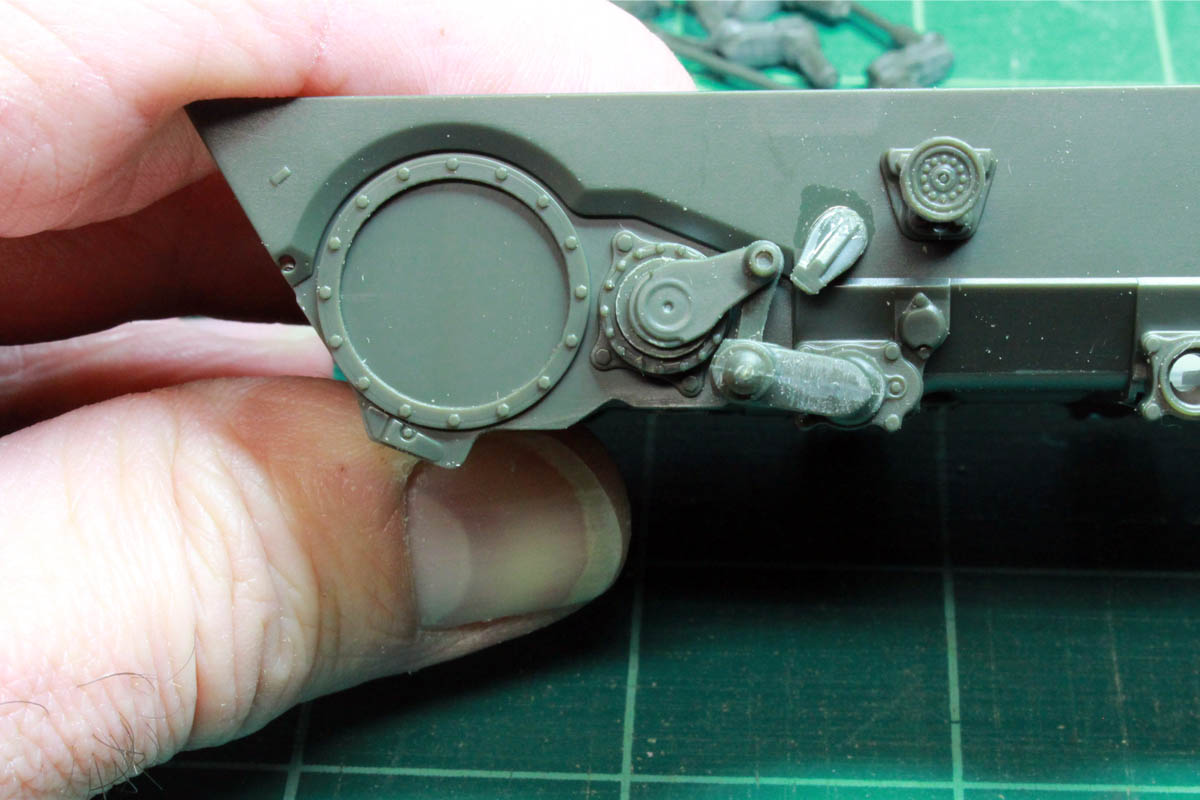
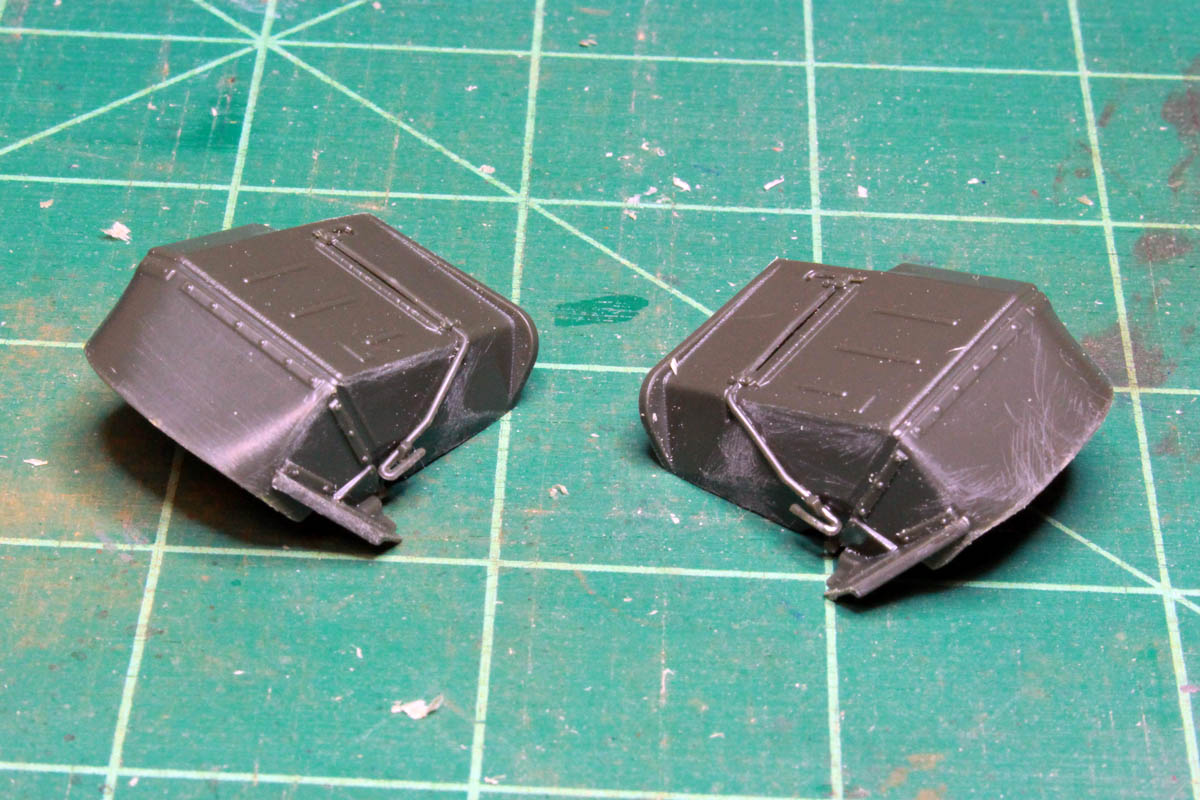
Overall, the detail present on the mouldings is very impressive, but I will have to be careful not to accidentally clean off the more delicate extrusions on some of the pieces as they are so small.
There is a bit more flash present than I had hoped so cleanup will be required, and some pieces have significant seams as well.
There are also a fair number of pour tabs that will have to be removed to ensure pieces fit together well.
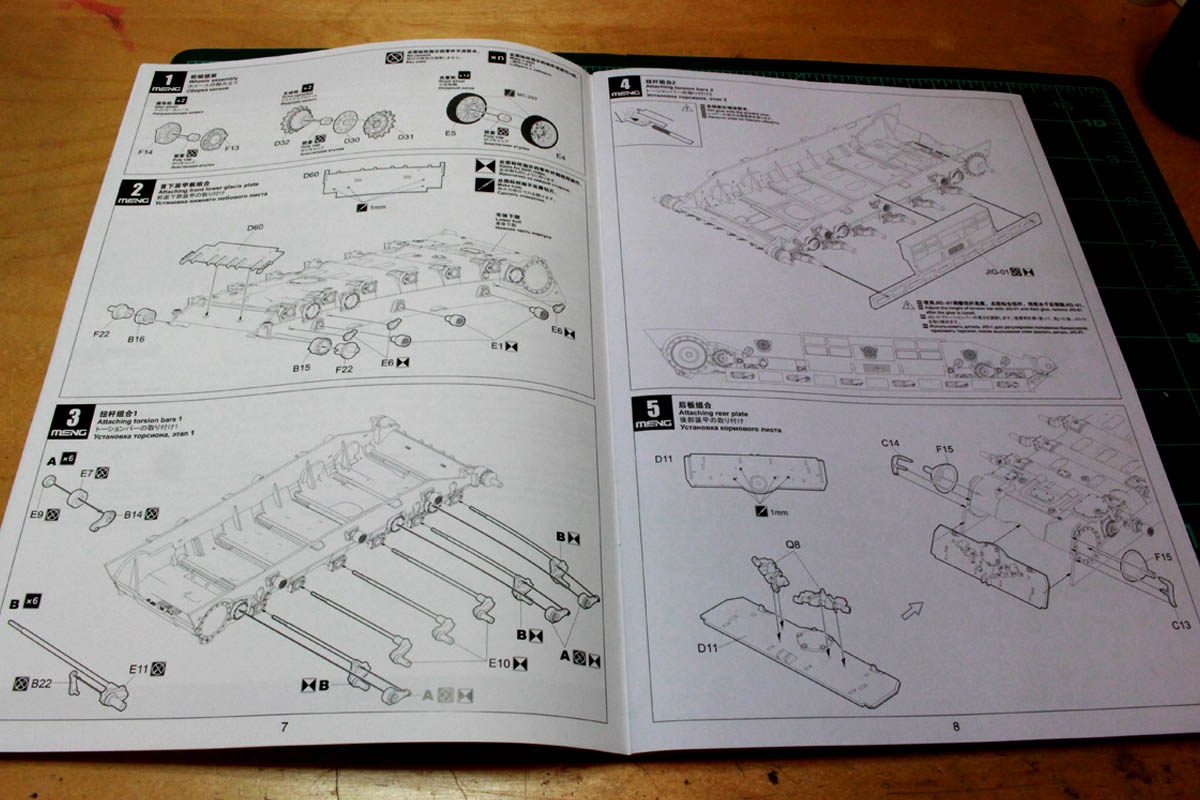
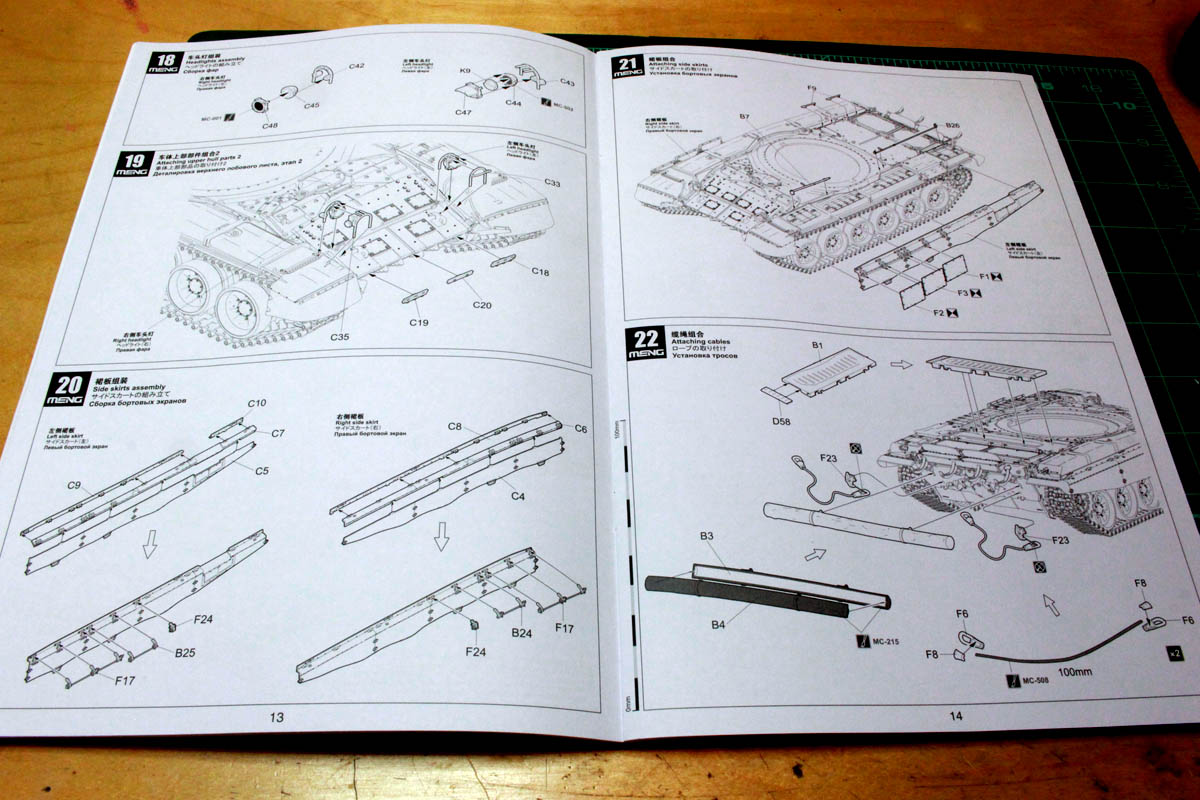
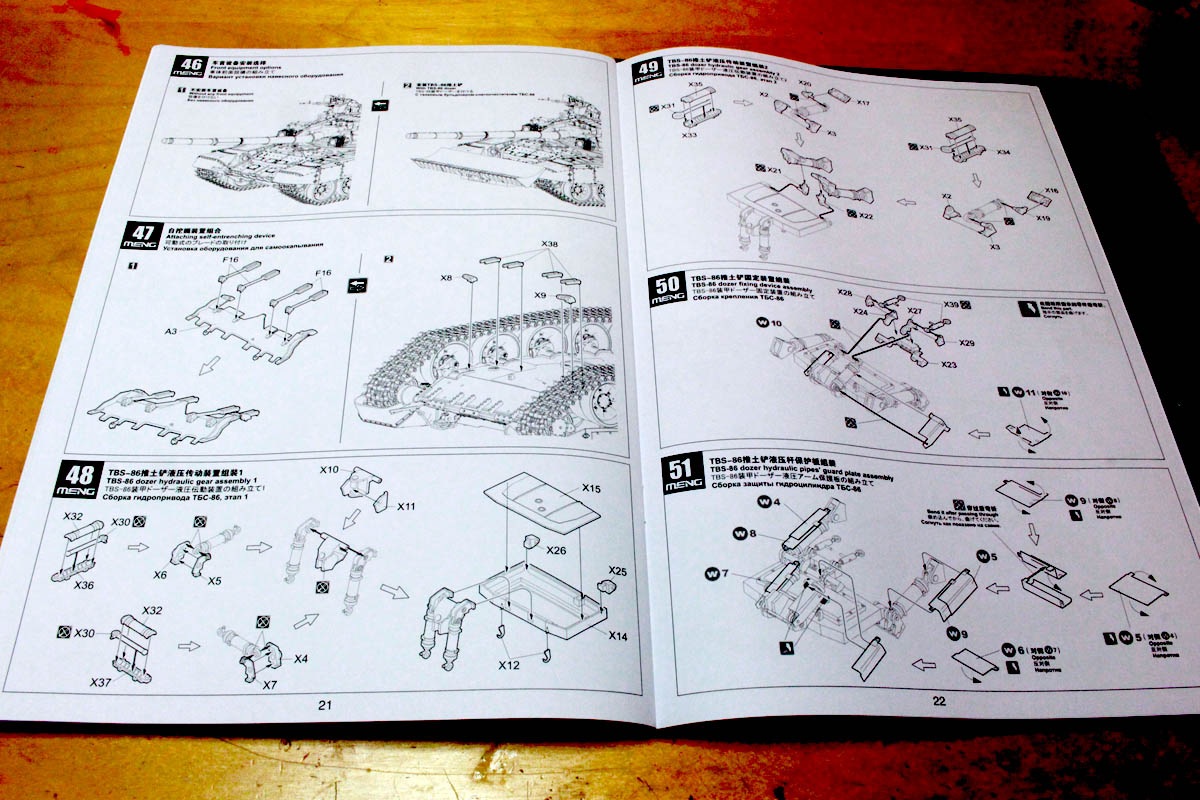
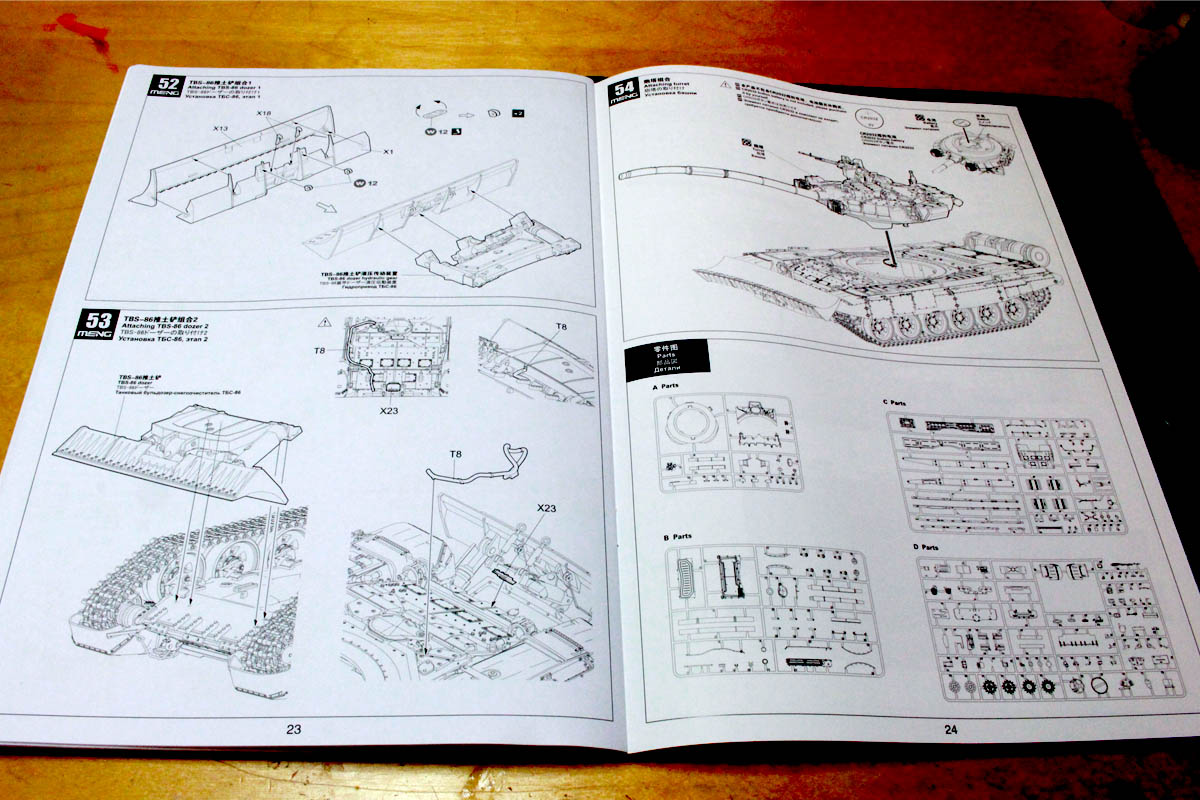
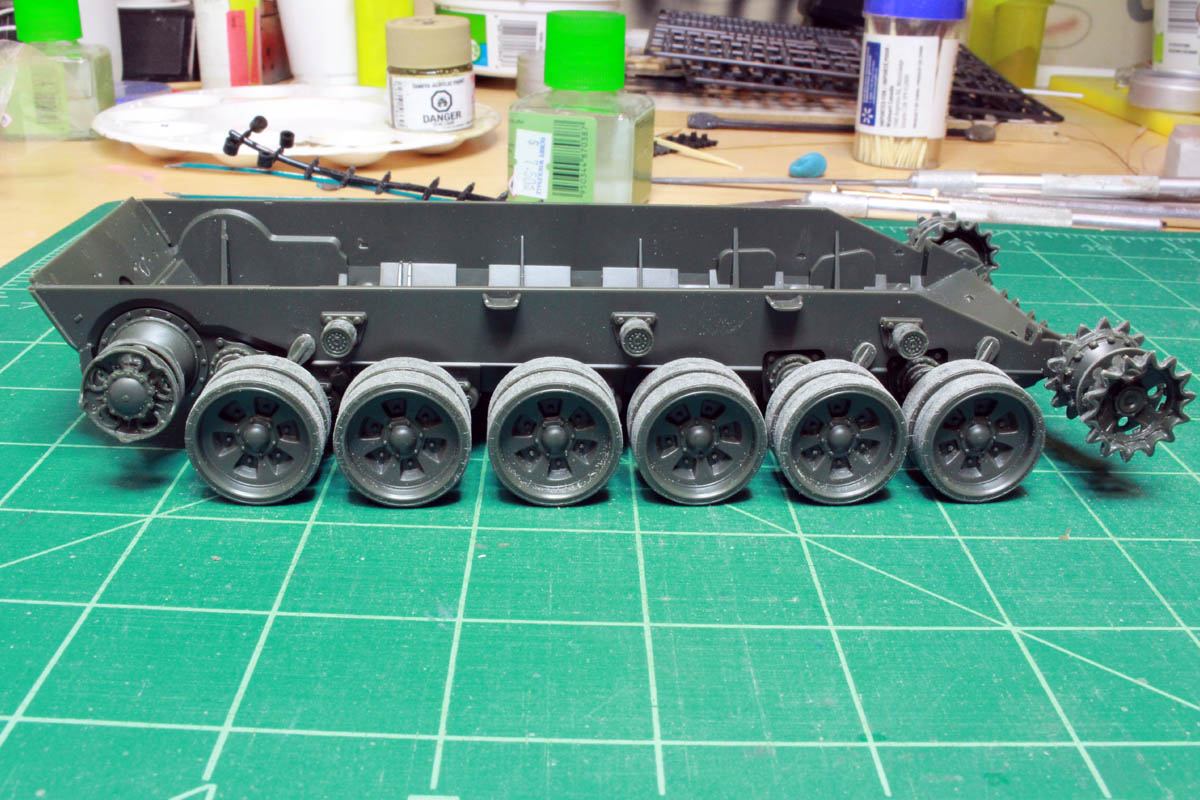
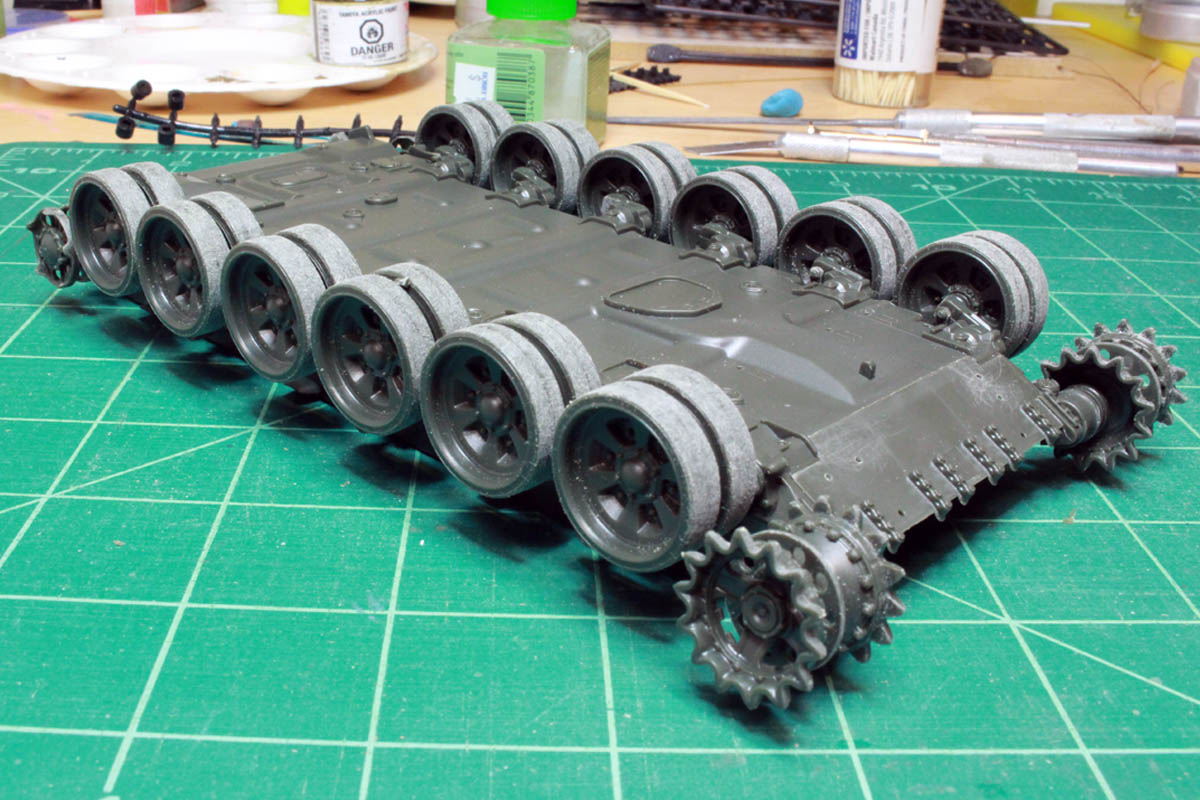
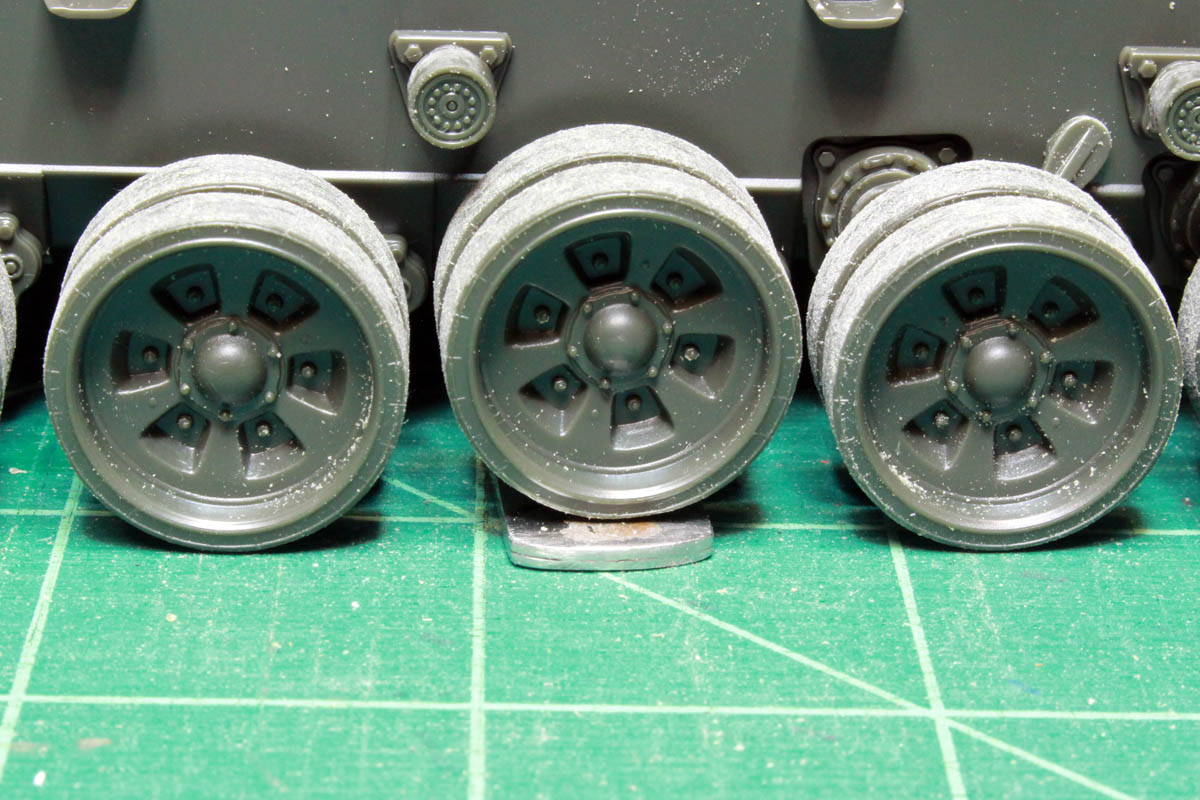
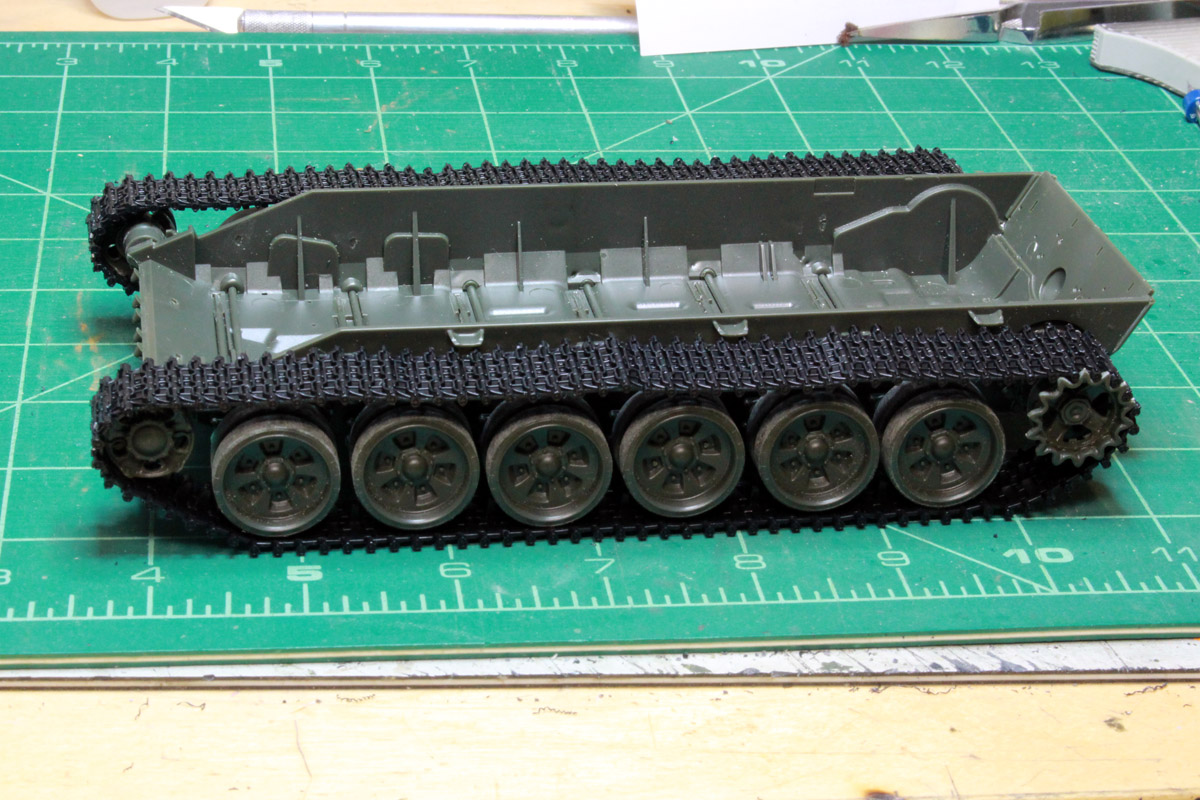
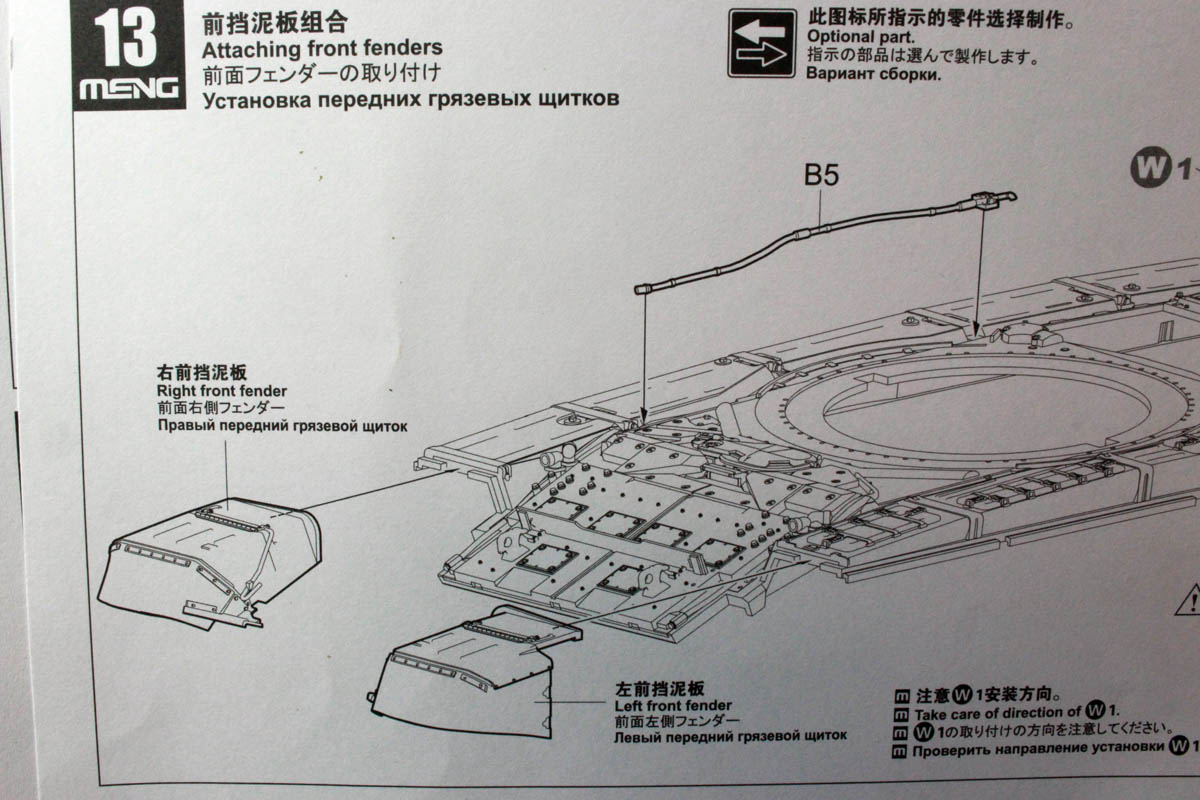
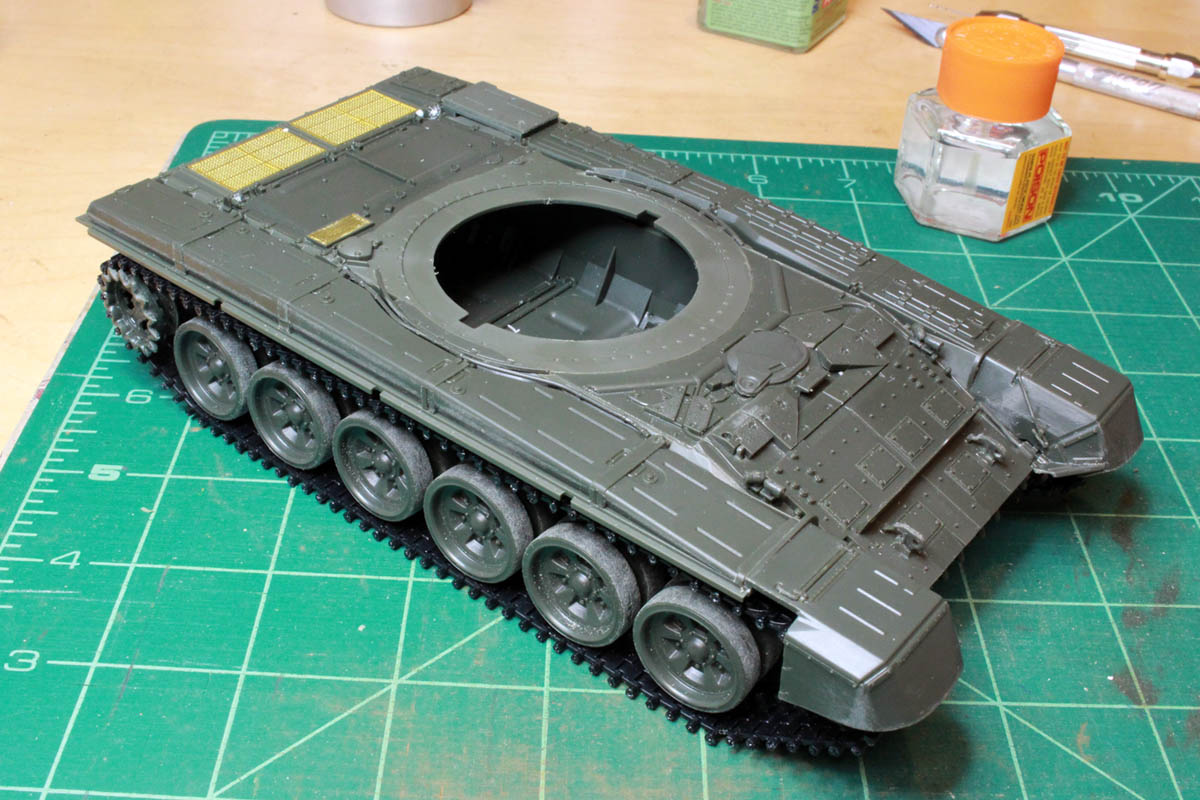
The instructions start with the usual lower hull, suspension and running gear assembly. Road wheels are first. The rubber has nice seam detail, but since this gets worn away quite quickly in real life, off it comes with some sandpaper.
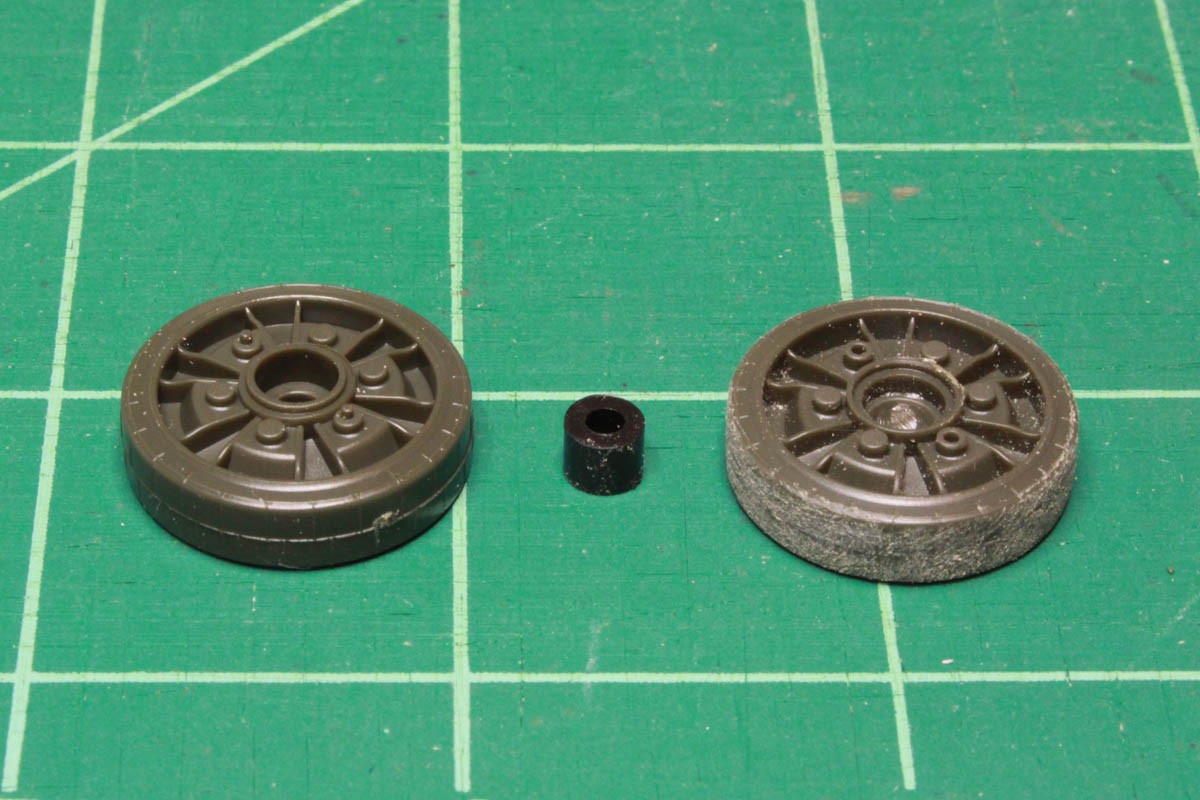
The wheels fit together nicely with a poly cap between, this allows you to put the wheels on and take them off as required for painting.