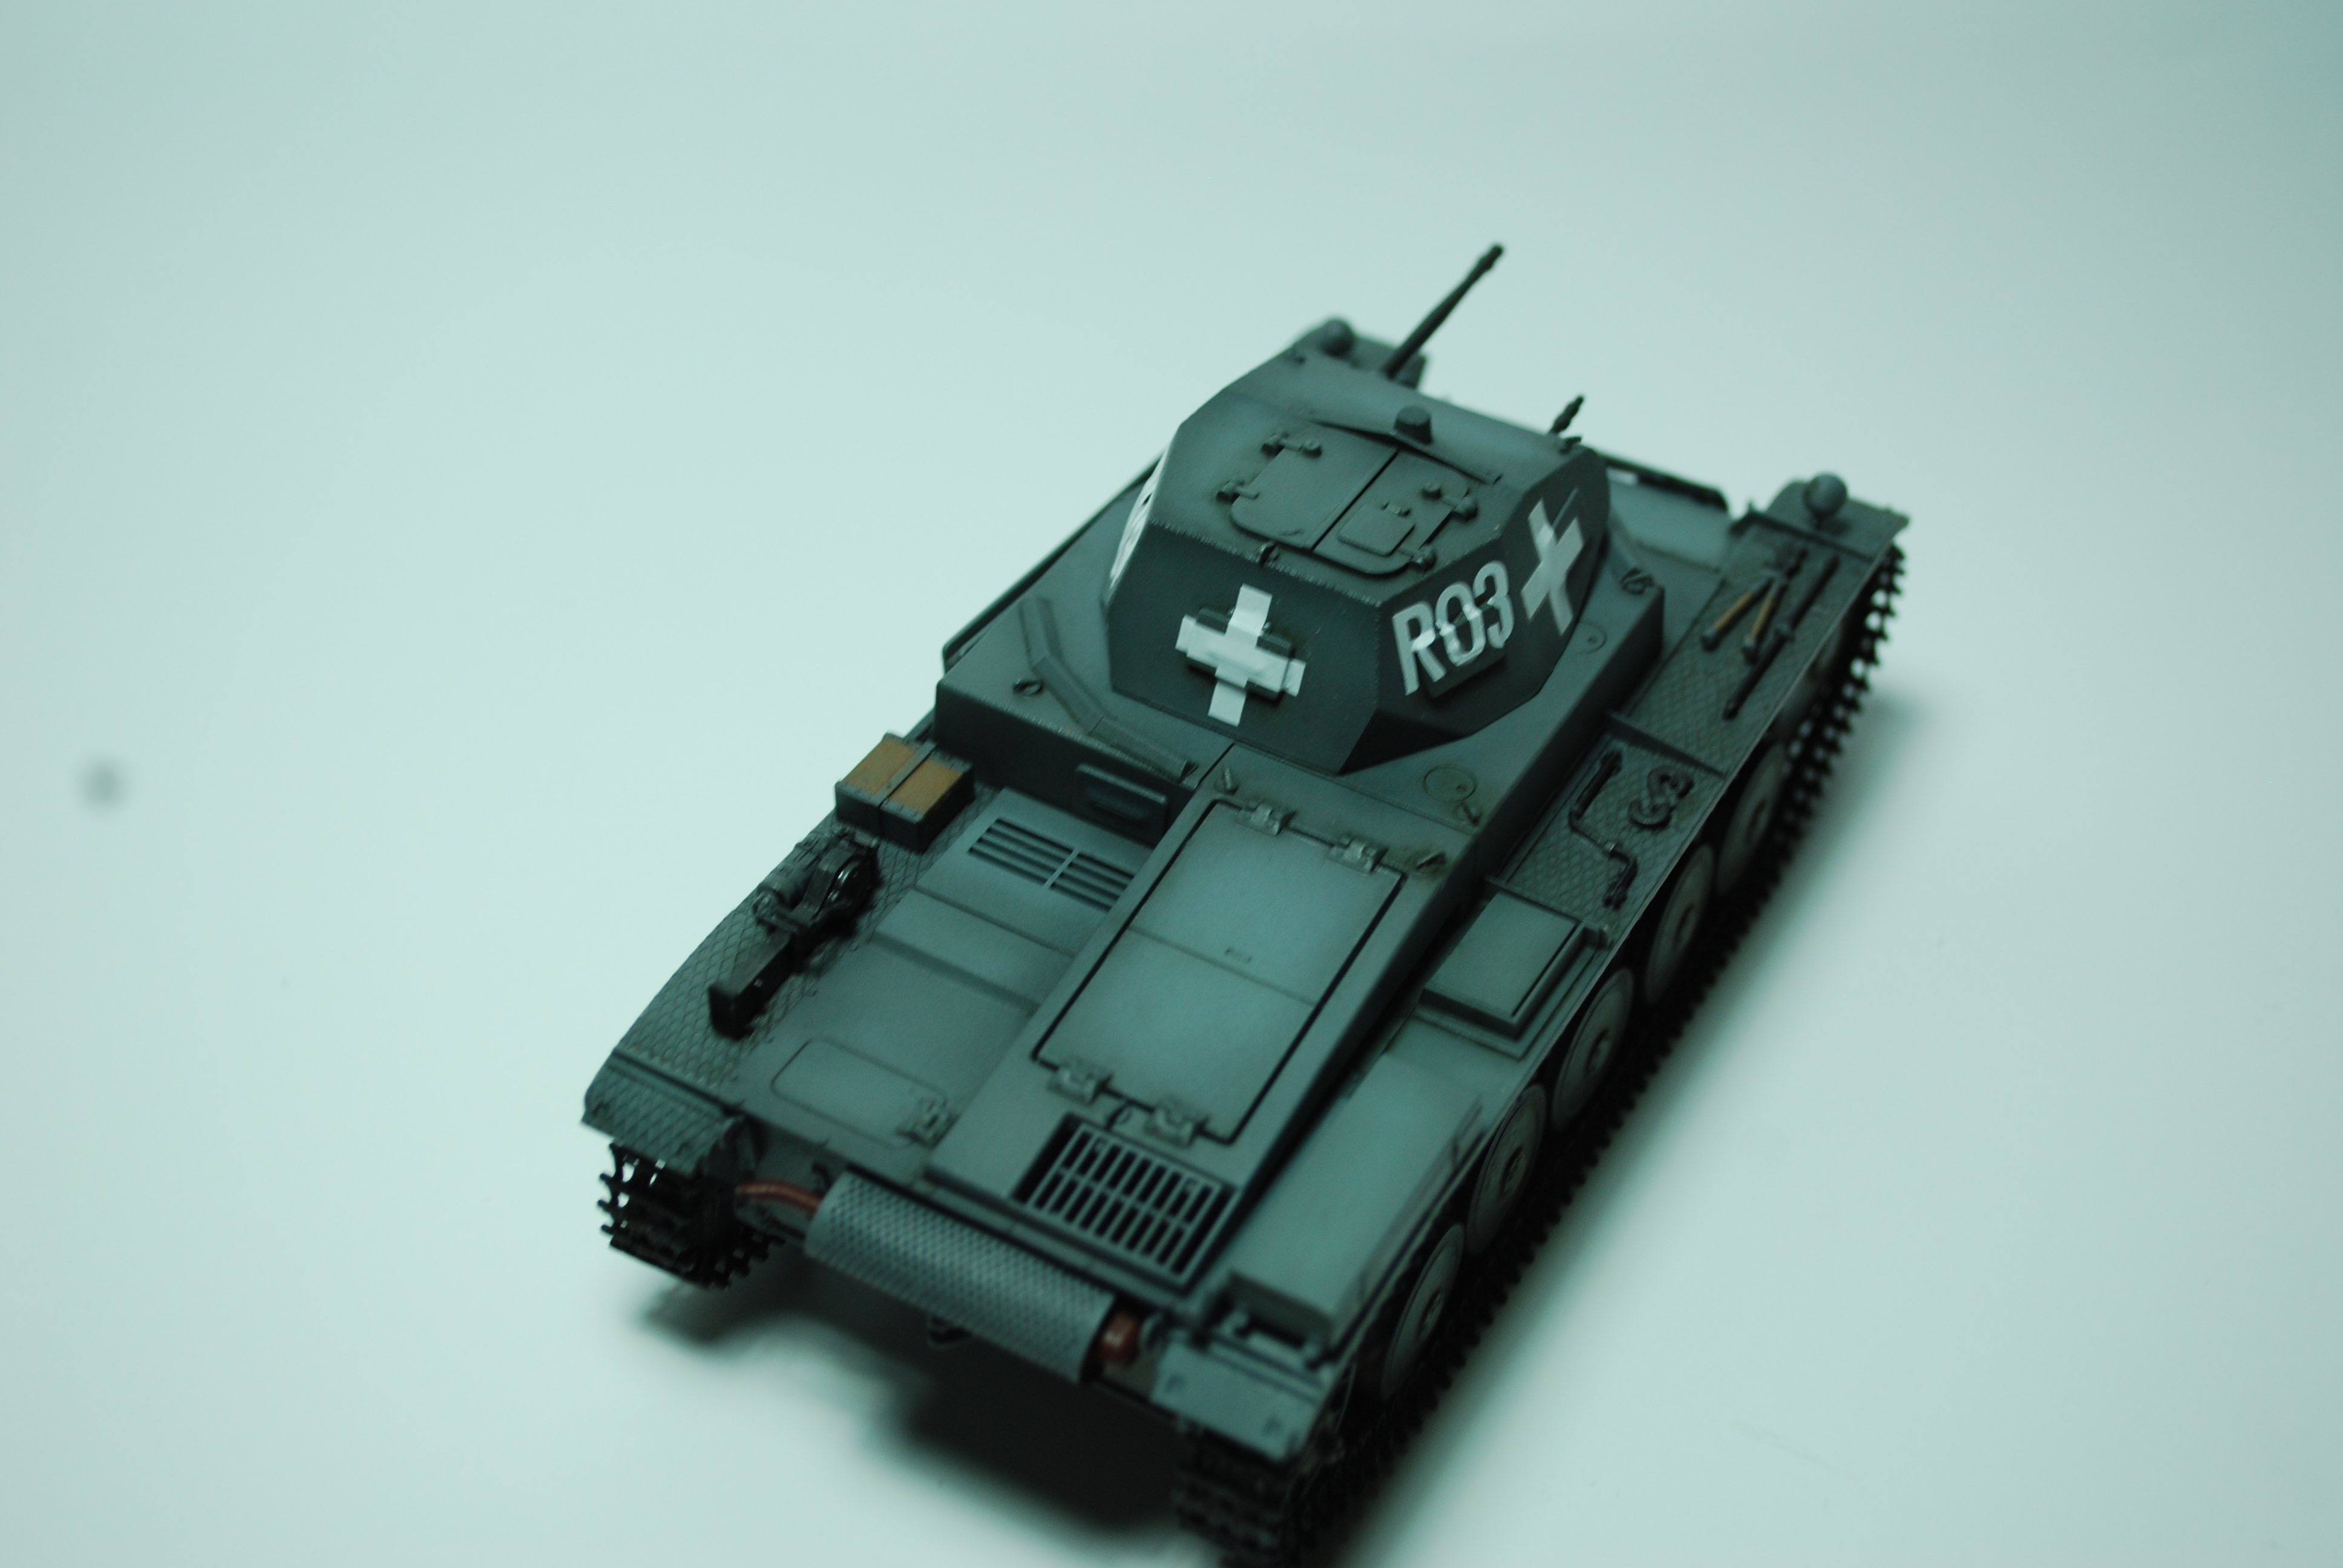
Hello there fellow kit makers.
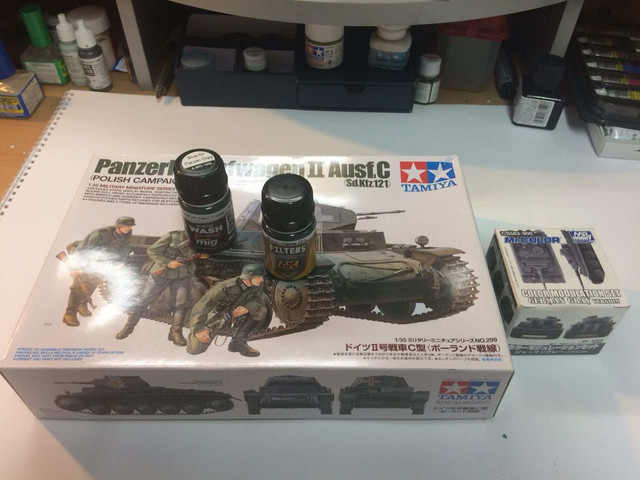
I would like to share my experience with kit specified in a topic. I made some 1/35 Tamiya kits in the past, so I am very optimistic about the outcome. Why have I chosen panzer 2 kit? First of all it is quite small in size. I consider this model as a kind of a proving ground before bigger projects. I also want to test new paints and filters on it, before applying it to something bigger in a future
I would like to make this straight out of the box - I would like to assemble it quickly and focus on painting and weathering.
I will try to keep you guys up to date with project as offten as possible. I would love to read your opinion on my work
Constructive Feedback
For in-progress or completed build photos. Give and get contructive feedback!
Hosted by Darren Baker, Dave O'Meara
Panzerkampfwagen II Ausf C Tamiya 1/35
piotr_piotrowicz
Lodz, Poland
Joined: December 18, 2016
KitMaker: 6 posts
Armorama: 5 posts
Joined: December 18, 2016
KitMaker: 6 posts
Armorama: 5 posts
Posted: Monday, February 12, 2018 - 12:22 AM UTC
piotr_piotrowicz
Lodz, Poland
Joined: December 18, 2016
KitMaker: 6 posts
Armorama: 5 posts
Joined: December 18, 2016
KitMaker: 6 posts
Armorama: 5 posts
Posted: Saturday, February 17, 2018 - 05:00 PM UTC
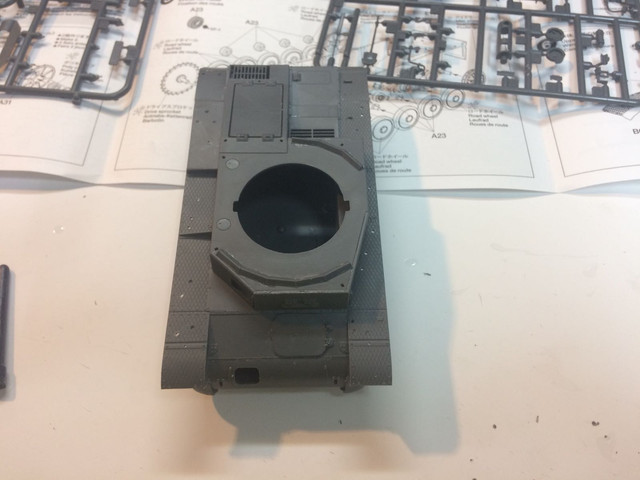
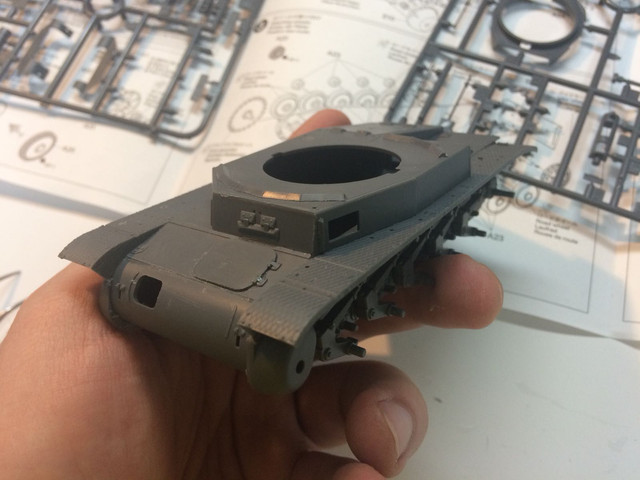
So here comes first update.
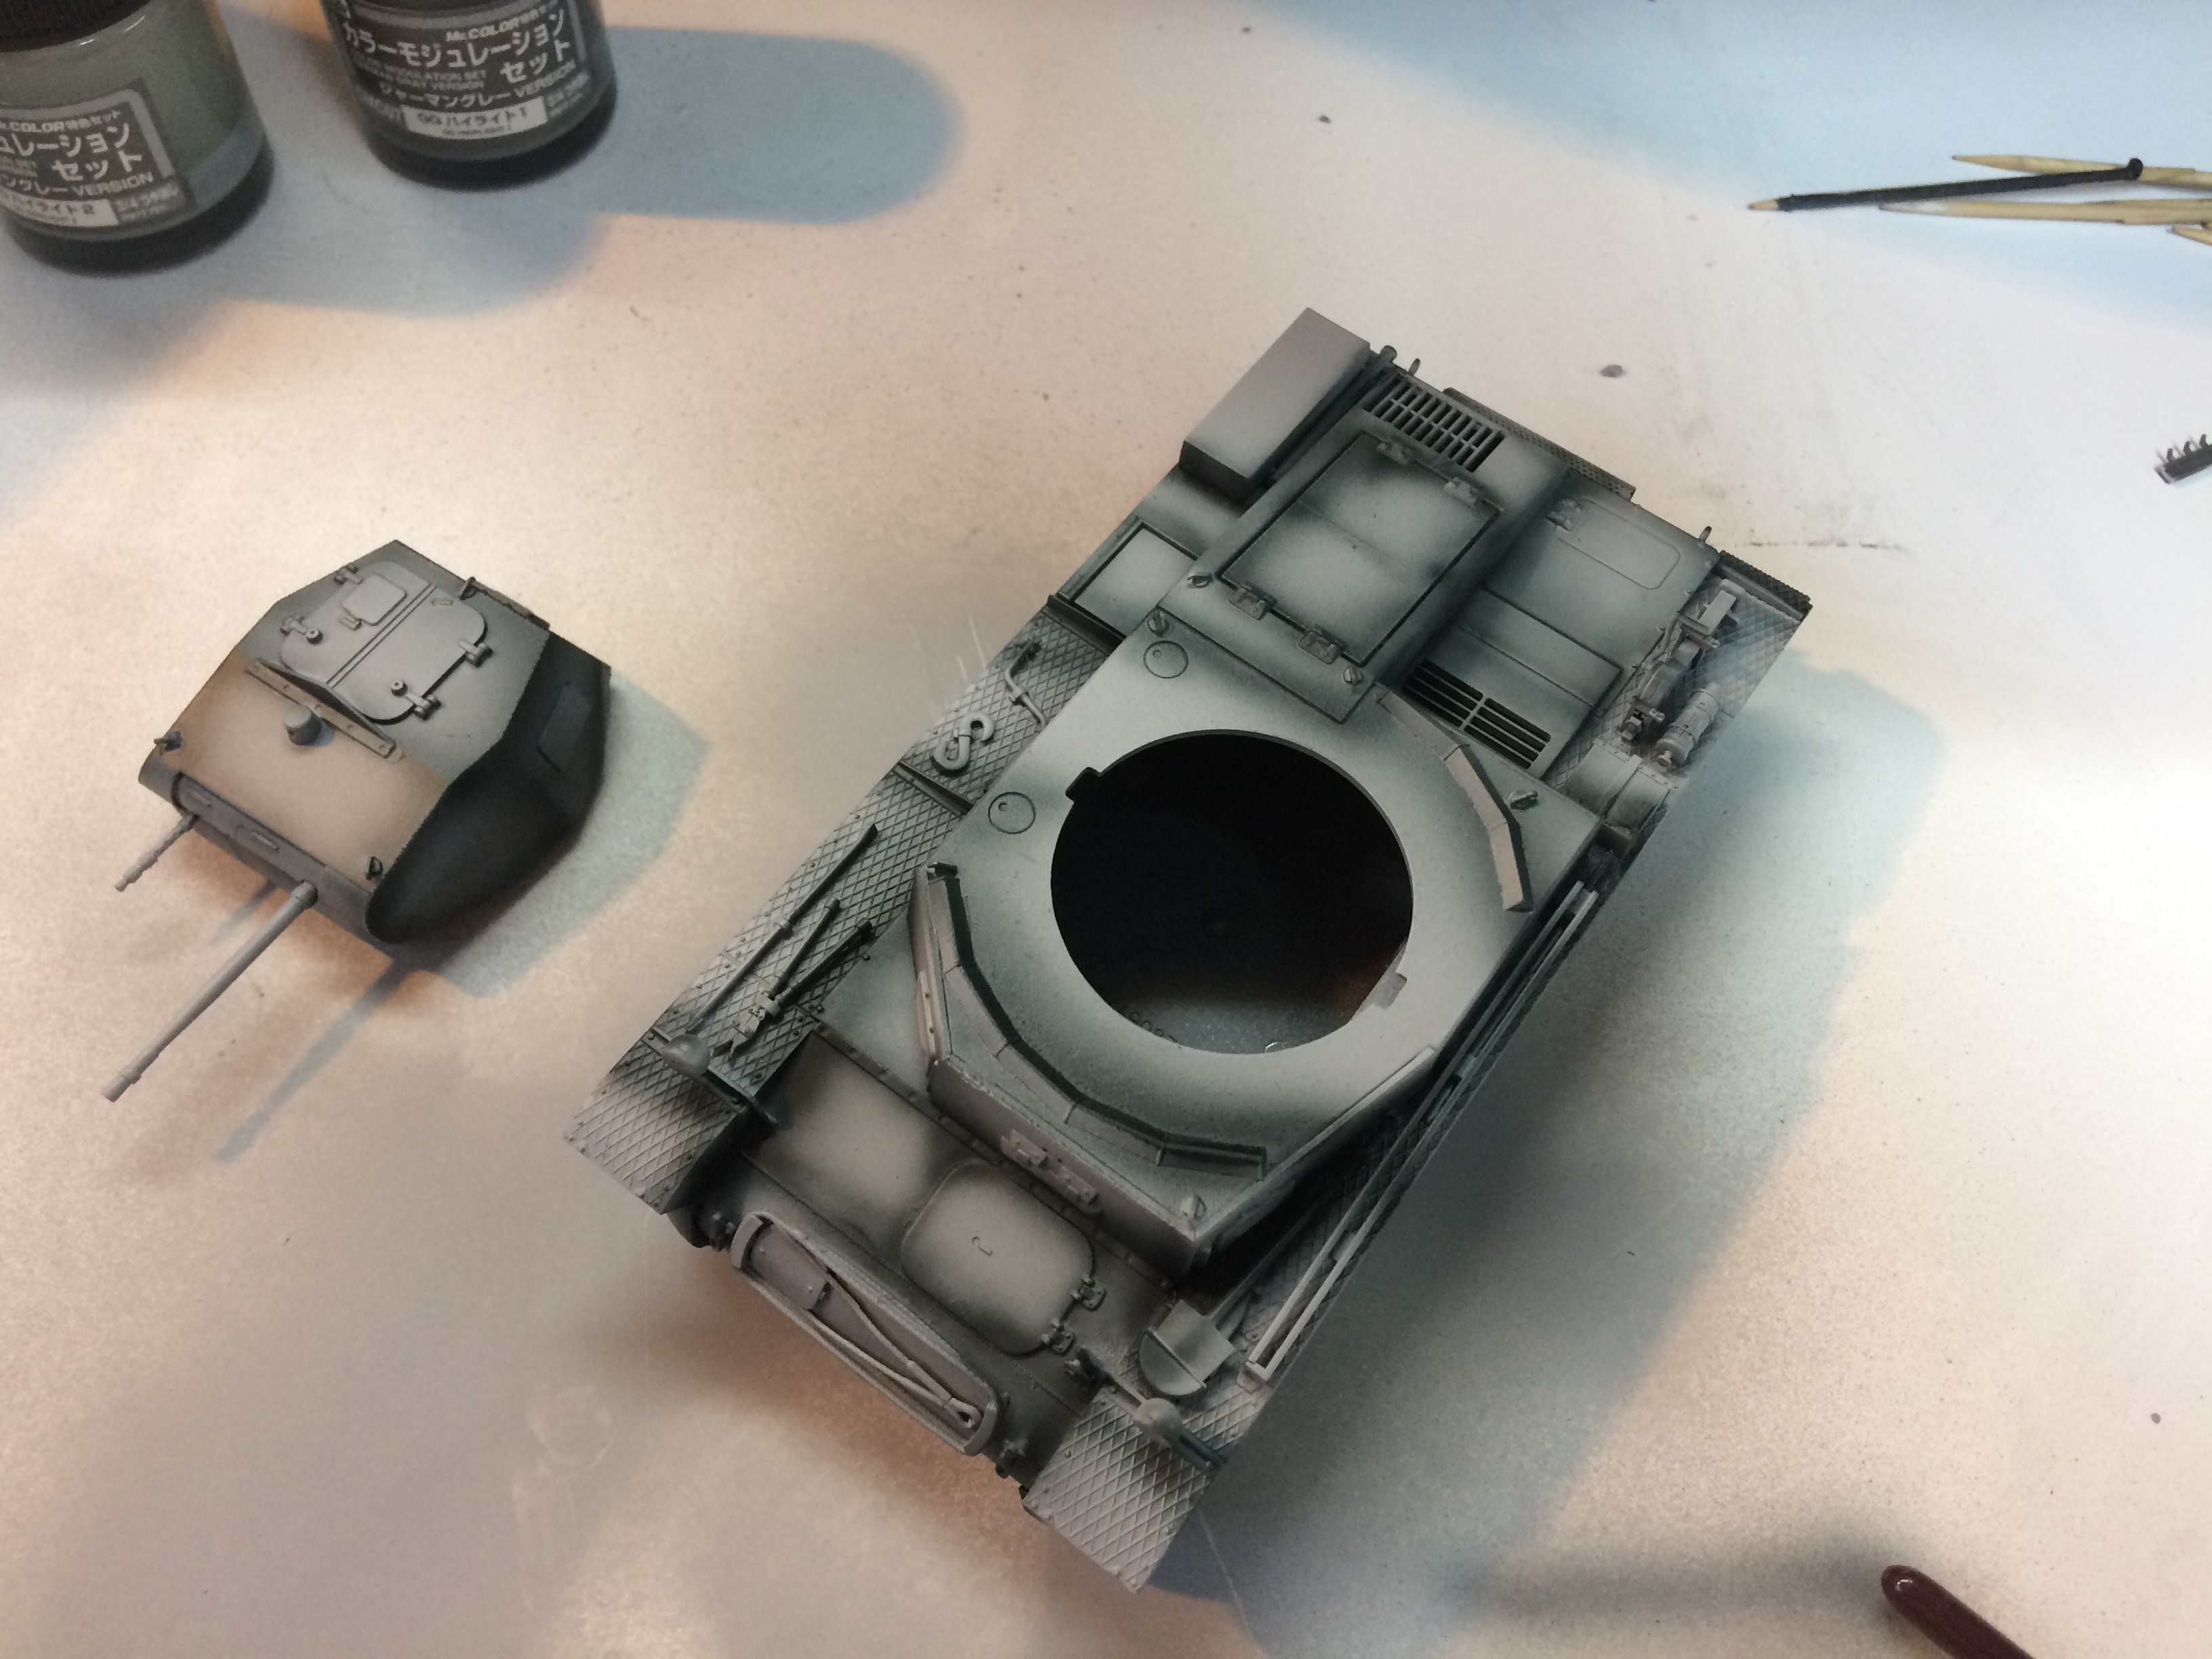
And a first question - as you can see I decided to leave wheels and tracks in order to paint them separately and attach them later. Furthermore, thanks to that approach I have better access to the lower parts of the hull. What do you guys think about this approach? Maybe you know better way to assemble chassis and tracks?
piotr_piotrowicz
Lodz, Poland
Joined: December 18, 2016
KitMaker: 6 posts
Armorama: 5 posts
Joined: December 18, 2016
KitMaker: 6 posts
Armorama: 5 posts
Posted: Saturday, March 10, 2018 - 09:36 PM UTC
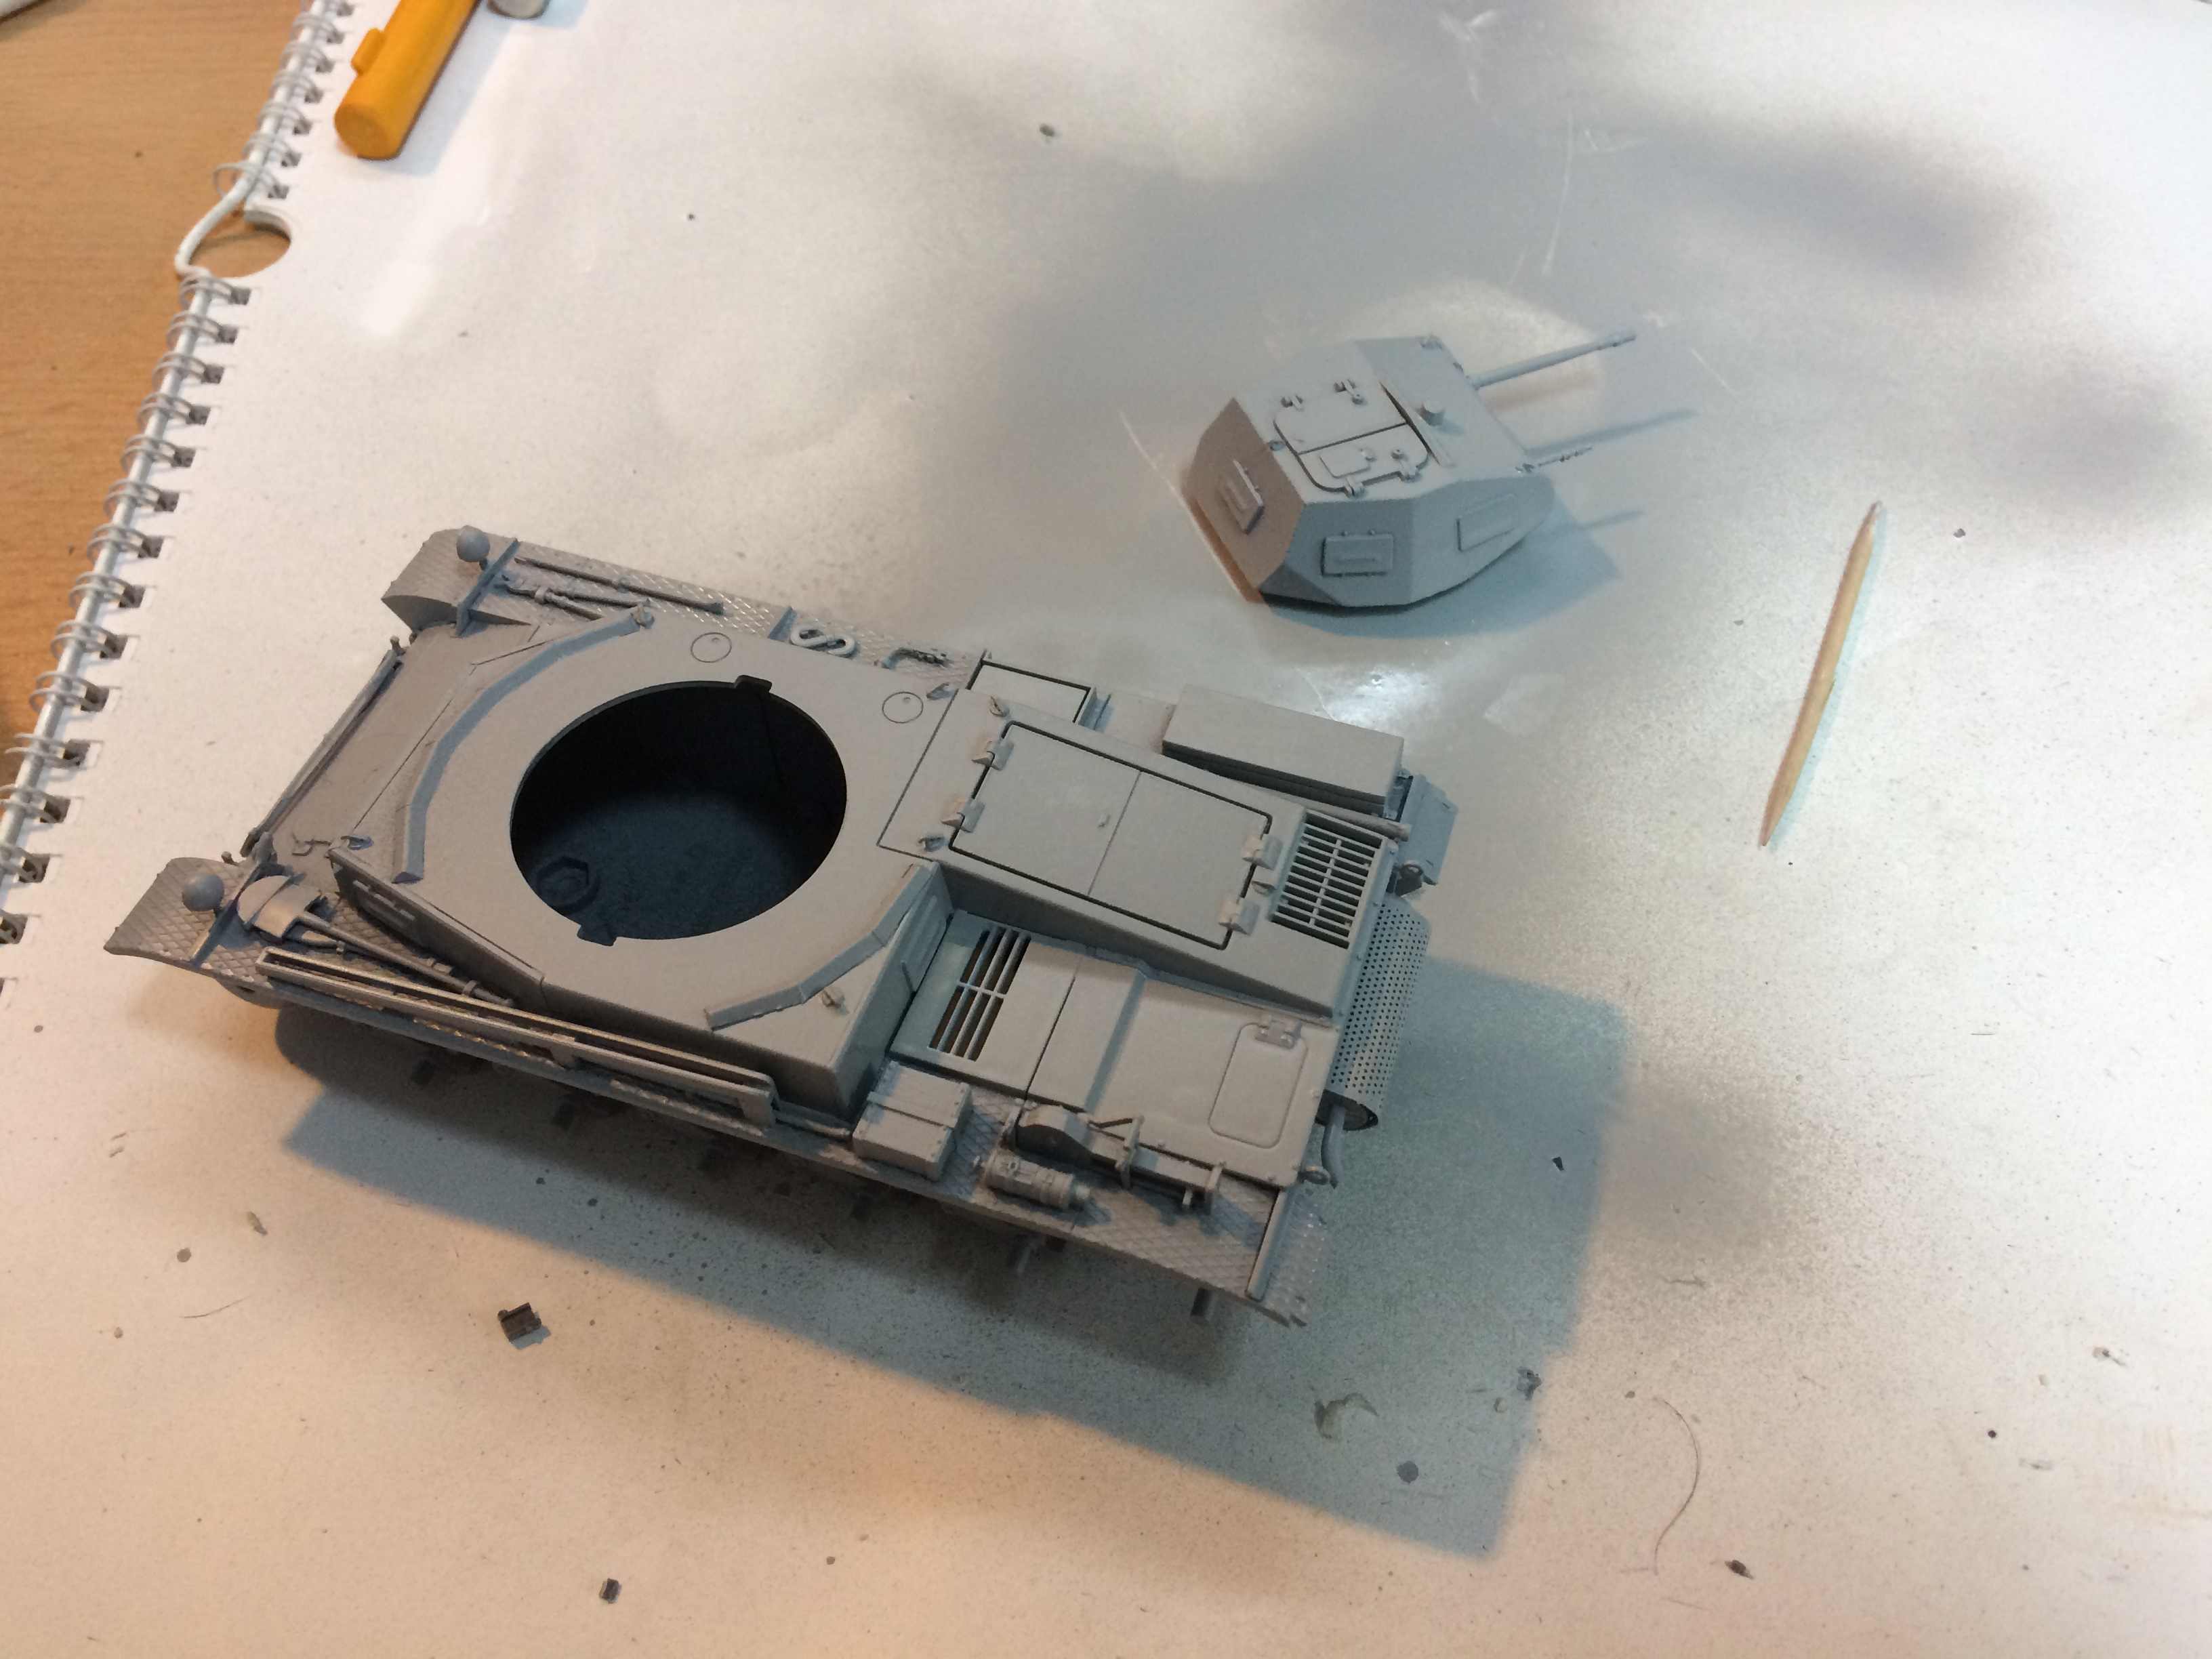
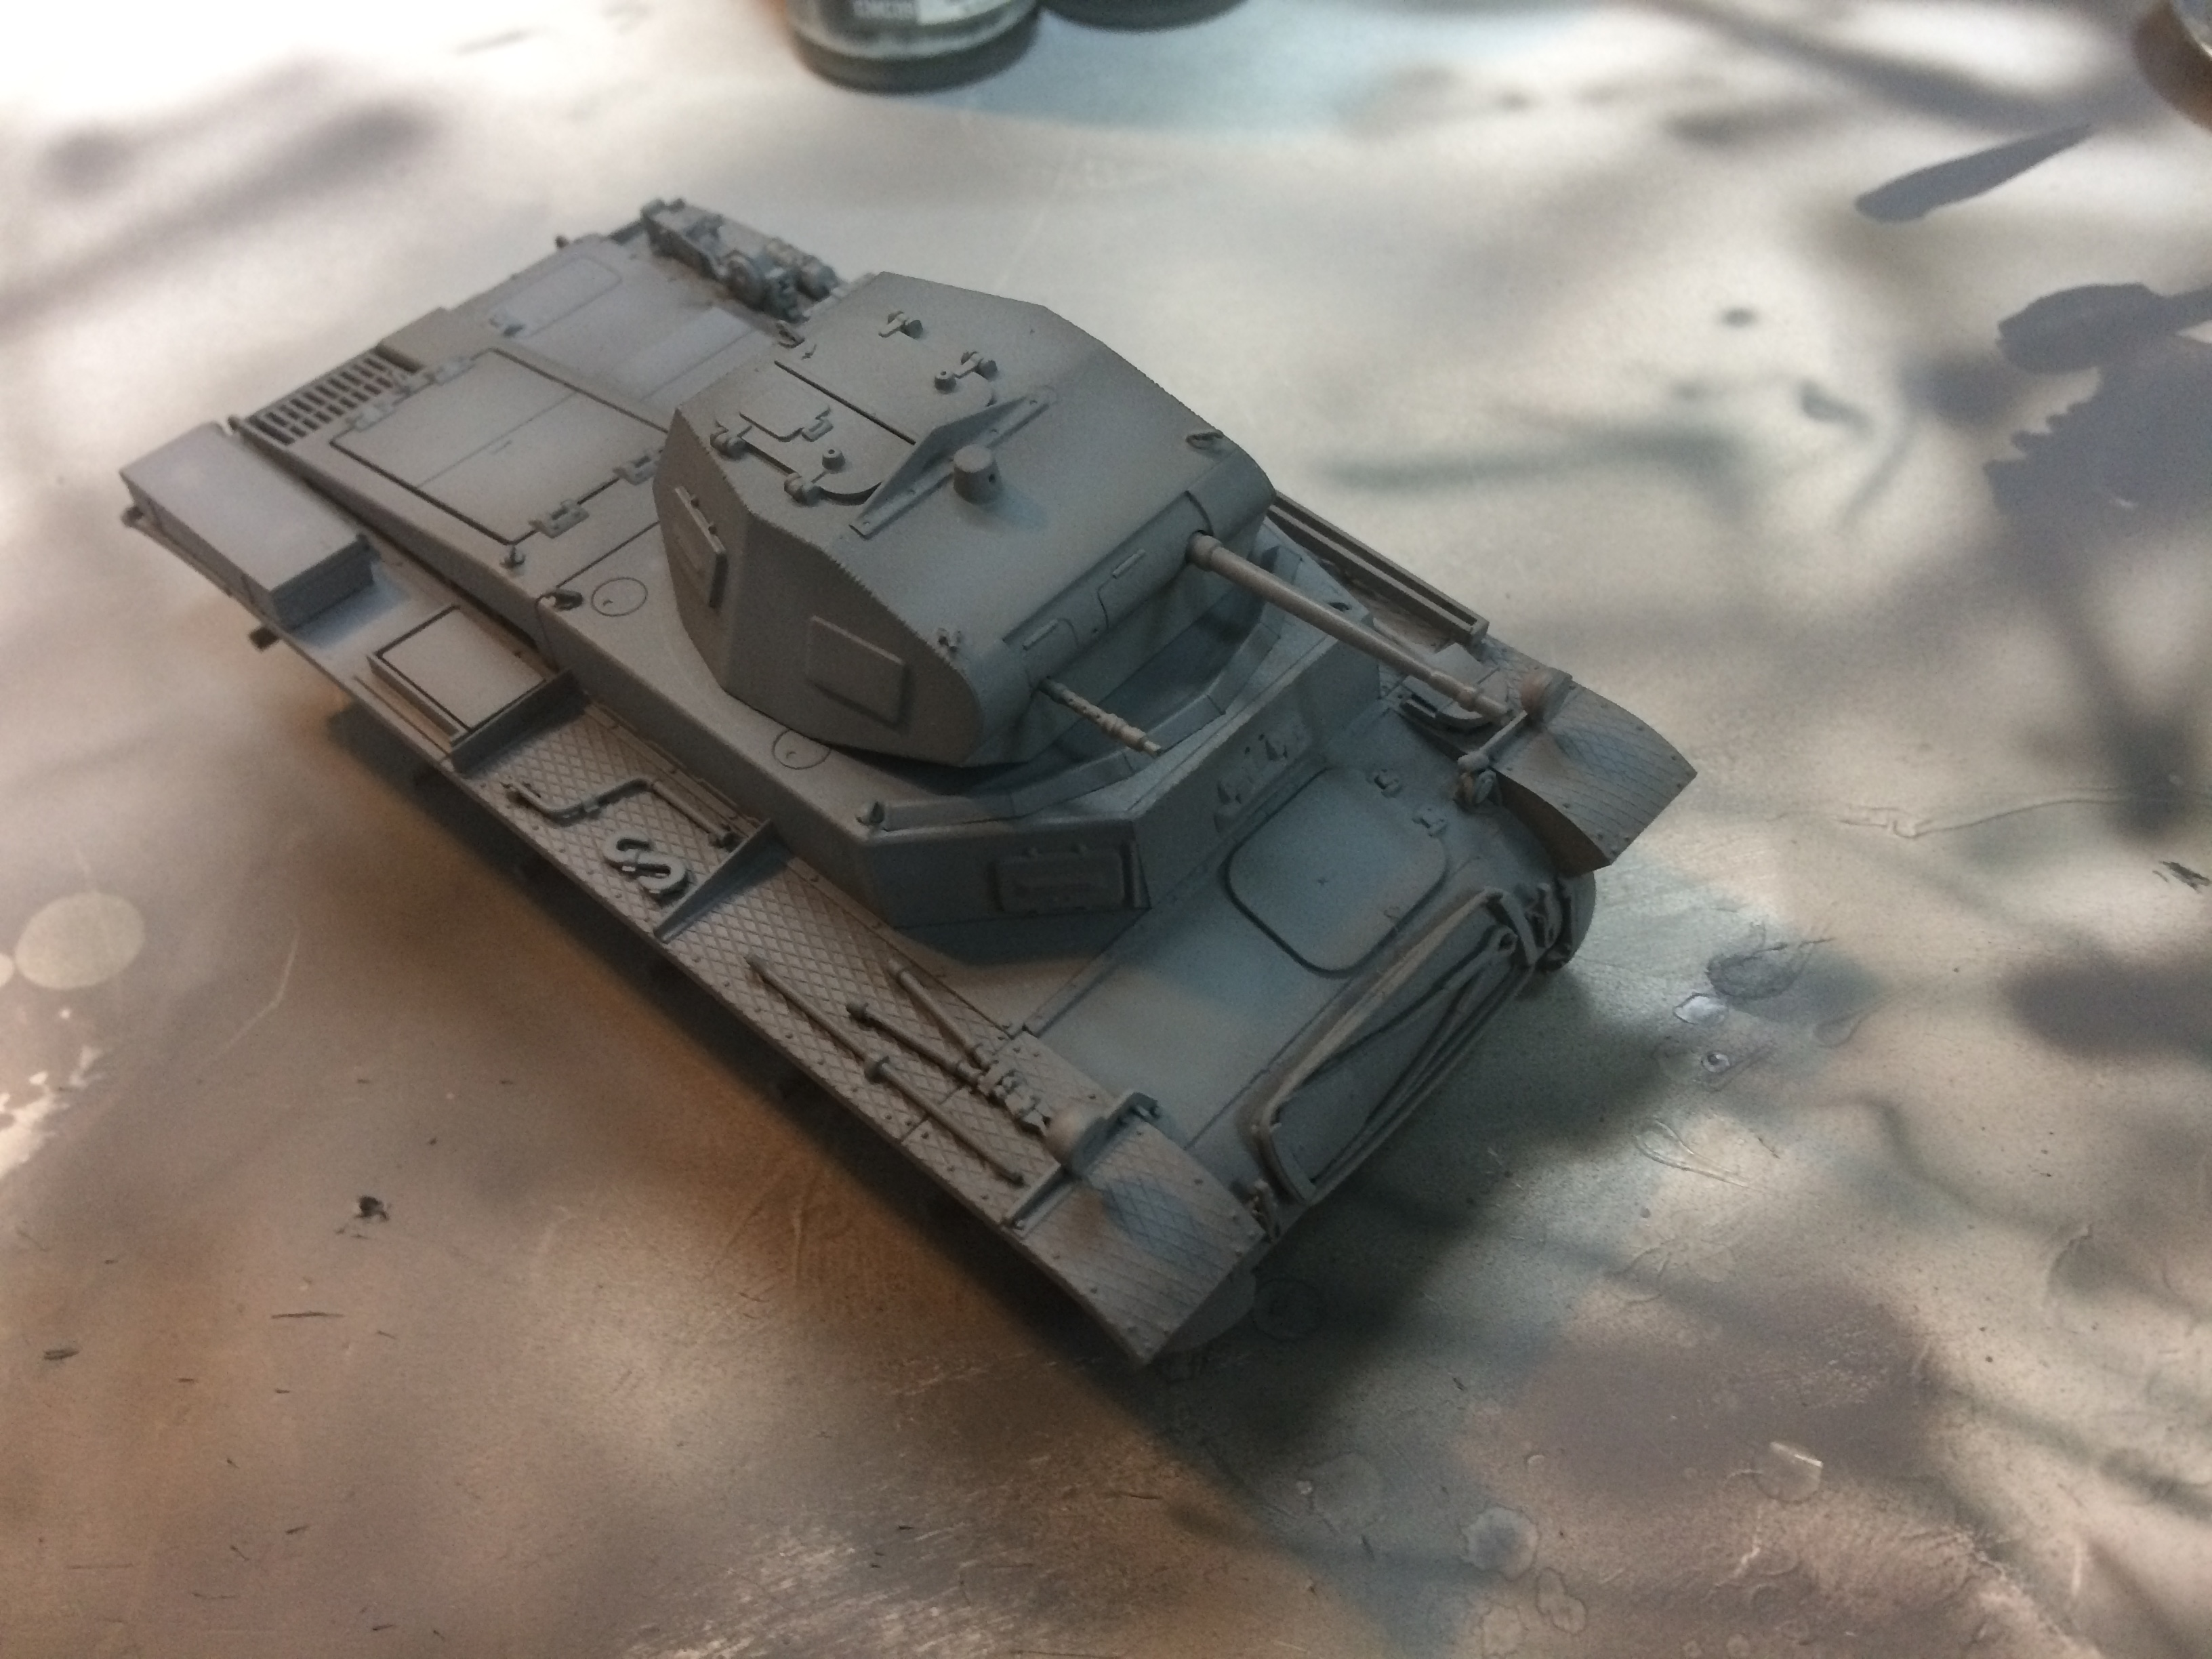
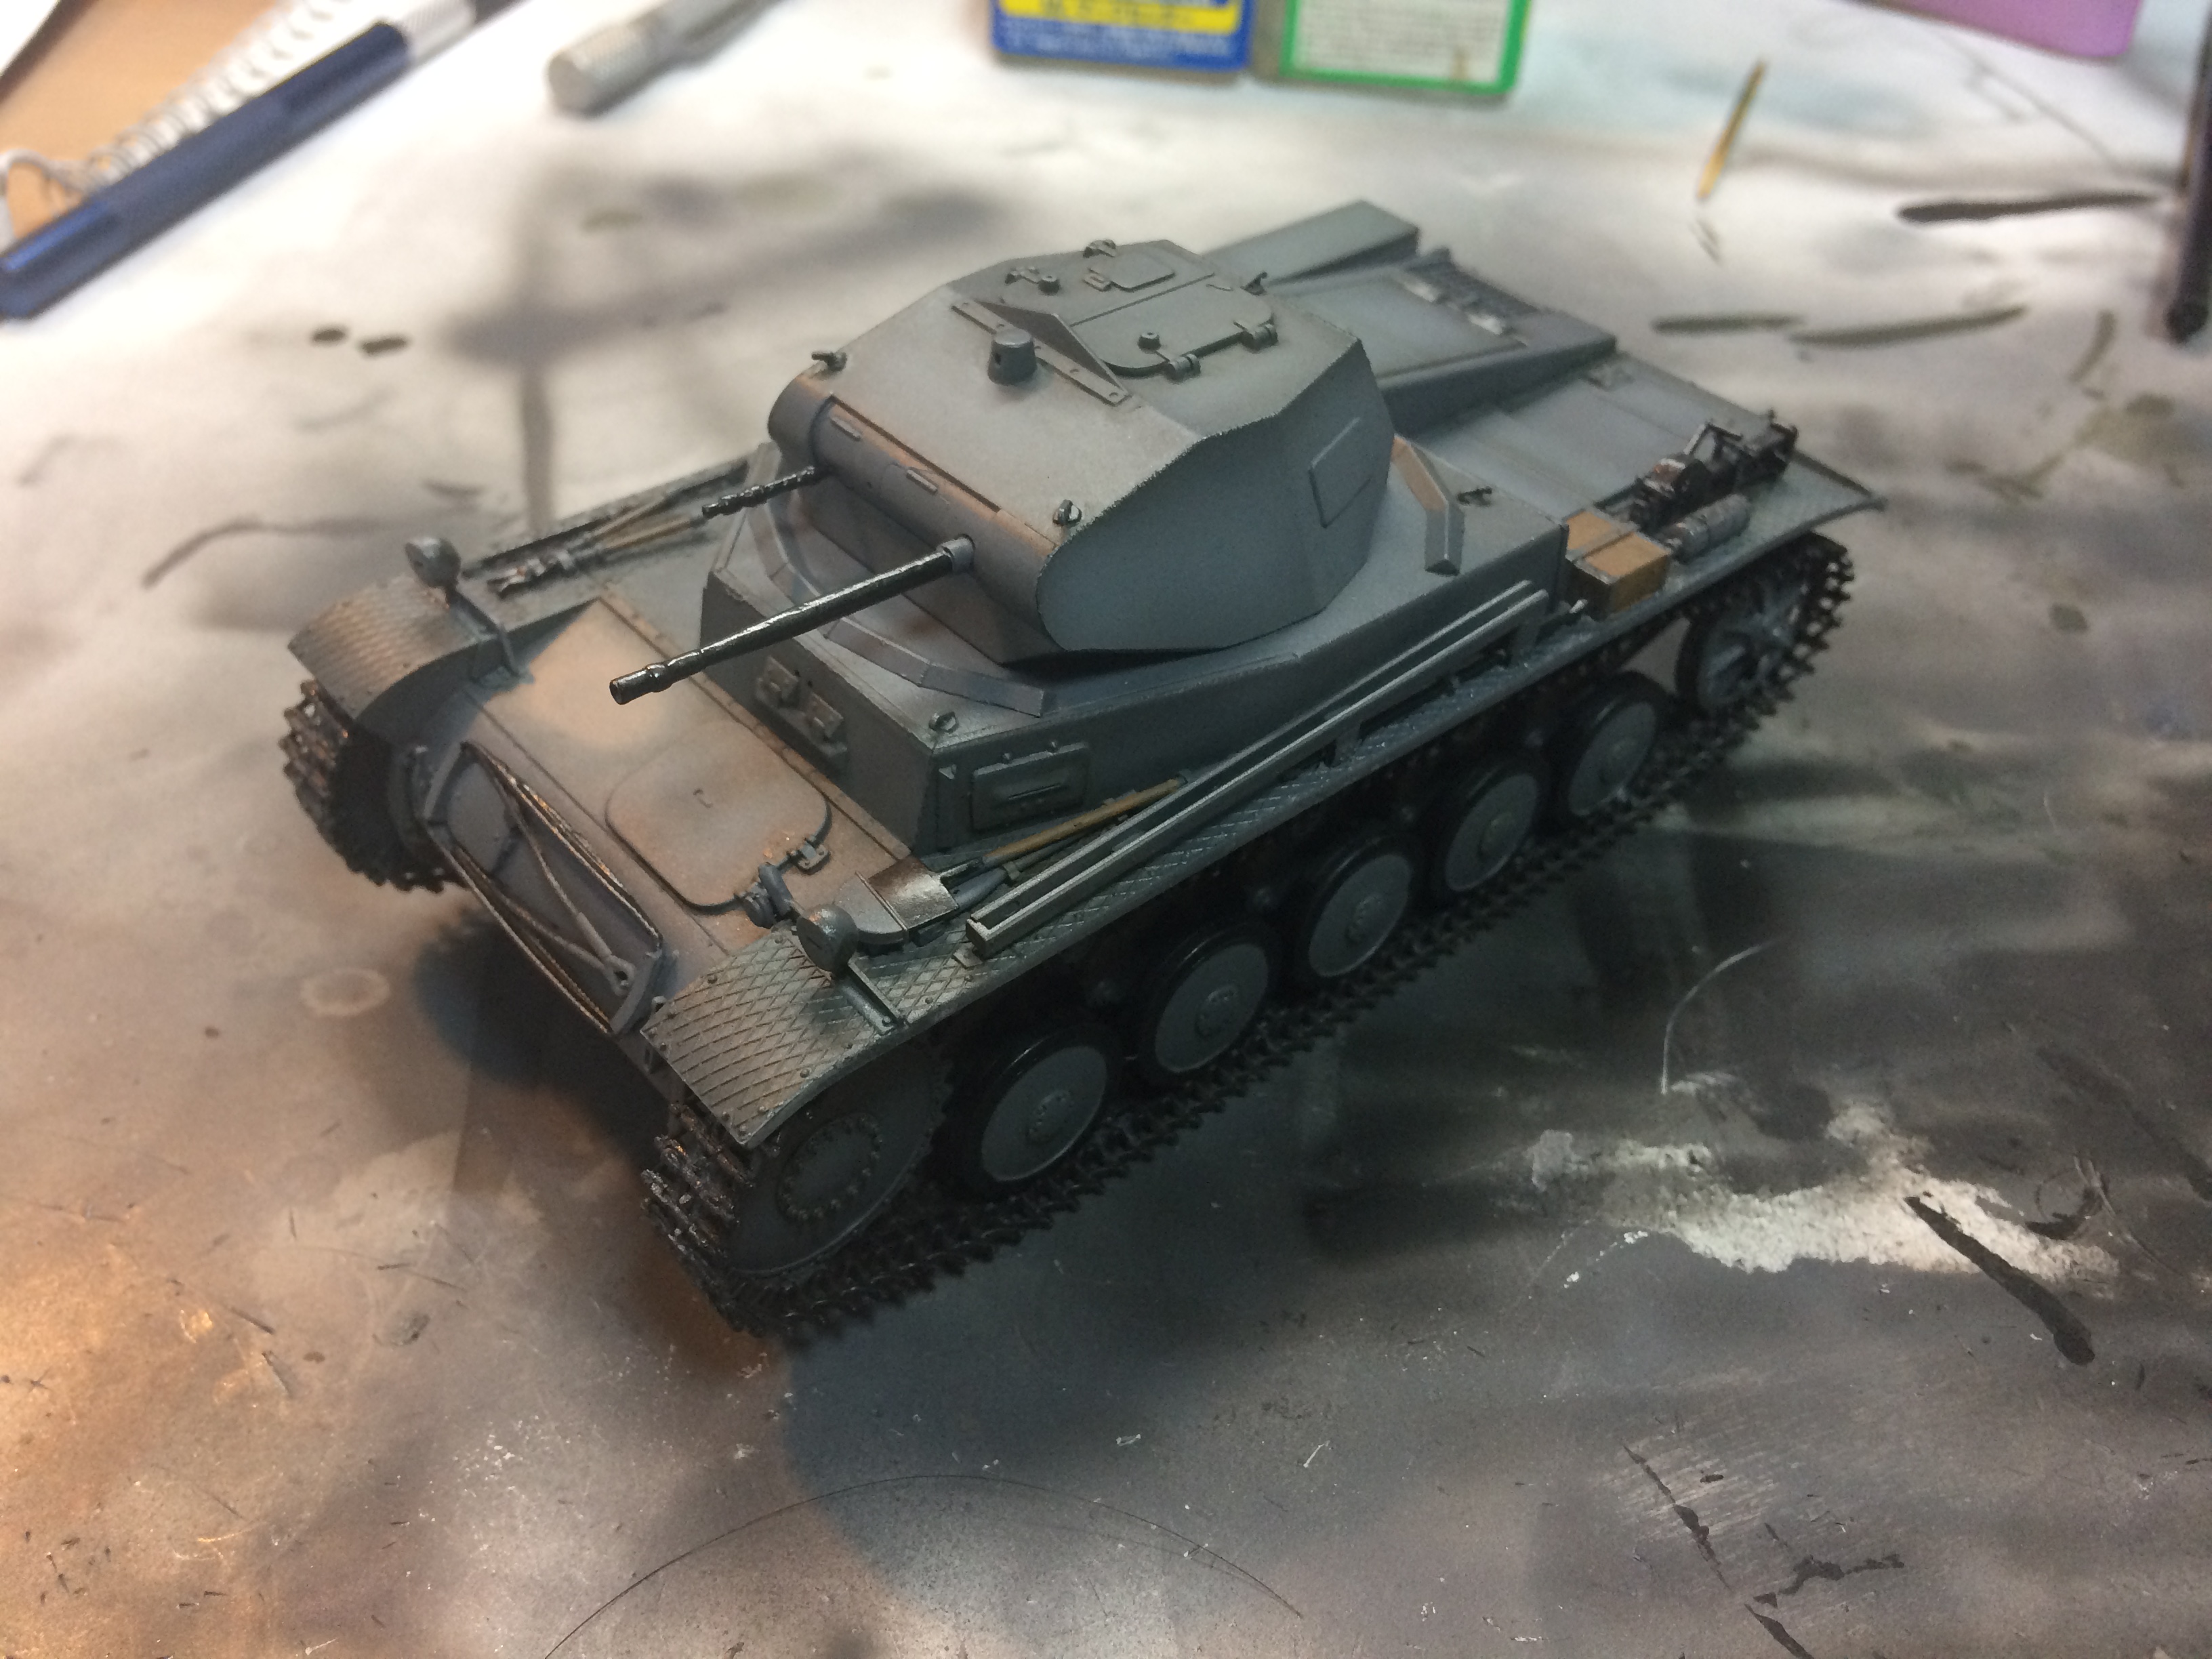
So here comes another update. First we have finished model with base grey coat. And second photo shows first step of shading.
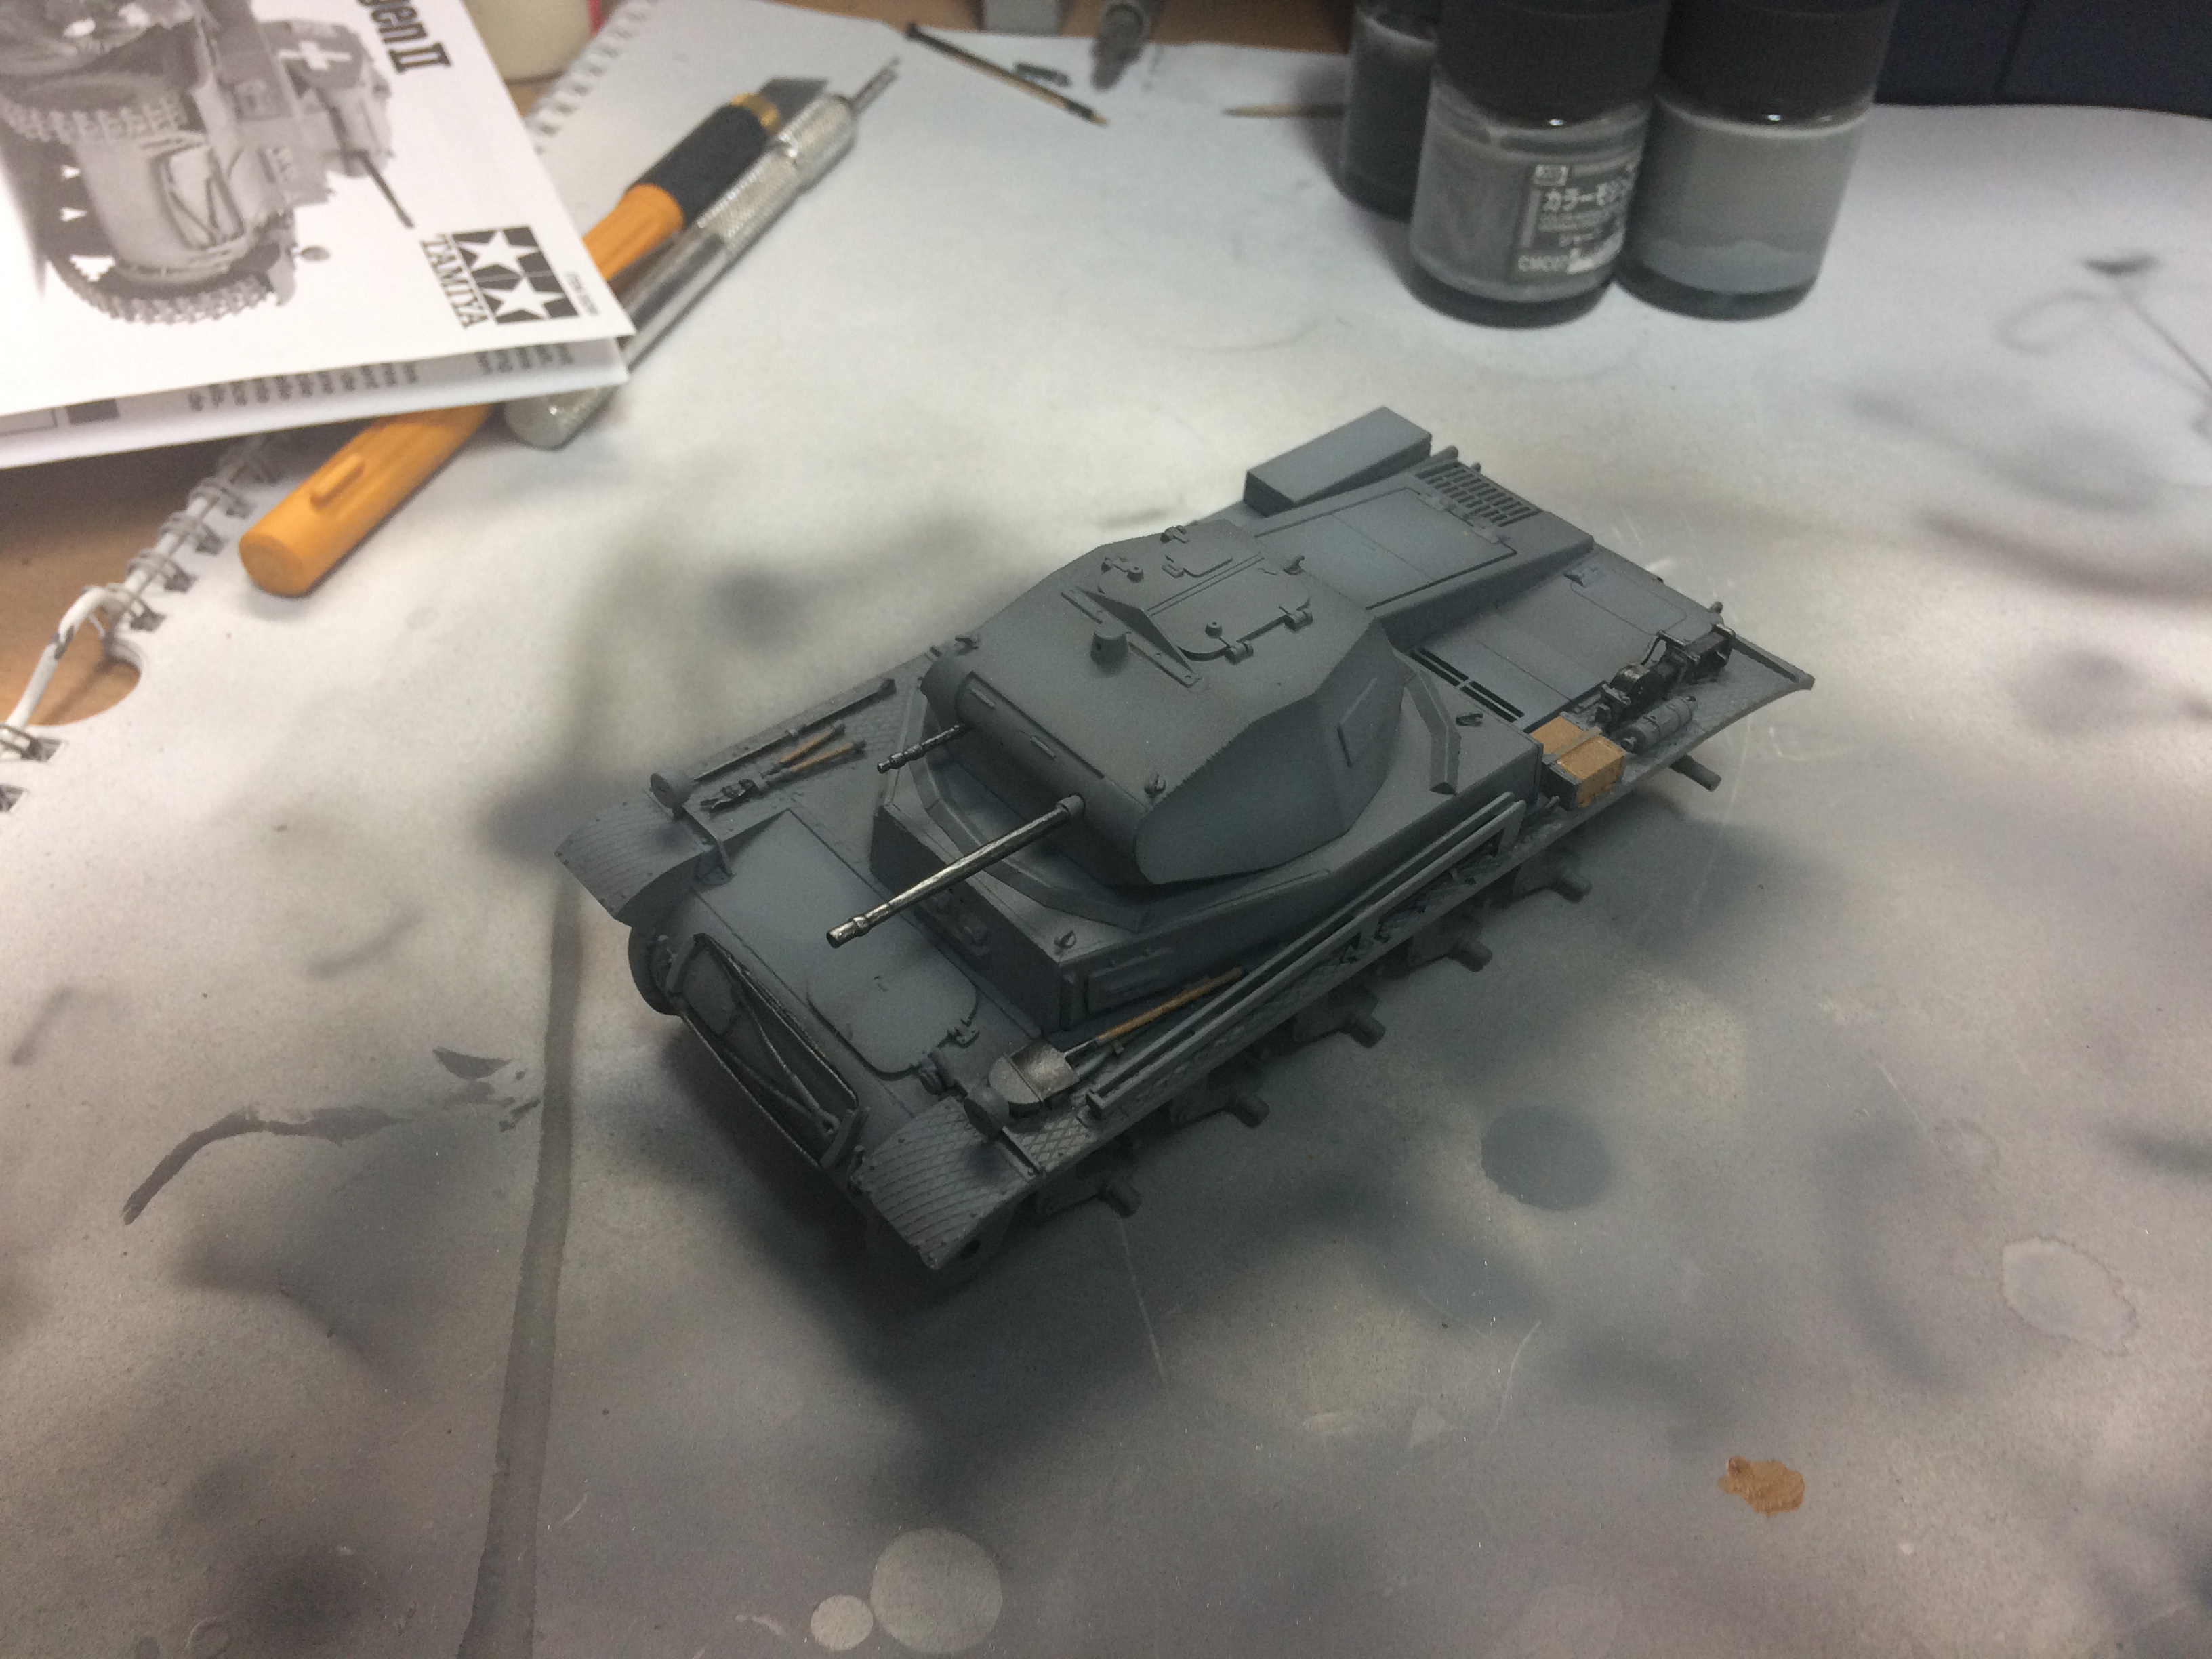
And here comes some photos of final effects of shading process, on the second one I also finished some metal and wooden details.
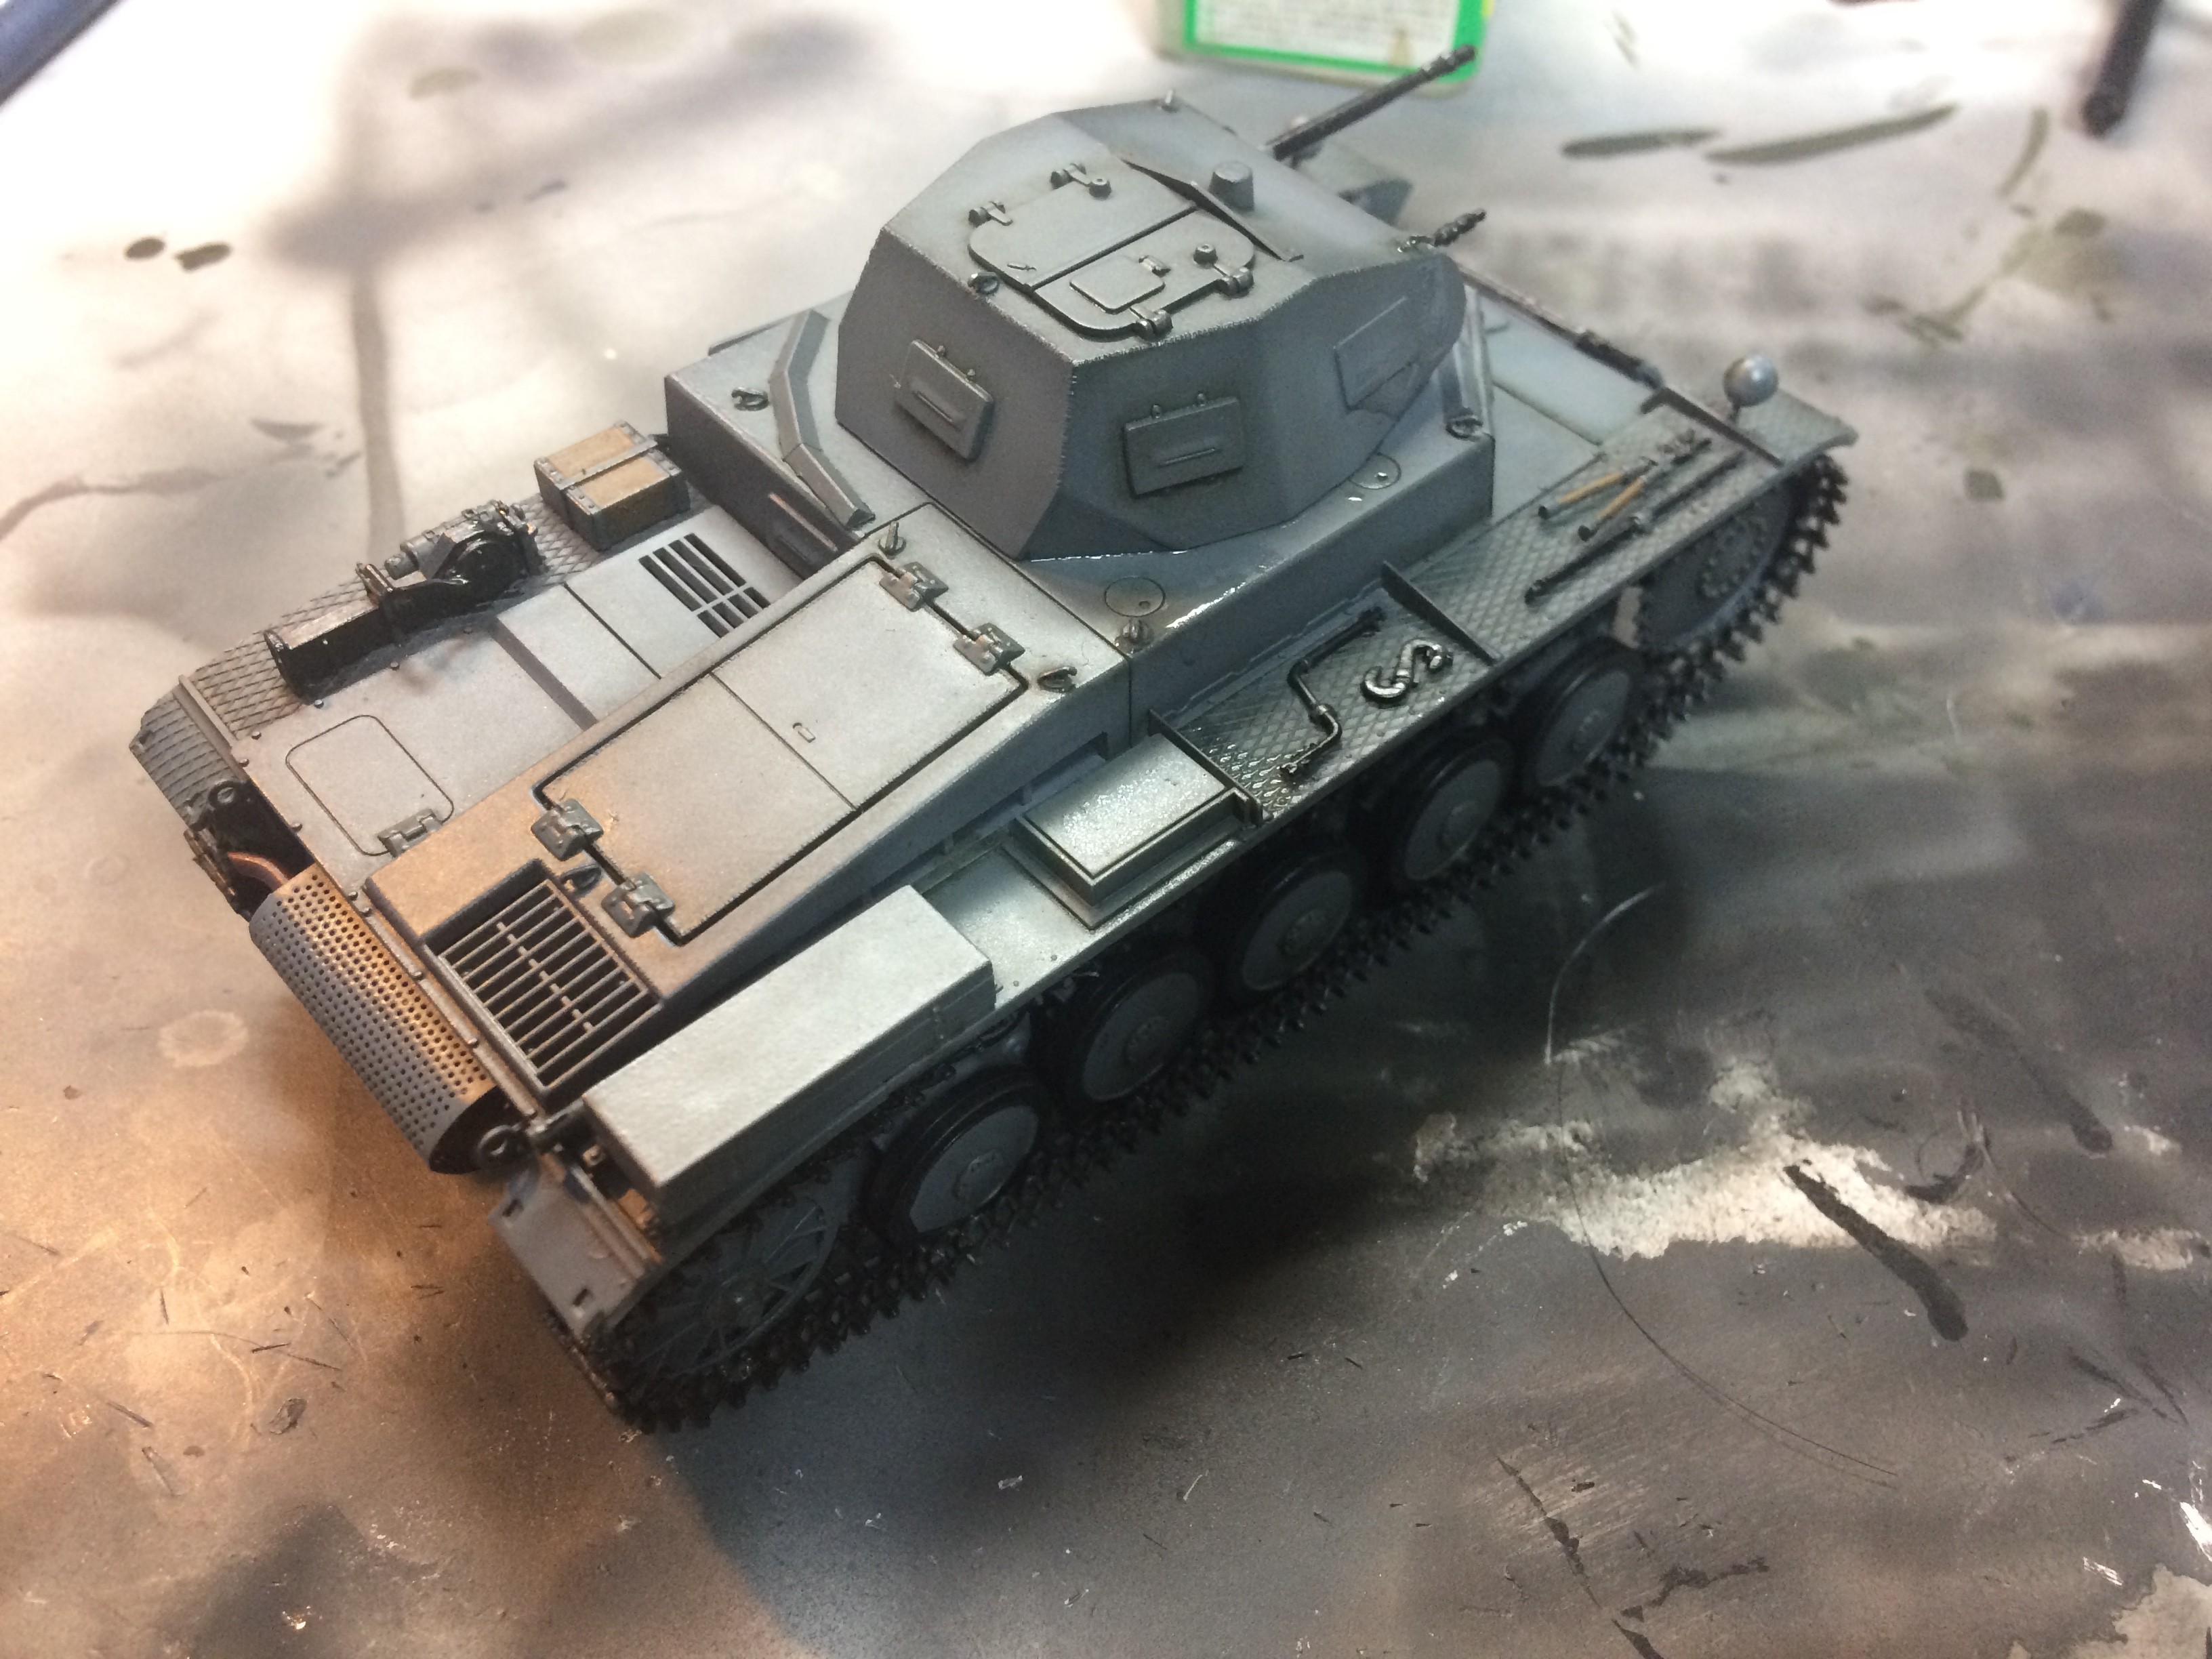
So here is state of construction after adding tracks and wheels:
And here comes some photos of final effects of shading process, on the second one I also finished some metal and wooden details.
So here is state of construction after adding tracks and wheels:
piotr_piotrowicz
Lodz, Poland
Joined: December 18, 2016
KitMaker: 6 posts
Armorama: 5 posts
Joined: December 18, 2016
KitMaker: 6 posts
Armorama: 5 posts
Posted: Saturday, April 28, 2018 - 12:24 PM UTC
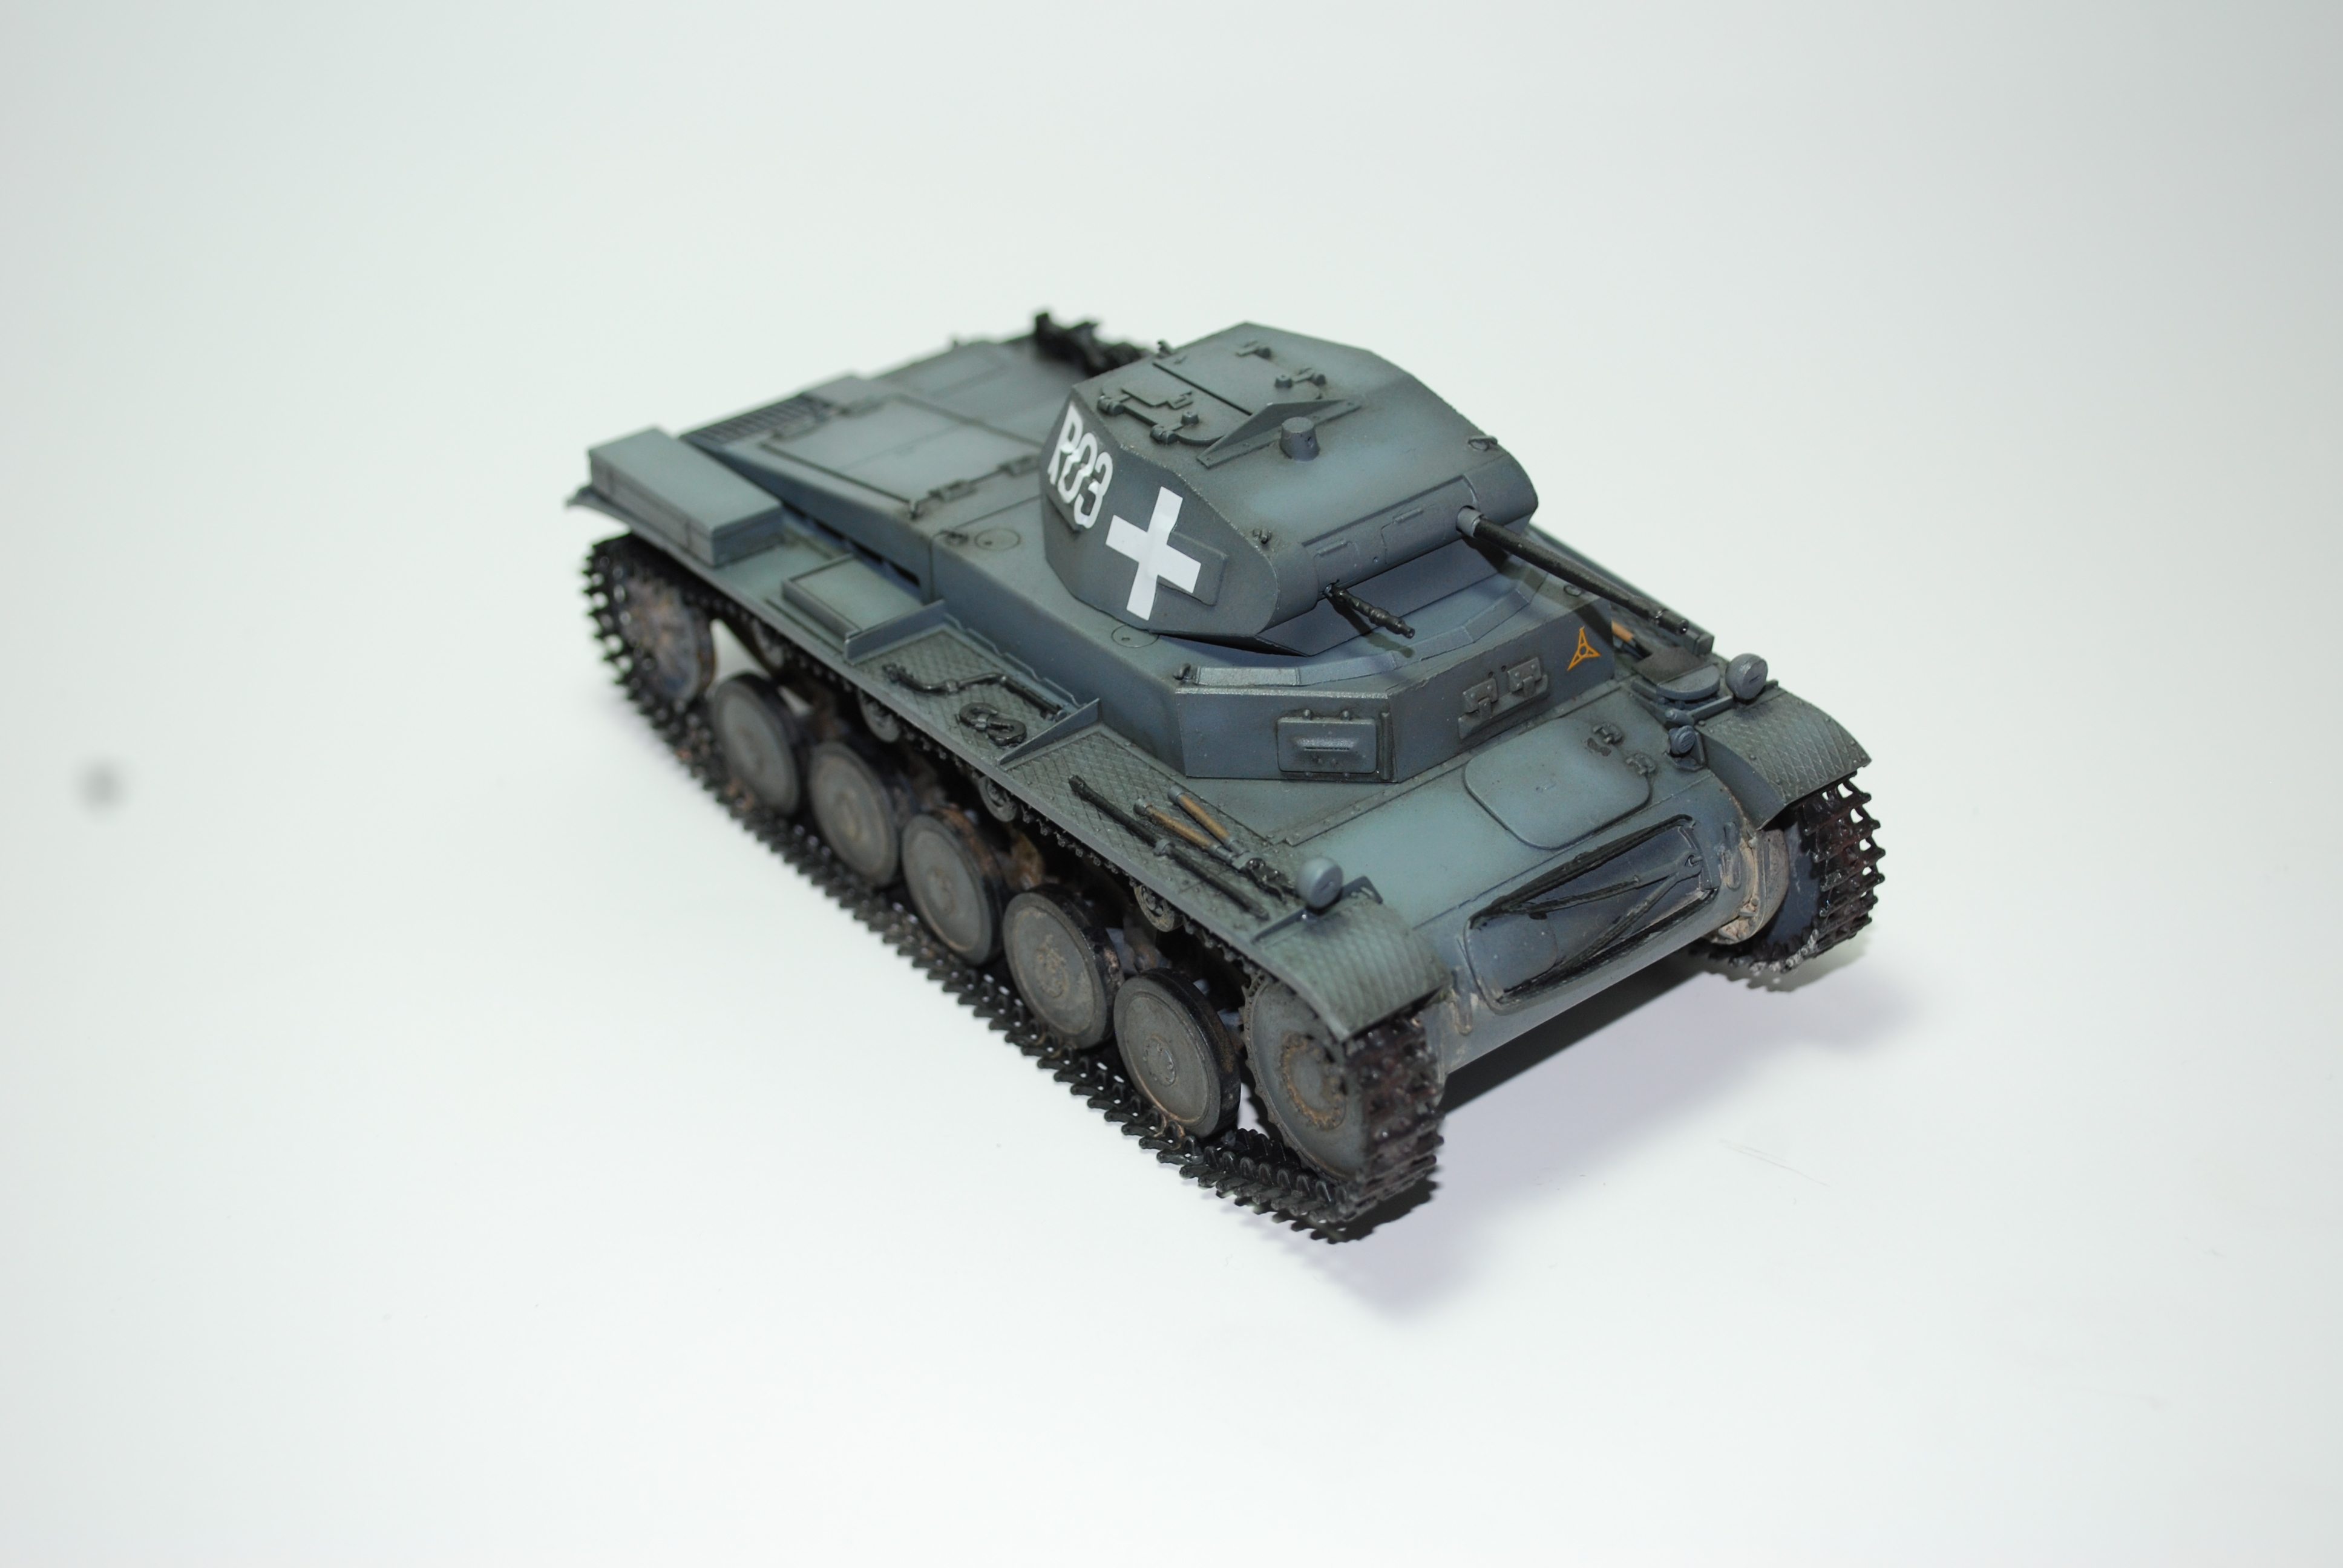
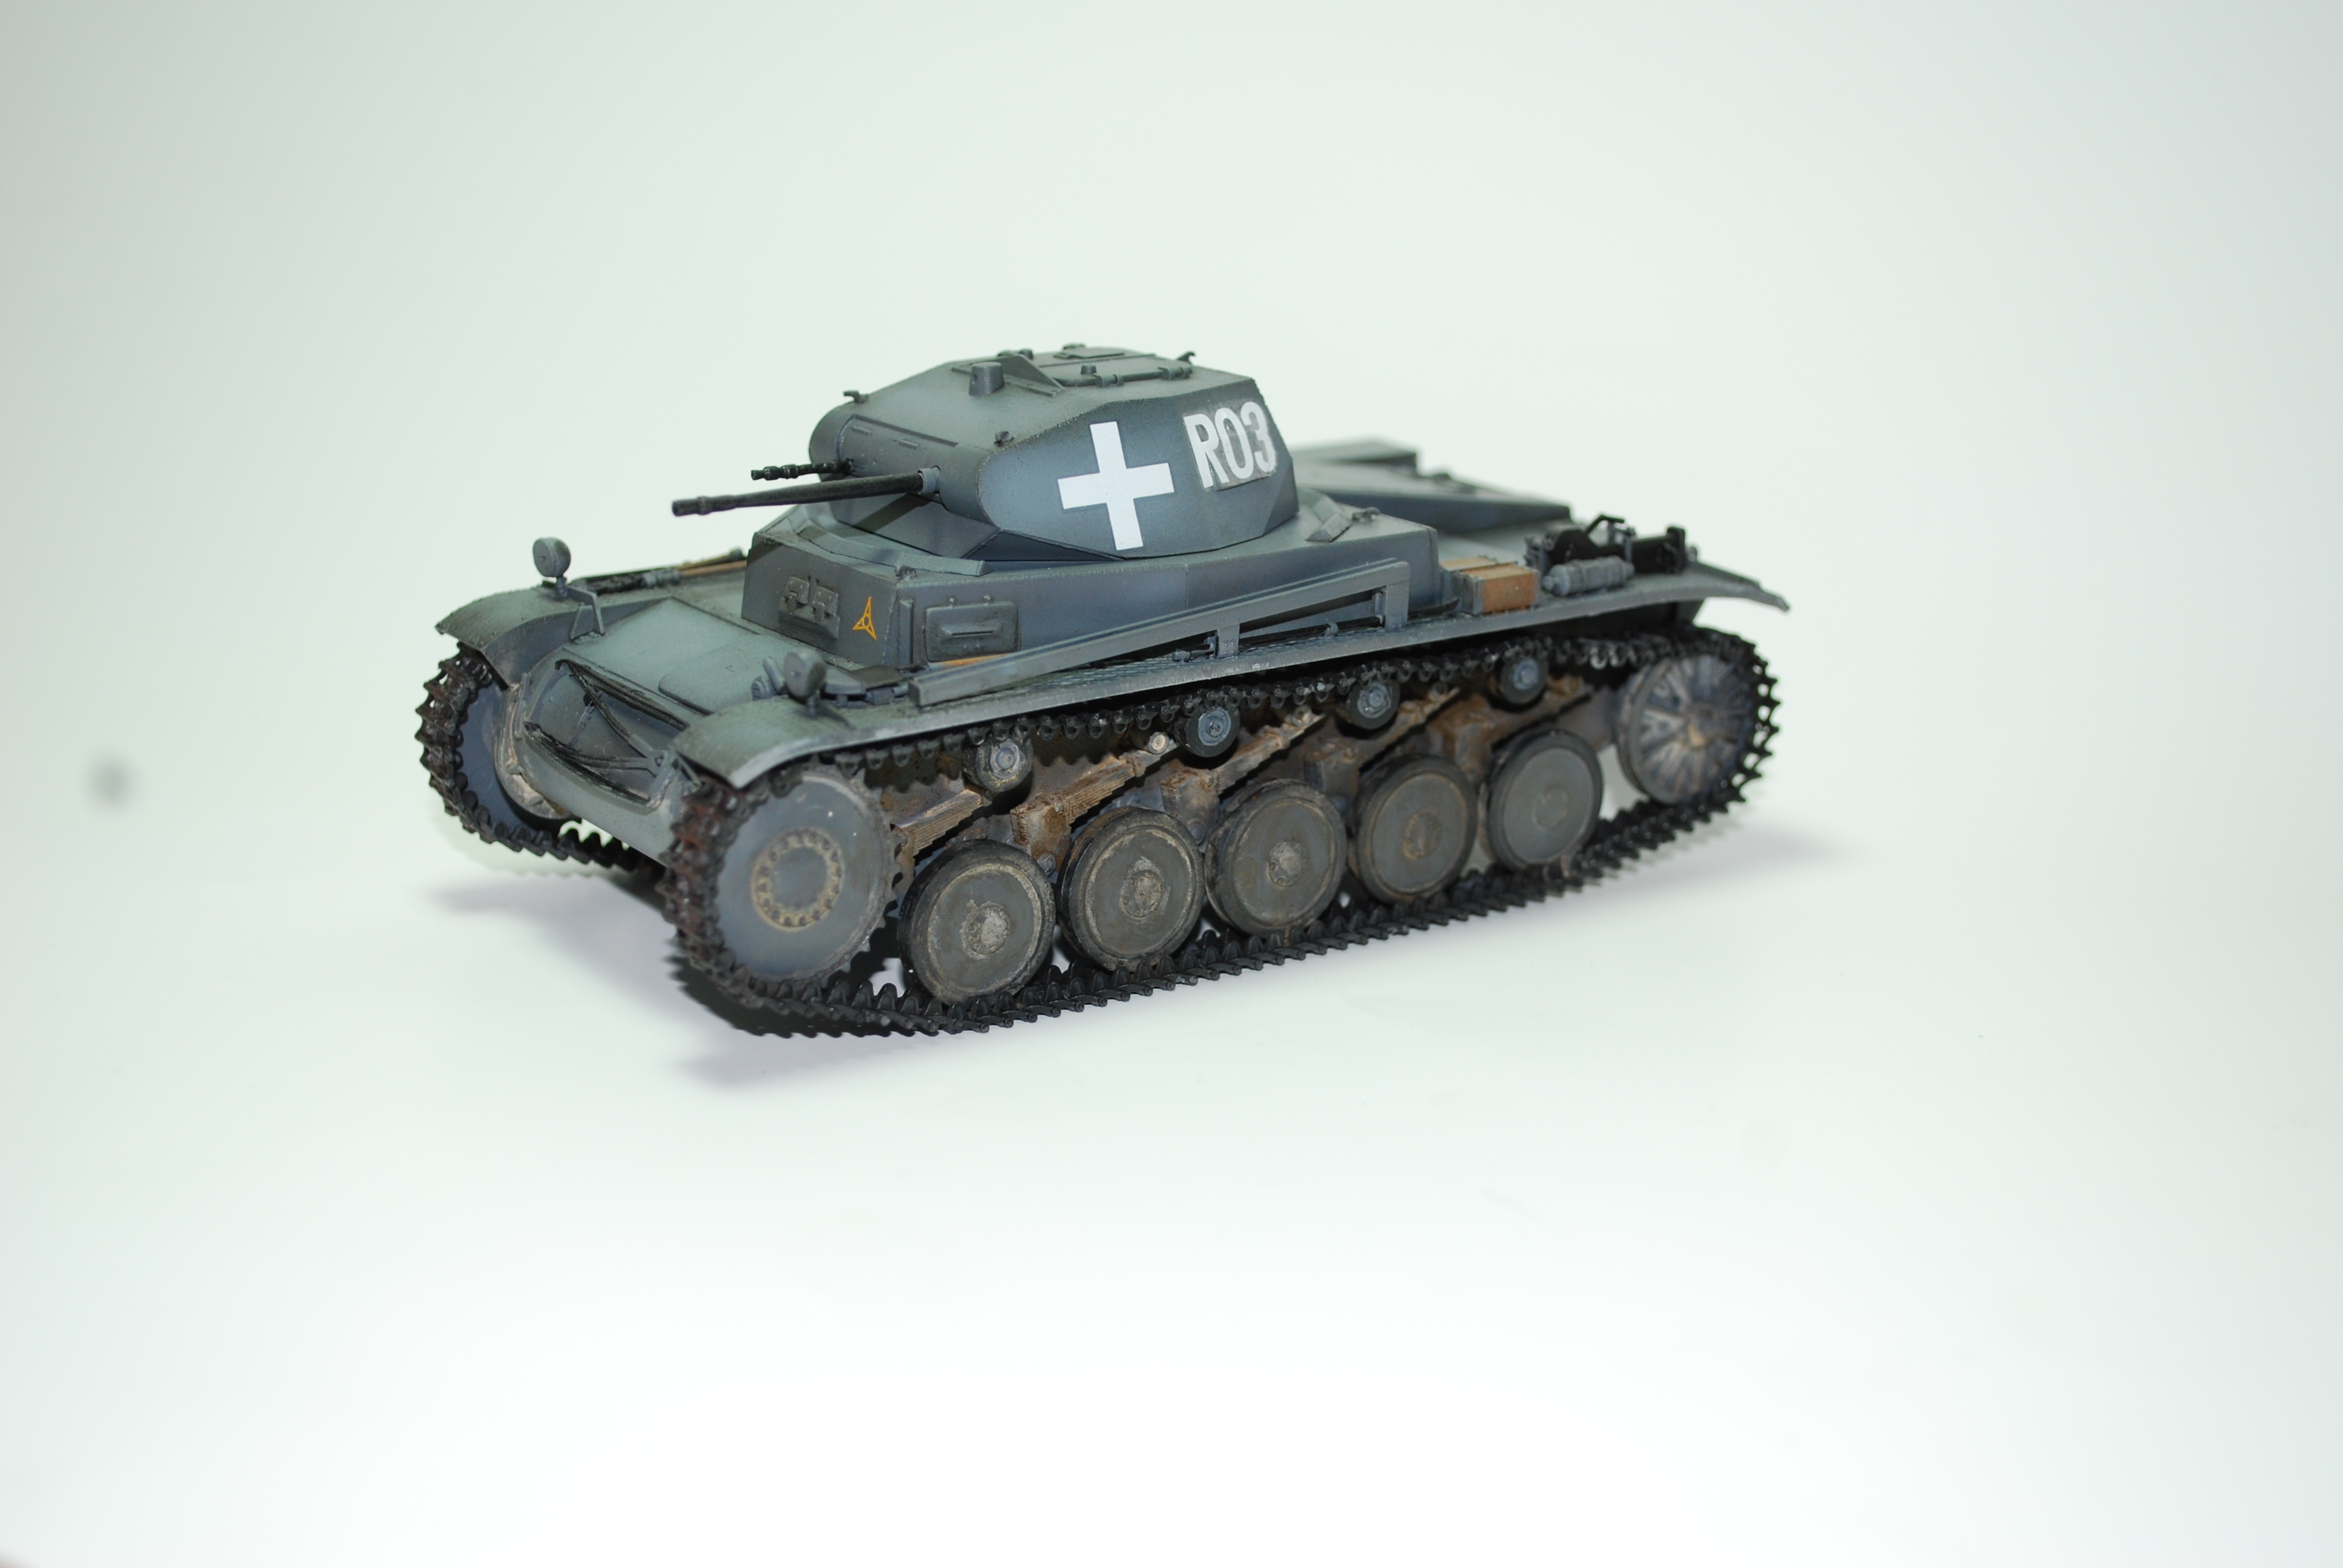
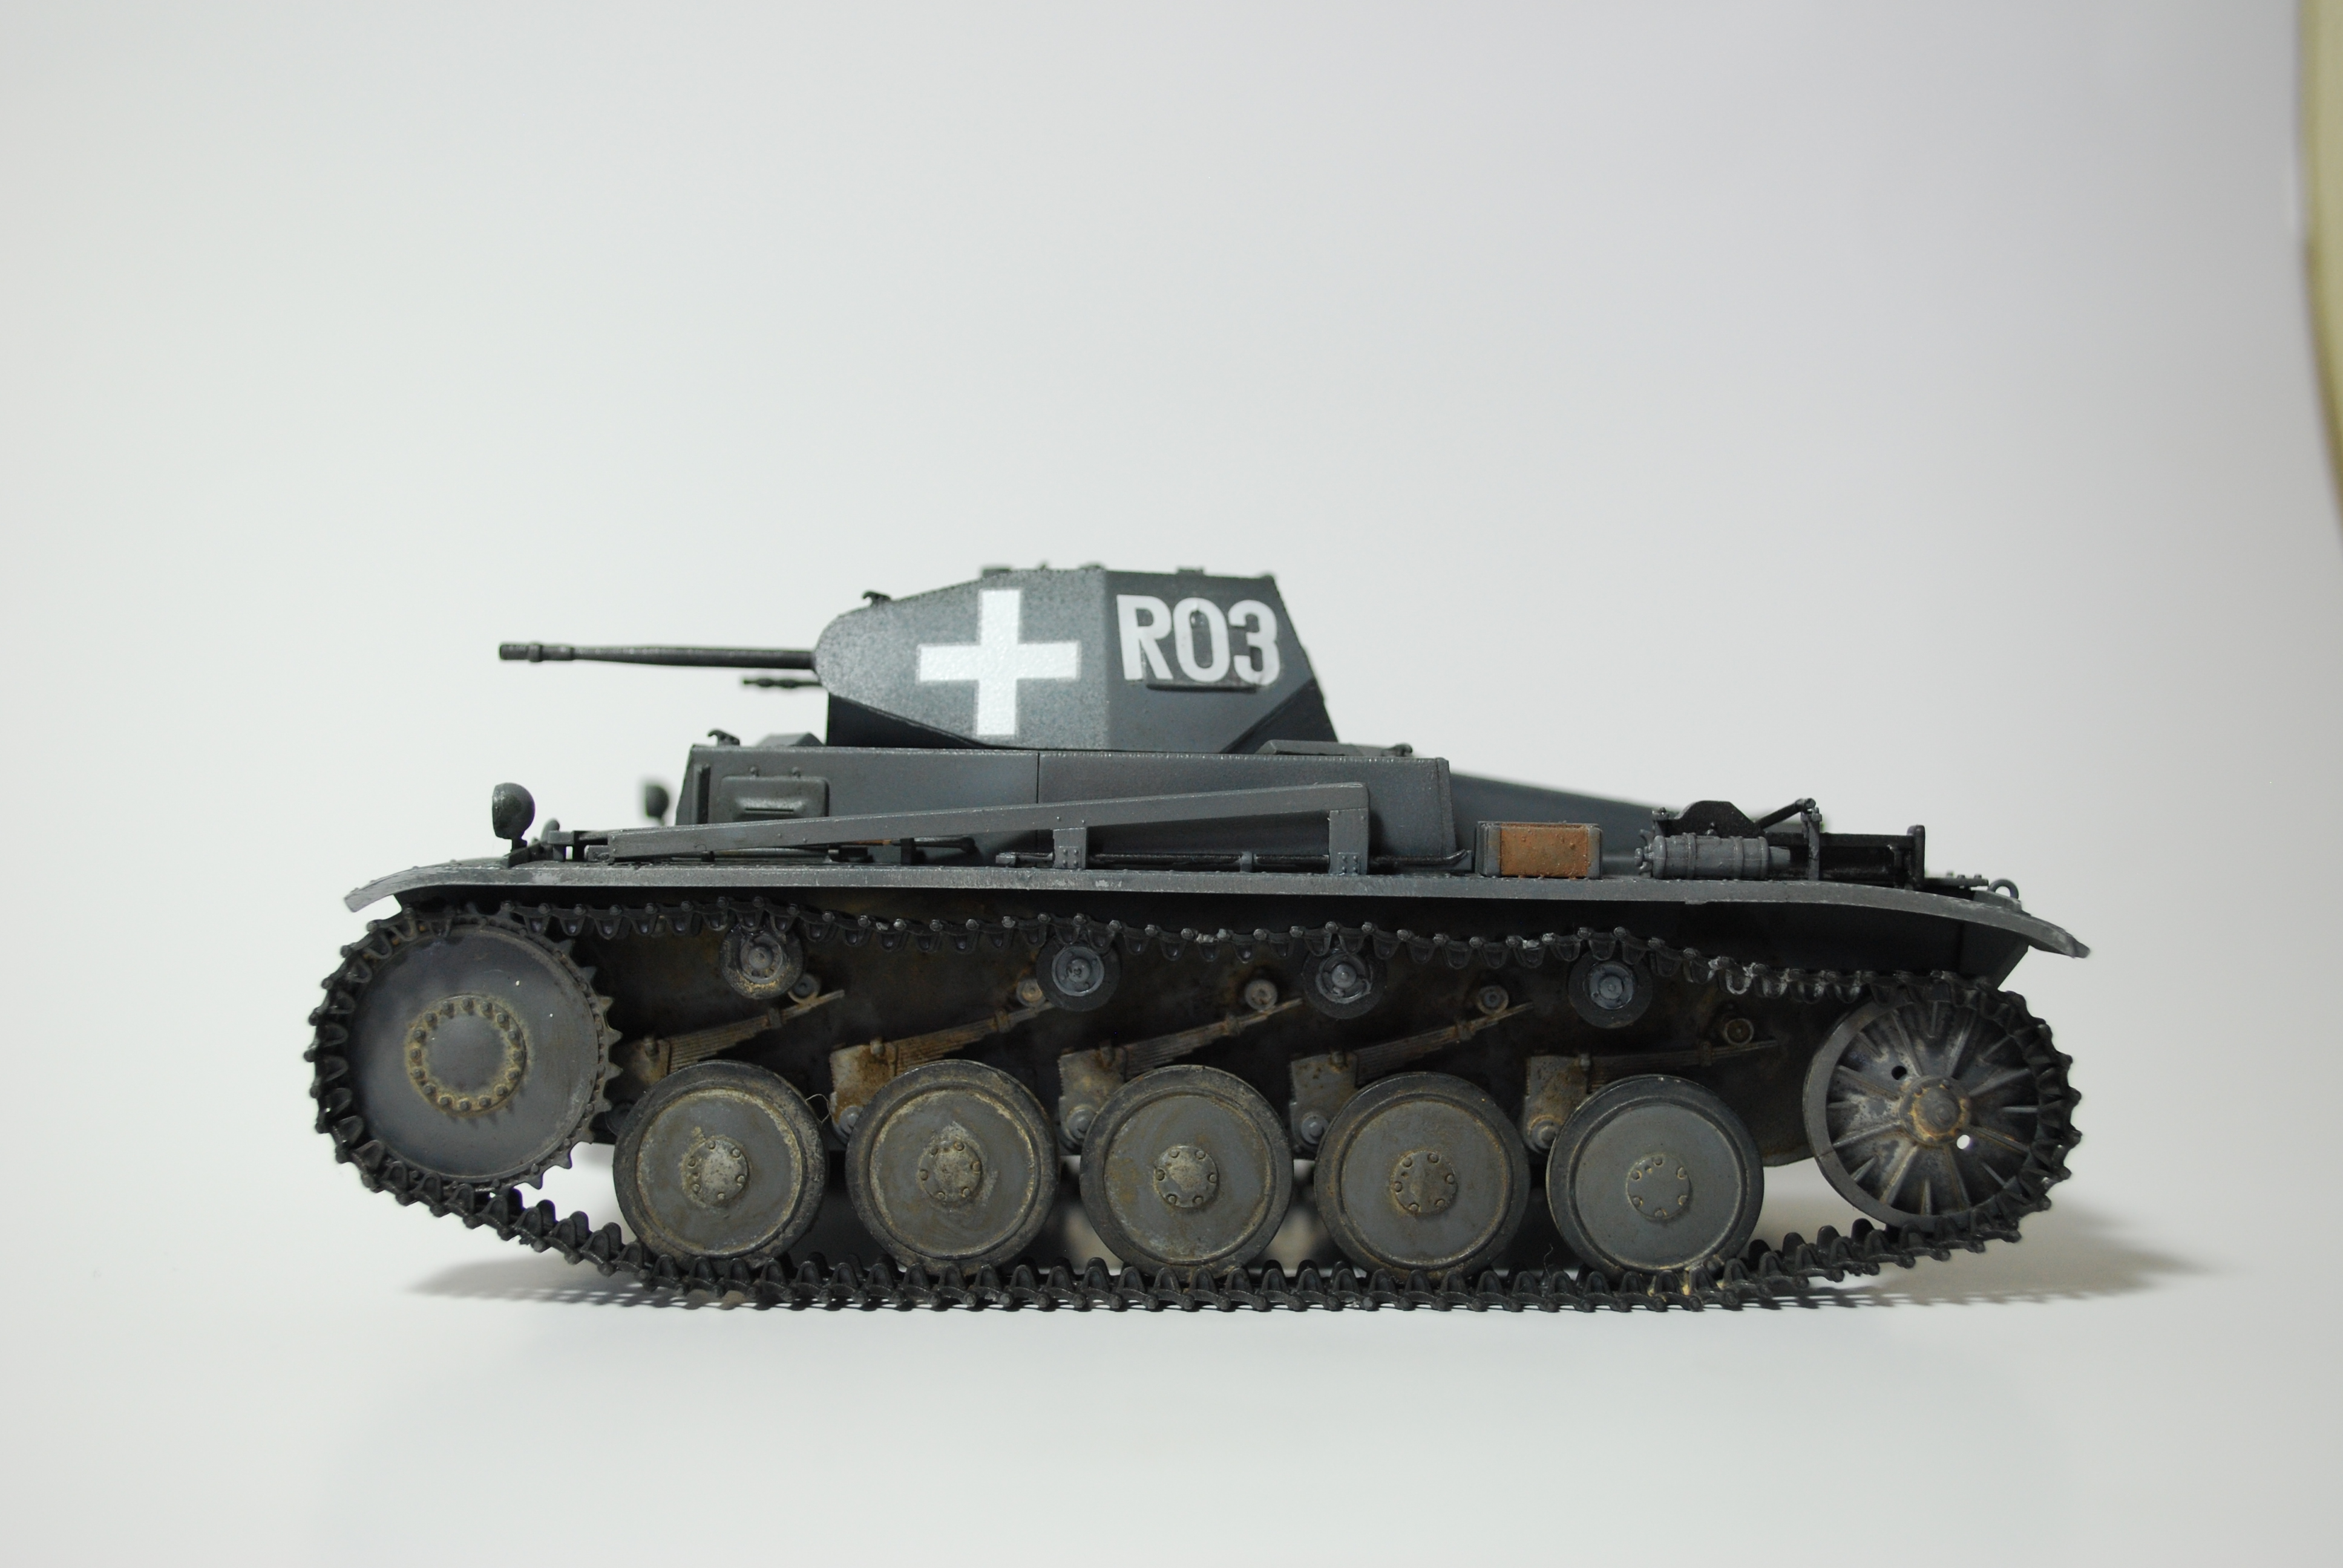
So... all good things must come to an end, and building a scale model tank is not an exception. I'm quite happy with colour modulation and wash effects (green tone really "blends in" to panzergrau nicely). To be honest, I'm not really satisfied with mud and dust effect on the chassis. What I tried to achieve here is the effect of kinda dark mud on the lower hull parts, and light dust marks on the moving parts (wells etc.). But I am not sure if it looks good after all
RobinNilsson
TOS Moderator
Stockholm, Sweden
Joined: November 29, 2006
KitMaker: 6,693 posts
Armorama: 5,562 posts
Joined: November 29, 2006
KitMaker: 6,693 posts
Armorama: 5,562 posts
Posted: Saturday, April 28, 2018 - 12:59 PM UTC
You did a good job on this
I also leave off the wheels and tracks and add them at the end.
My general rule is to assemble all the big parts first. This is to avoid breaking small parts when handling the big ones.
Assemble as much as possible before painting, this reduces the risk of glue ruining the paint.
The wheels need at least two colours (hub and rubber) so painting them after mounting them on the tank makes life difficult and it is a lot easier to paint the chassis inside of the wheels when the wheels are somewhere else. Weathering and mud should be done with the wheels and tracks in place, maybe some mud behind the wheels can be done first ...
/ Robin
Posted: Saturday, April 28, 2018 - 07:43 PM UTC
Peter,
I assume that by the markings this vehicle is in the Poland campaign? If so I wouldn't be to concern about the weathering as these vehicles didn't suffer much wear or weathering. If anything it should be covered in dust.
Any how, nice work with the paint job and the decals look really nice.
Mark
I assume that by the markings this vehicle is in the Poland campaign? If so I wouldn't be to concern about the weathering as these vehicles didn't suffer much wear or weathering. If anything it should be covered in dust.
Any how, nice work with the paint job and the decals look really nice.
Mark
piotr_piotrowicz
Lodz, Poland
Joined: December 18, 2016
KitMaker: 6 posts
Armorama: 5 posts
Joined: December 18, 2016
KitMaker: 6 posts
Armorama: 5 posts
Posted: Saturday, May 05, 2018 - 11:31 AM UTC
Thanks guys for all feedback Yup markings are from polish campaign, and indeed as I looked at photos vechicels haven't got any Chance to get really messy in there. Next time I will try something with Barbarossa campaign - it will be a great opportunity to put a decent amount of mud
And about those decals - it was a horror to put those on. I used Gunze mark setter and softer, but it still was a mess because I had to put those marks over pretty complicated elements. Next time I will think about using template
dhines
Nova Scotia, Canada
Joined: November 17, 2015
KitMaker: 407 posts
Armorama: 373 posts
Joined: November 17, 2015
KitMaker: 407 posts
Armorama: 373 posts
Posted: Monday, May 07, 2018 - 06:49 AM UTC
Hi Peter,really nice job. I really like the subtle weathering. Great job all around. Best regards....Dale