Thanks a lot Tobias.
Here's the last part of my build where I deal with the weathering.
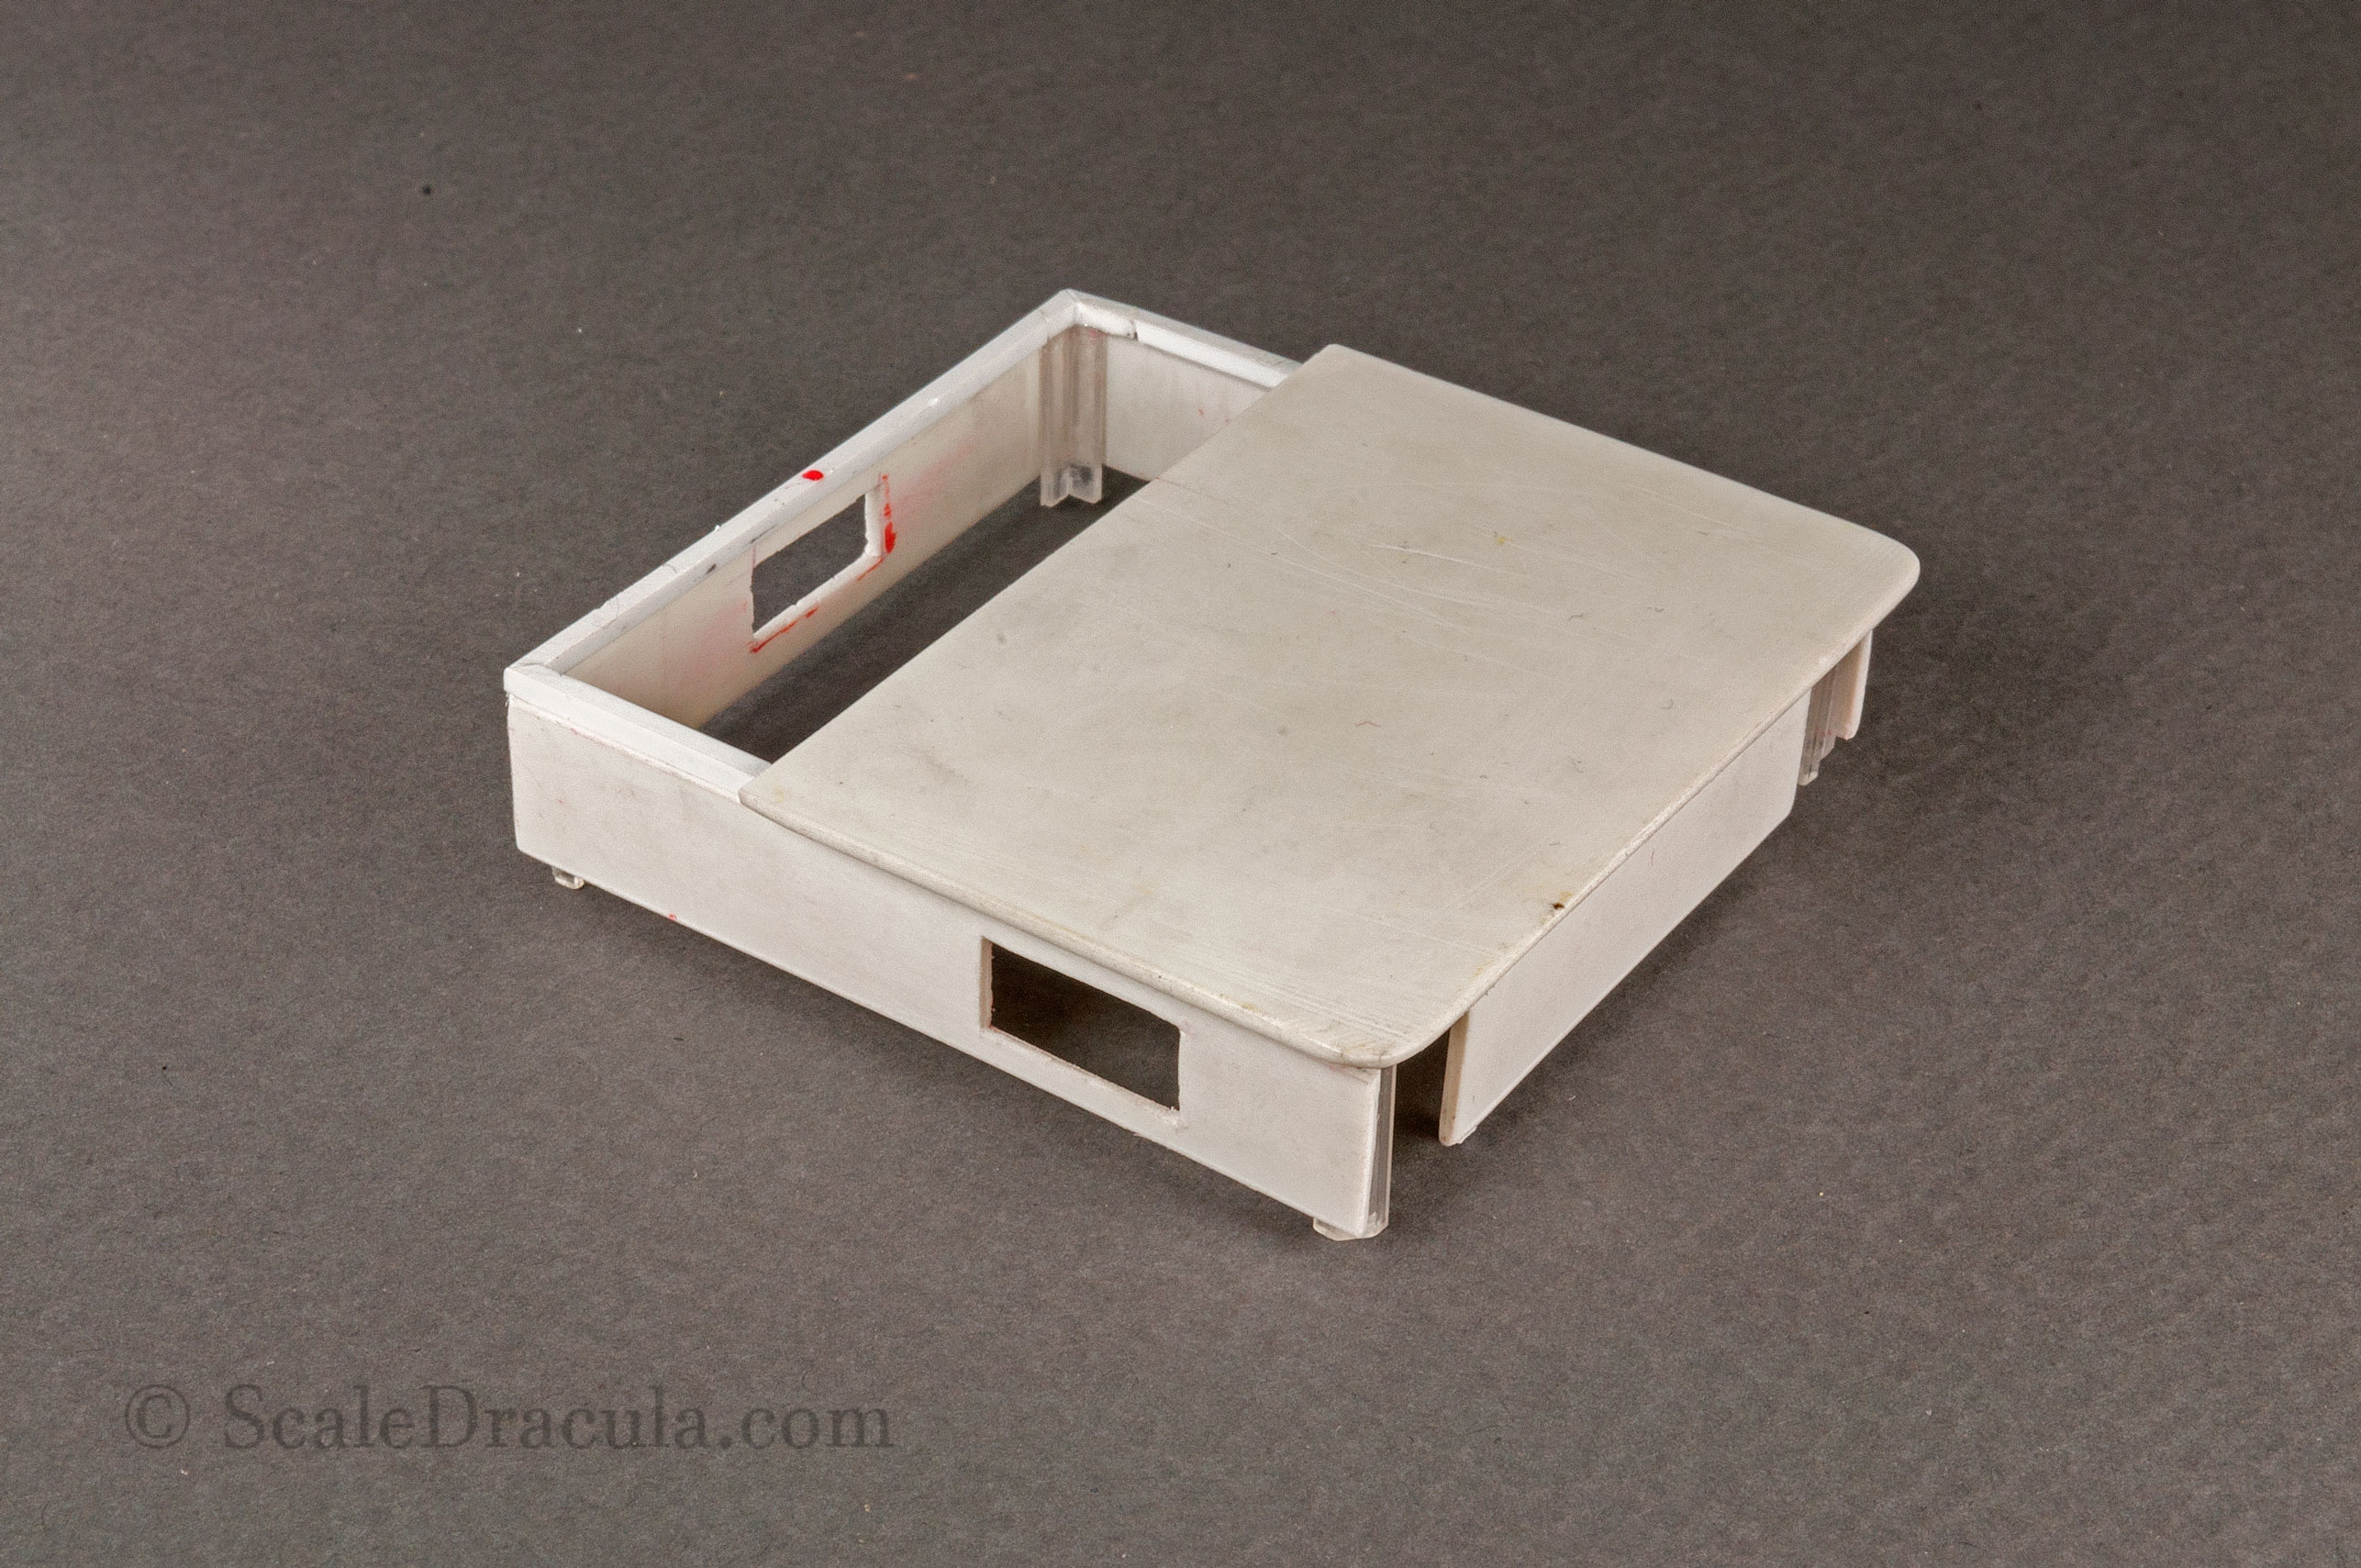
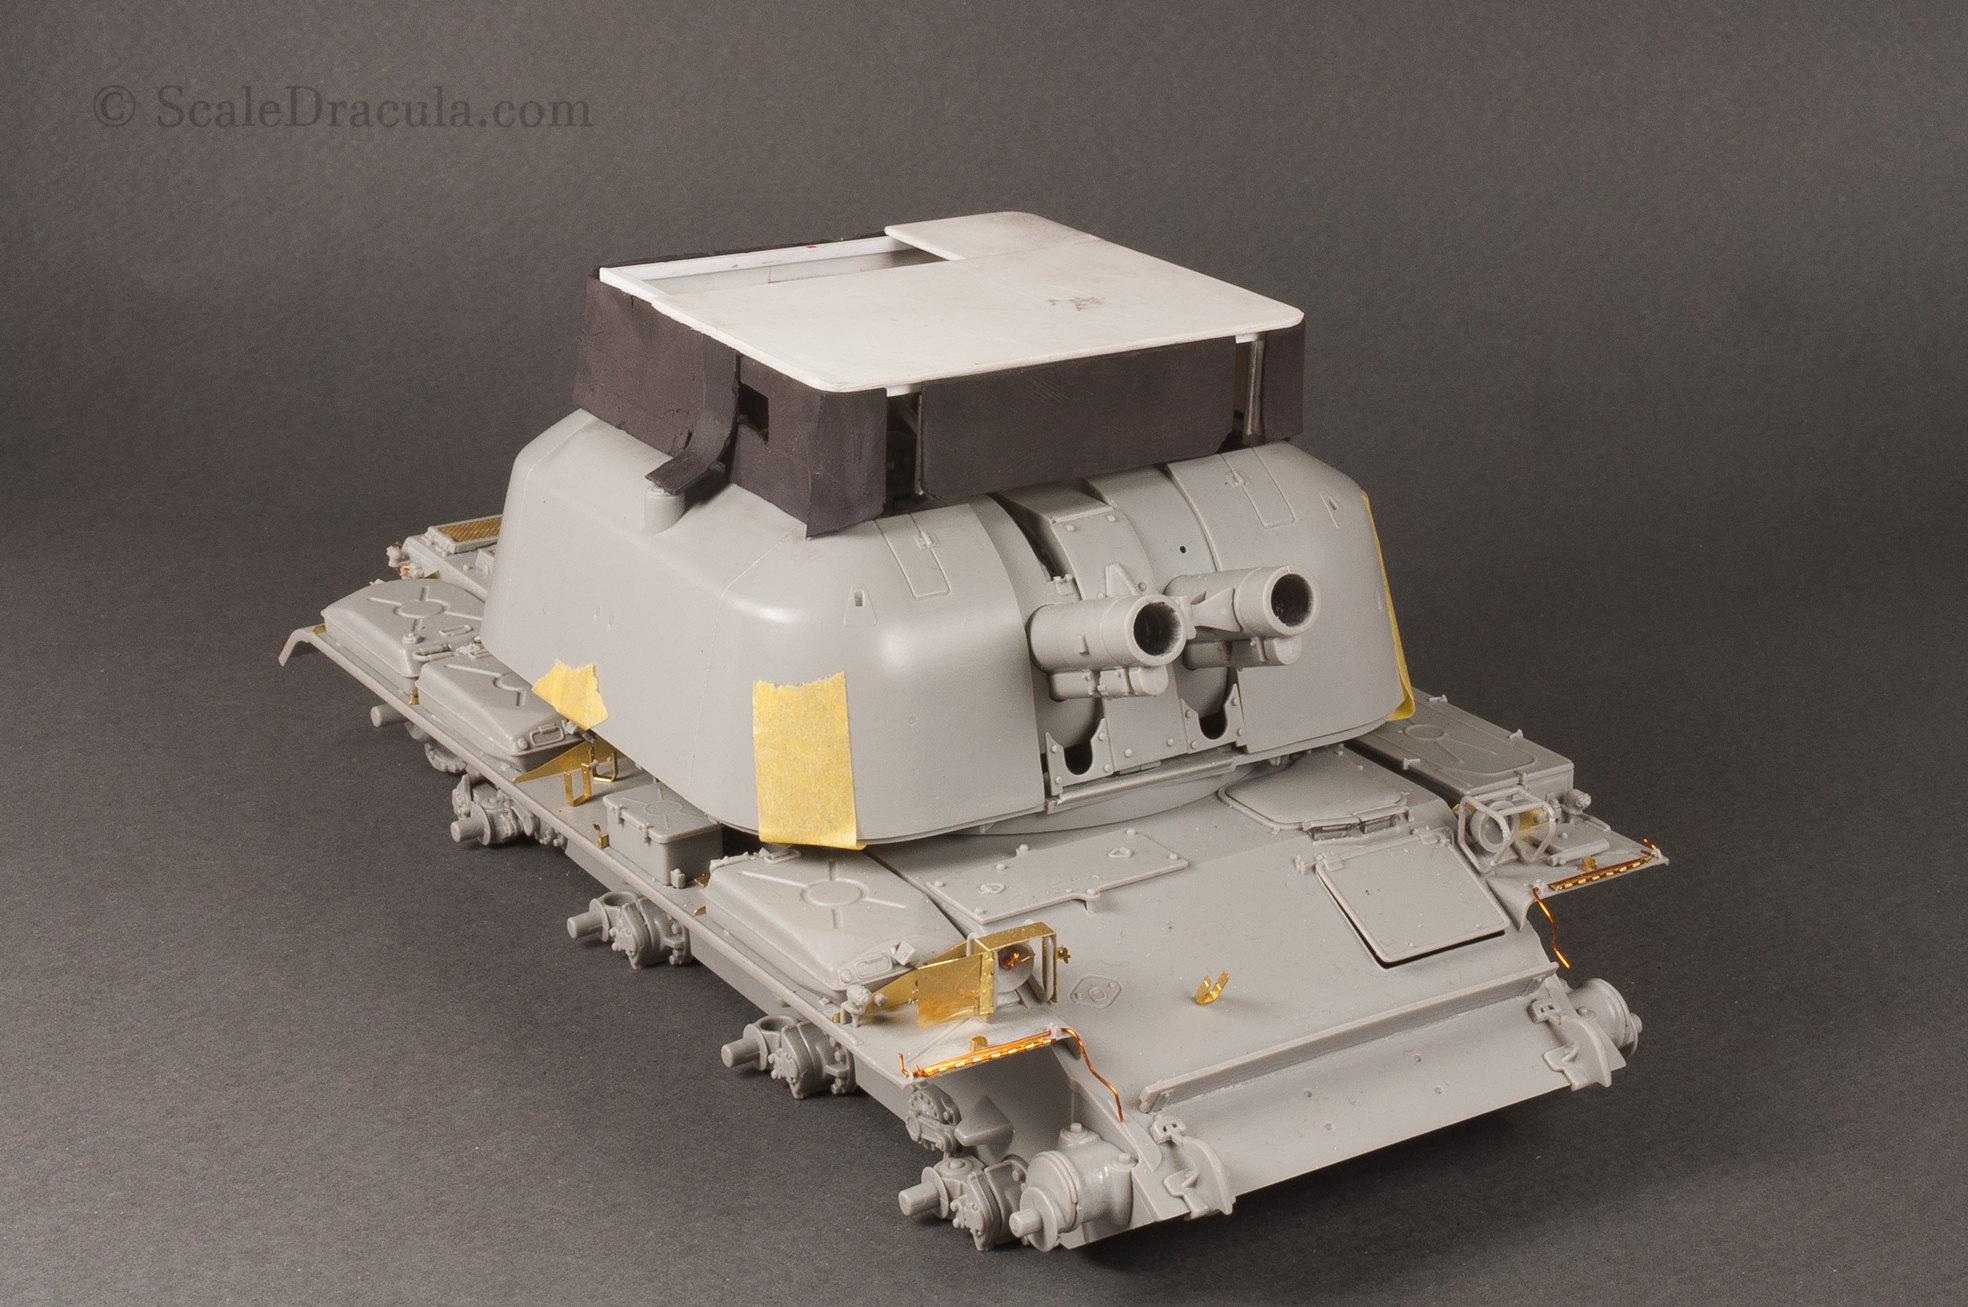
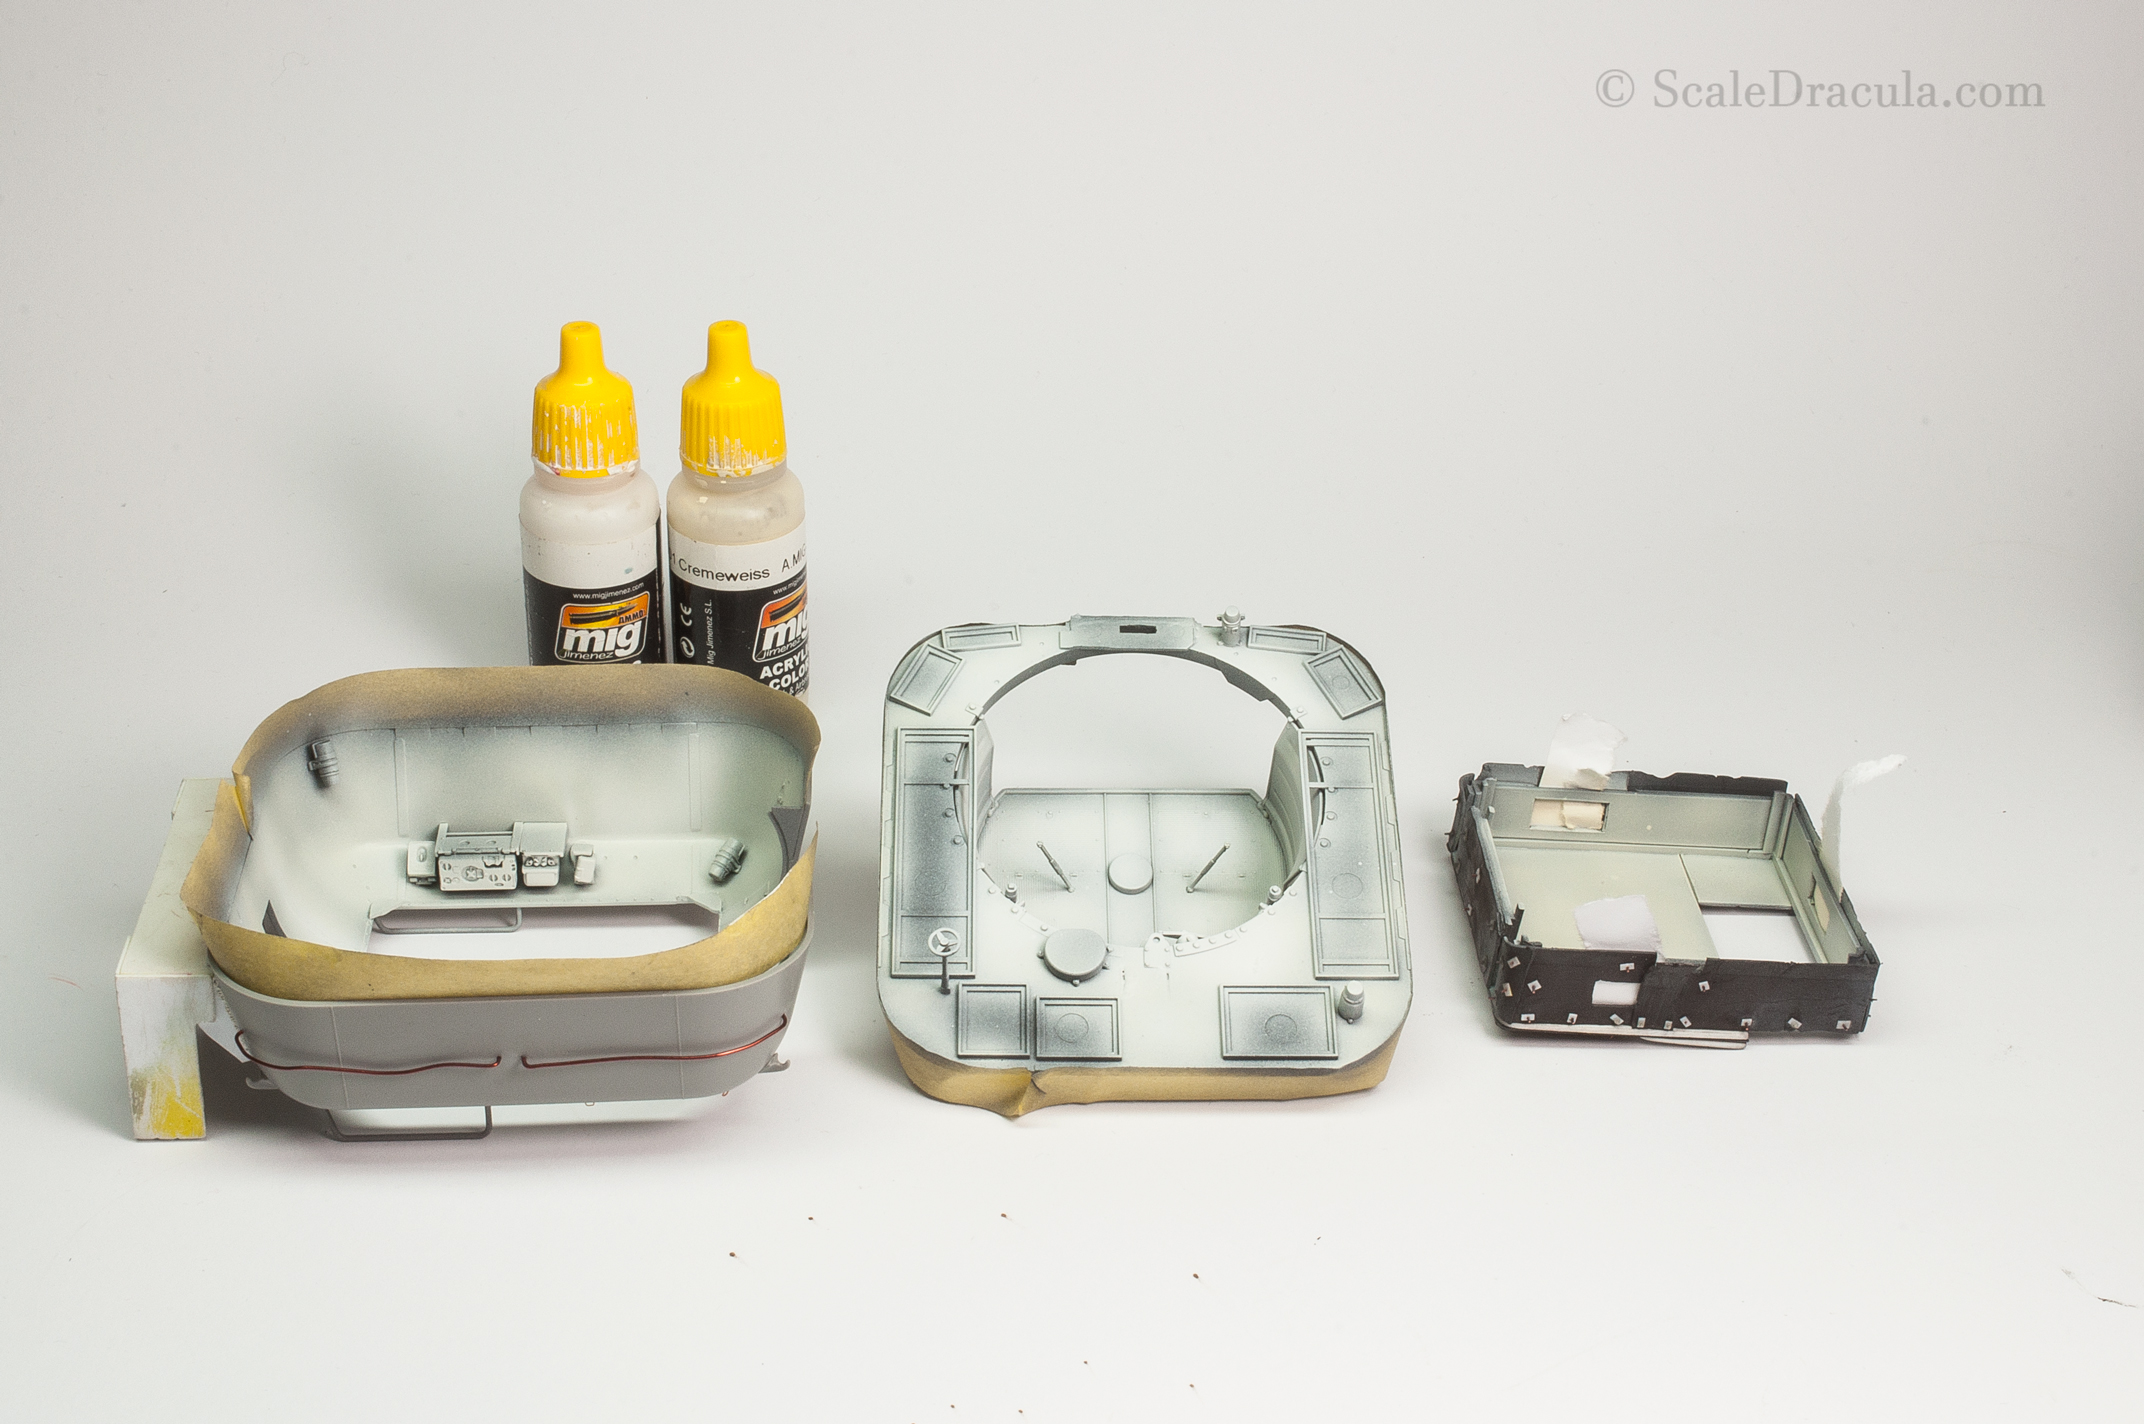
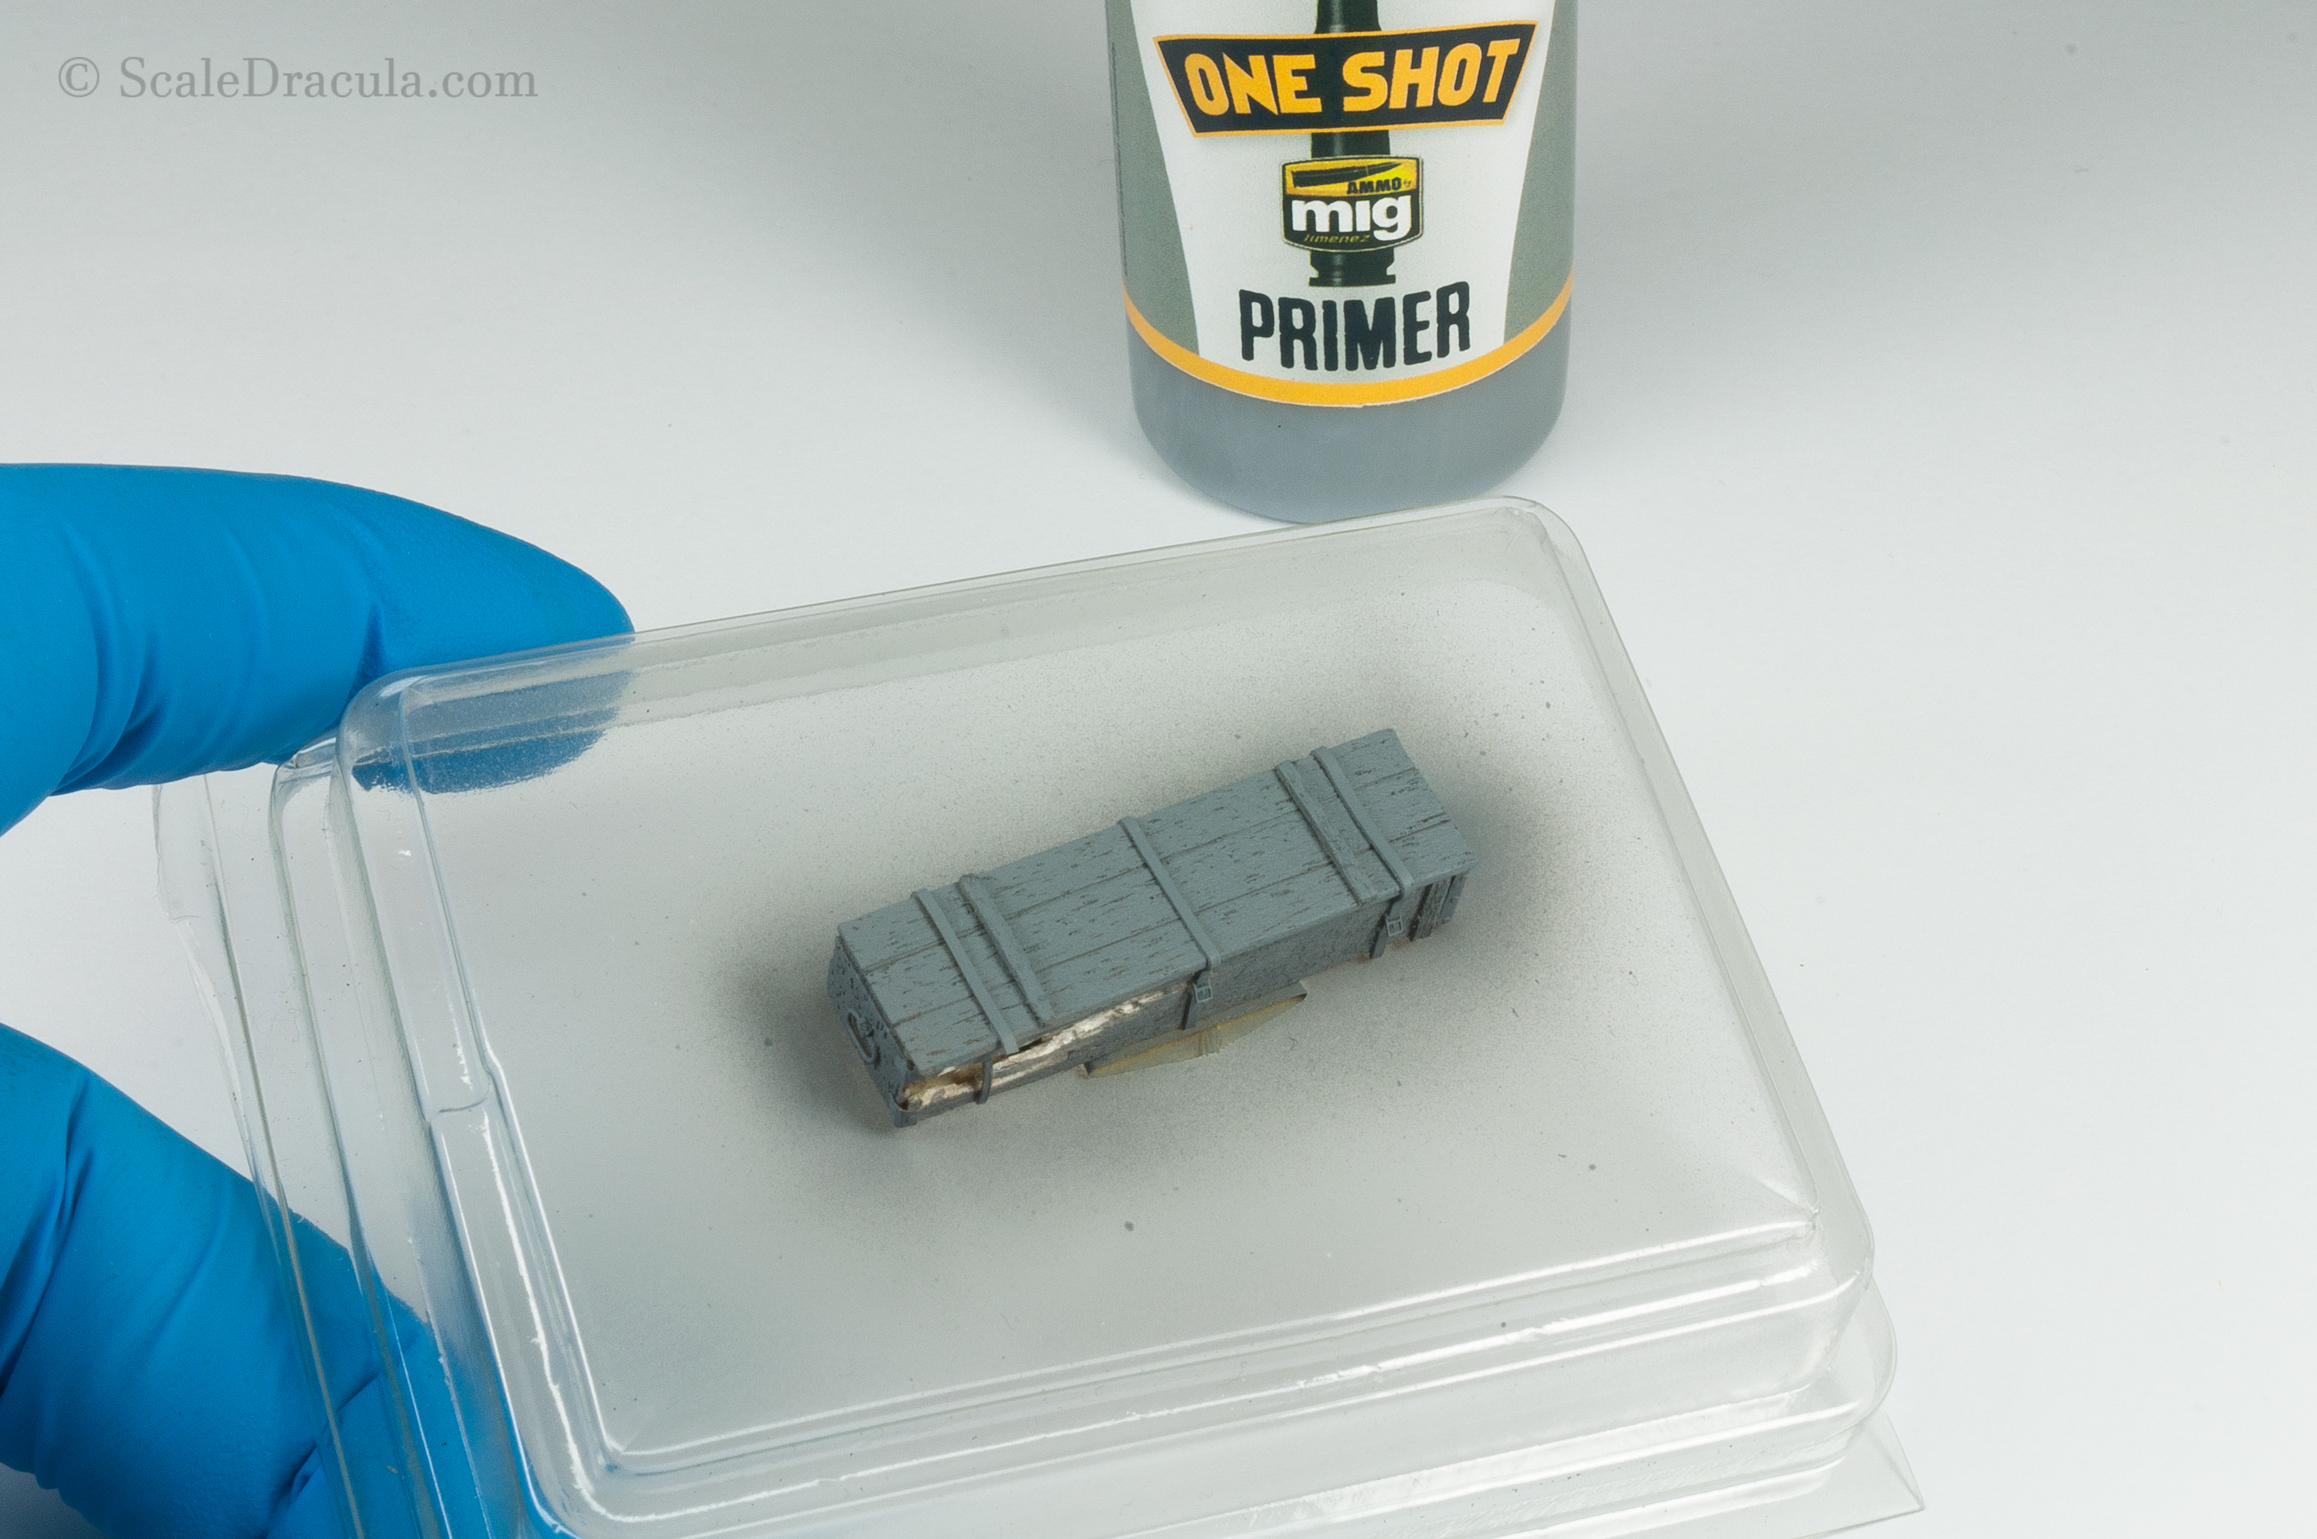
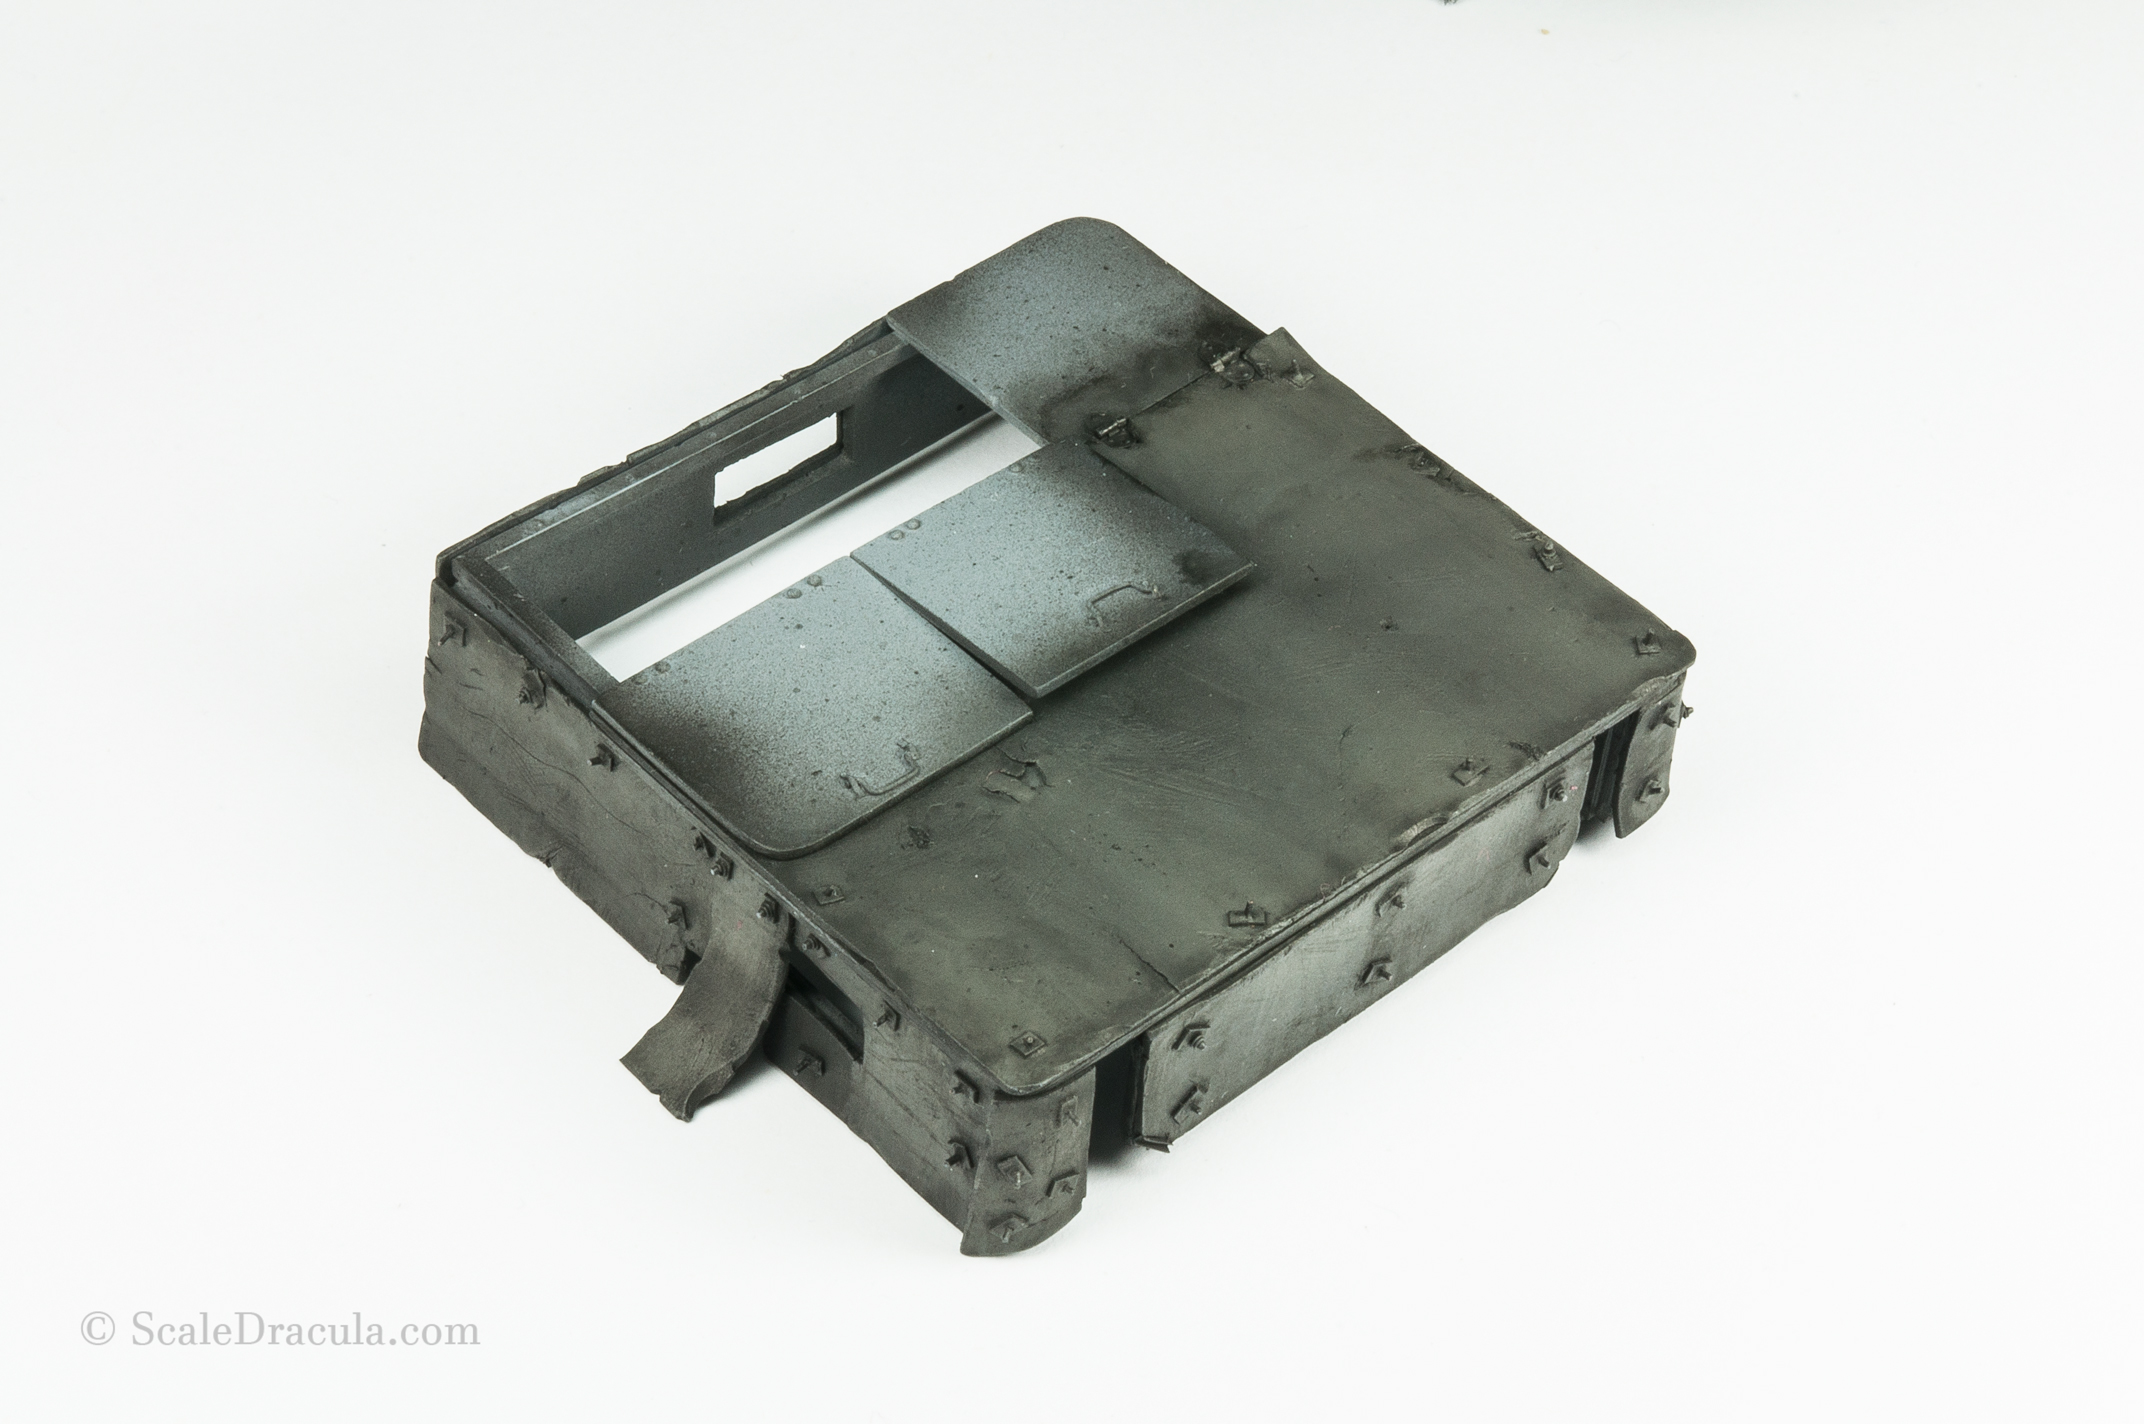
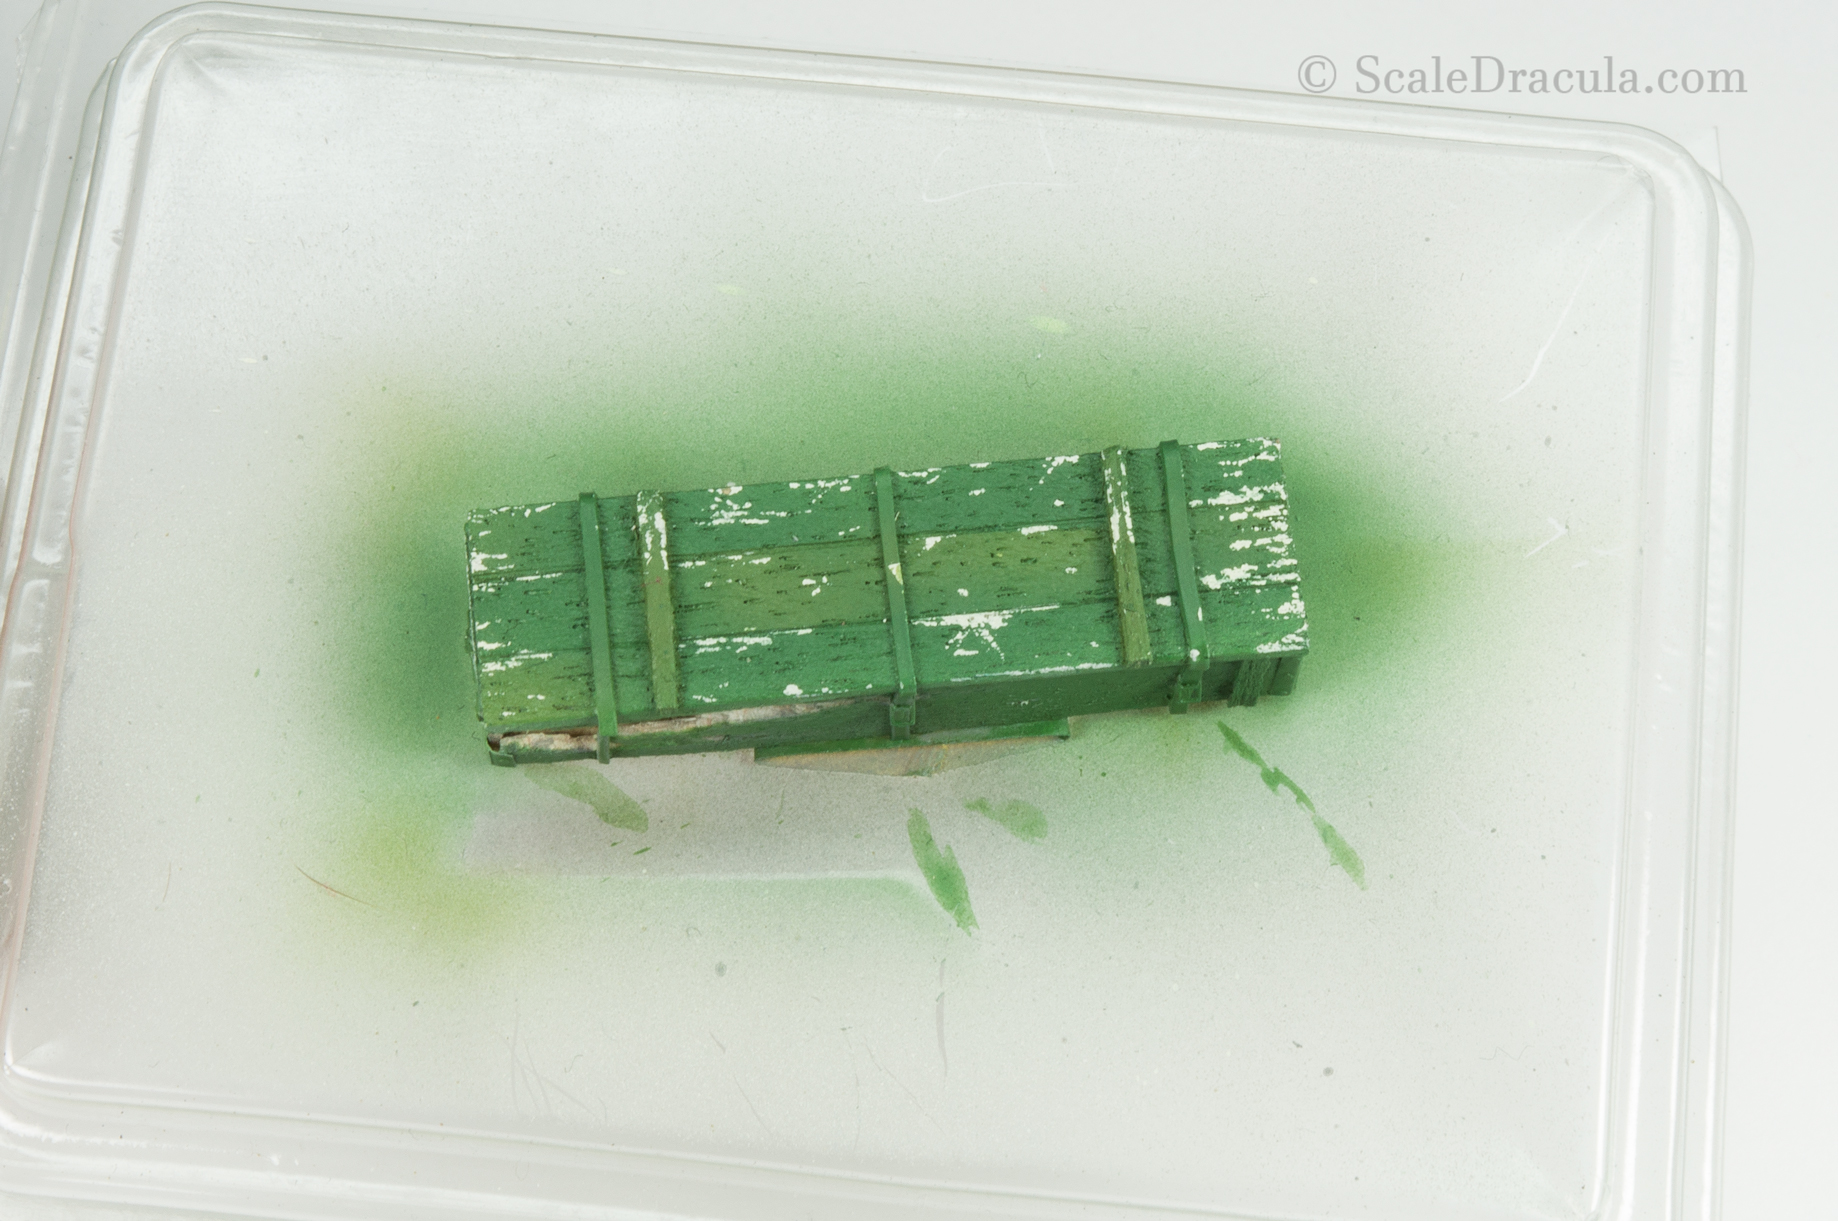
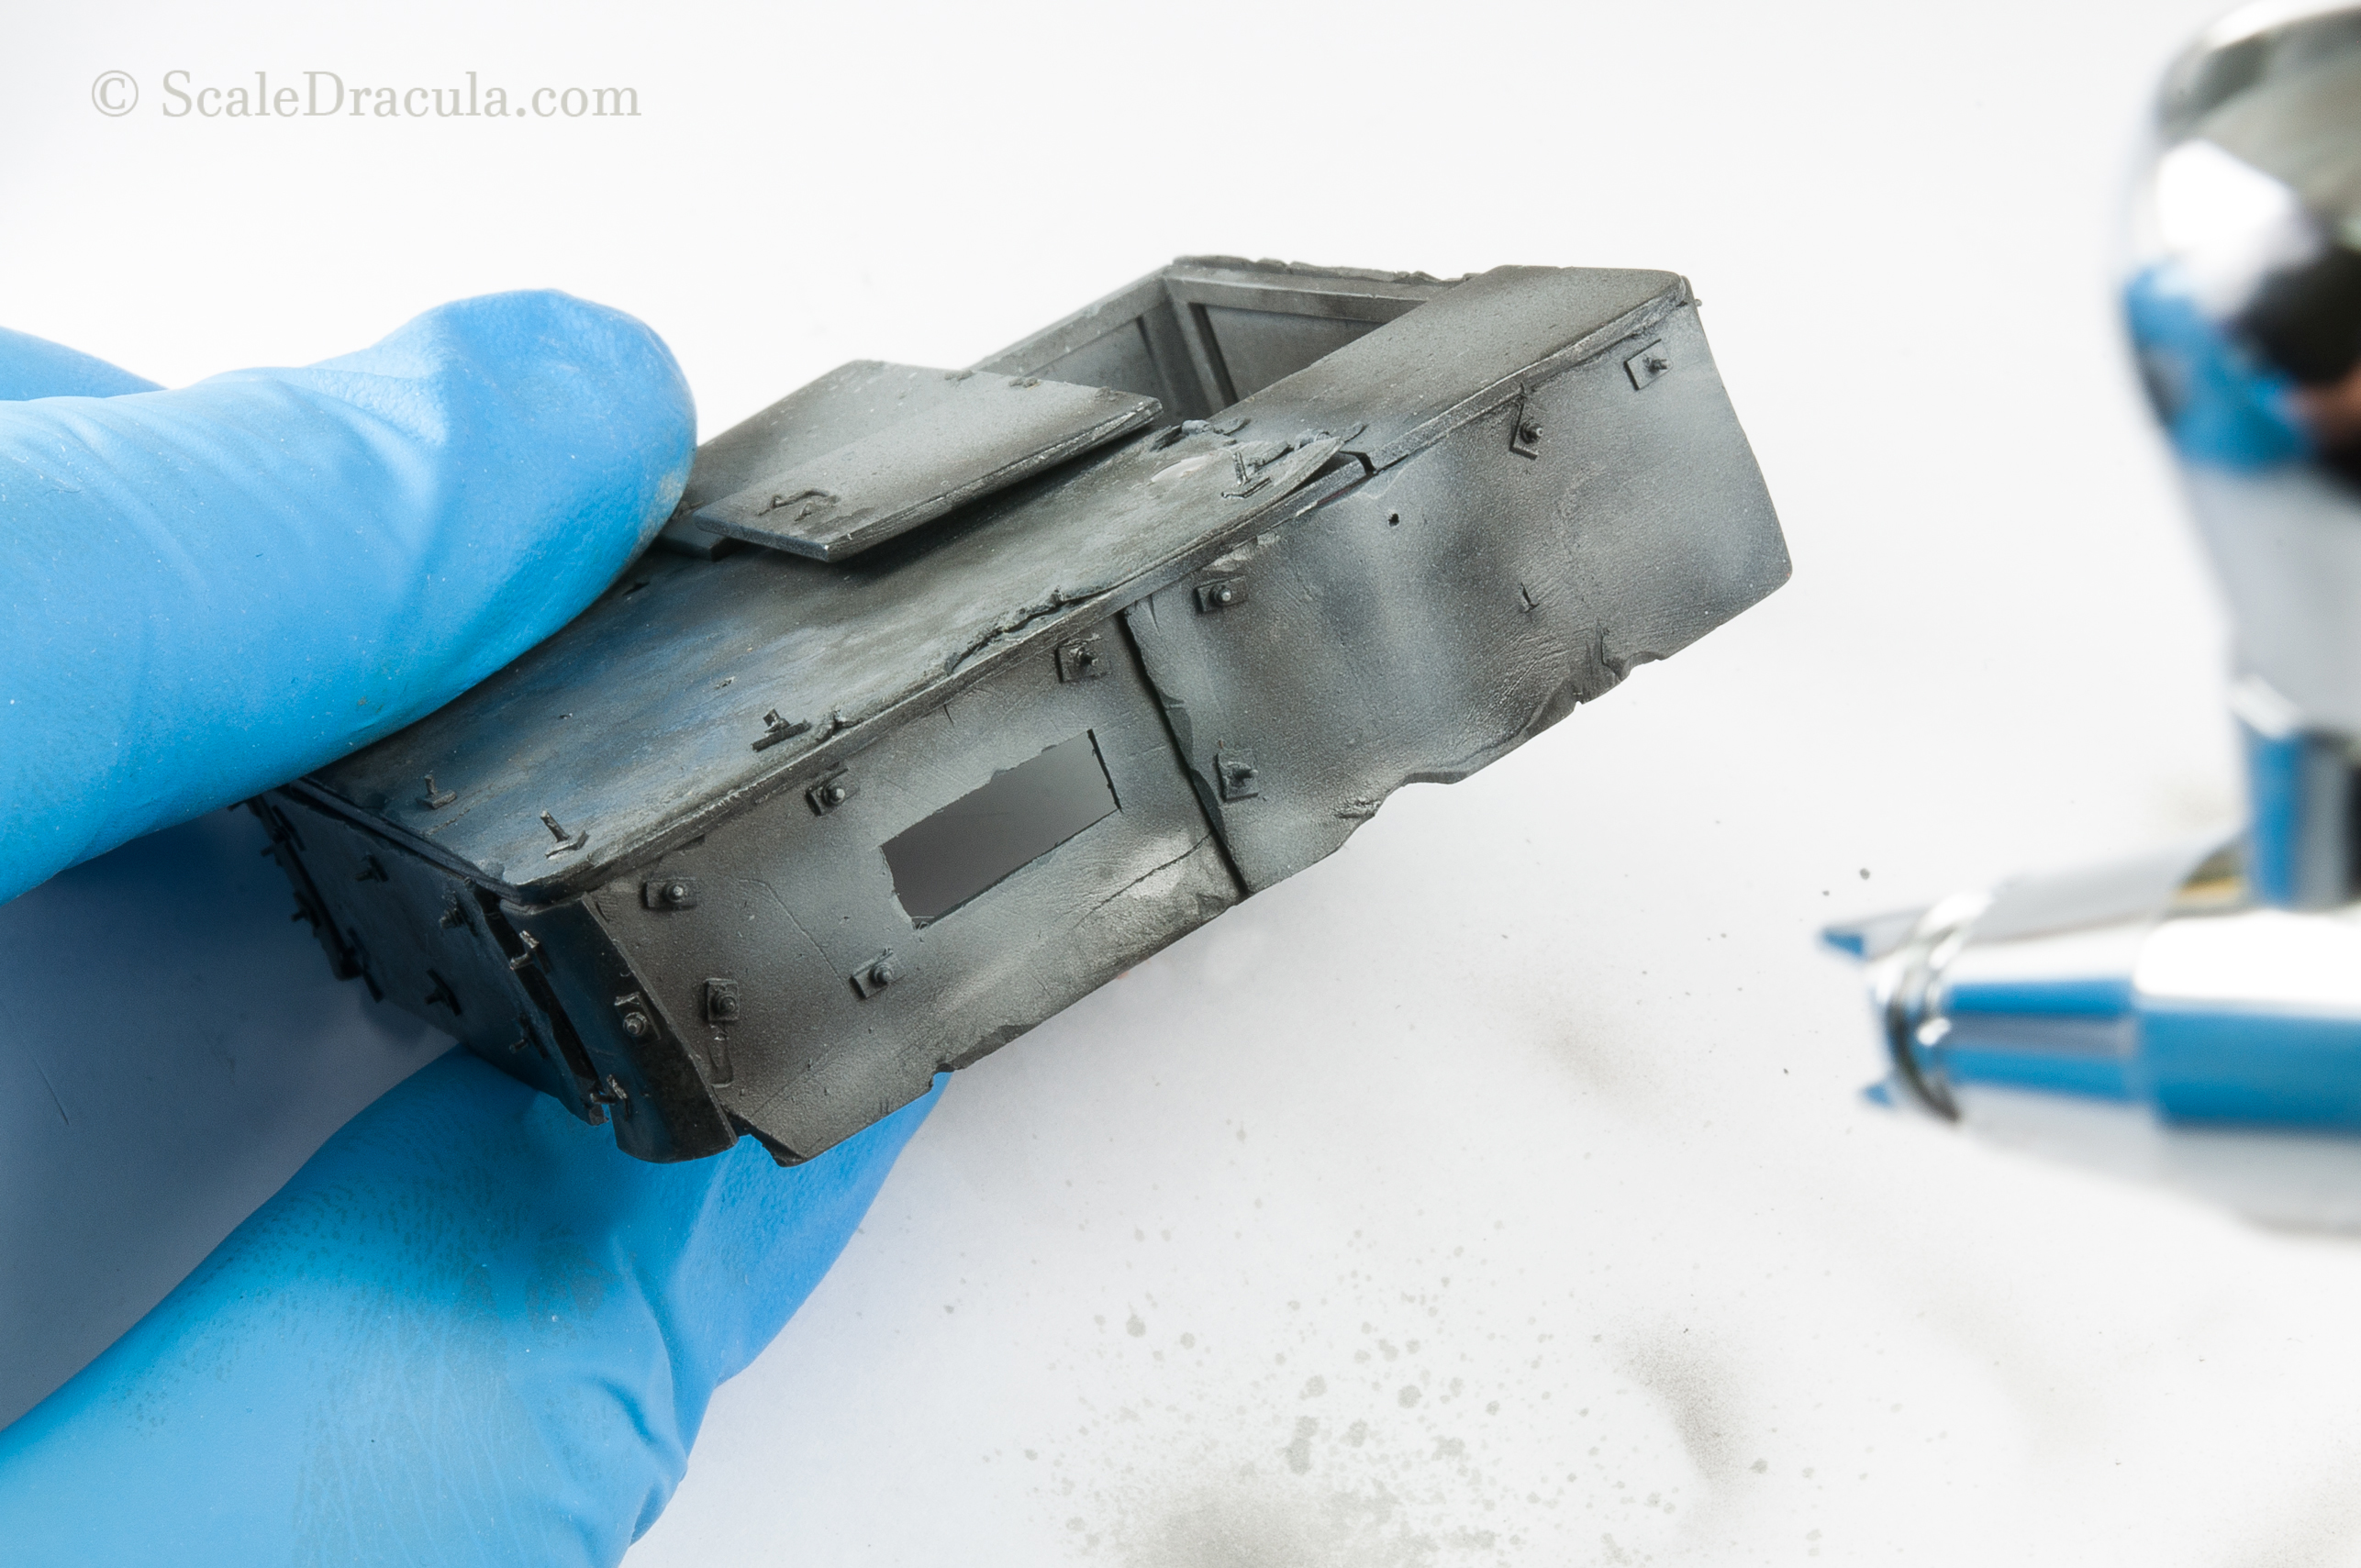
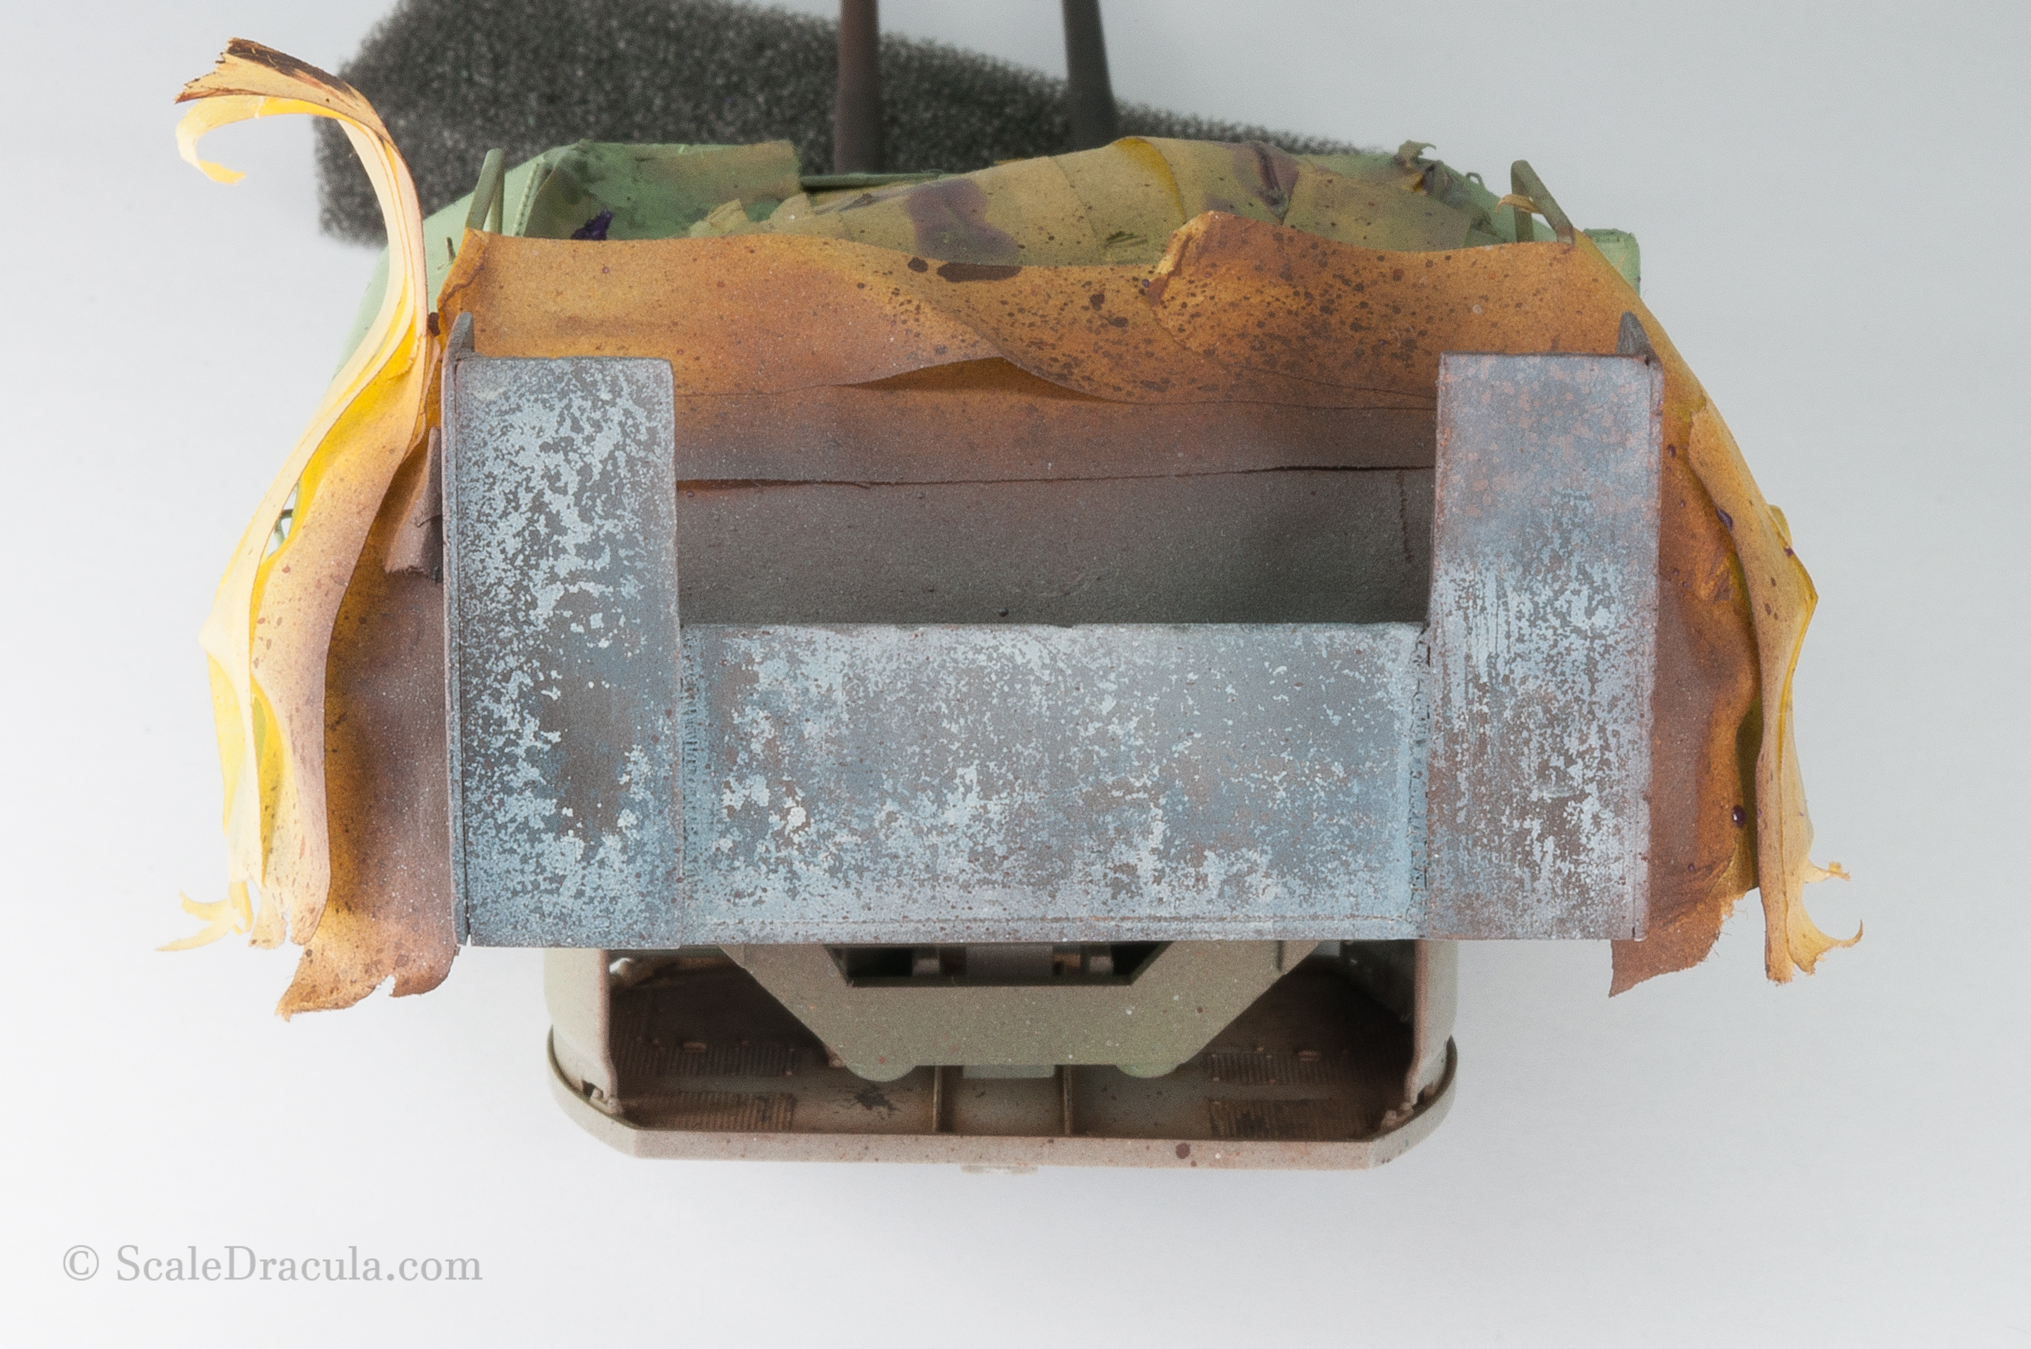
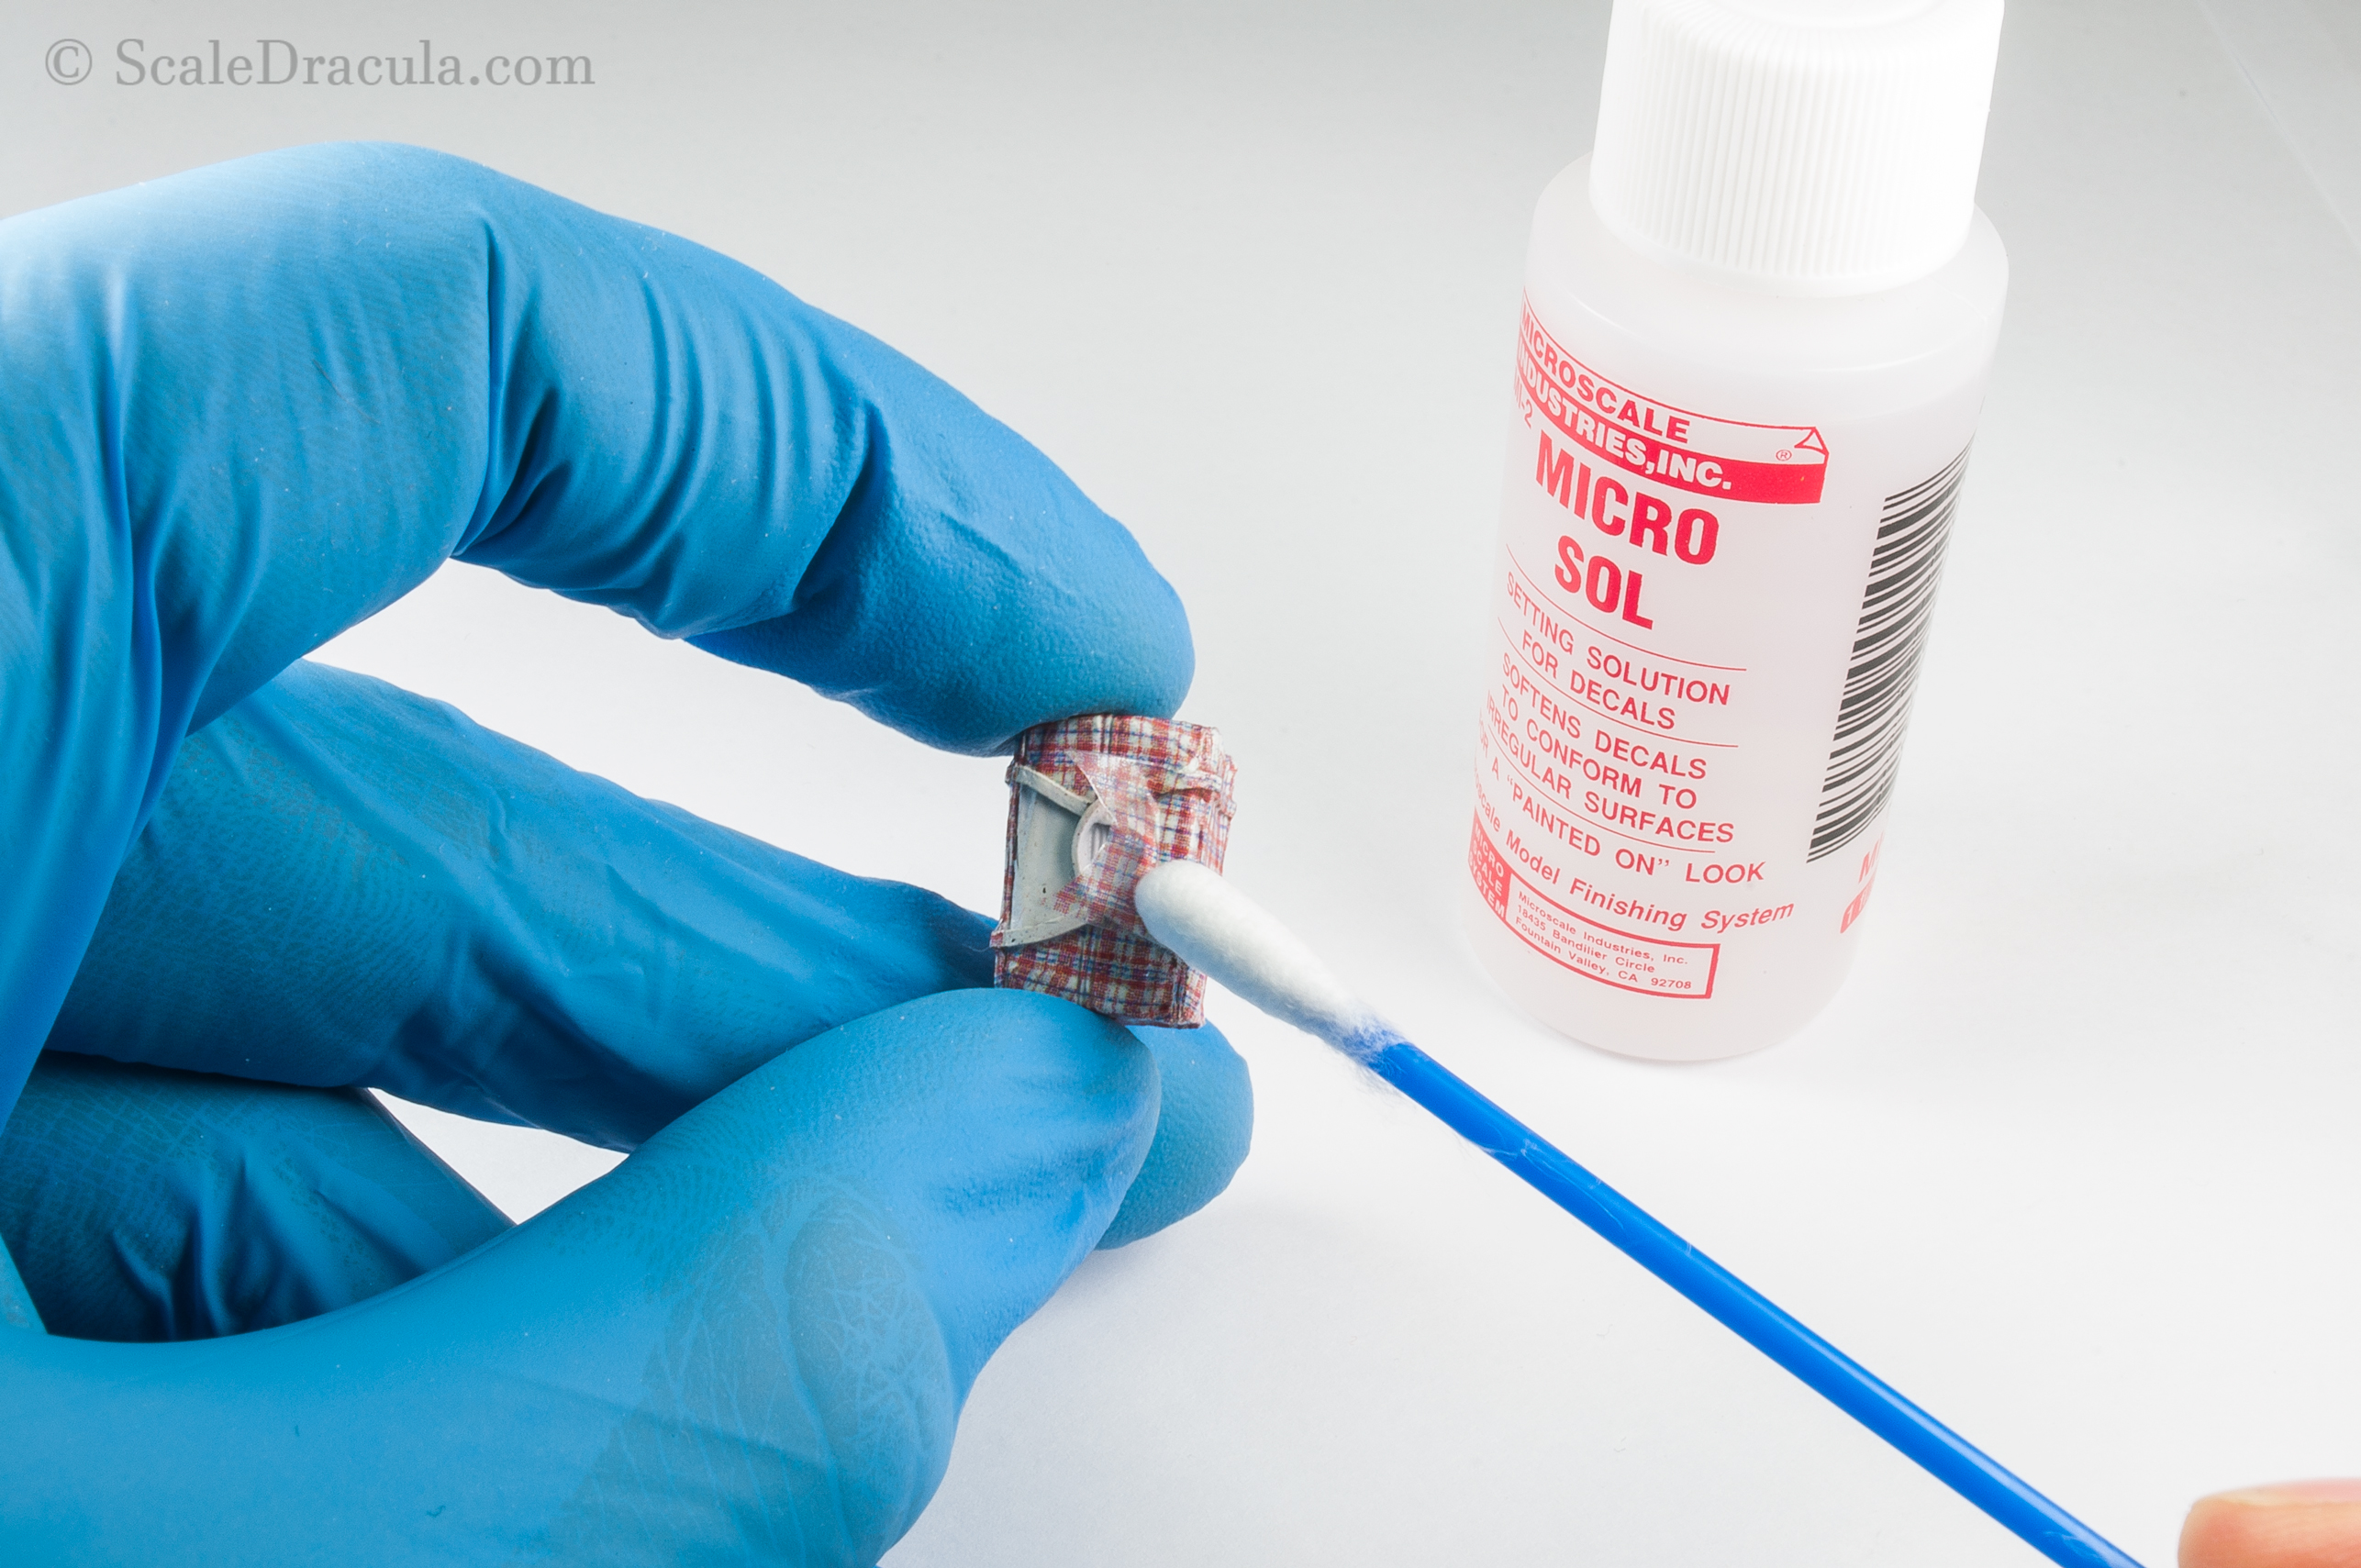
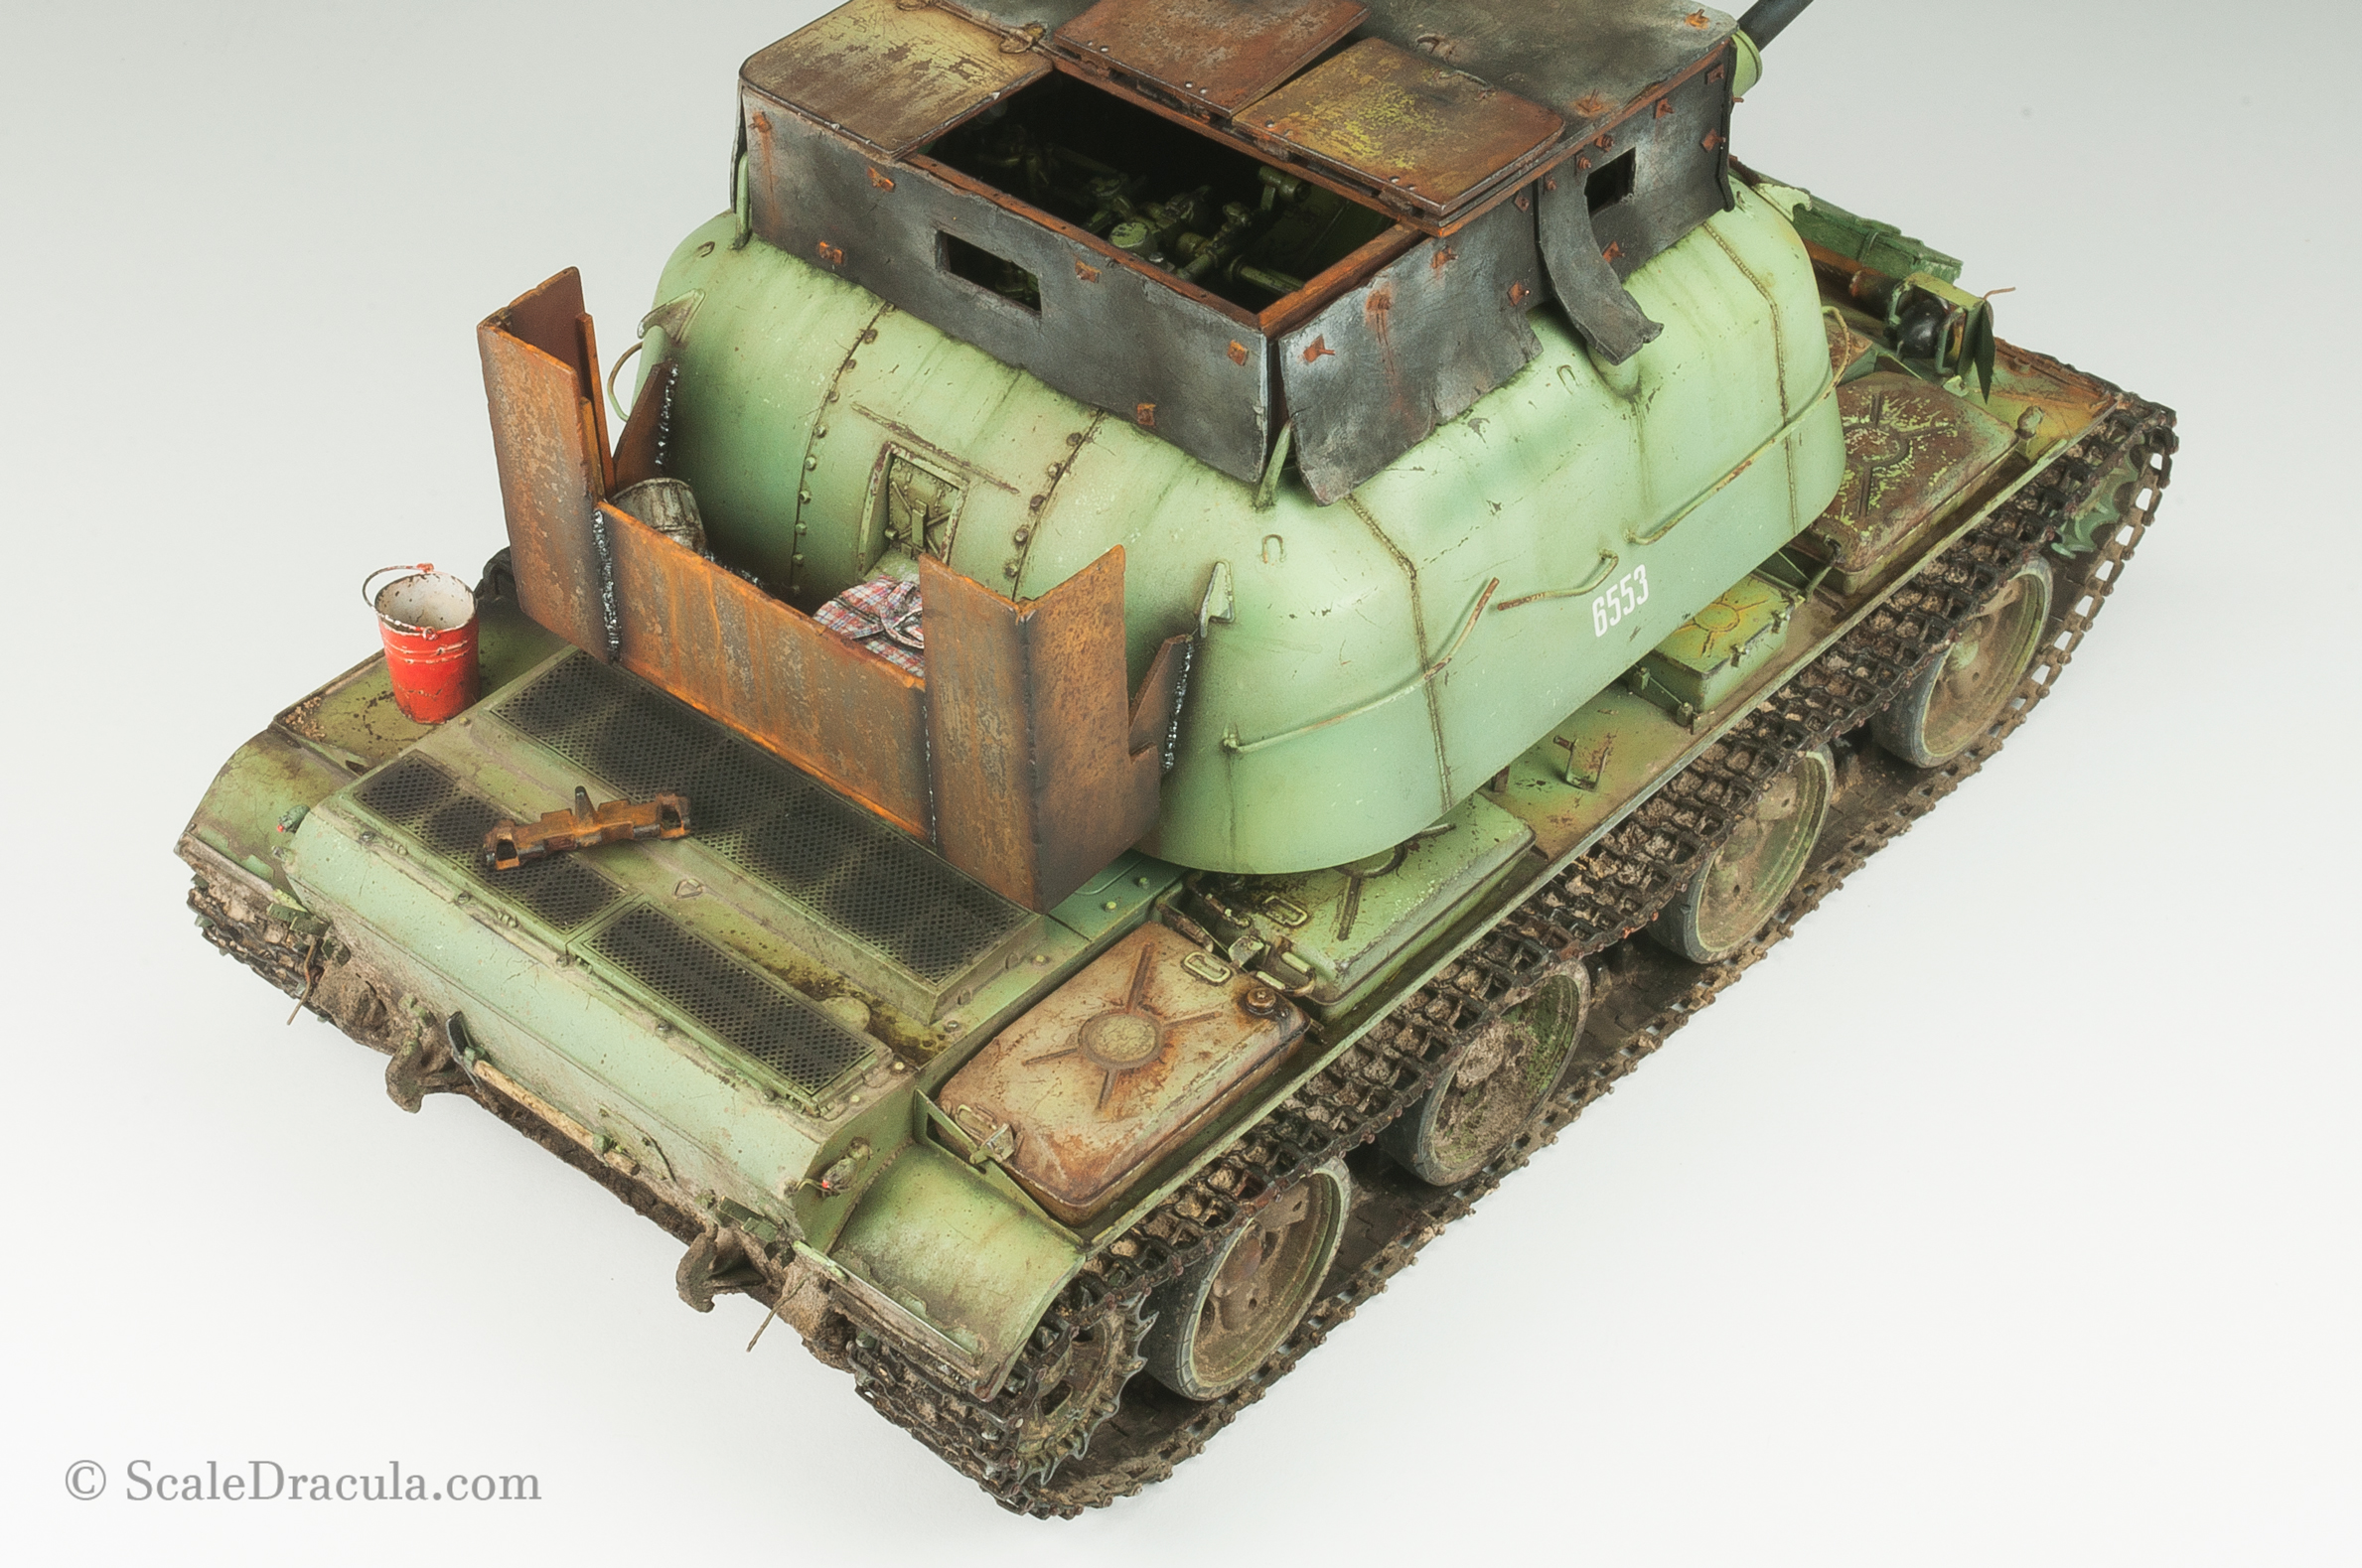
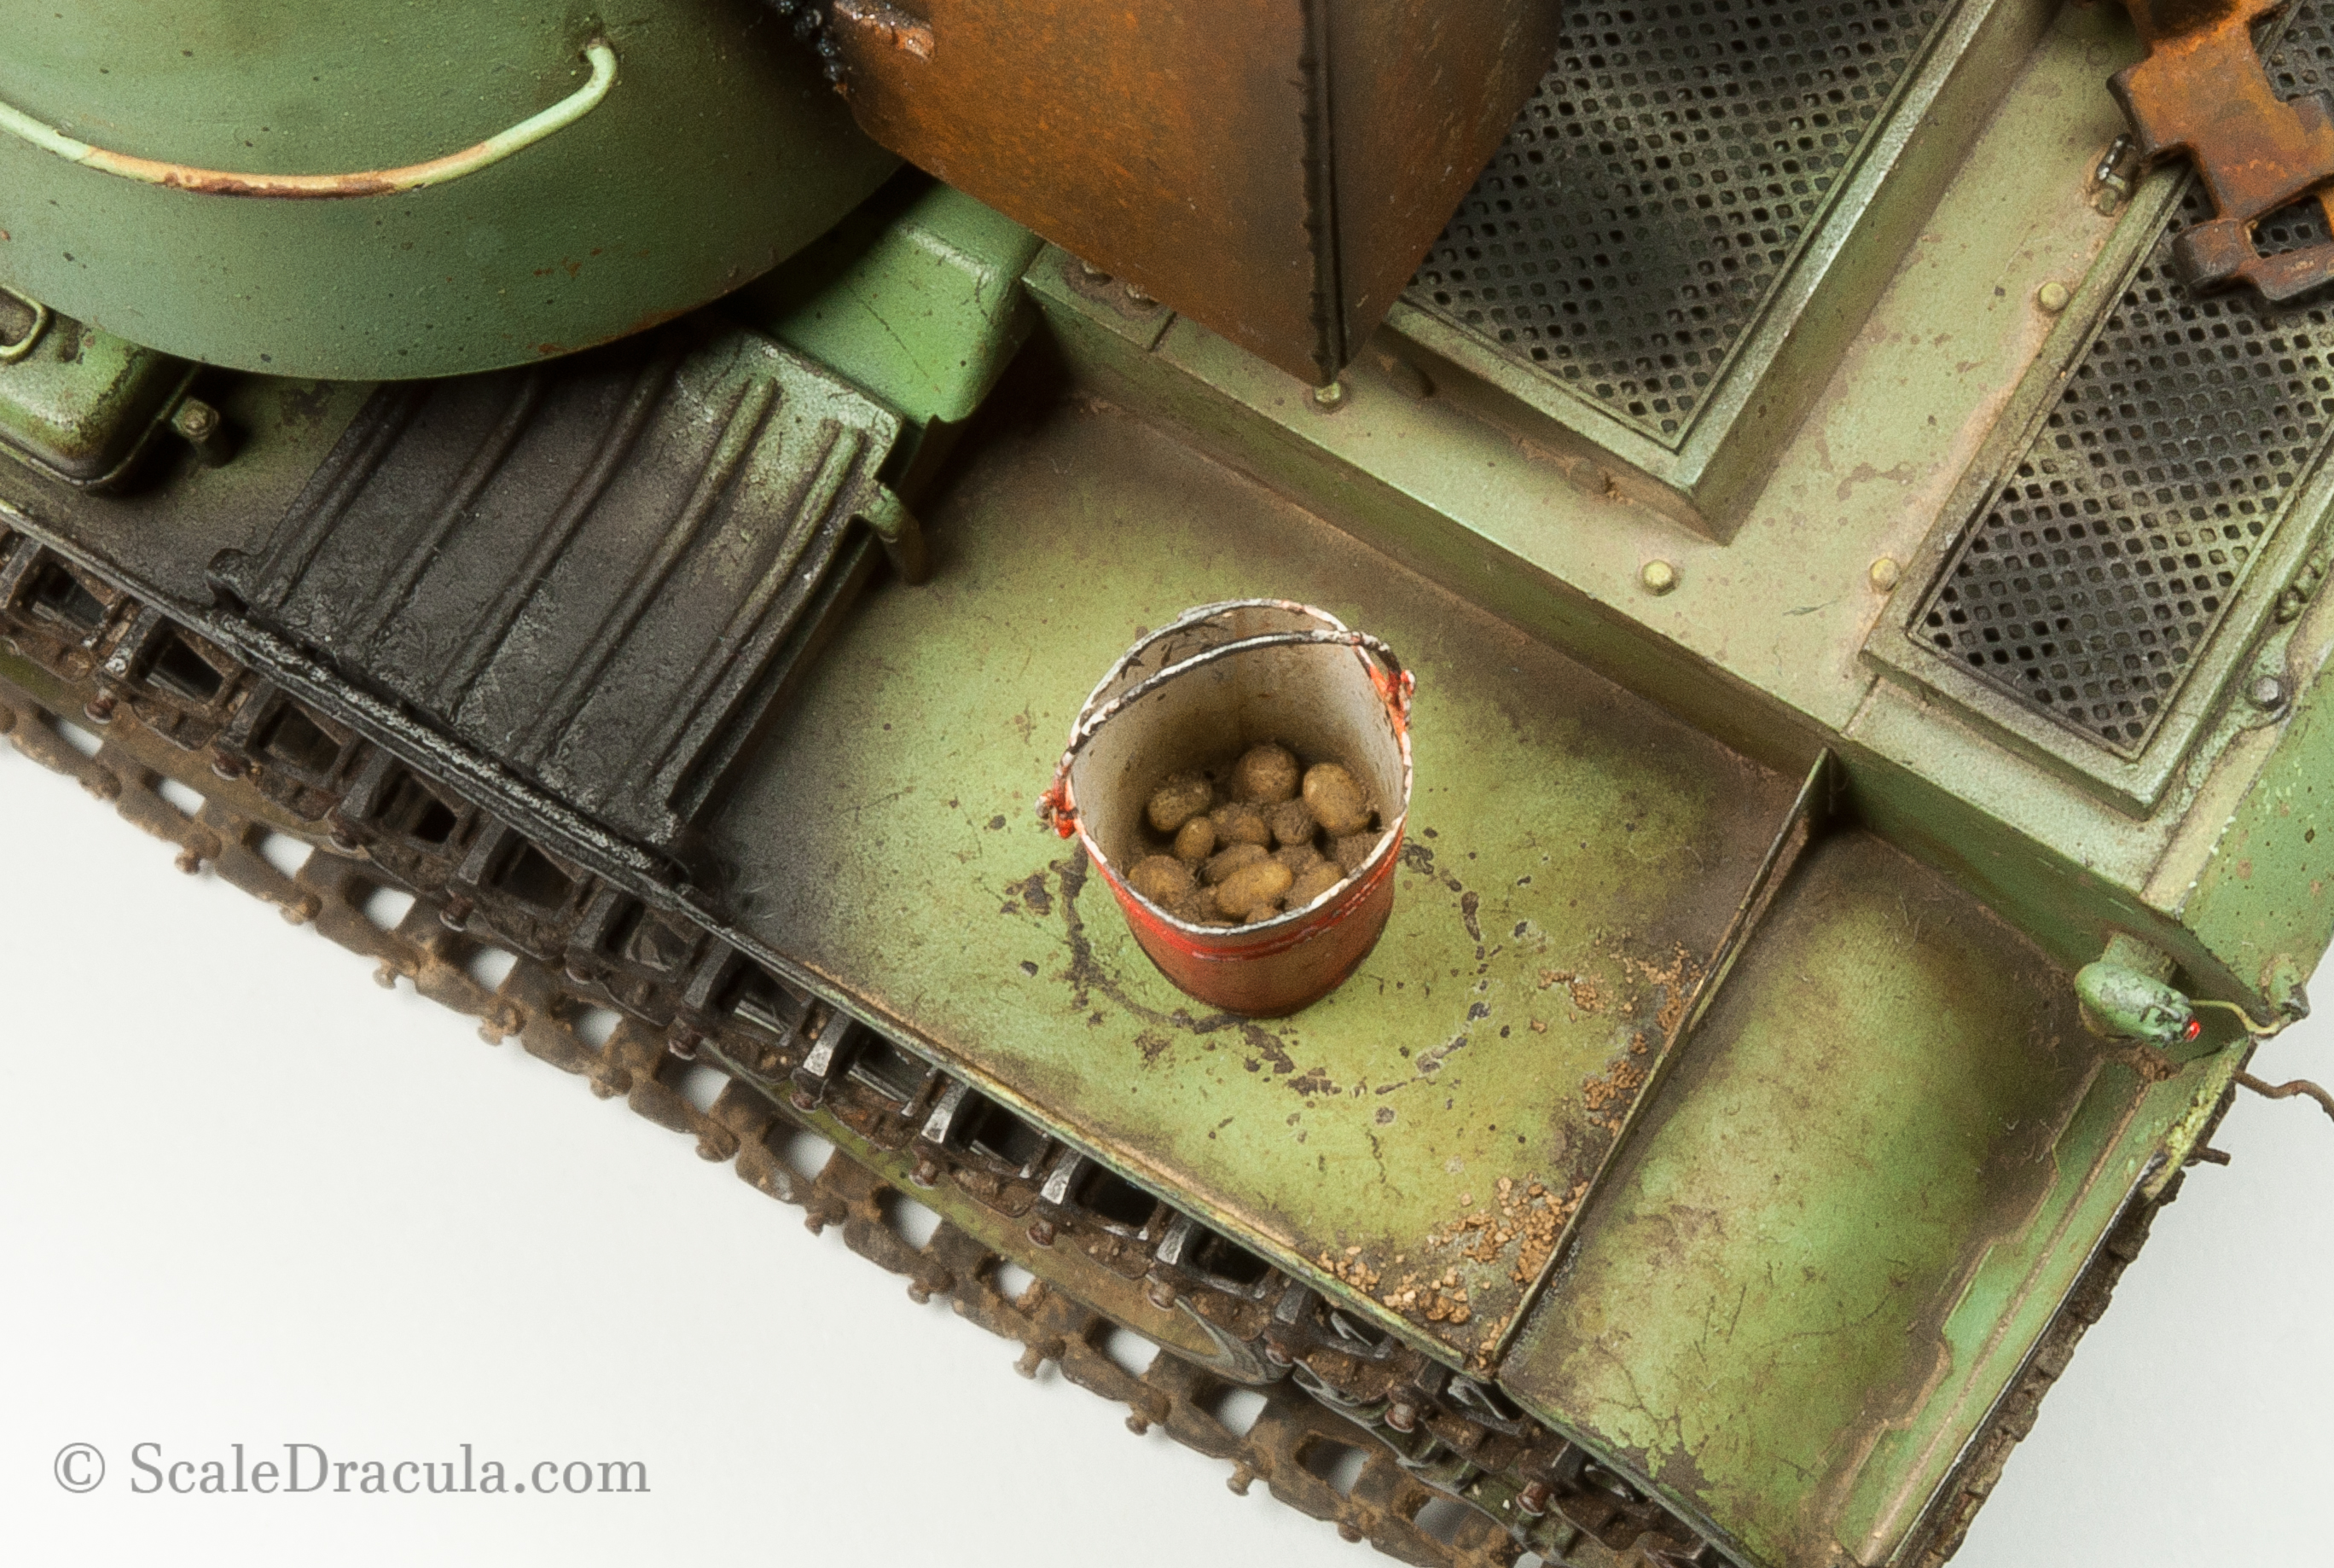
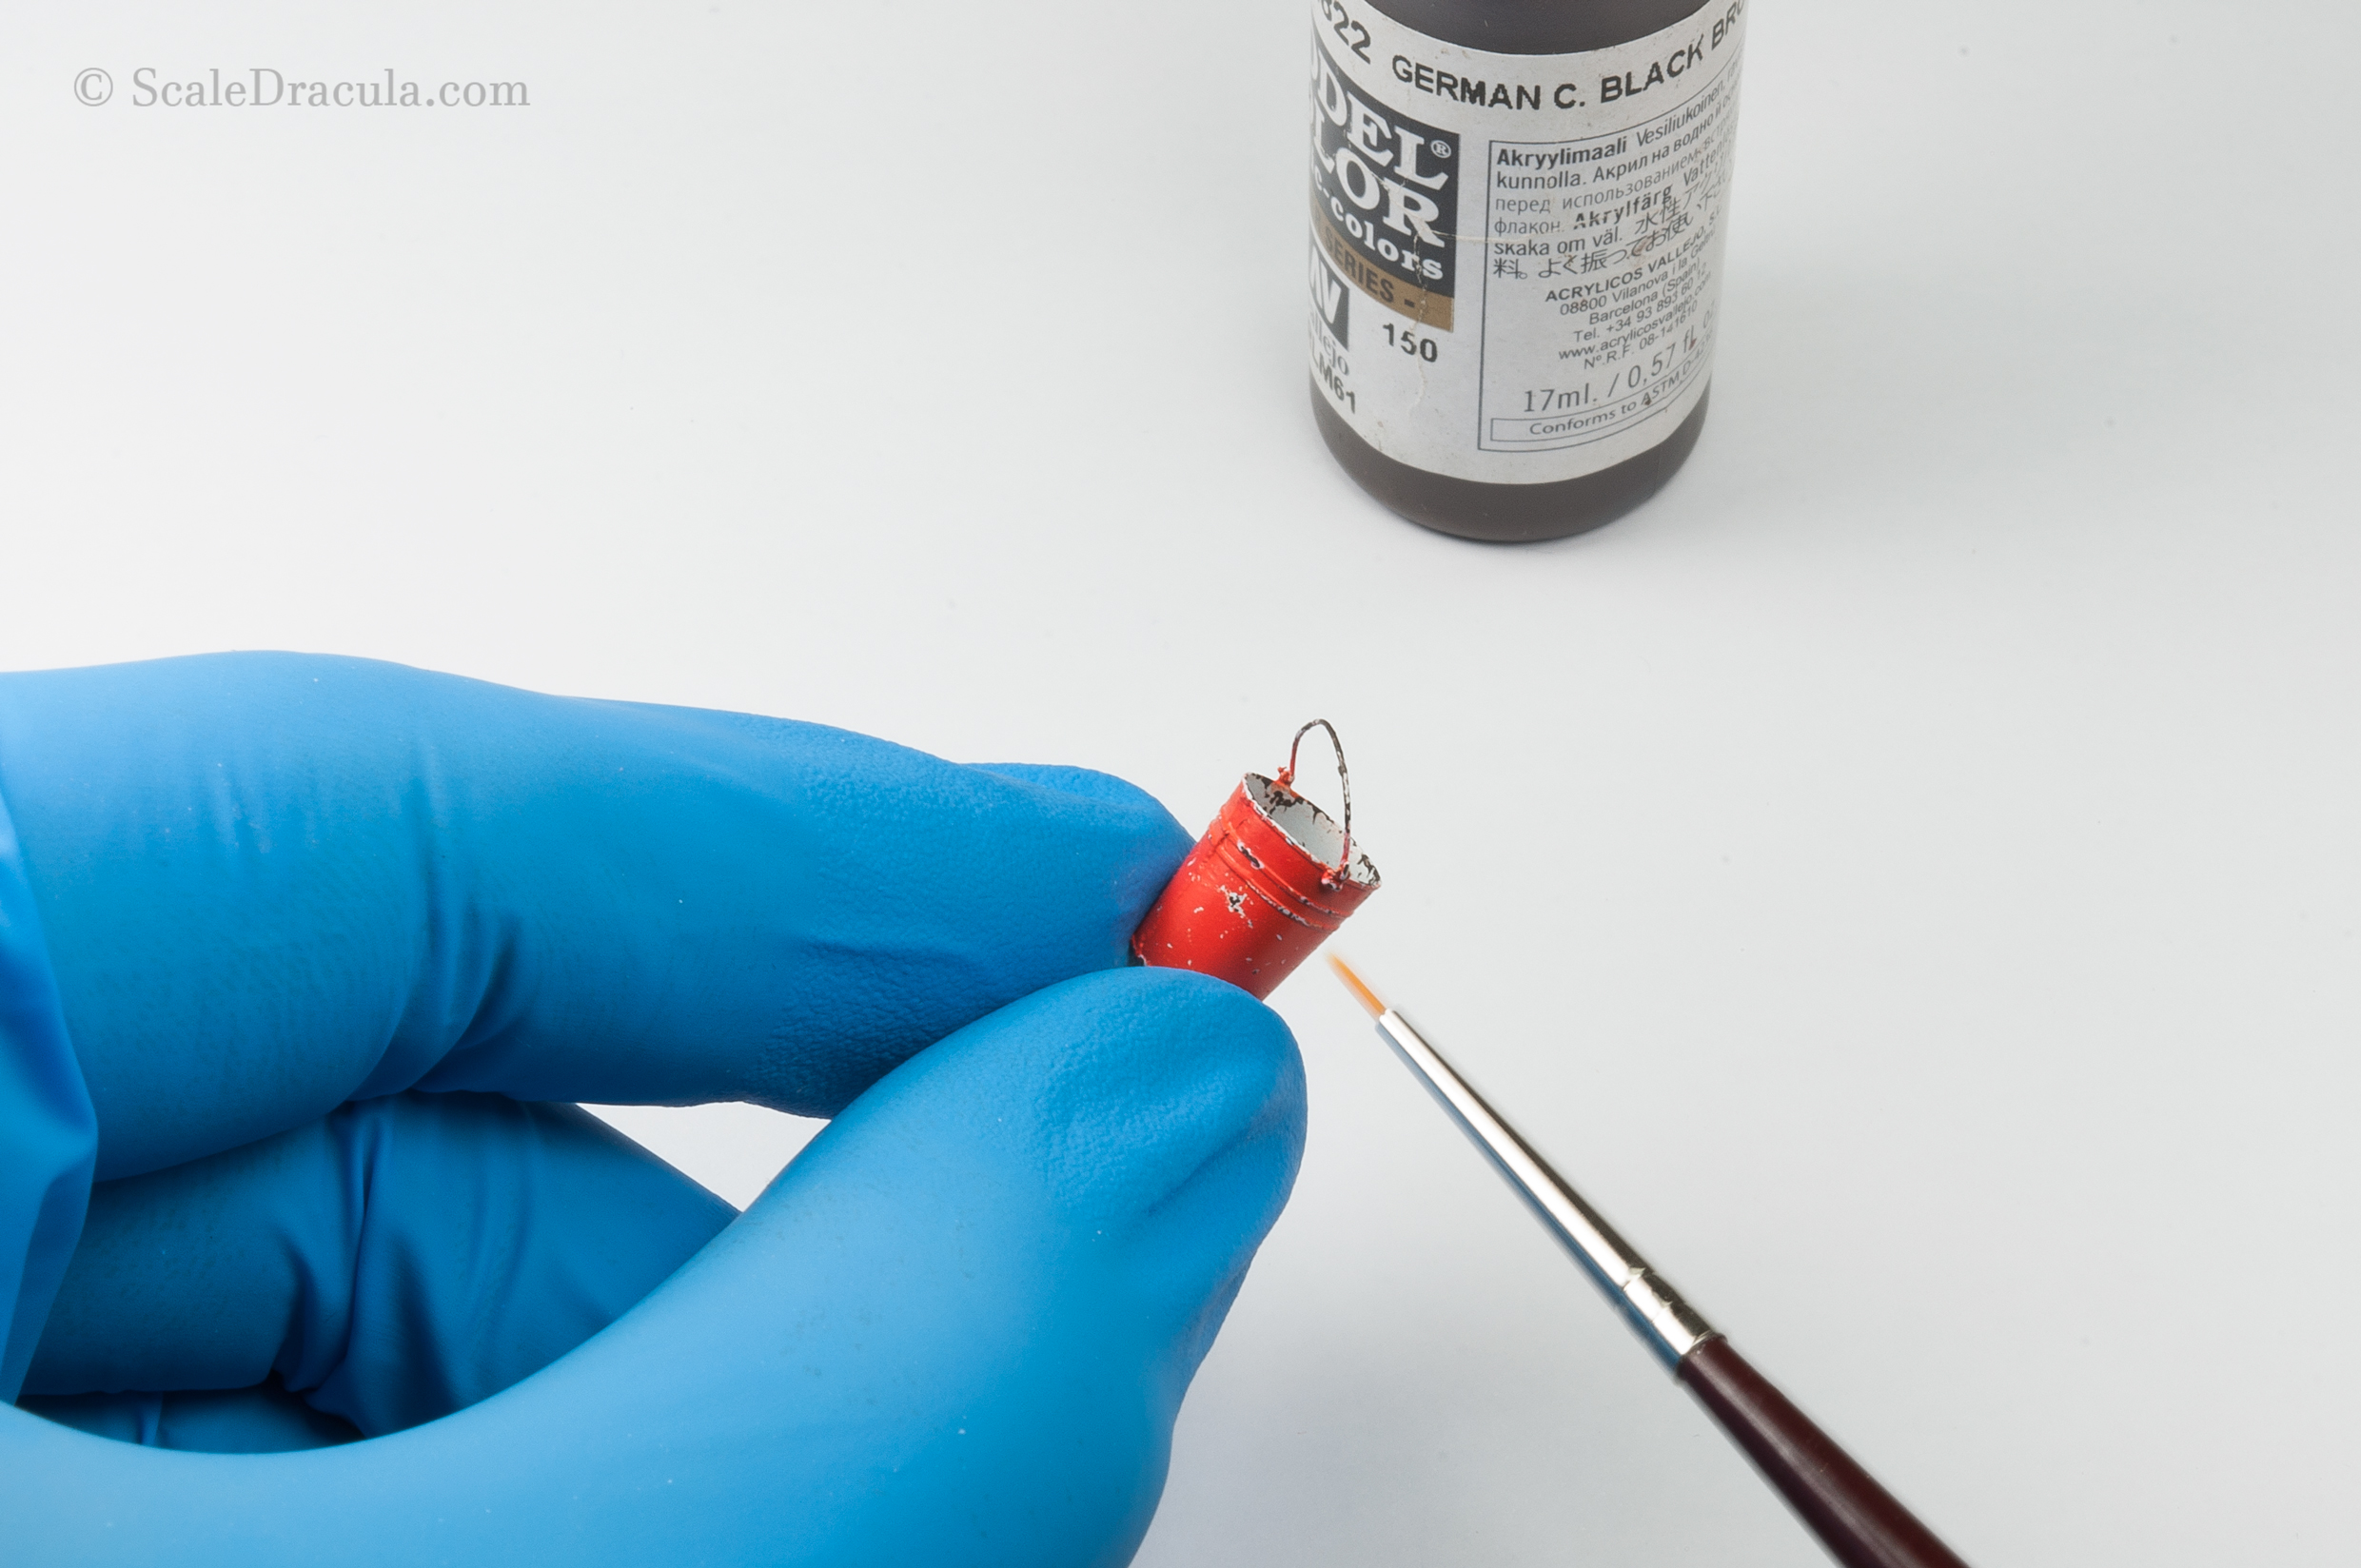
First I started to working on the bucket that will be one of the accessories on my model.
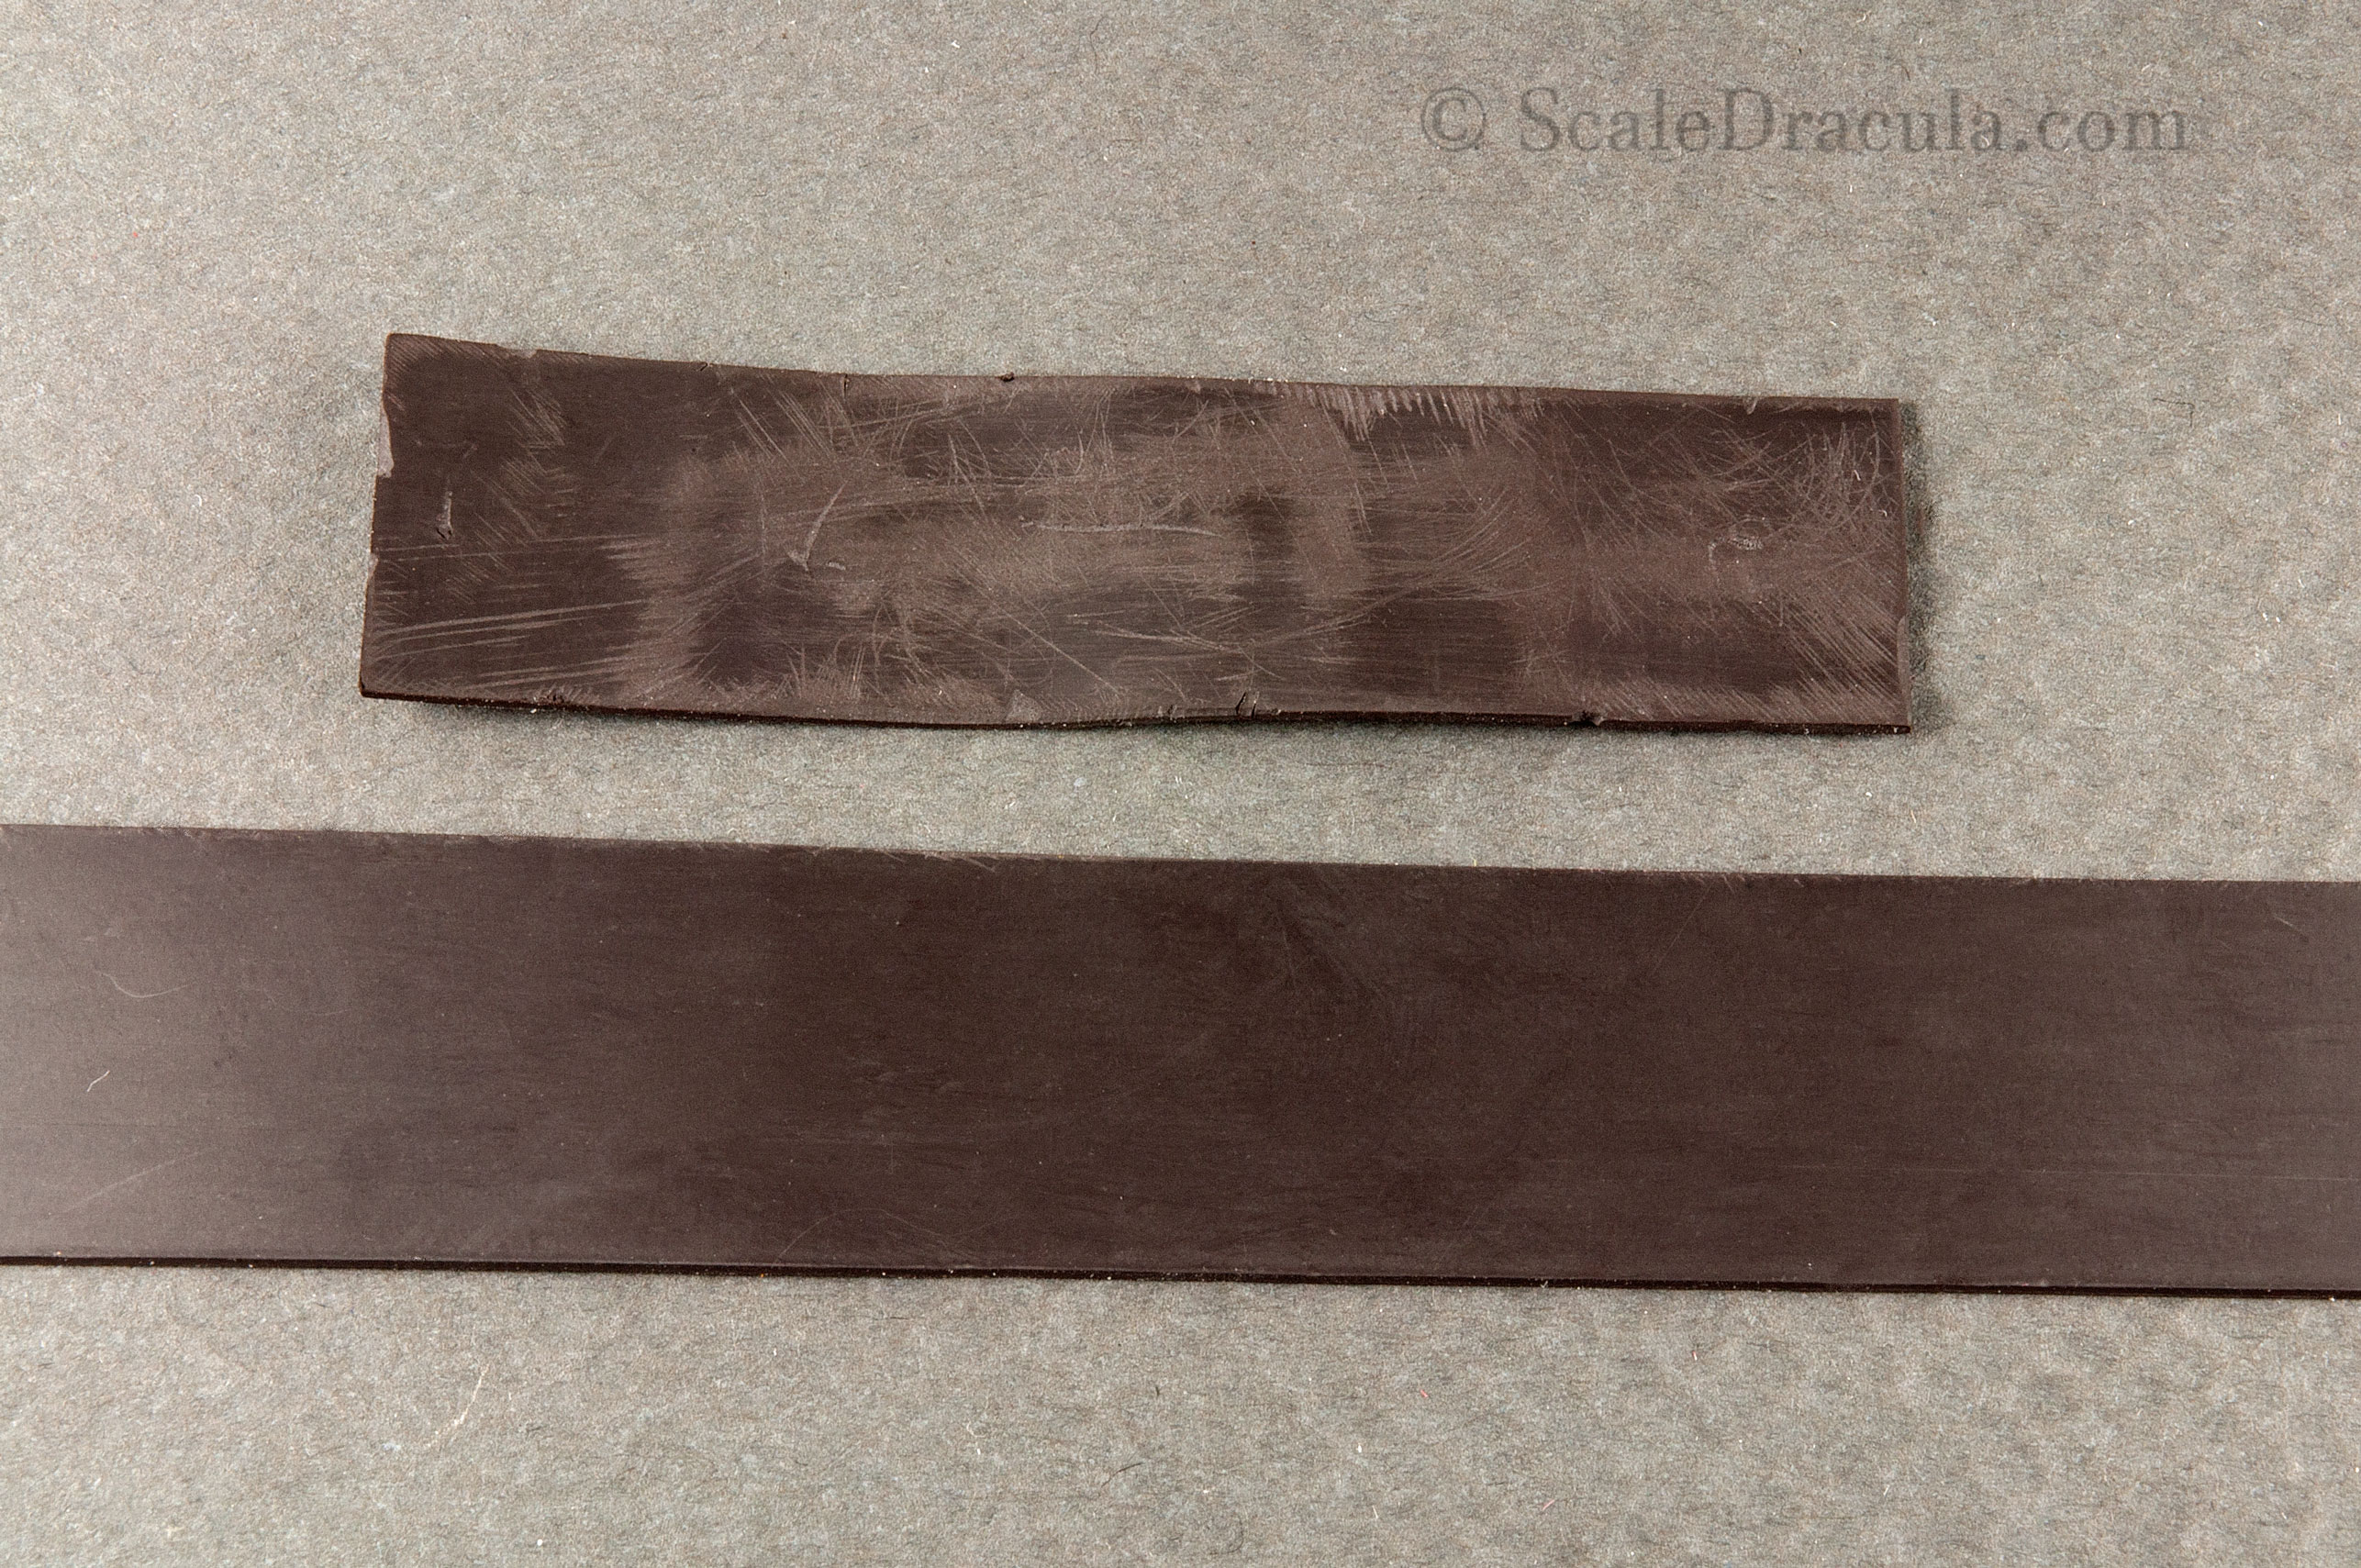
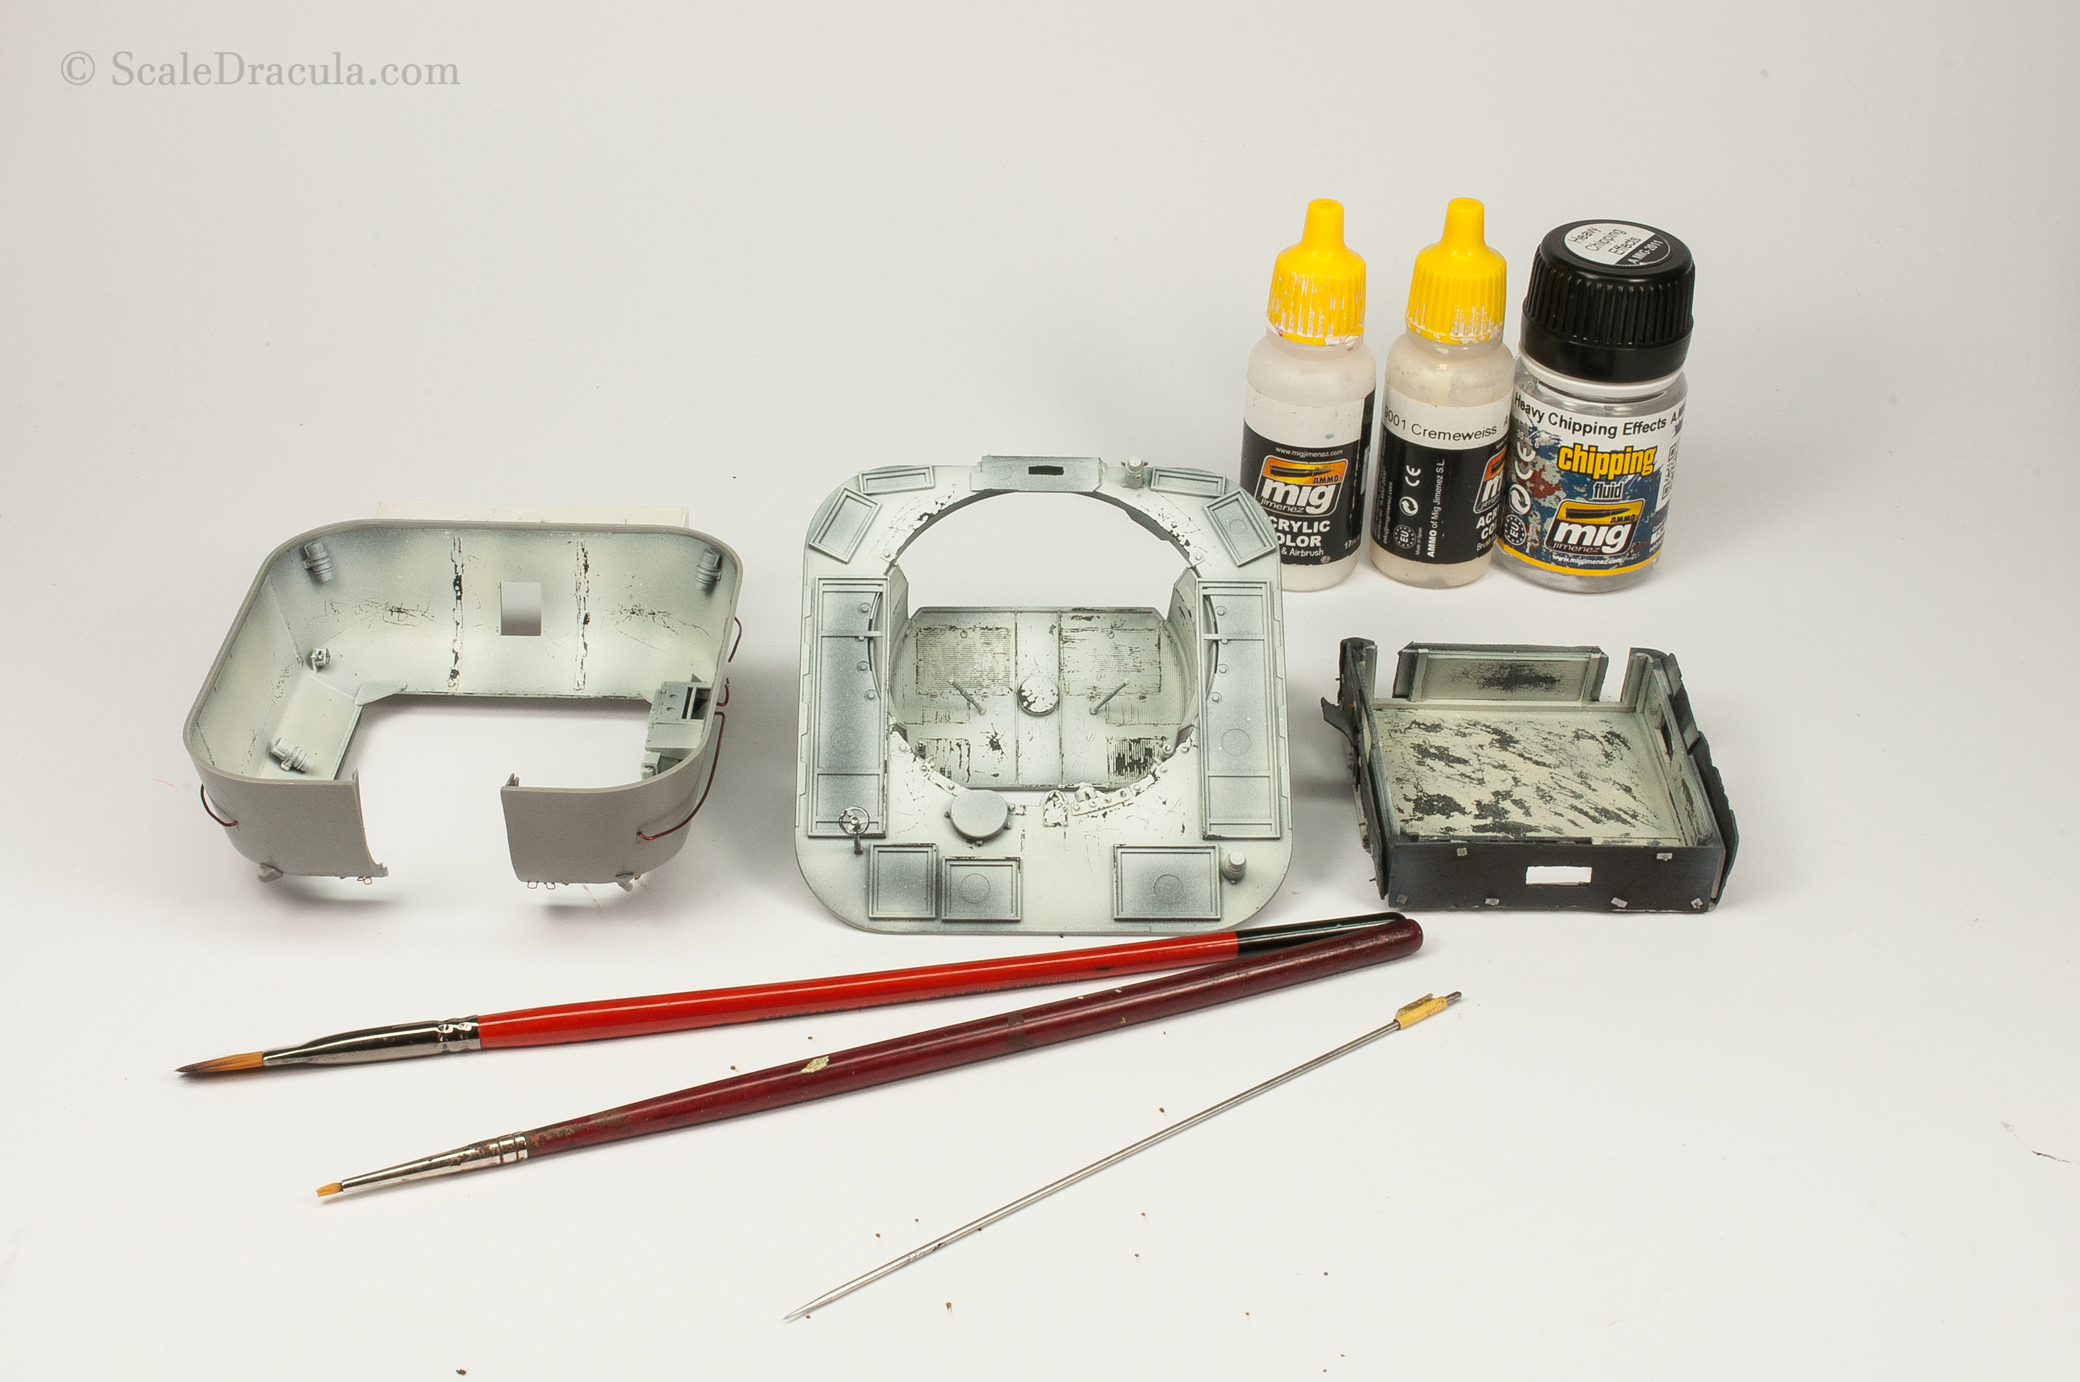
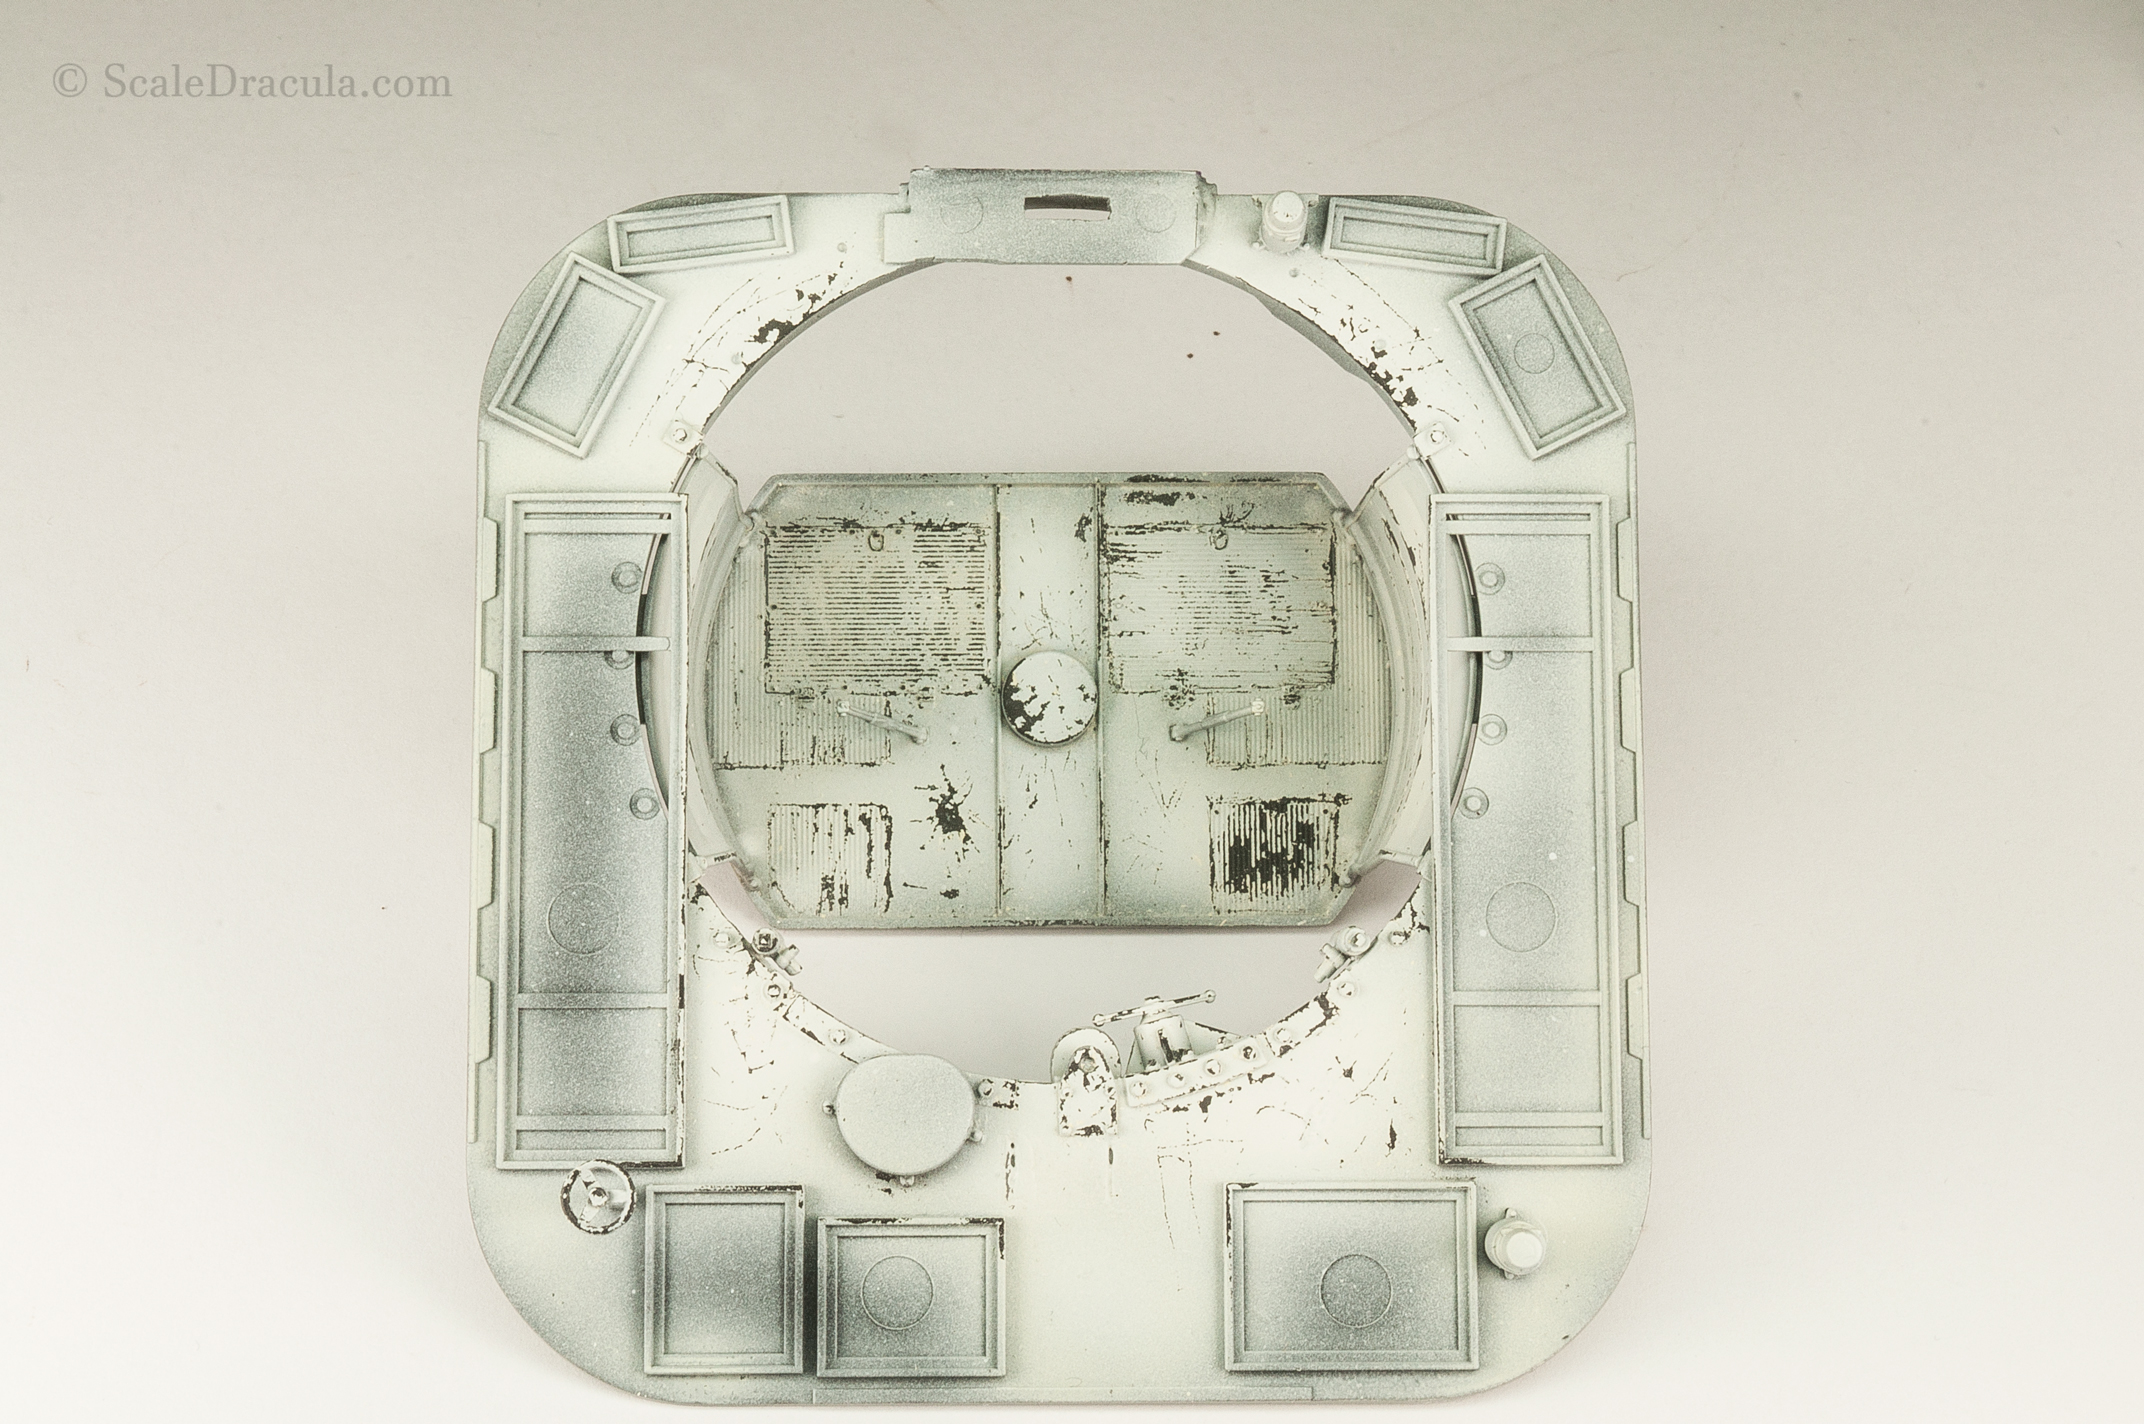
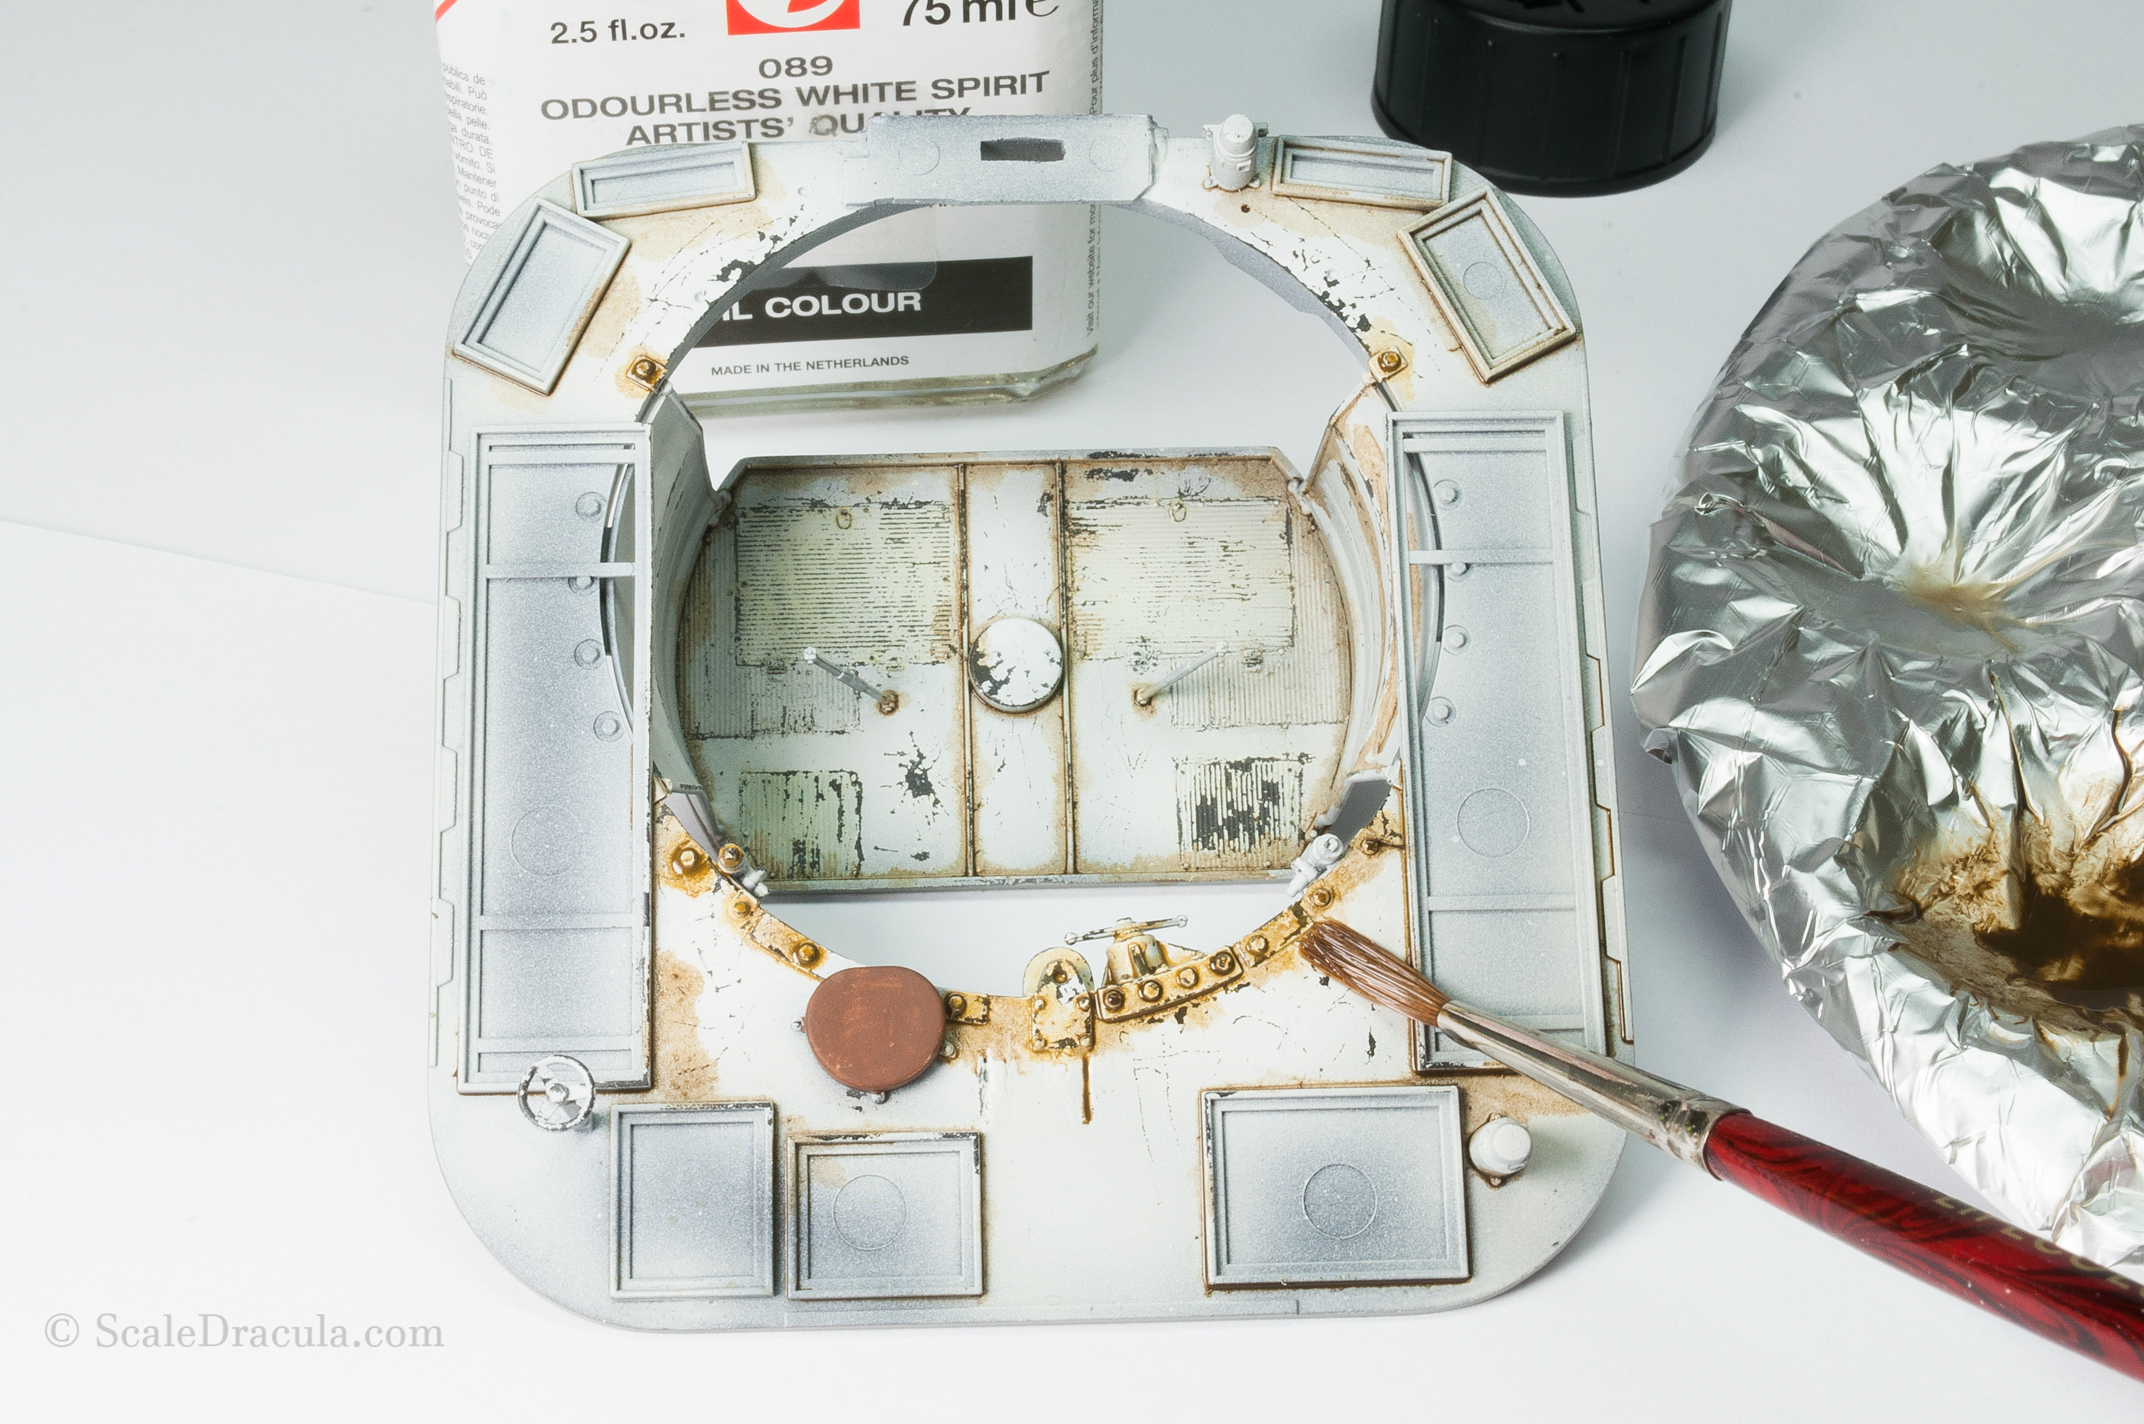
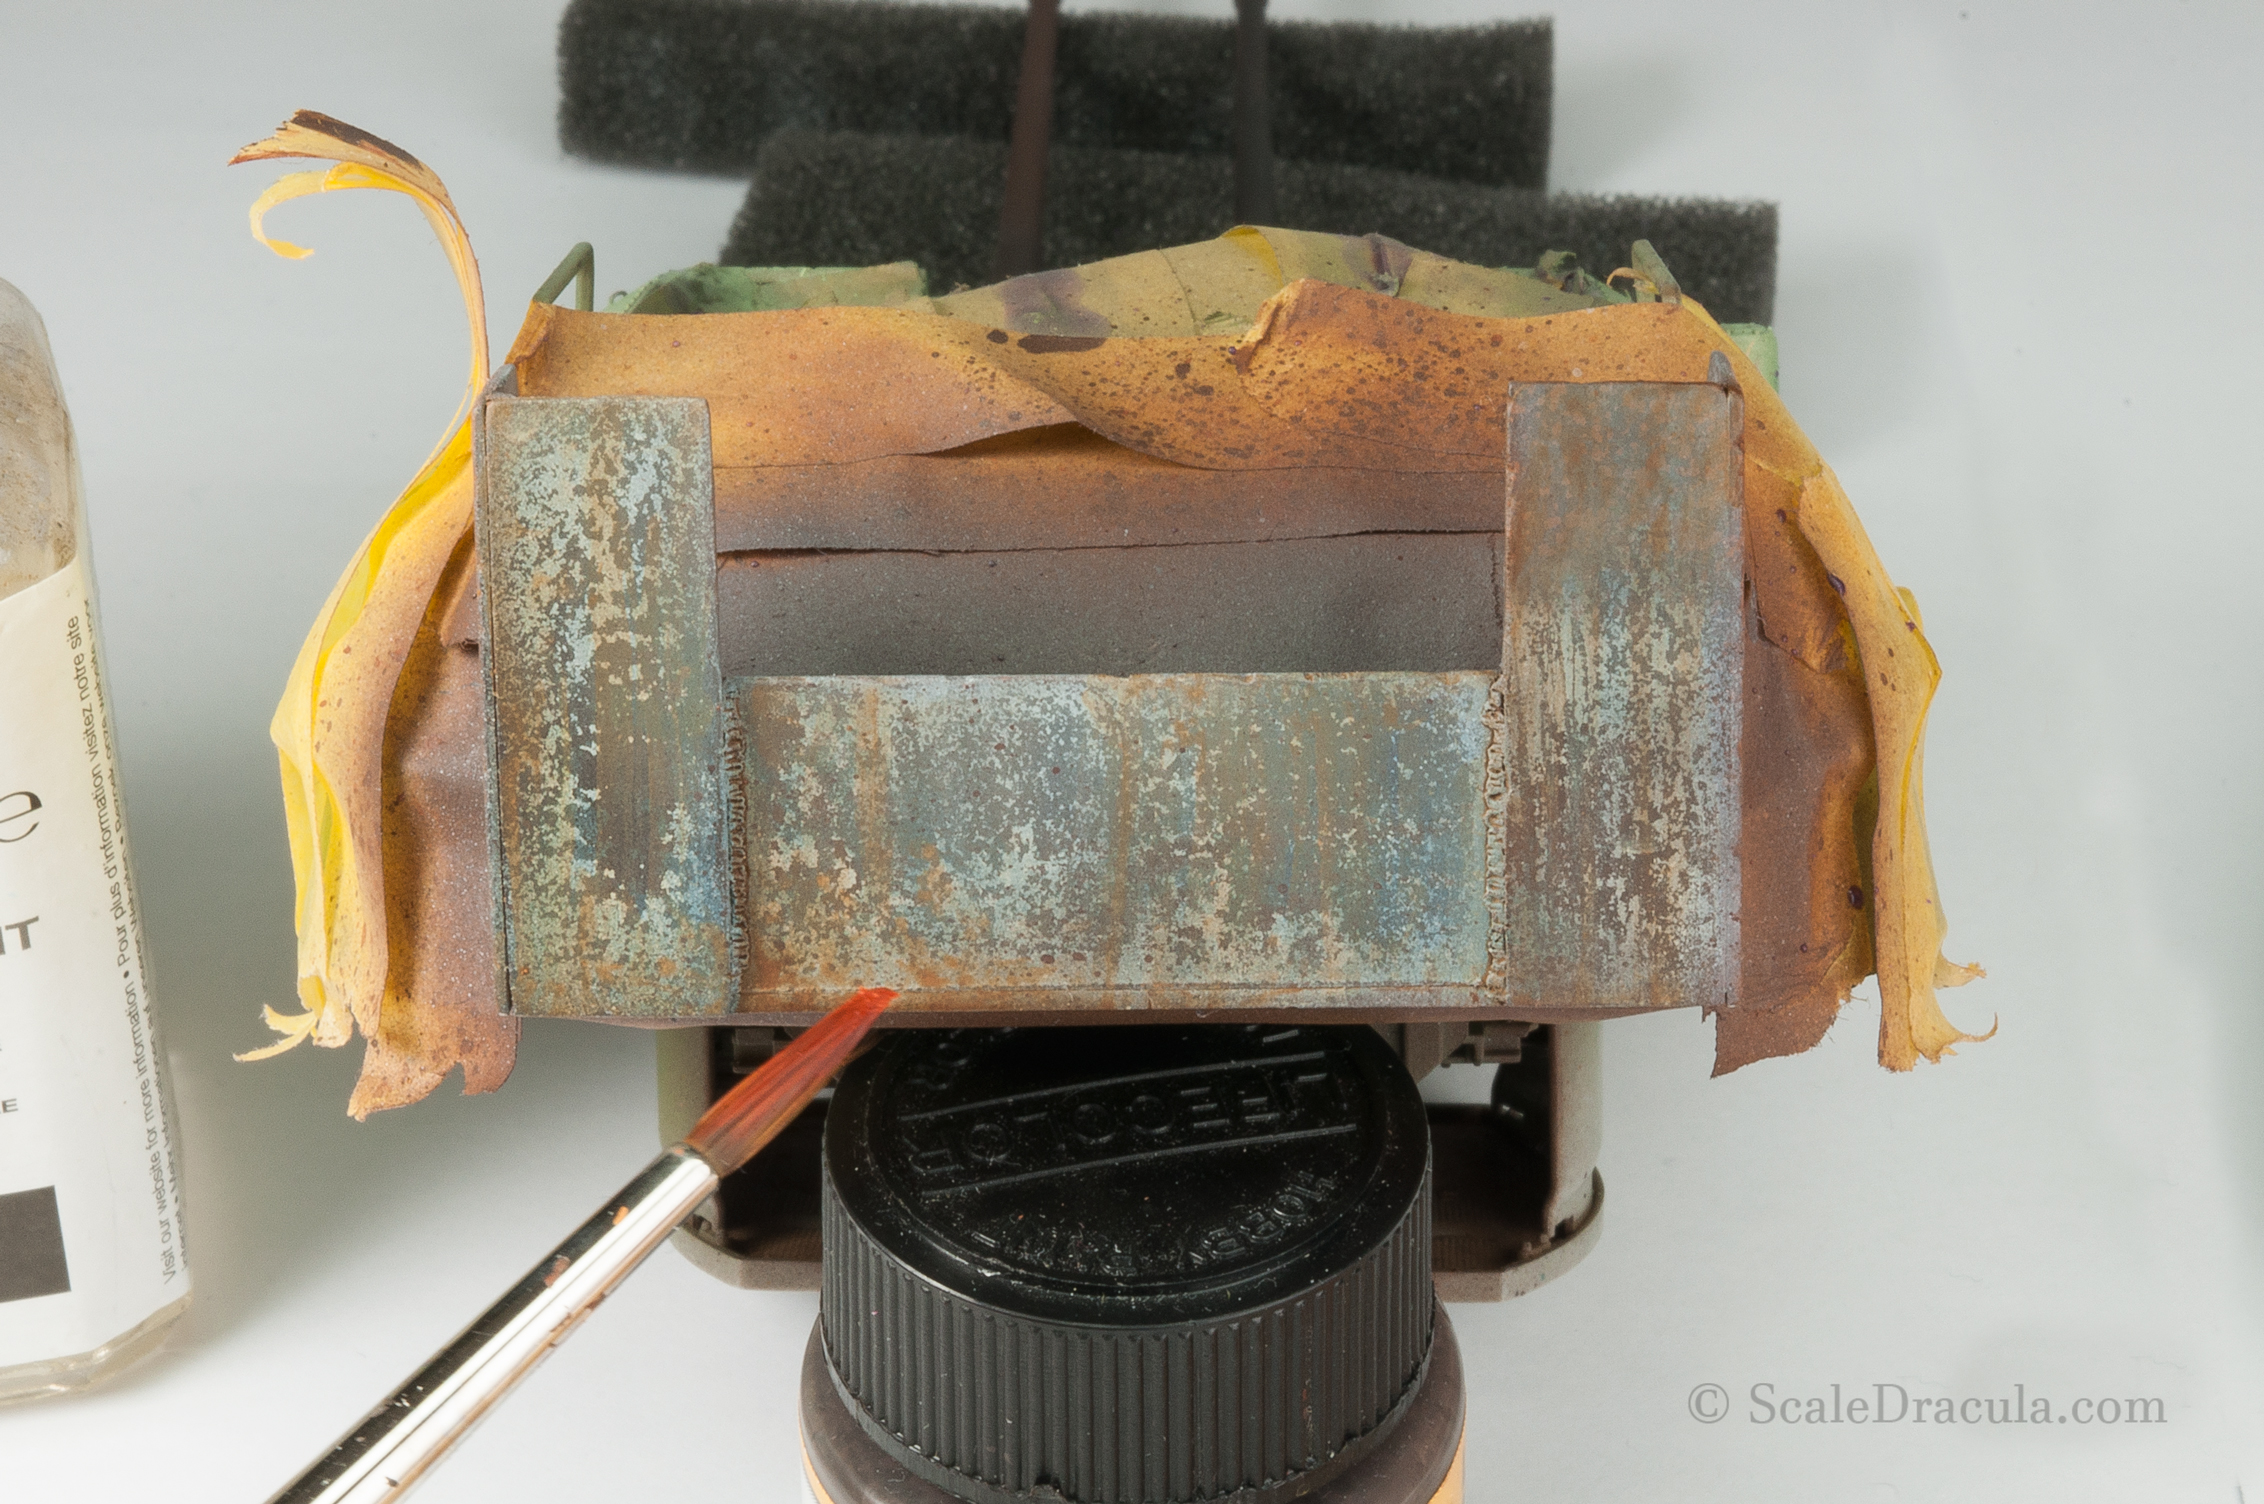
I did a quick hair spray chipping to reveal a white primer base.
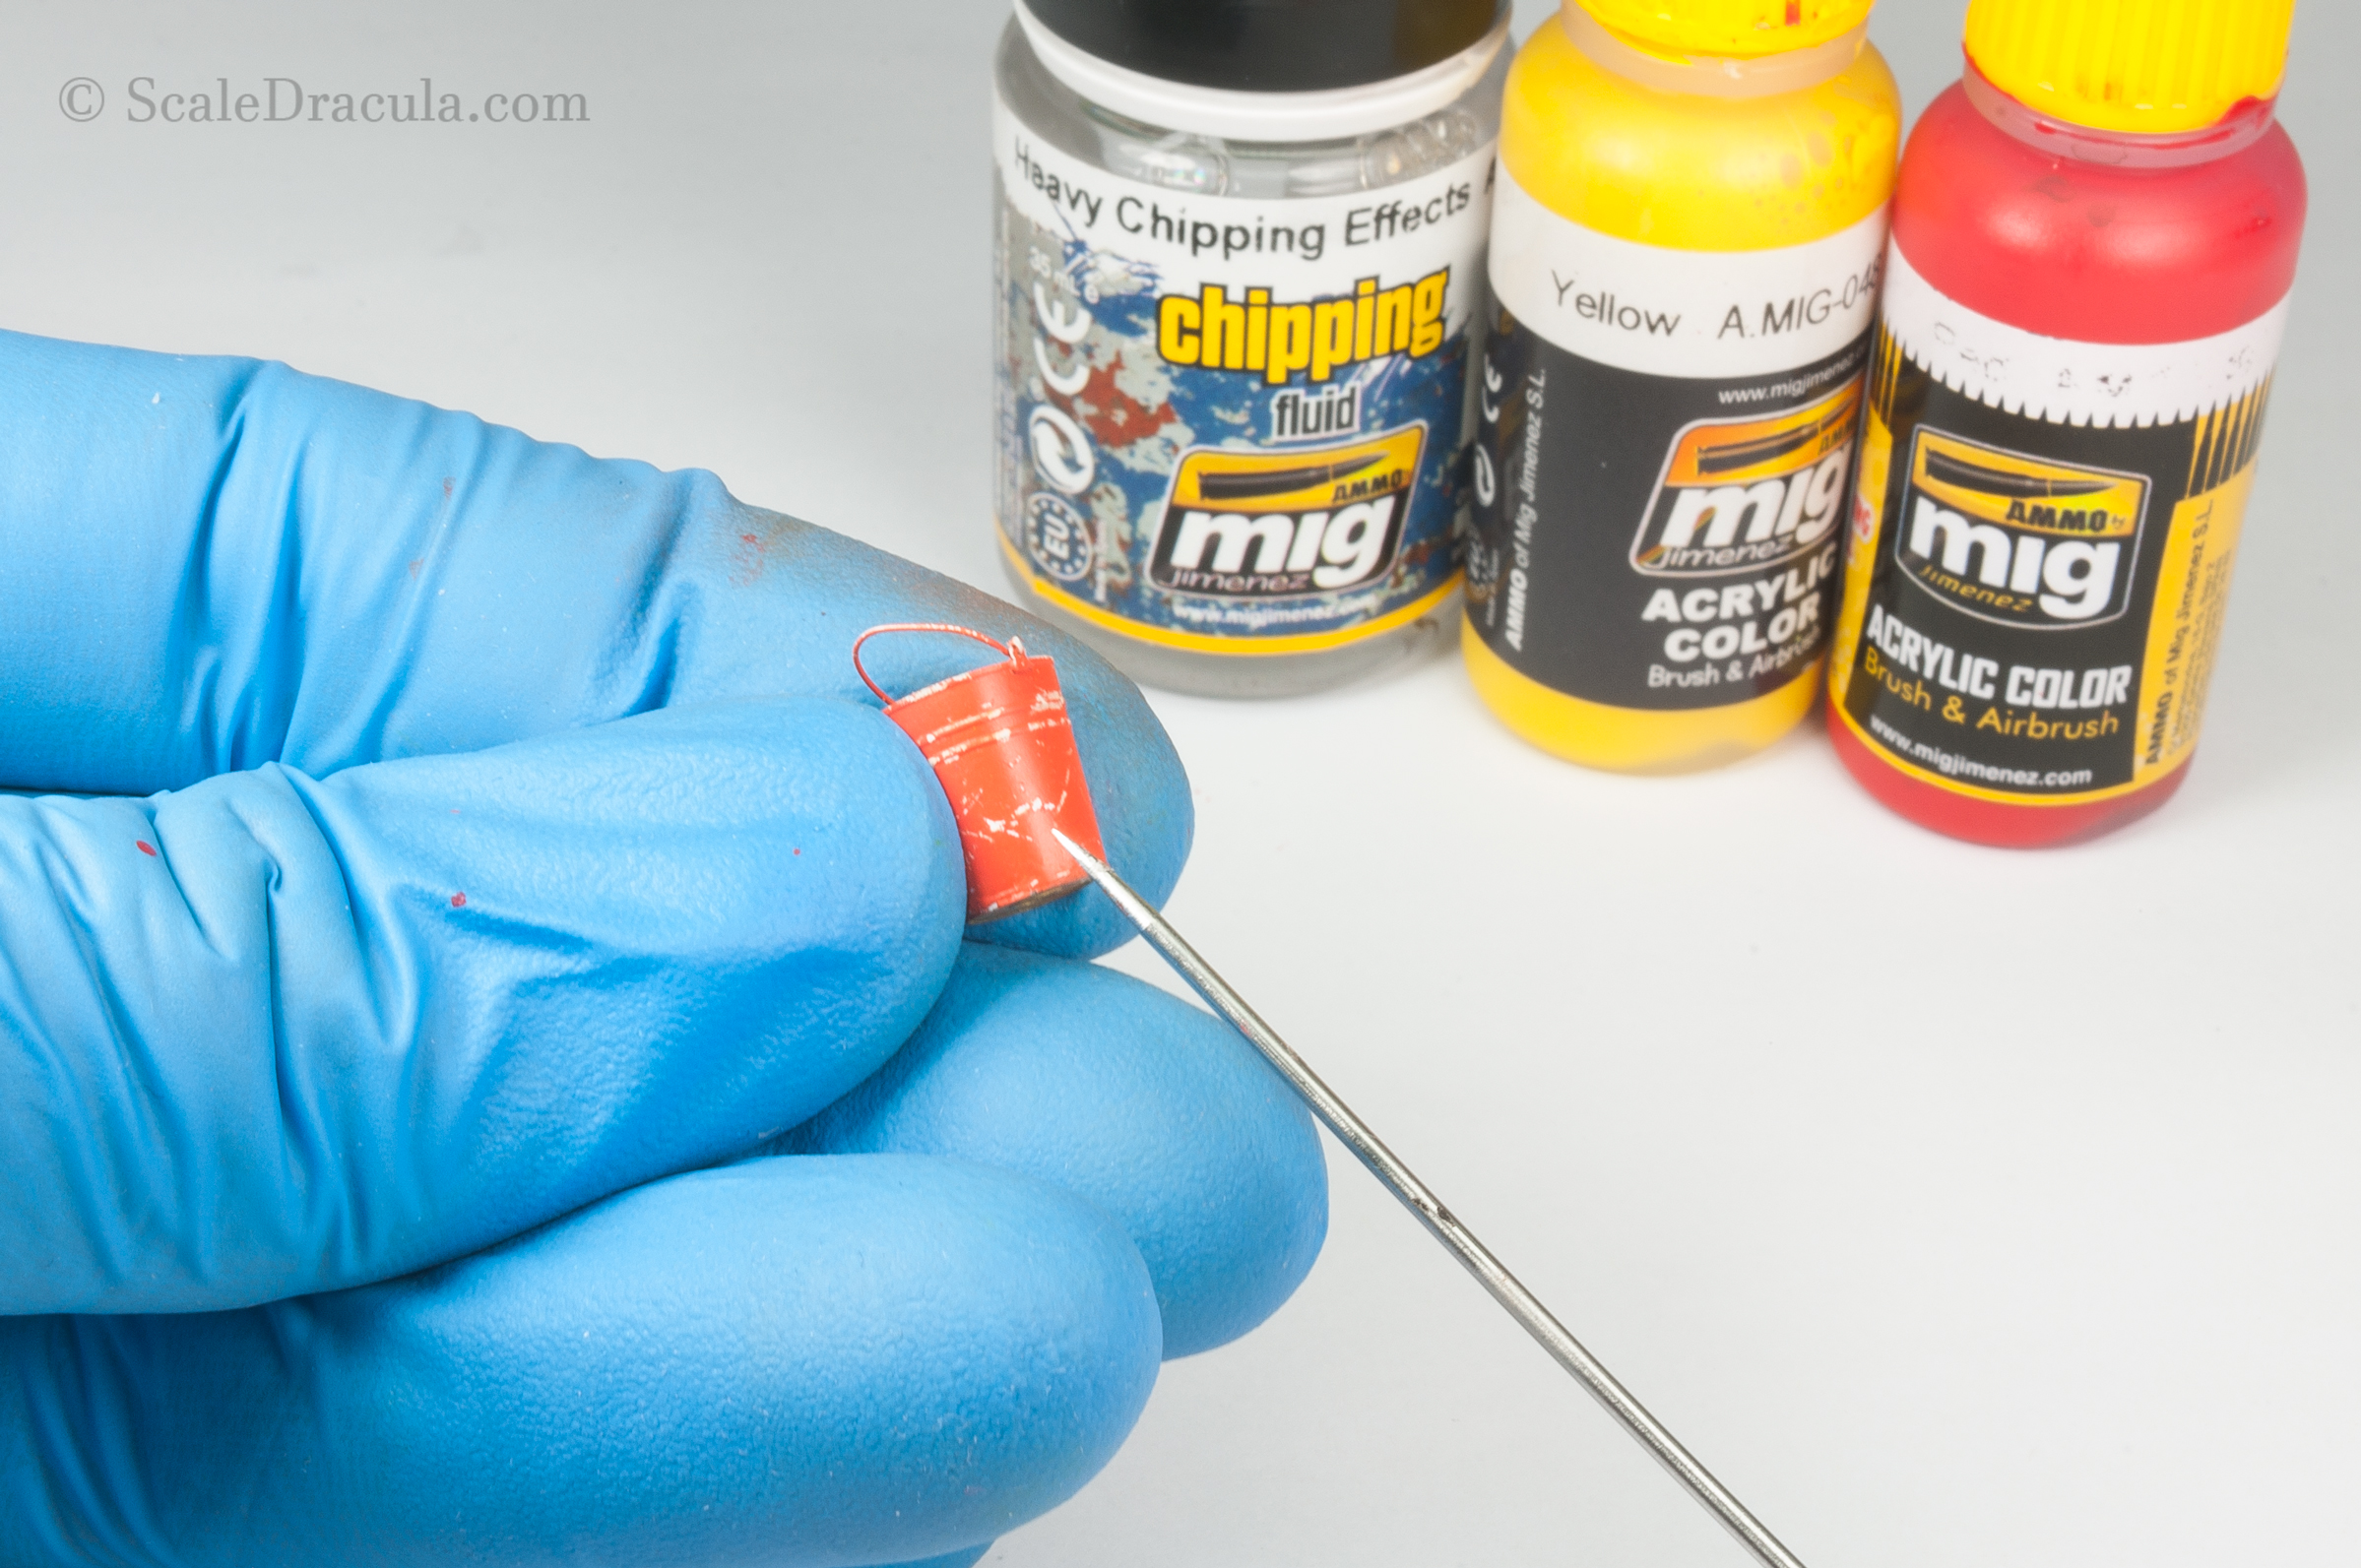
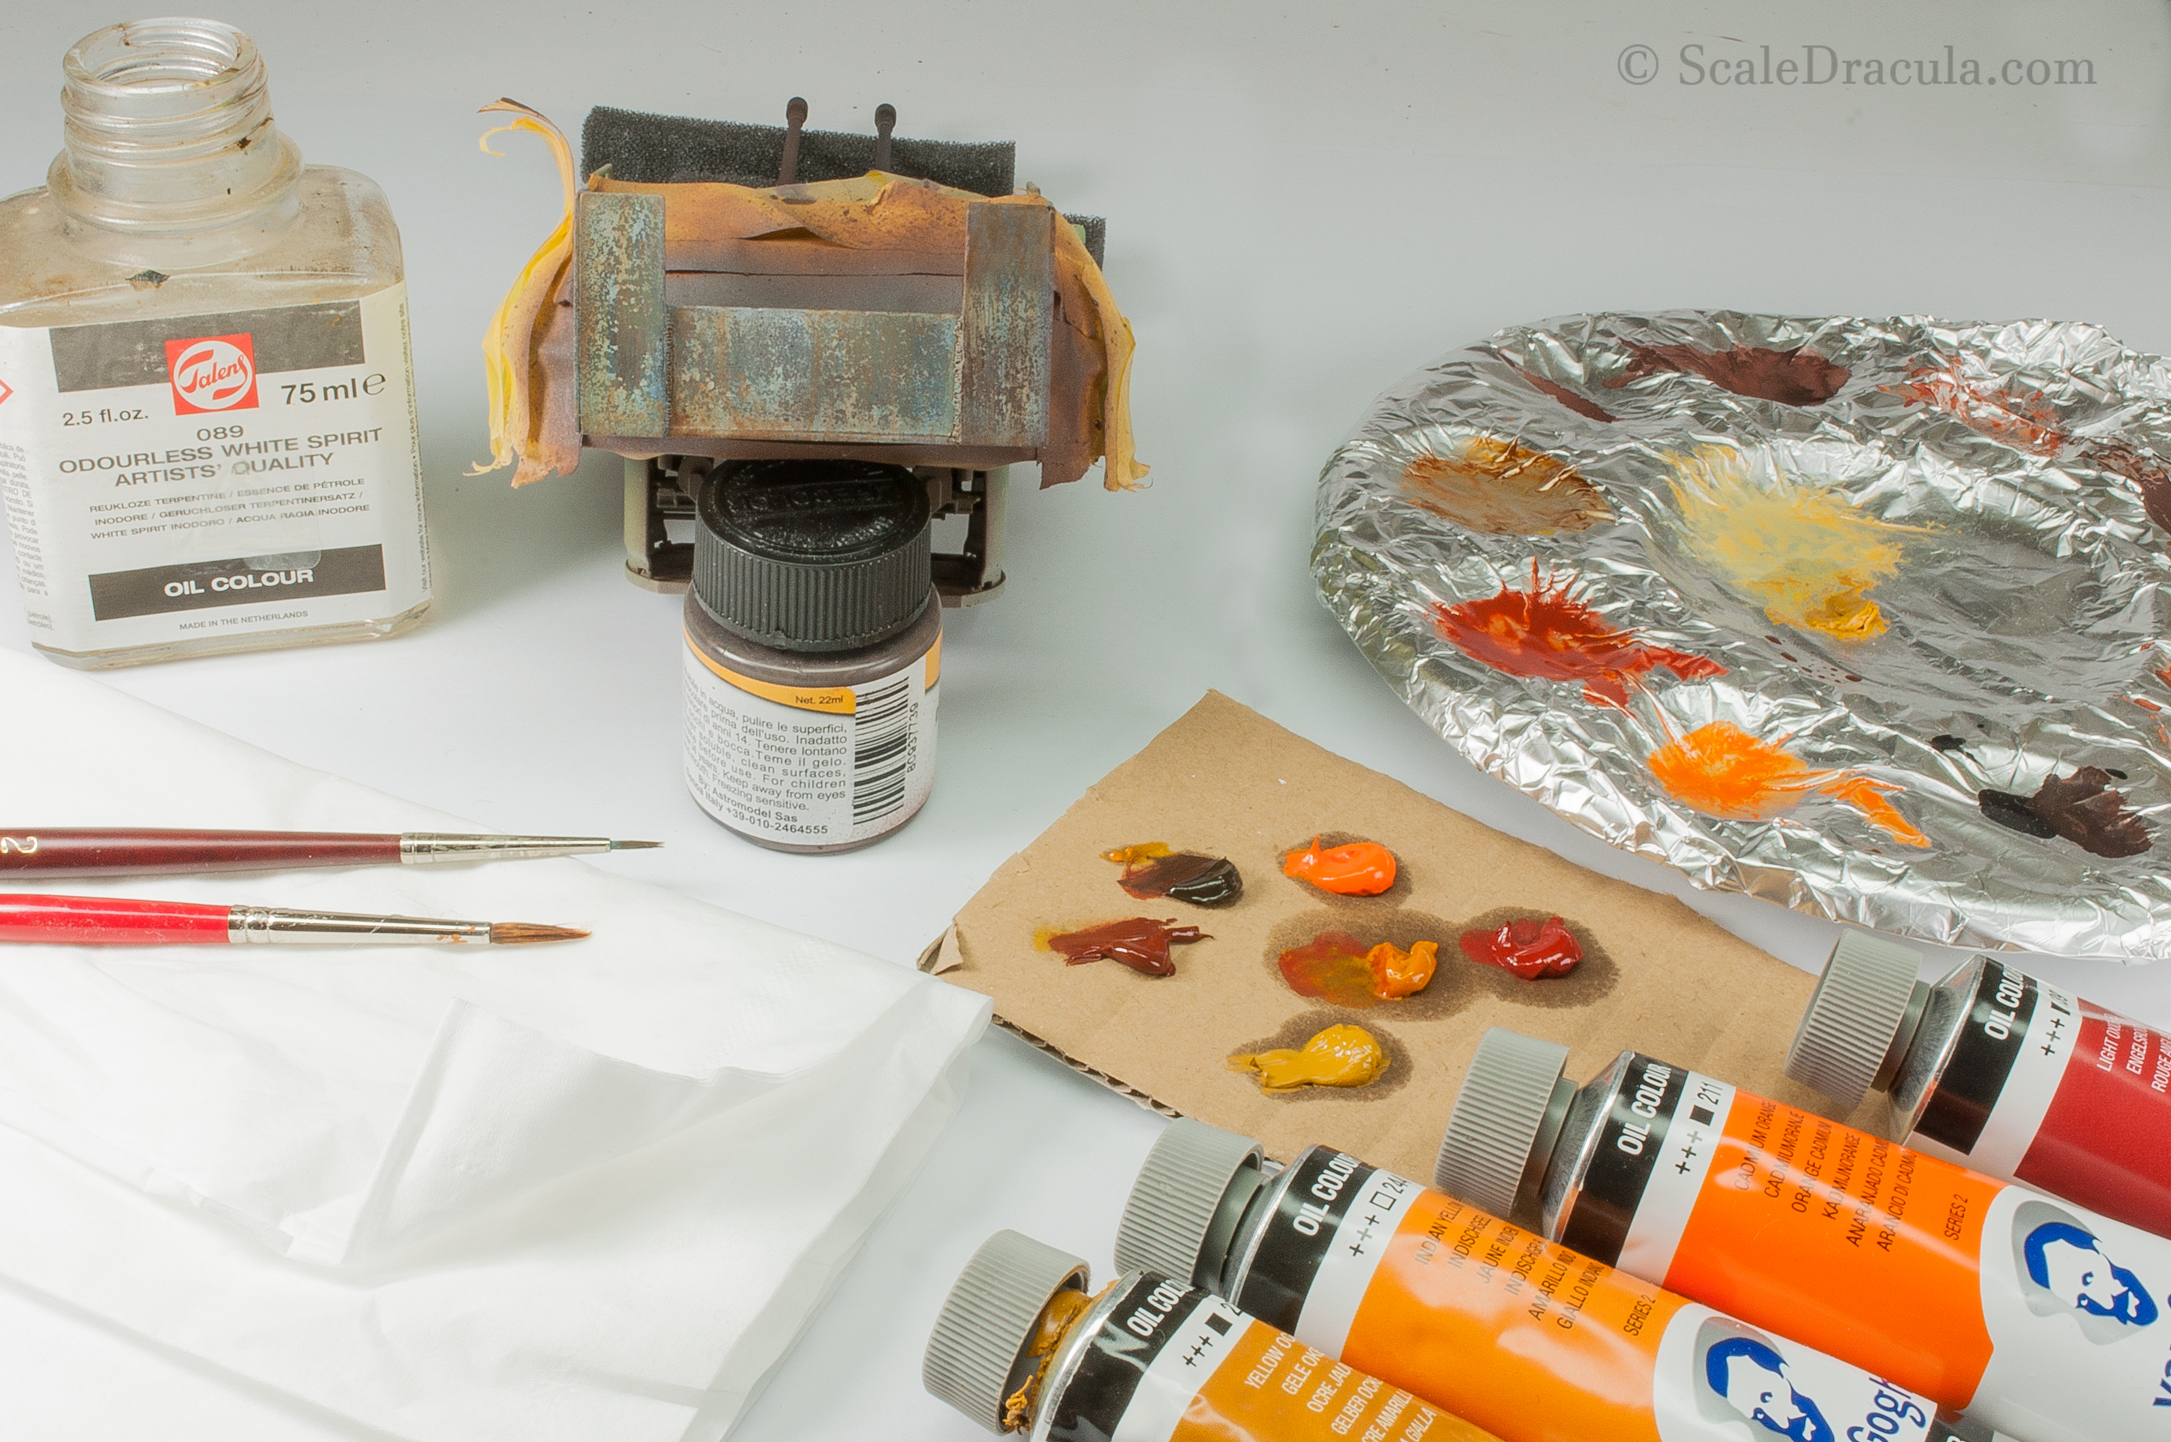
Then I hand-painted the raw metal chips. Vallejo German Black Brown is my 'go to' paint for things like that.
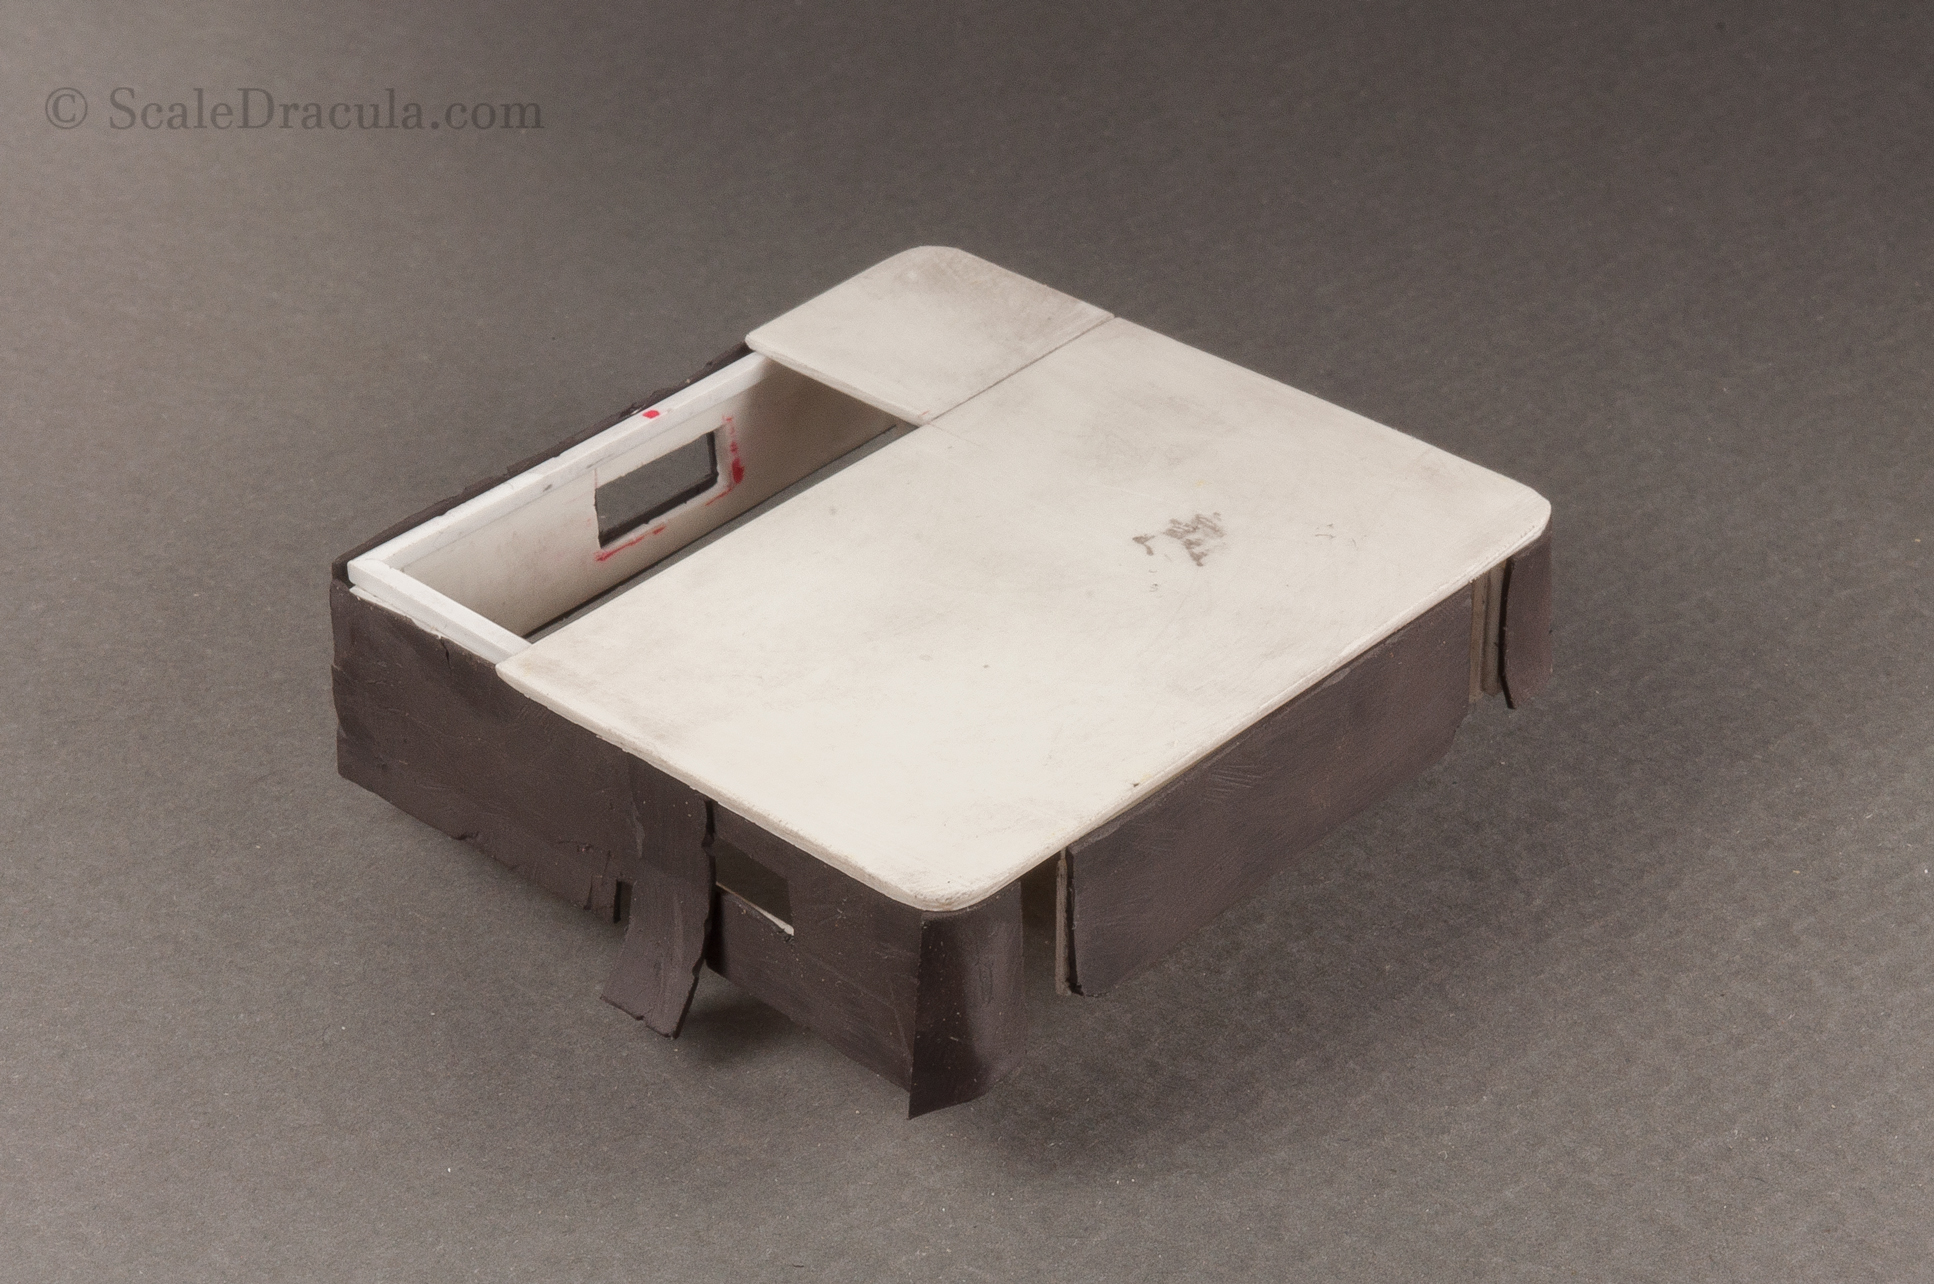
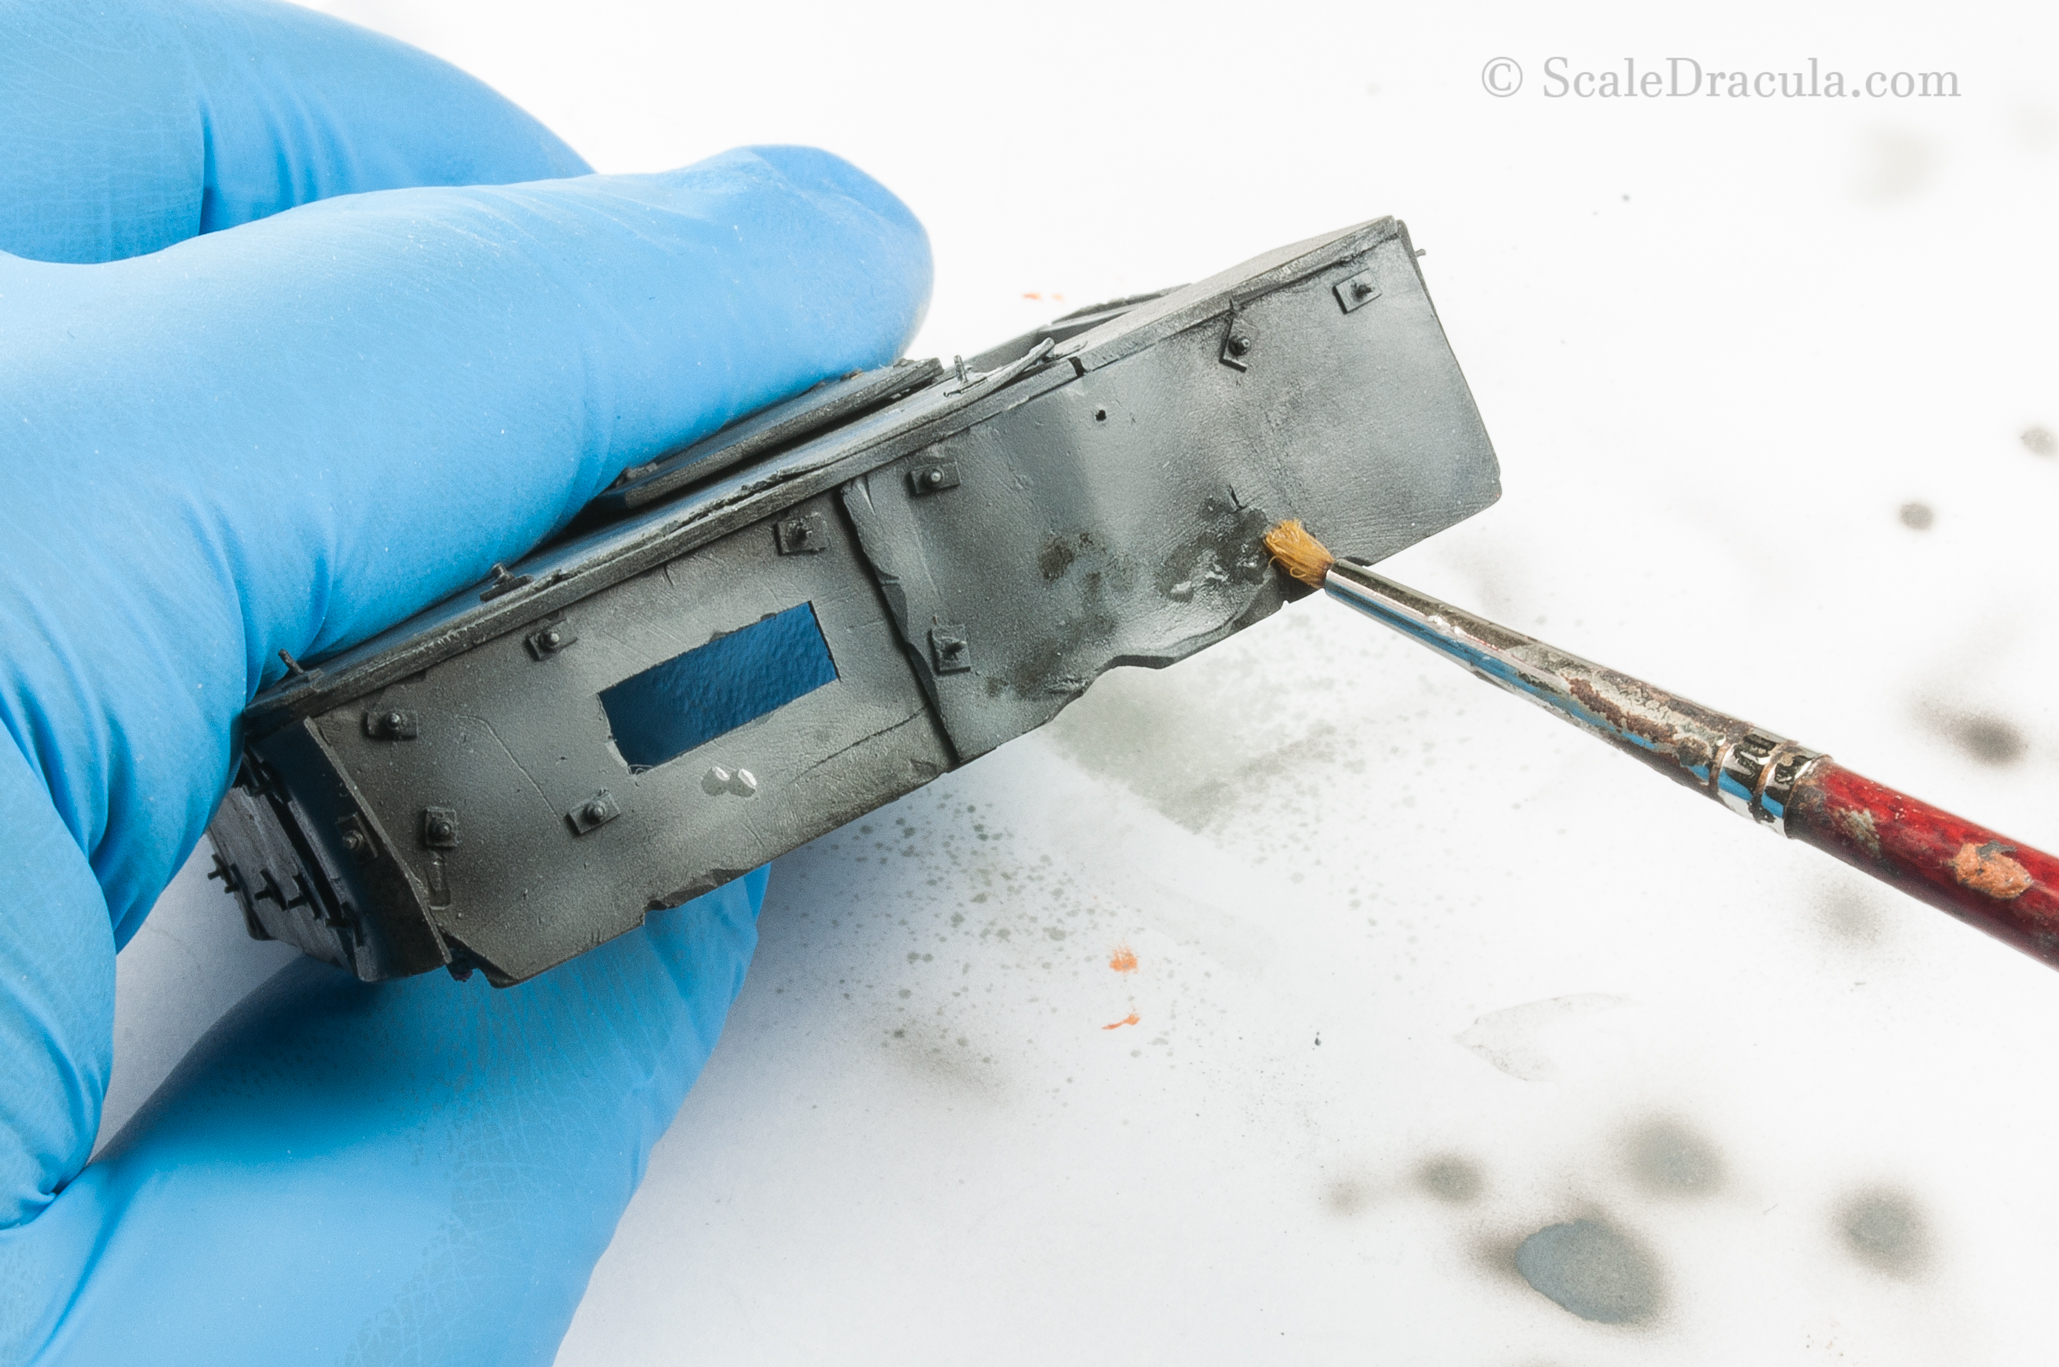
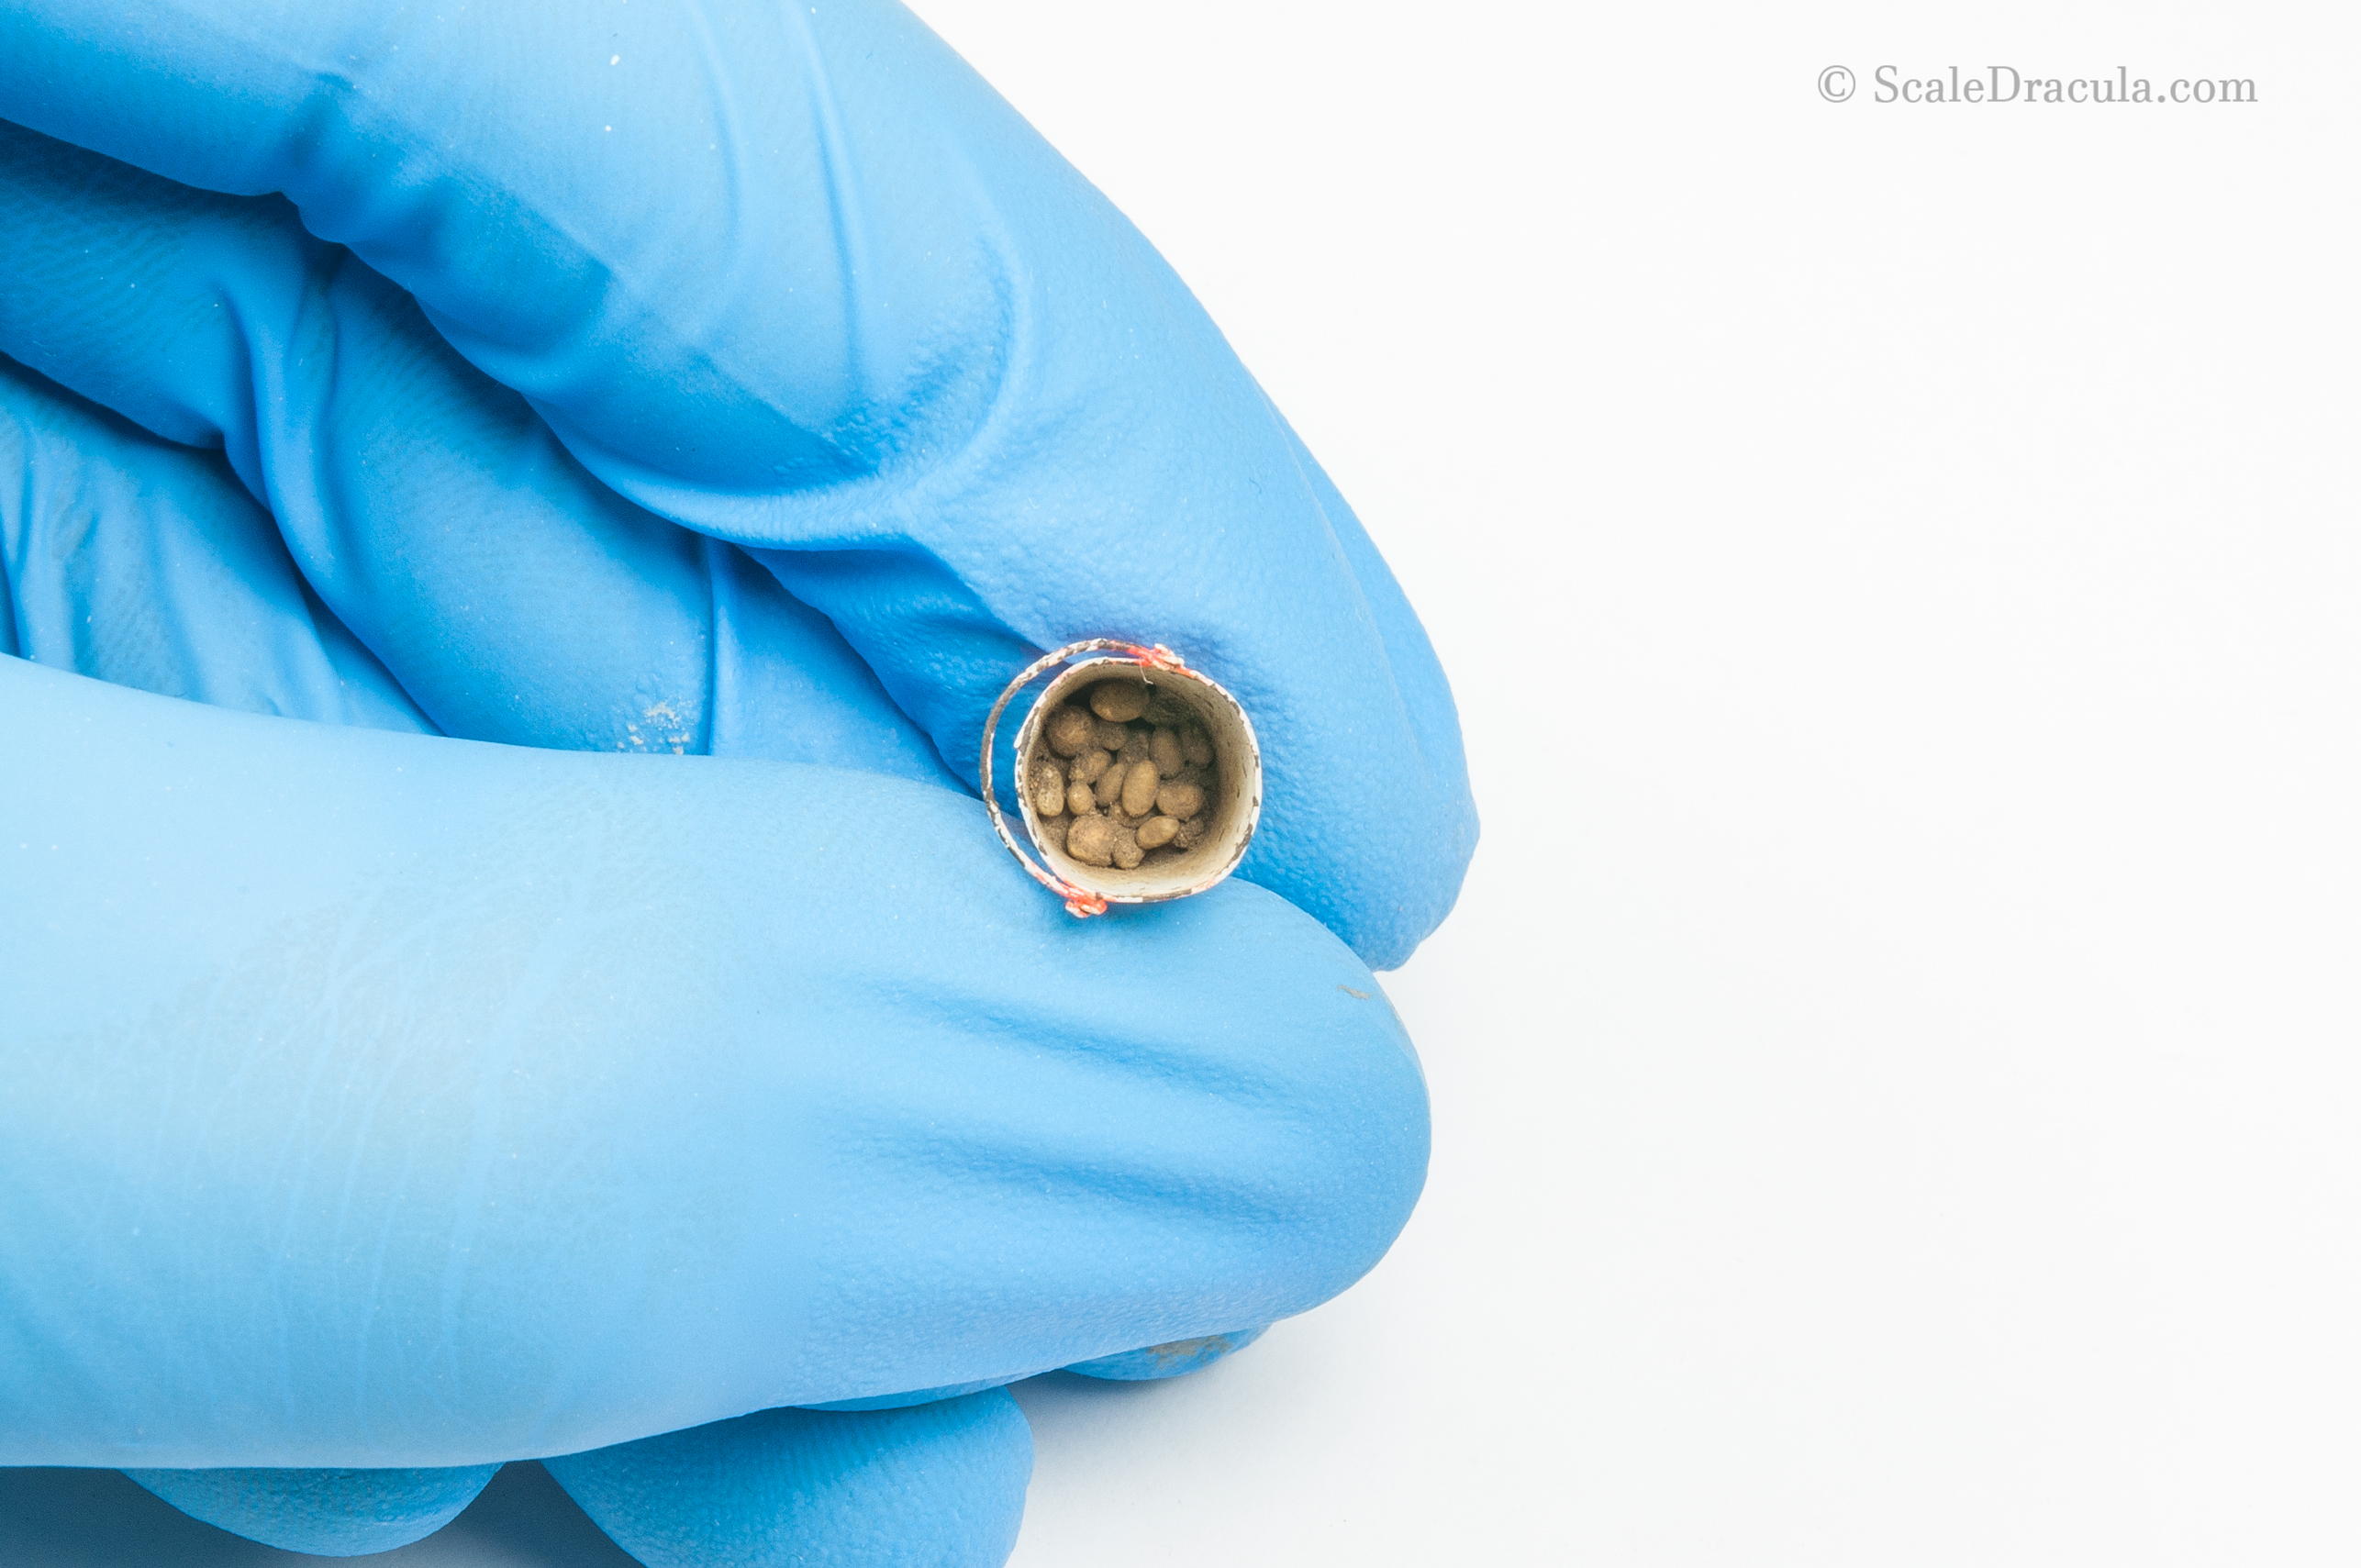
I imagined it would be cool to have something in this bucket, just to grab the attention of the viewer. I made some potatoes out of Miliput scraps just rolling them around. I painted them light brown and I fixed them inside the bucket with sand&gravel glue. Then I put some earth tone pigment on top and fixed it with white spirit.
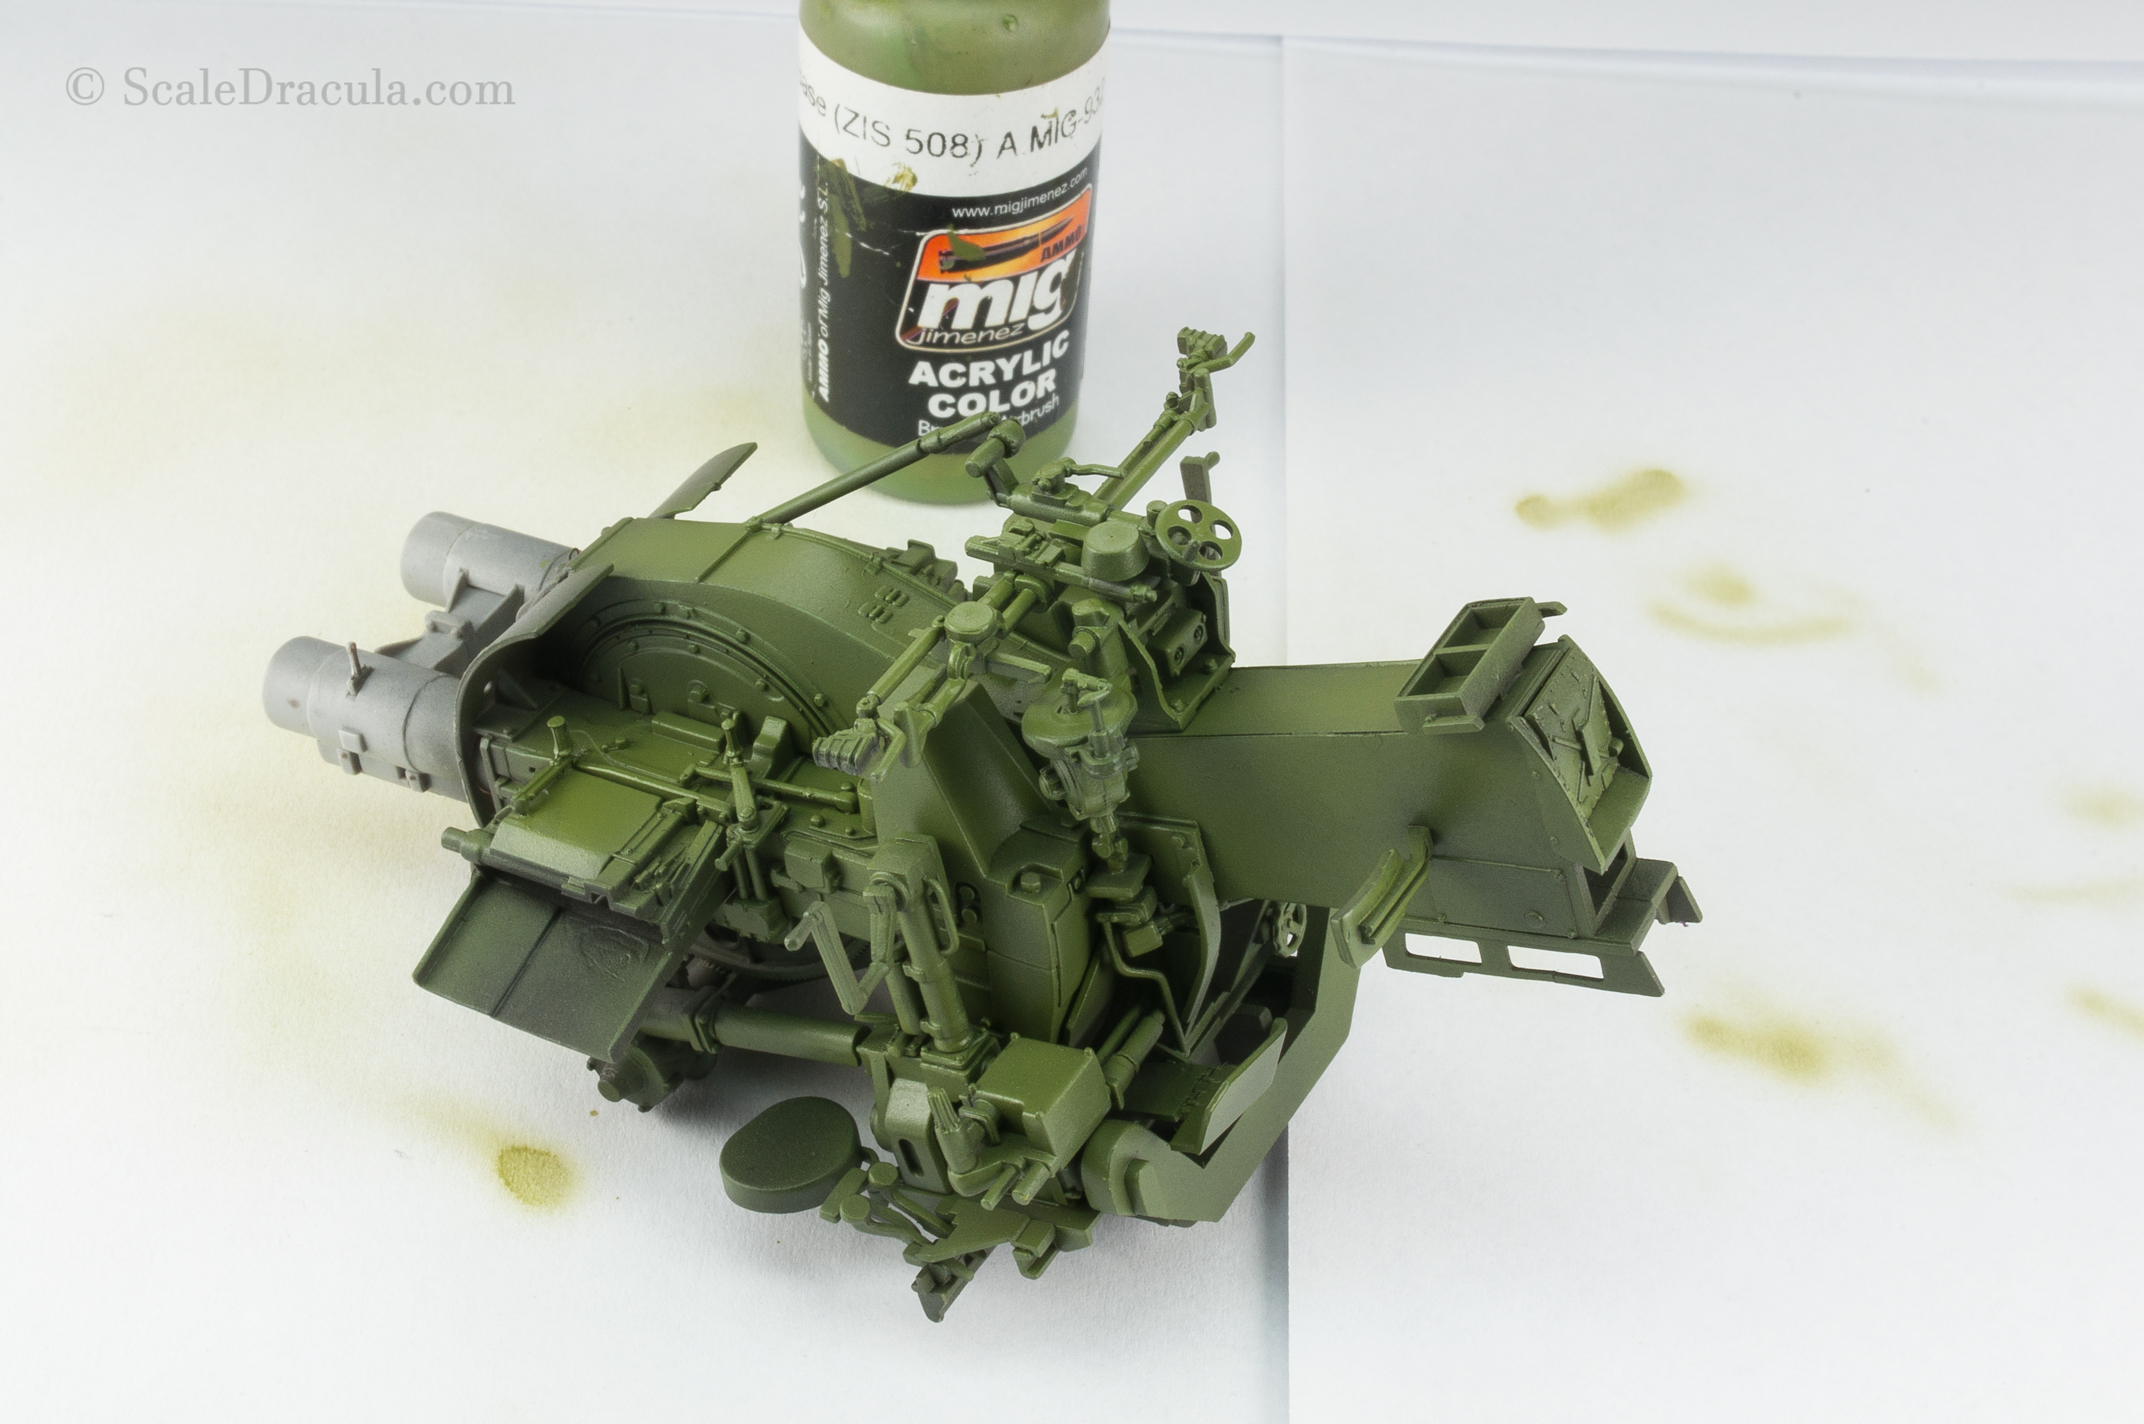
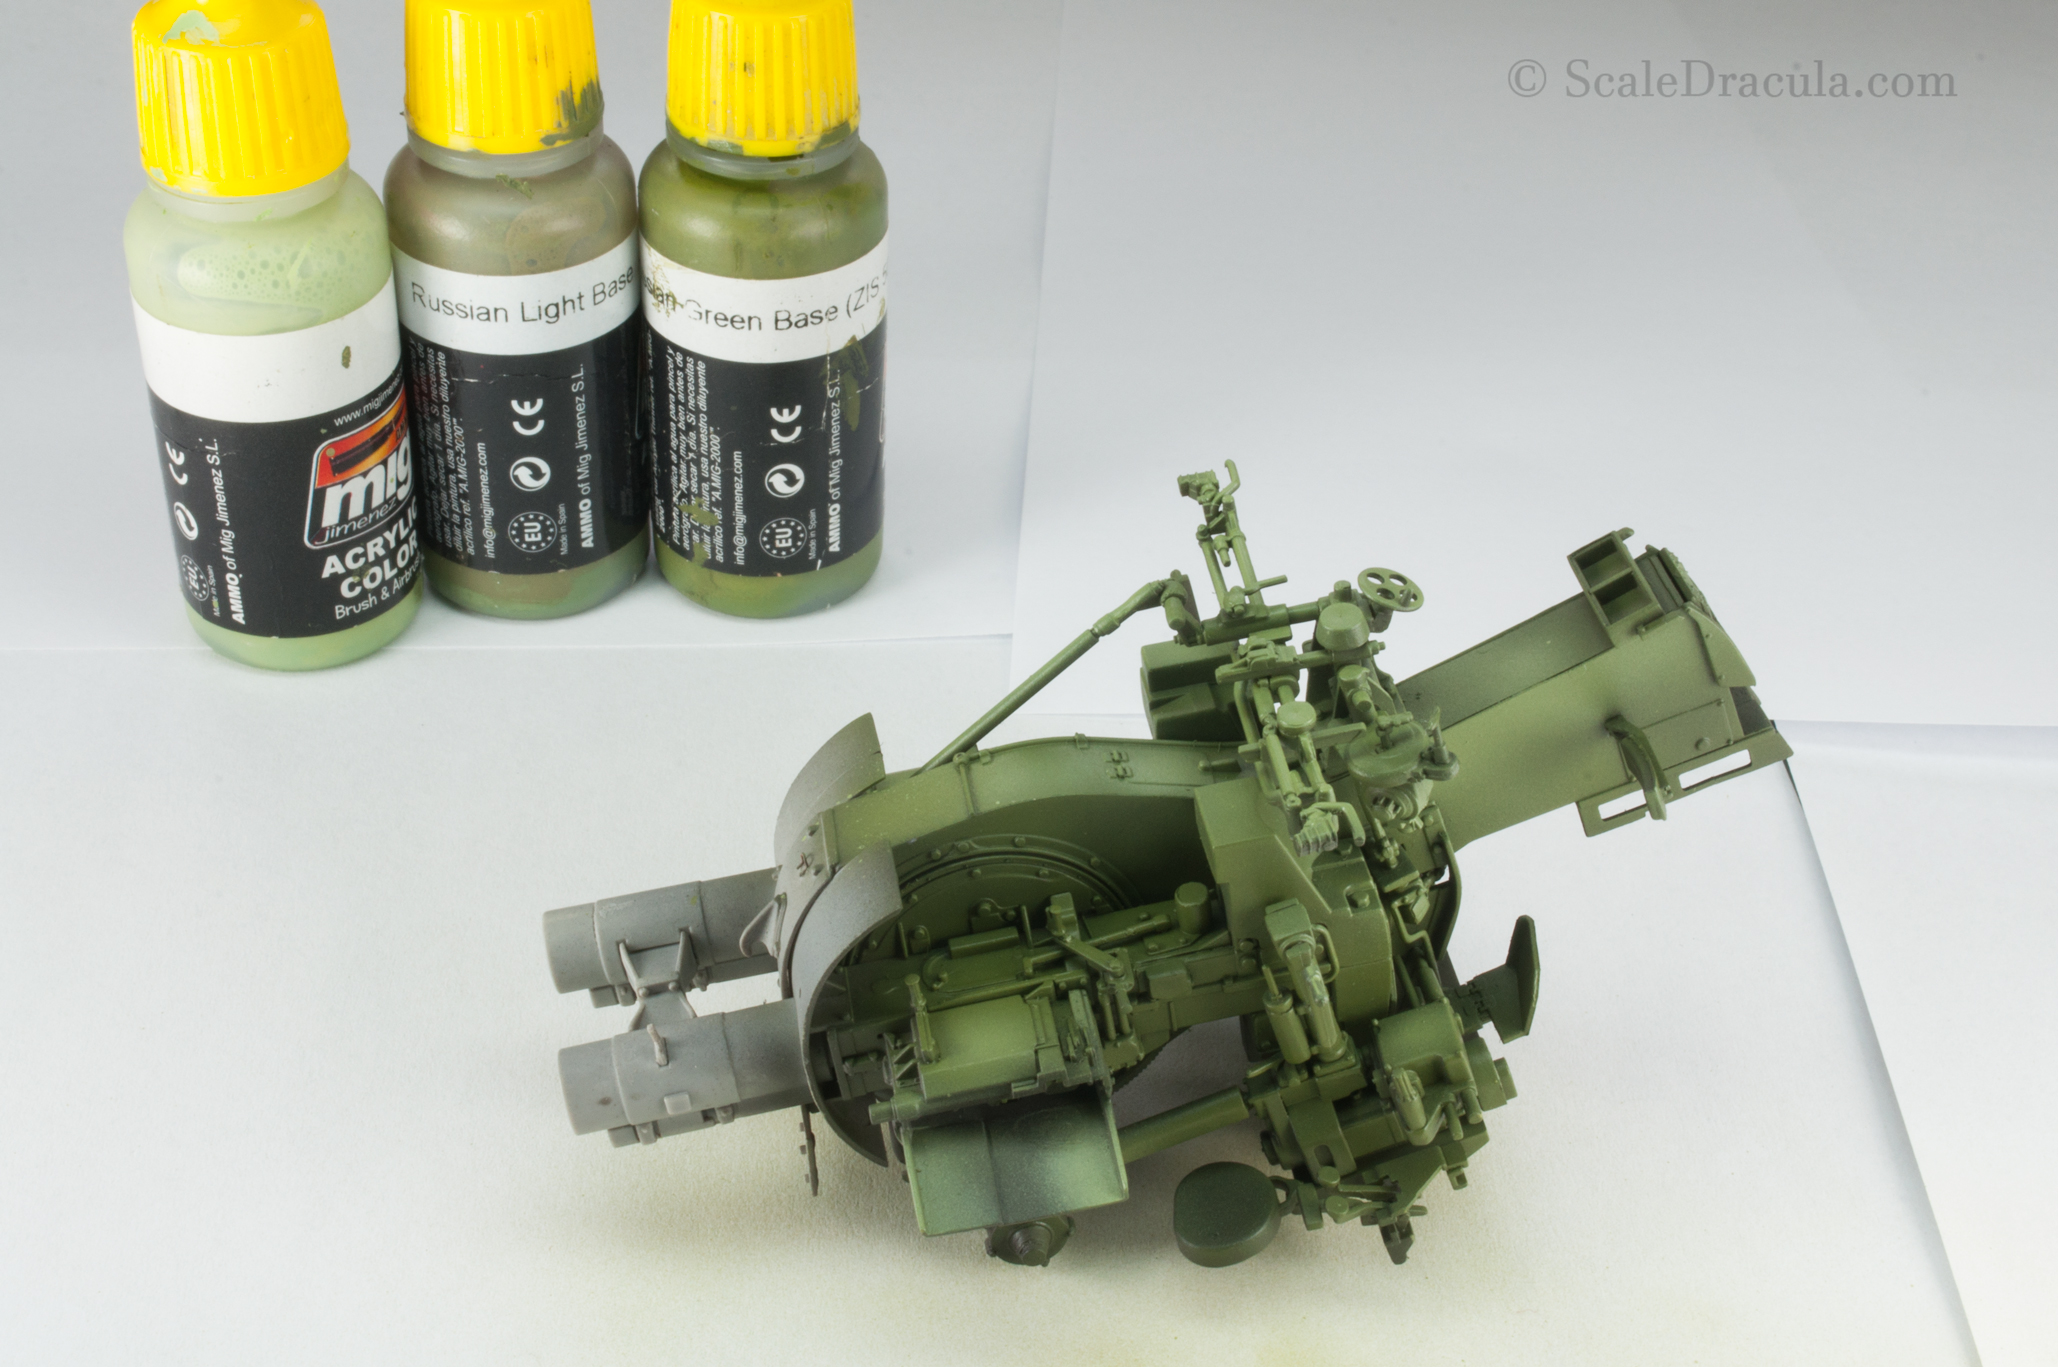
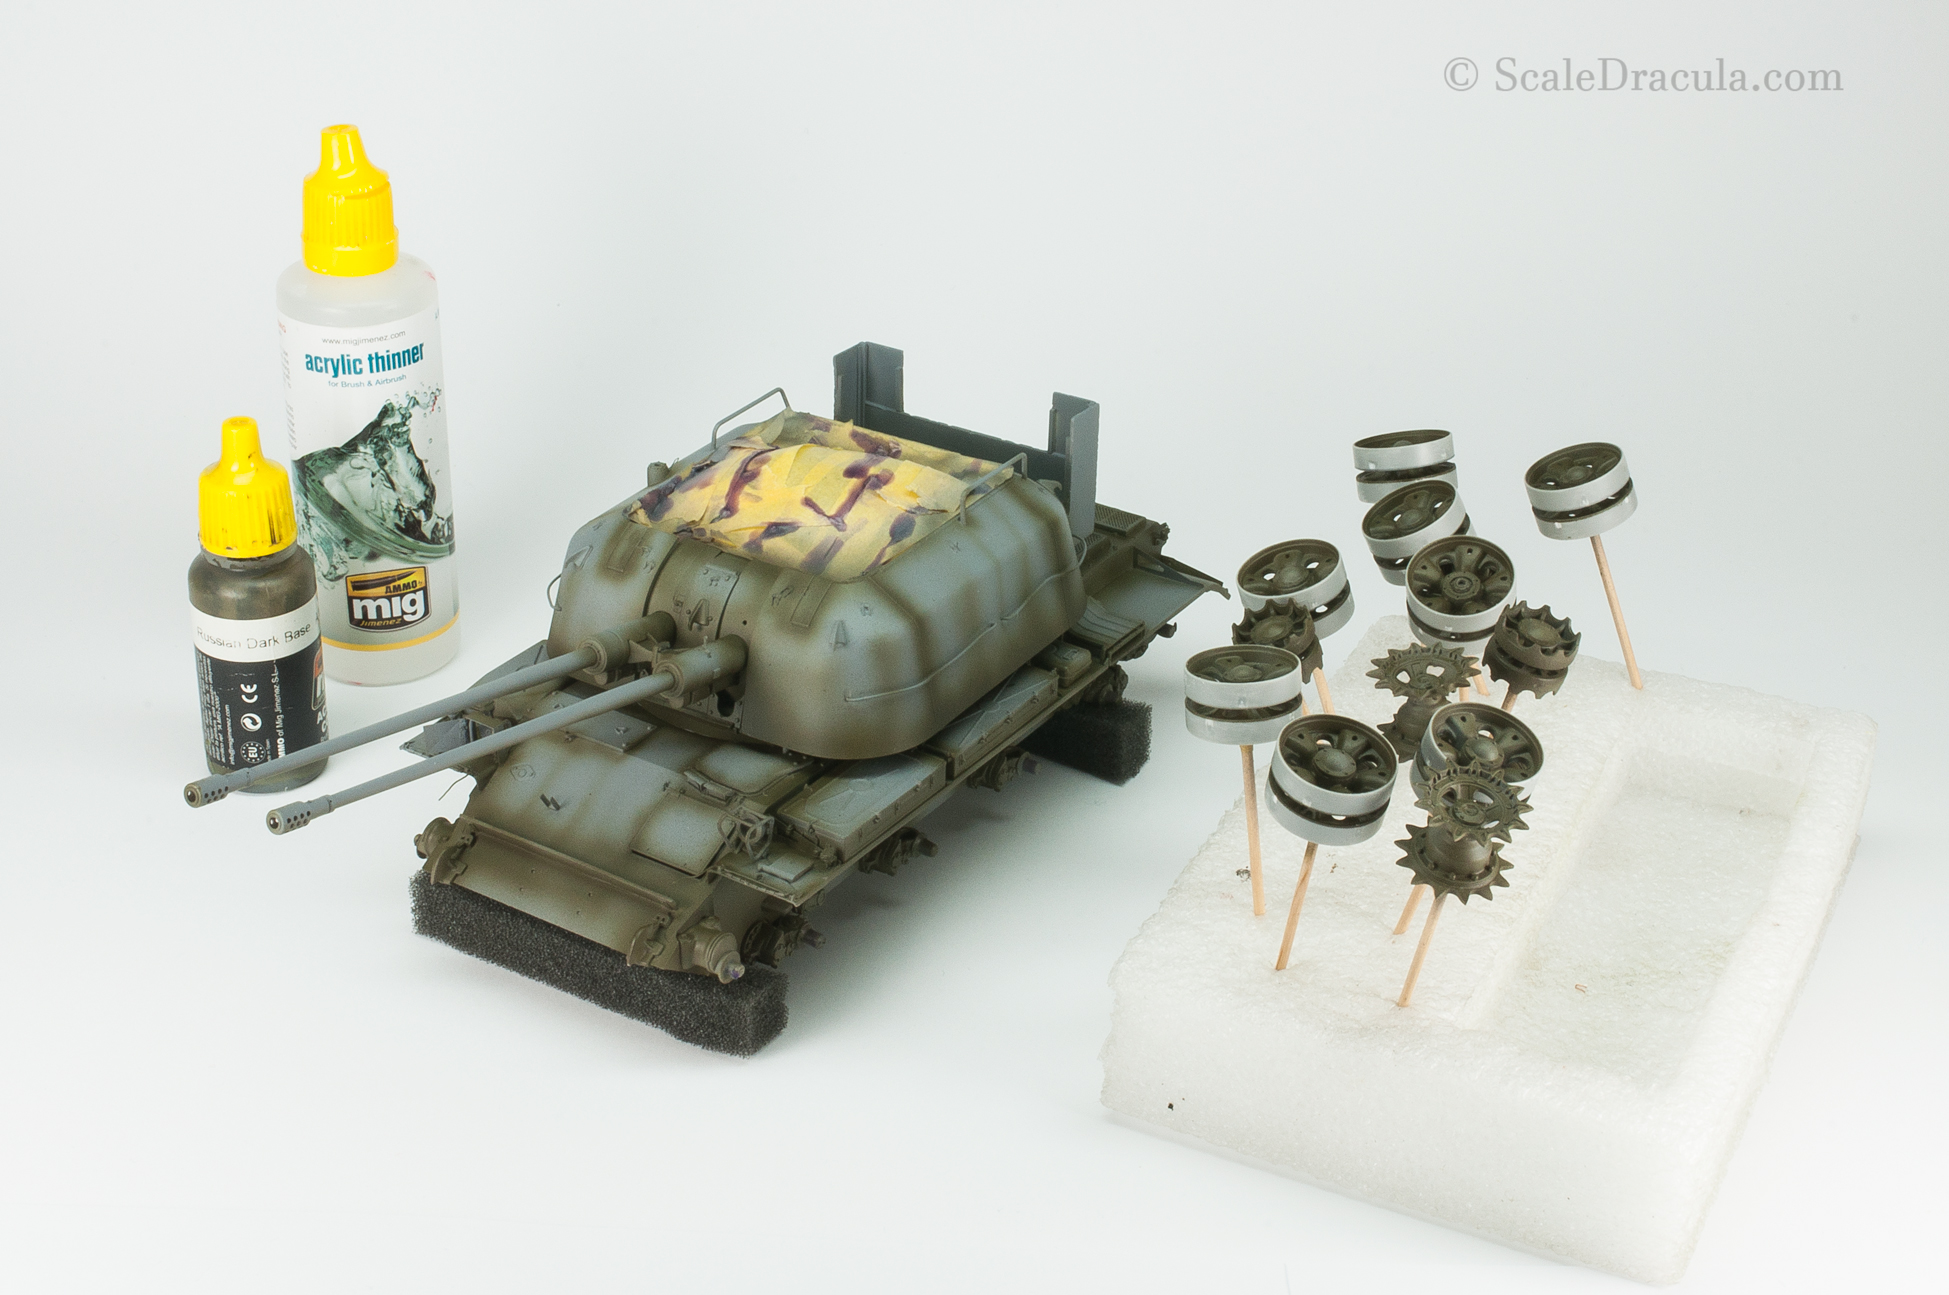
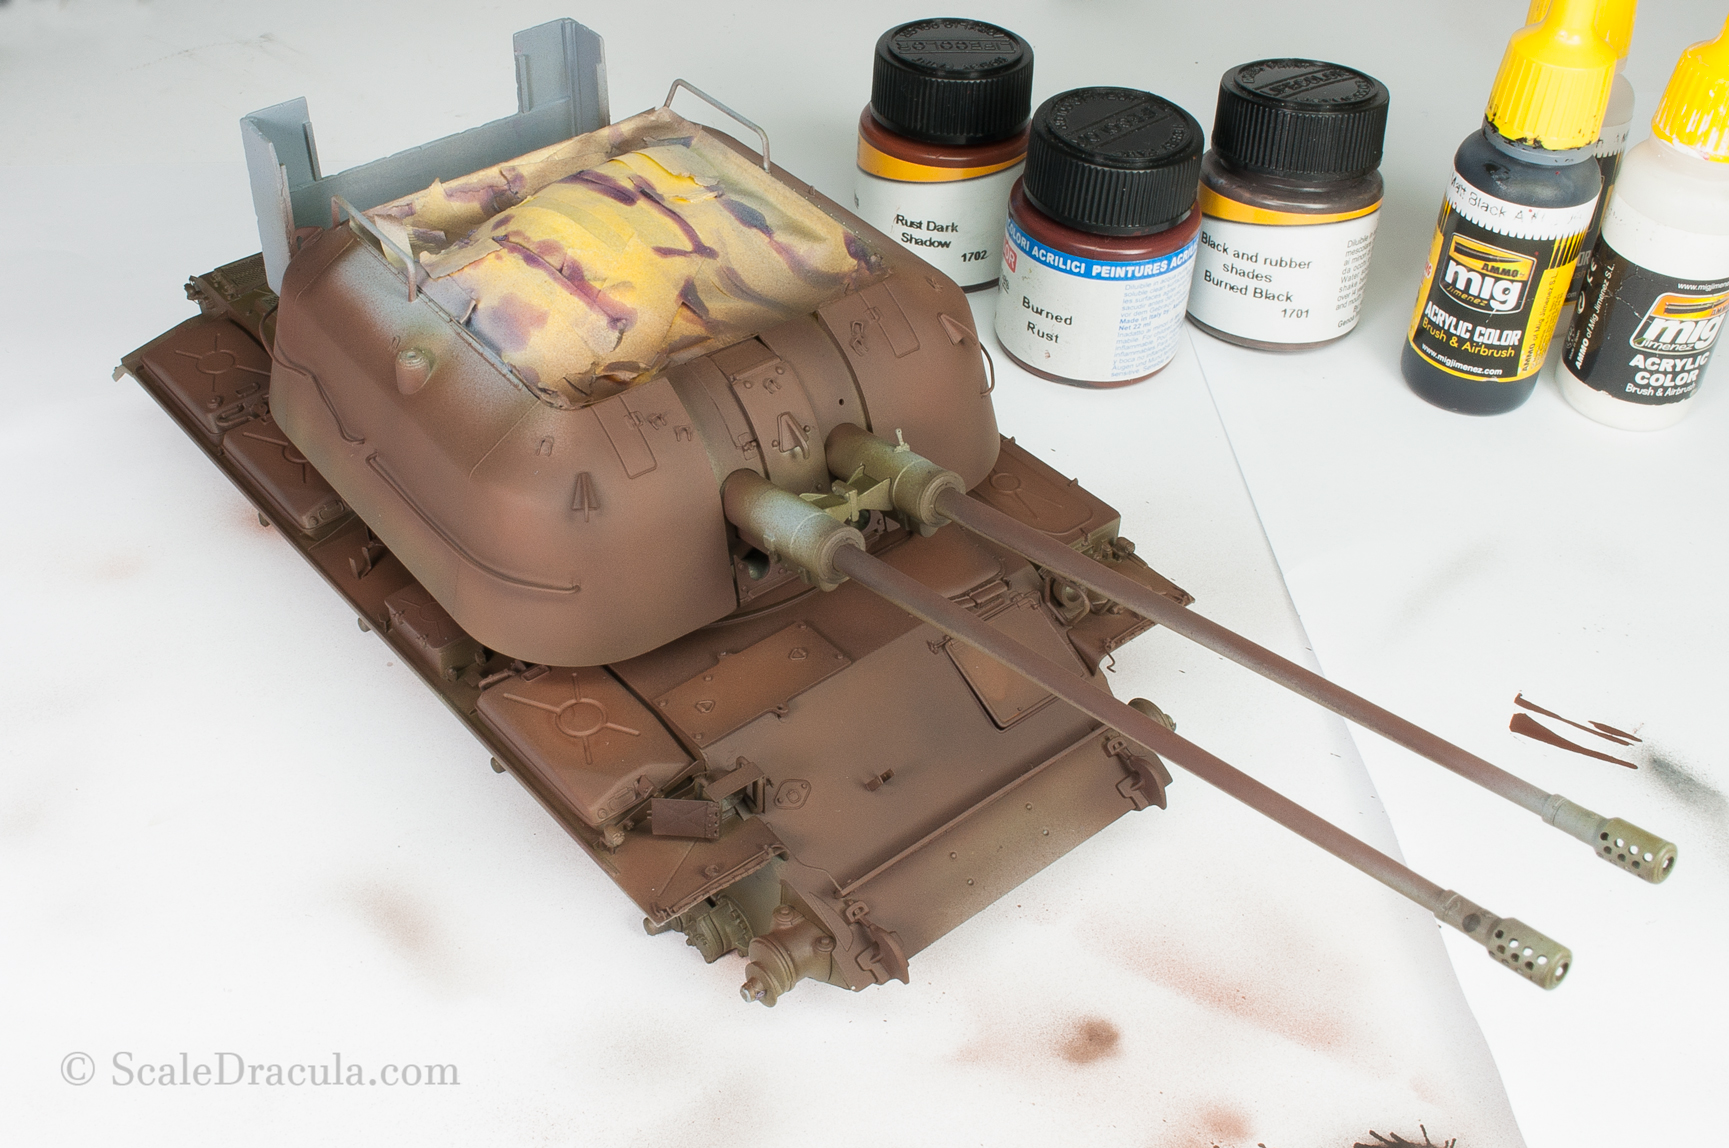
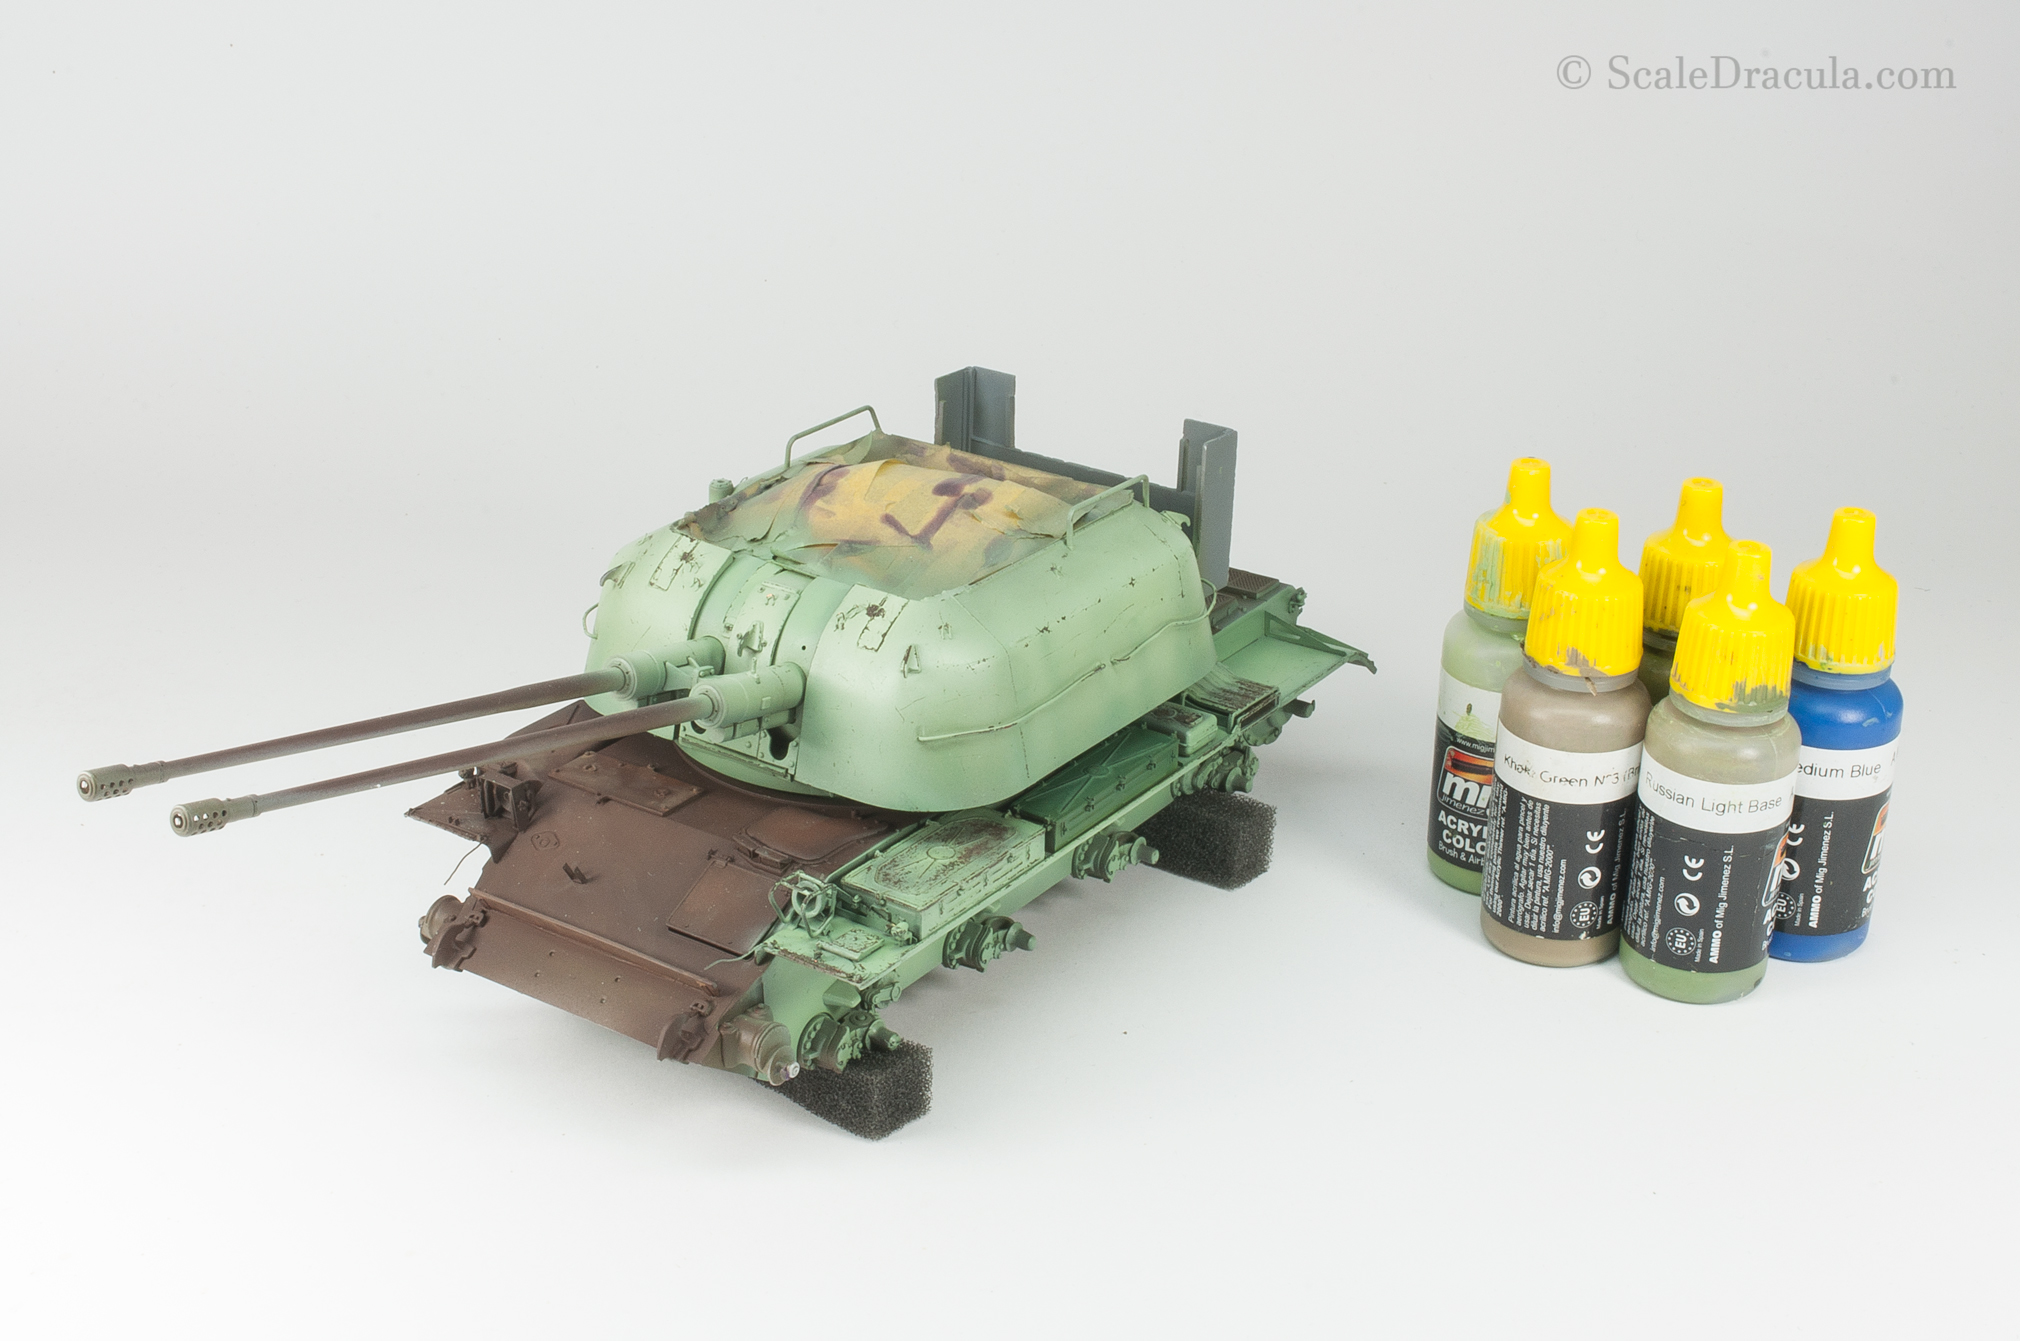
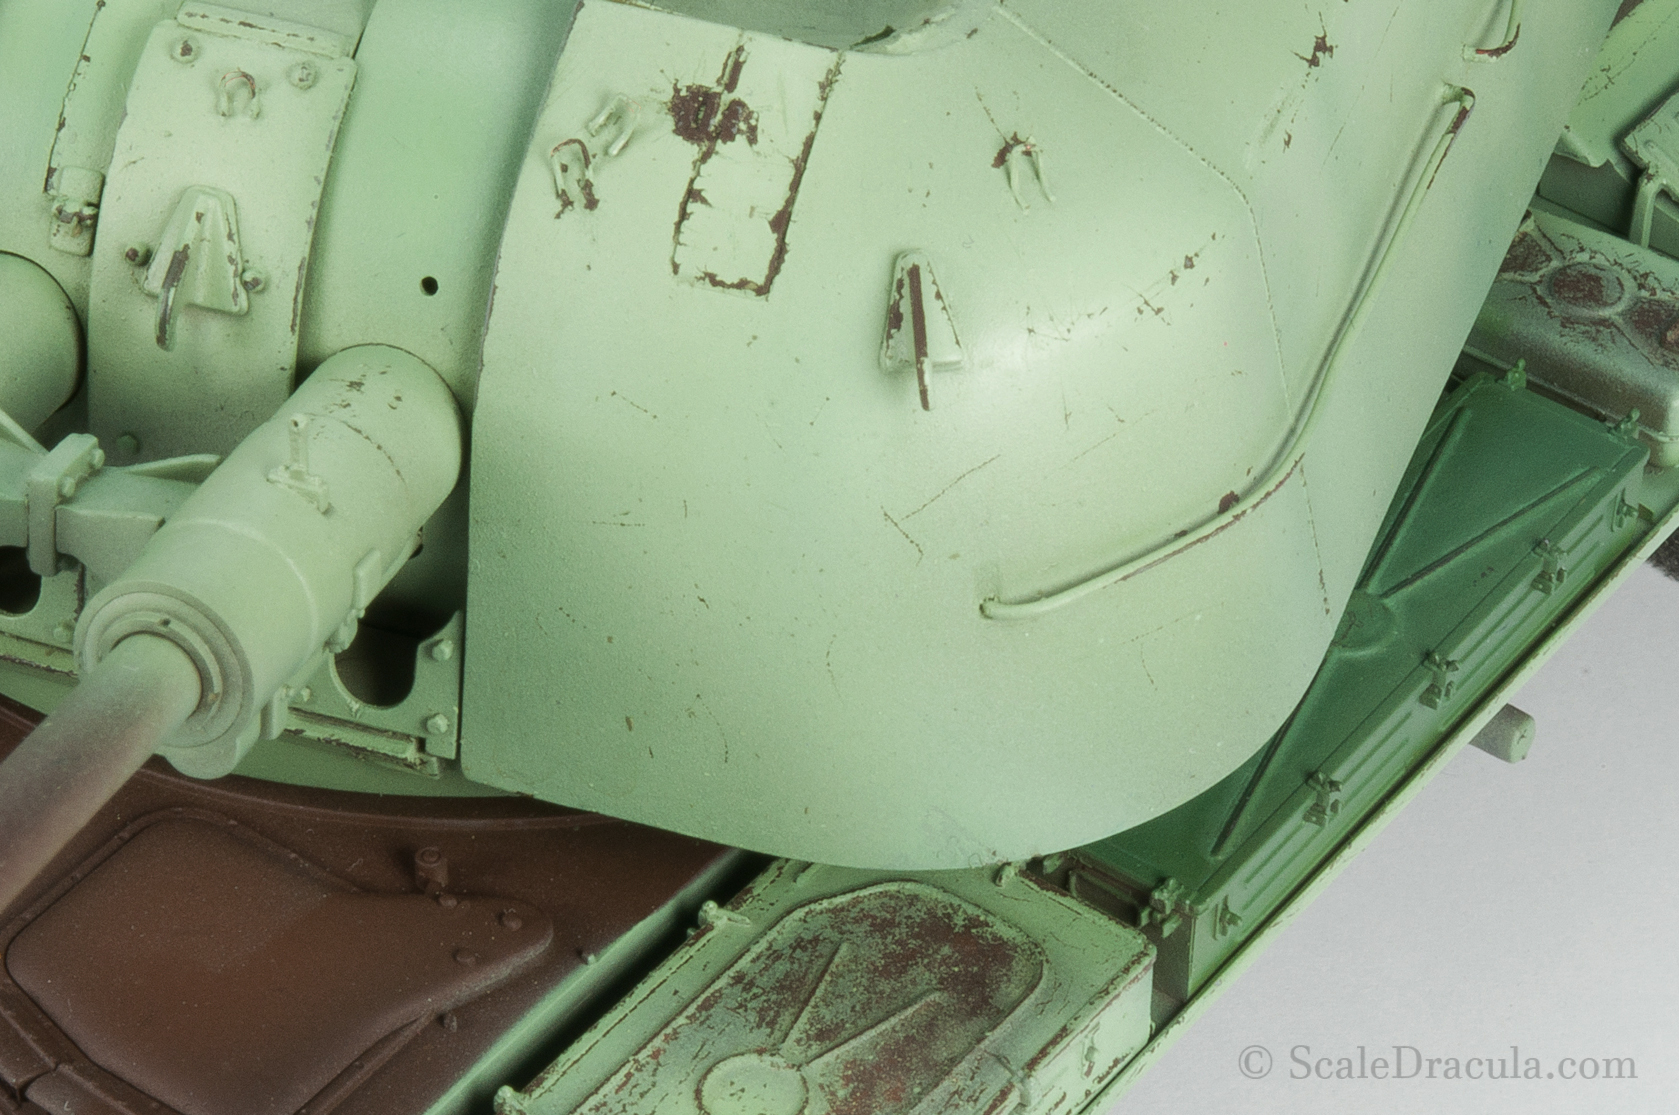
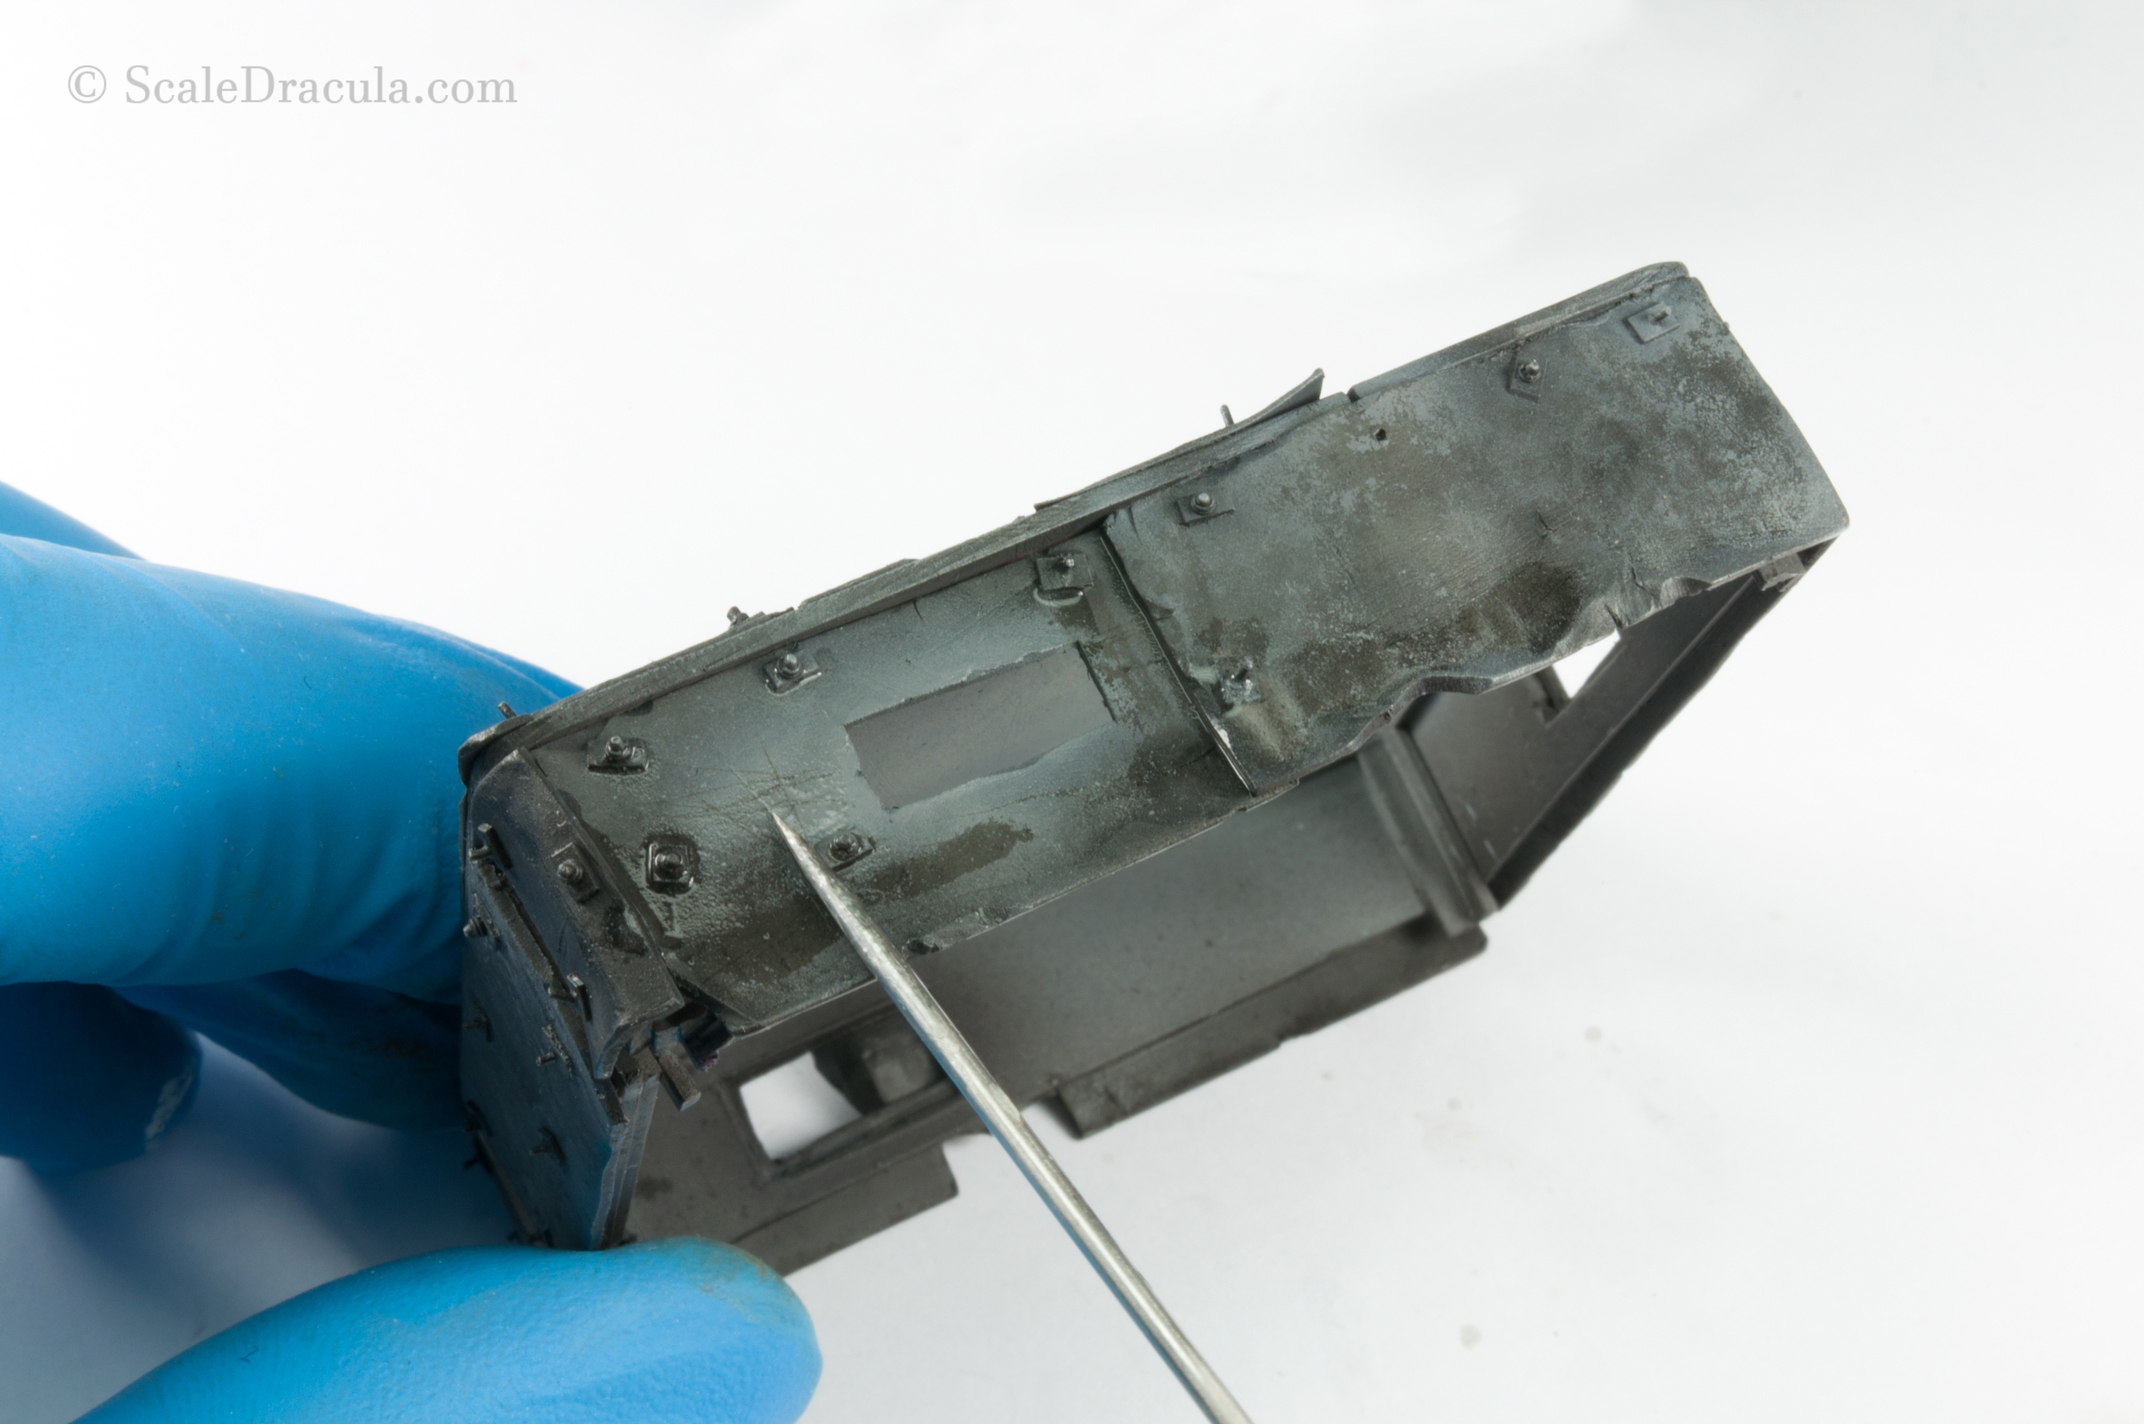
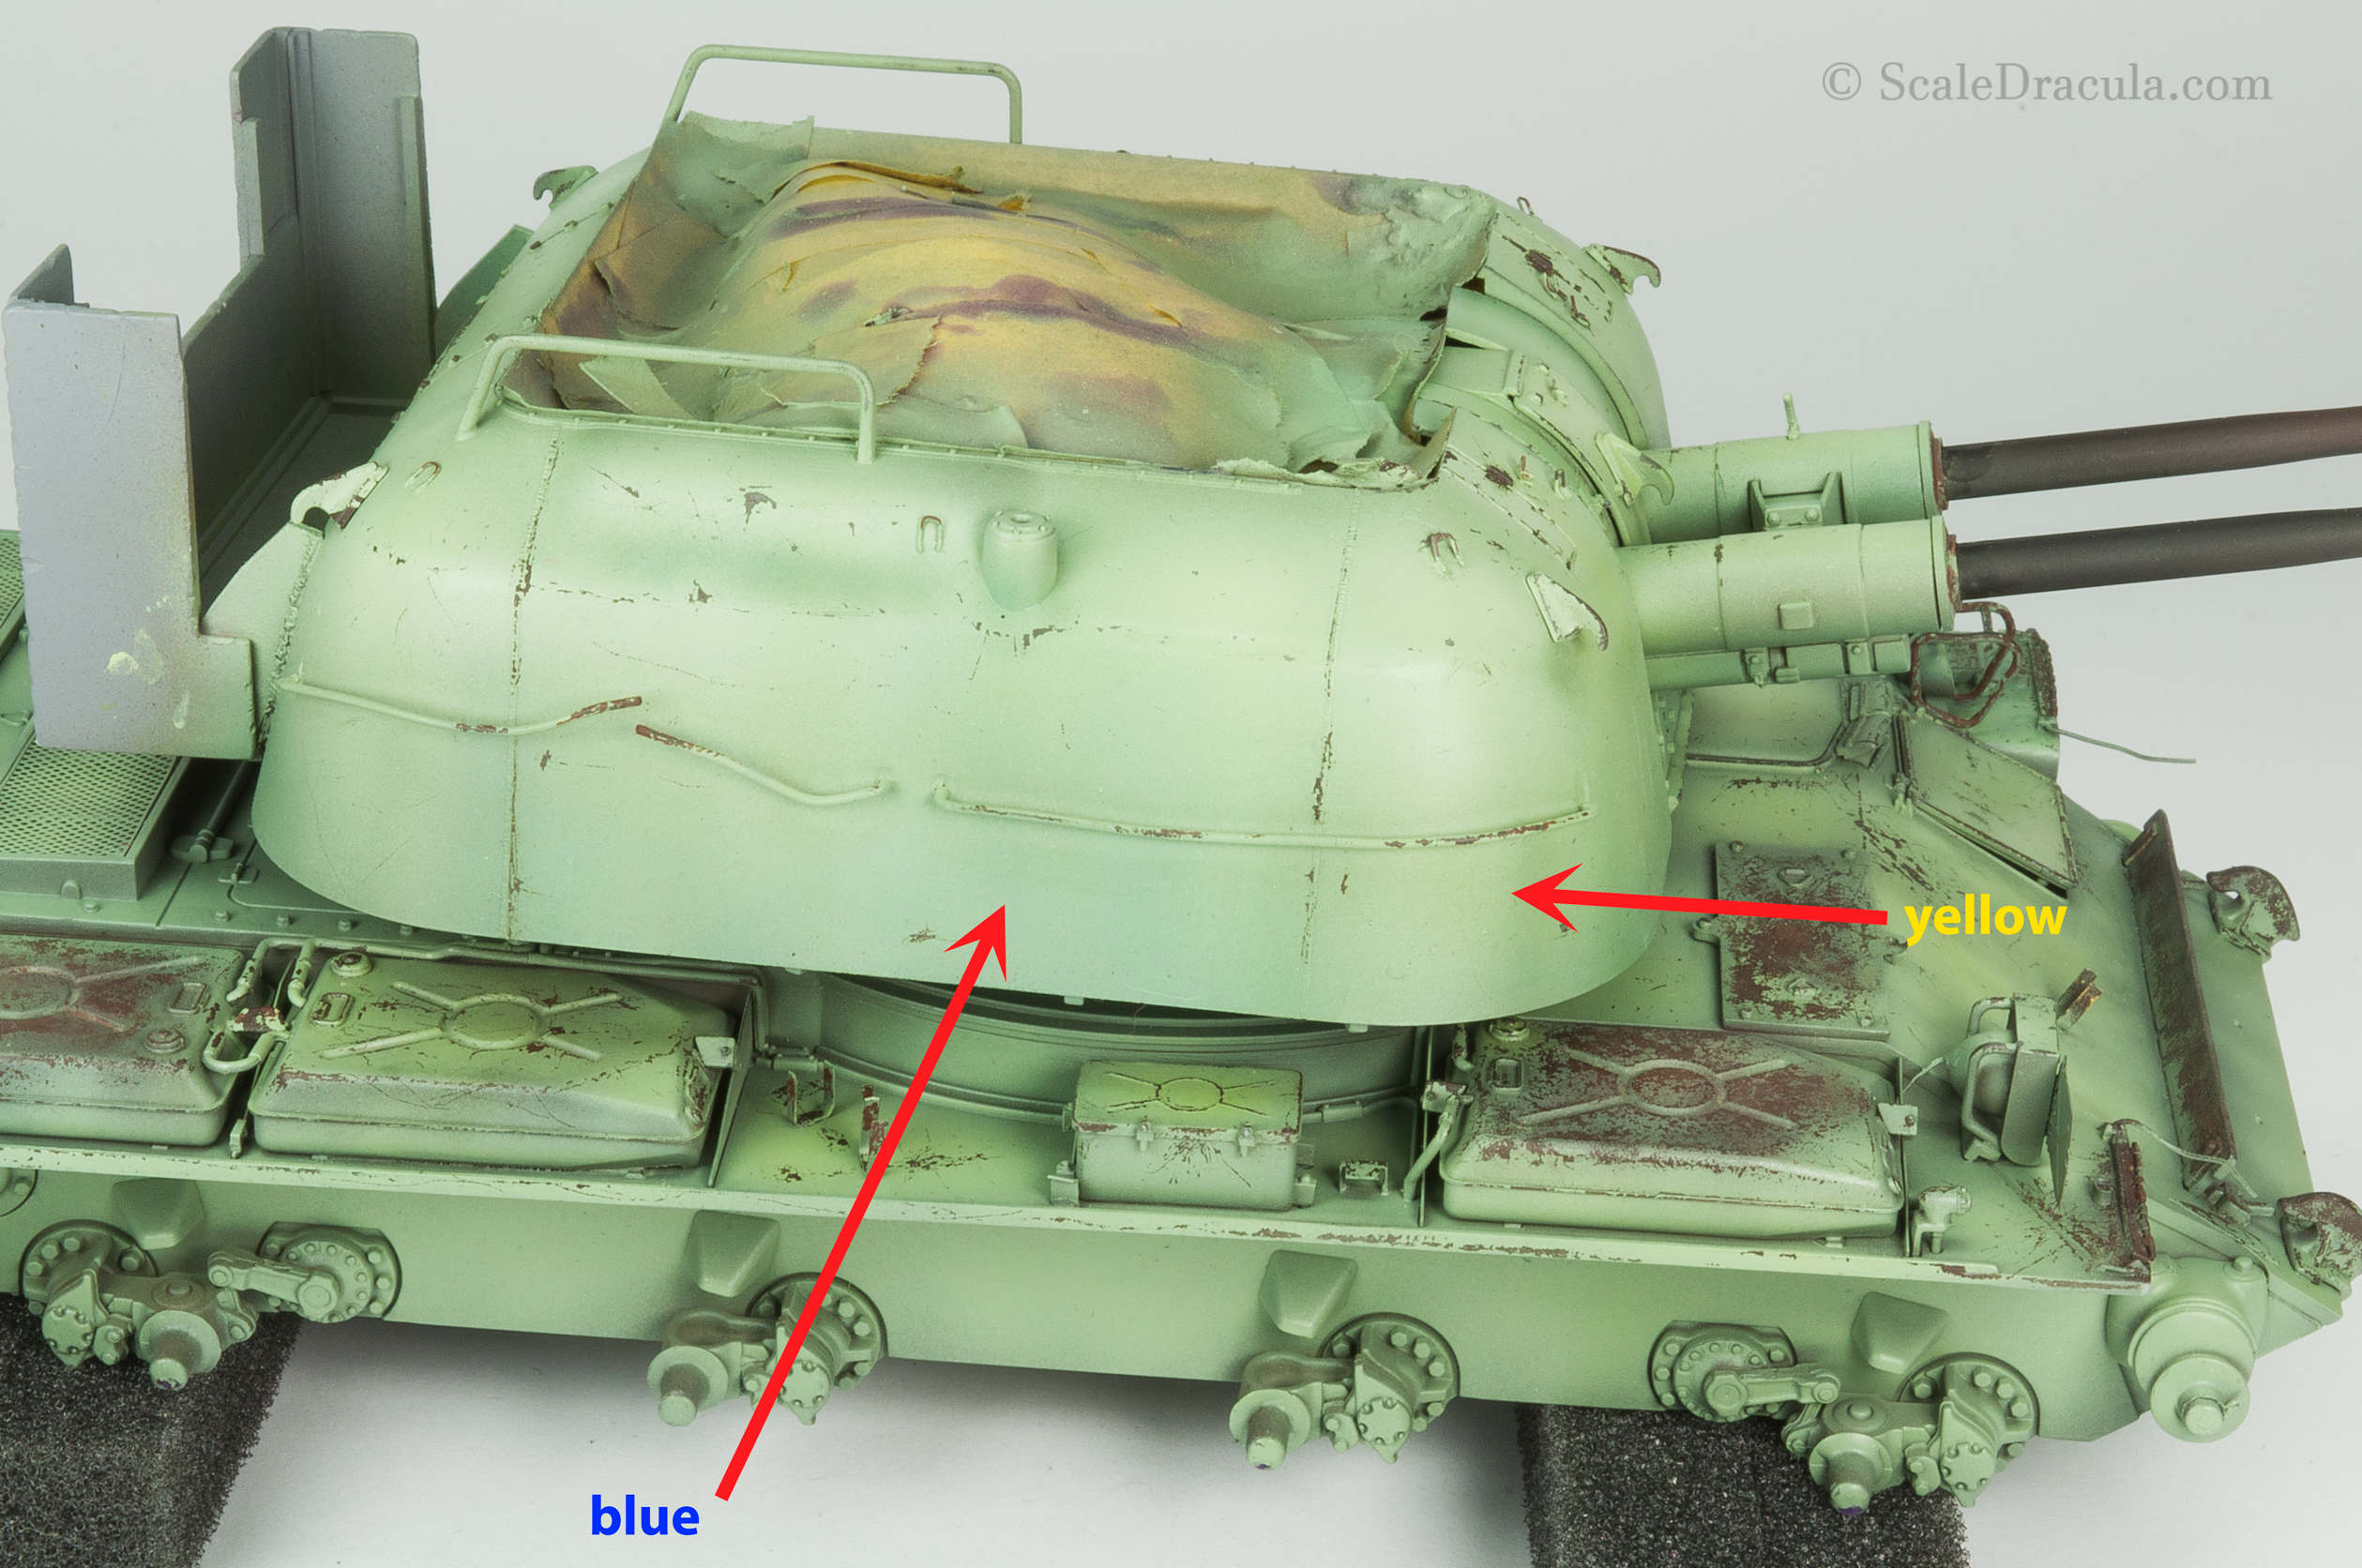
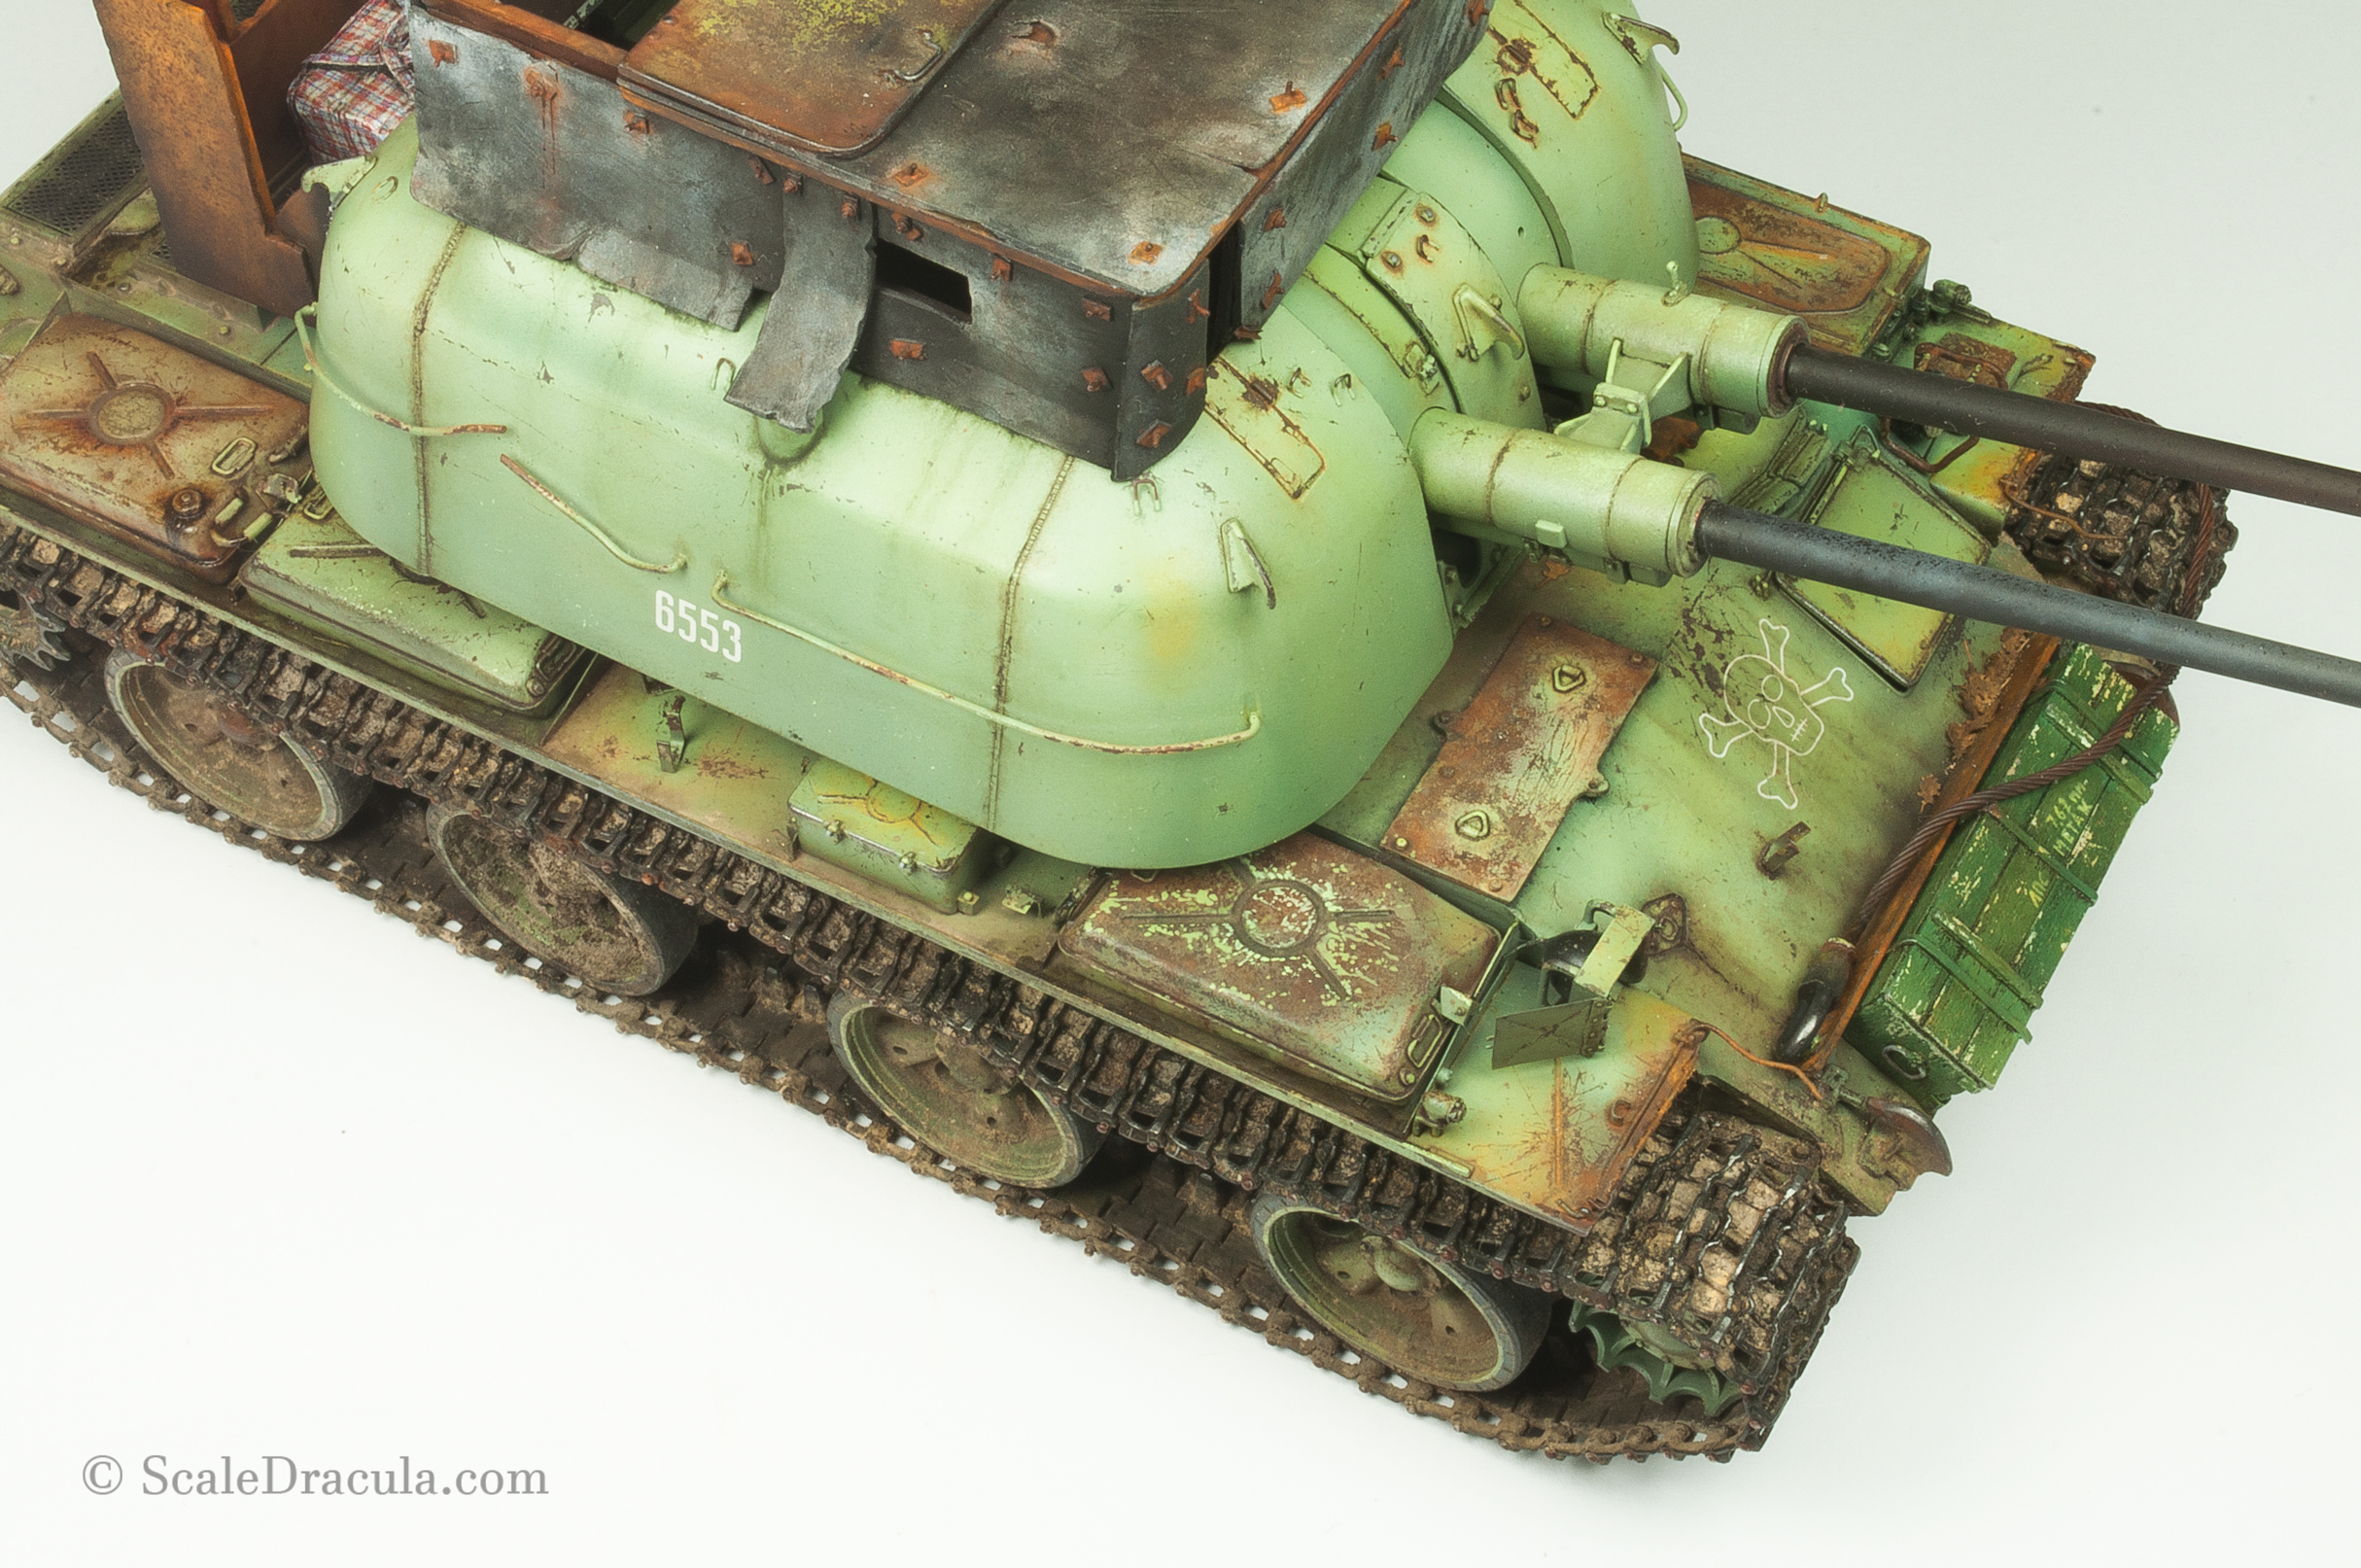
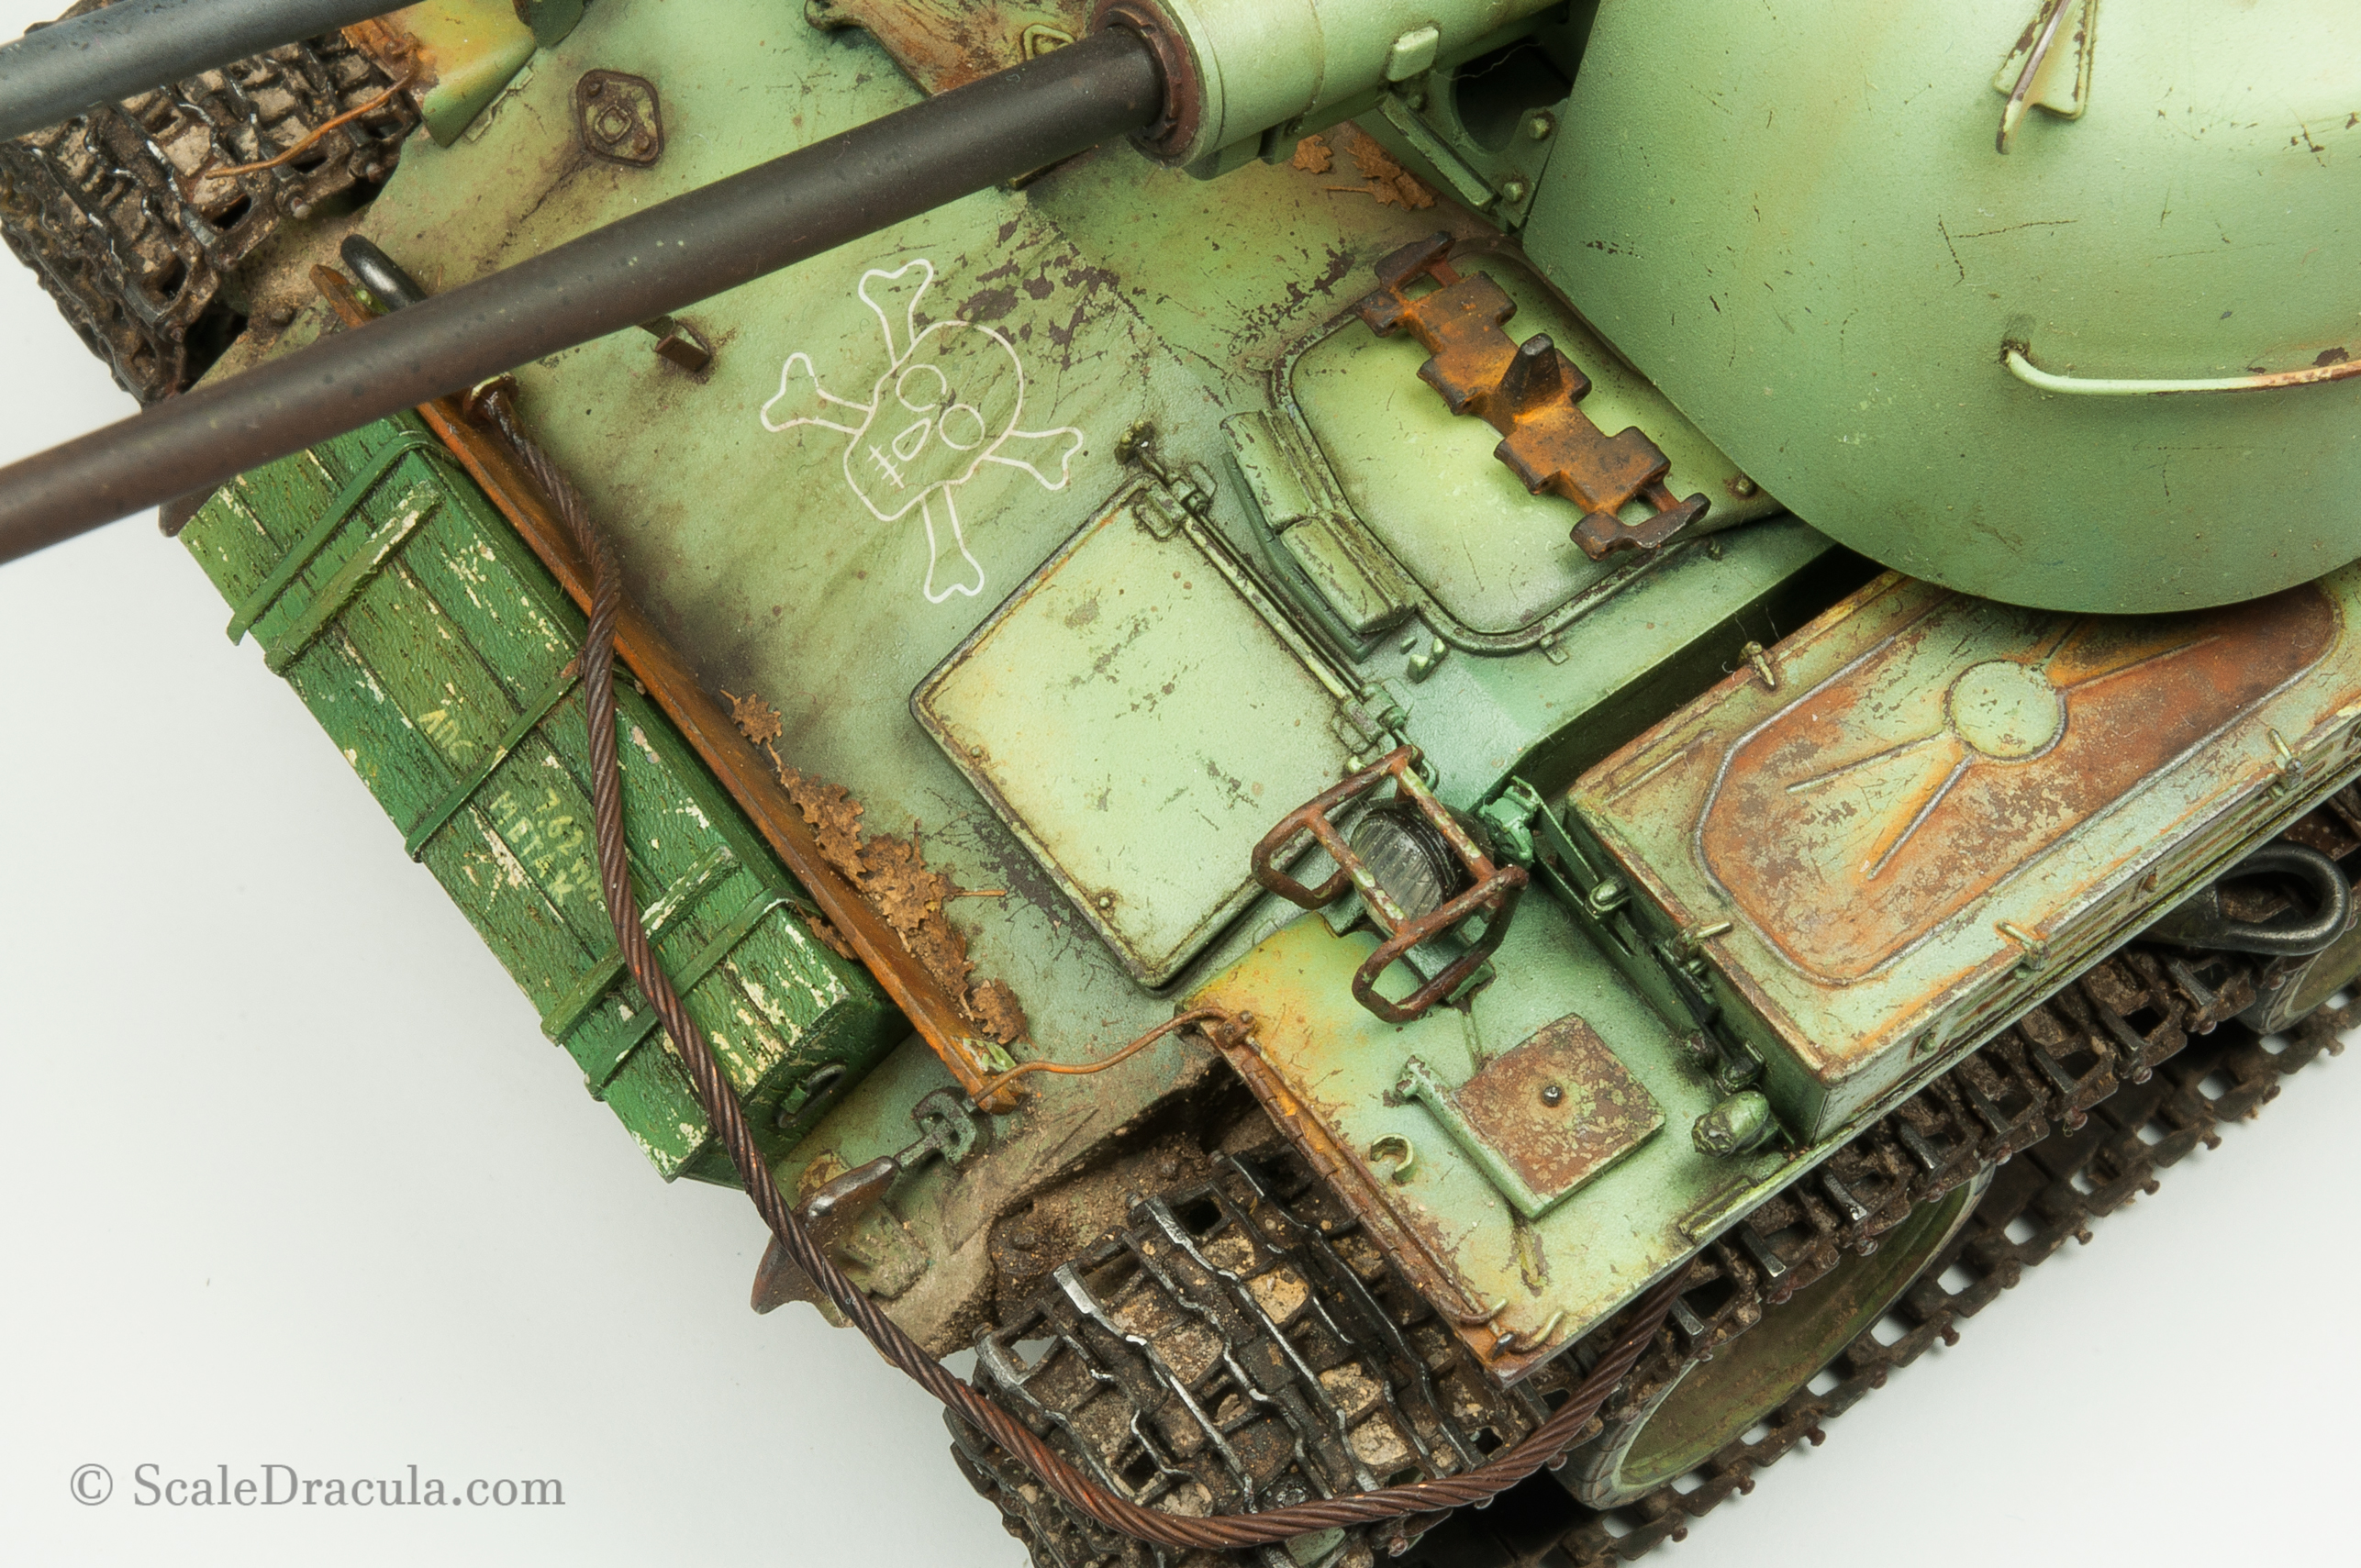
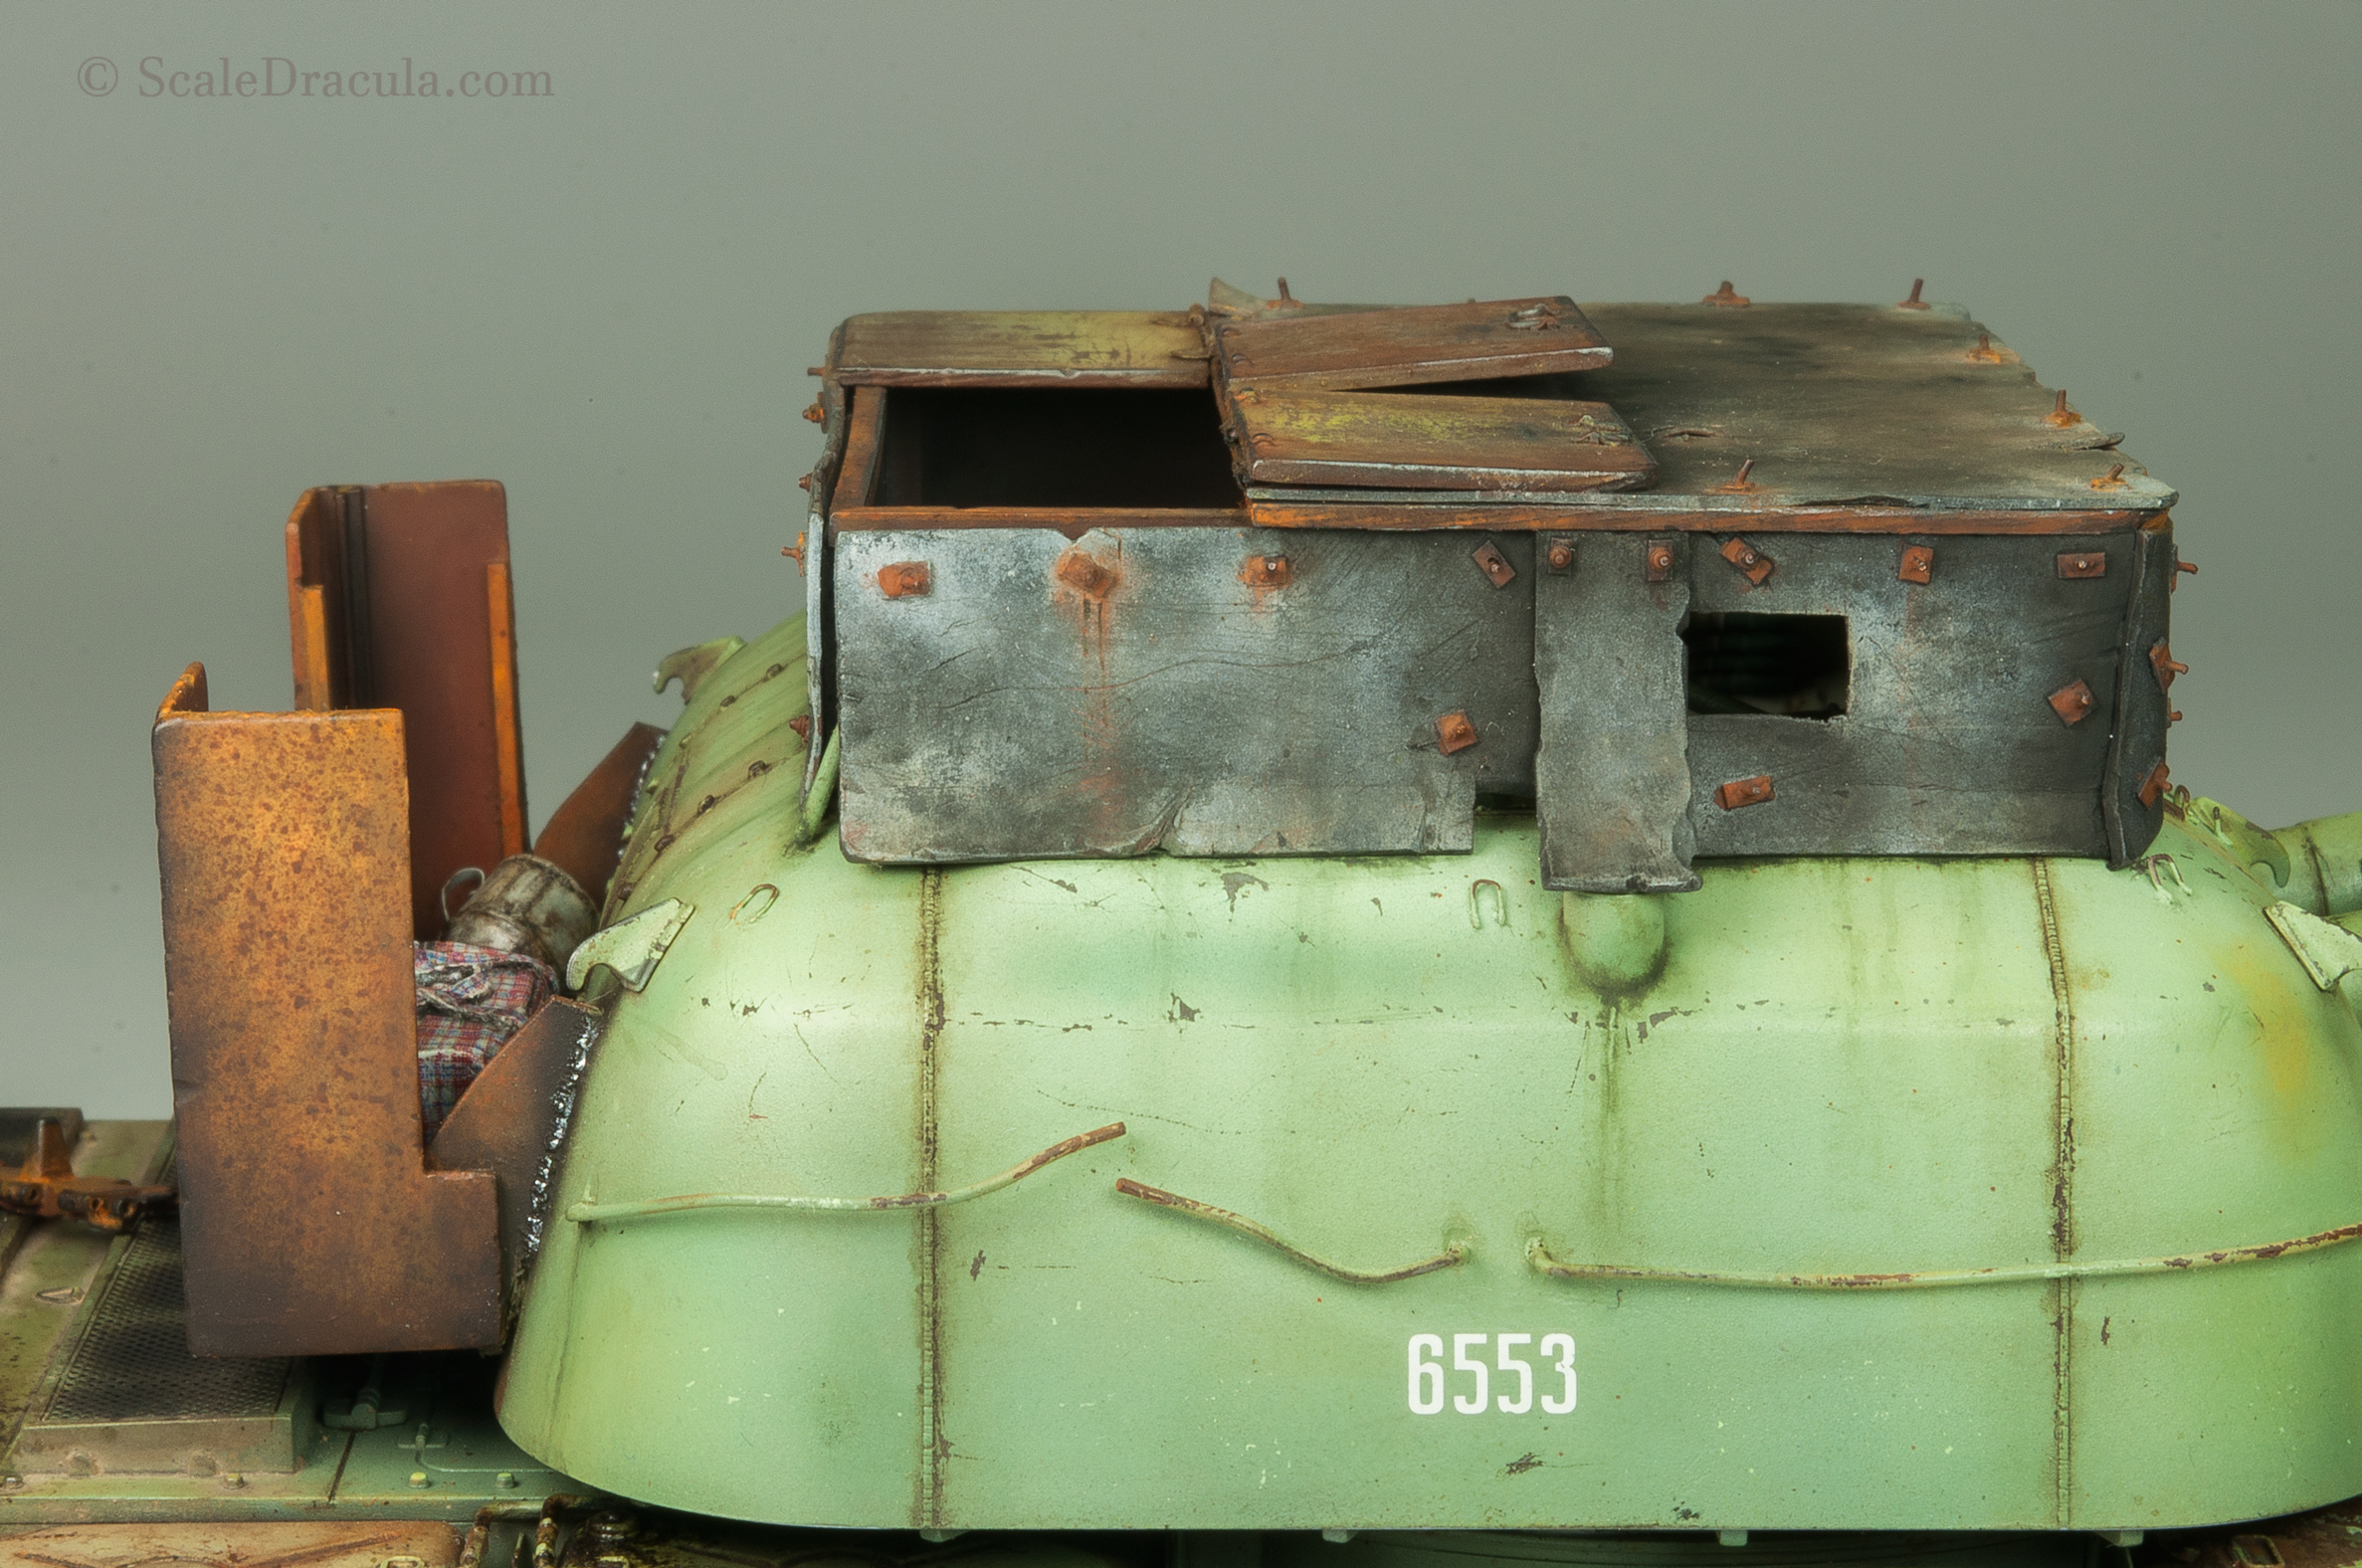
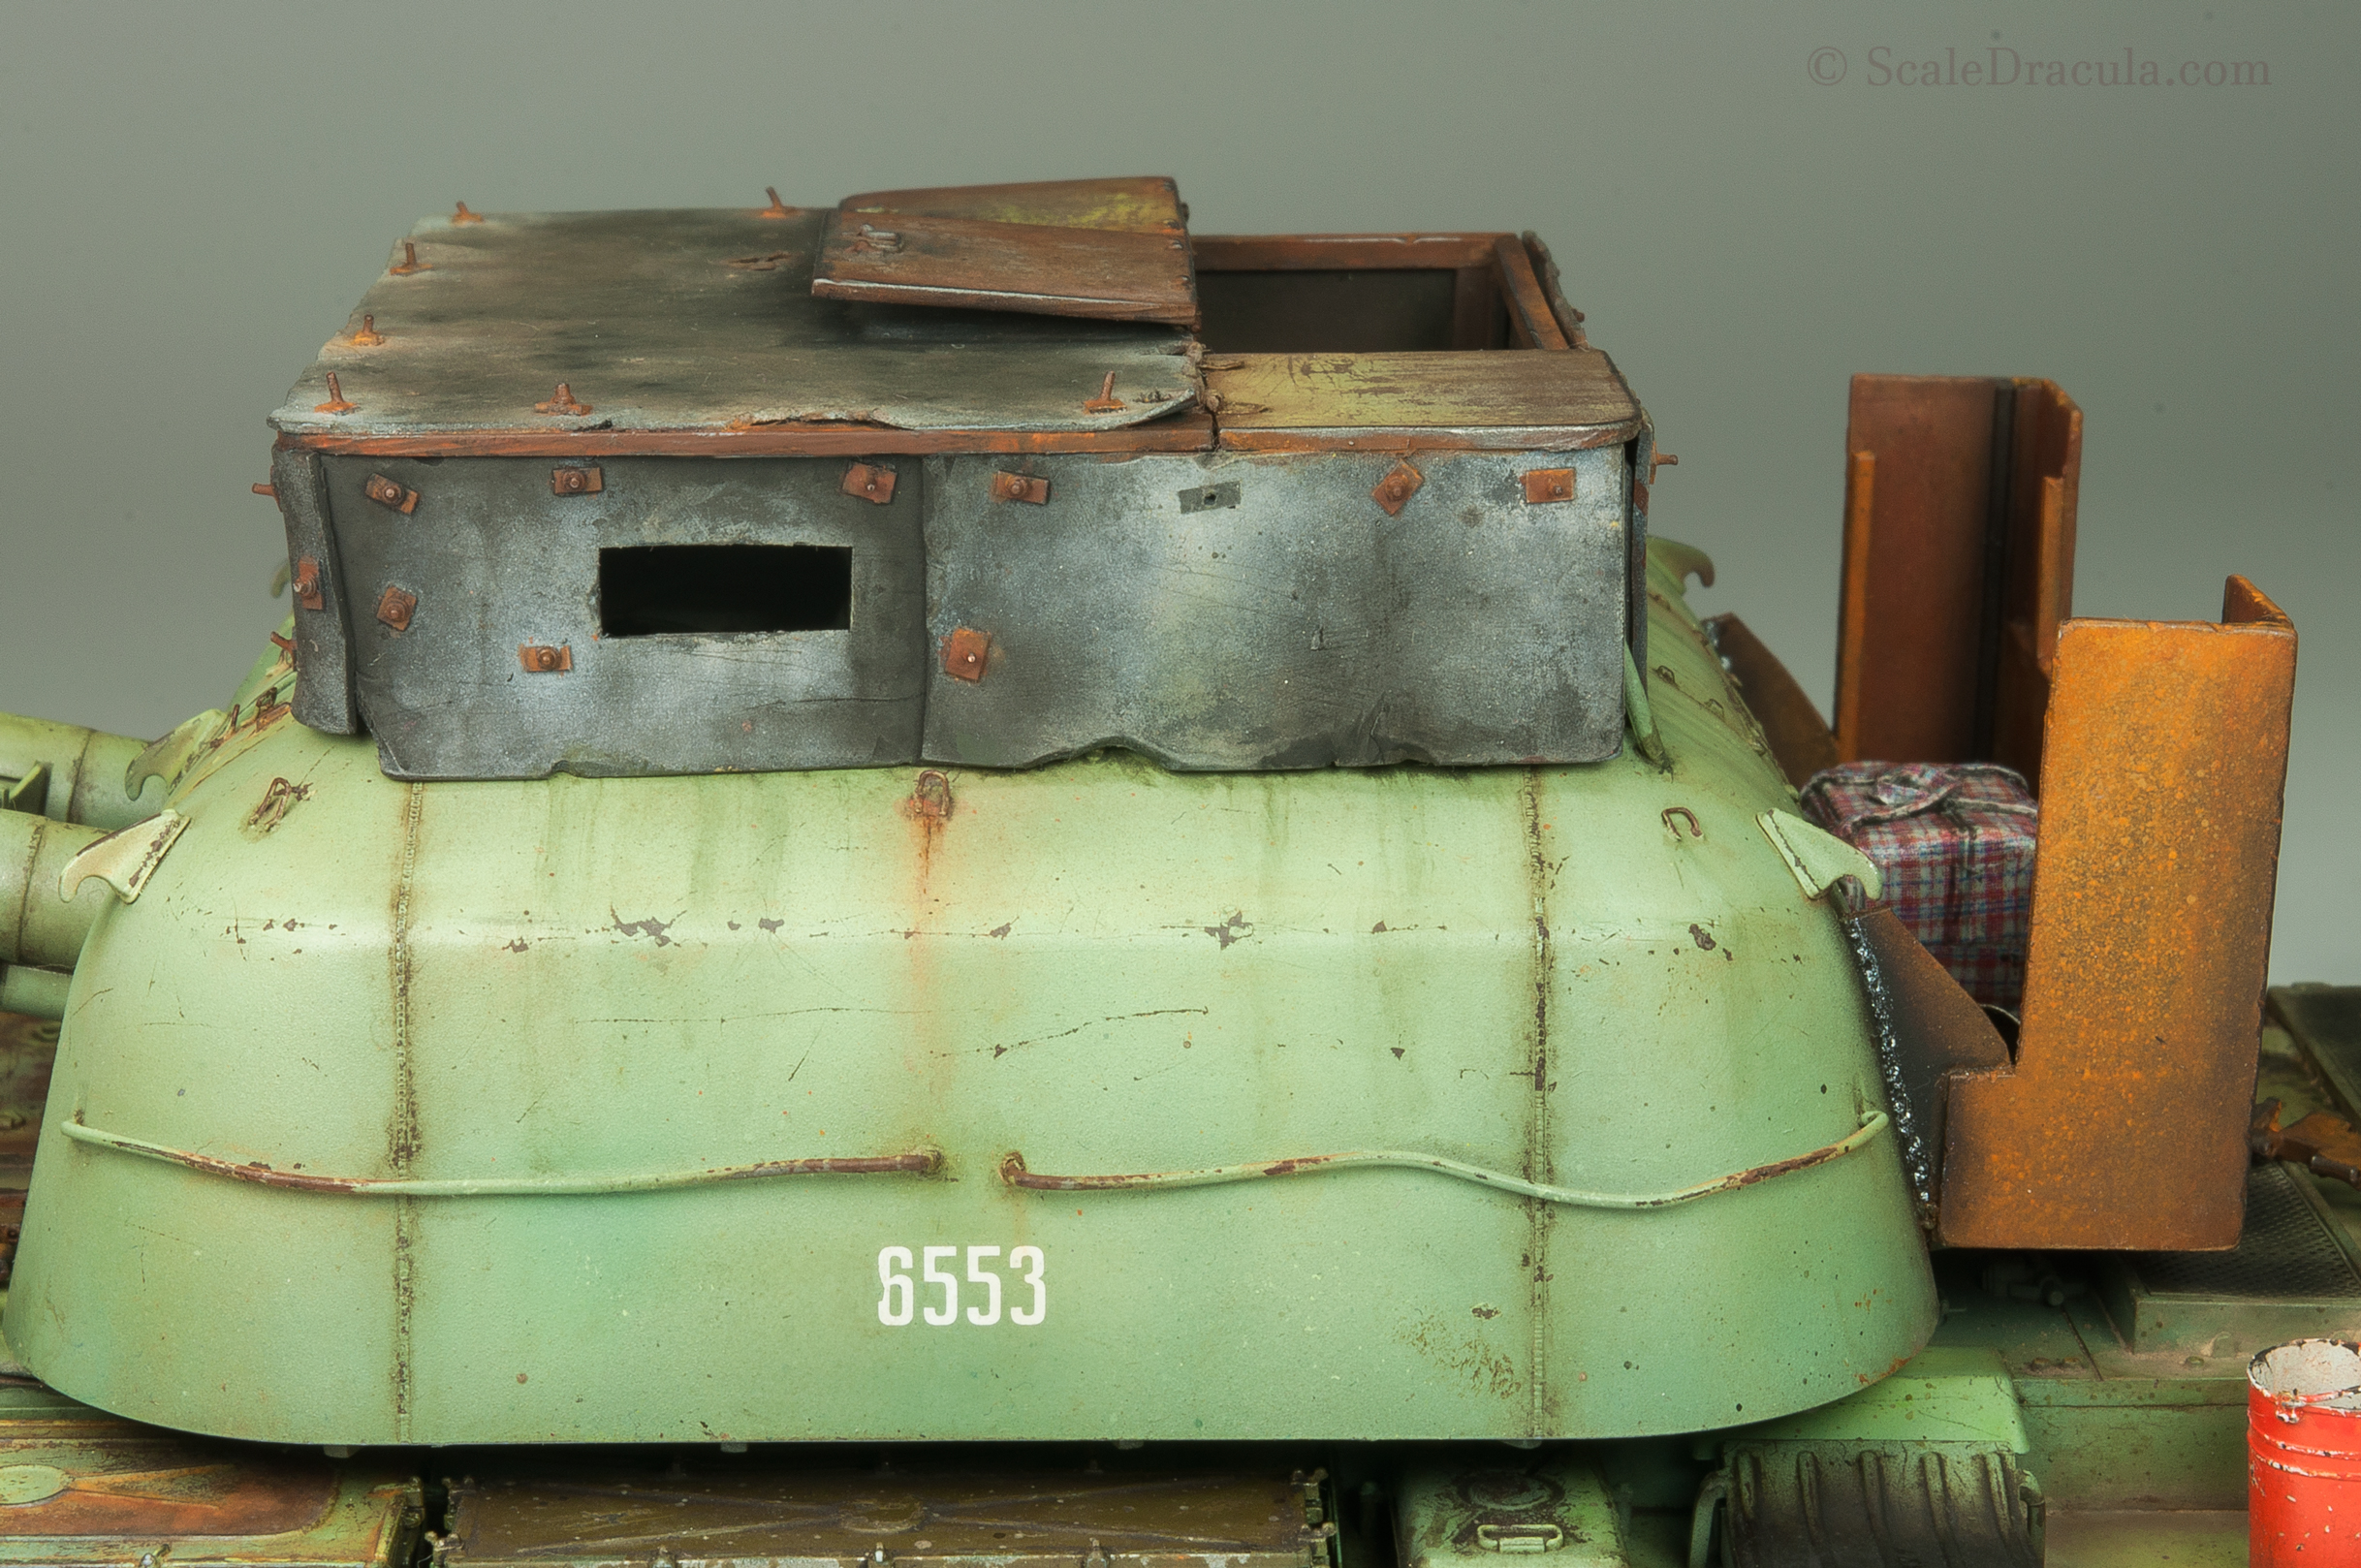
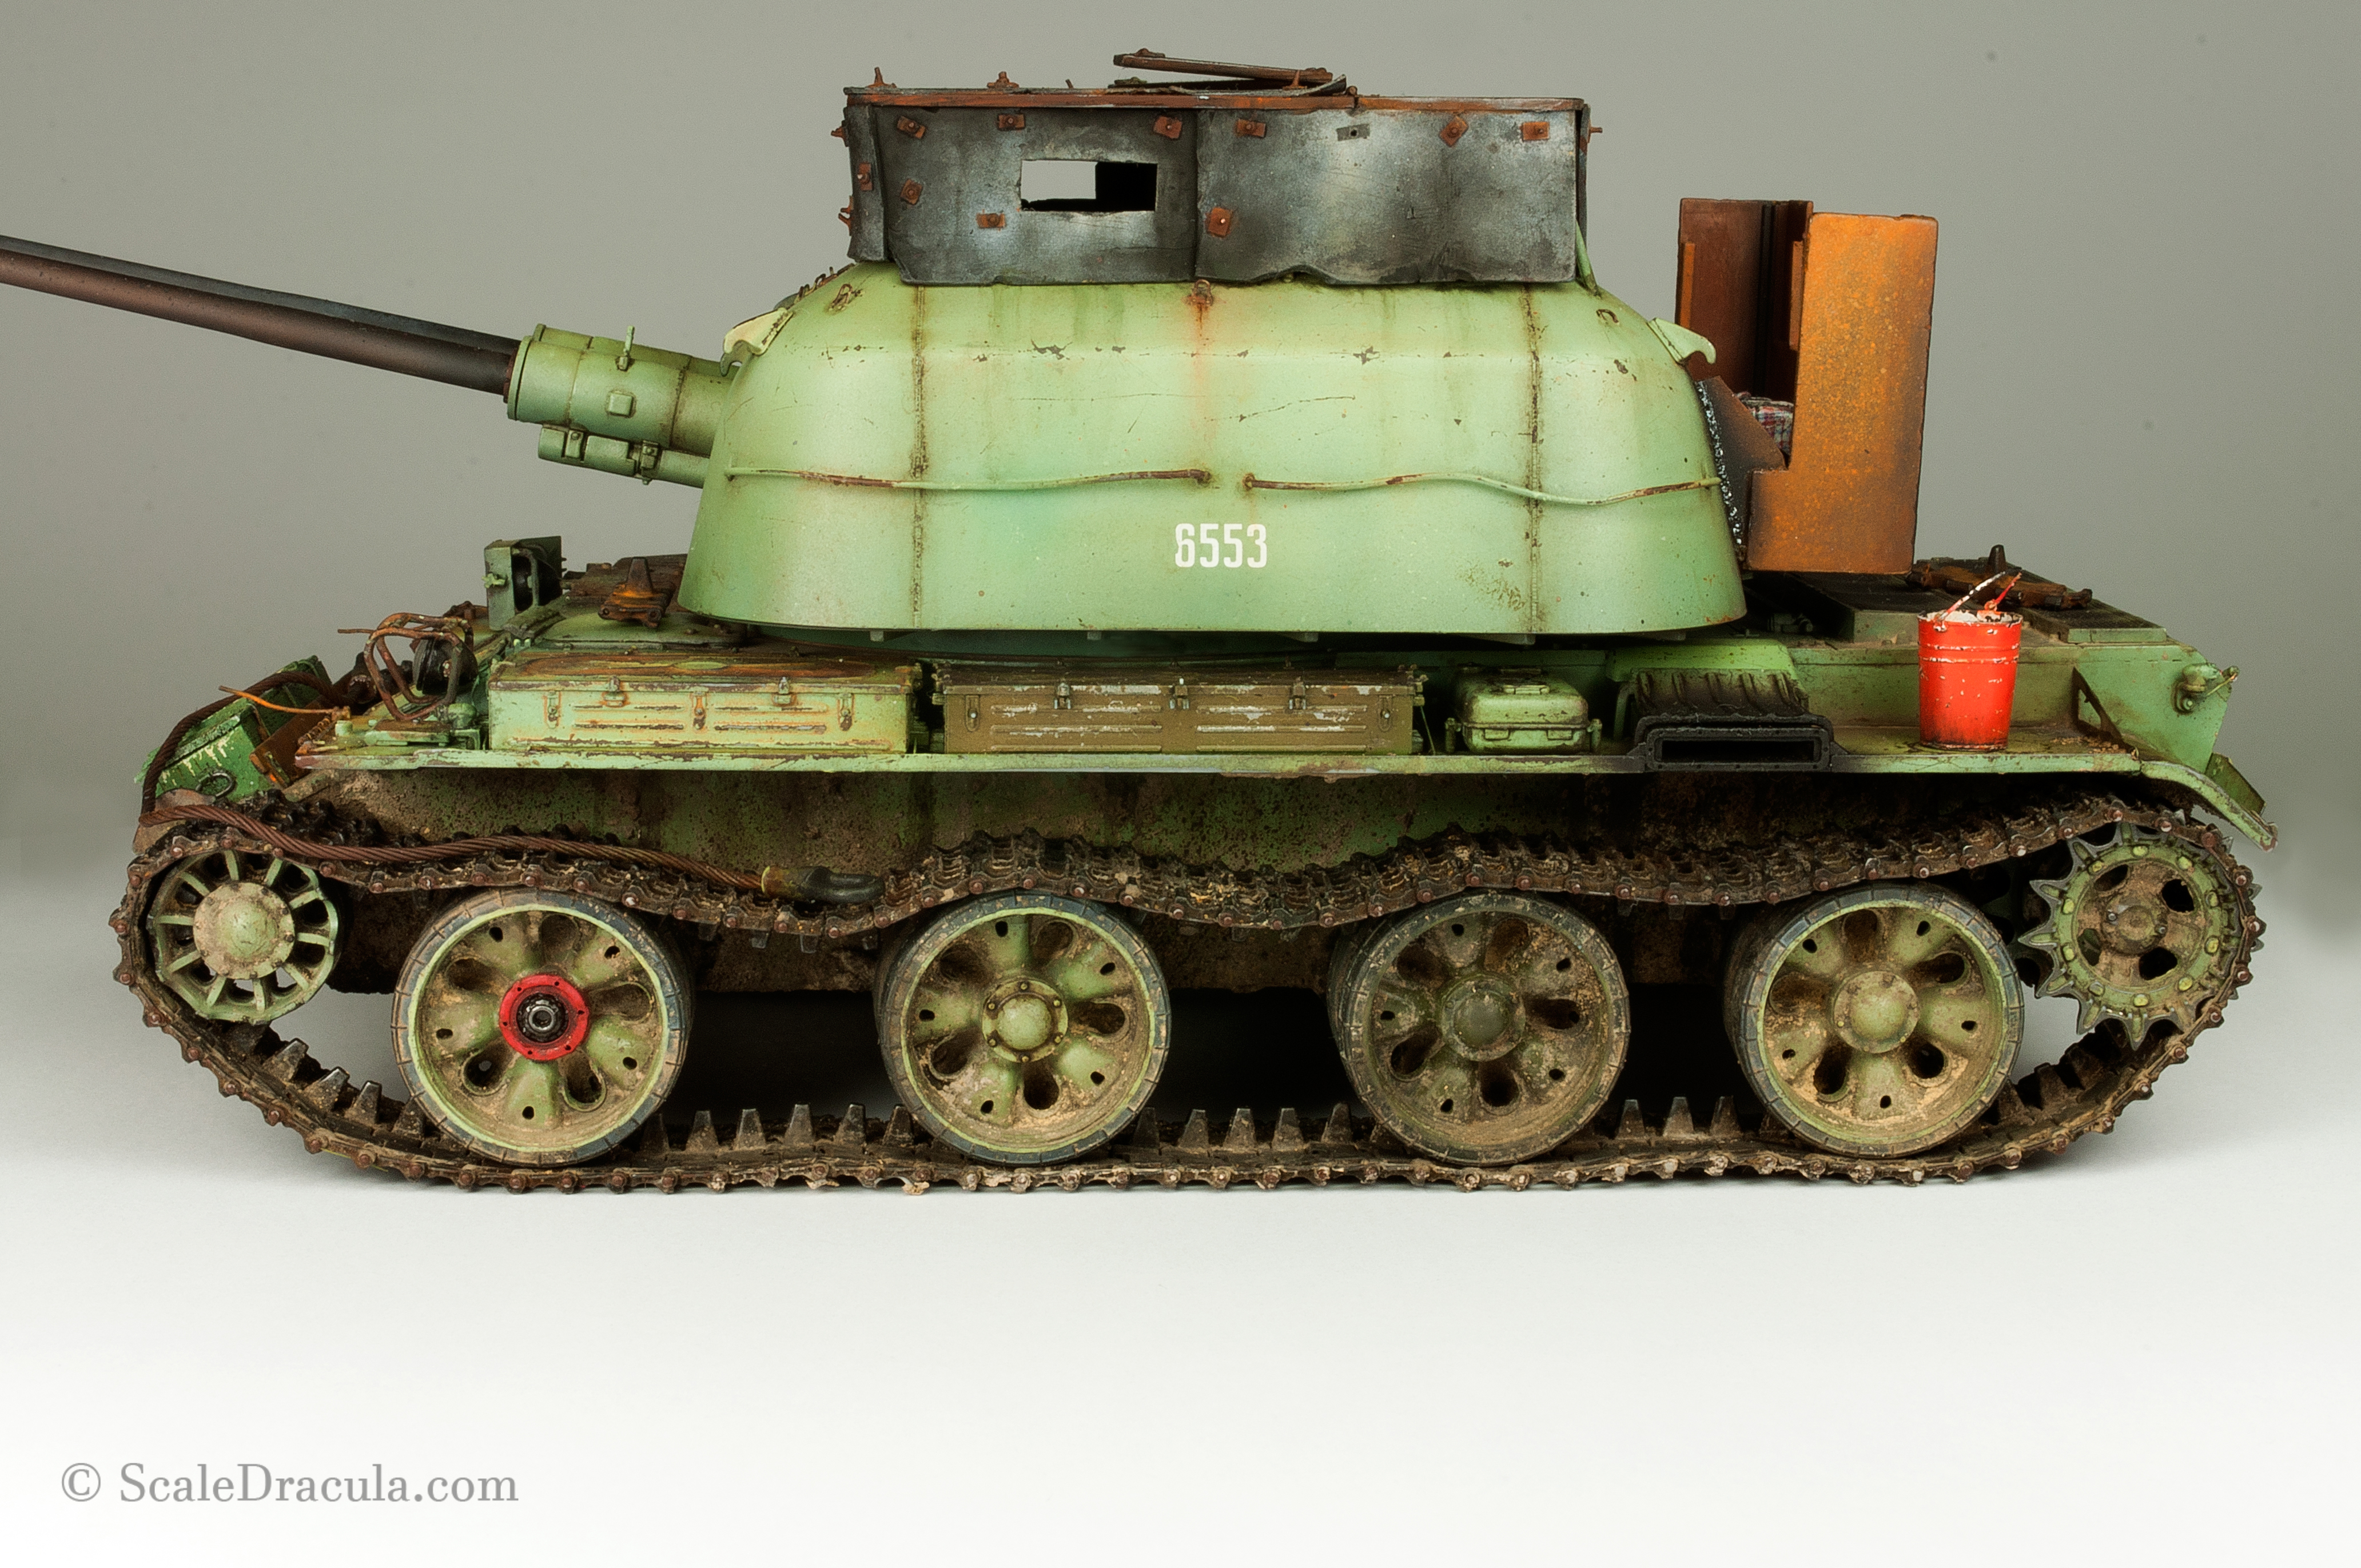
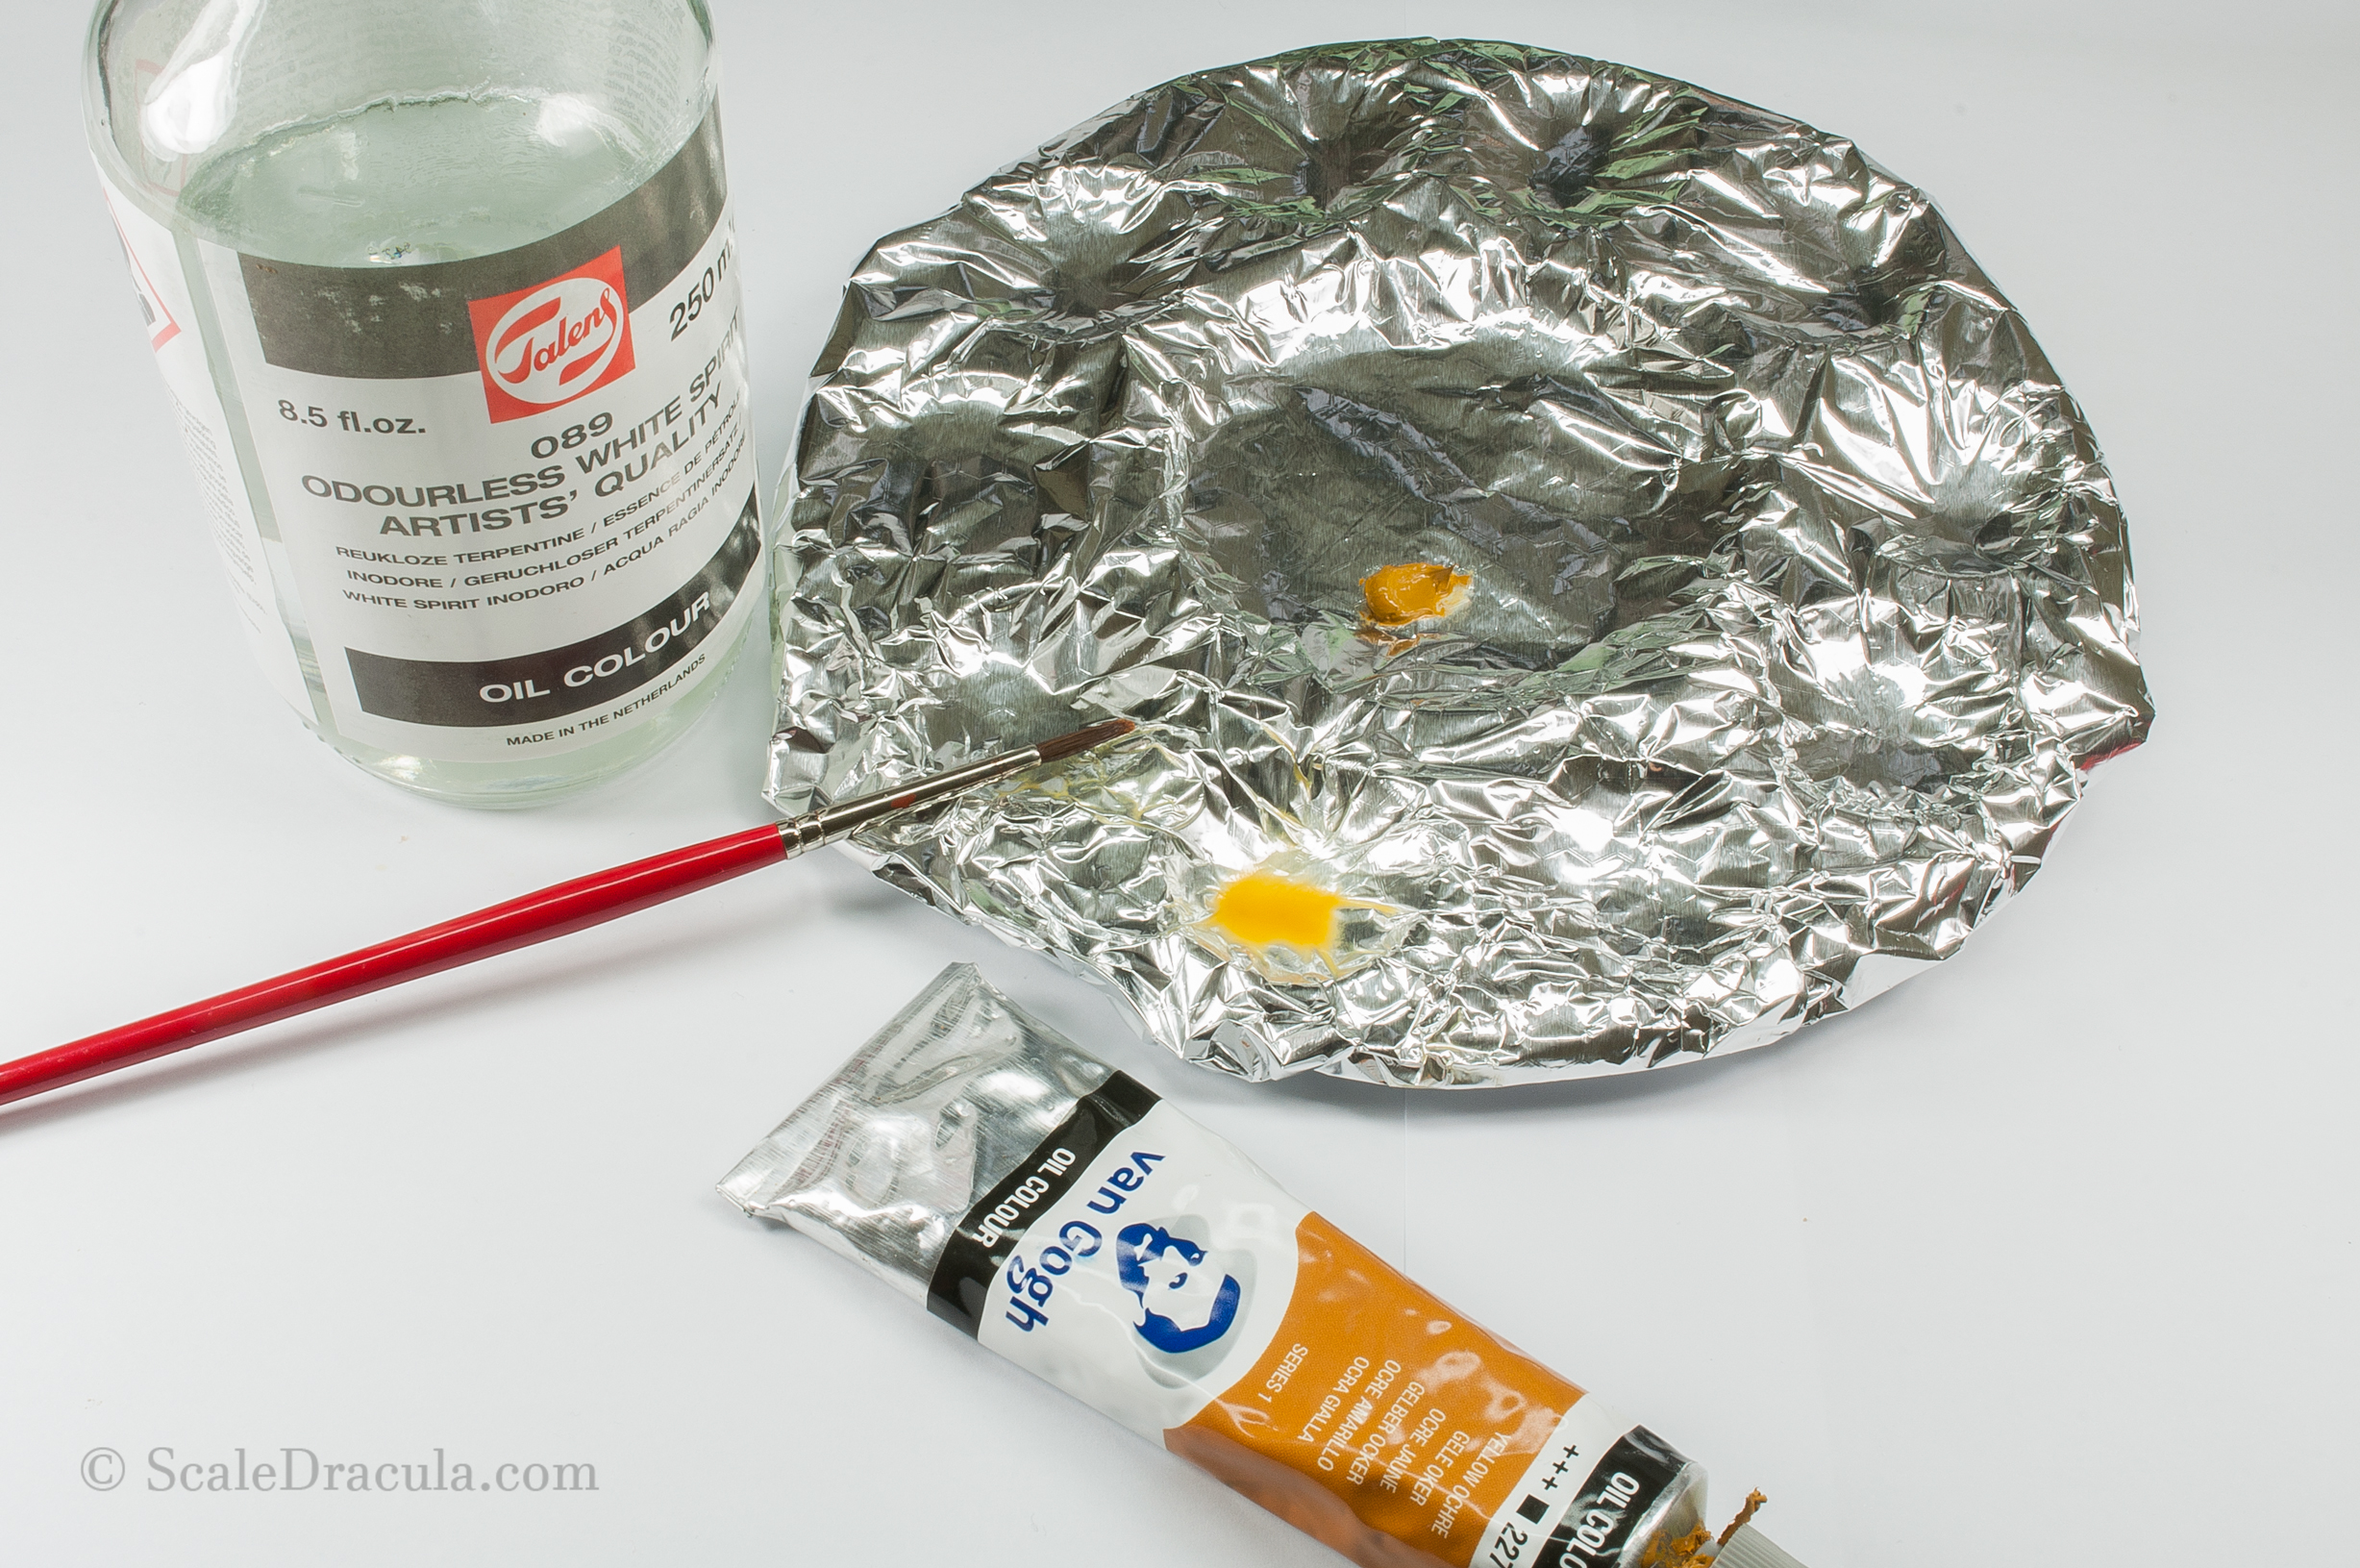
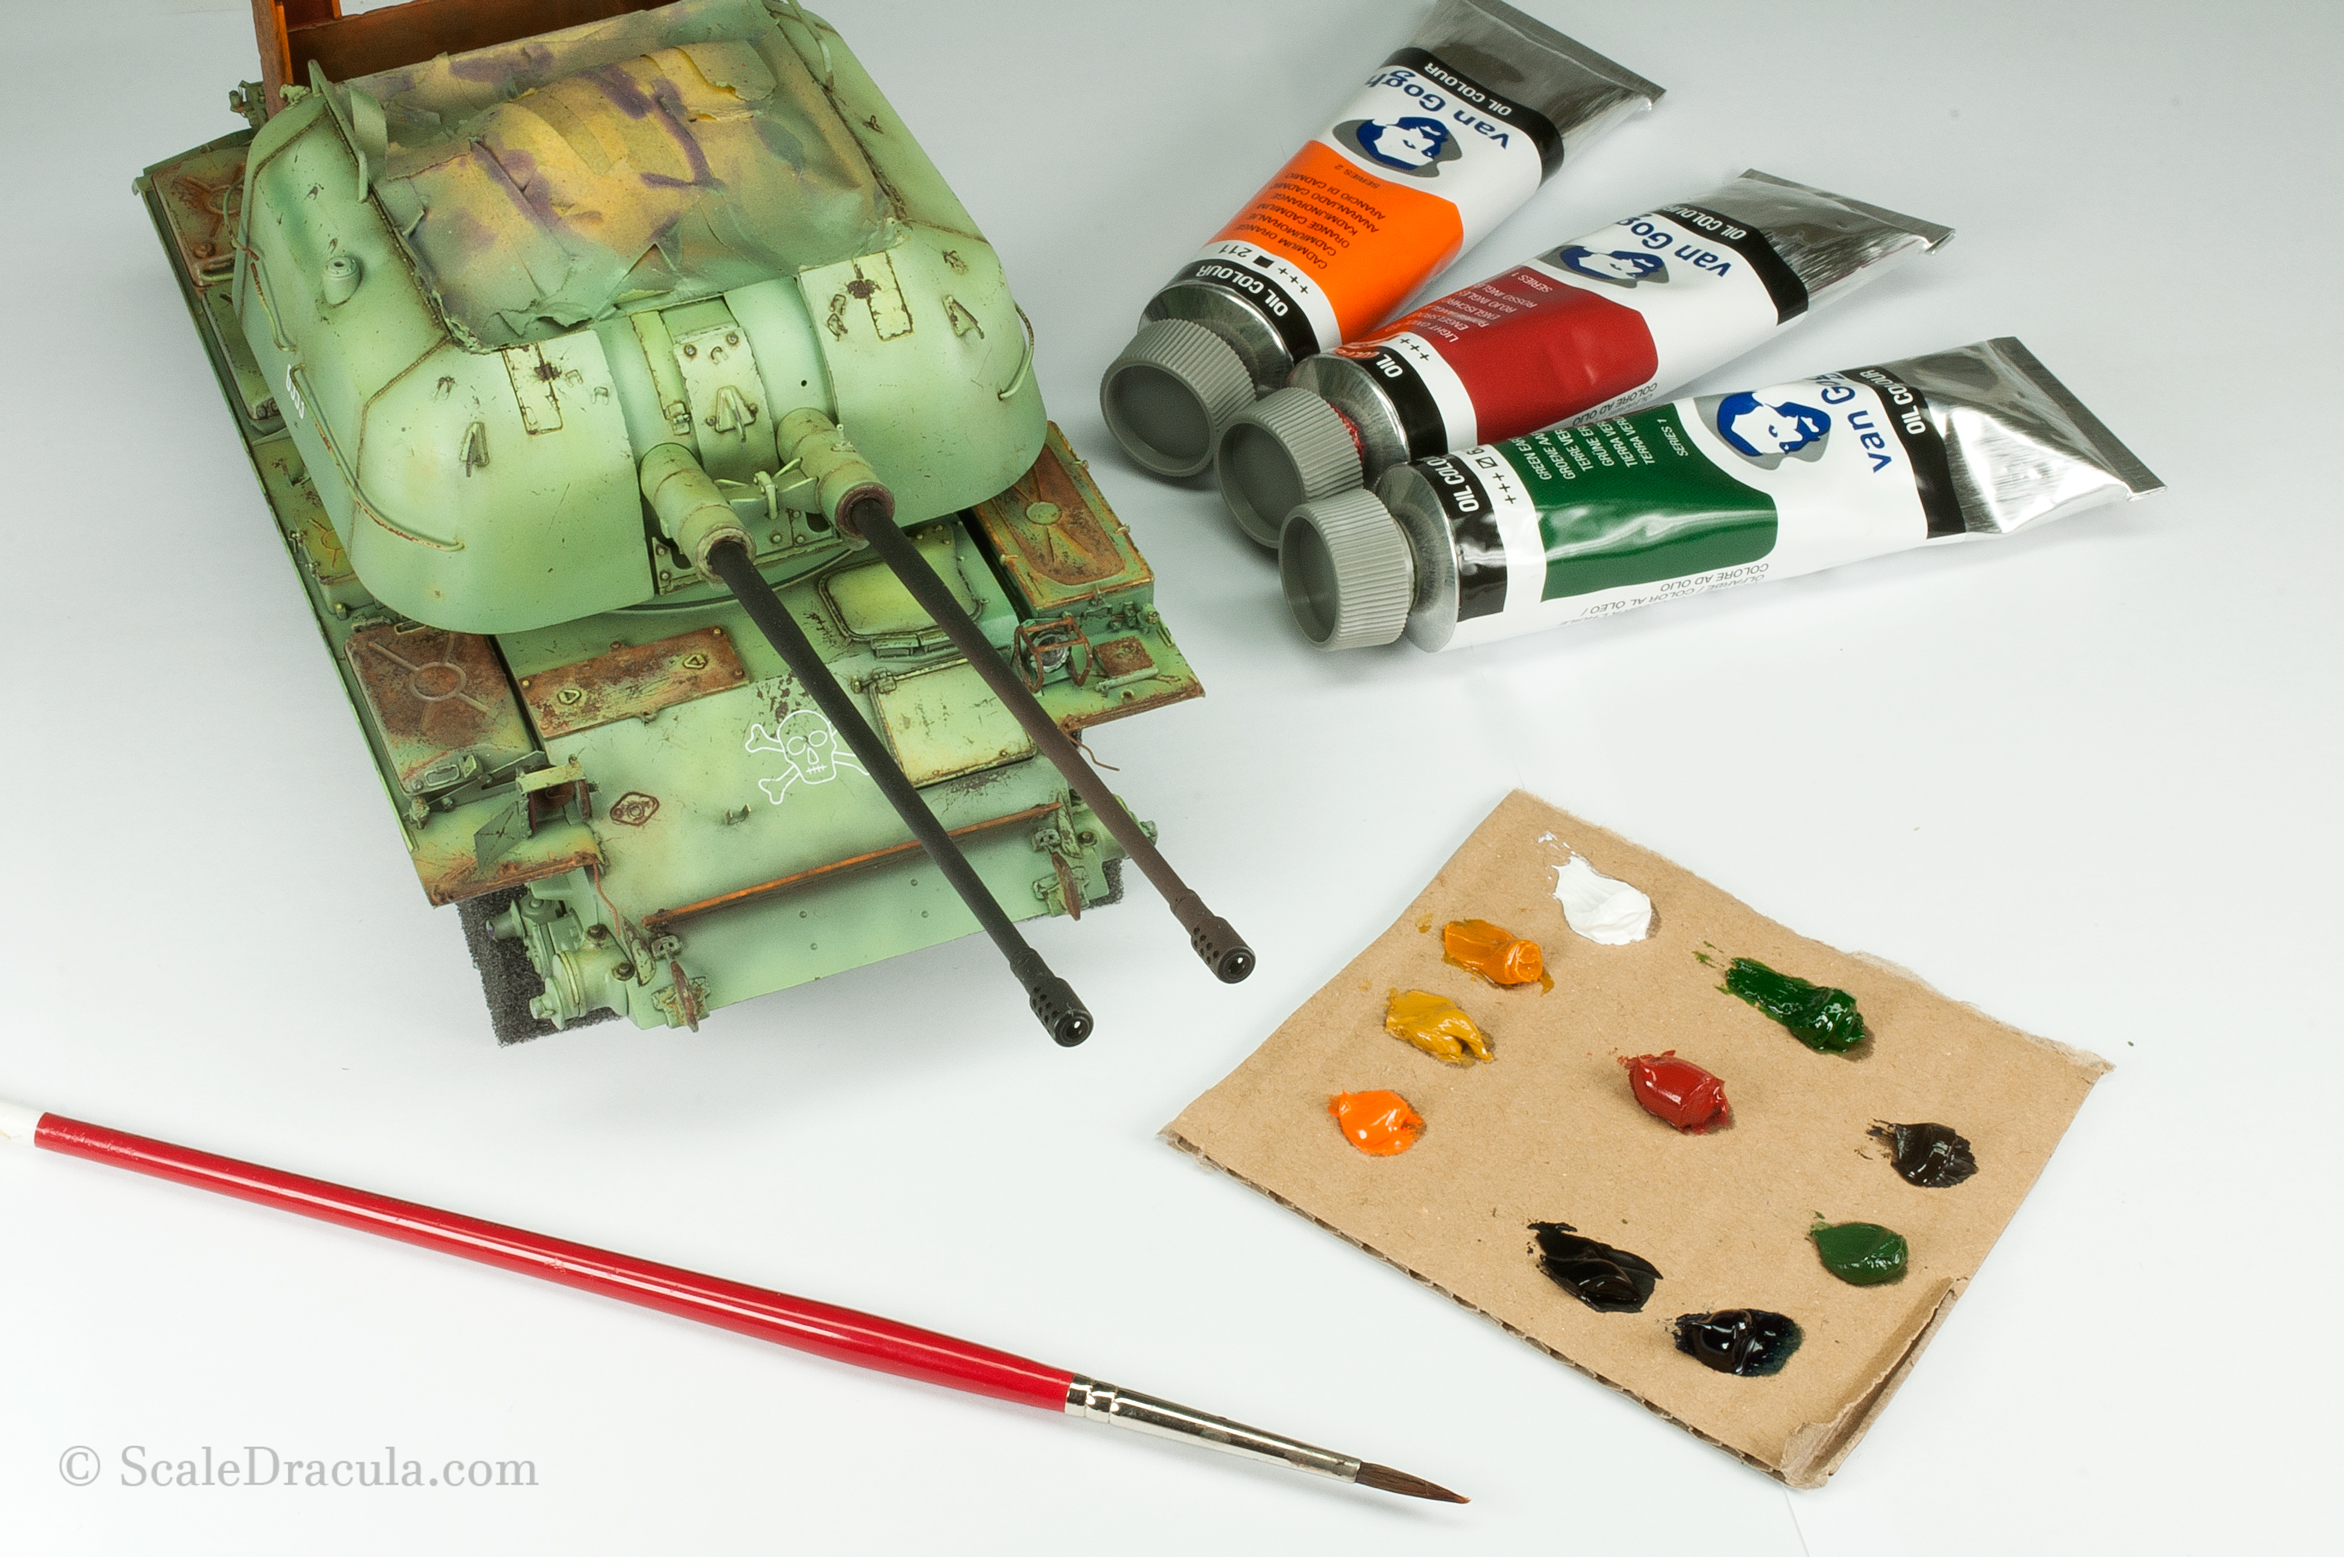
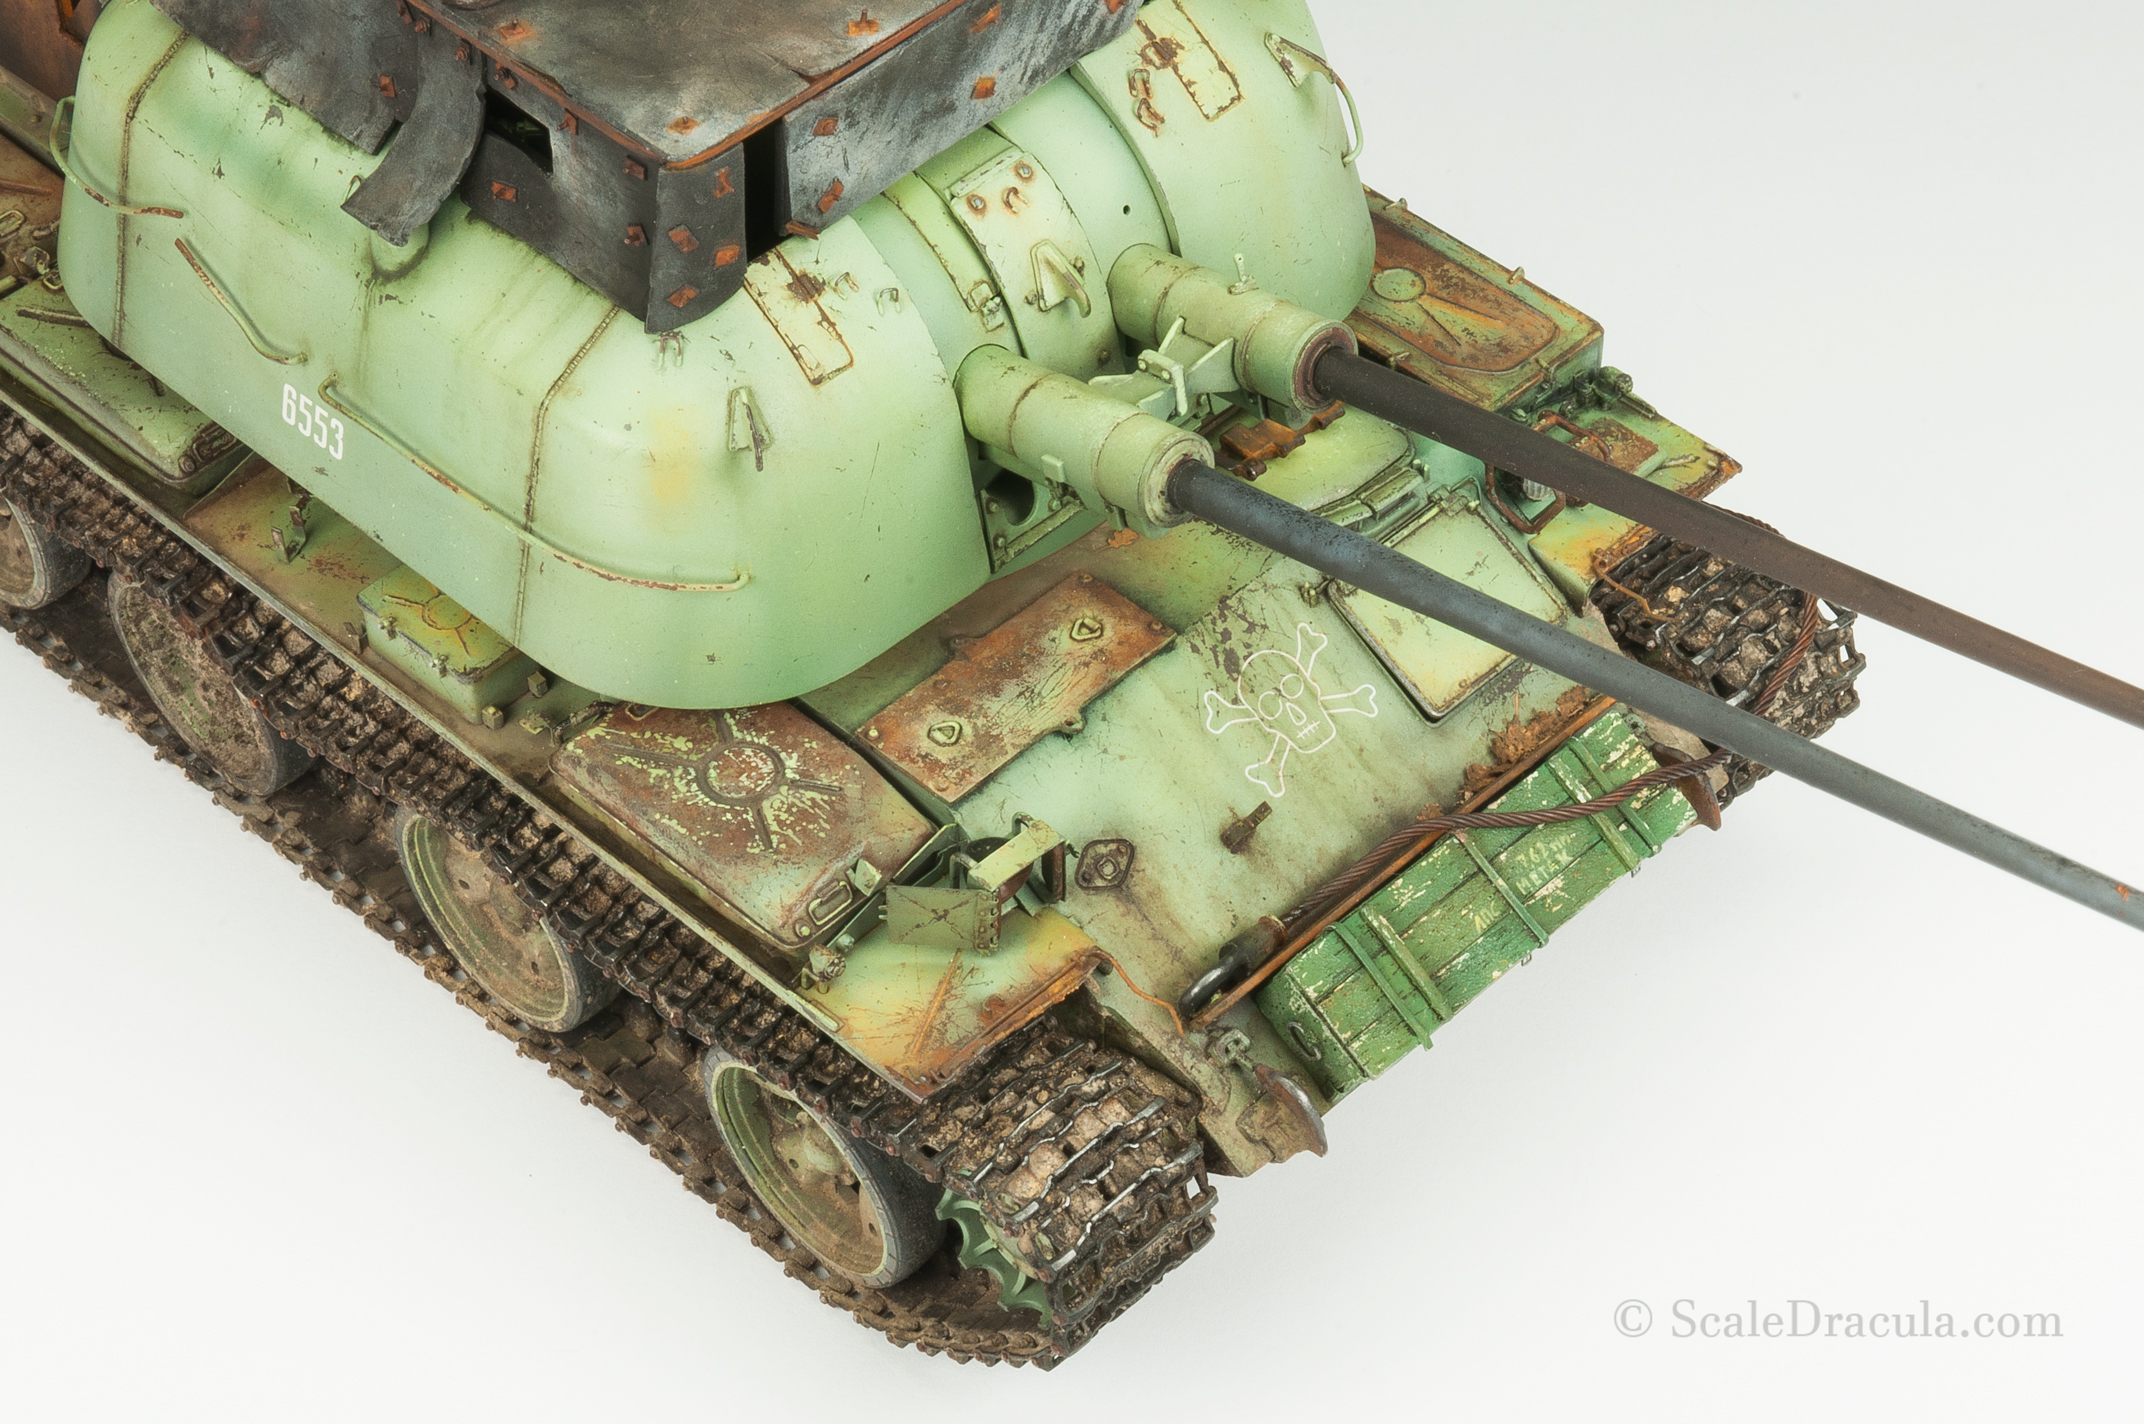
After that, I created a yellow filter from an oil paint. I used the filter on some of the panels to make them stand out from the dull green finish.
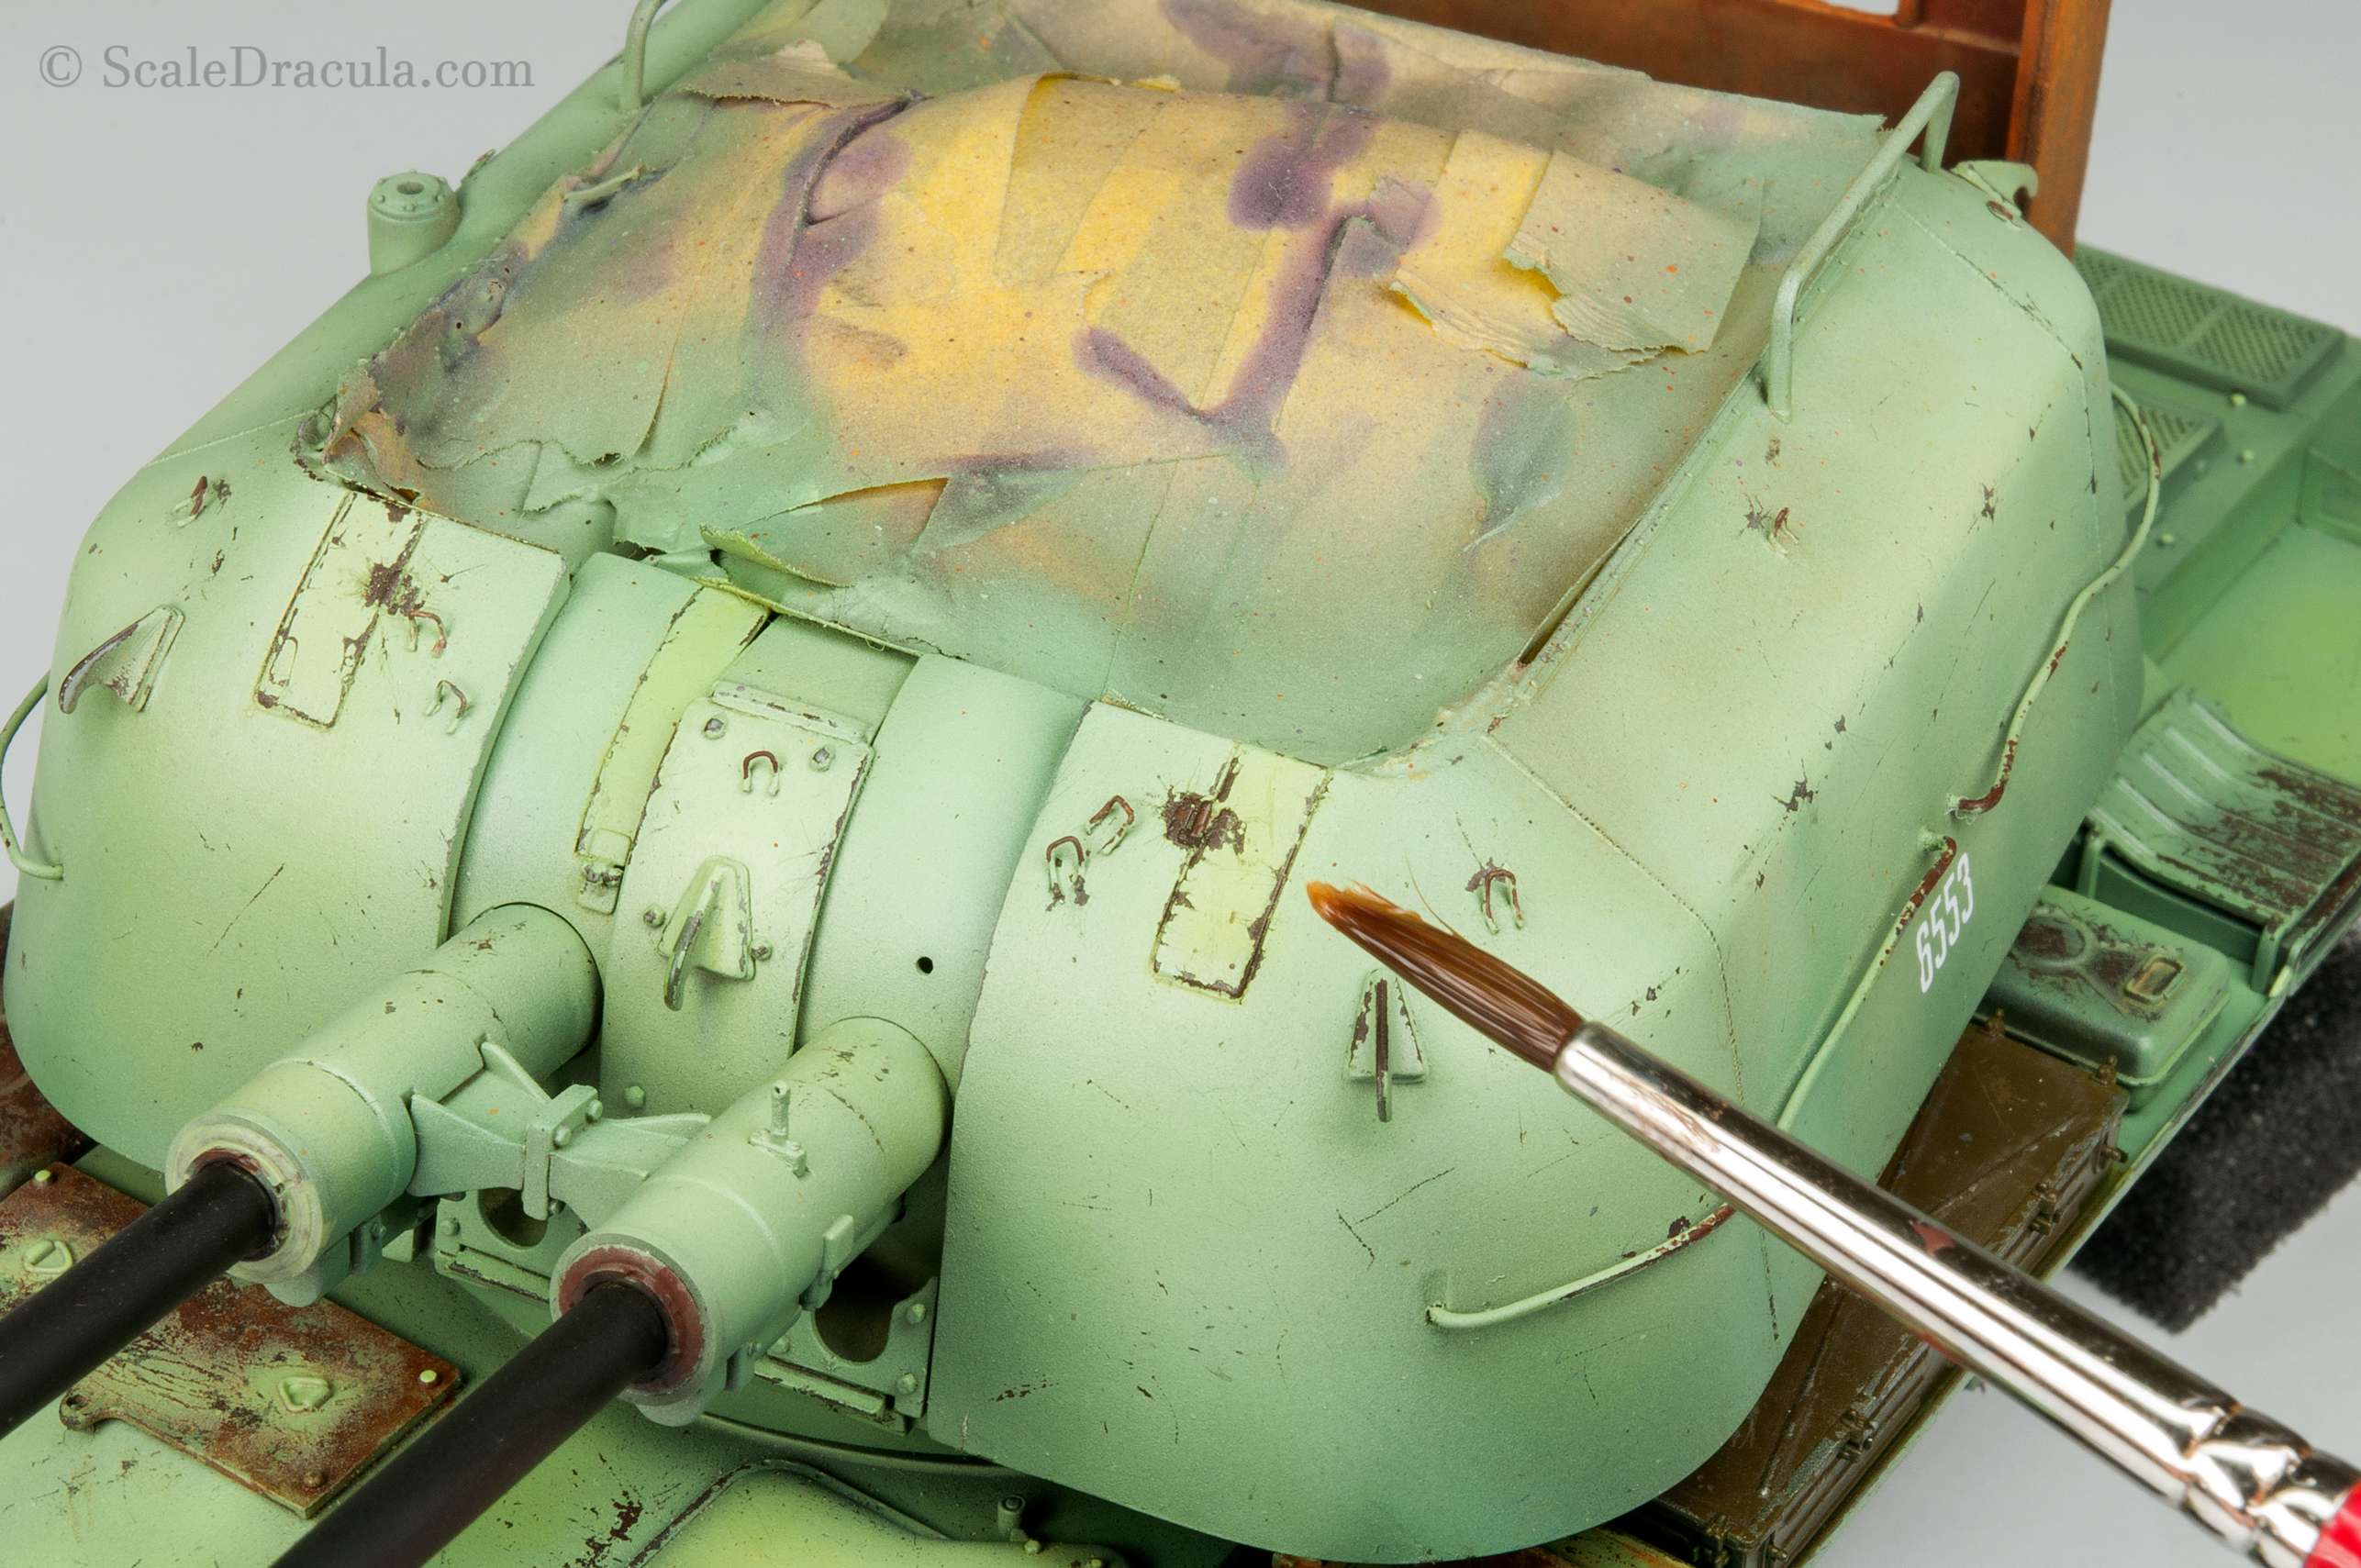
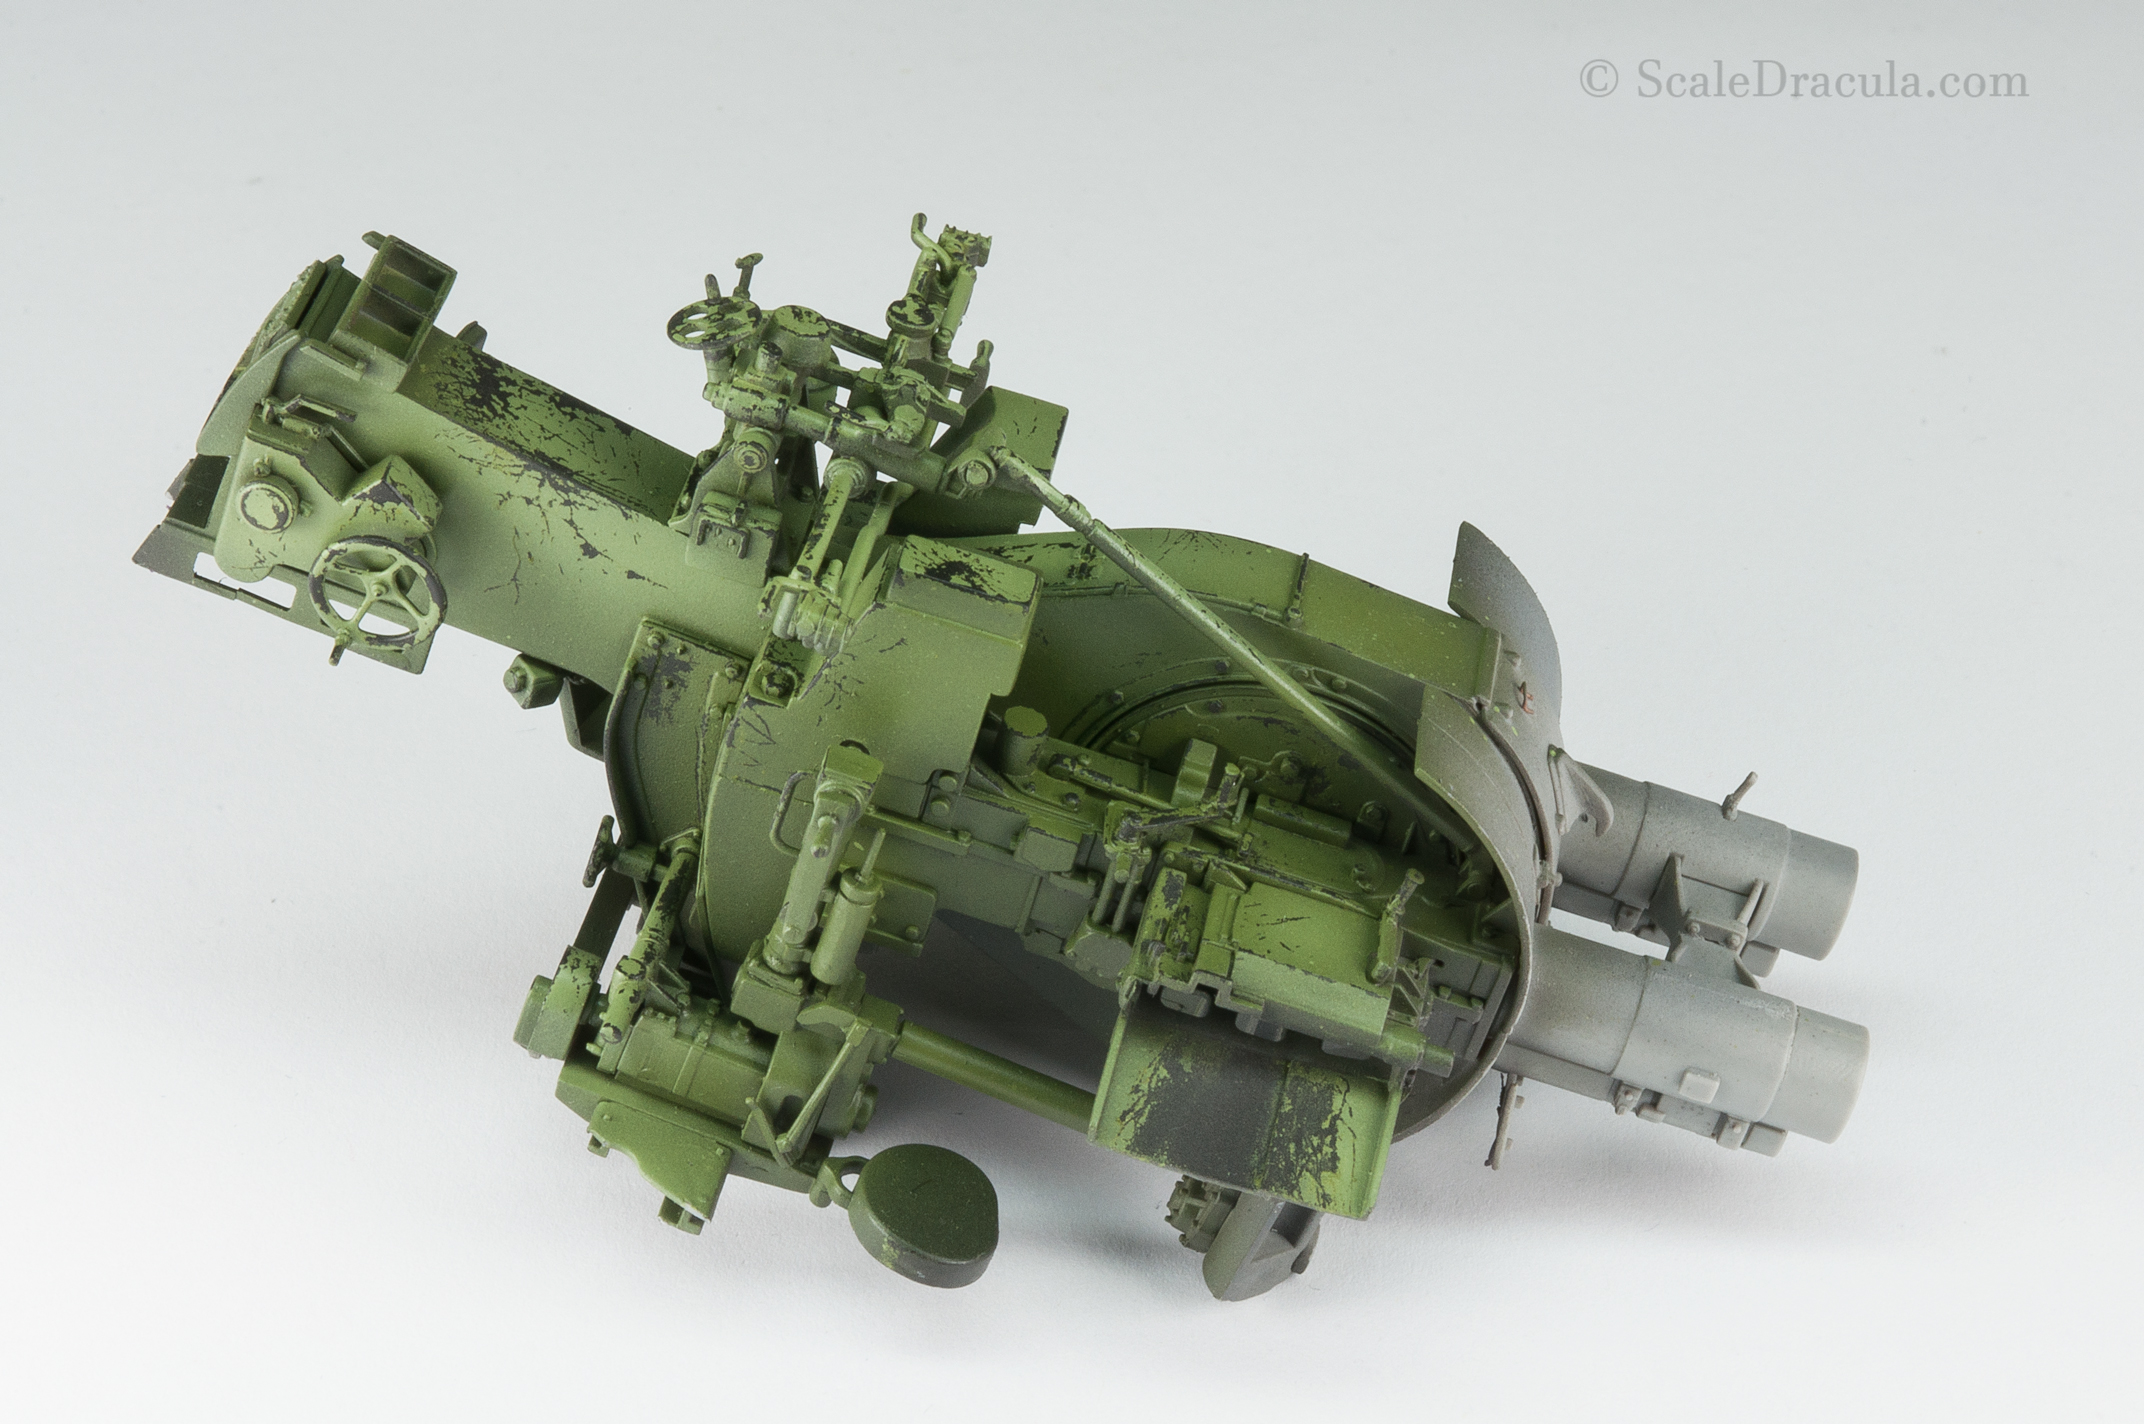
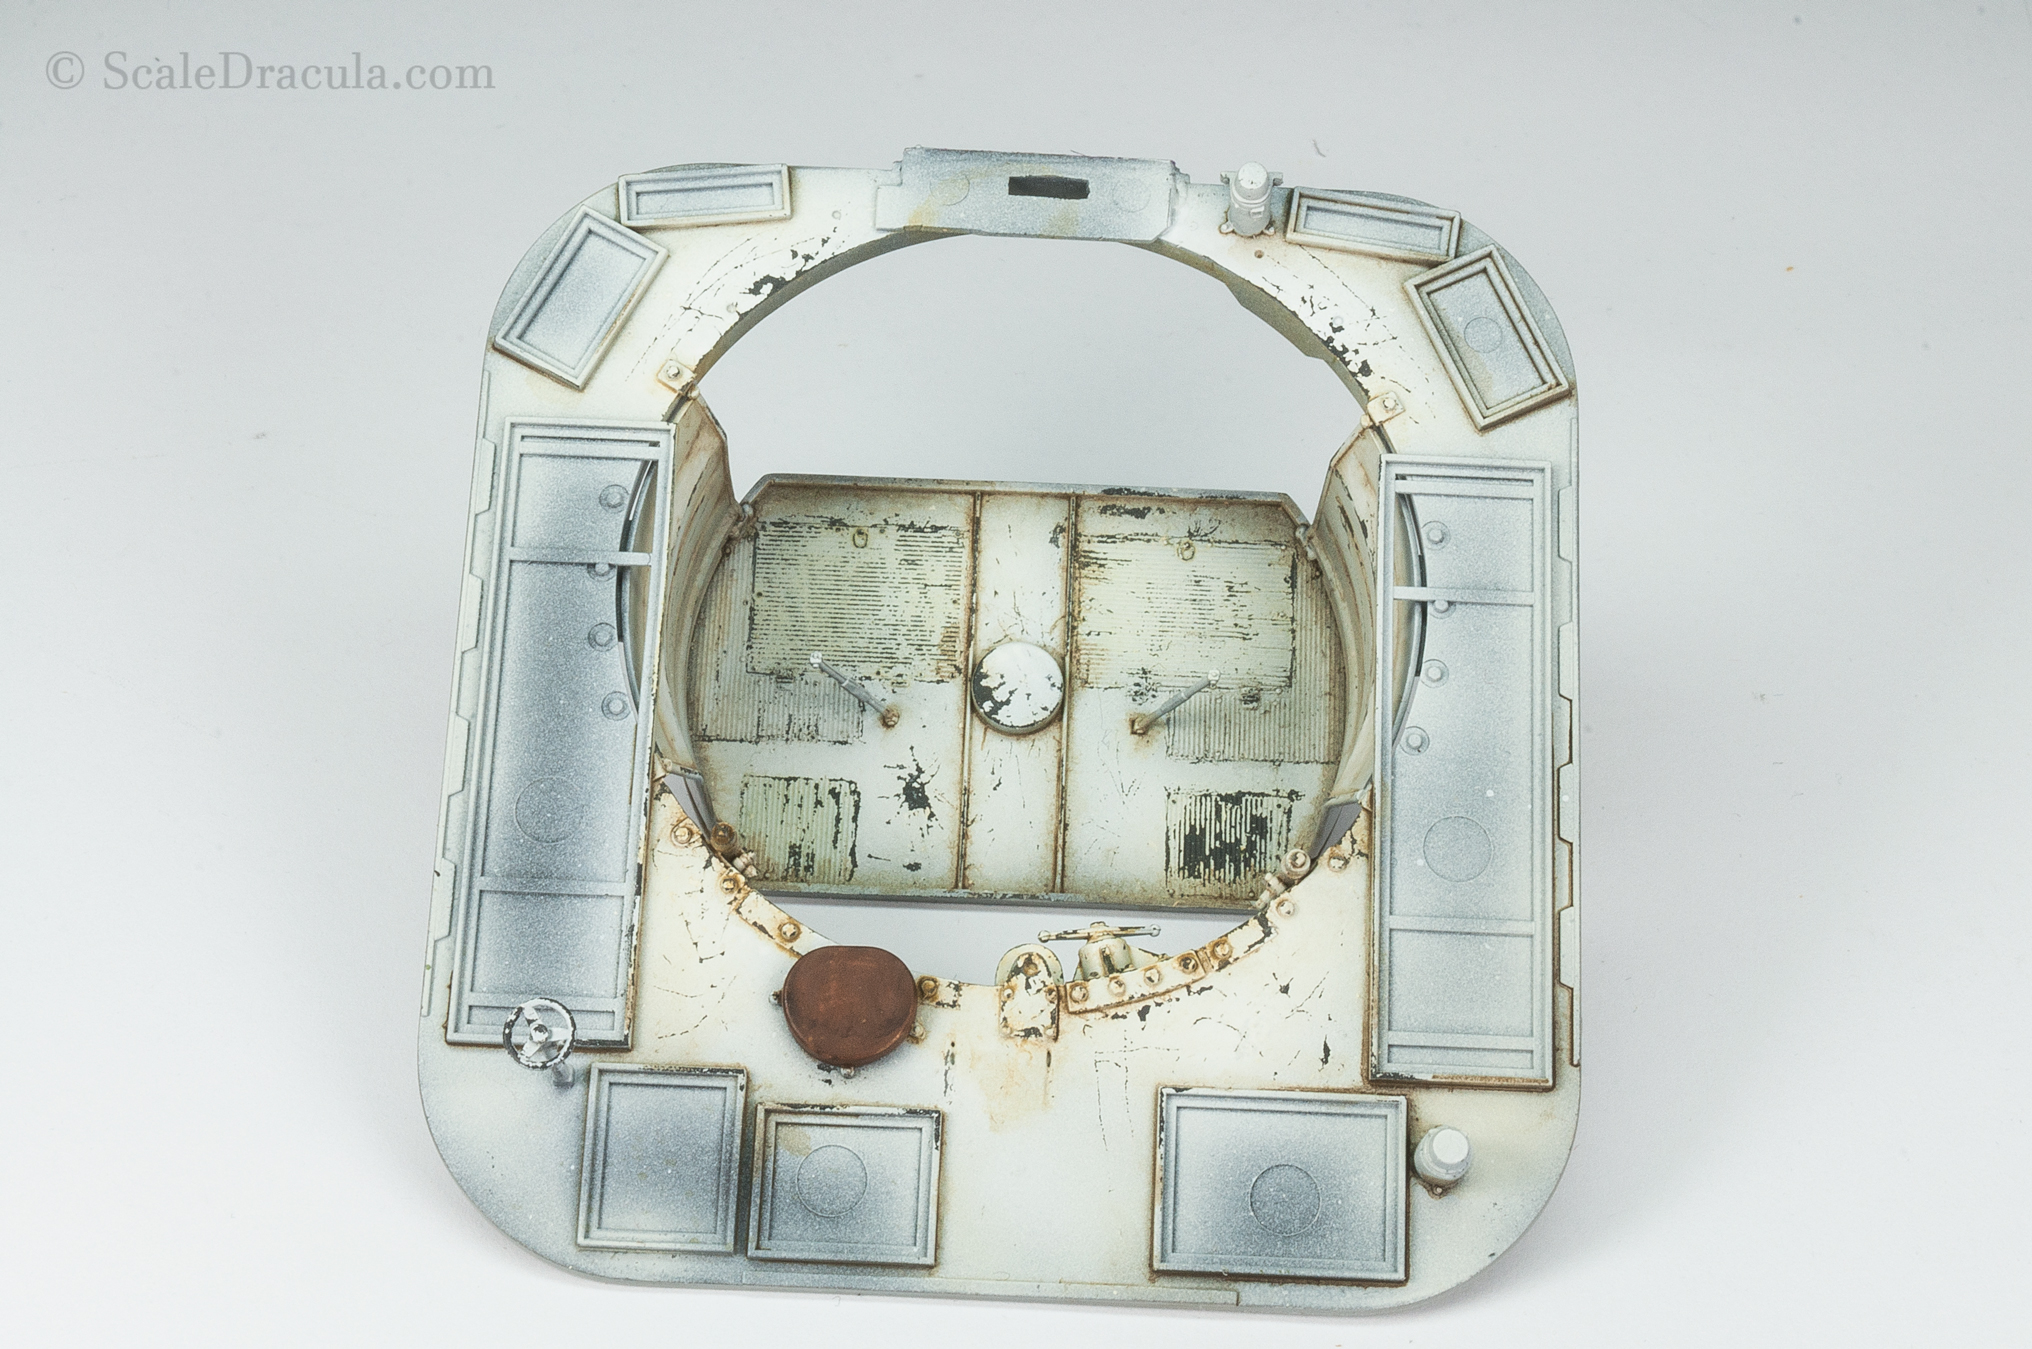
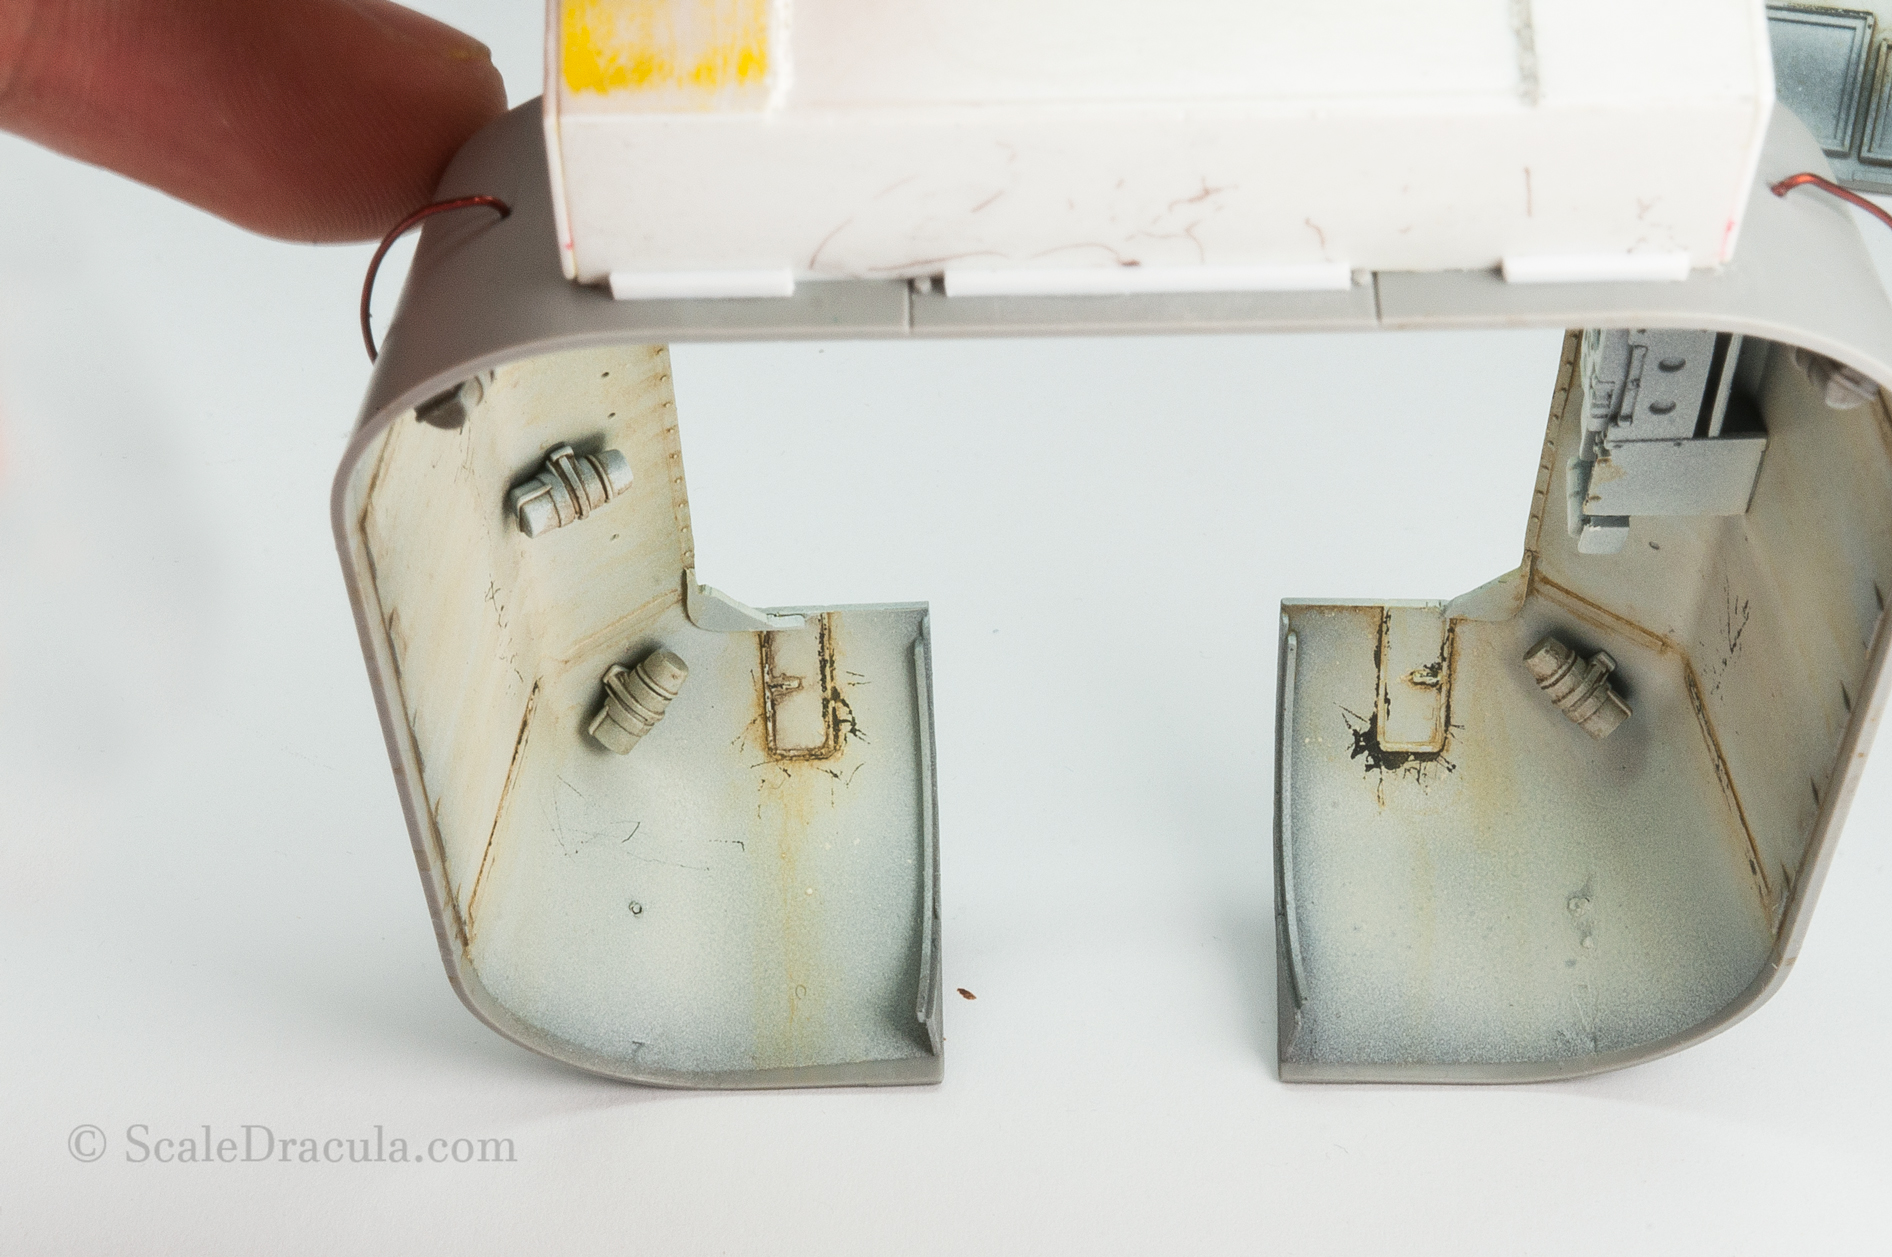
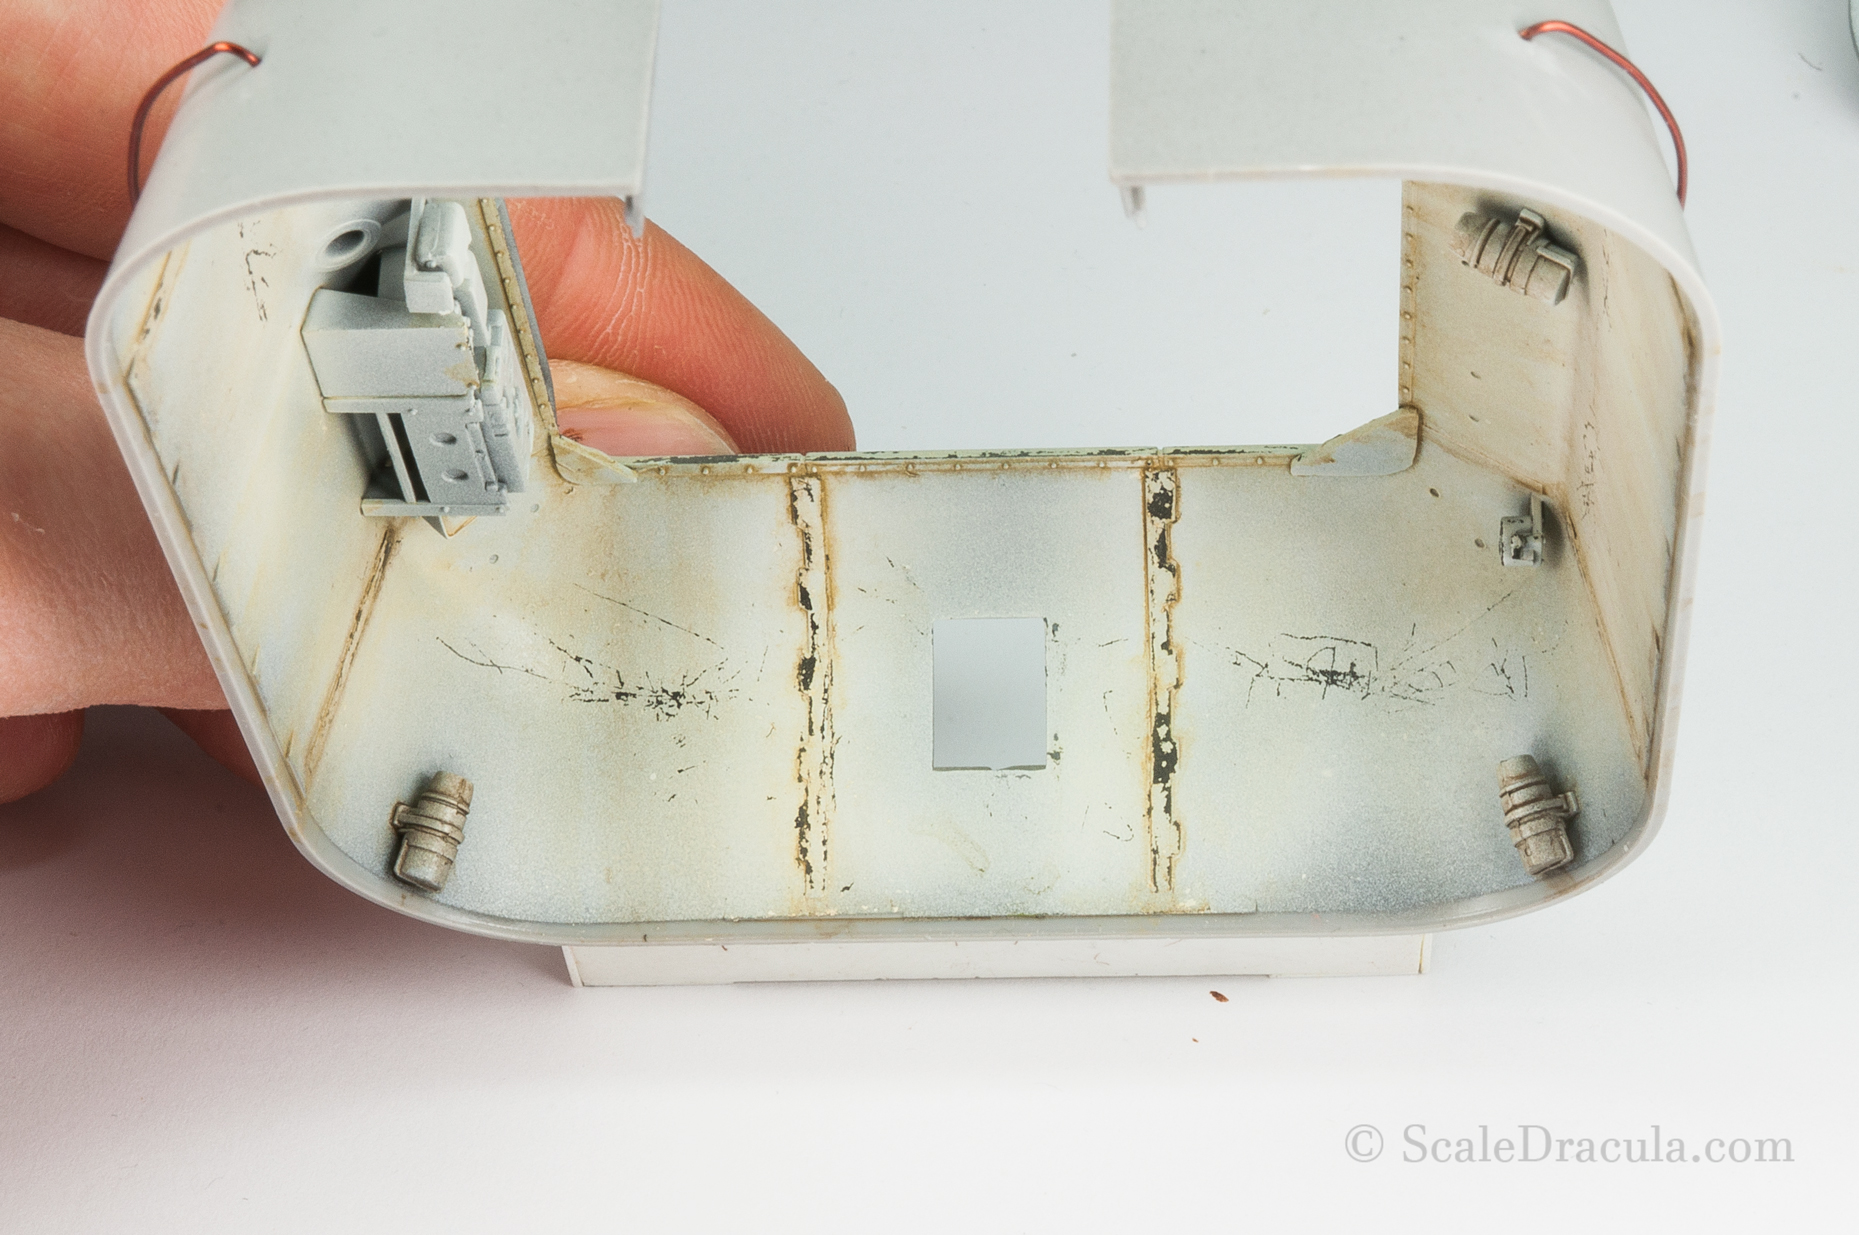
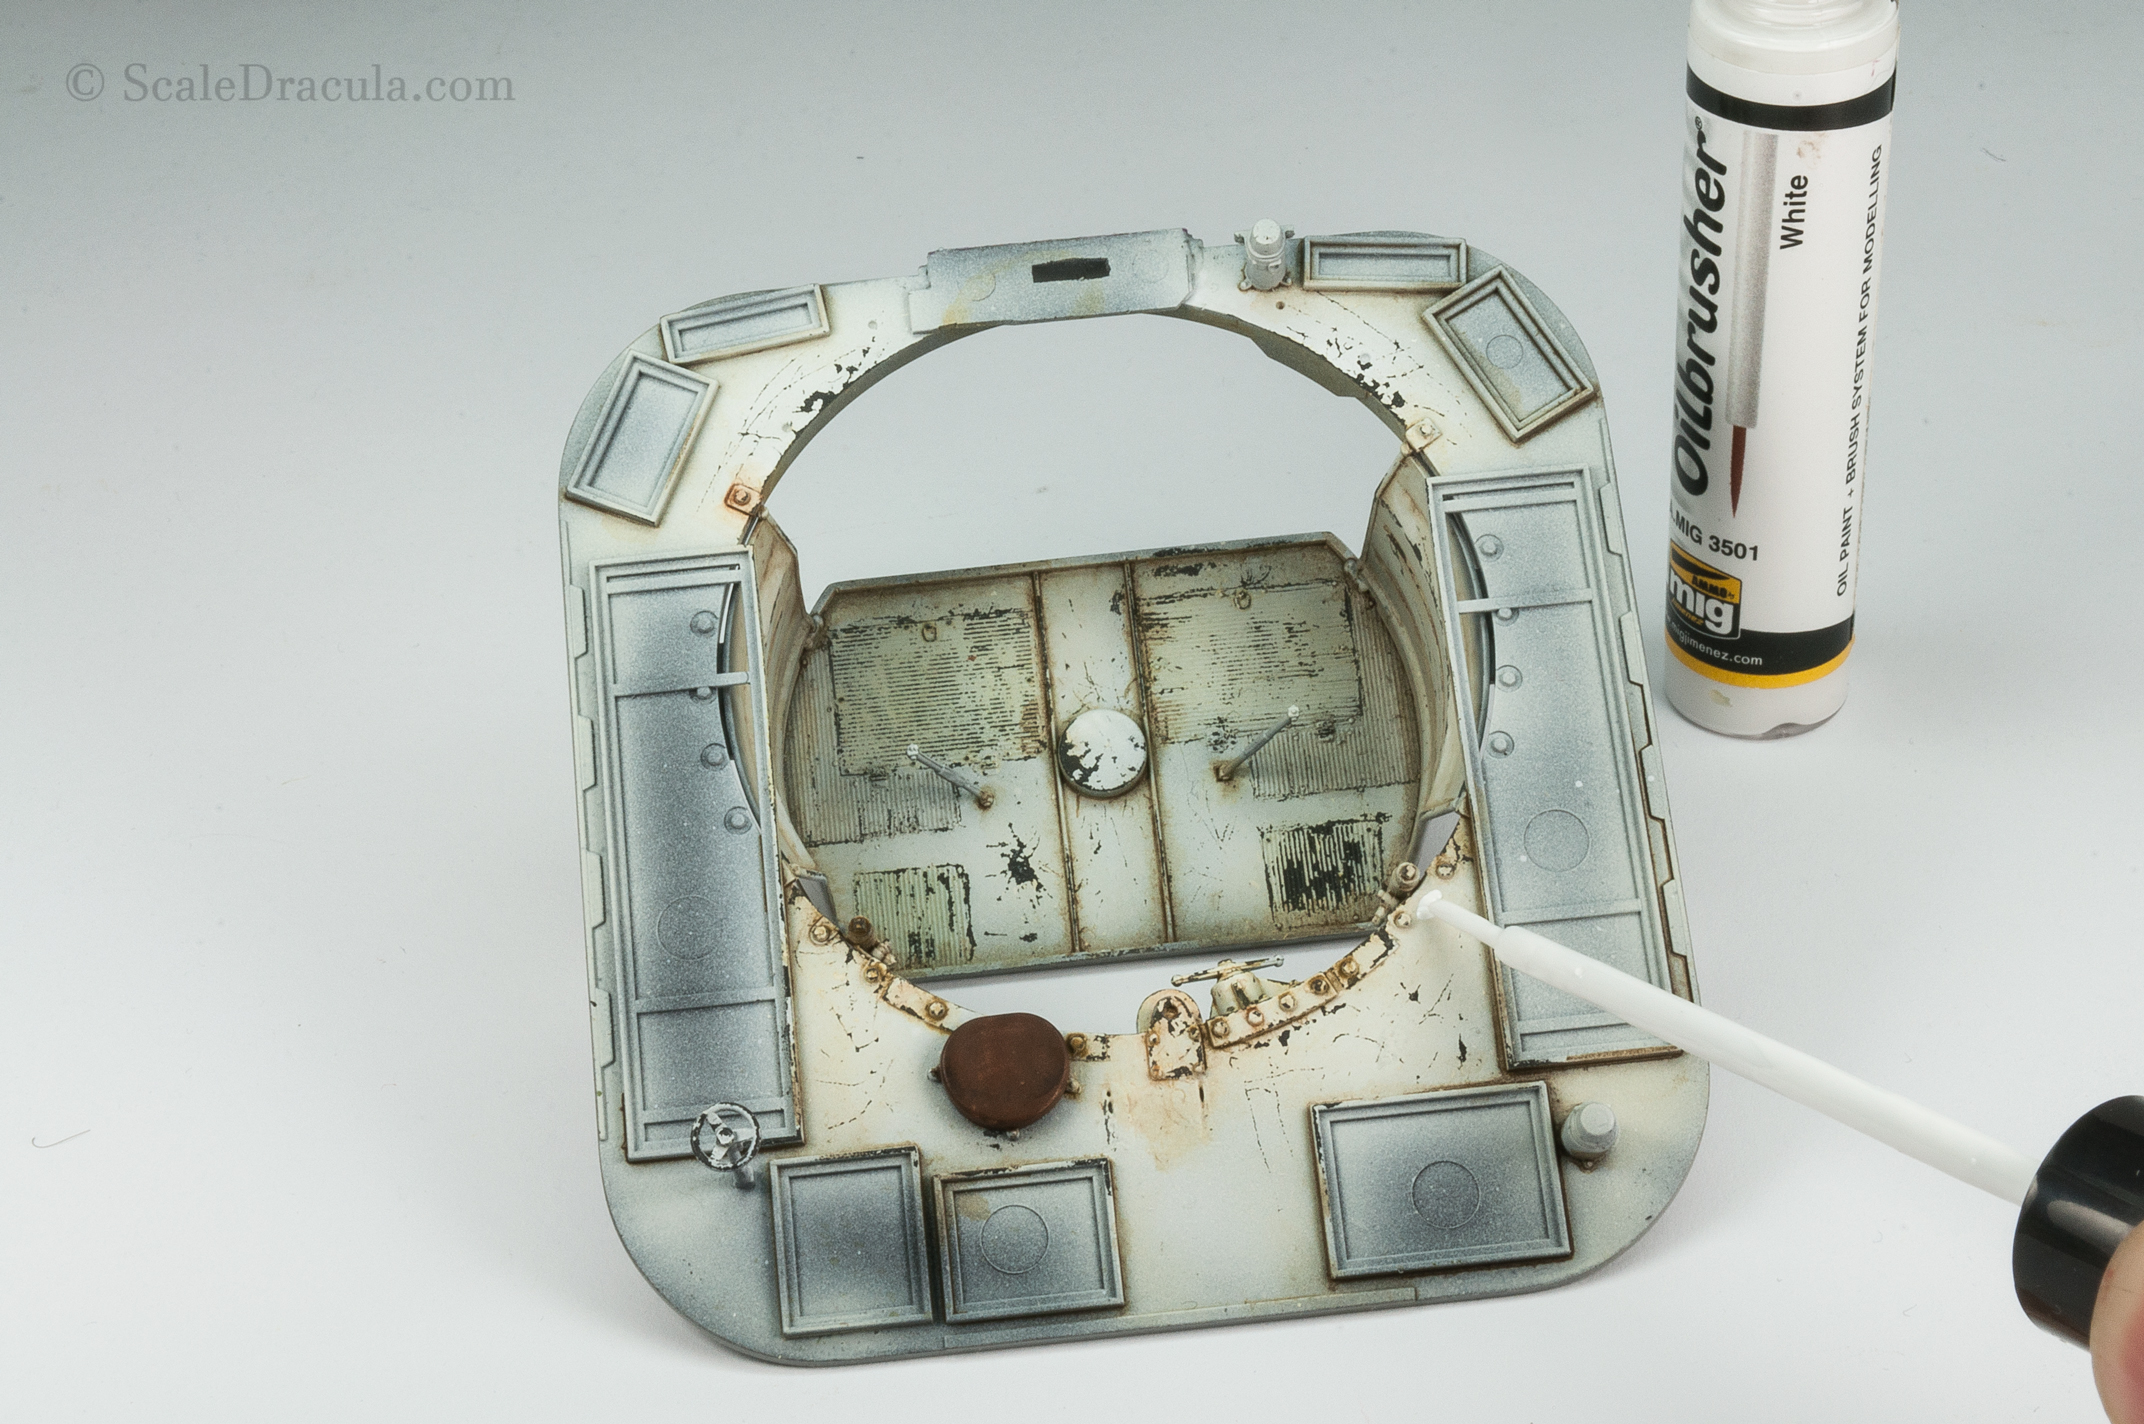
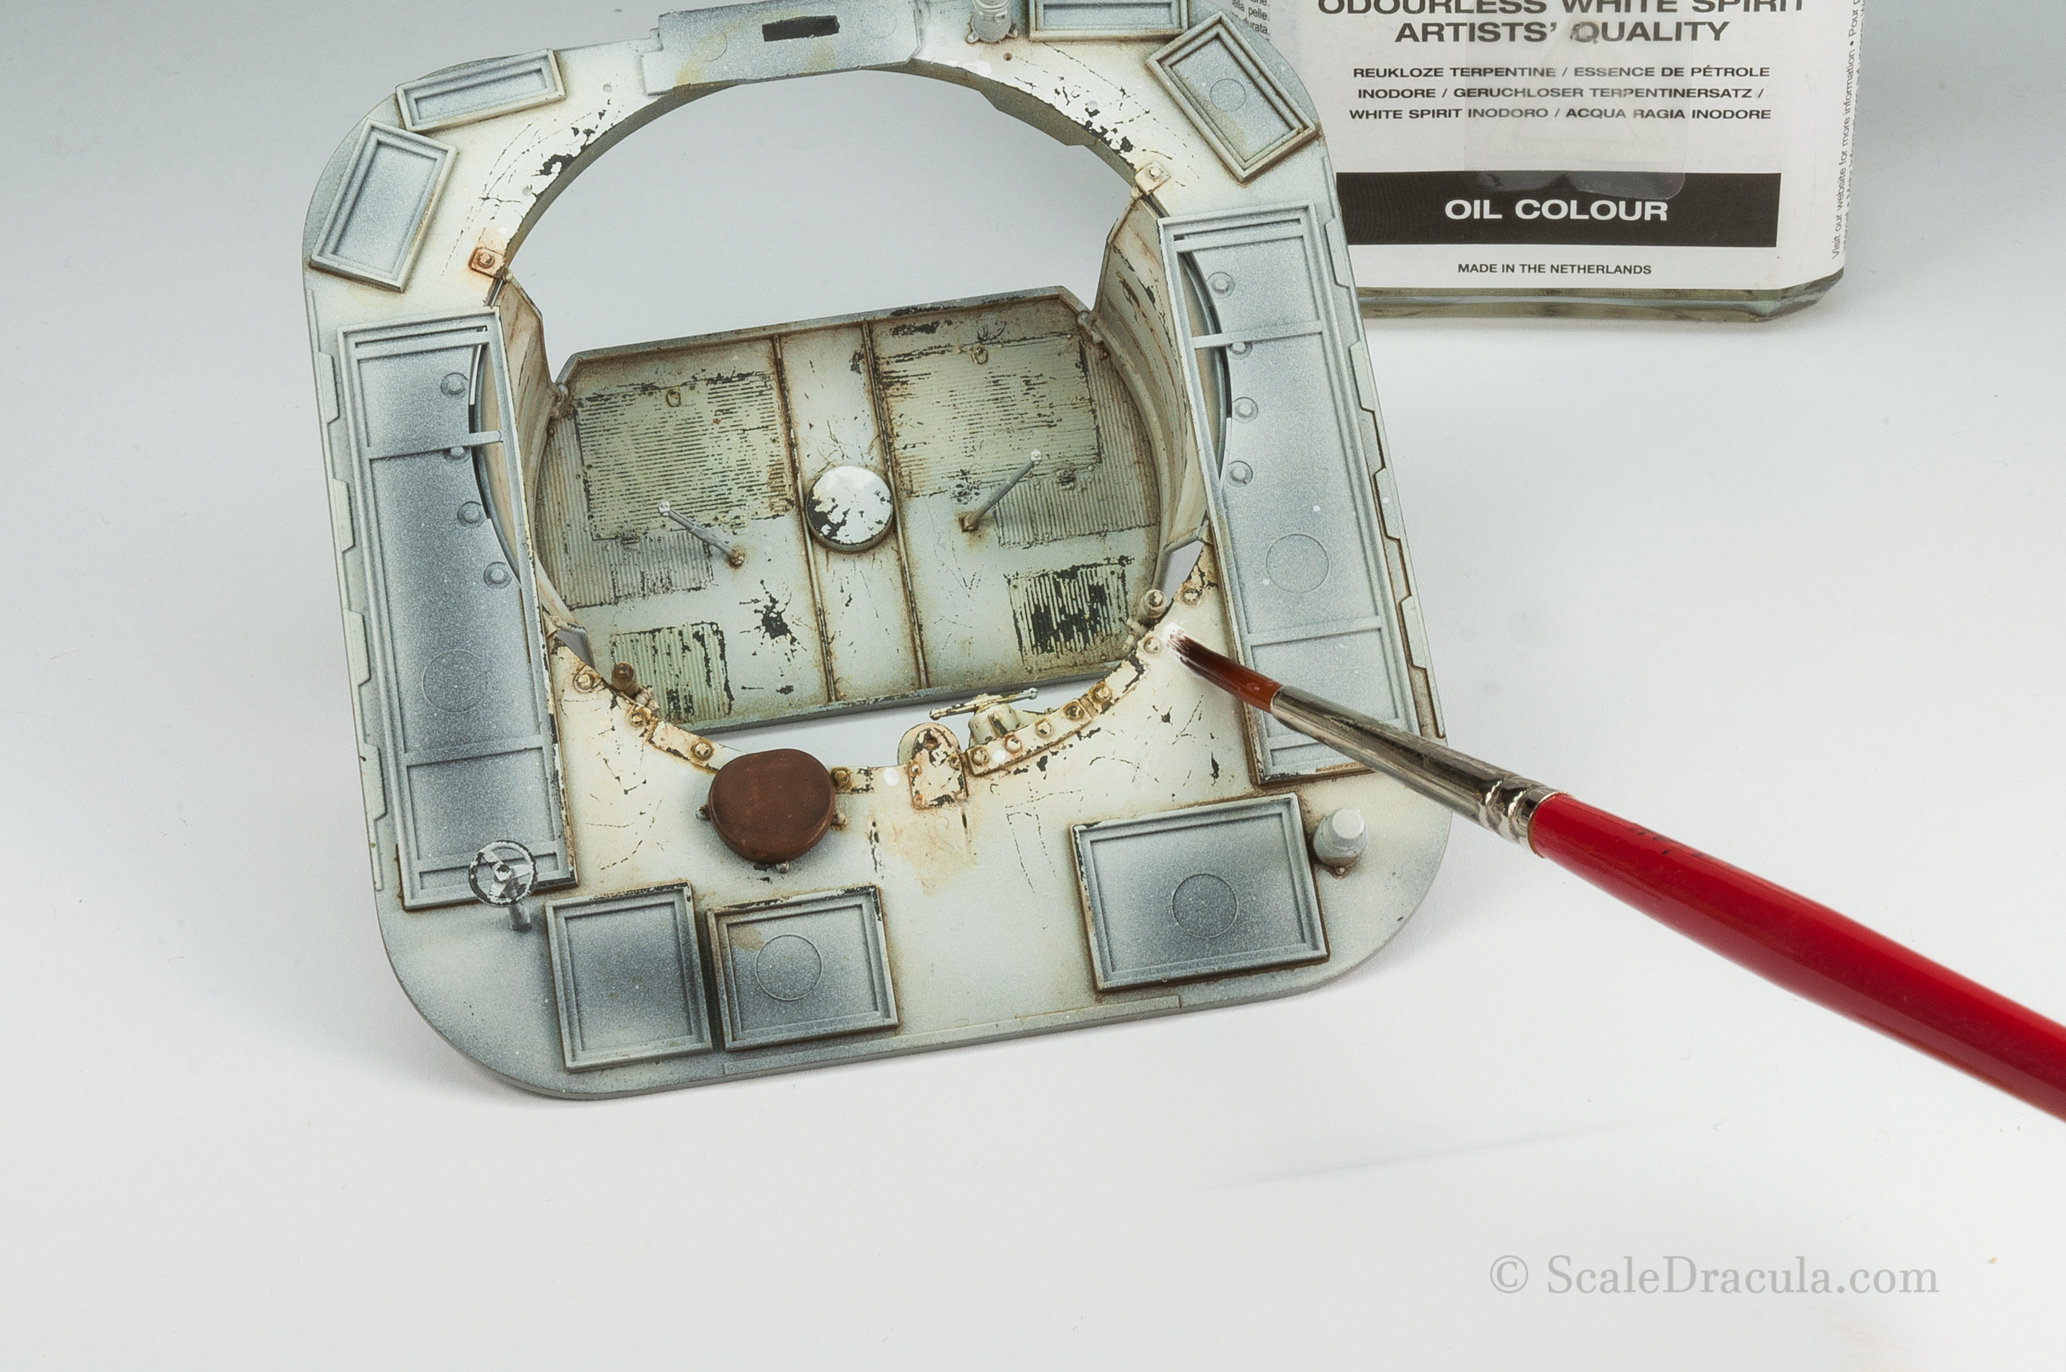
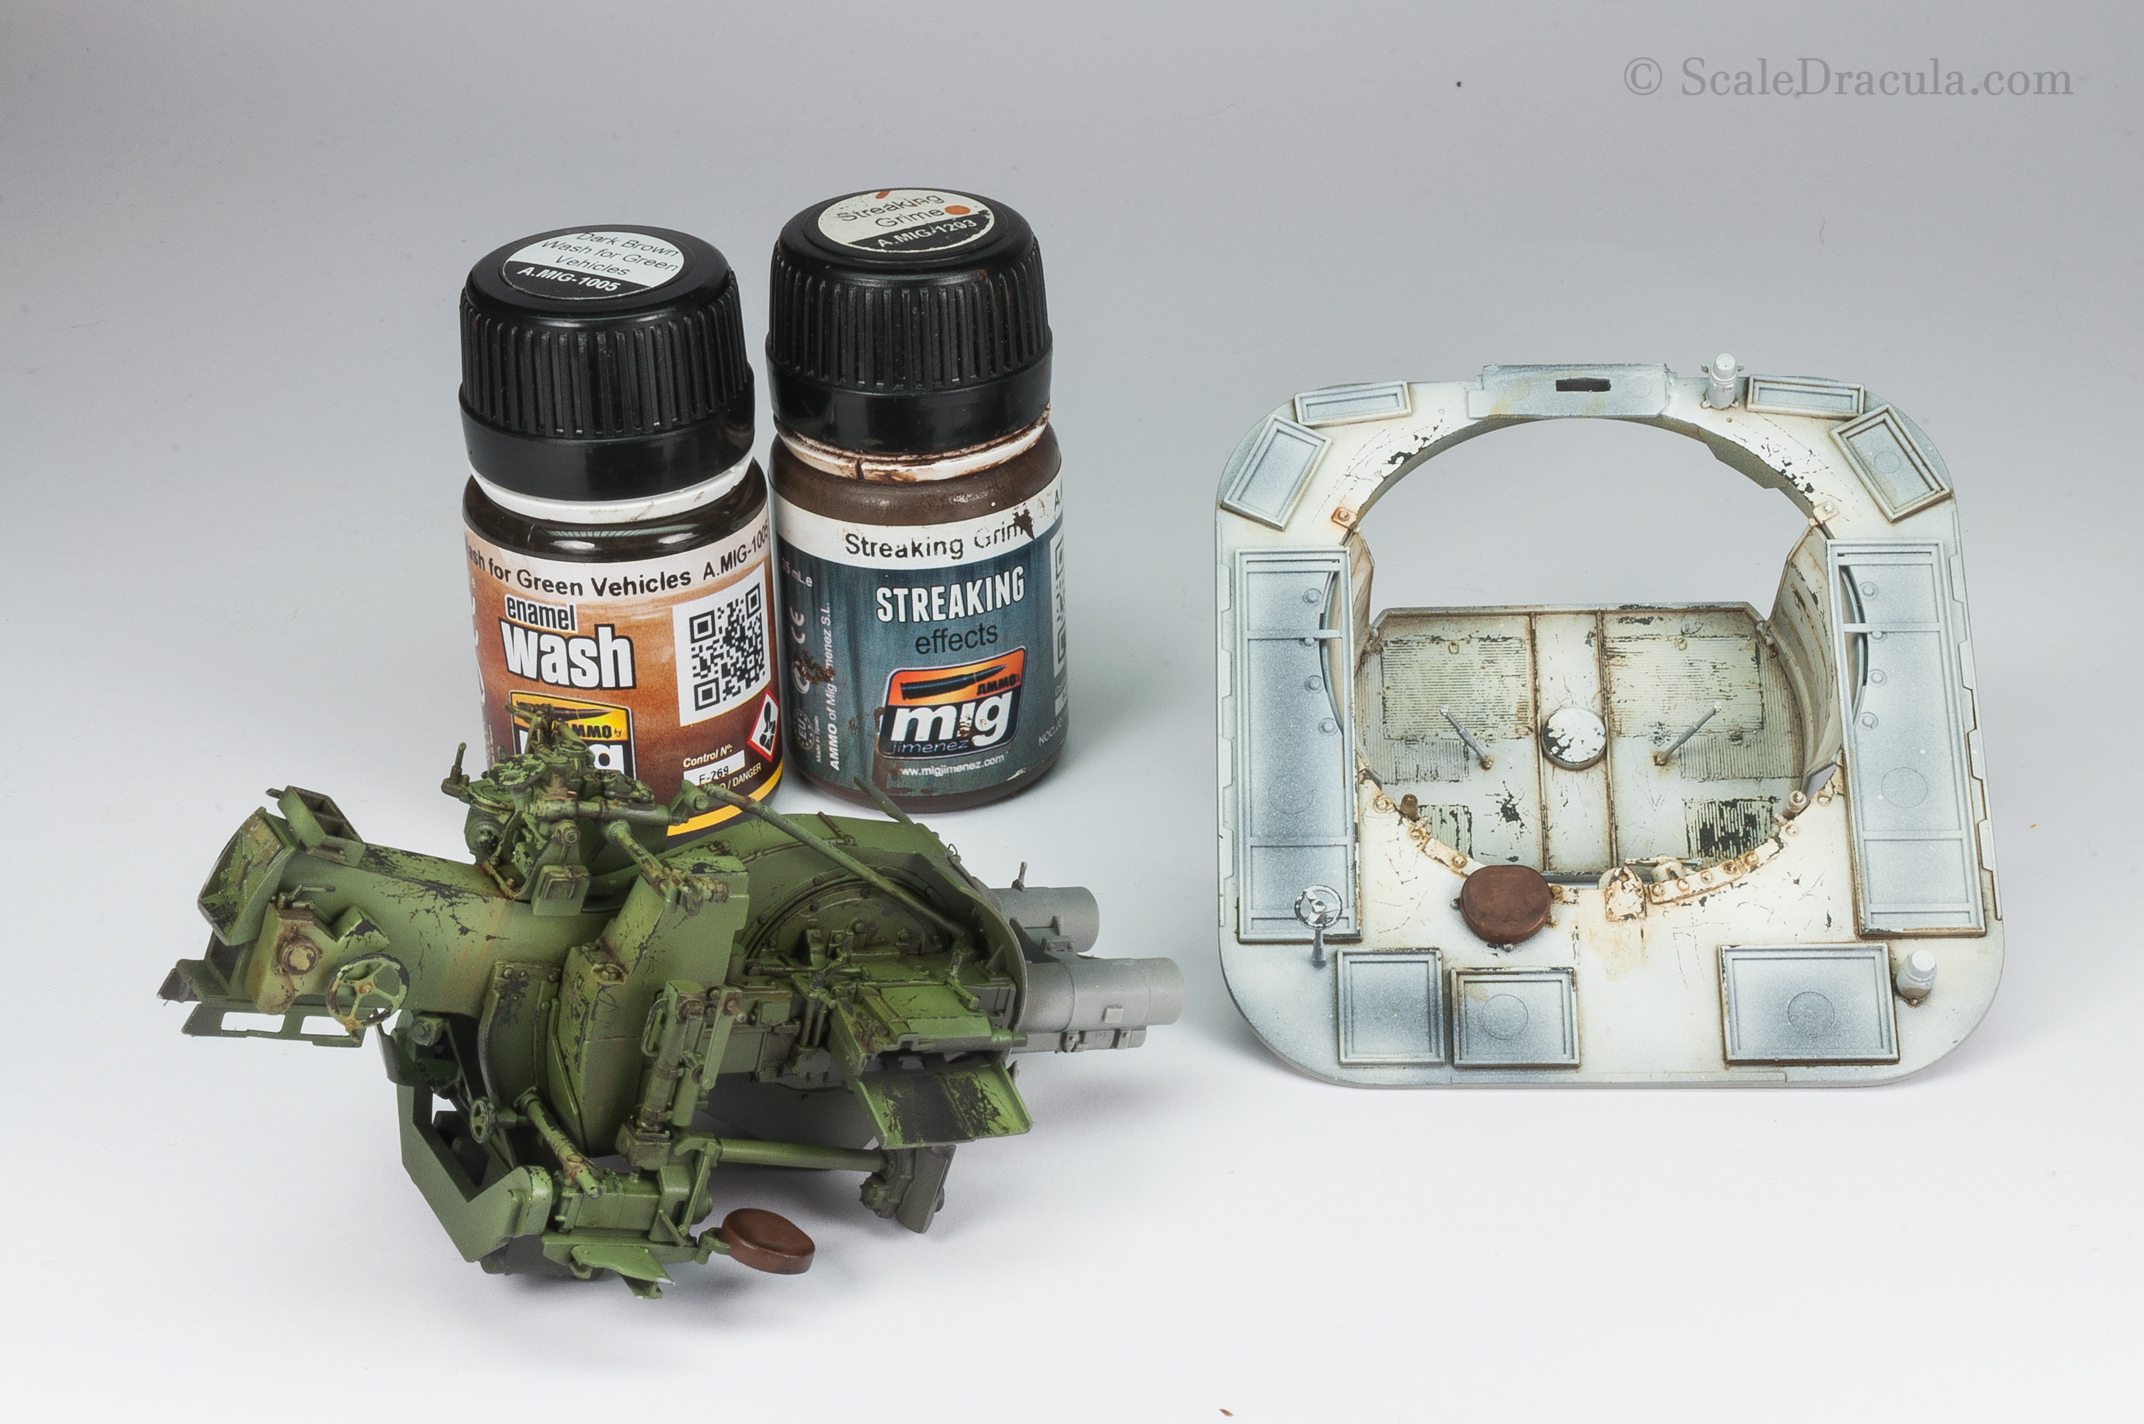
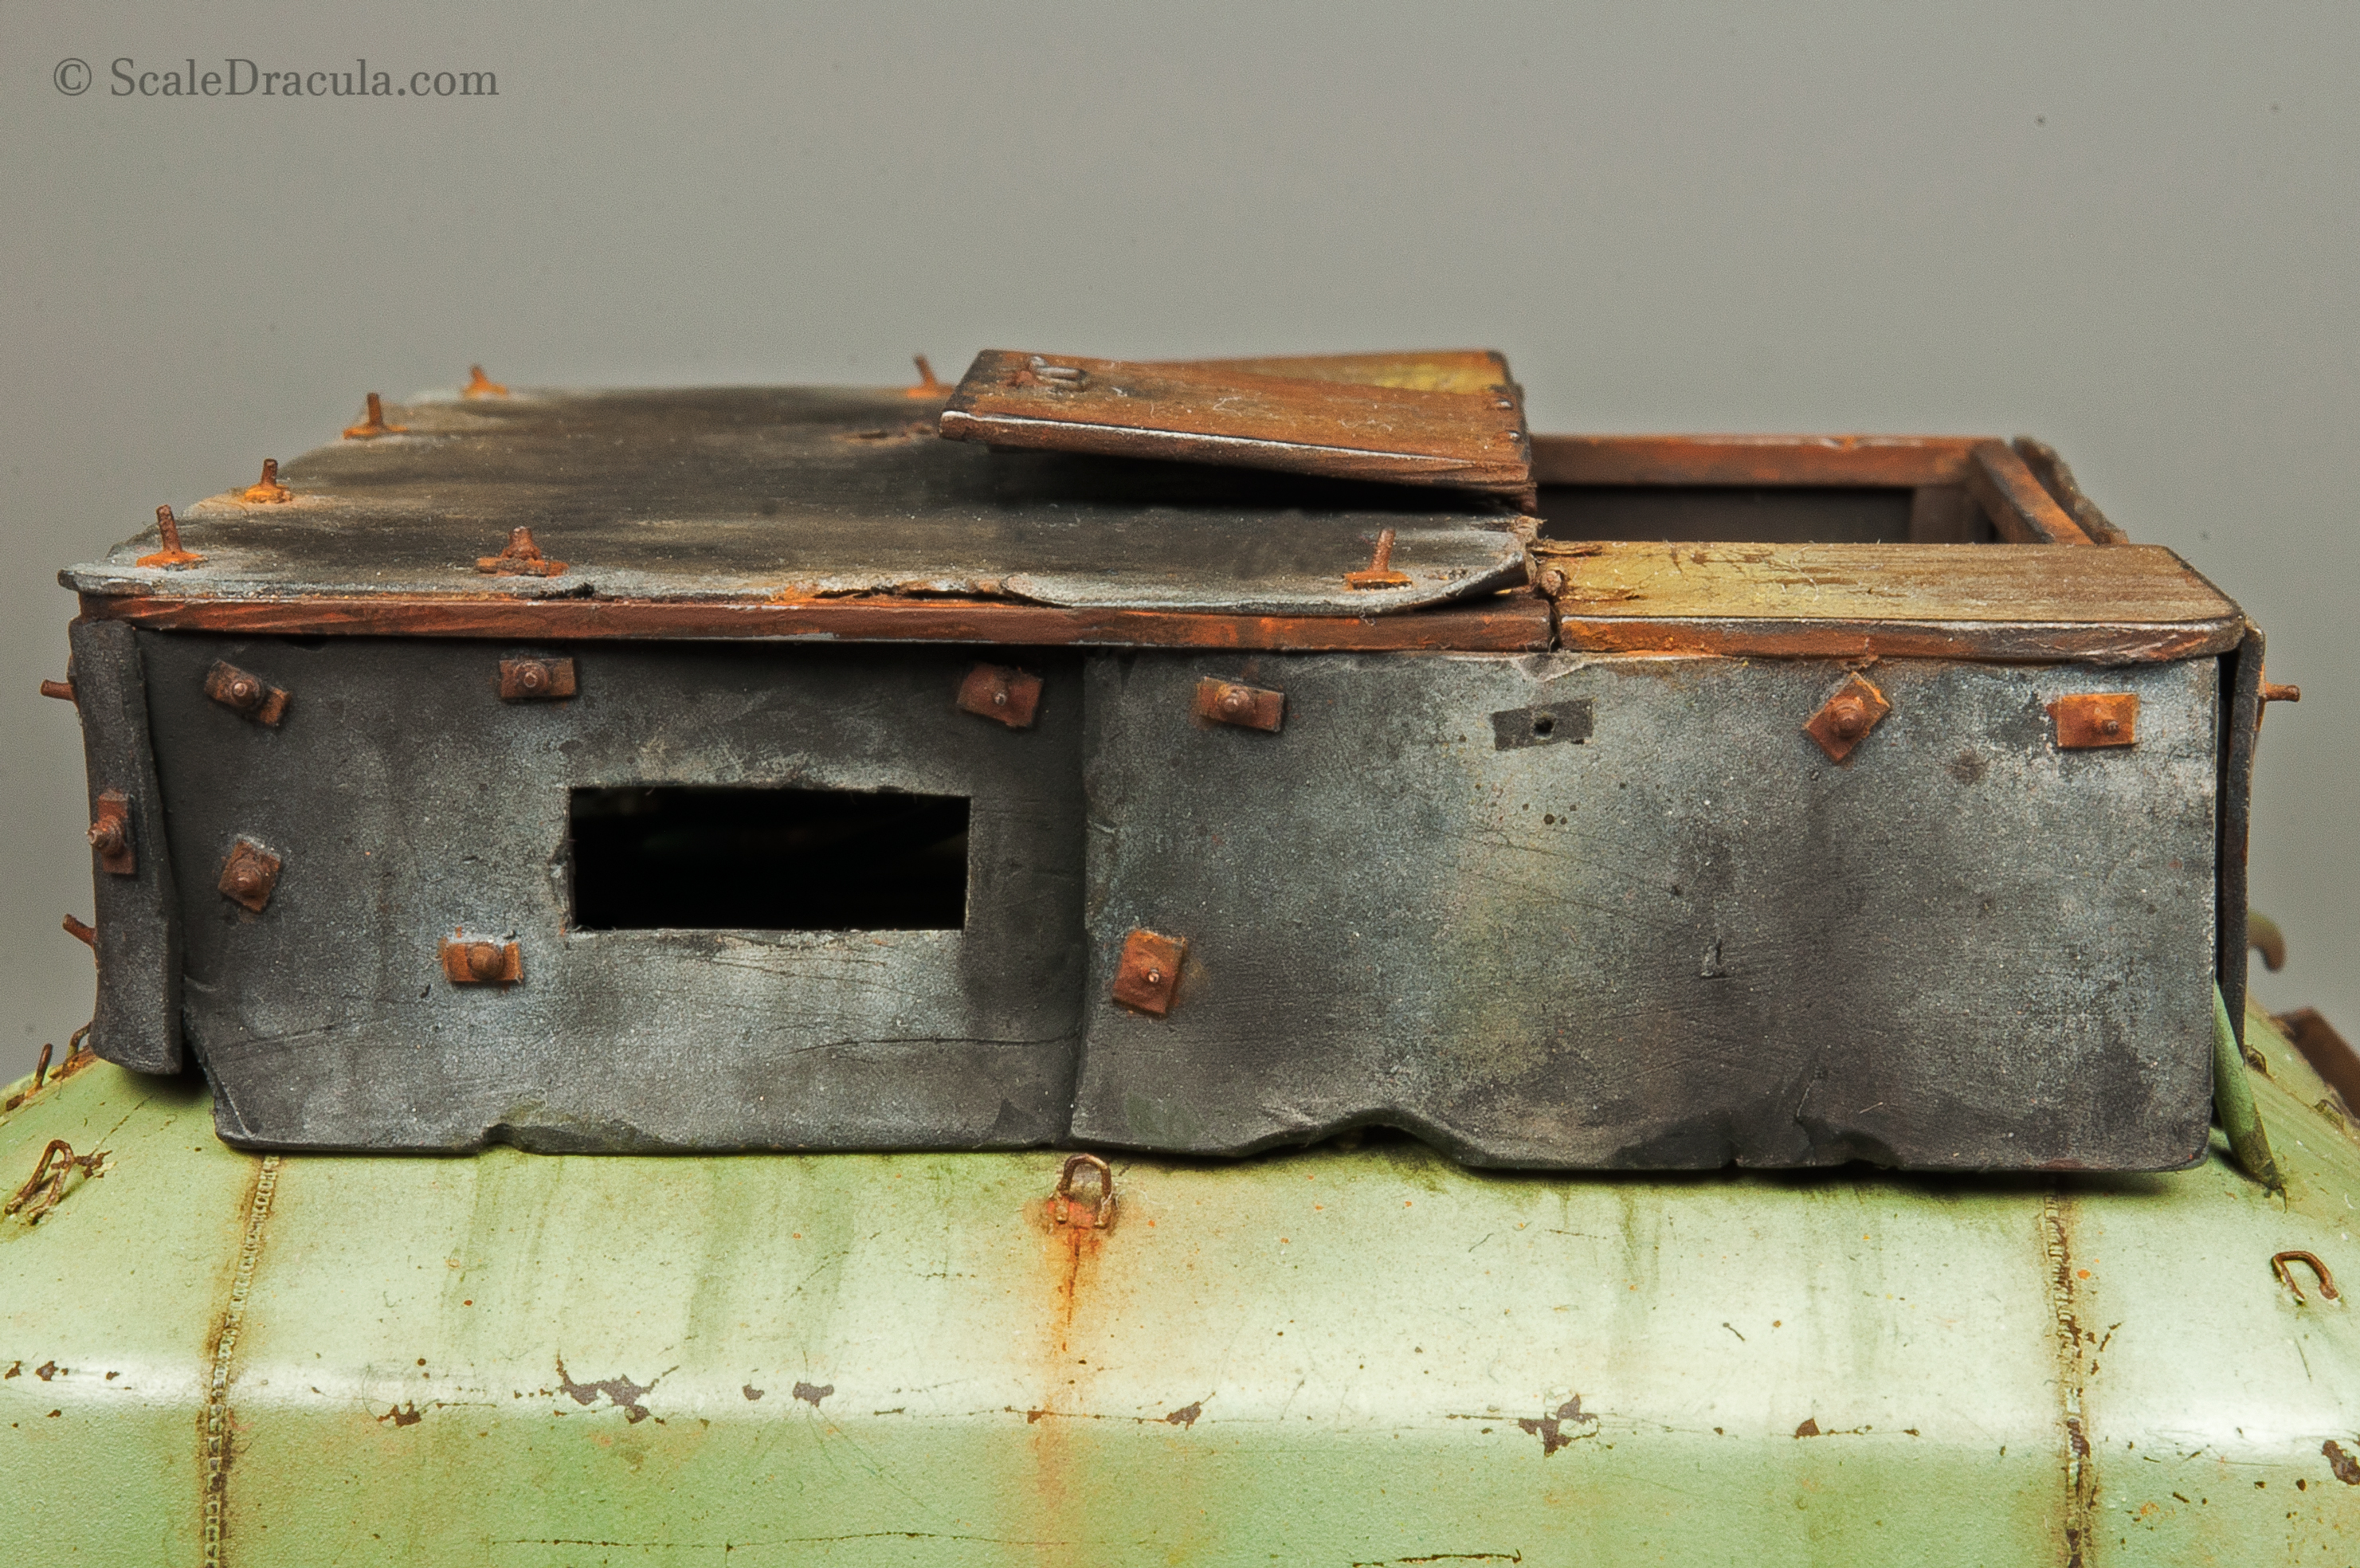
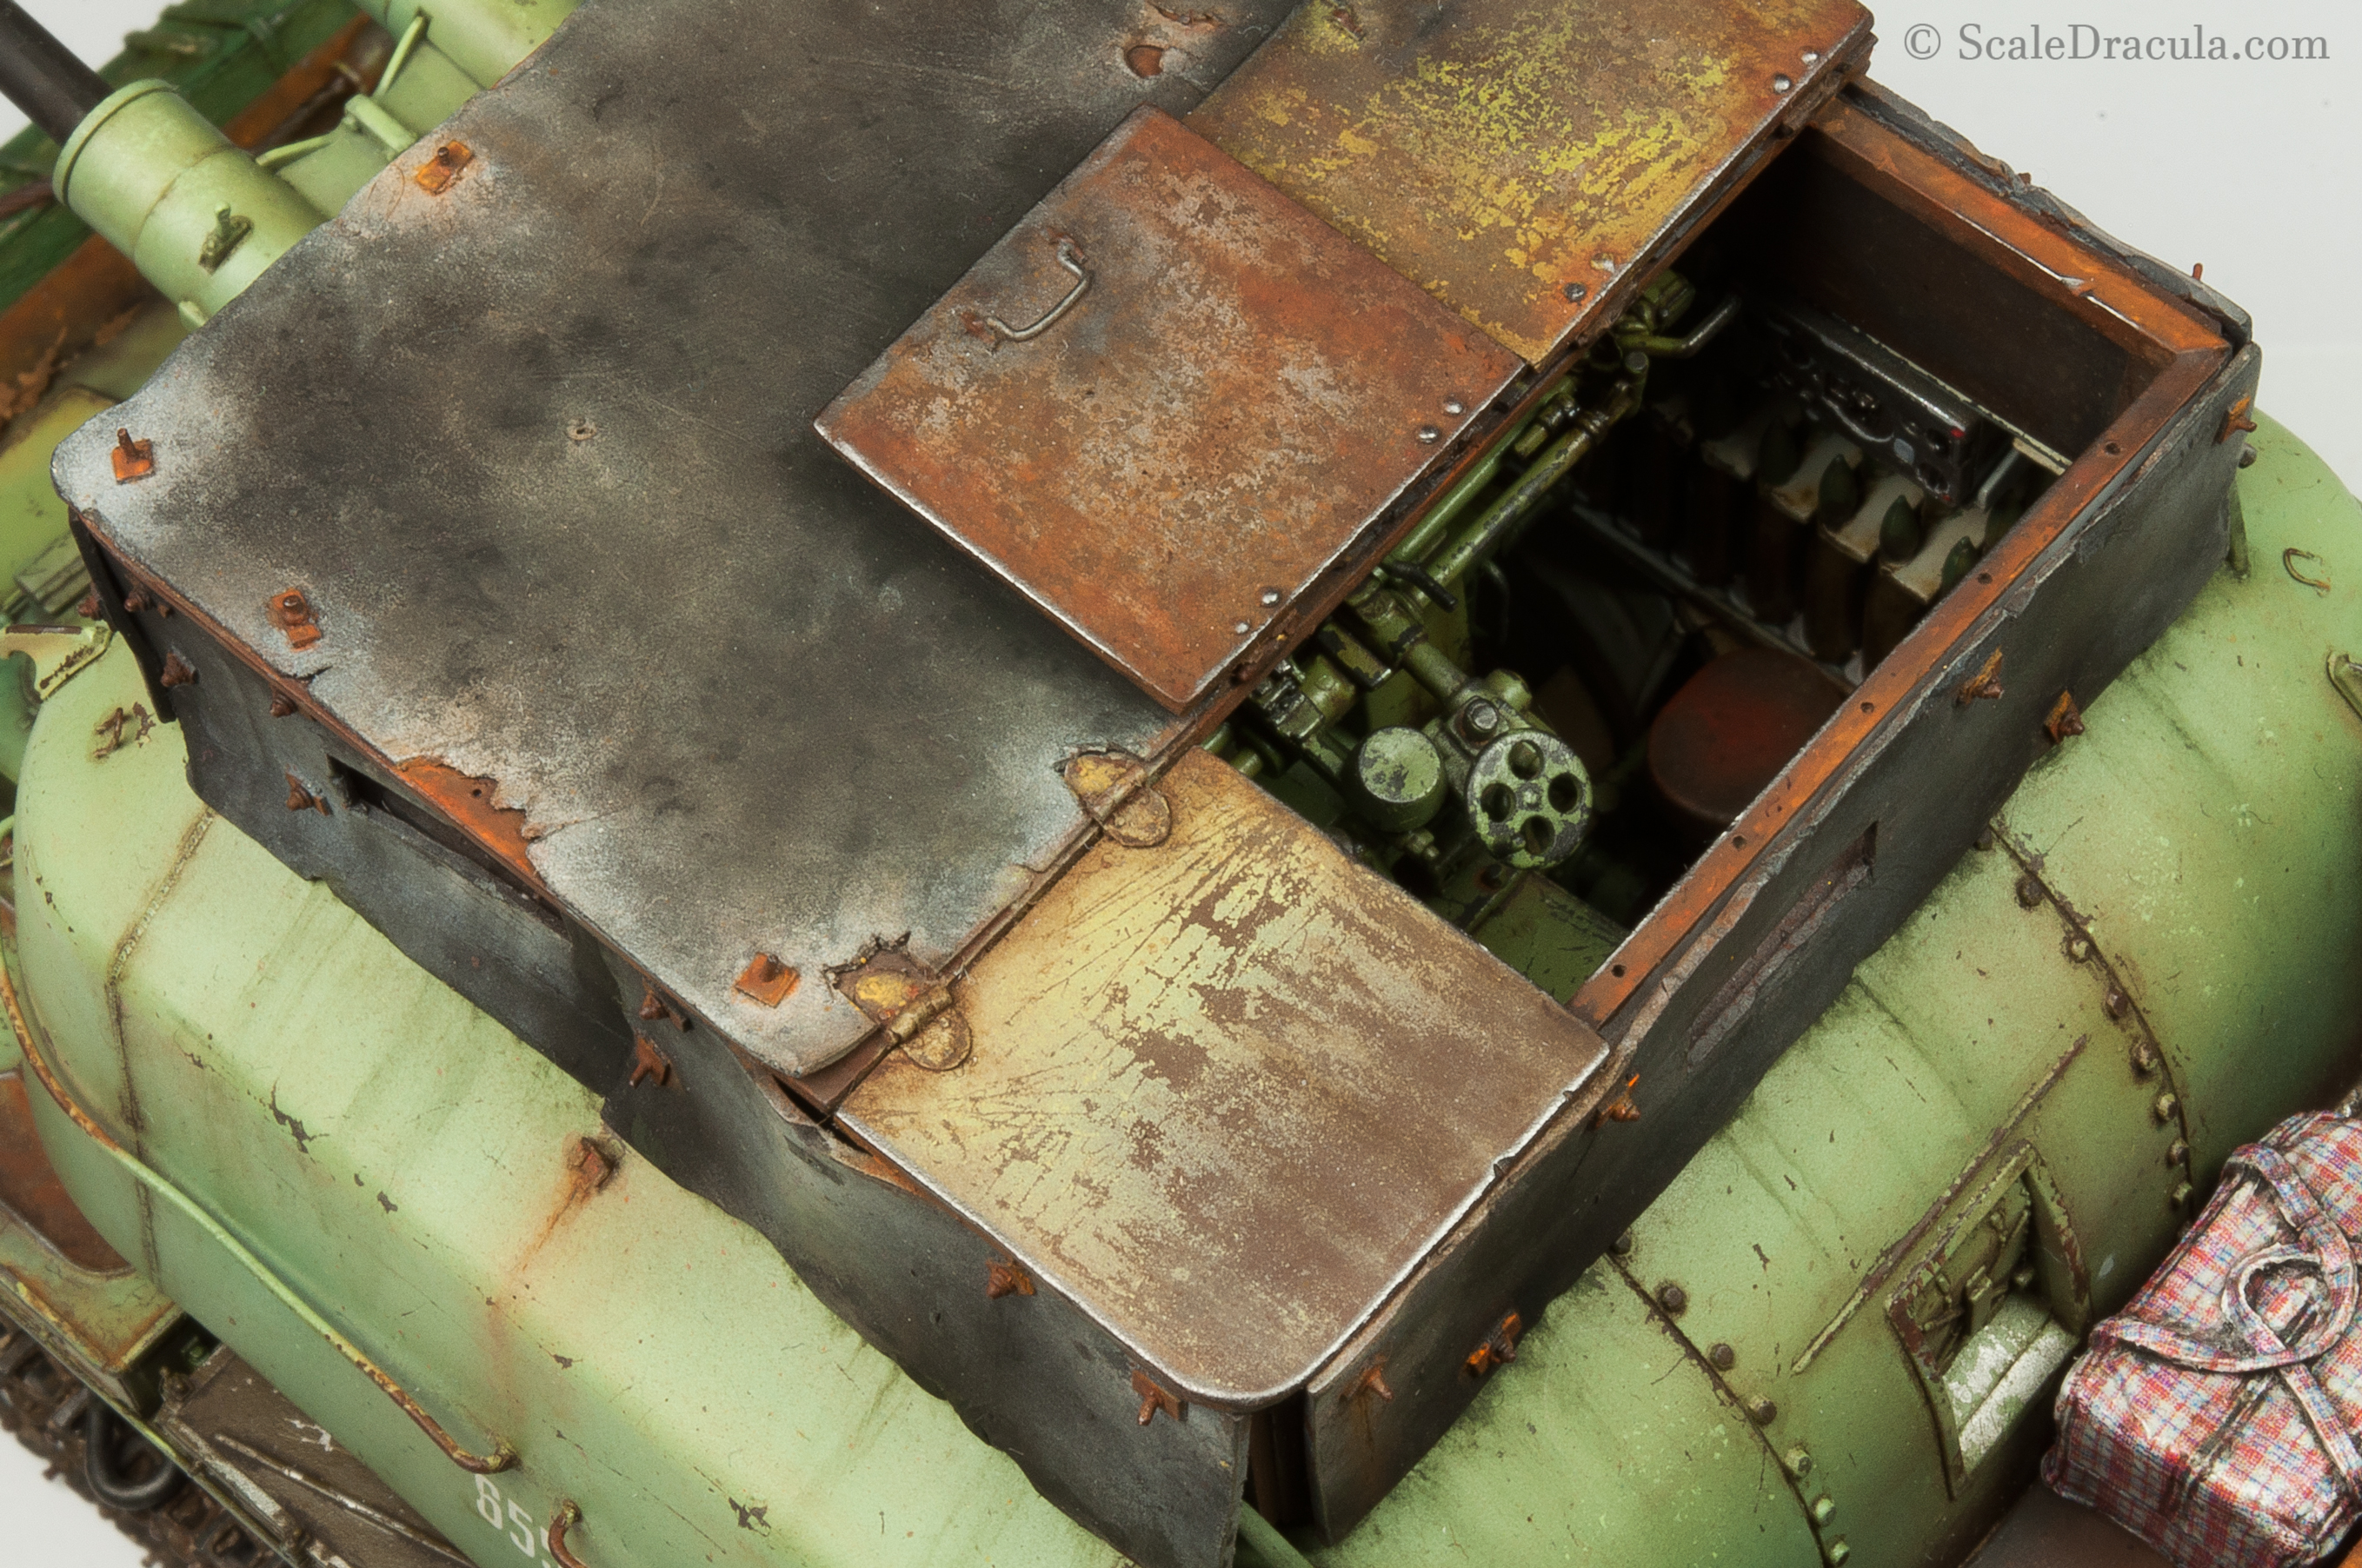
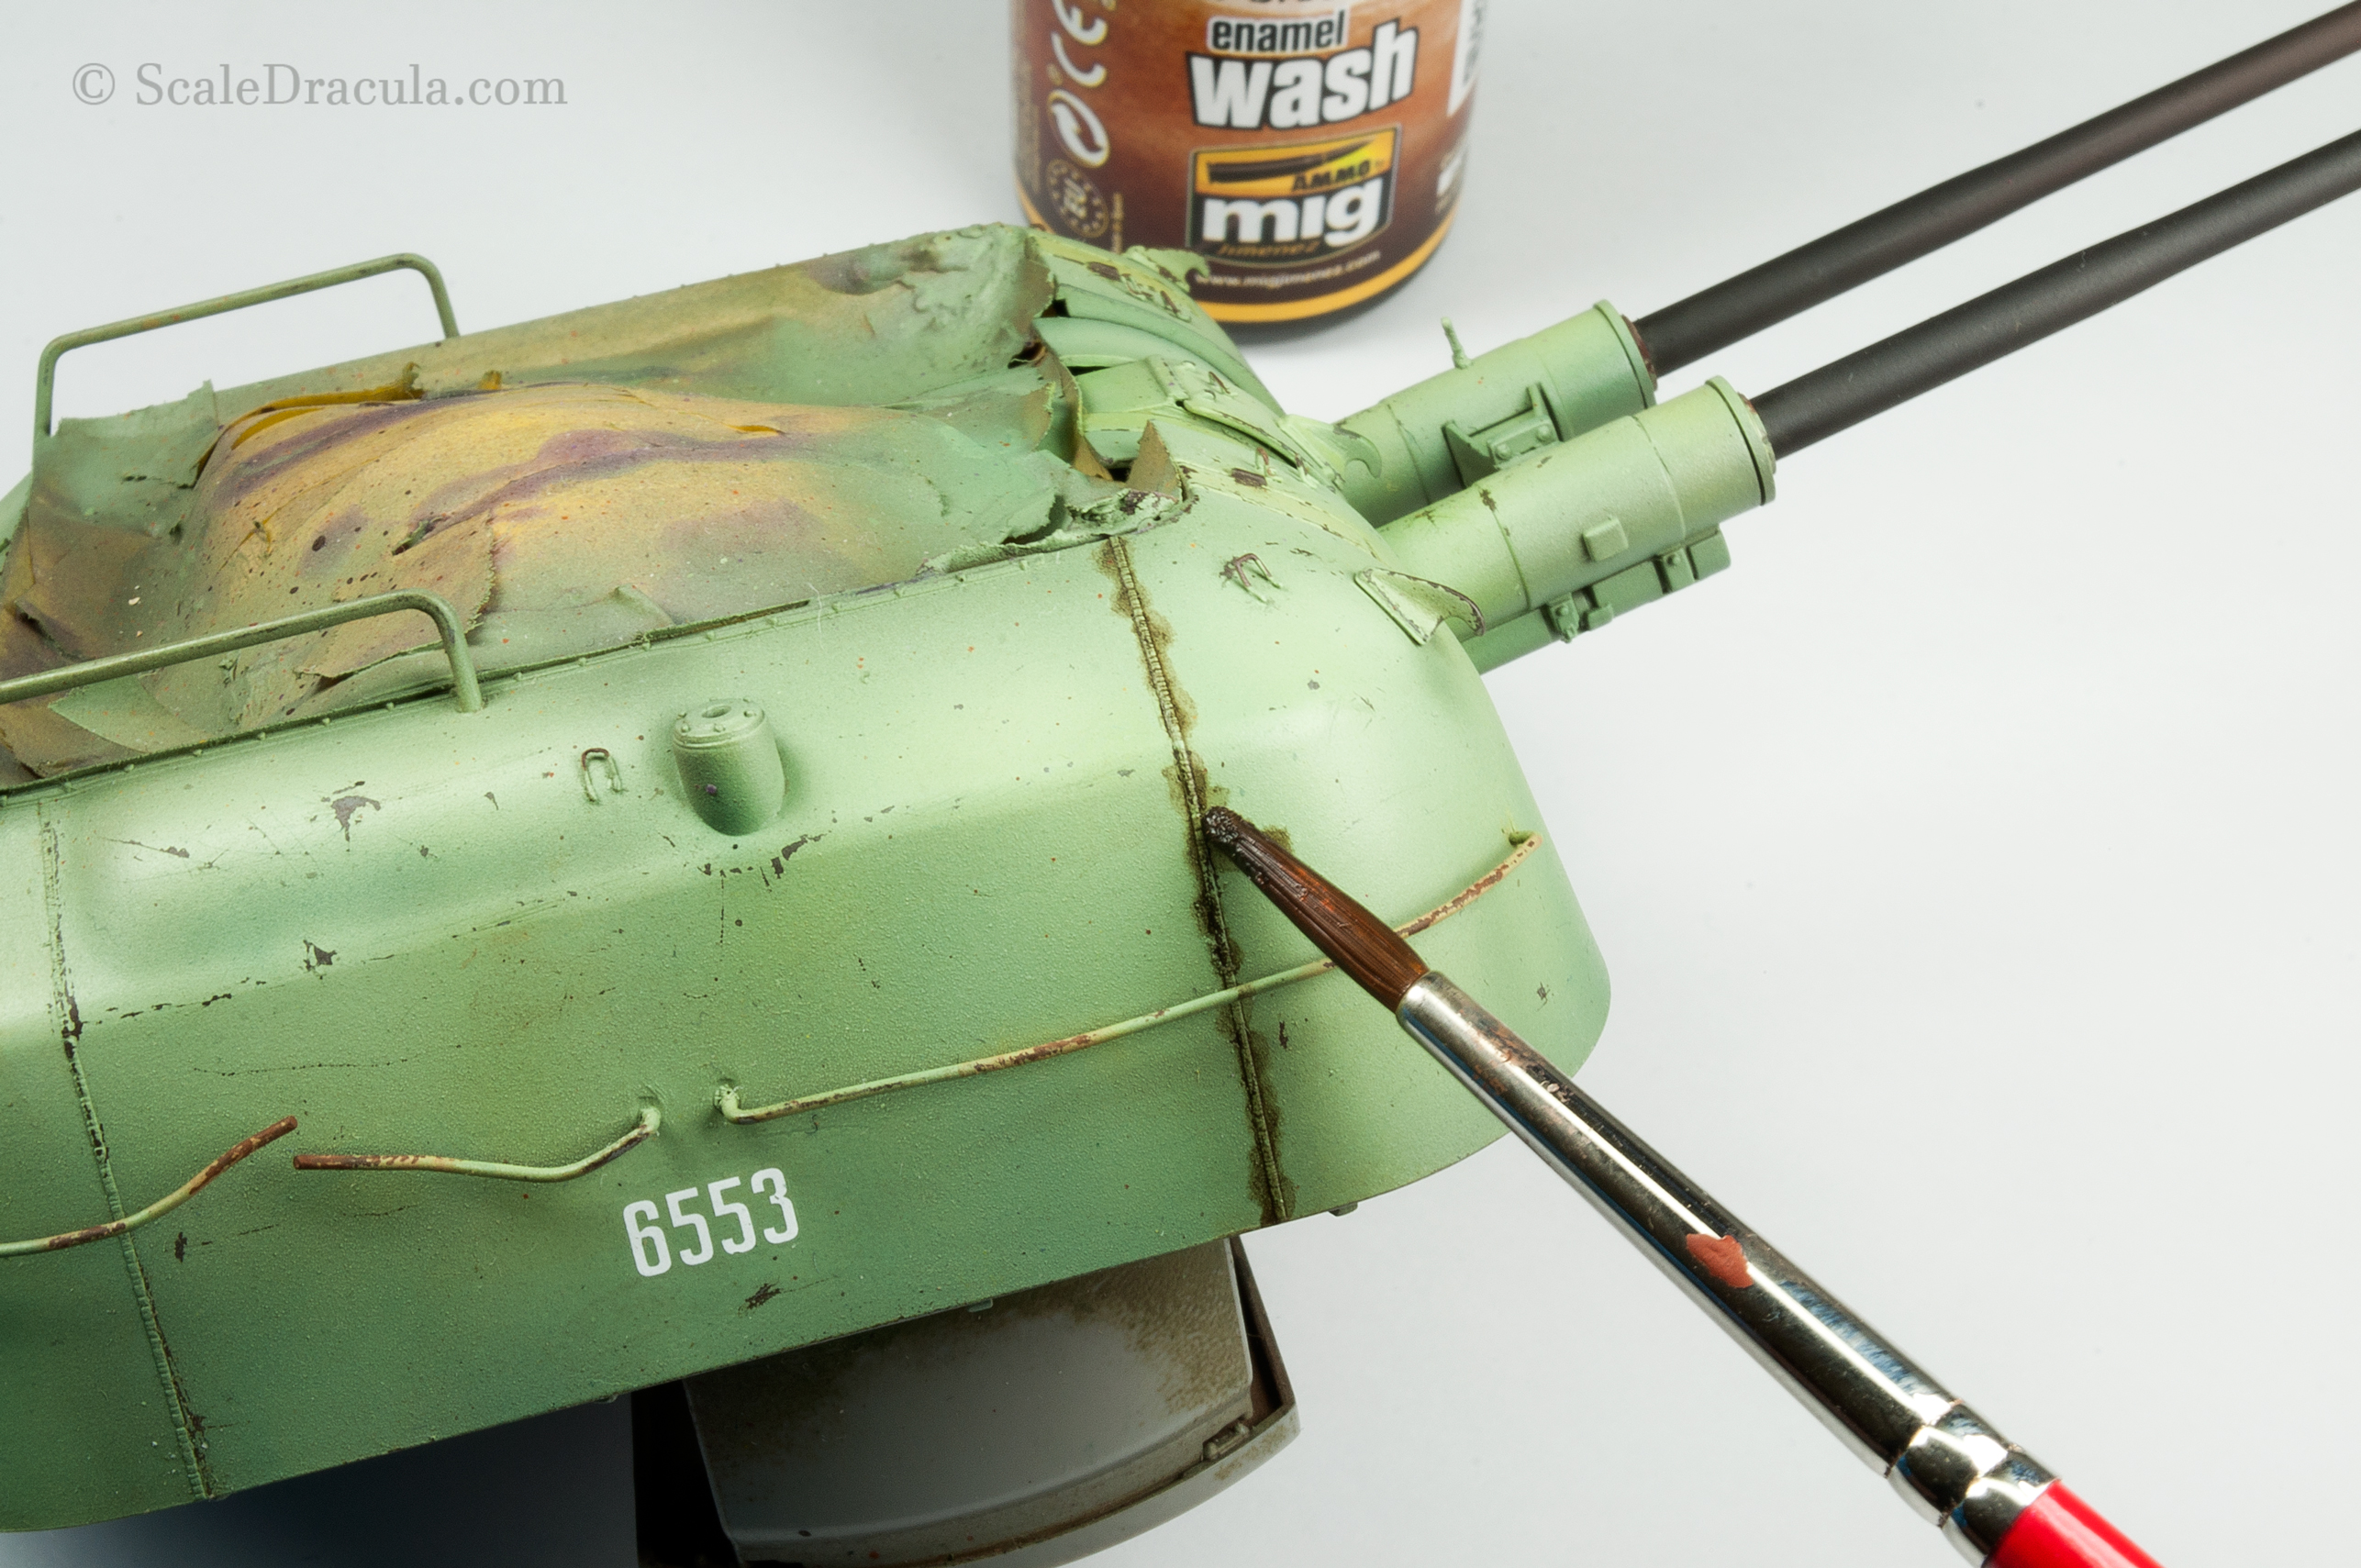
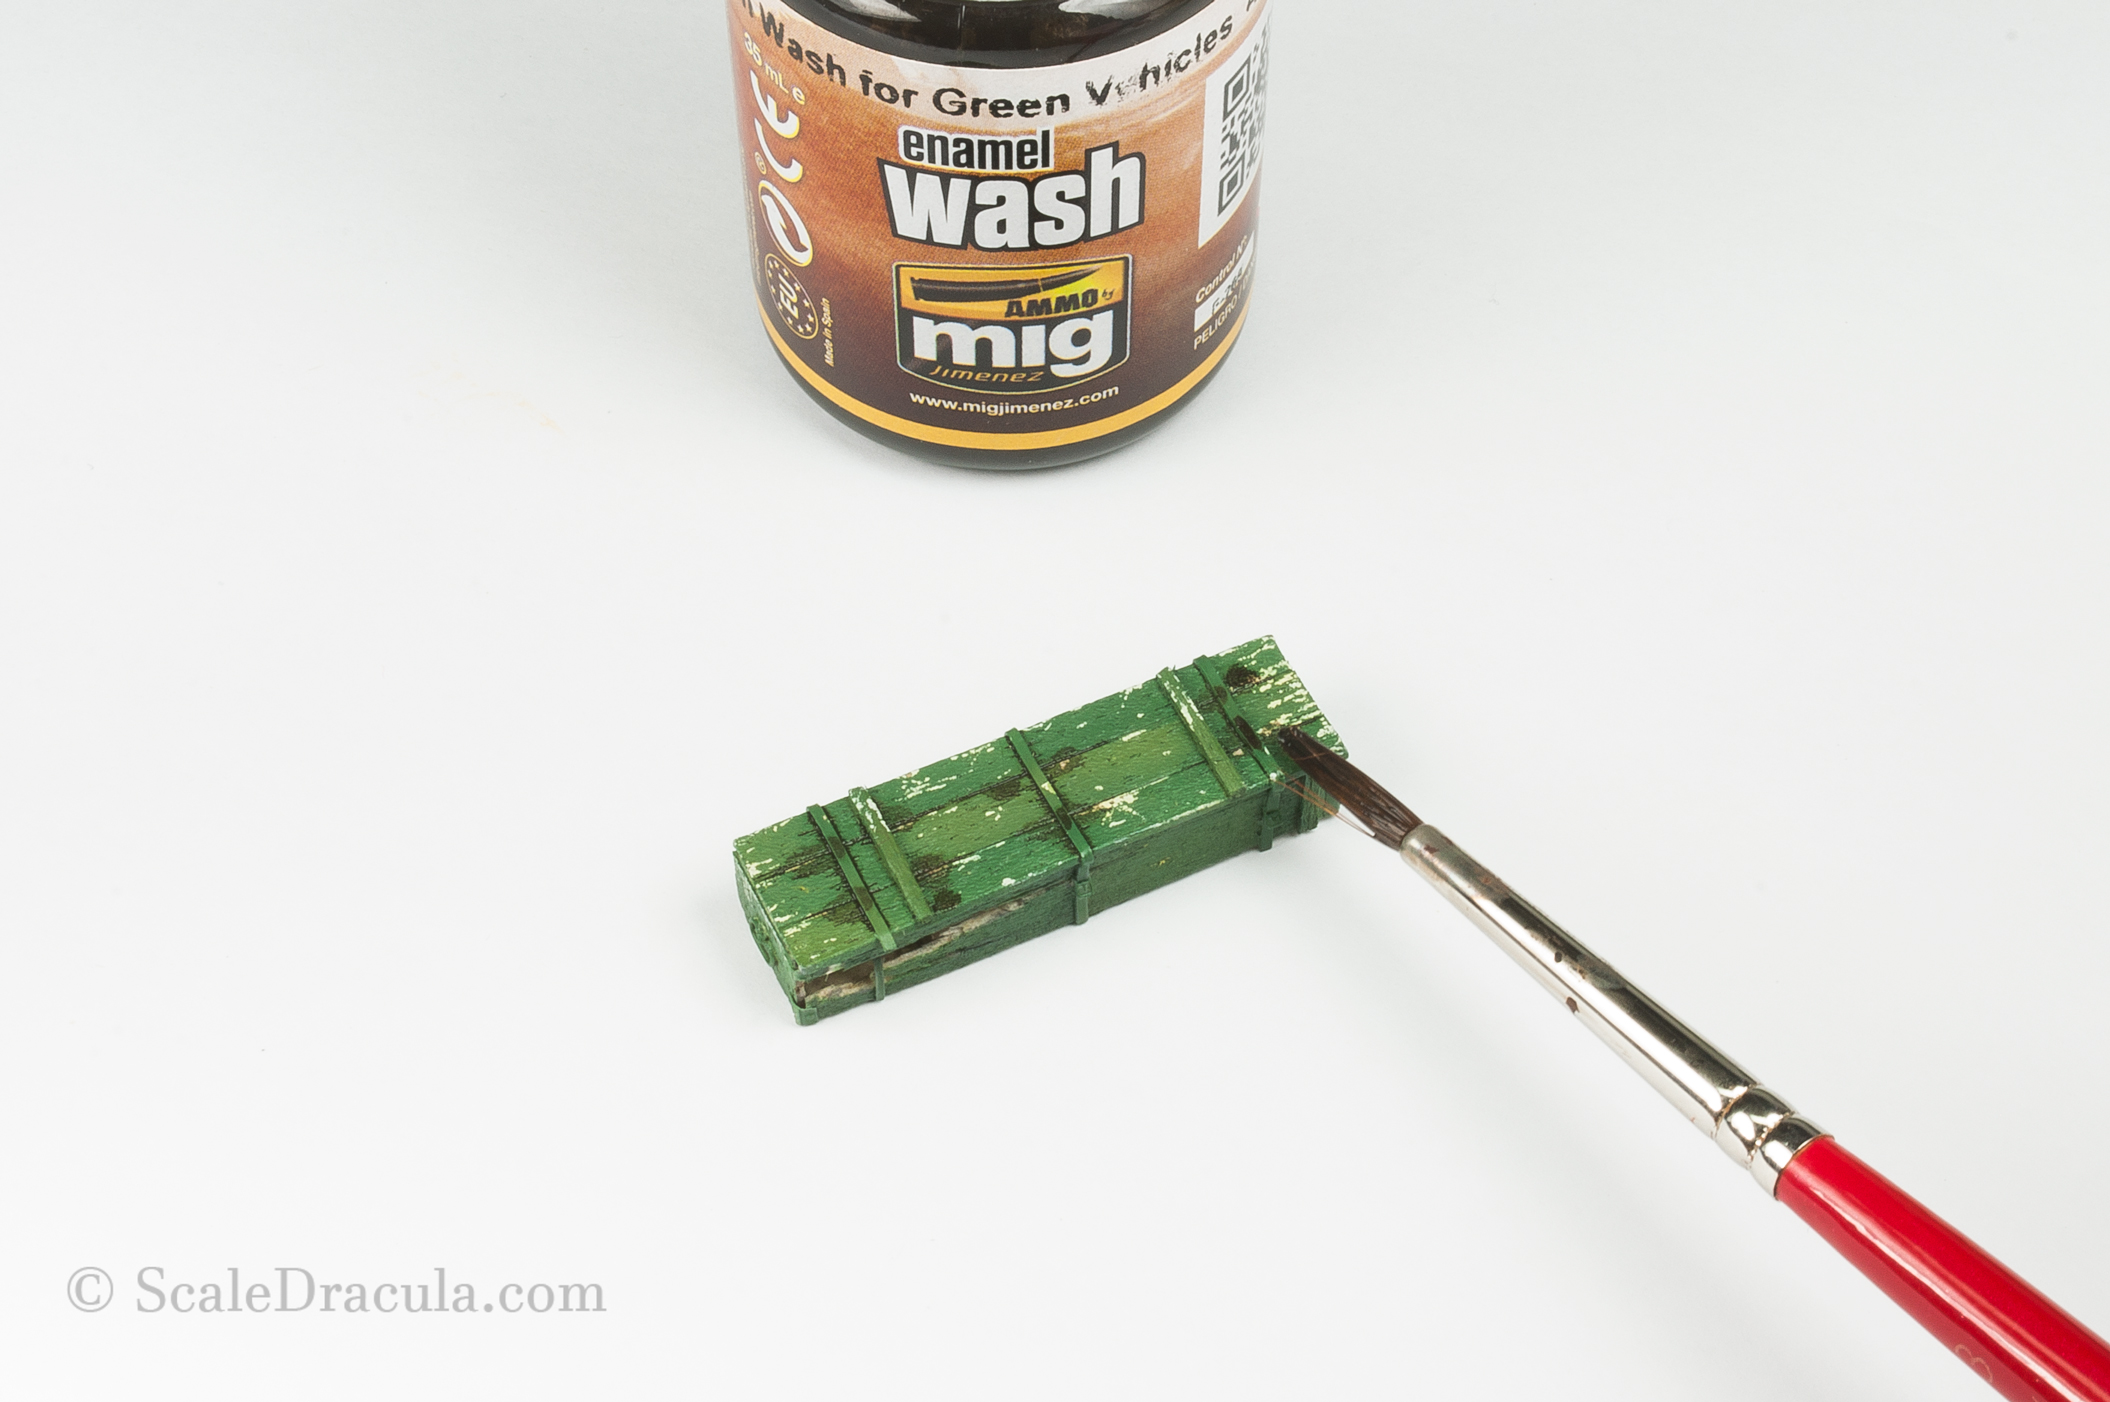
The next step was a typical dark brown enamel wash on the whole model. I tried to be precise not to flood the whole surface with the wash.
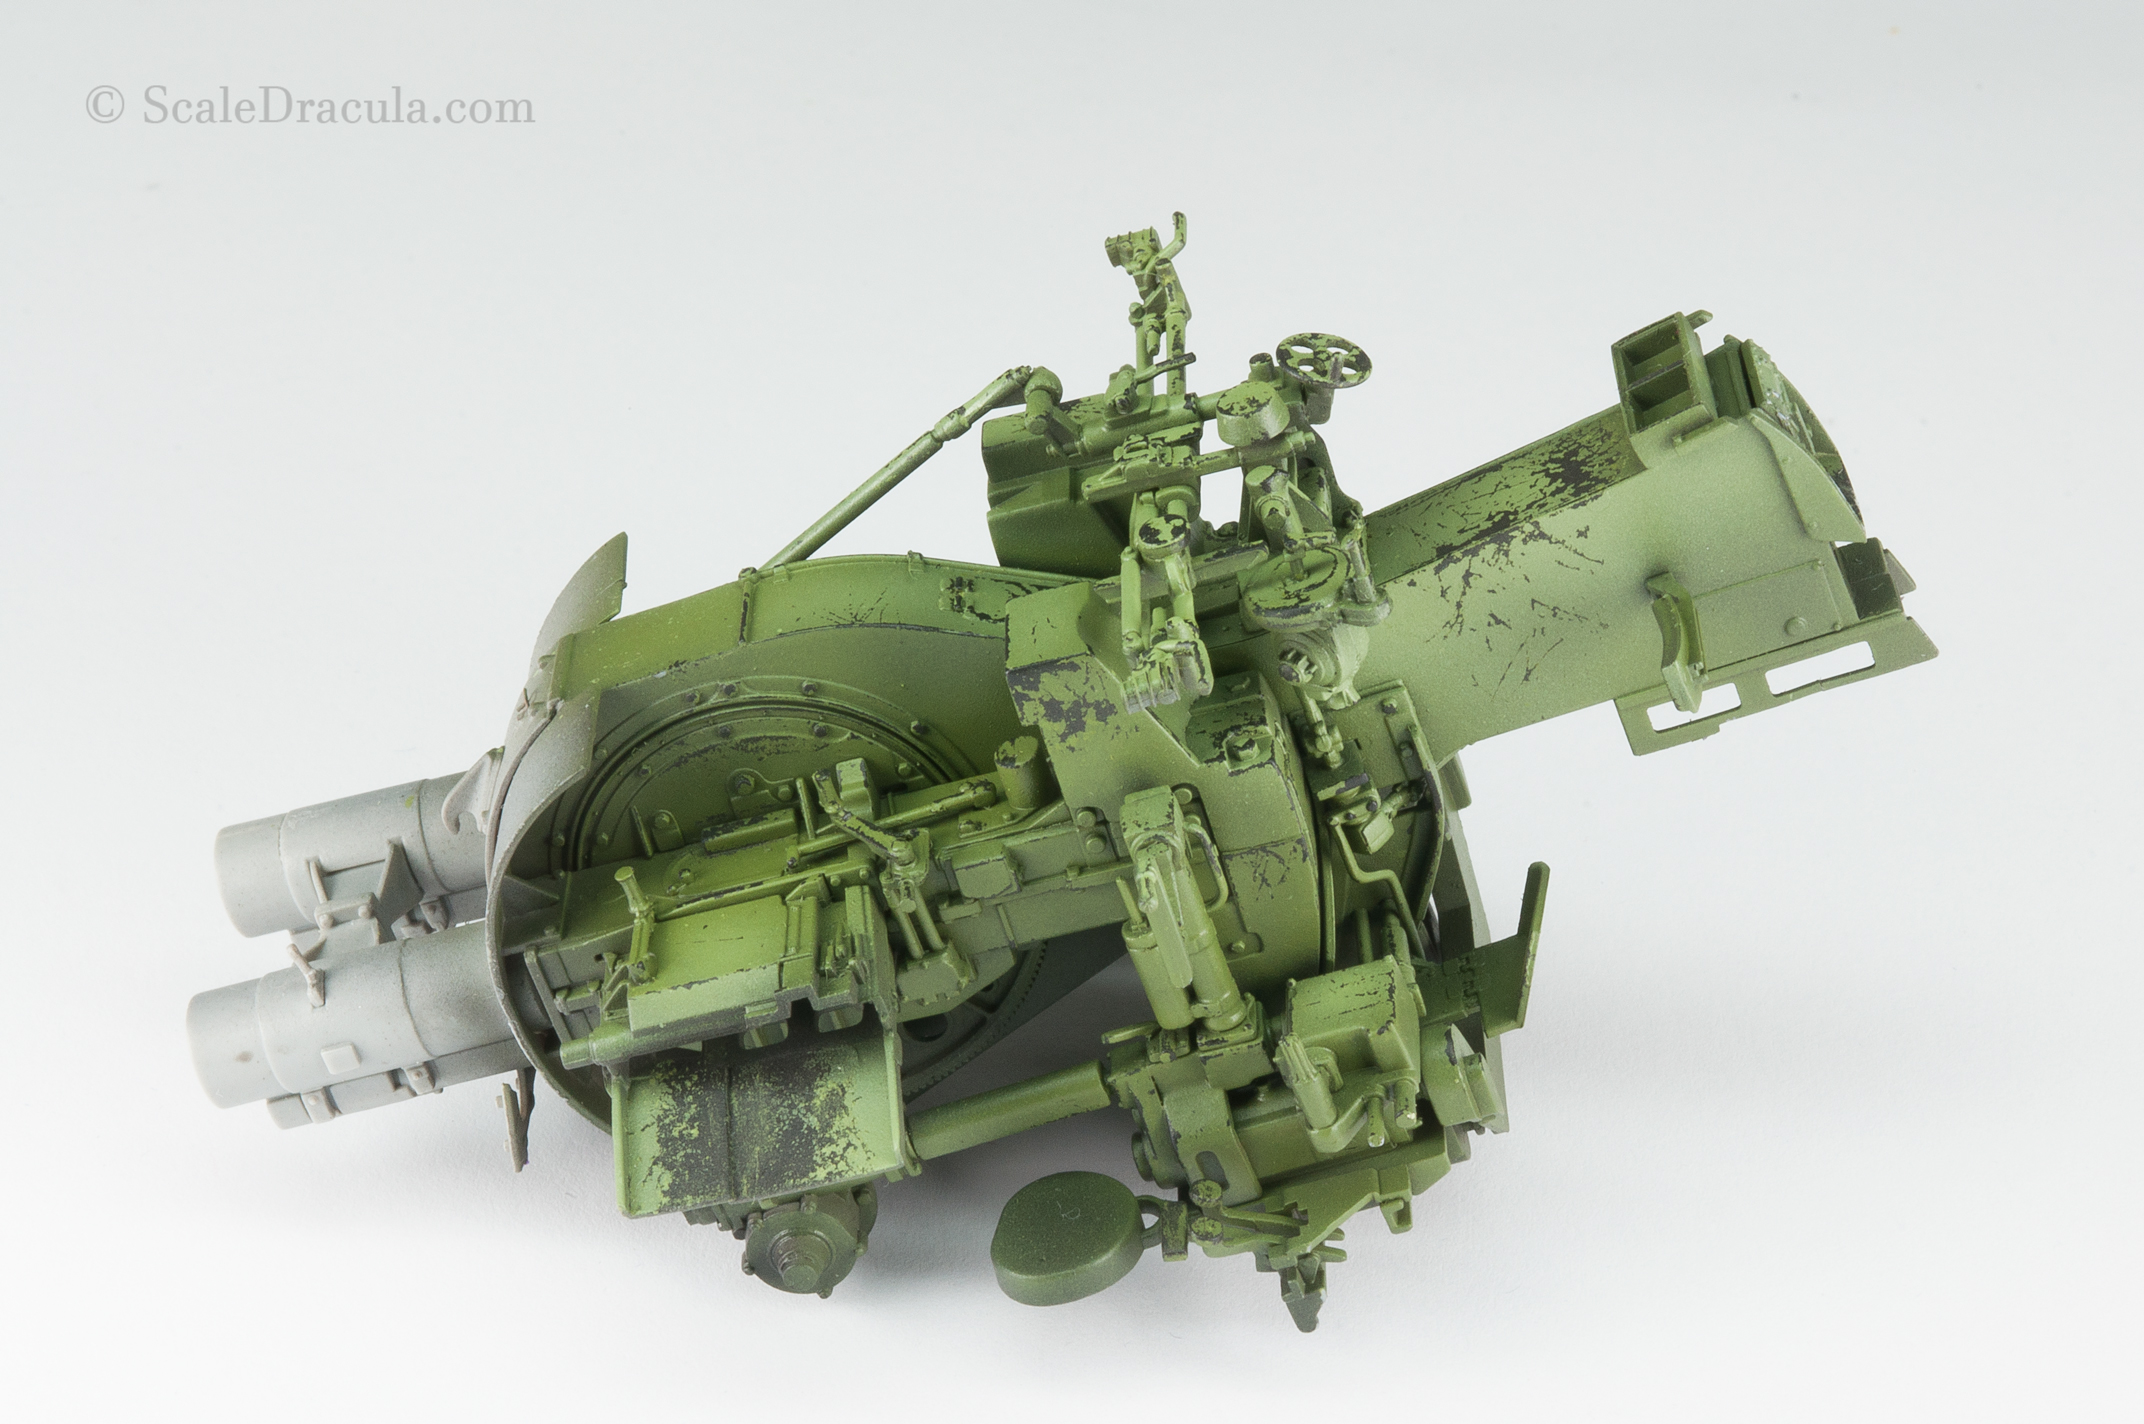
I came back to the oils and this time I took much more shades. I use the oils to give the model more contrast, the same way Mike Rinaldi works with his oil paint rendering technique.
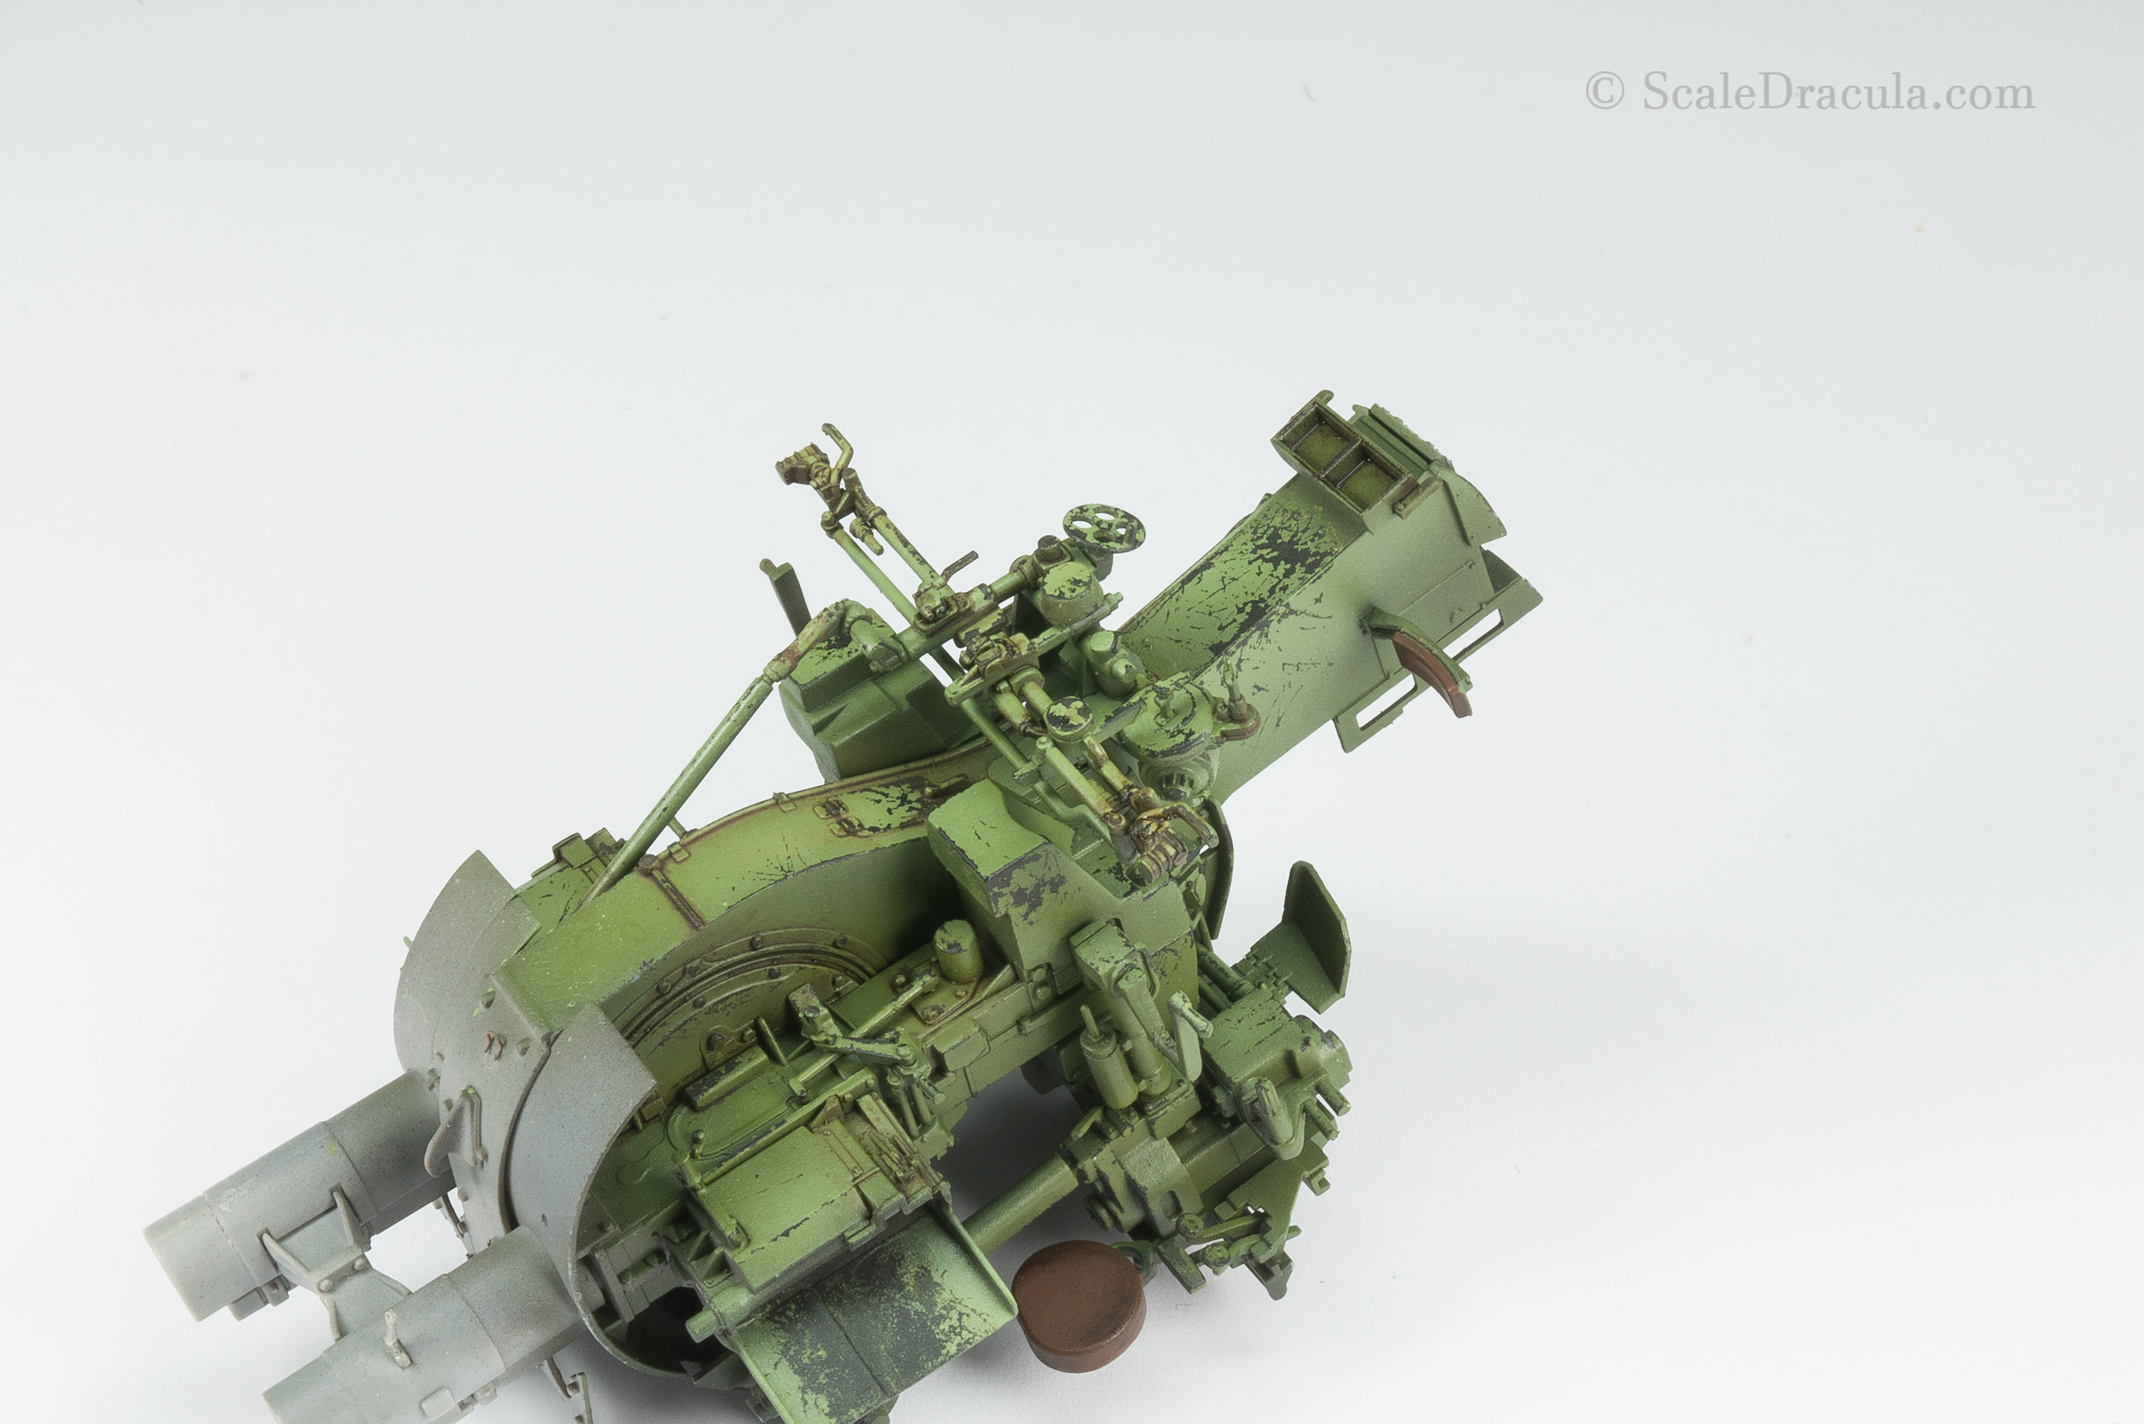
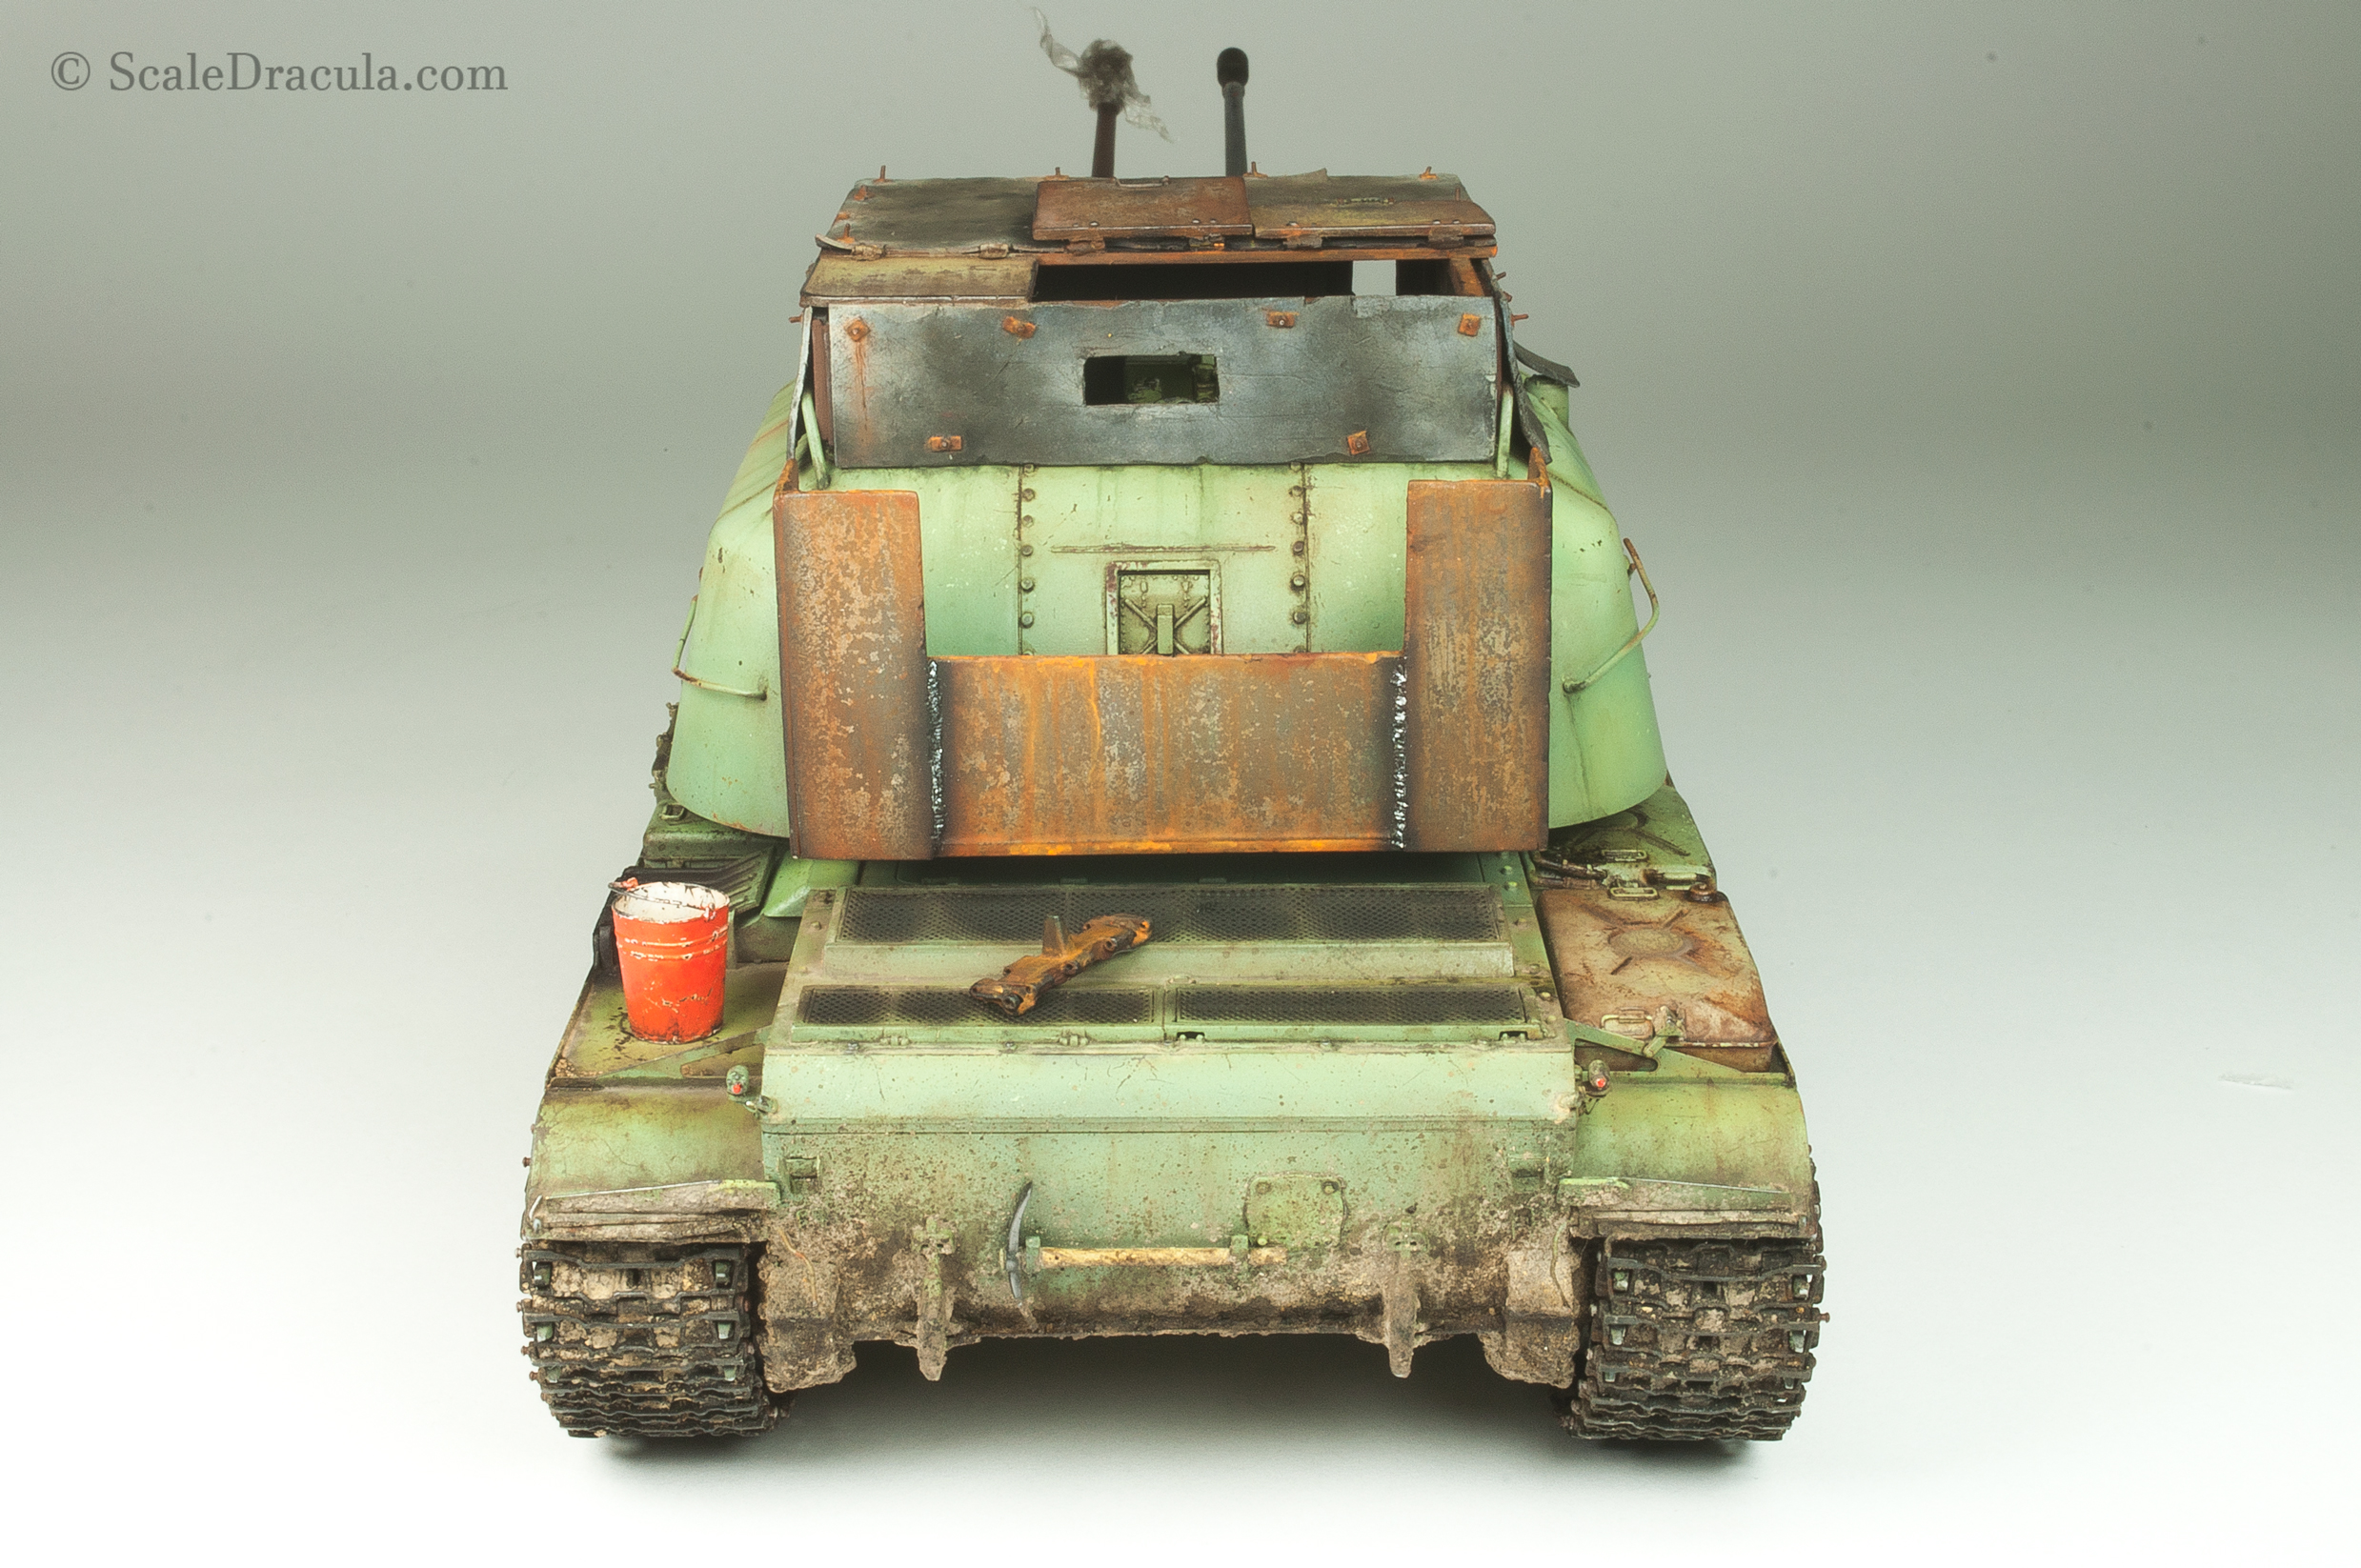
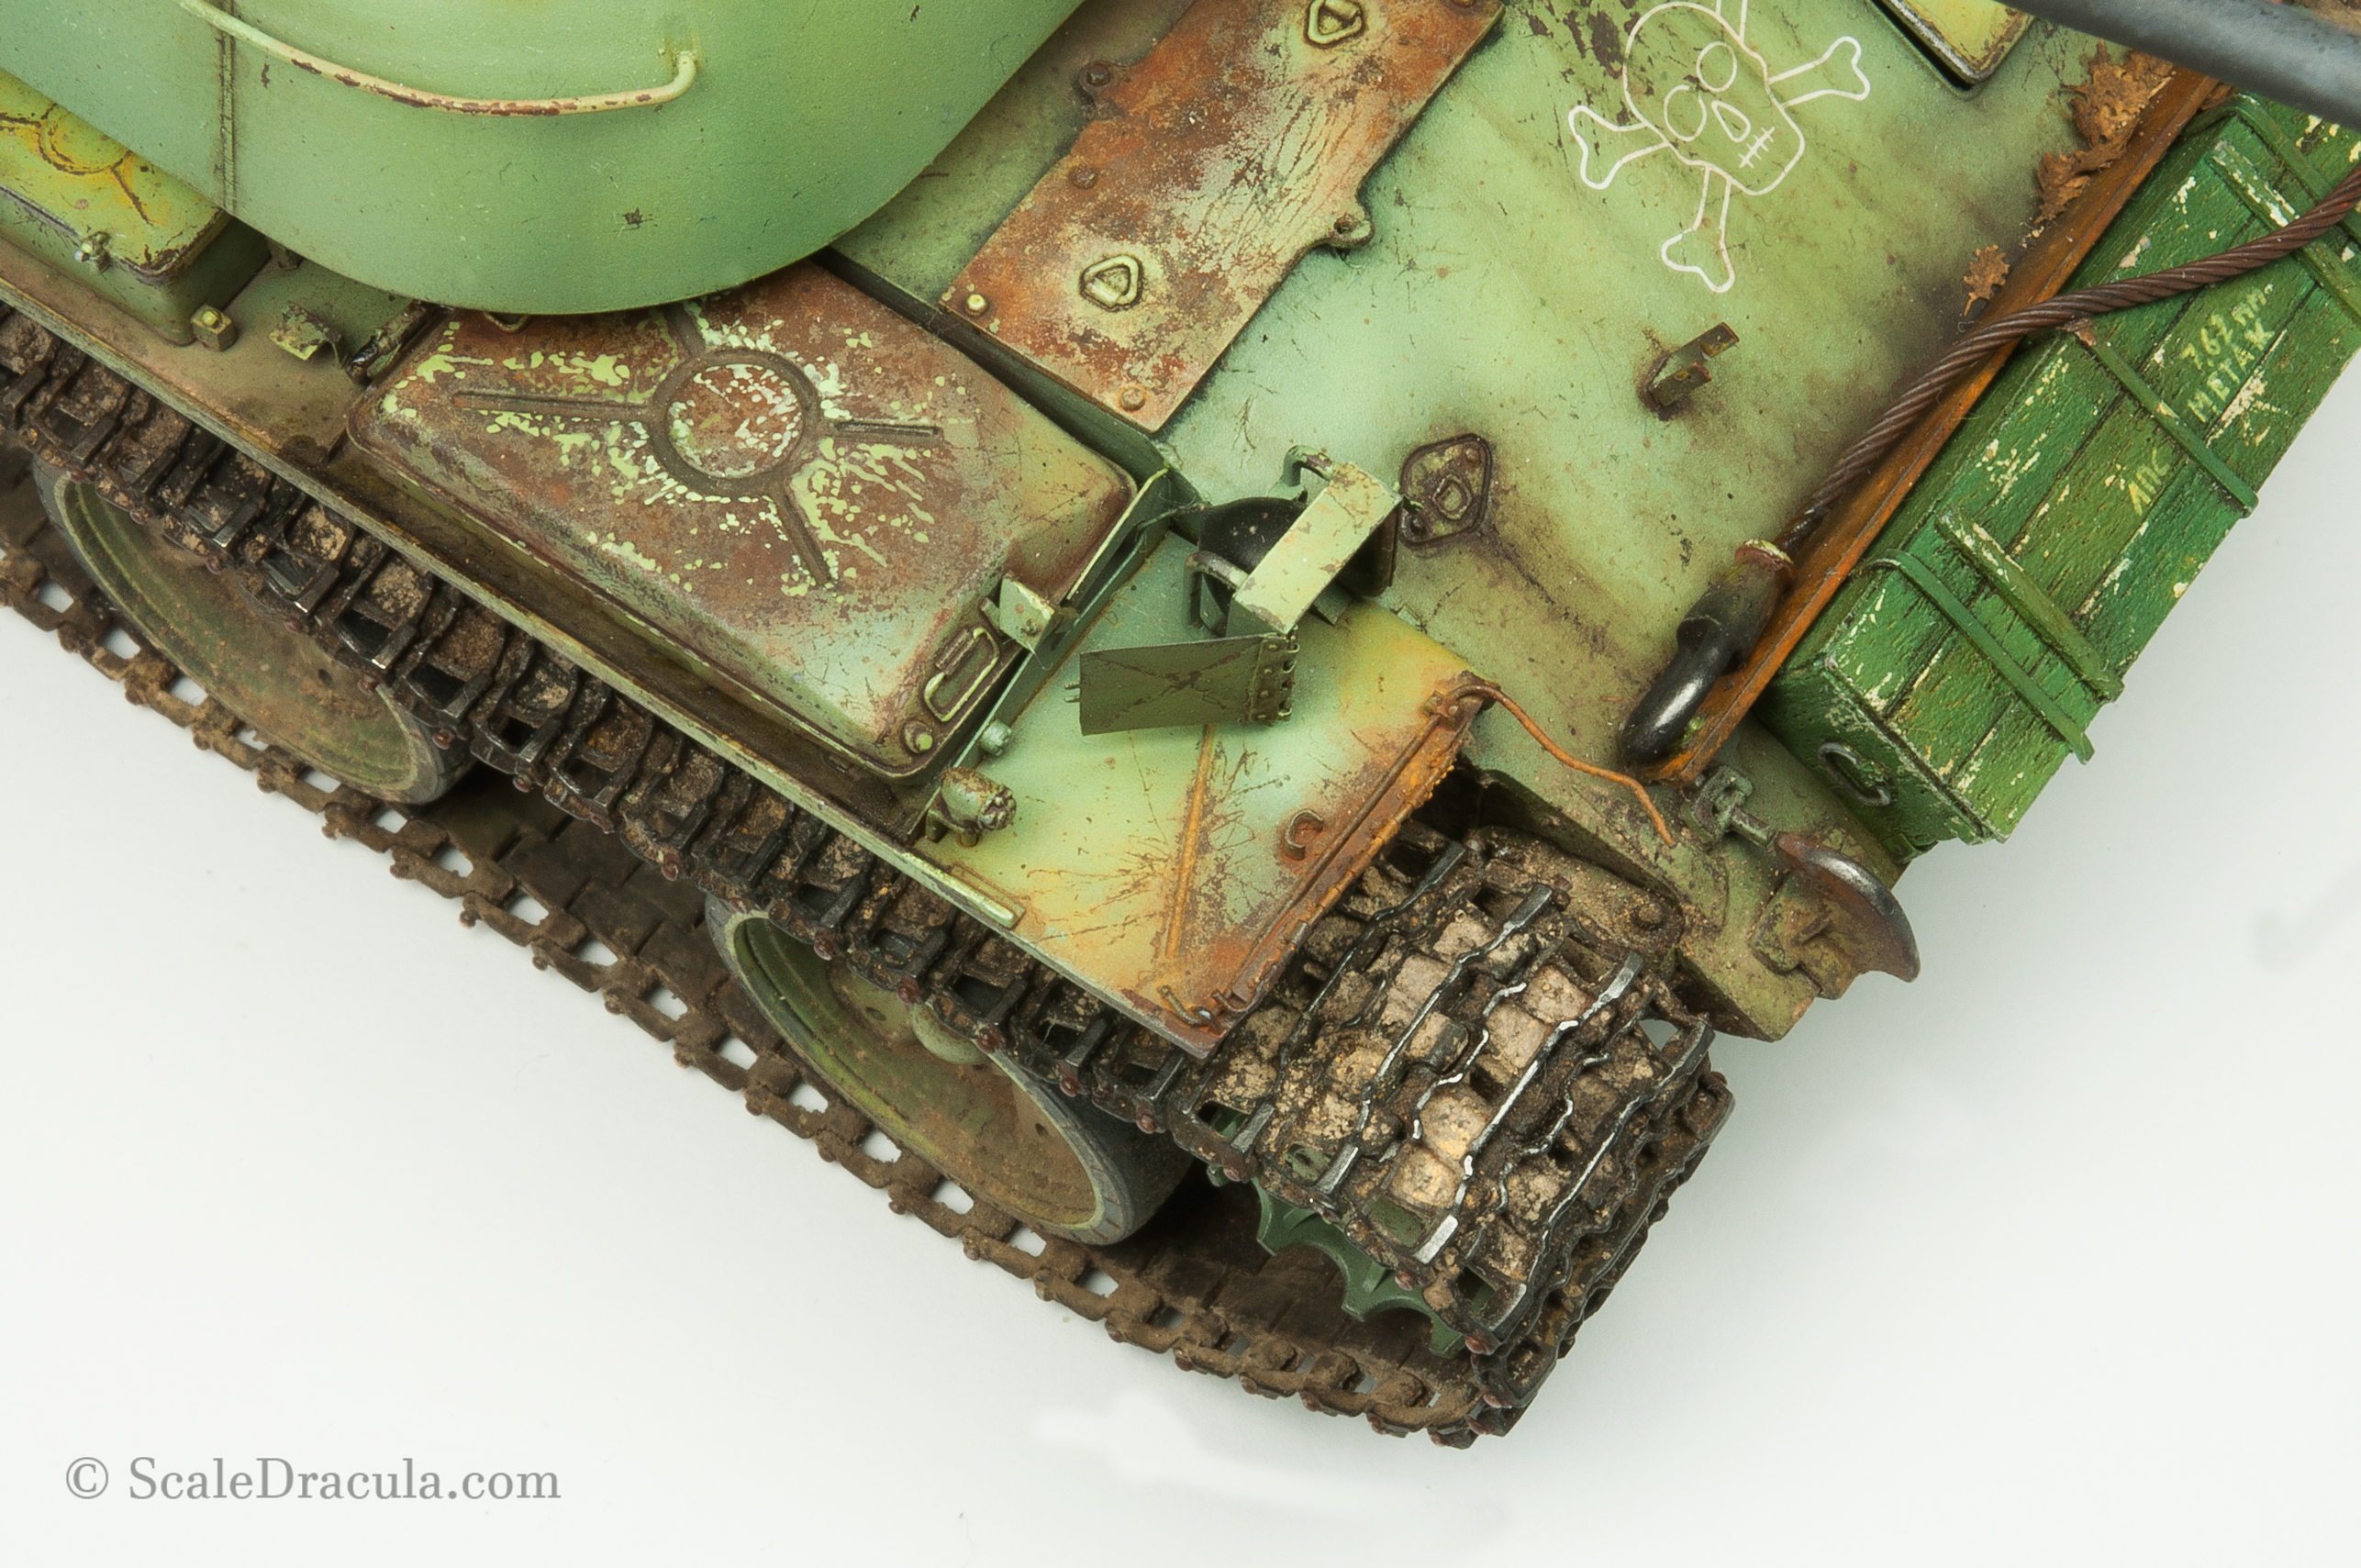
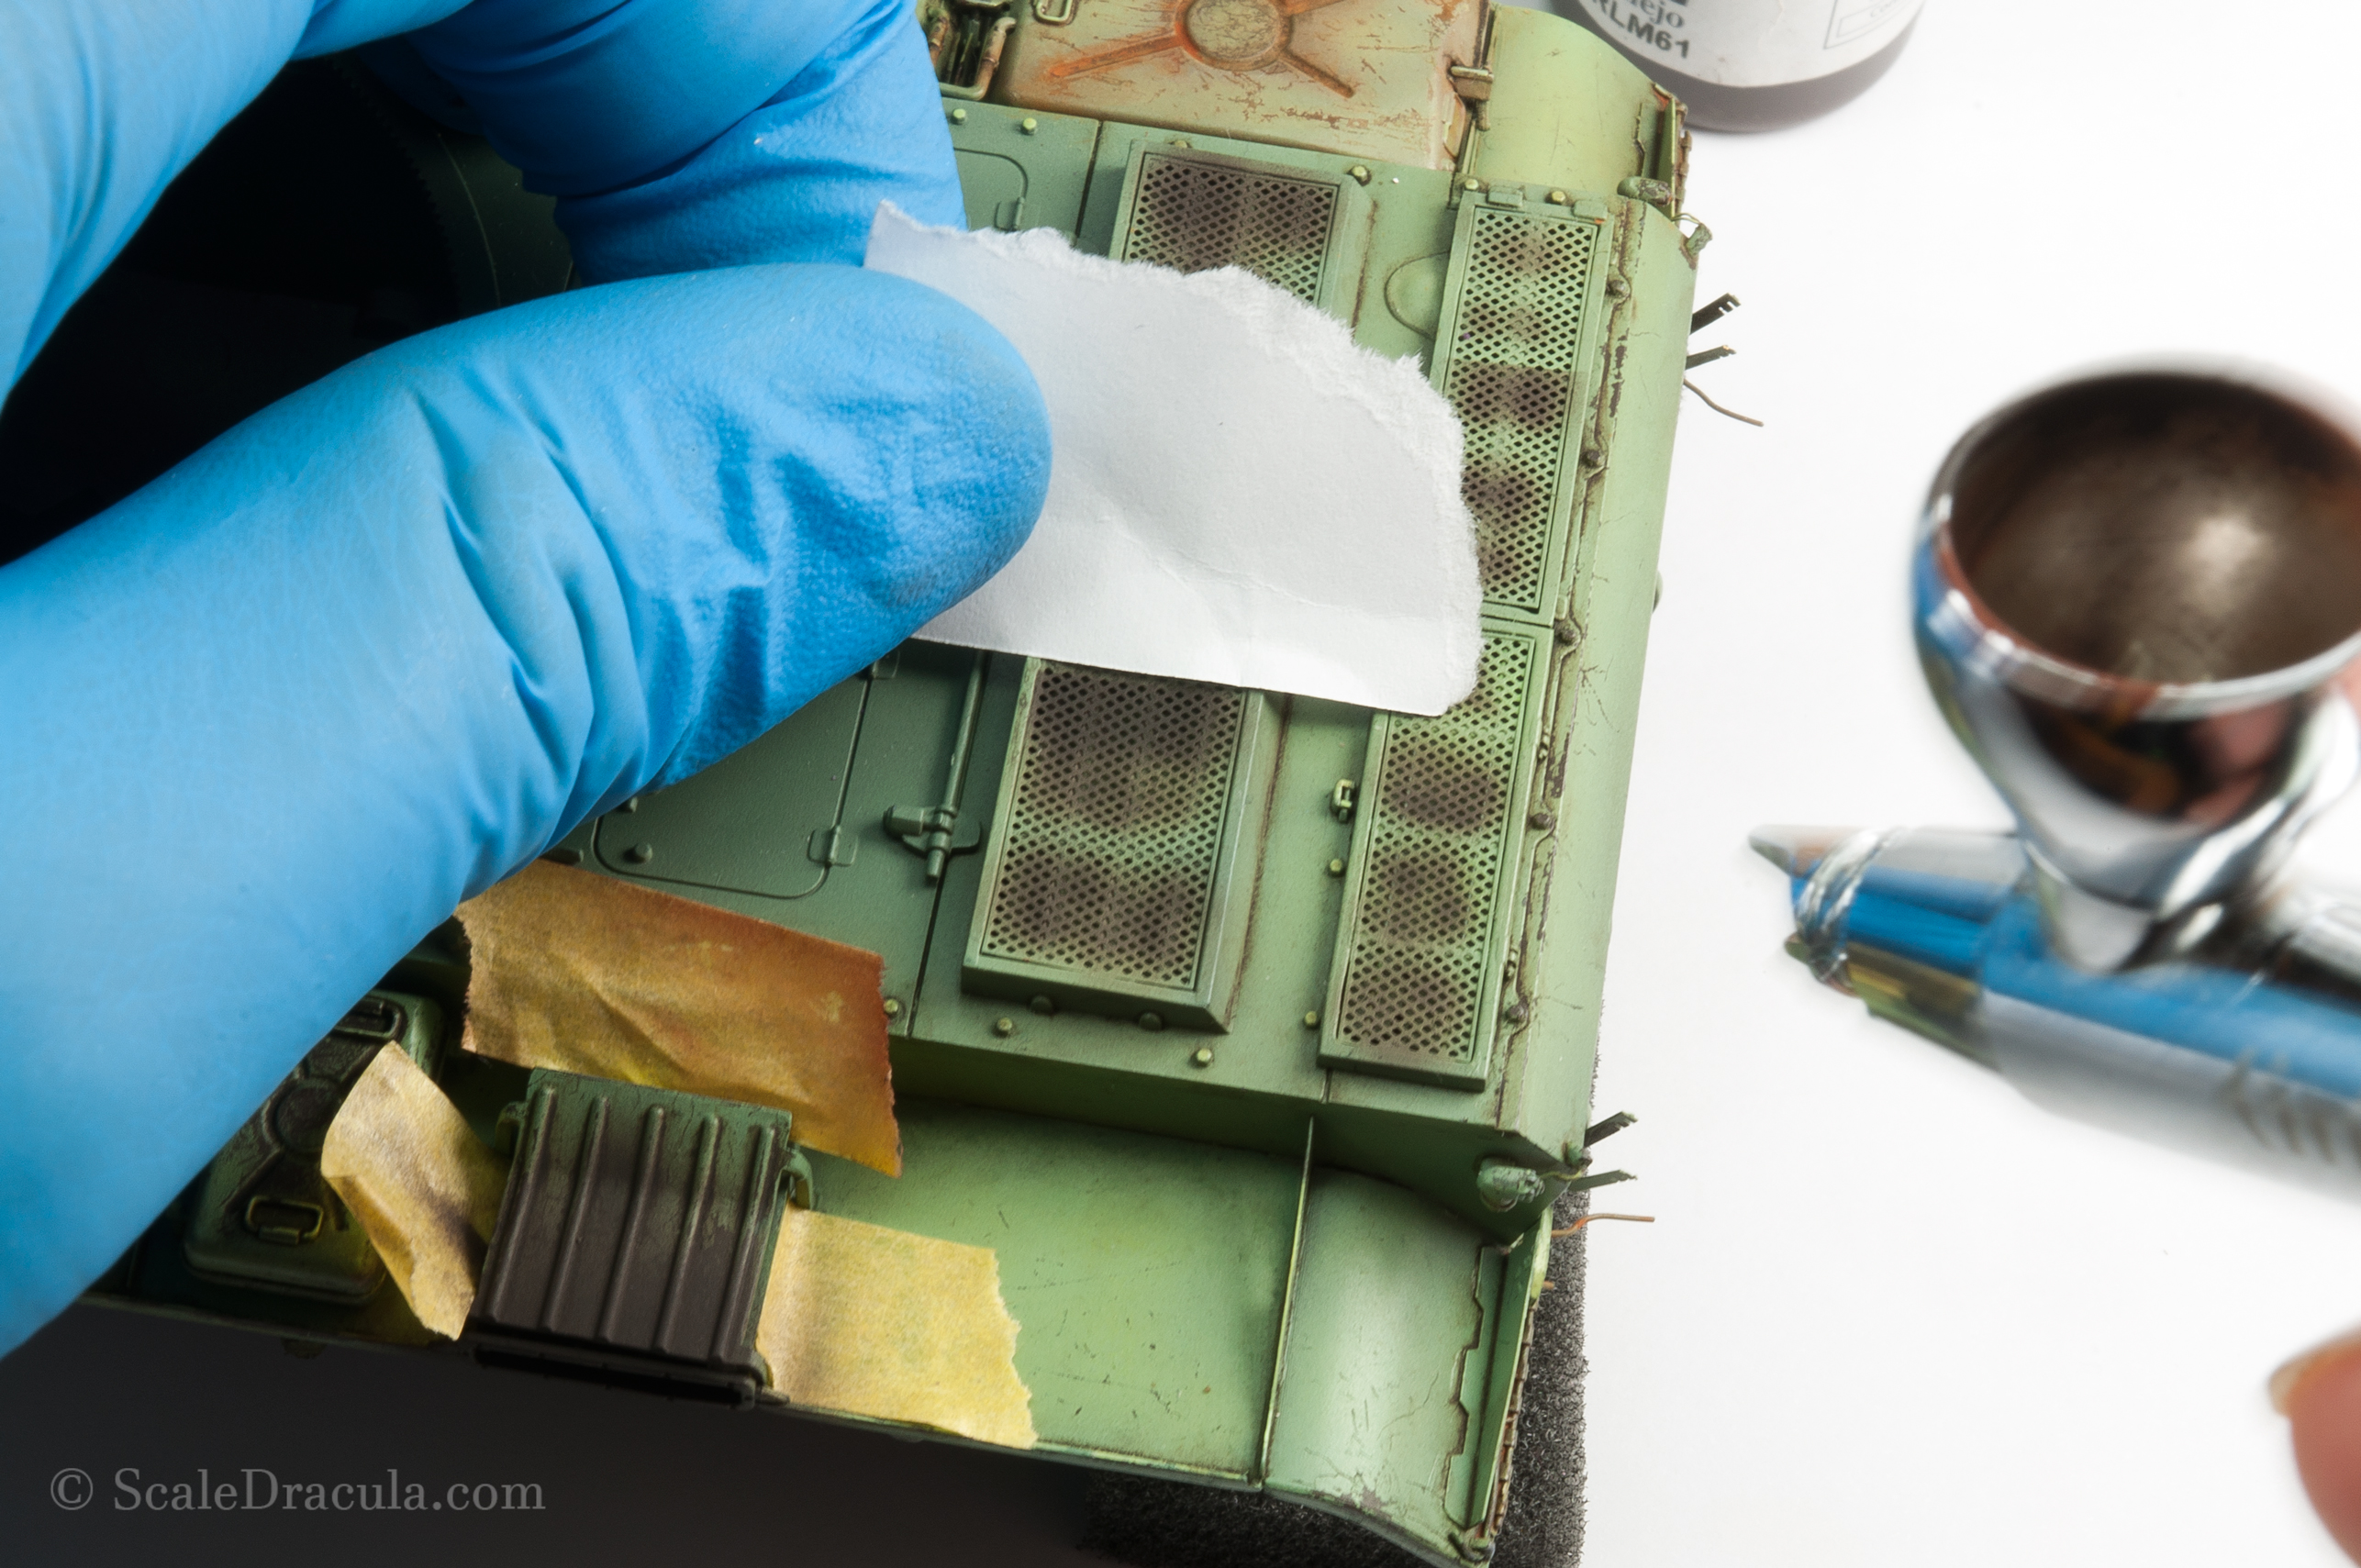
I moved on to the smoke effects. On the engine grills I sprayed uneven patterns of Vallejo German Black Brown. I think this colour is more convincing than matt black, at least as a first layer. I used a piece of paper to mask some areas and create contrast.
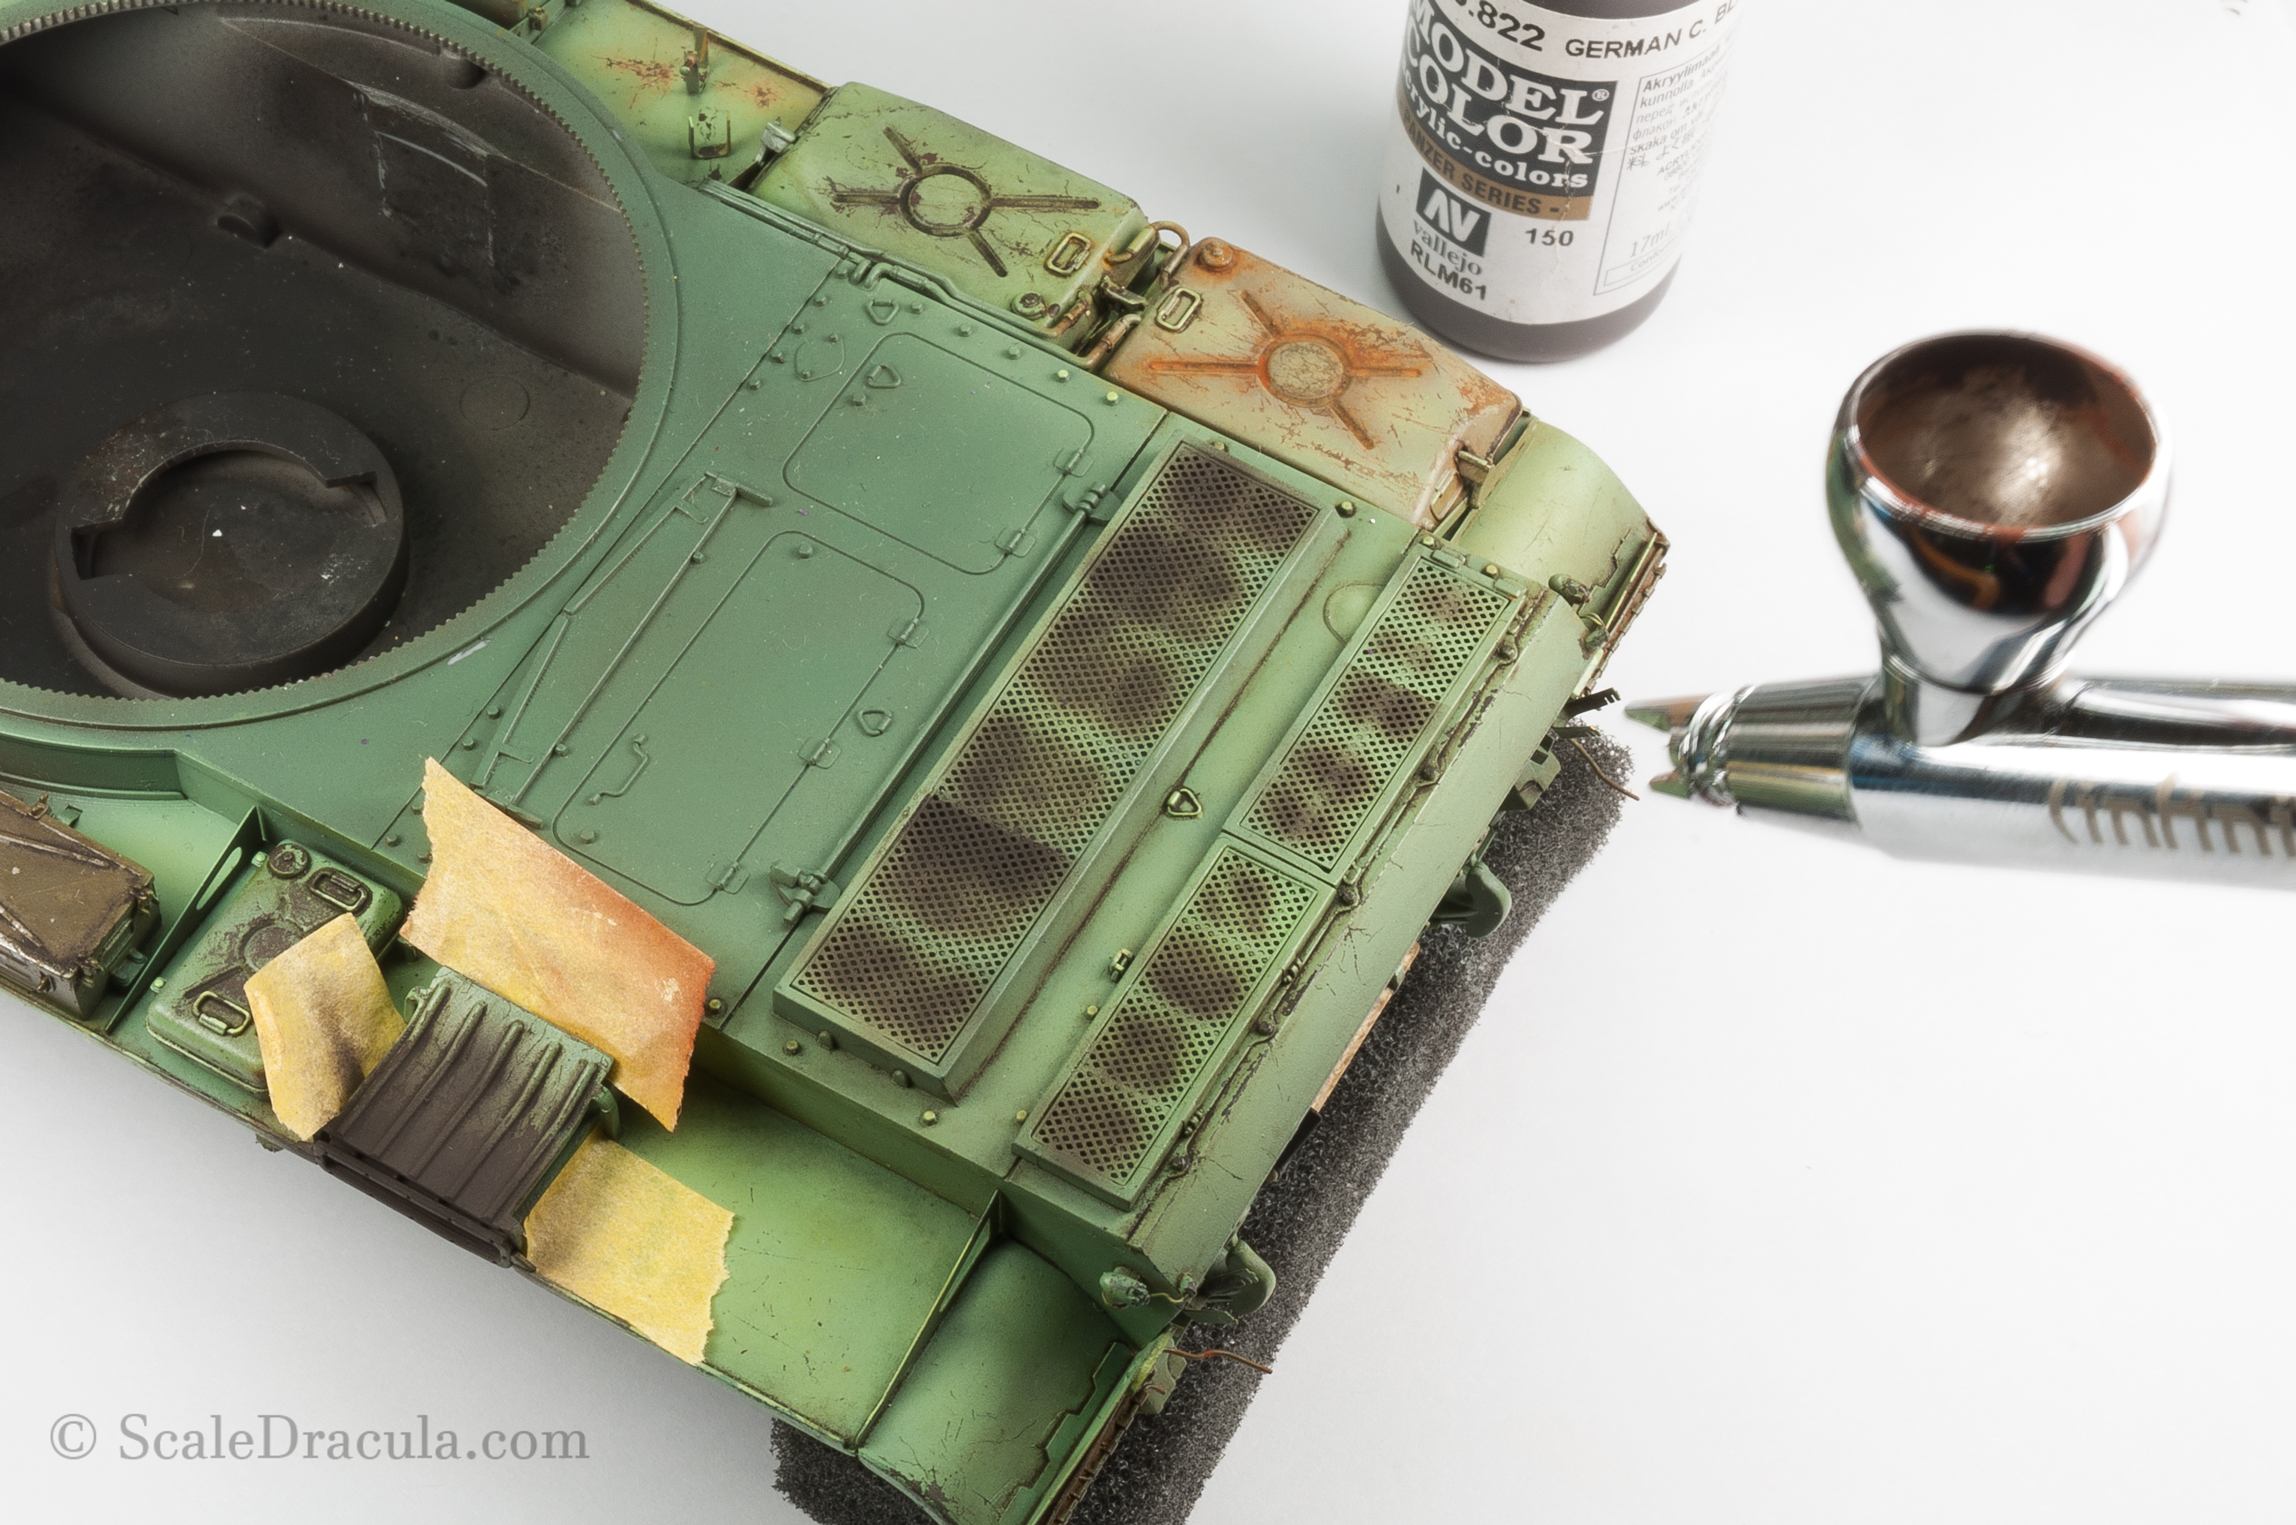
On the exhaust I spray some matt black as a shade.

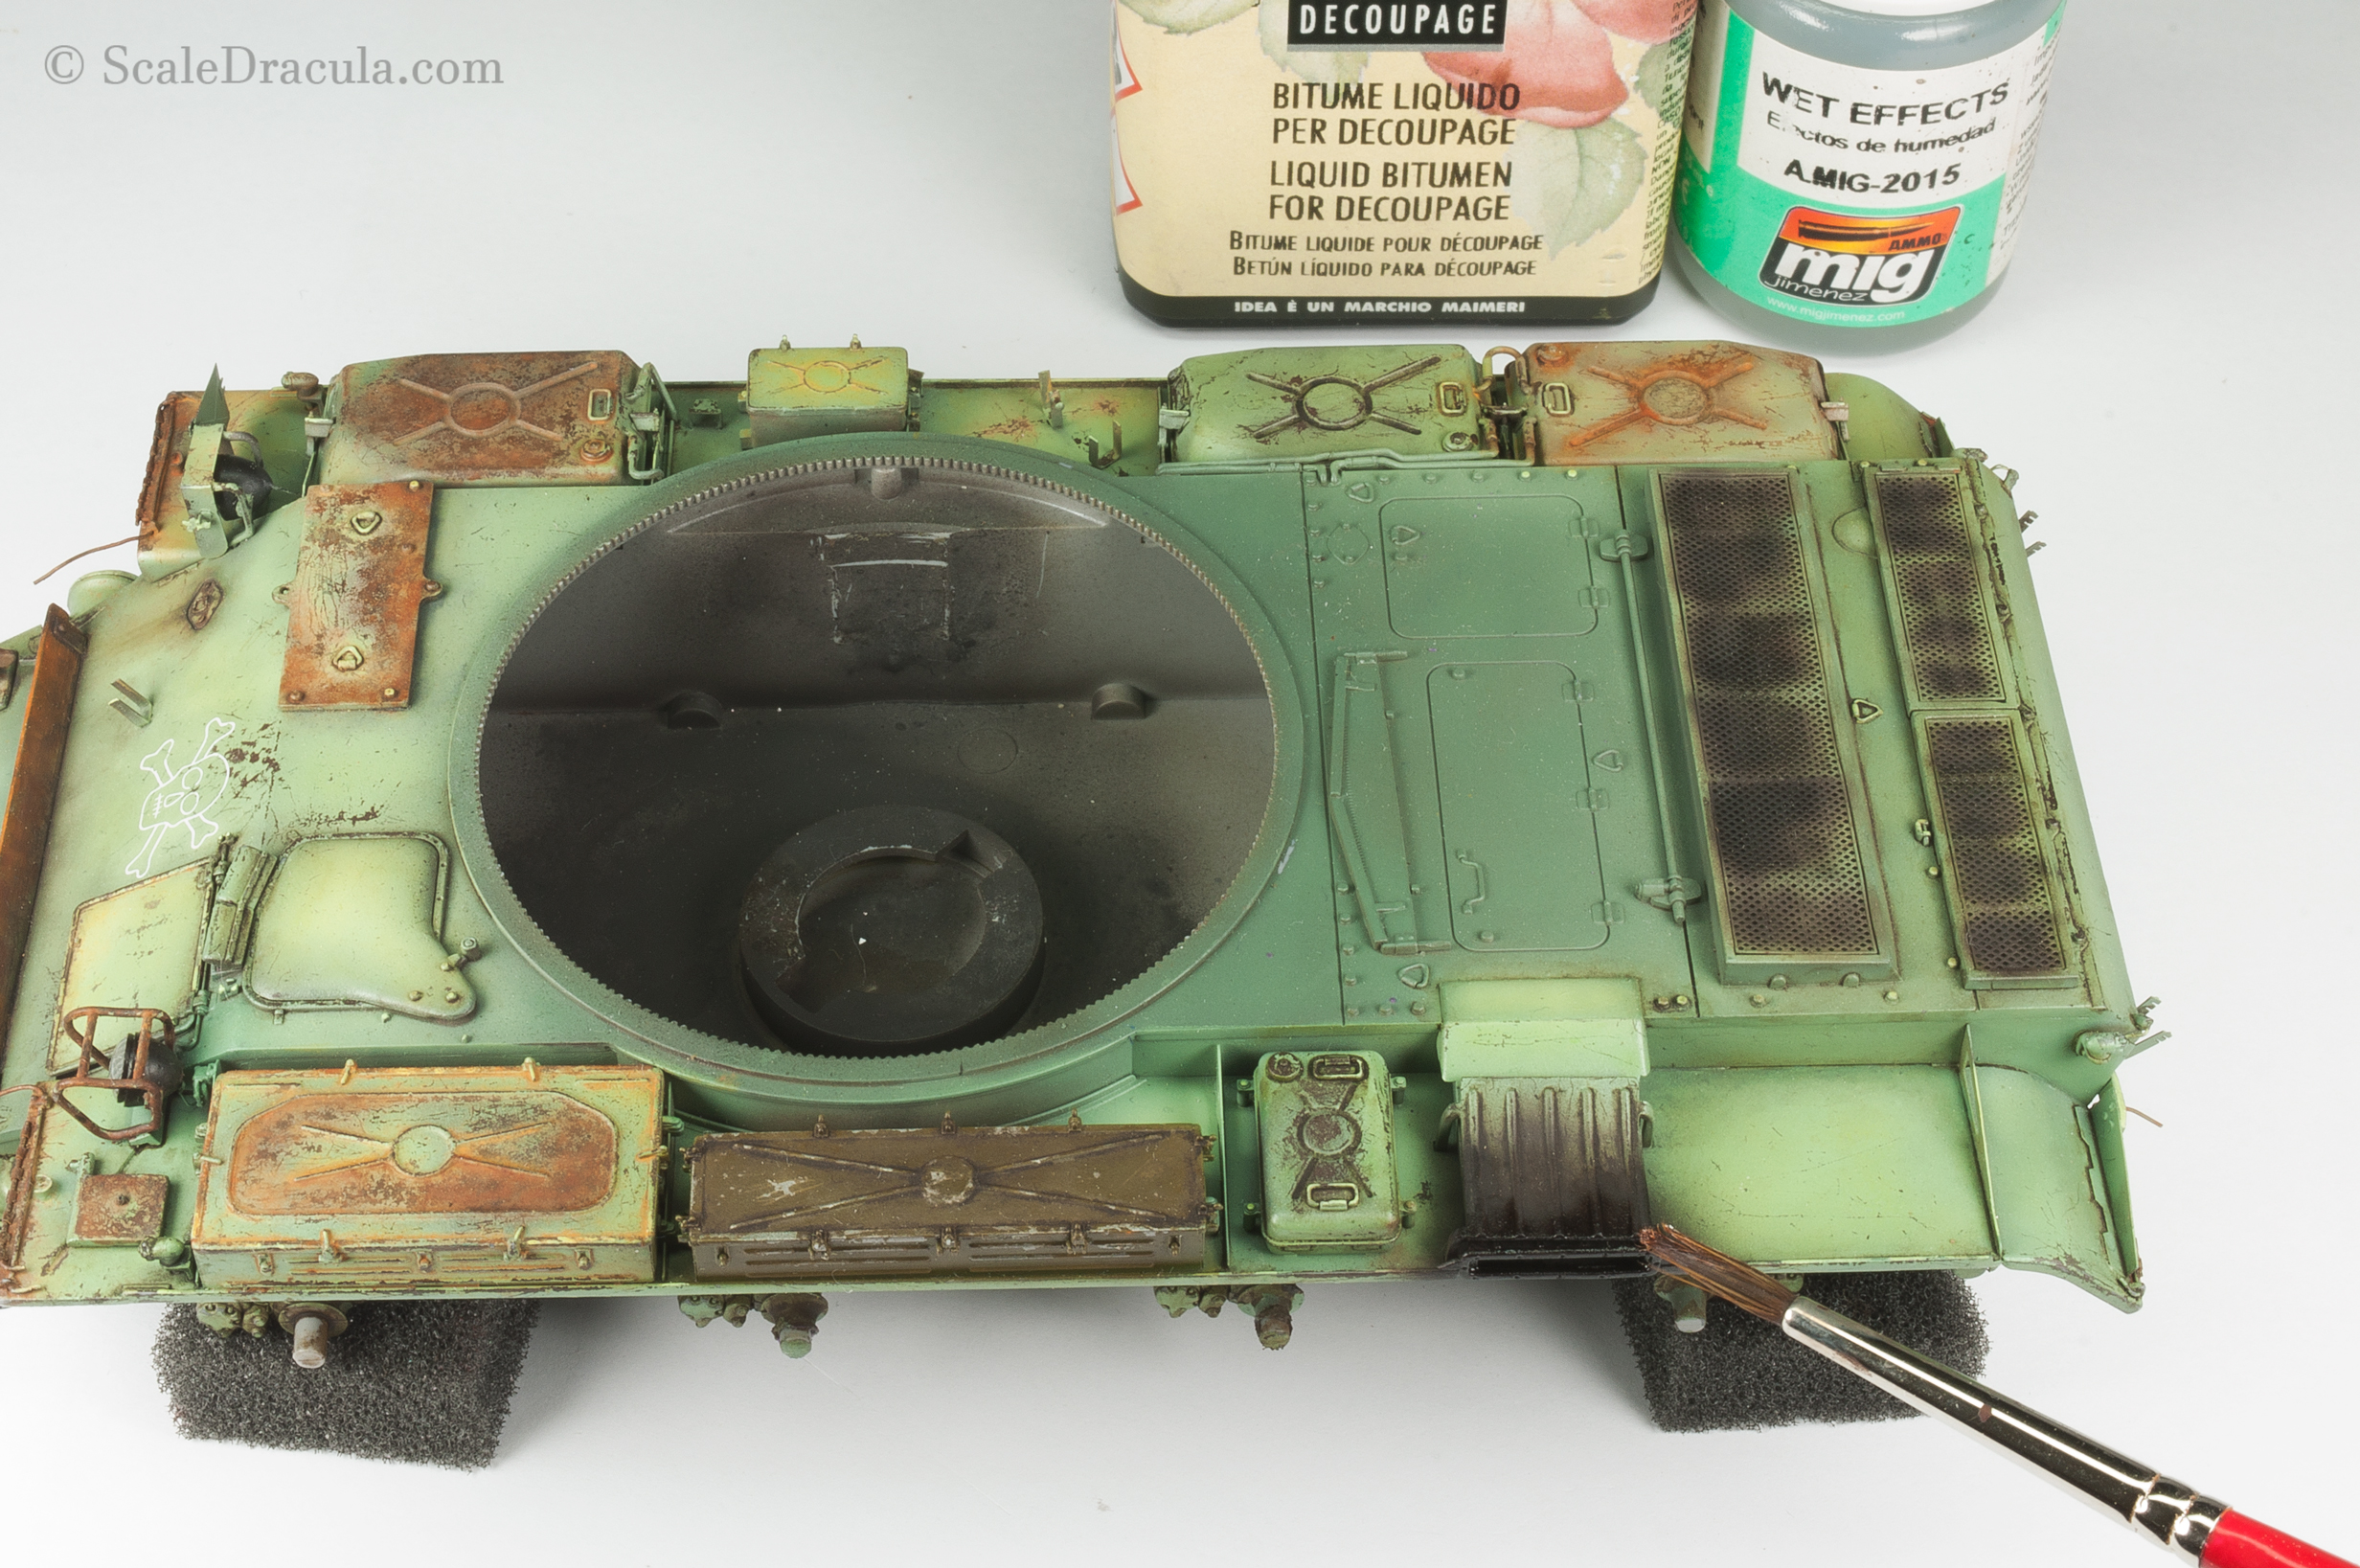
The glossy fuel stains were created with a mixture of Ammo Mig wet effects and liquid bitumen. Bitumen, an oil refining subproduct, is a very interesting product for our hobby. It looks very realistic and is extremely economical - buy one bottle and you can share it with all your friends for life.

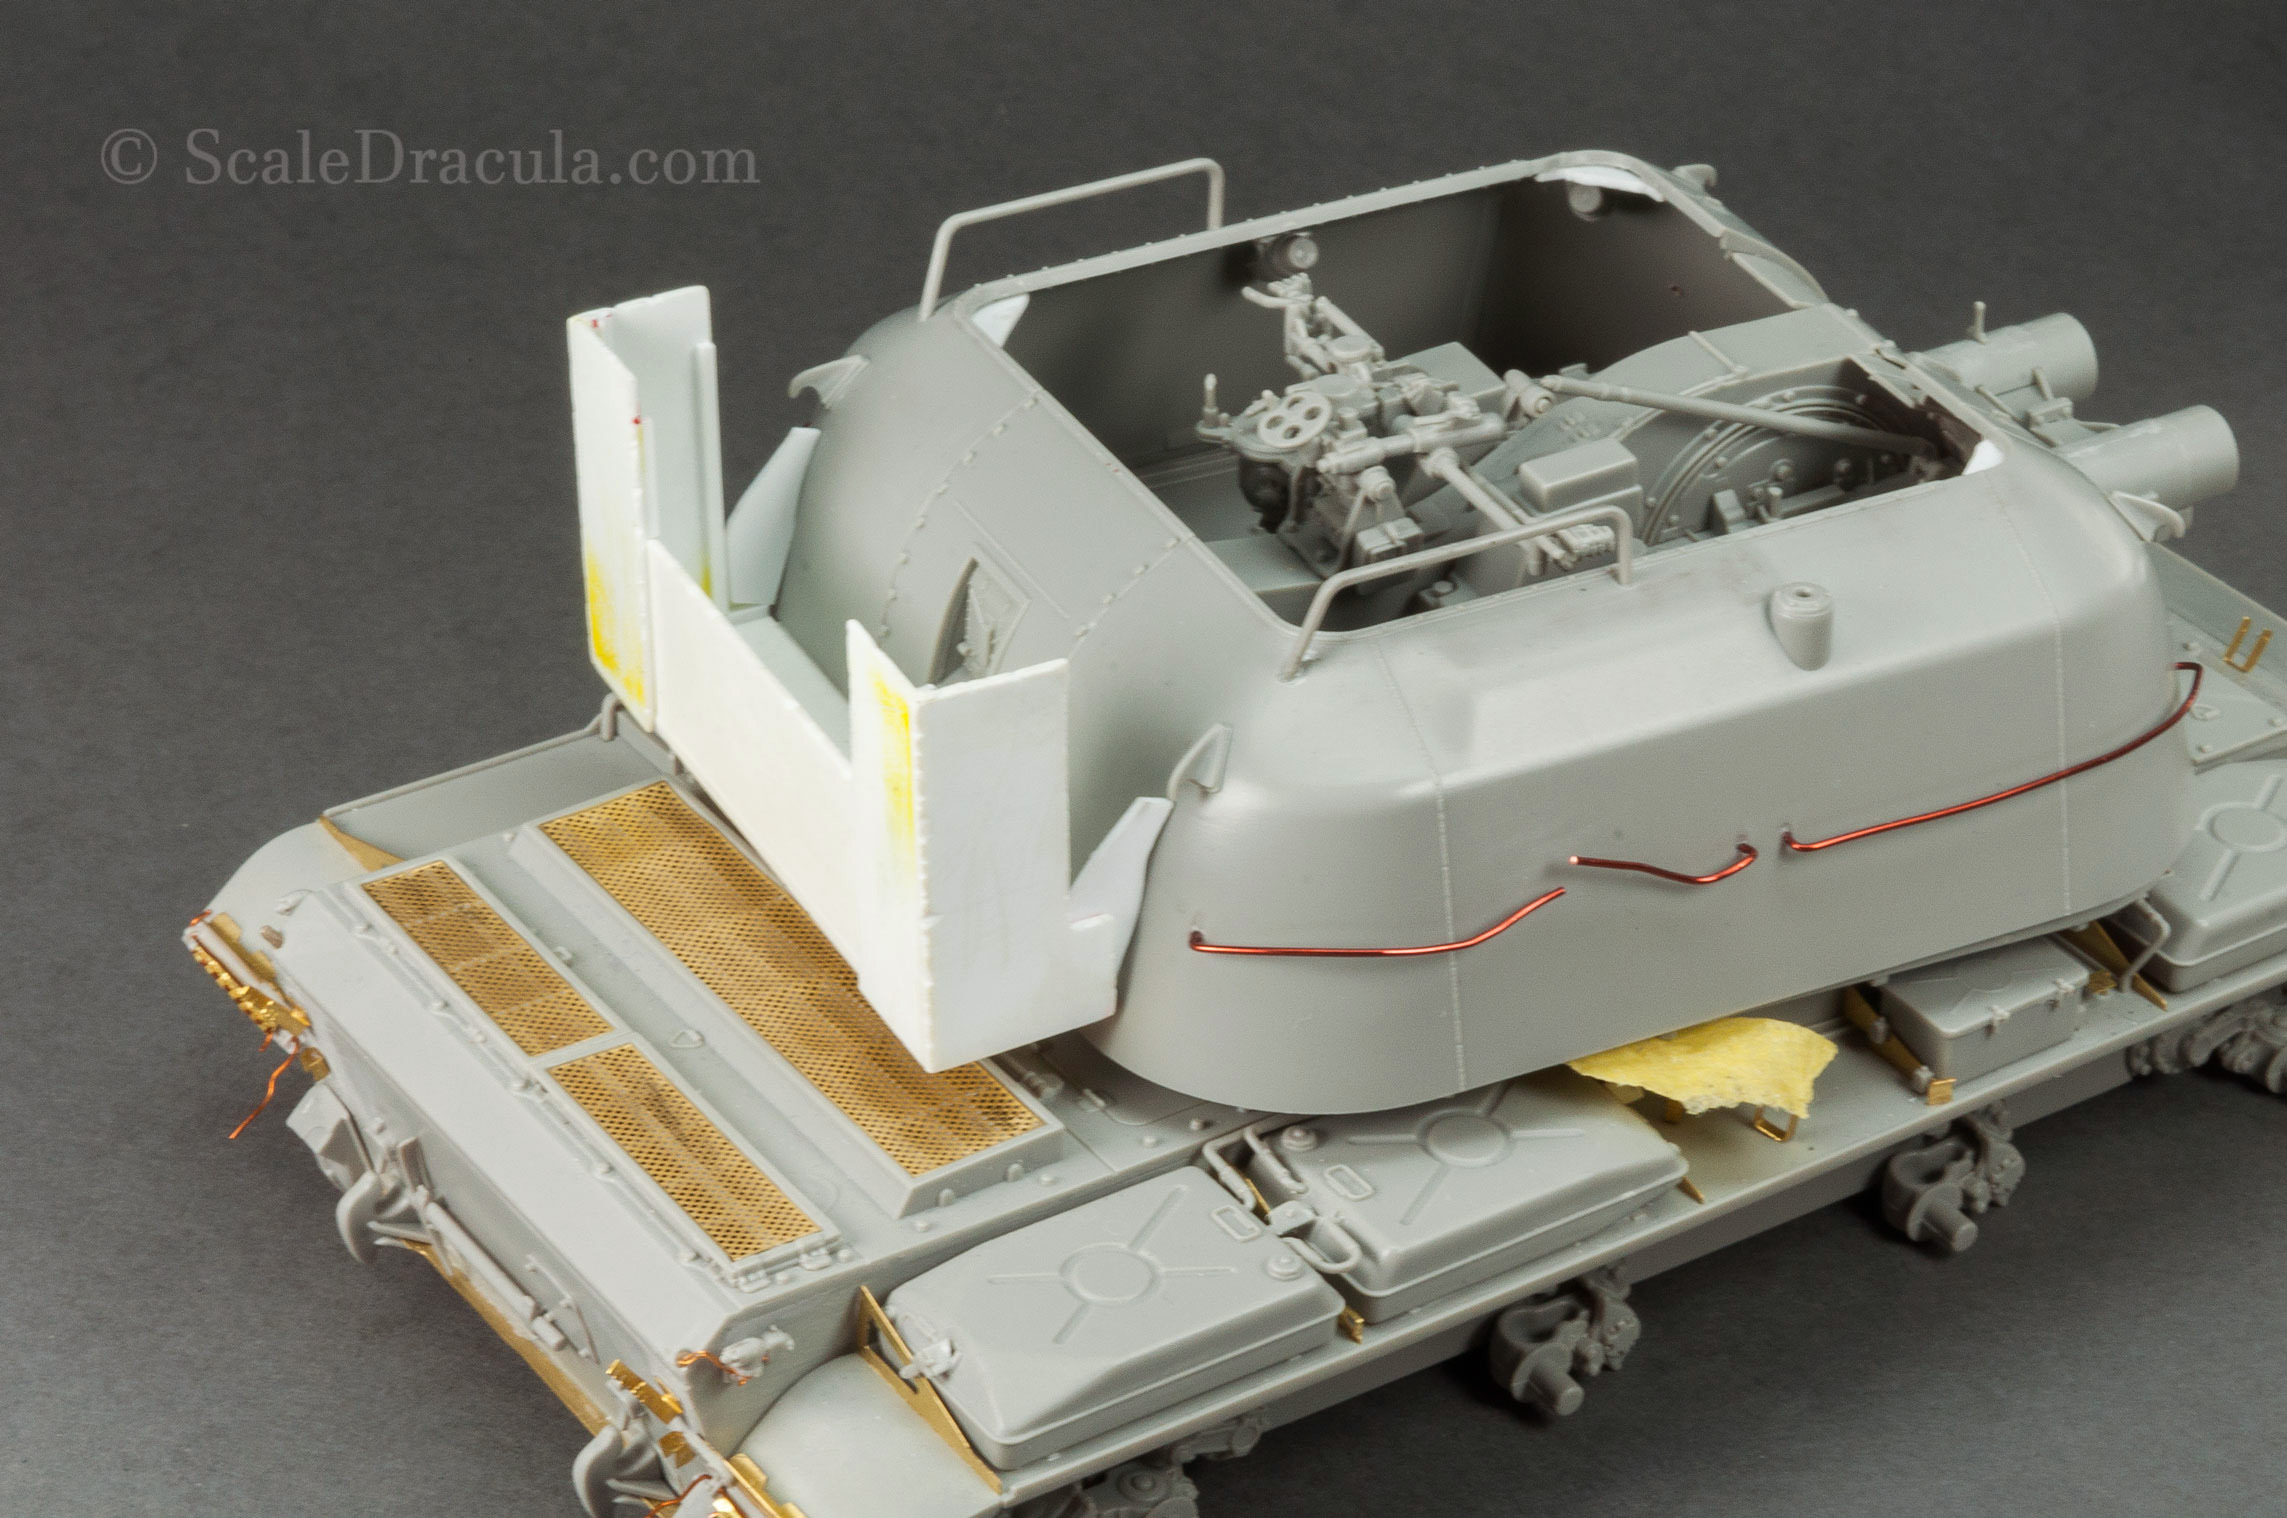
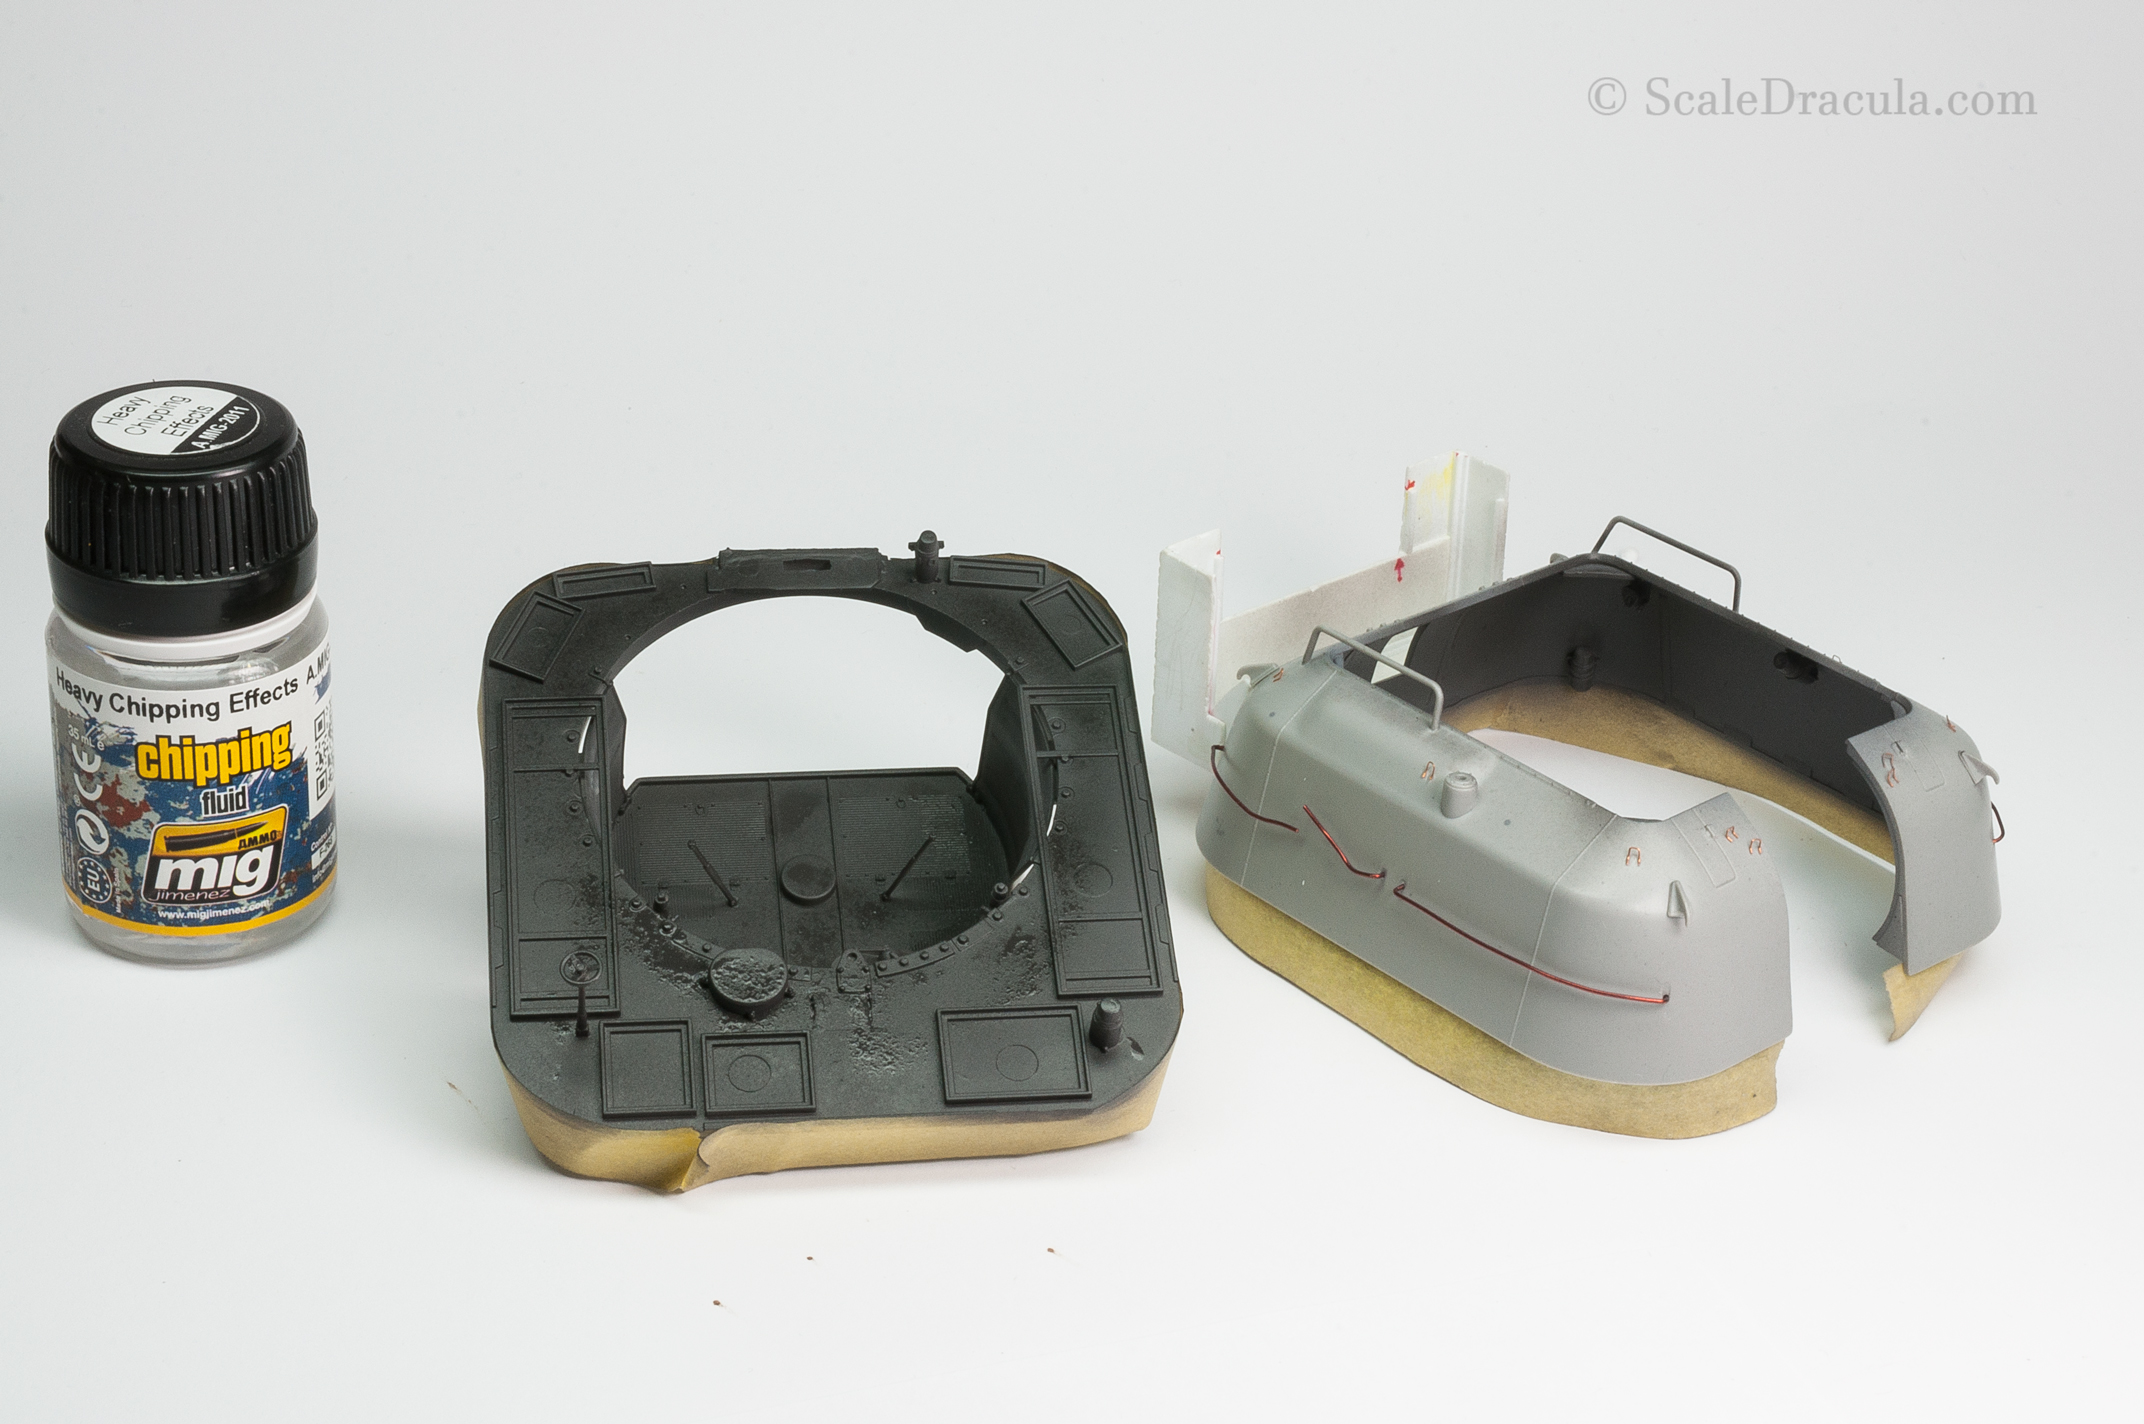
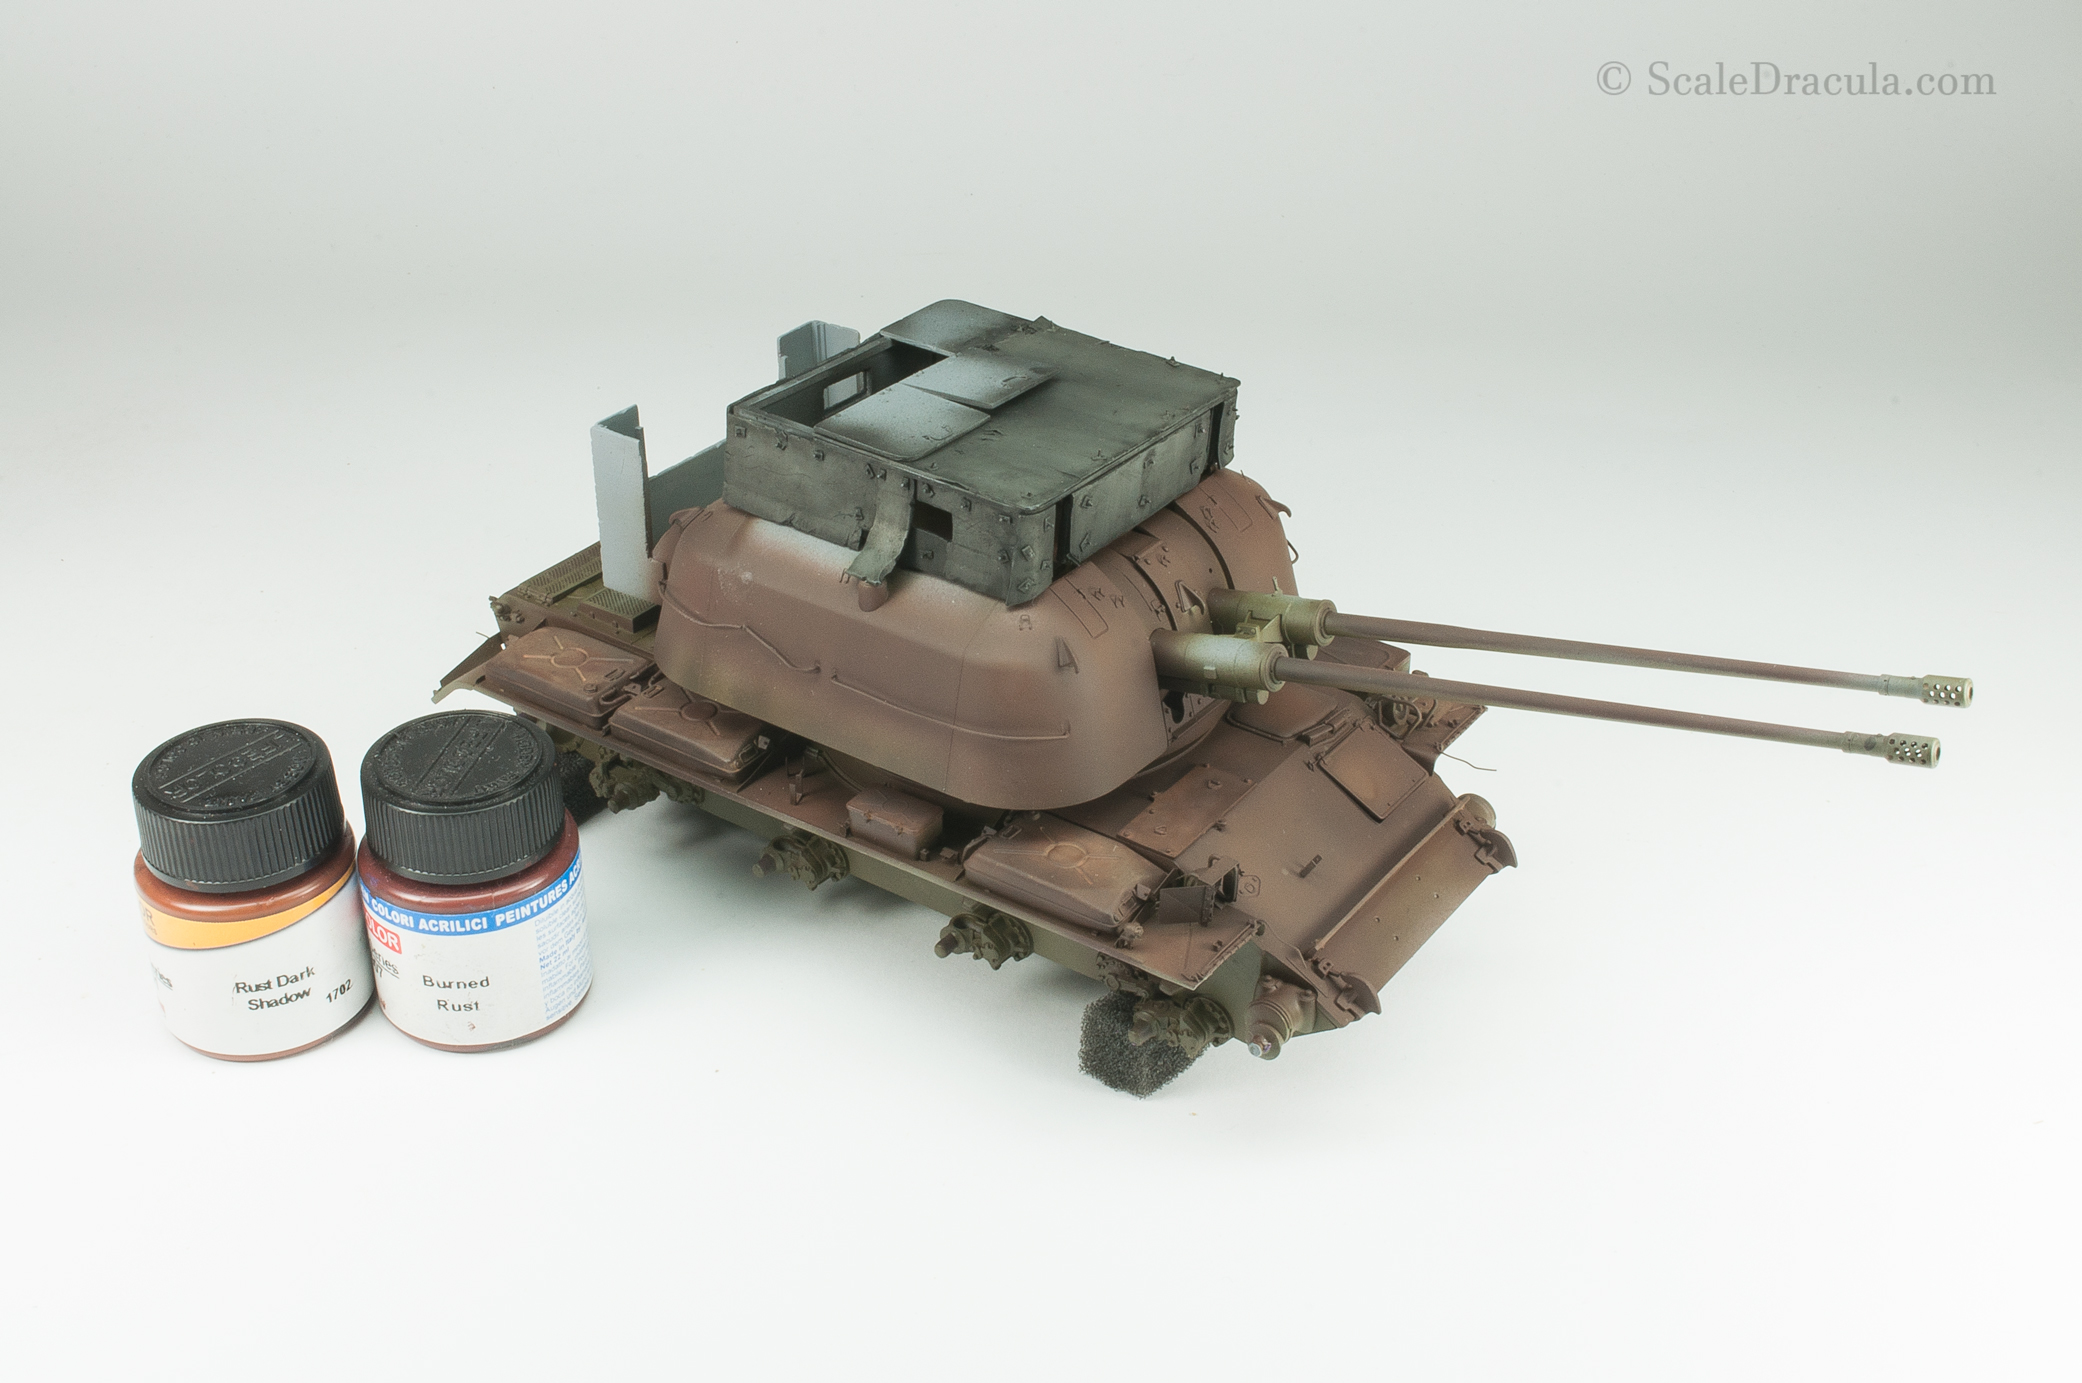
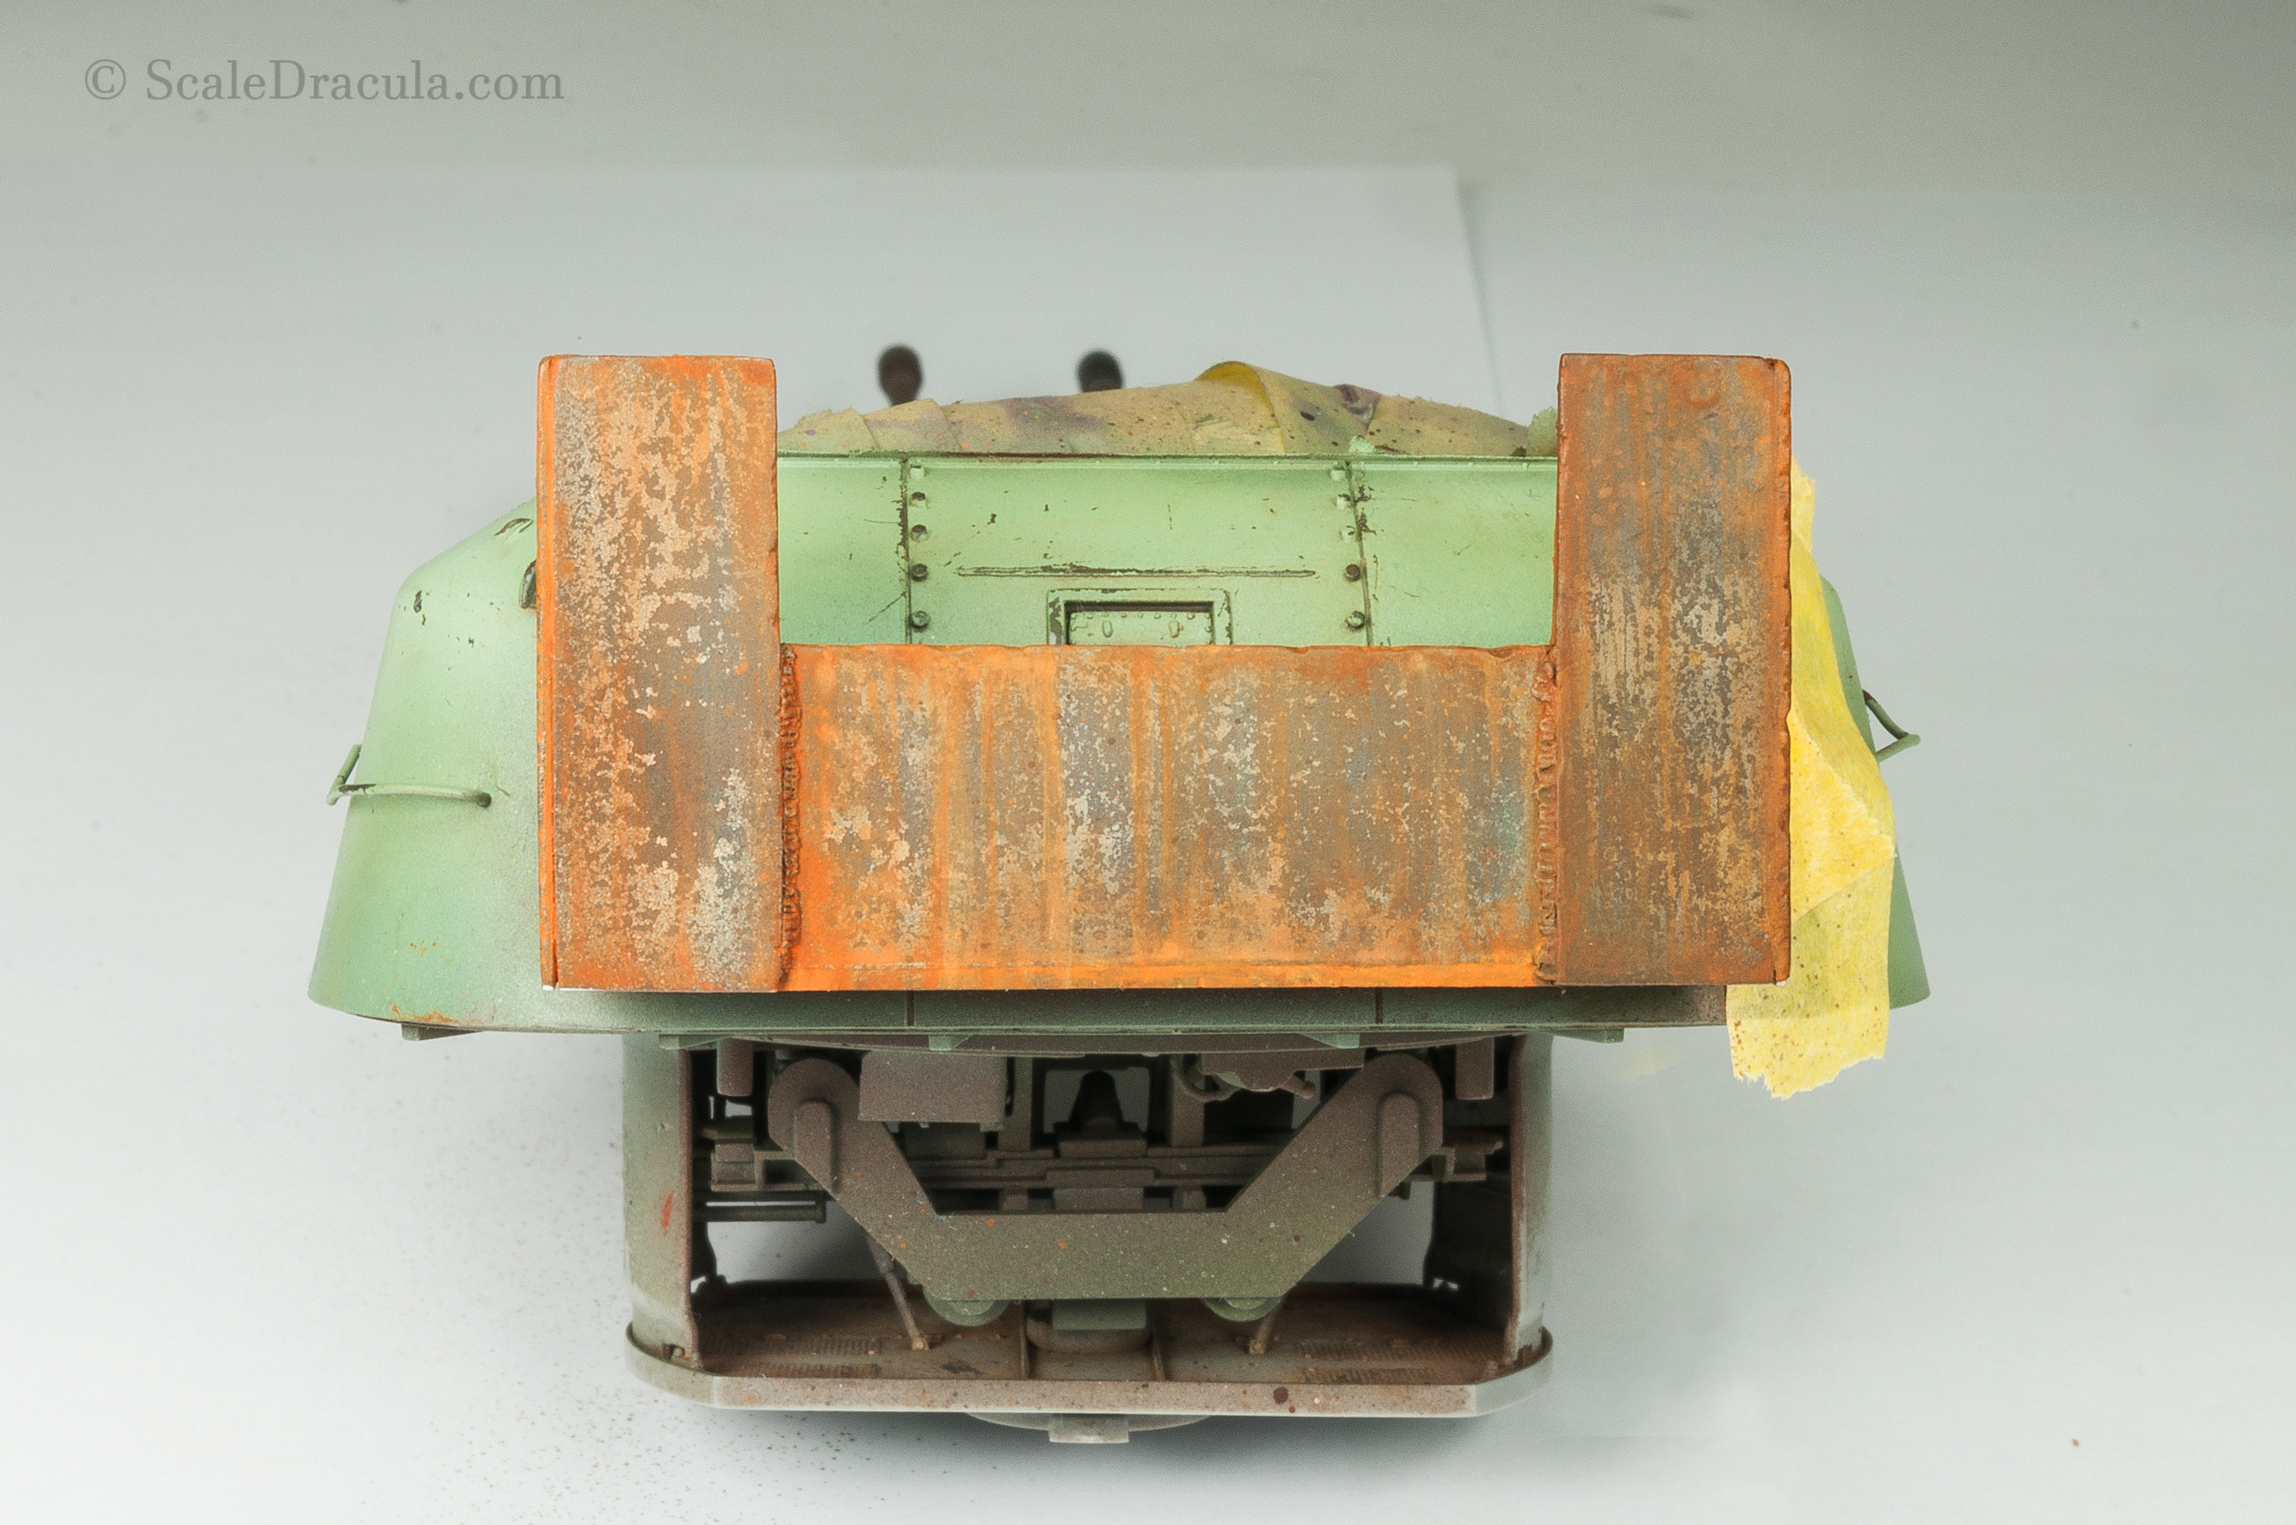
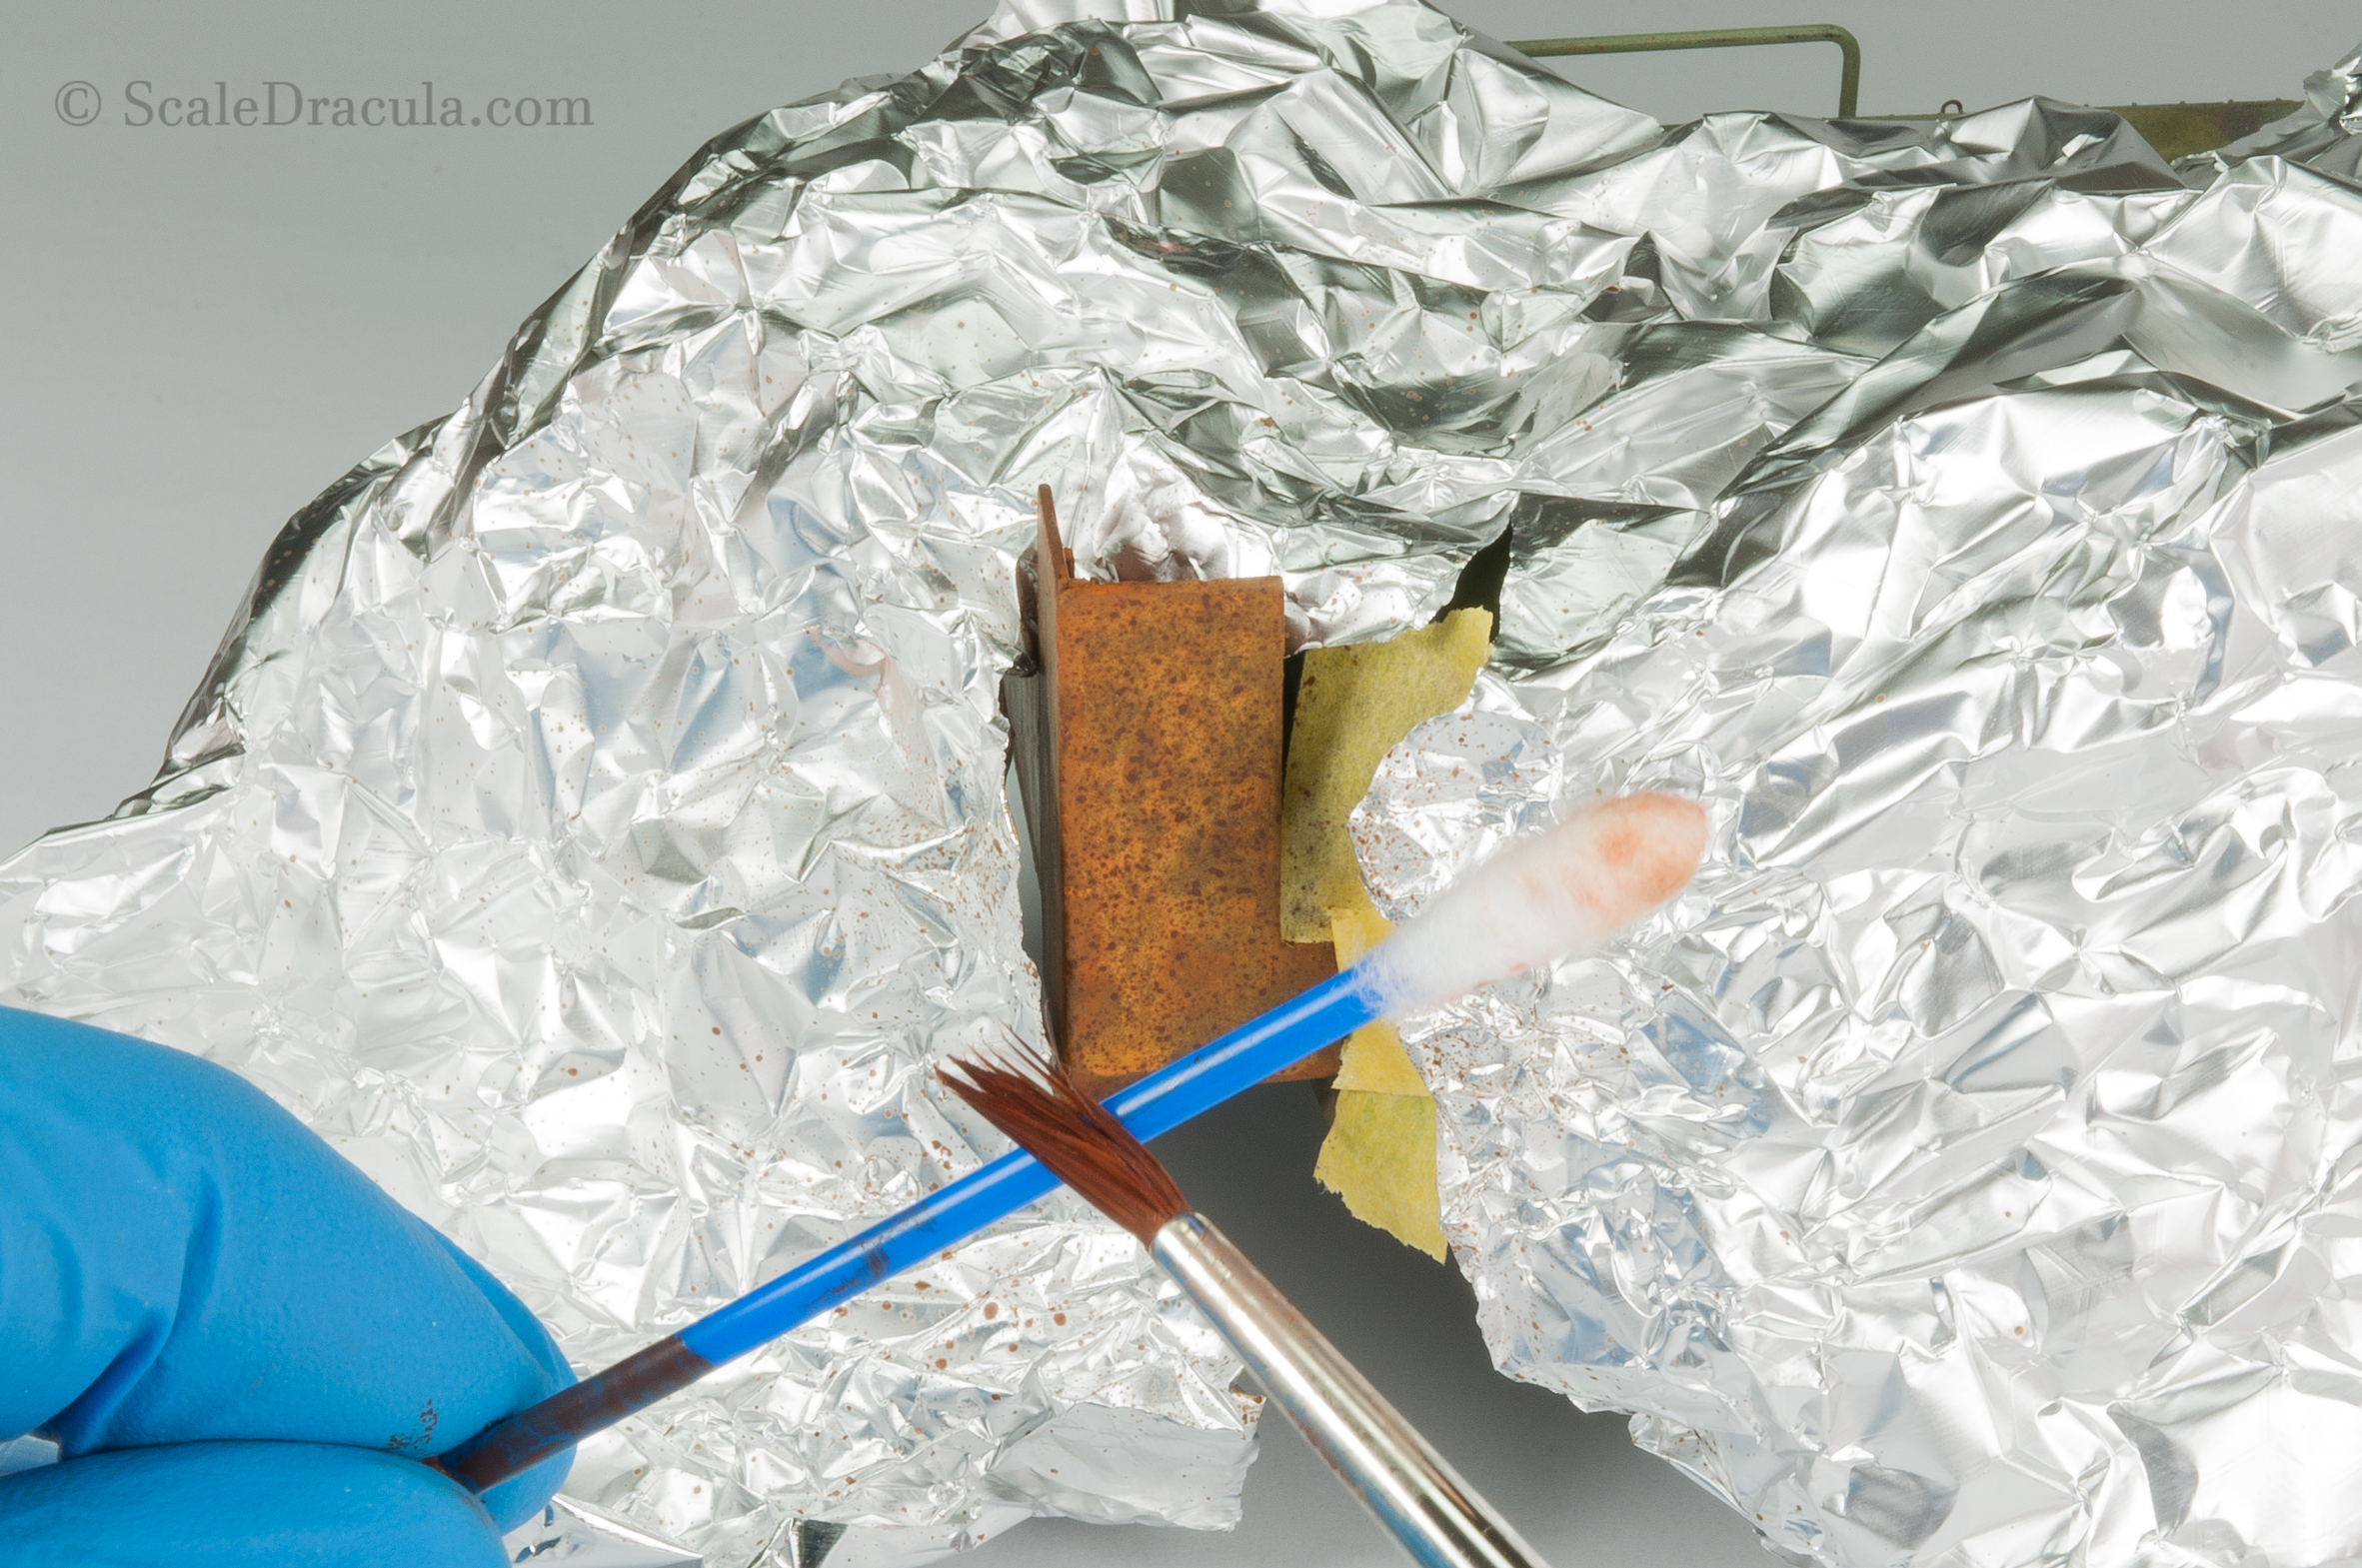
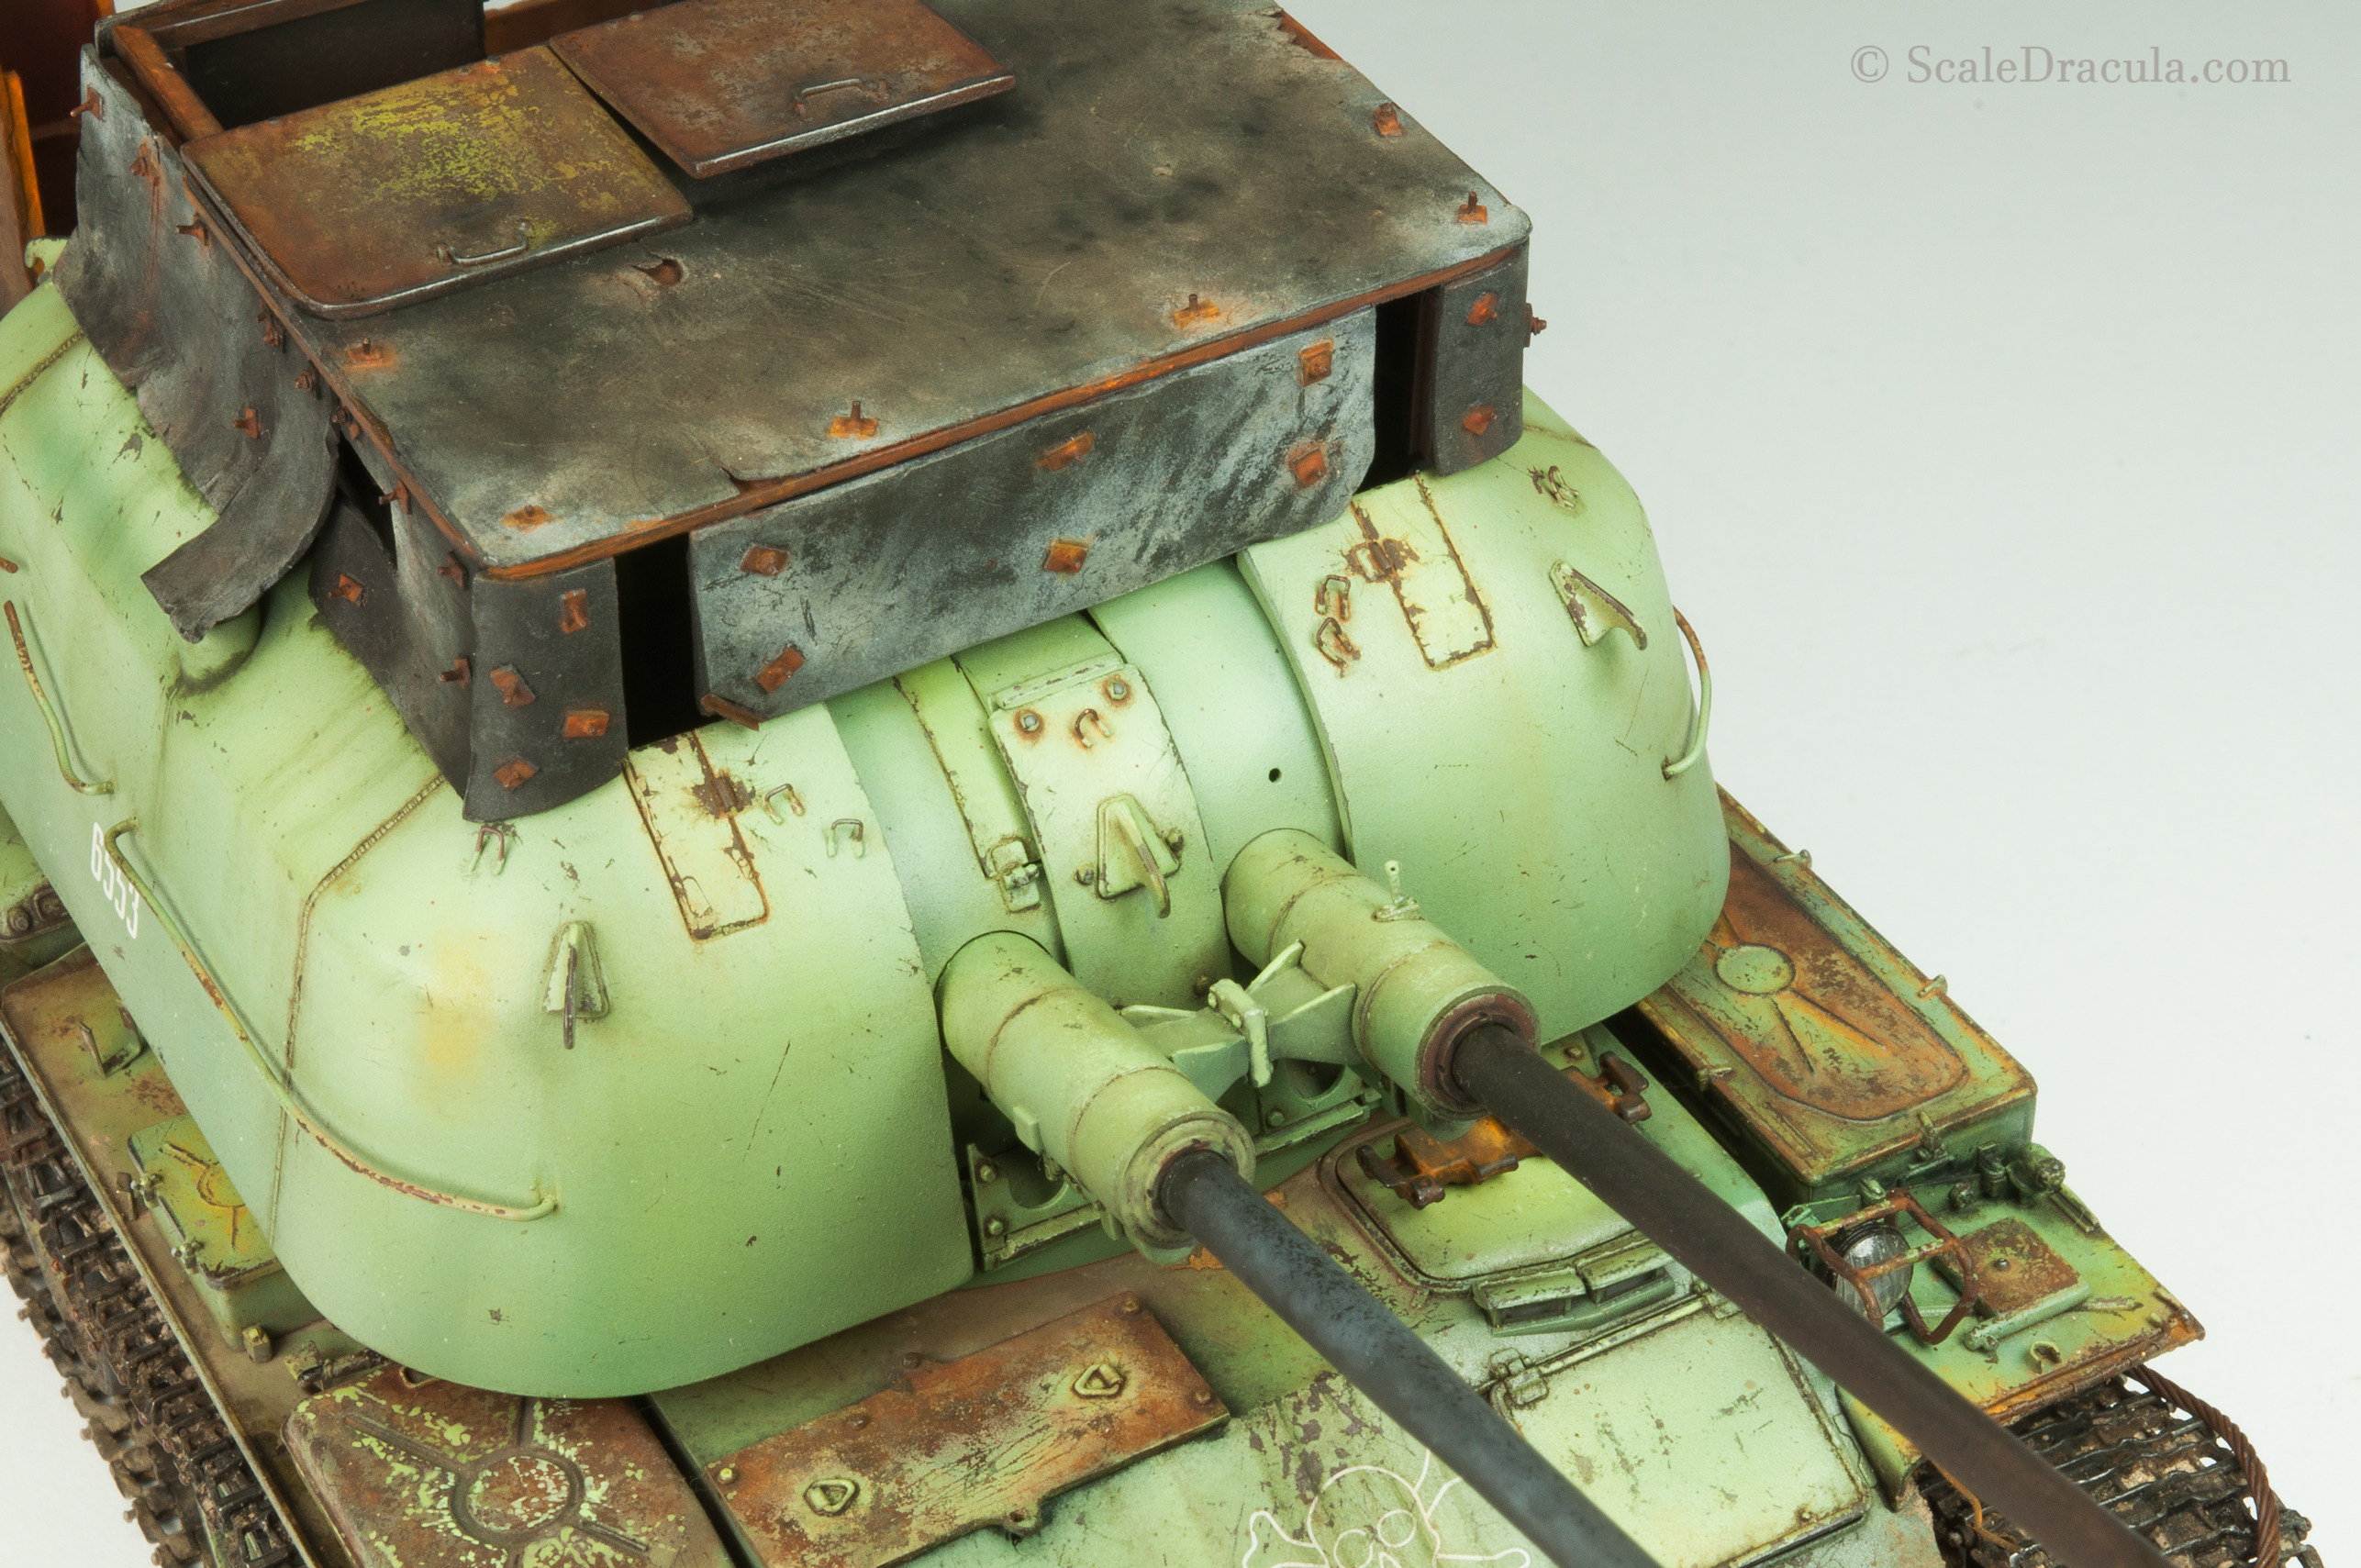
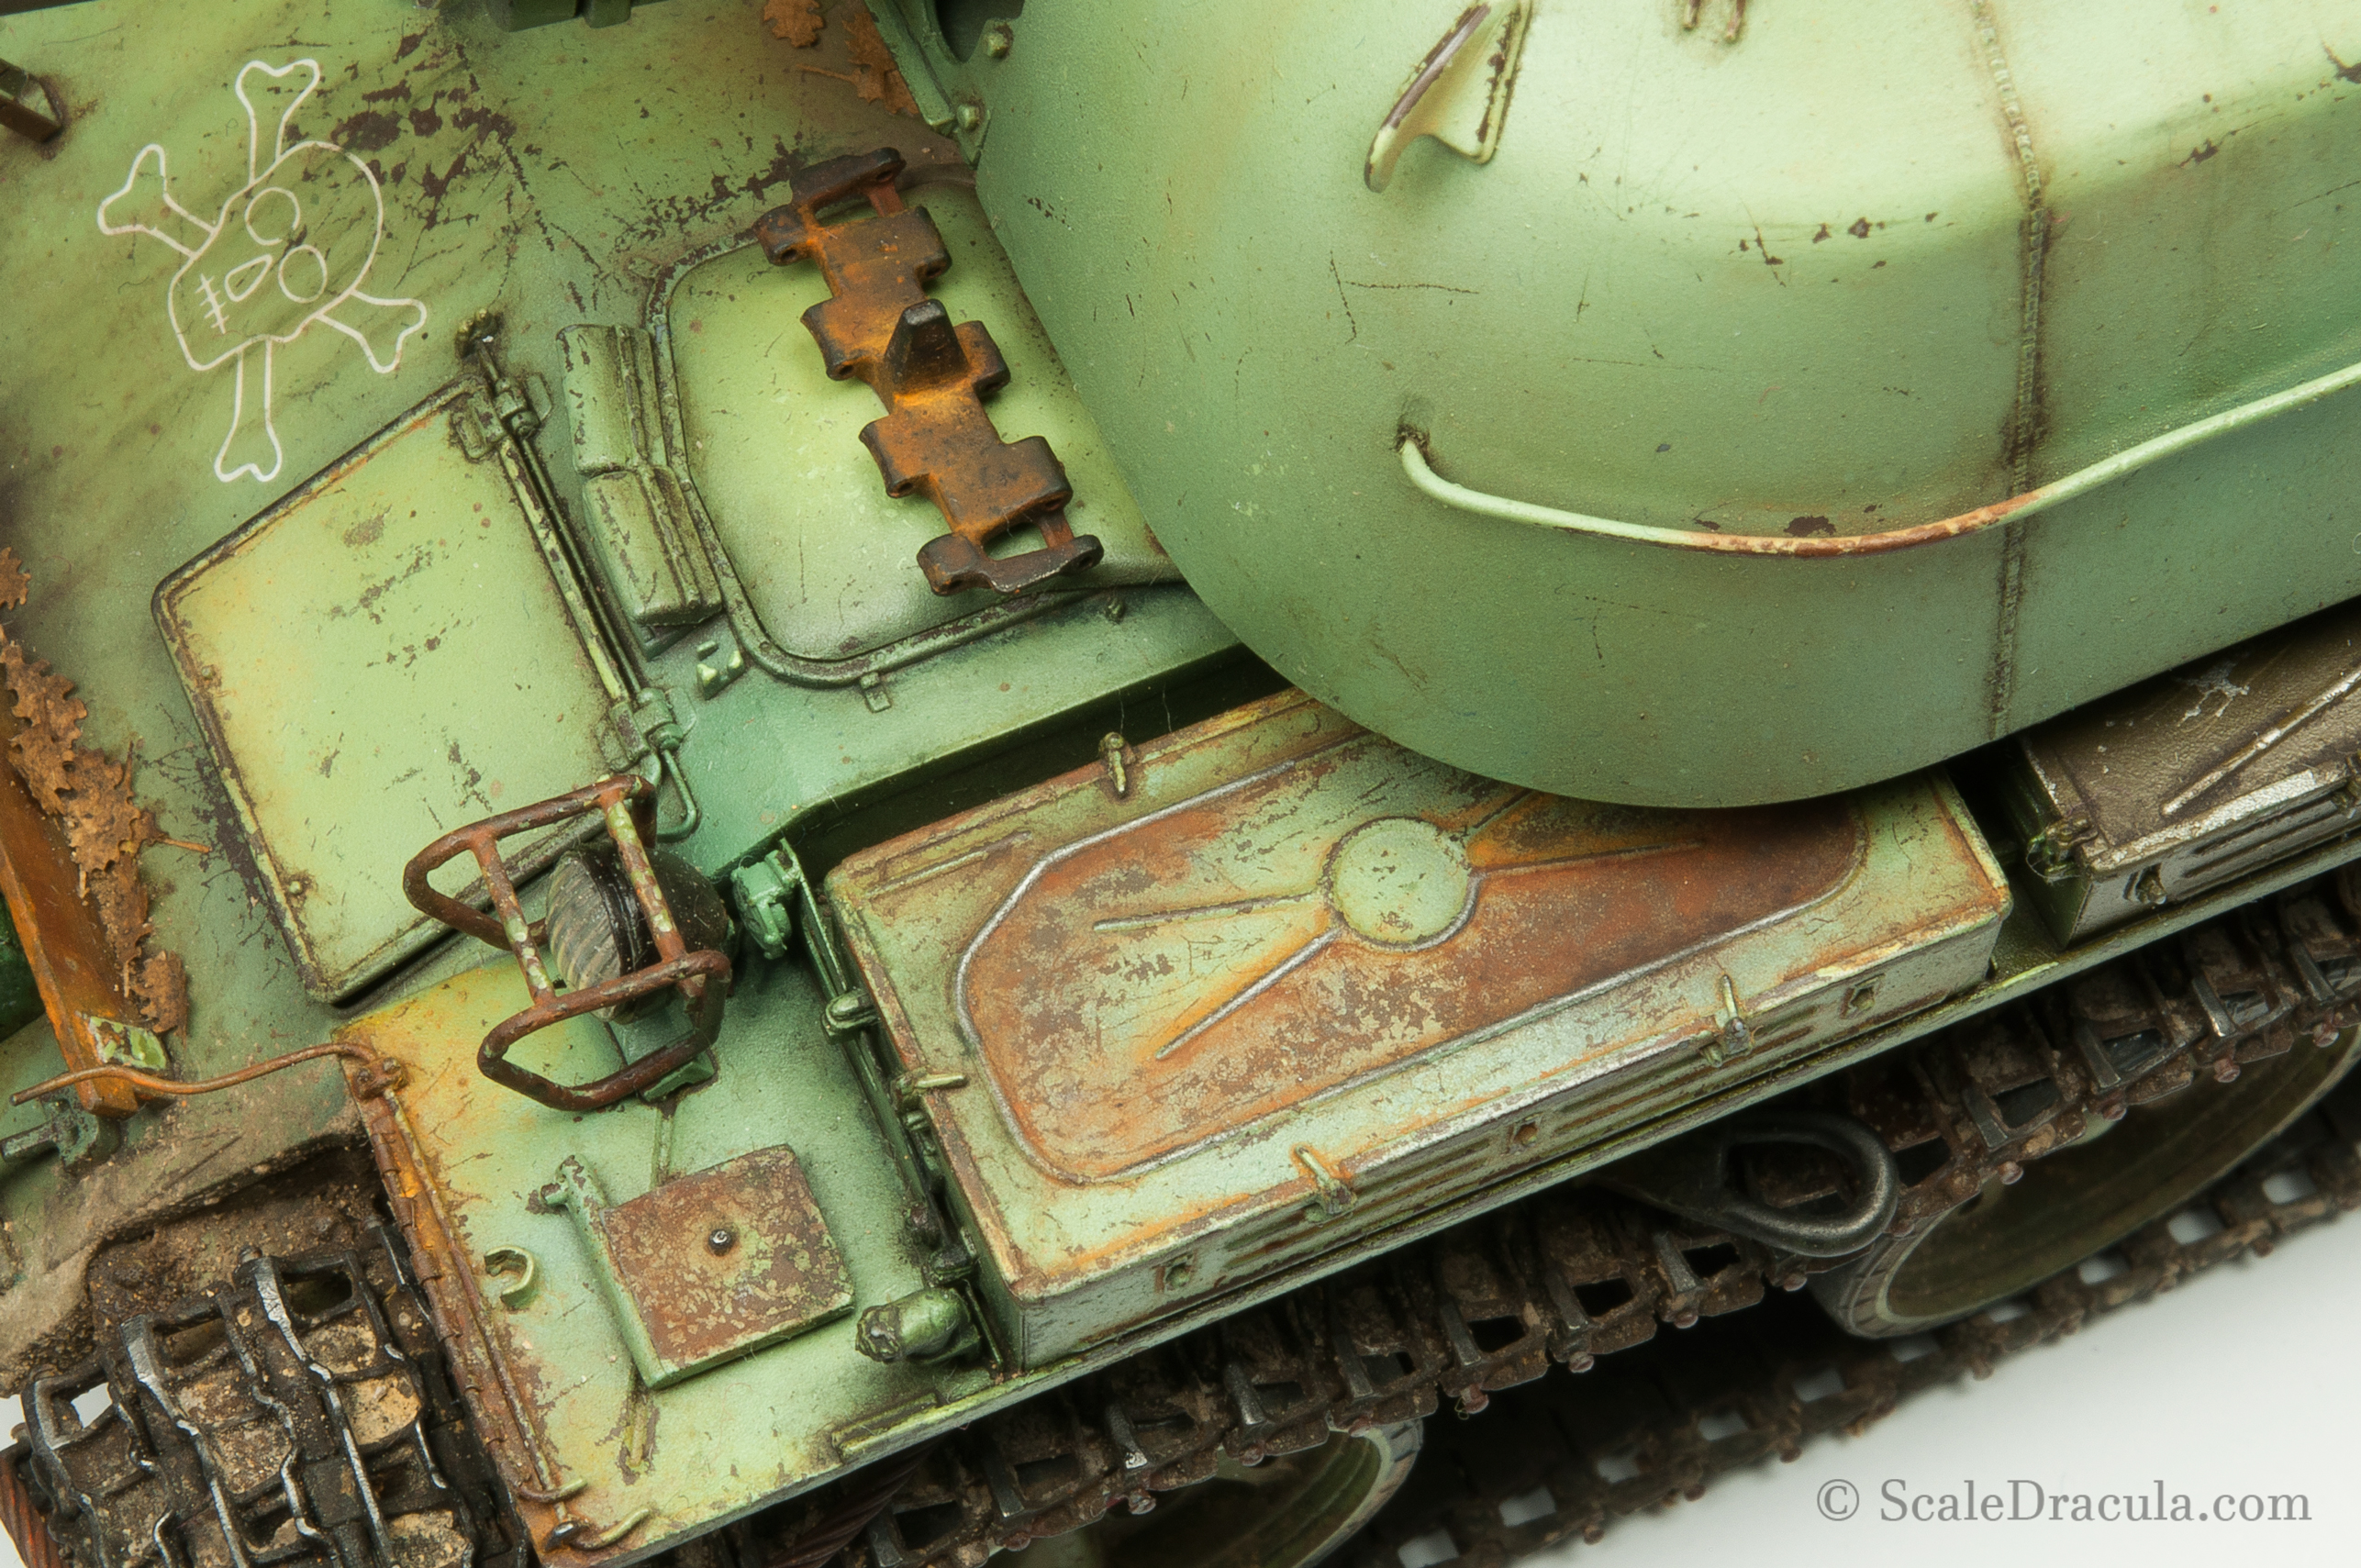
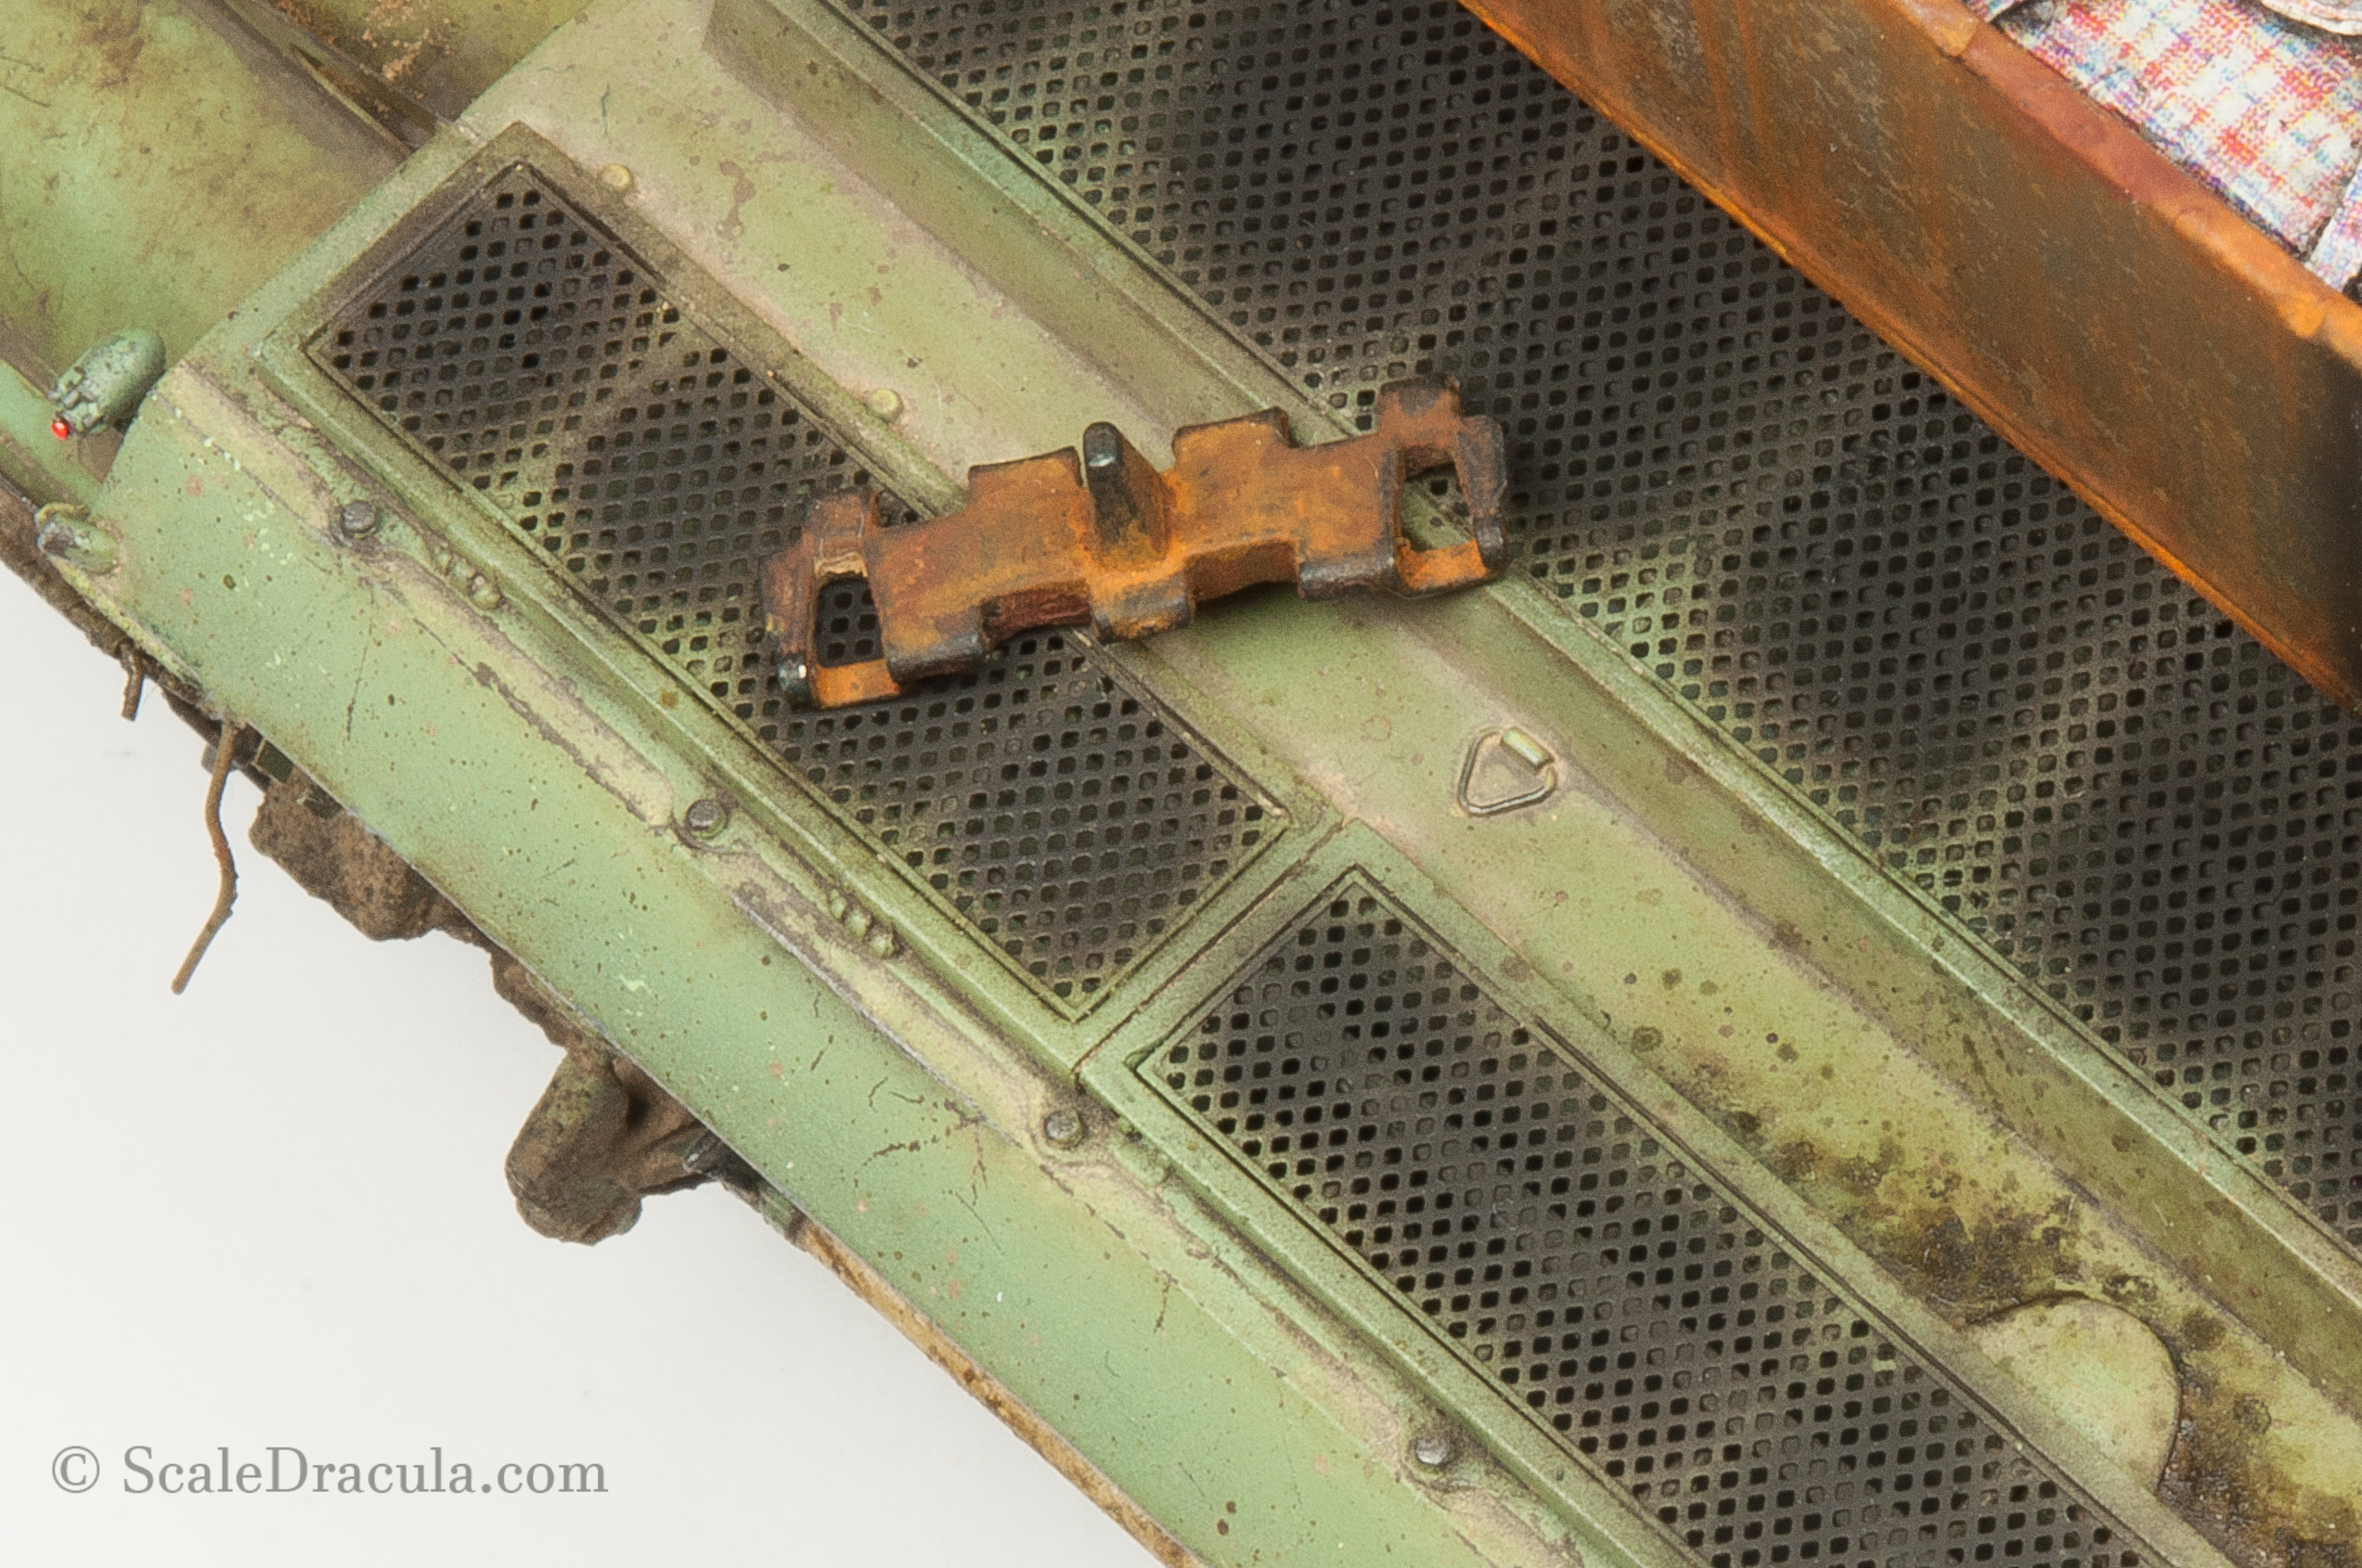
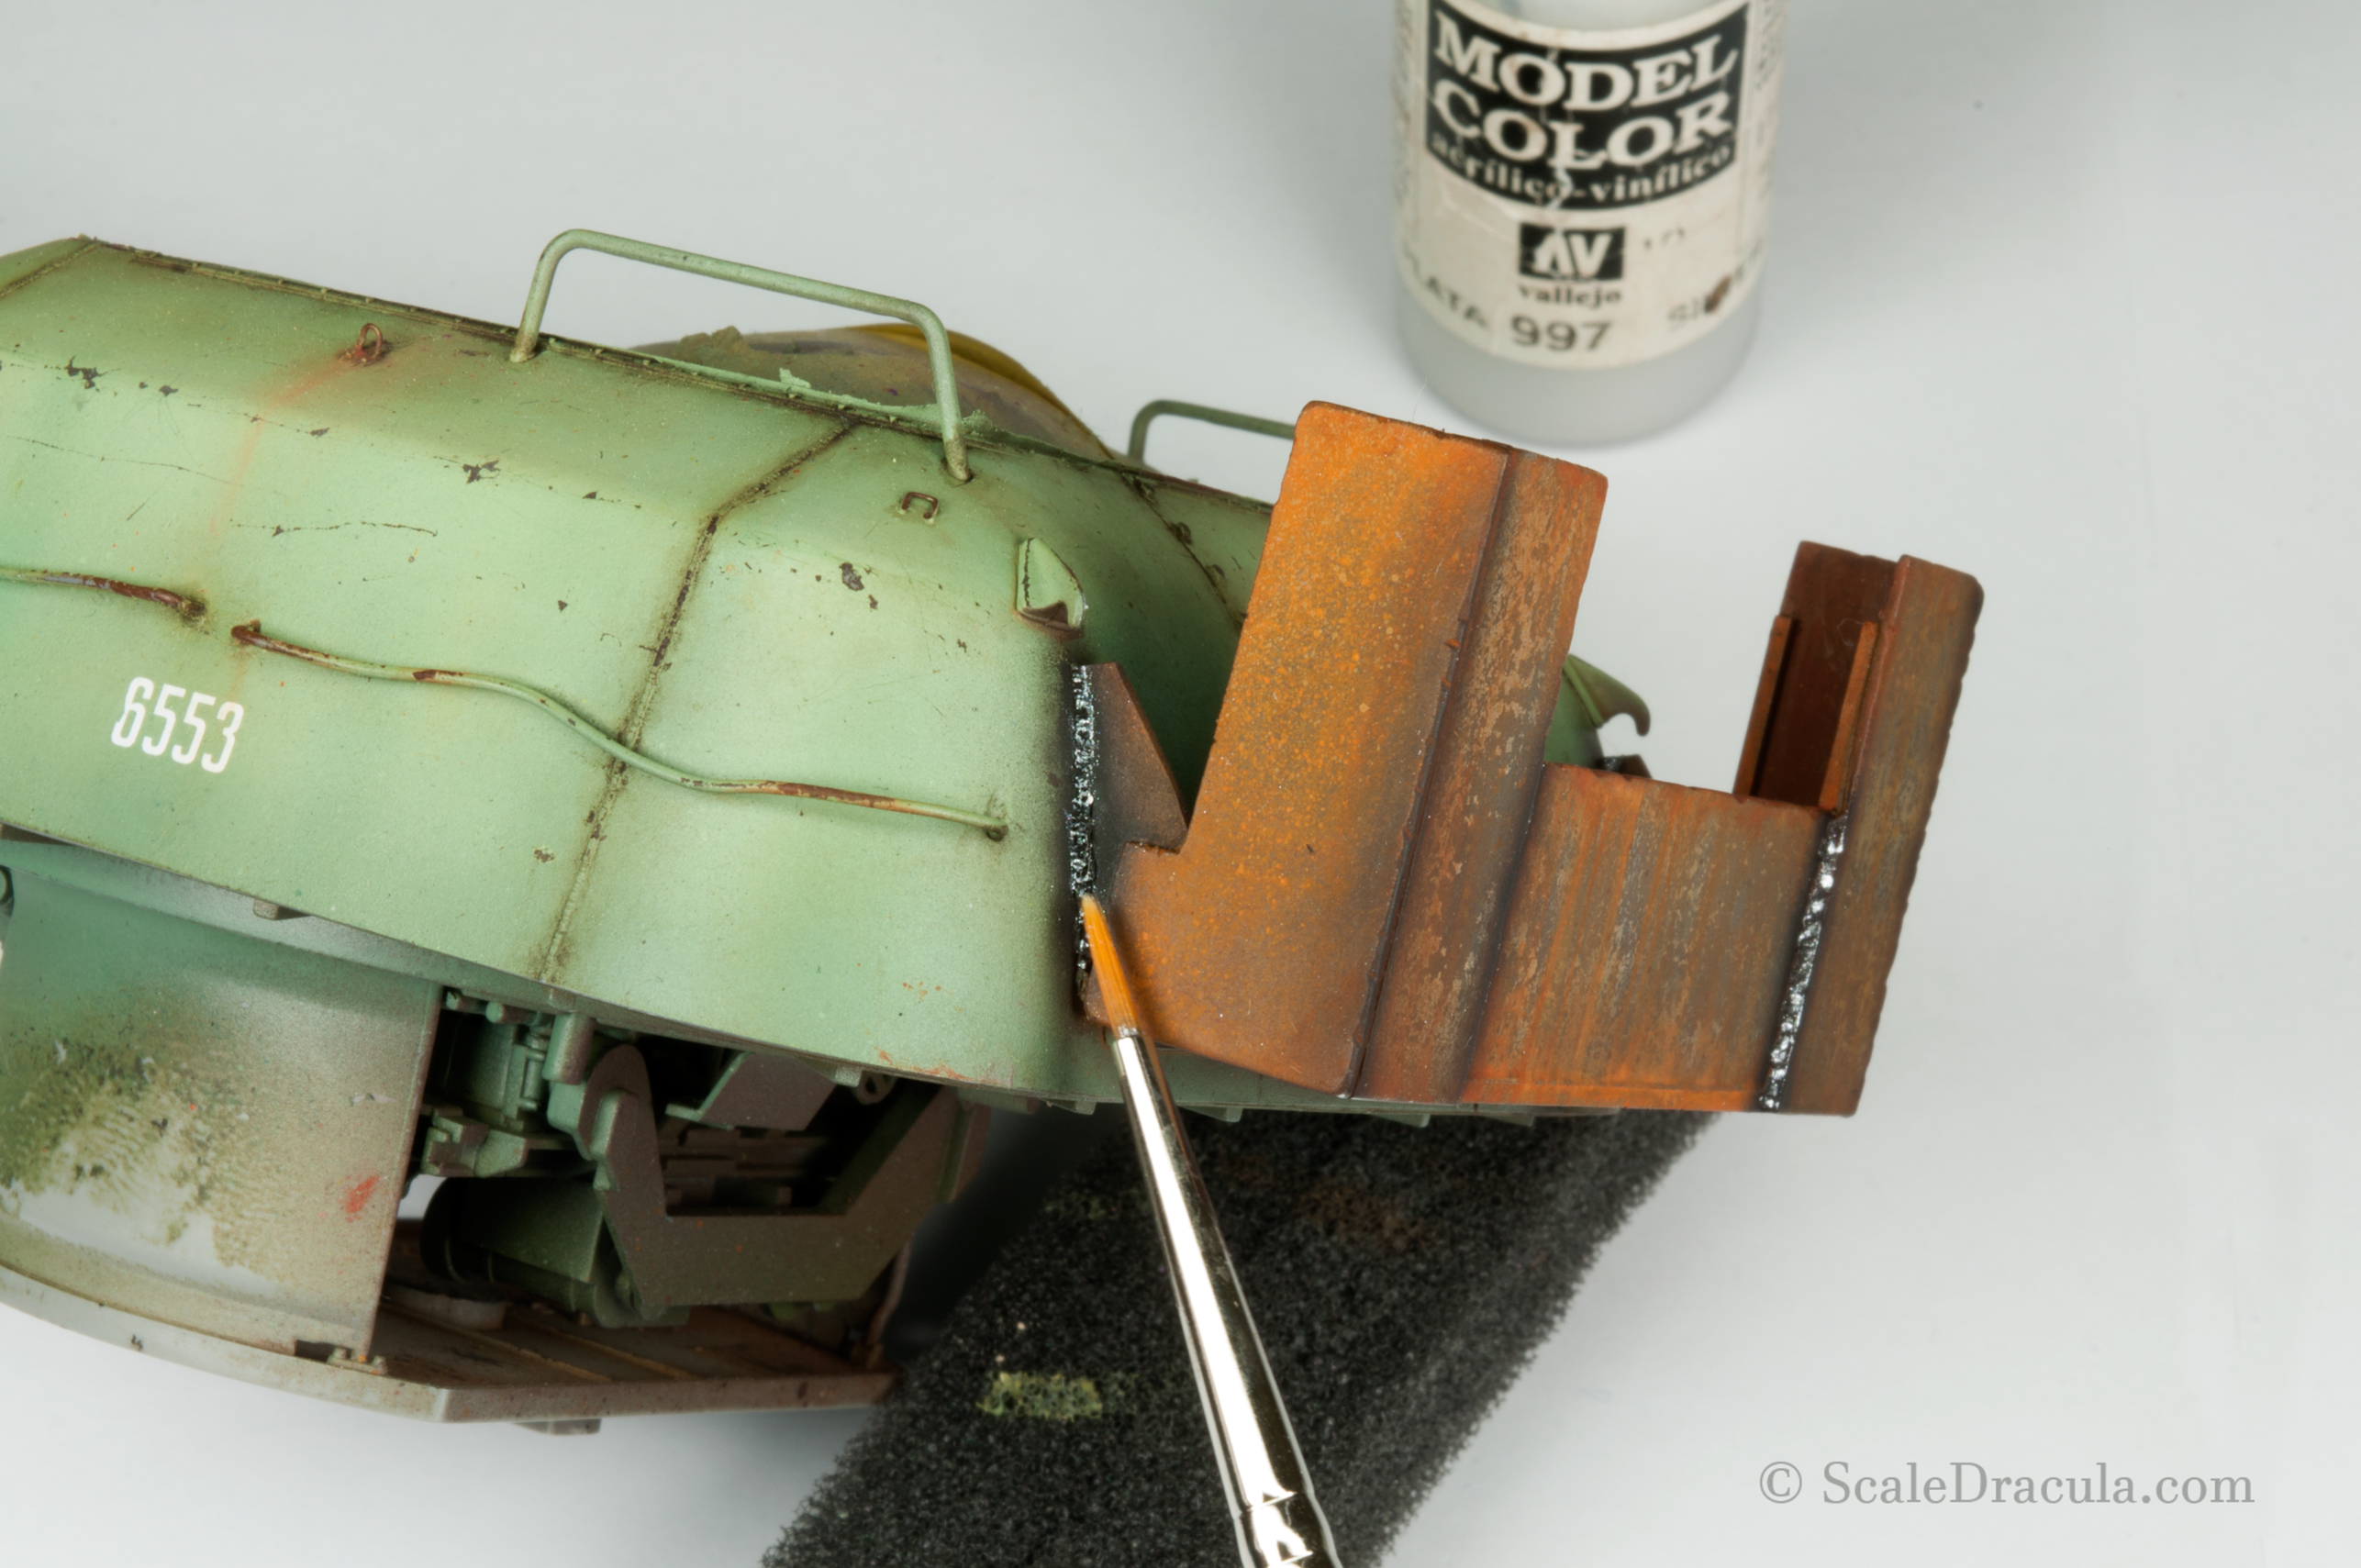
I moved on to the rusty superstructure to paint the weld marks. First I spray a thin line of matt black...
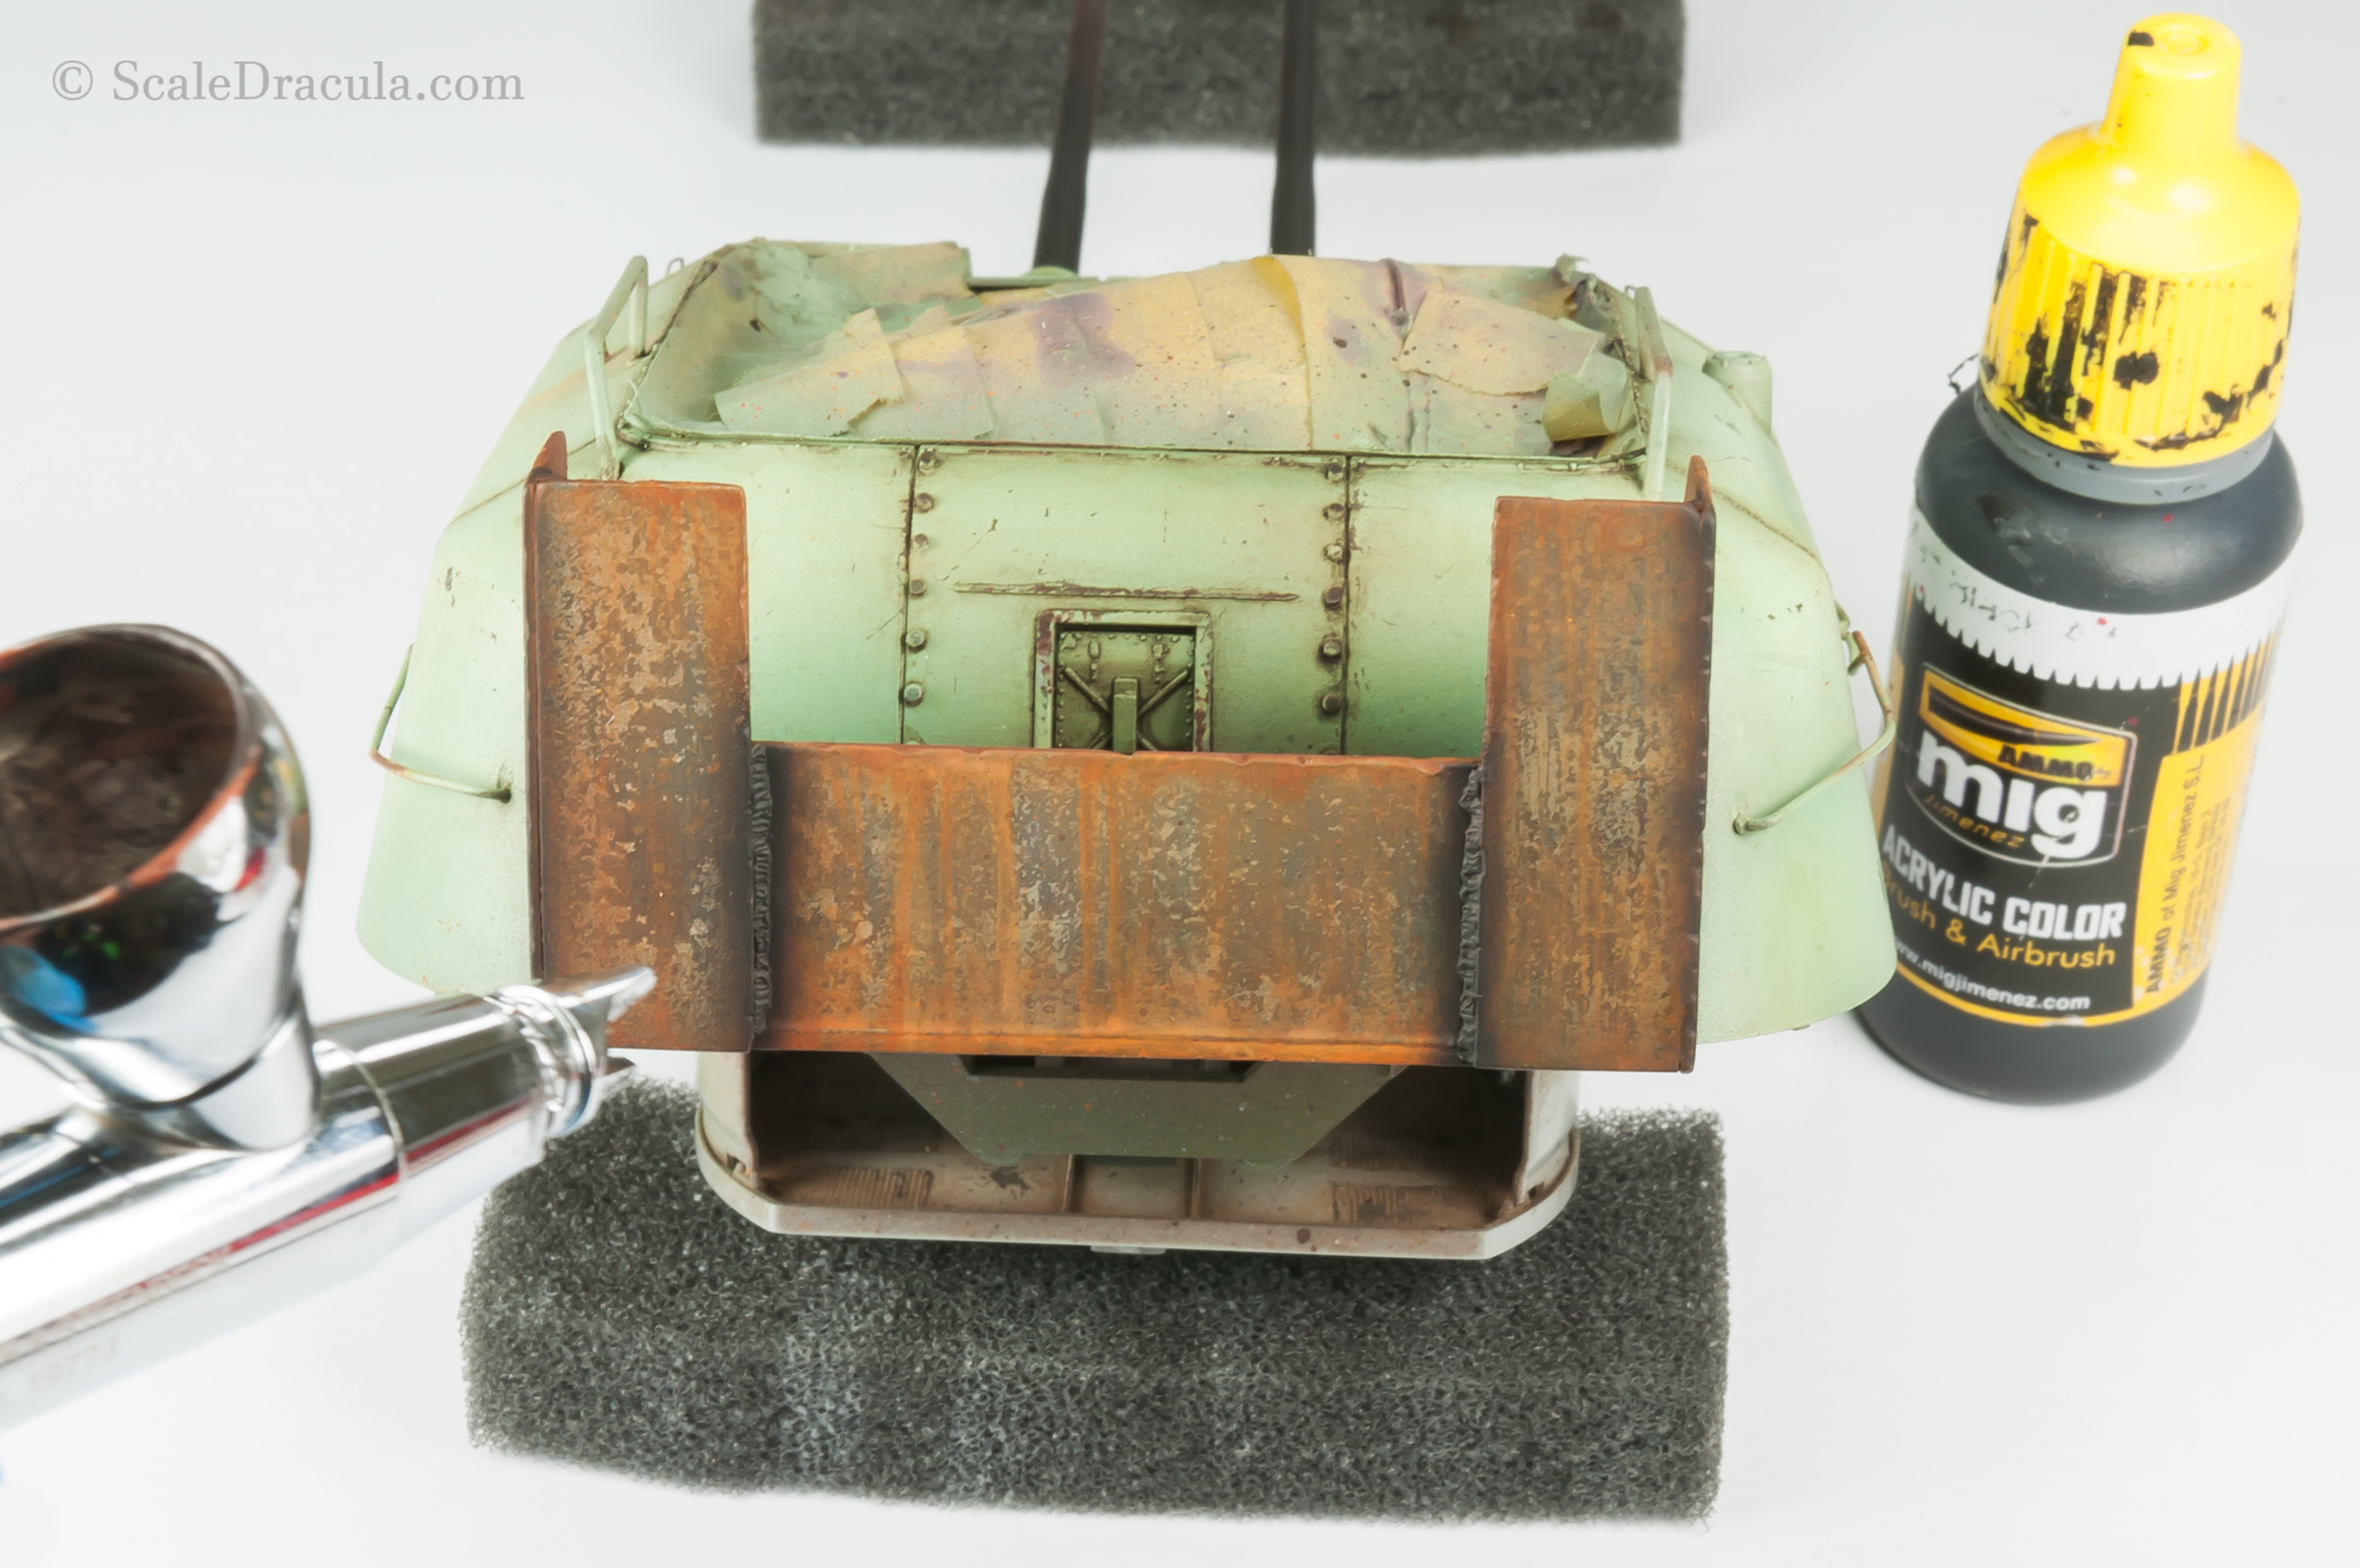
...And then I paint the weld silver.
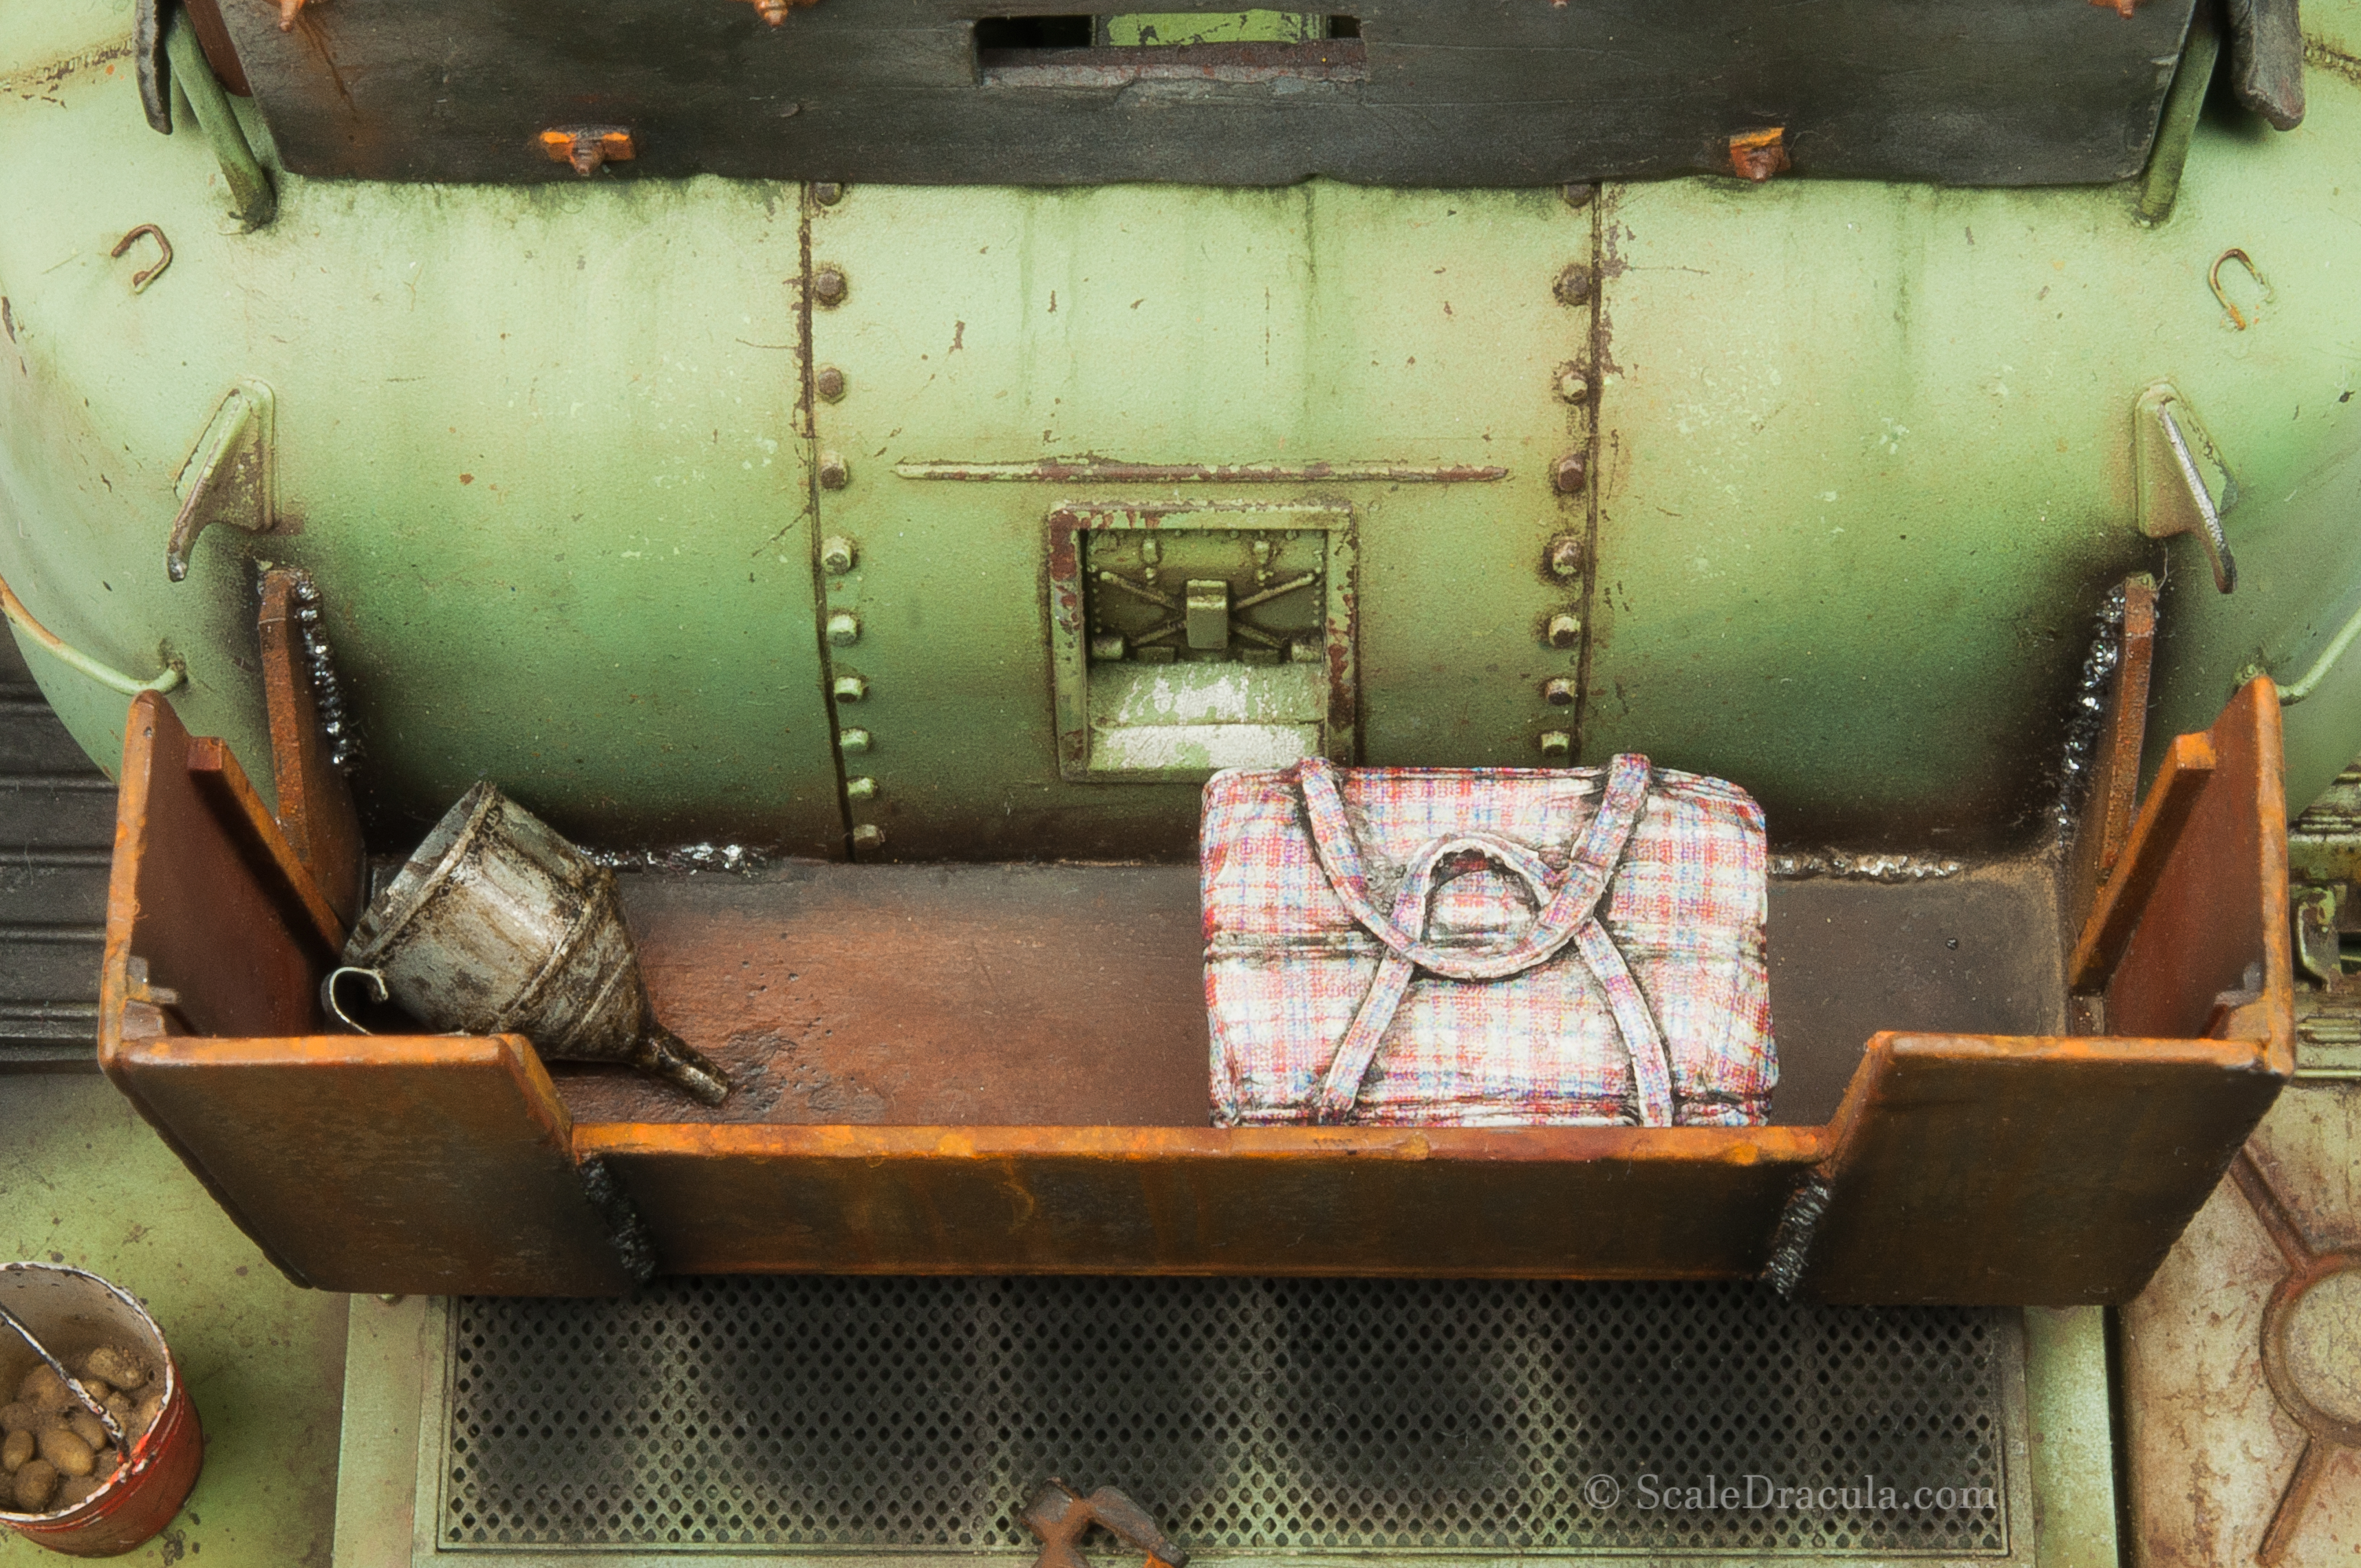
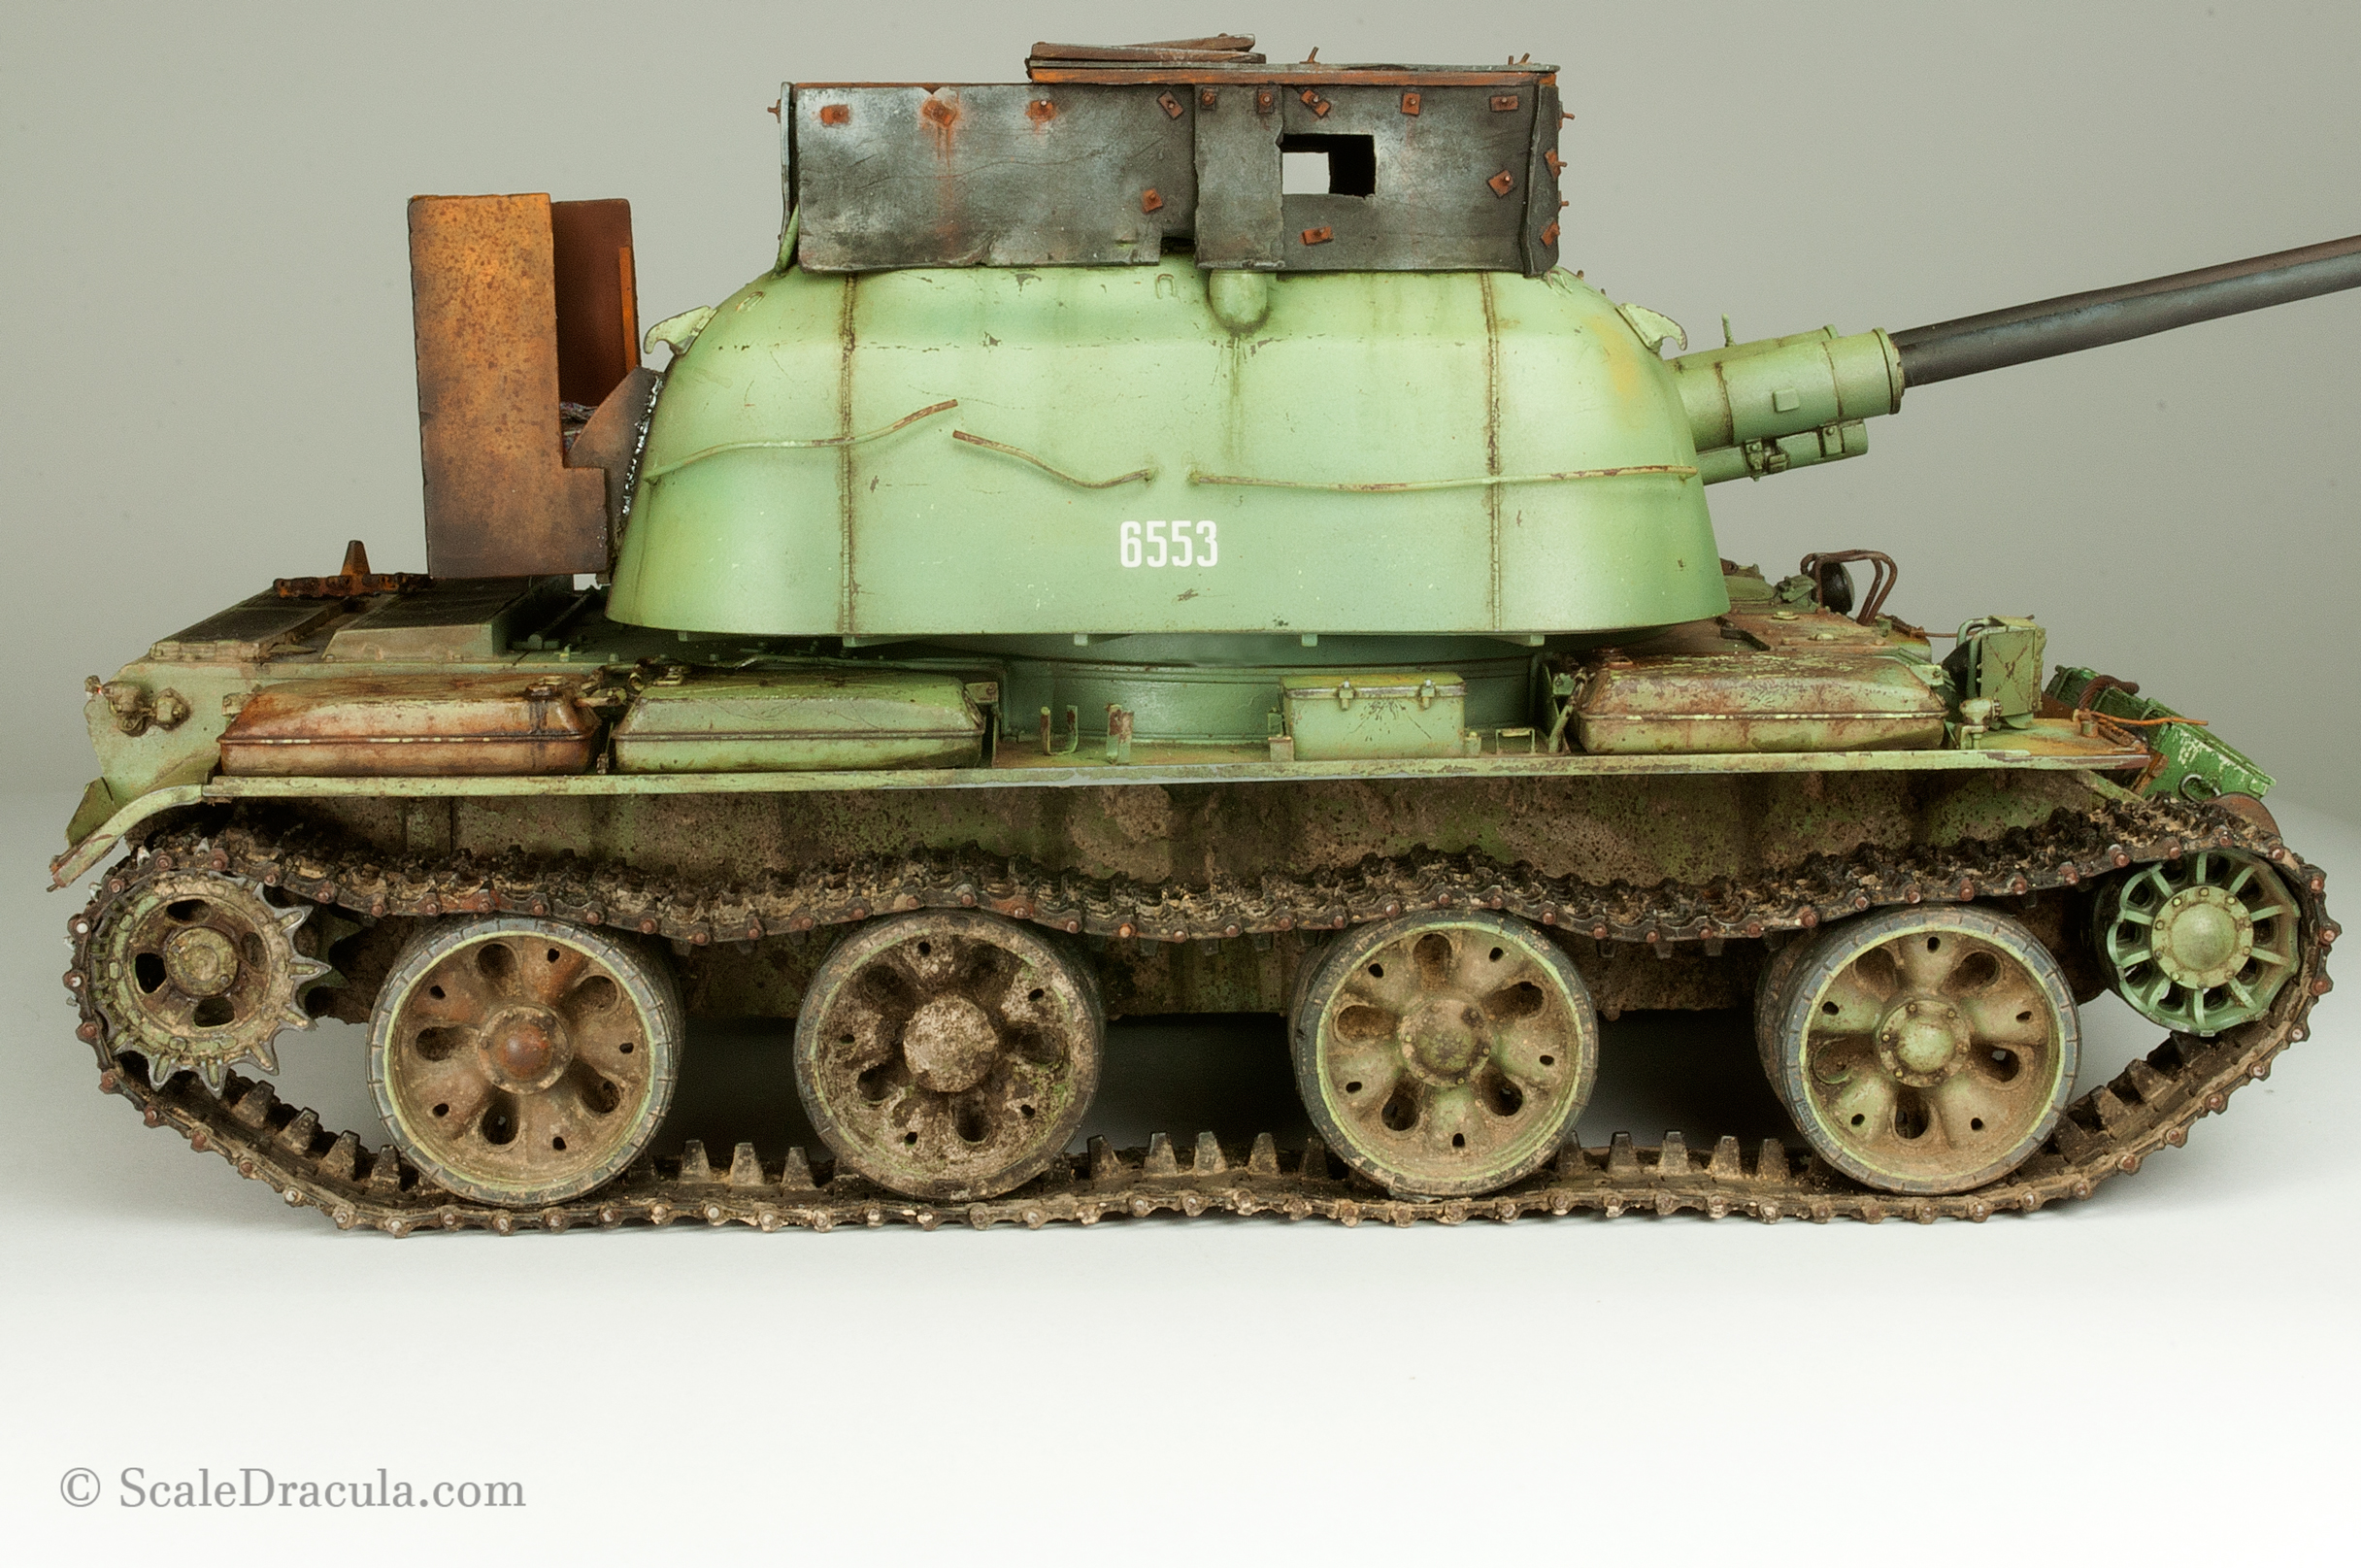
Then I prepare the model for the mud.
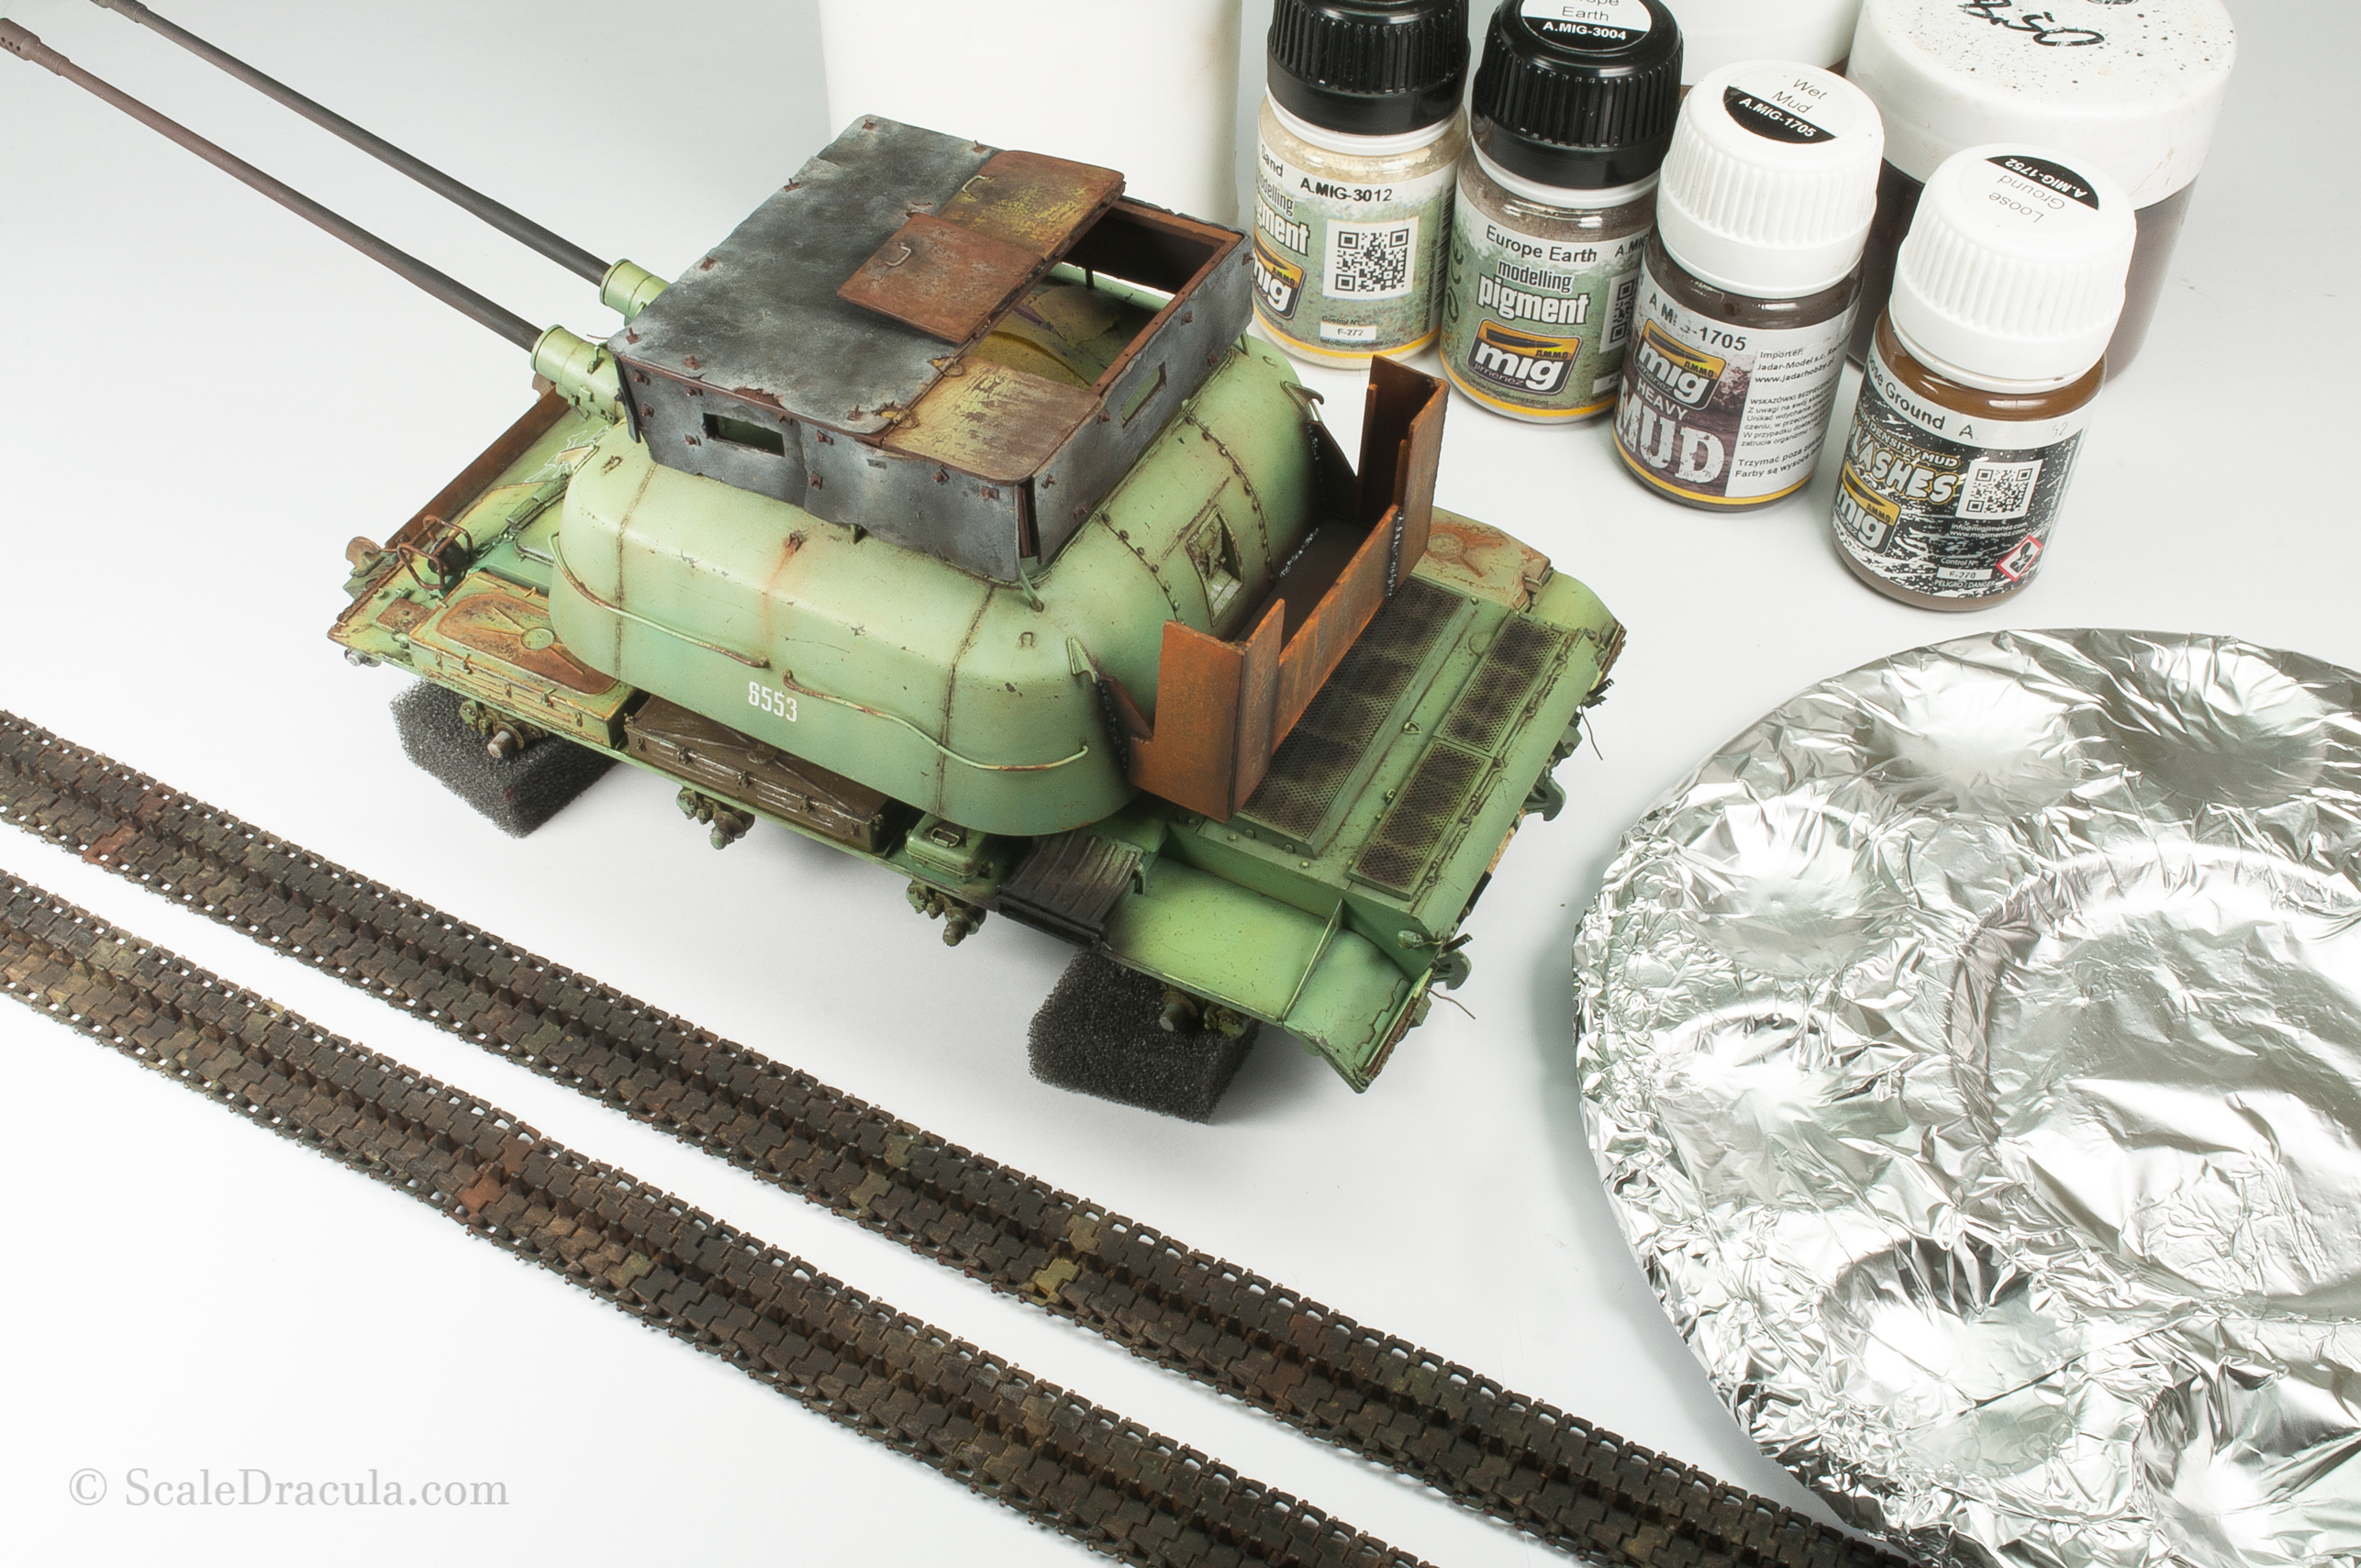
The thick mud mixture is made of Ammo mig enamel products, pigments and microballons. I put it on the model using an old brush.
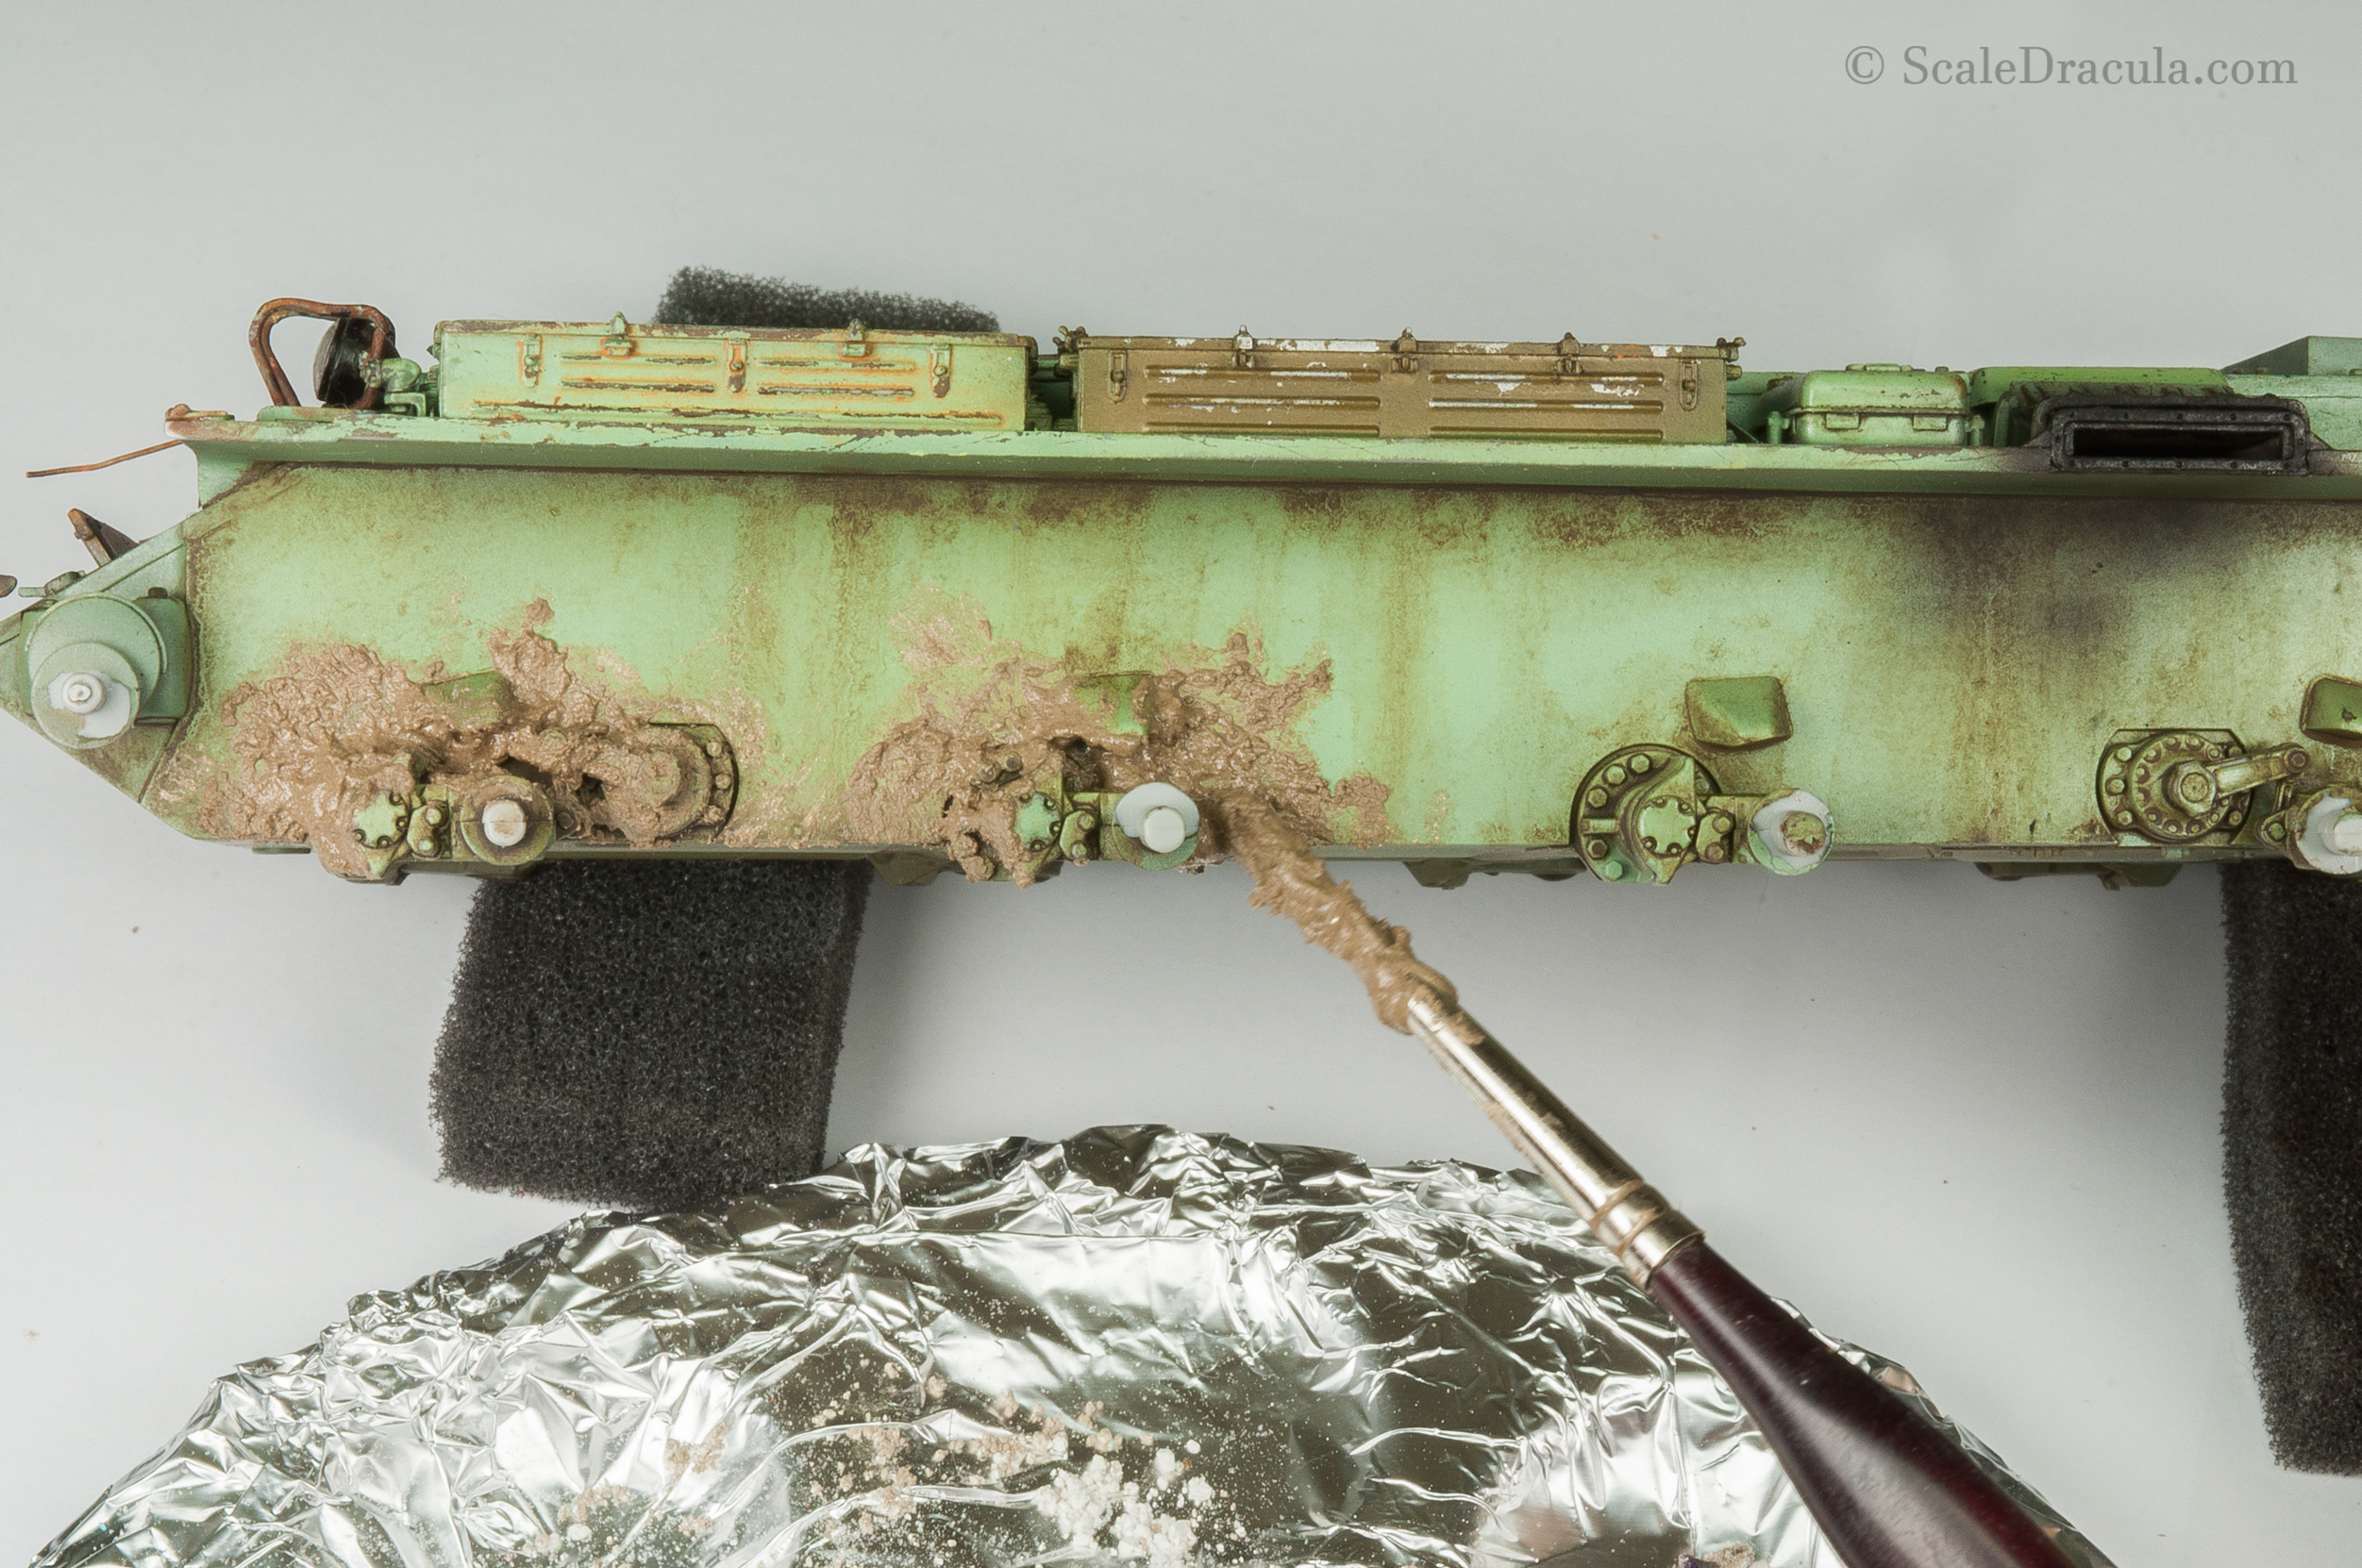
A sponge is used to move the mud around and create special effects (smears, splashes etc.)
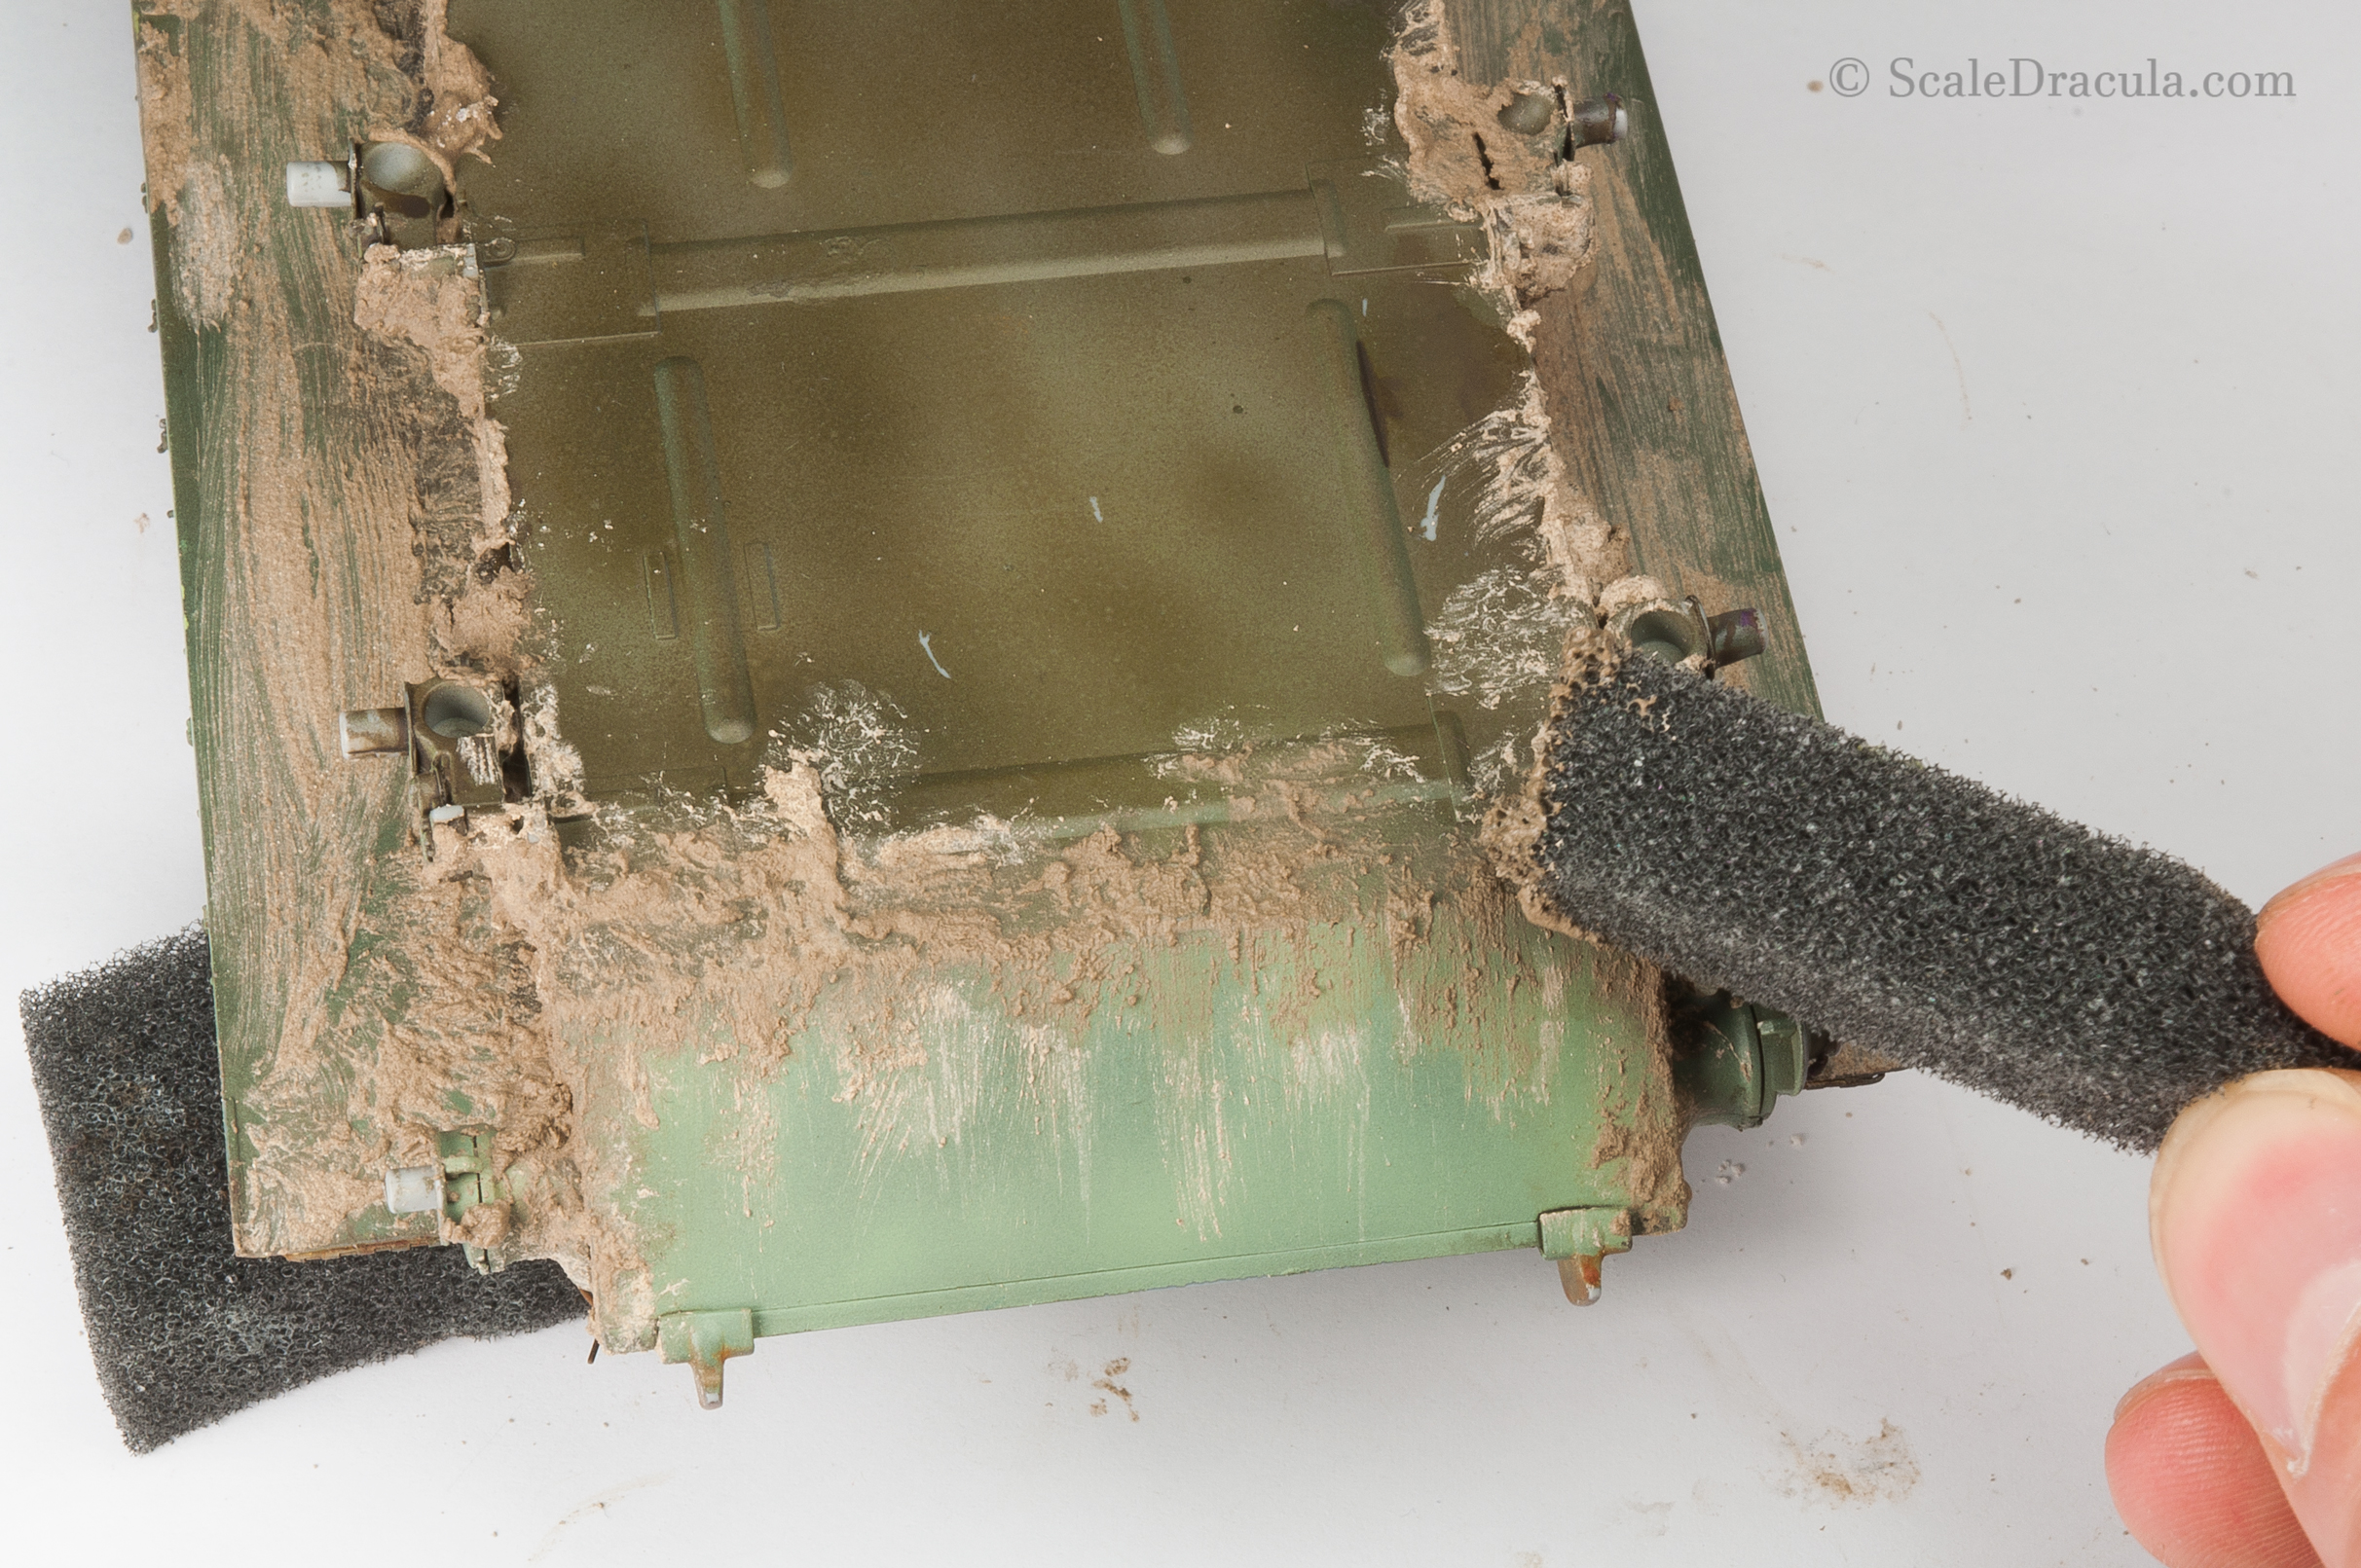
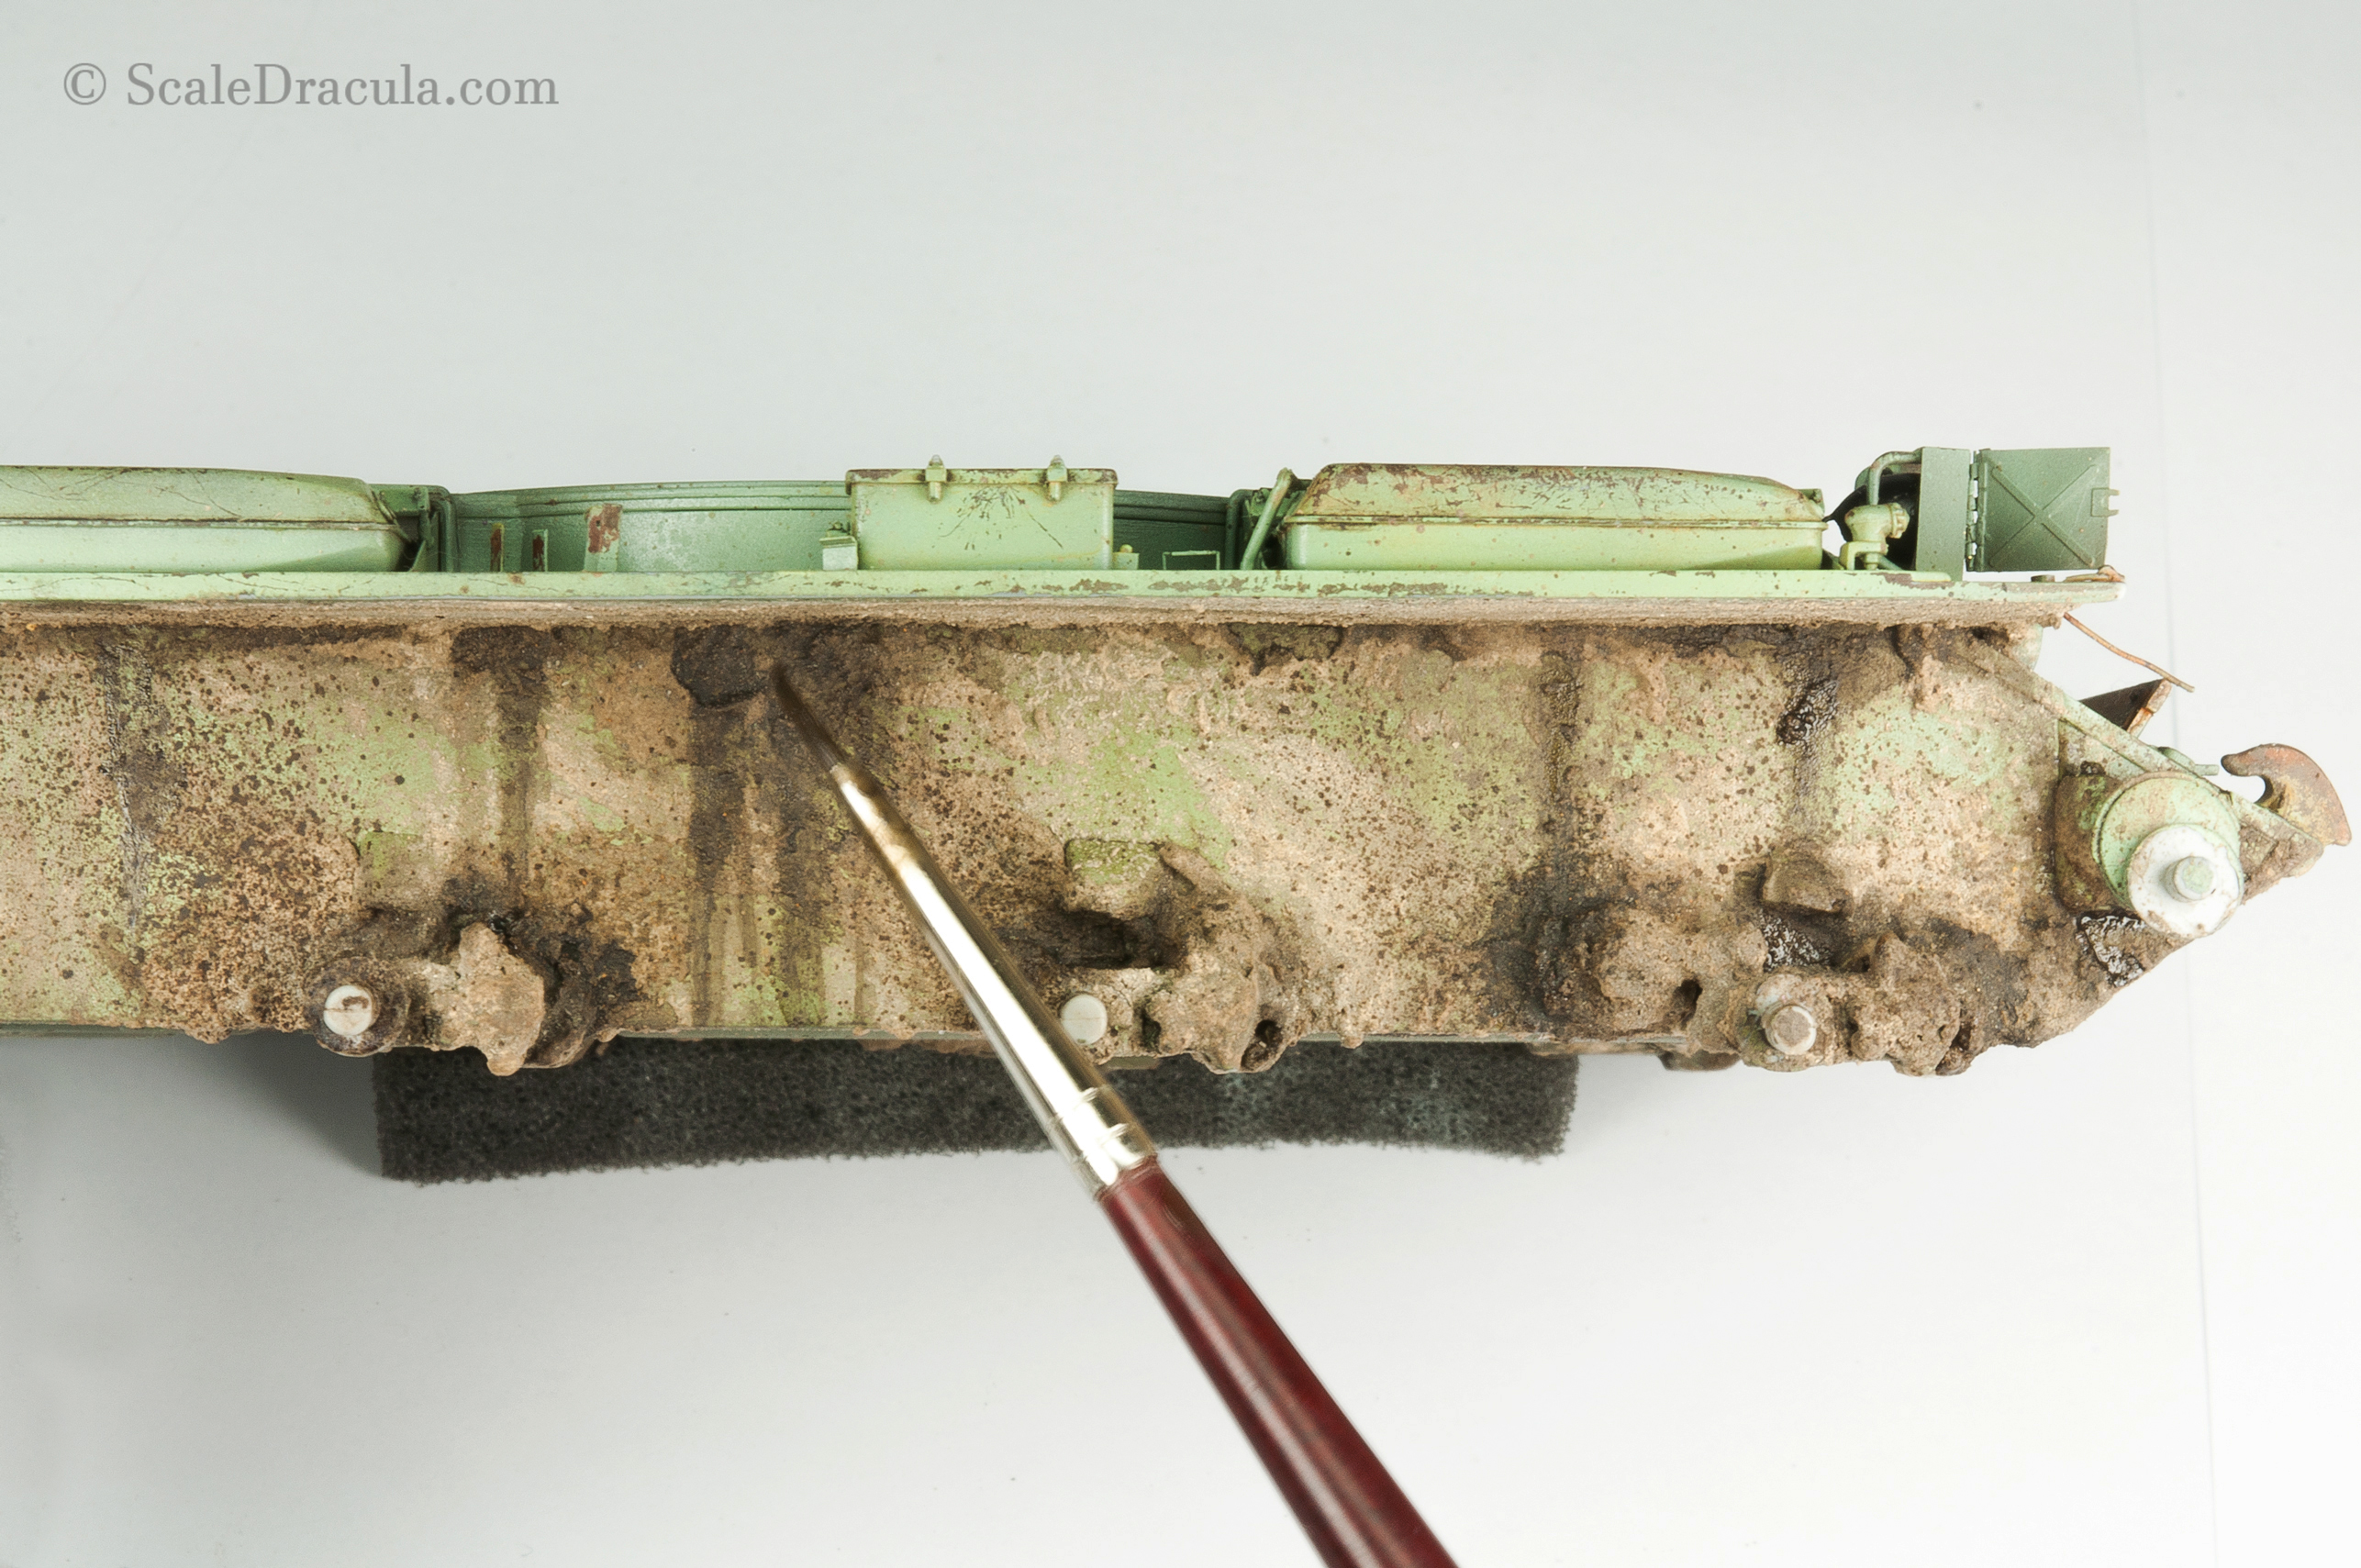
Later I create a much thinner mixture with just enamel products and pigments. I prepared 3 slightly different shades. I cover the model with splashes using the air blown from my airbrush.
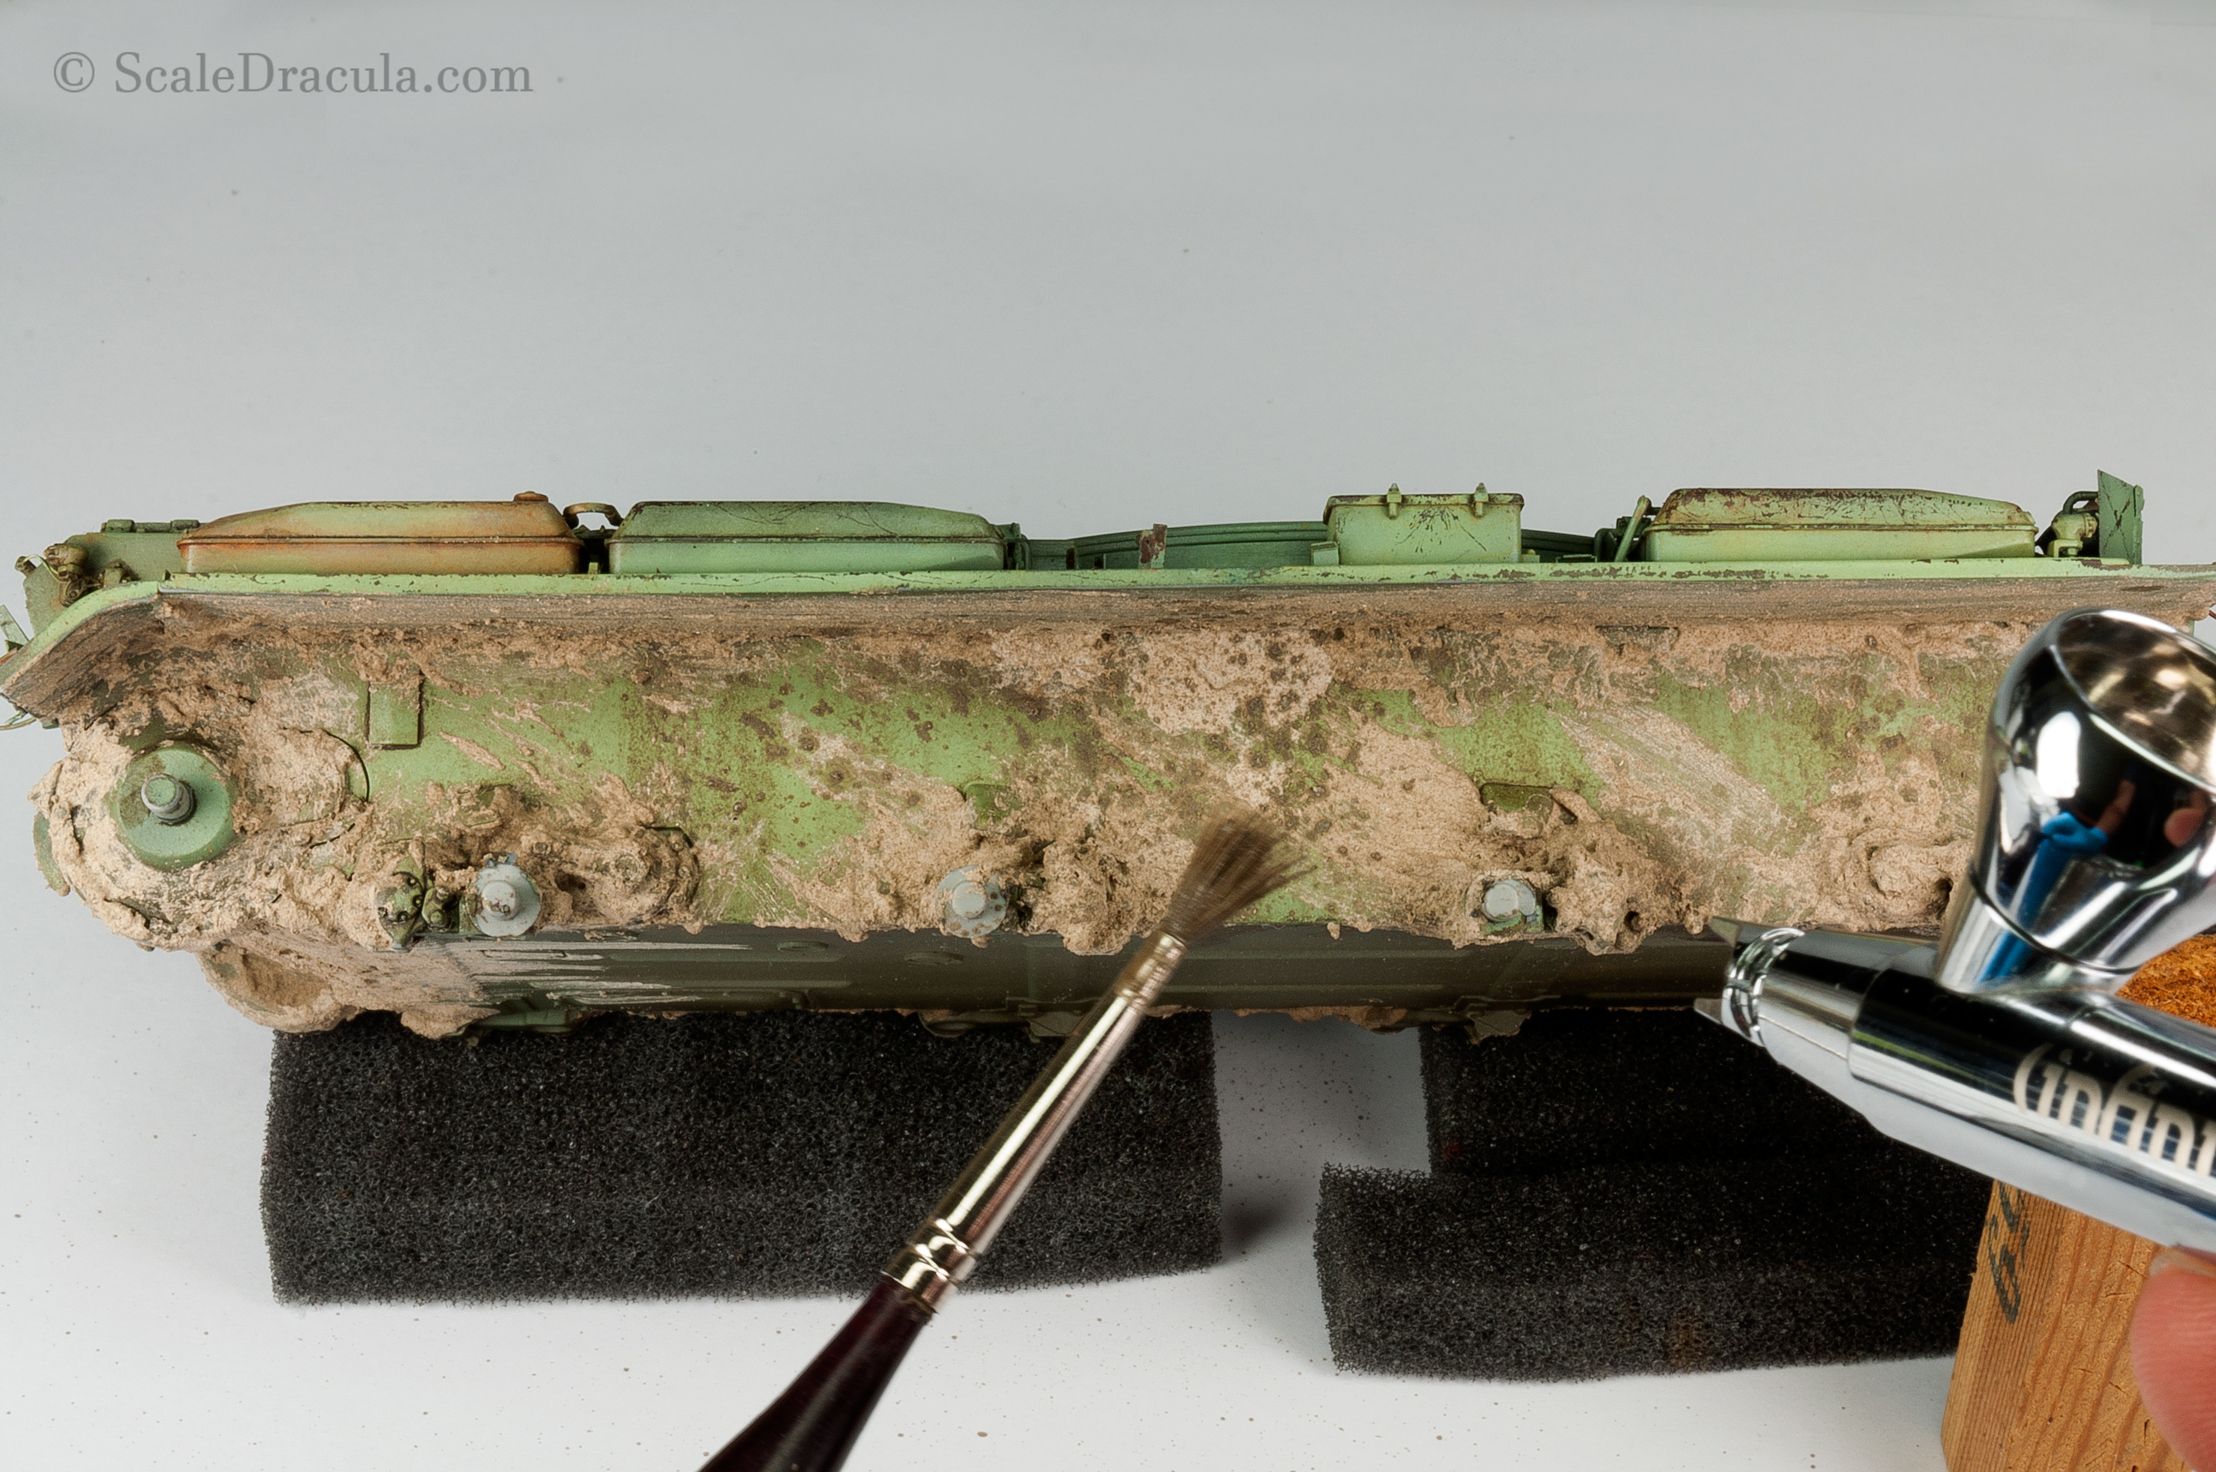
The last step is to create fresh glossy mud layer form wet effects product and some oil paints. I create some streaks and stains with it.

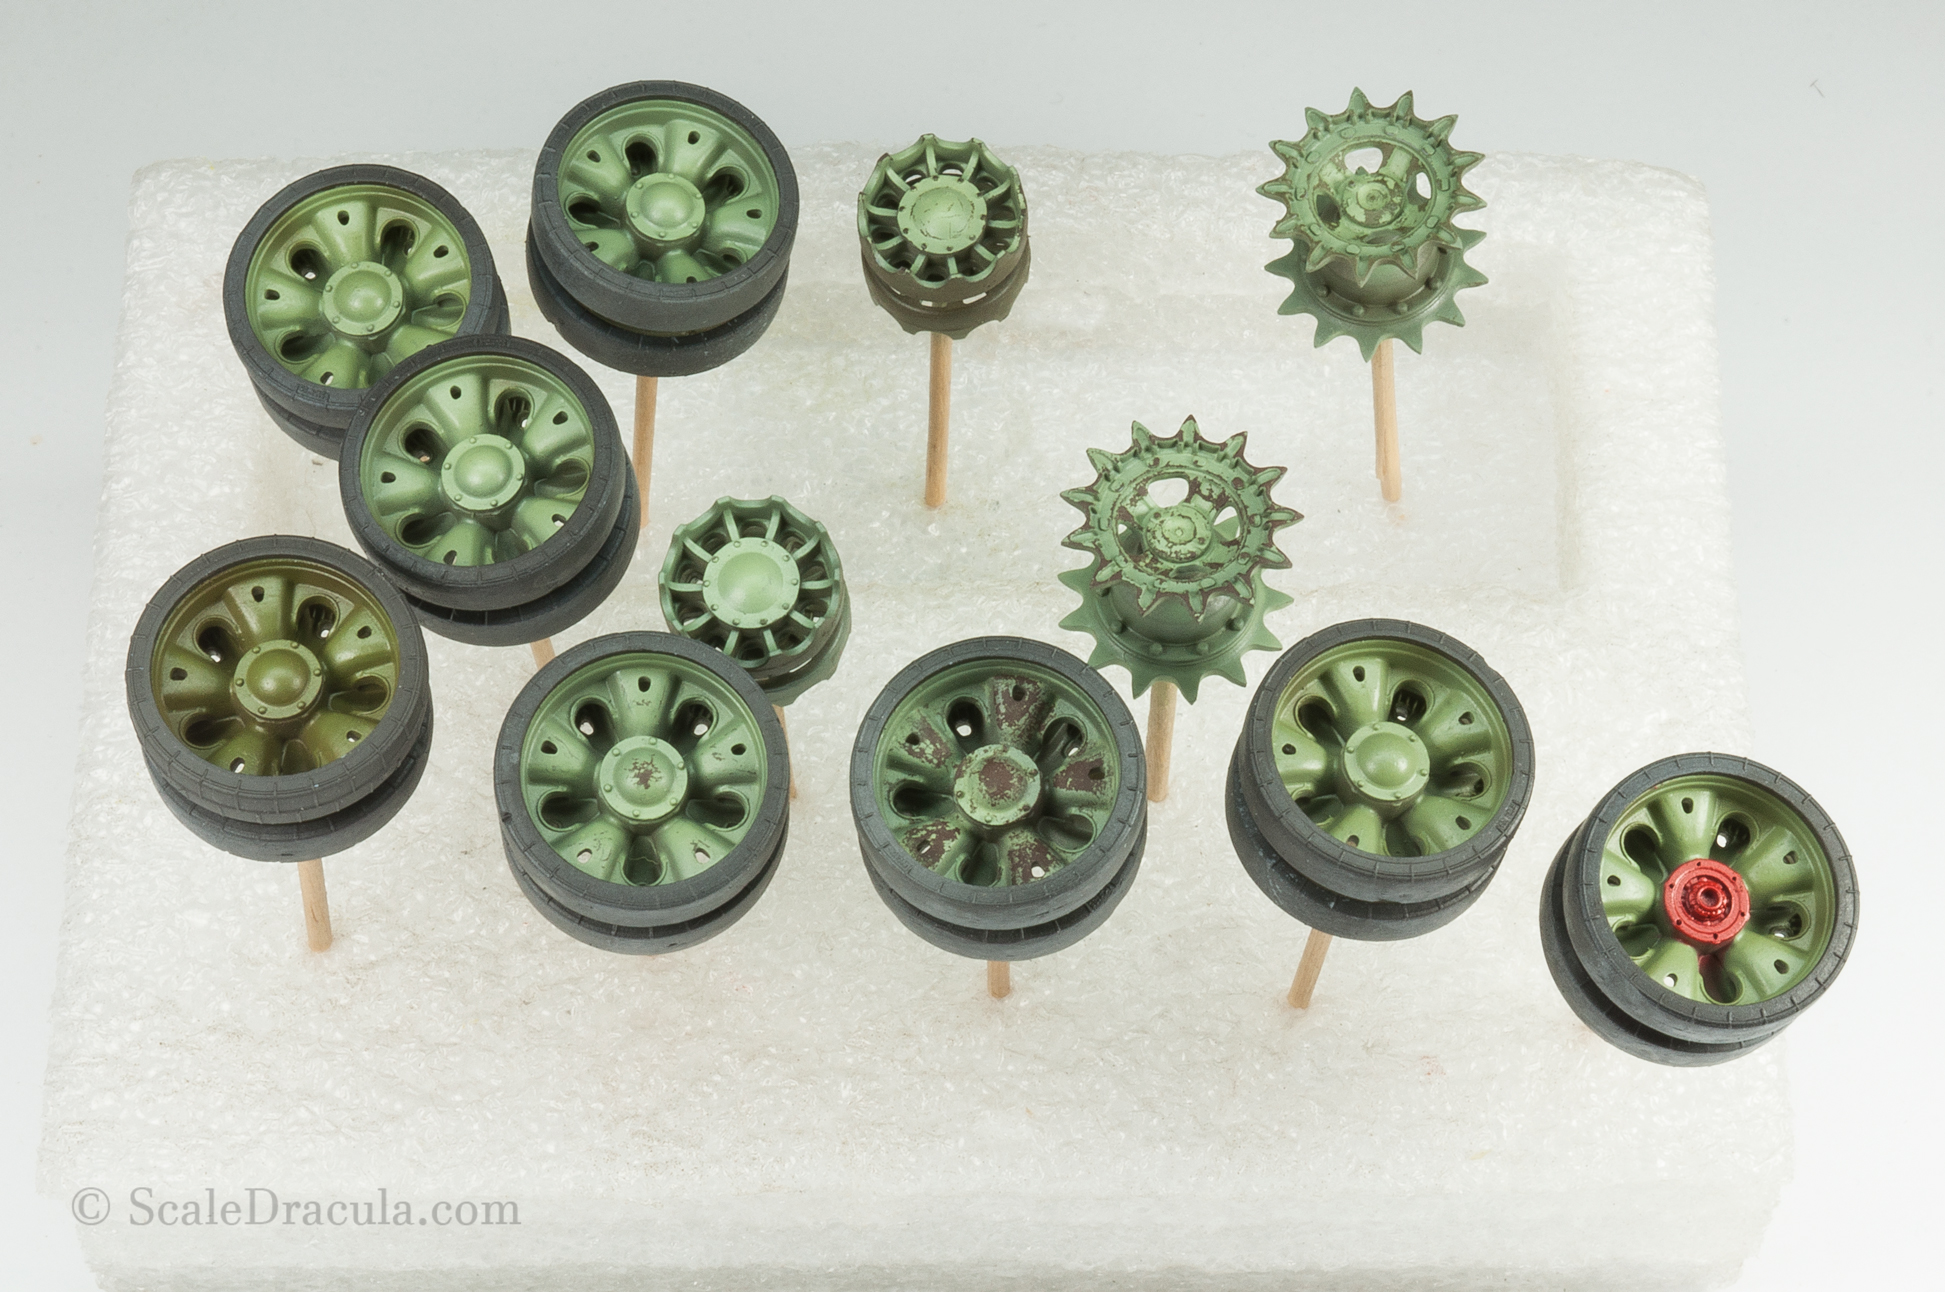
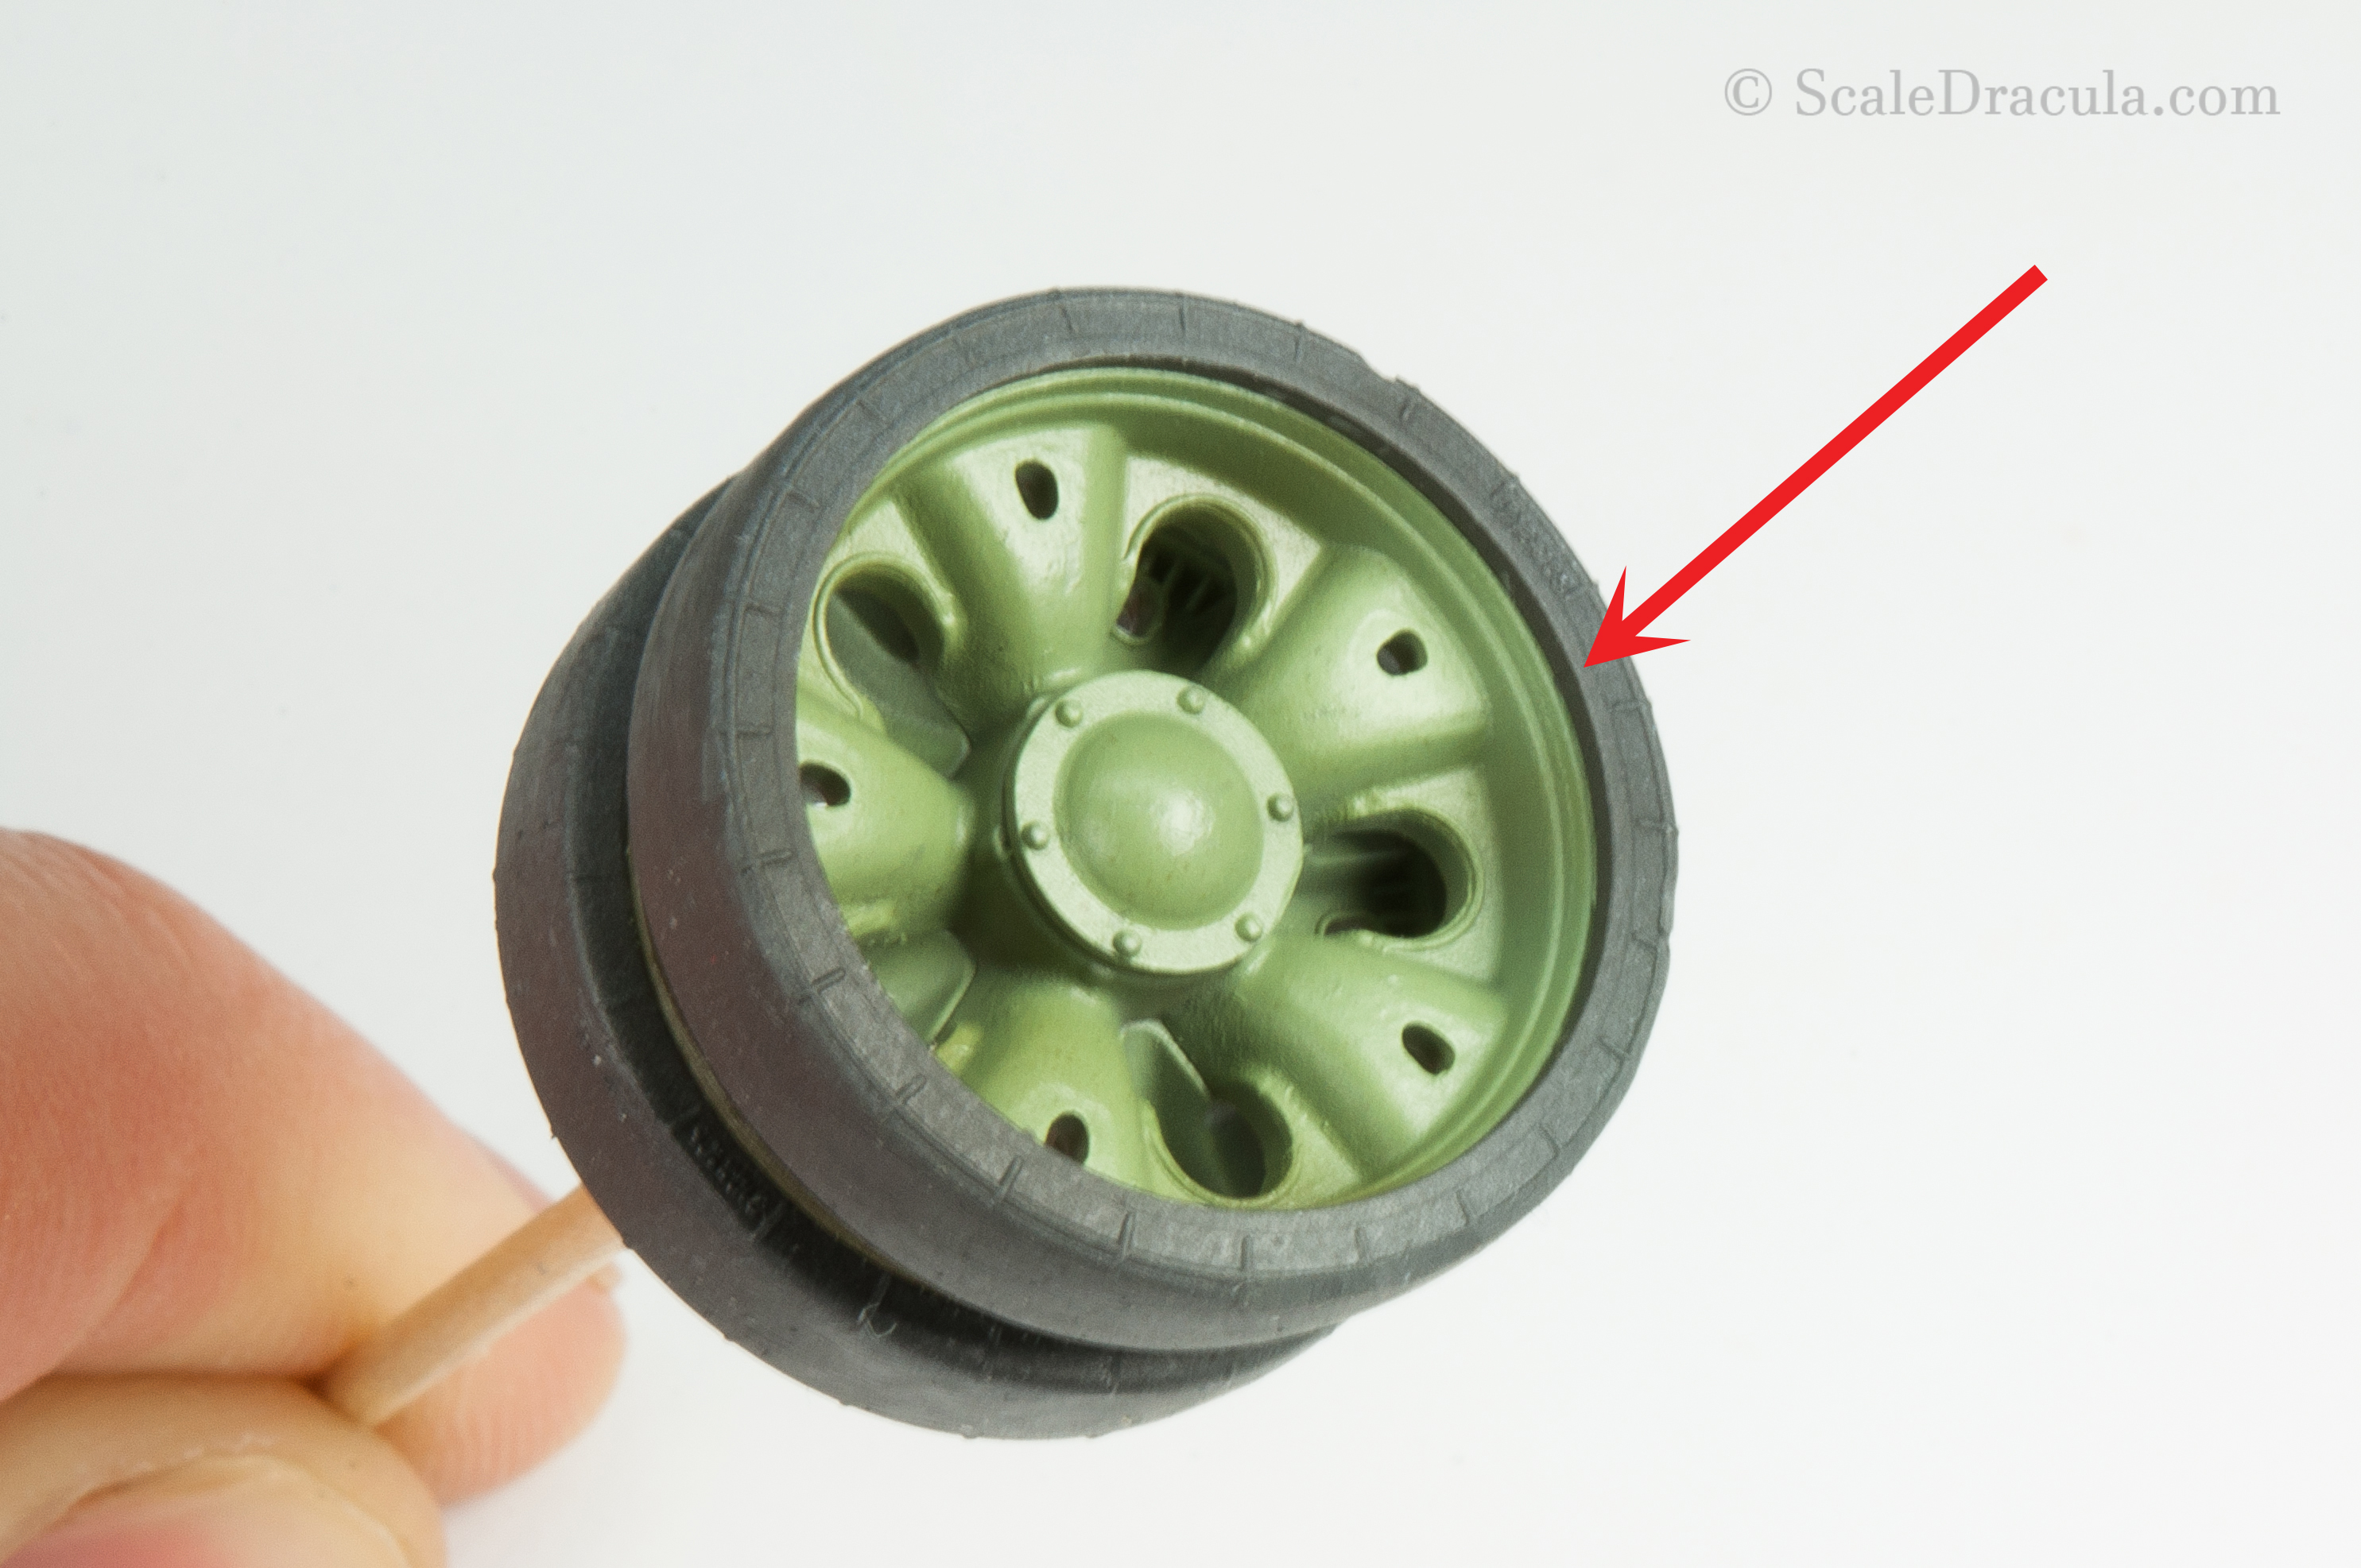
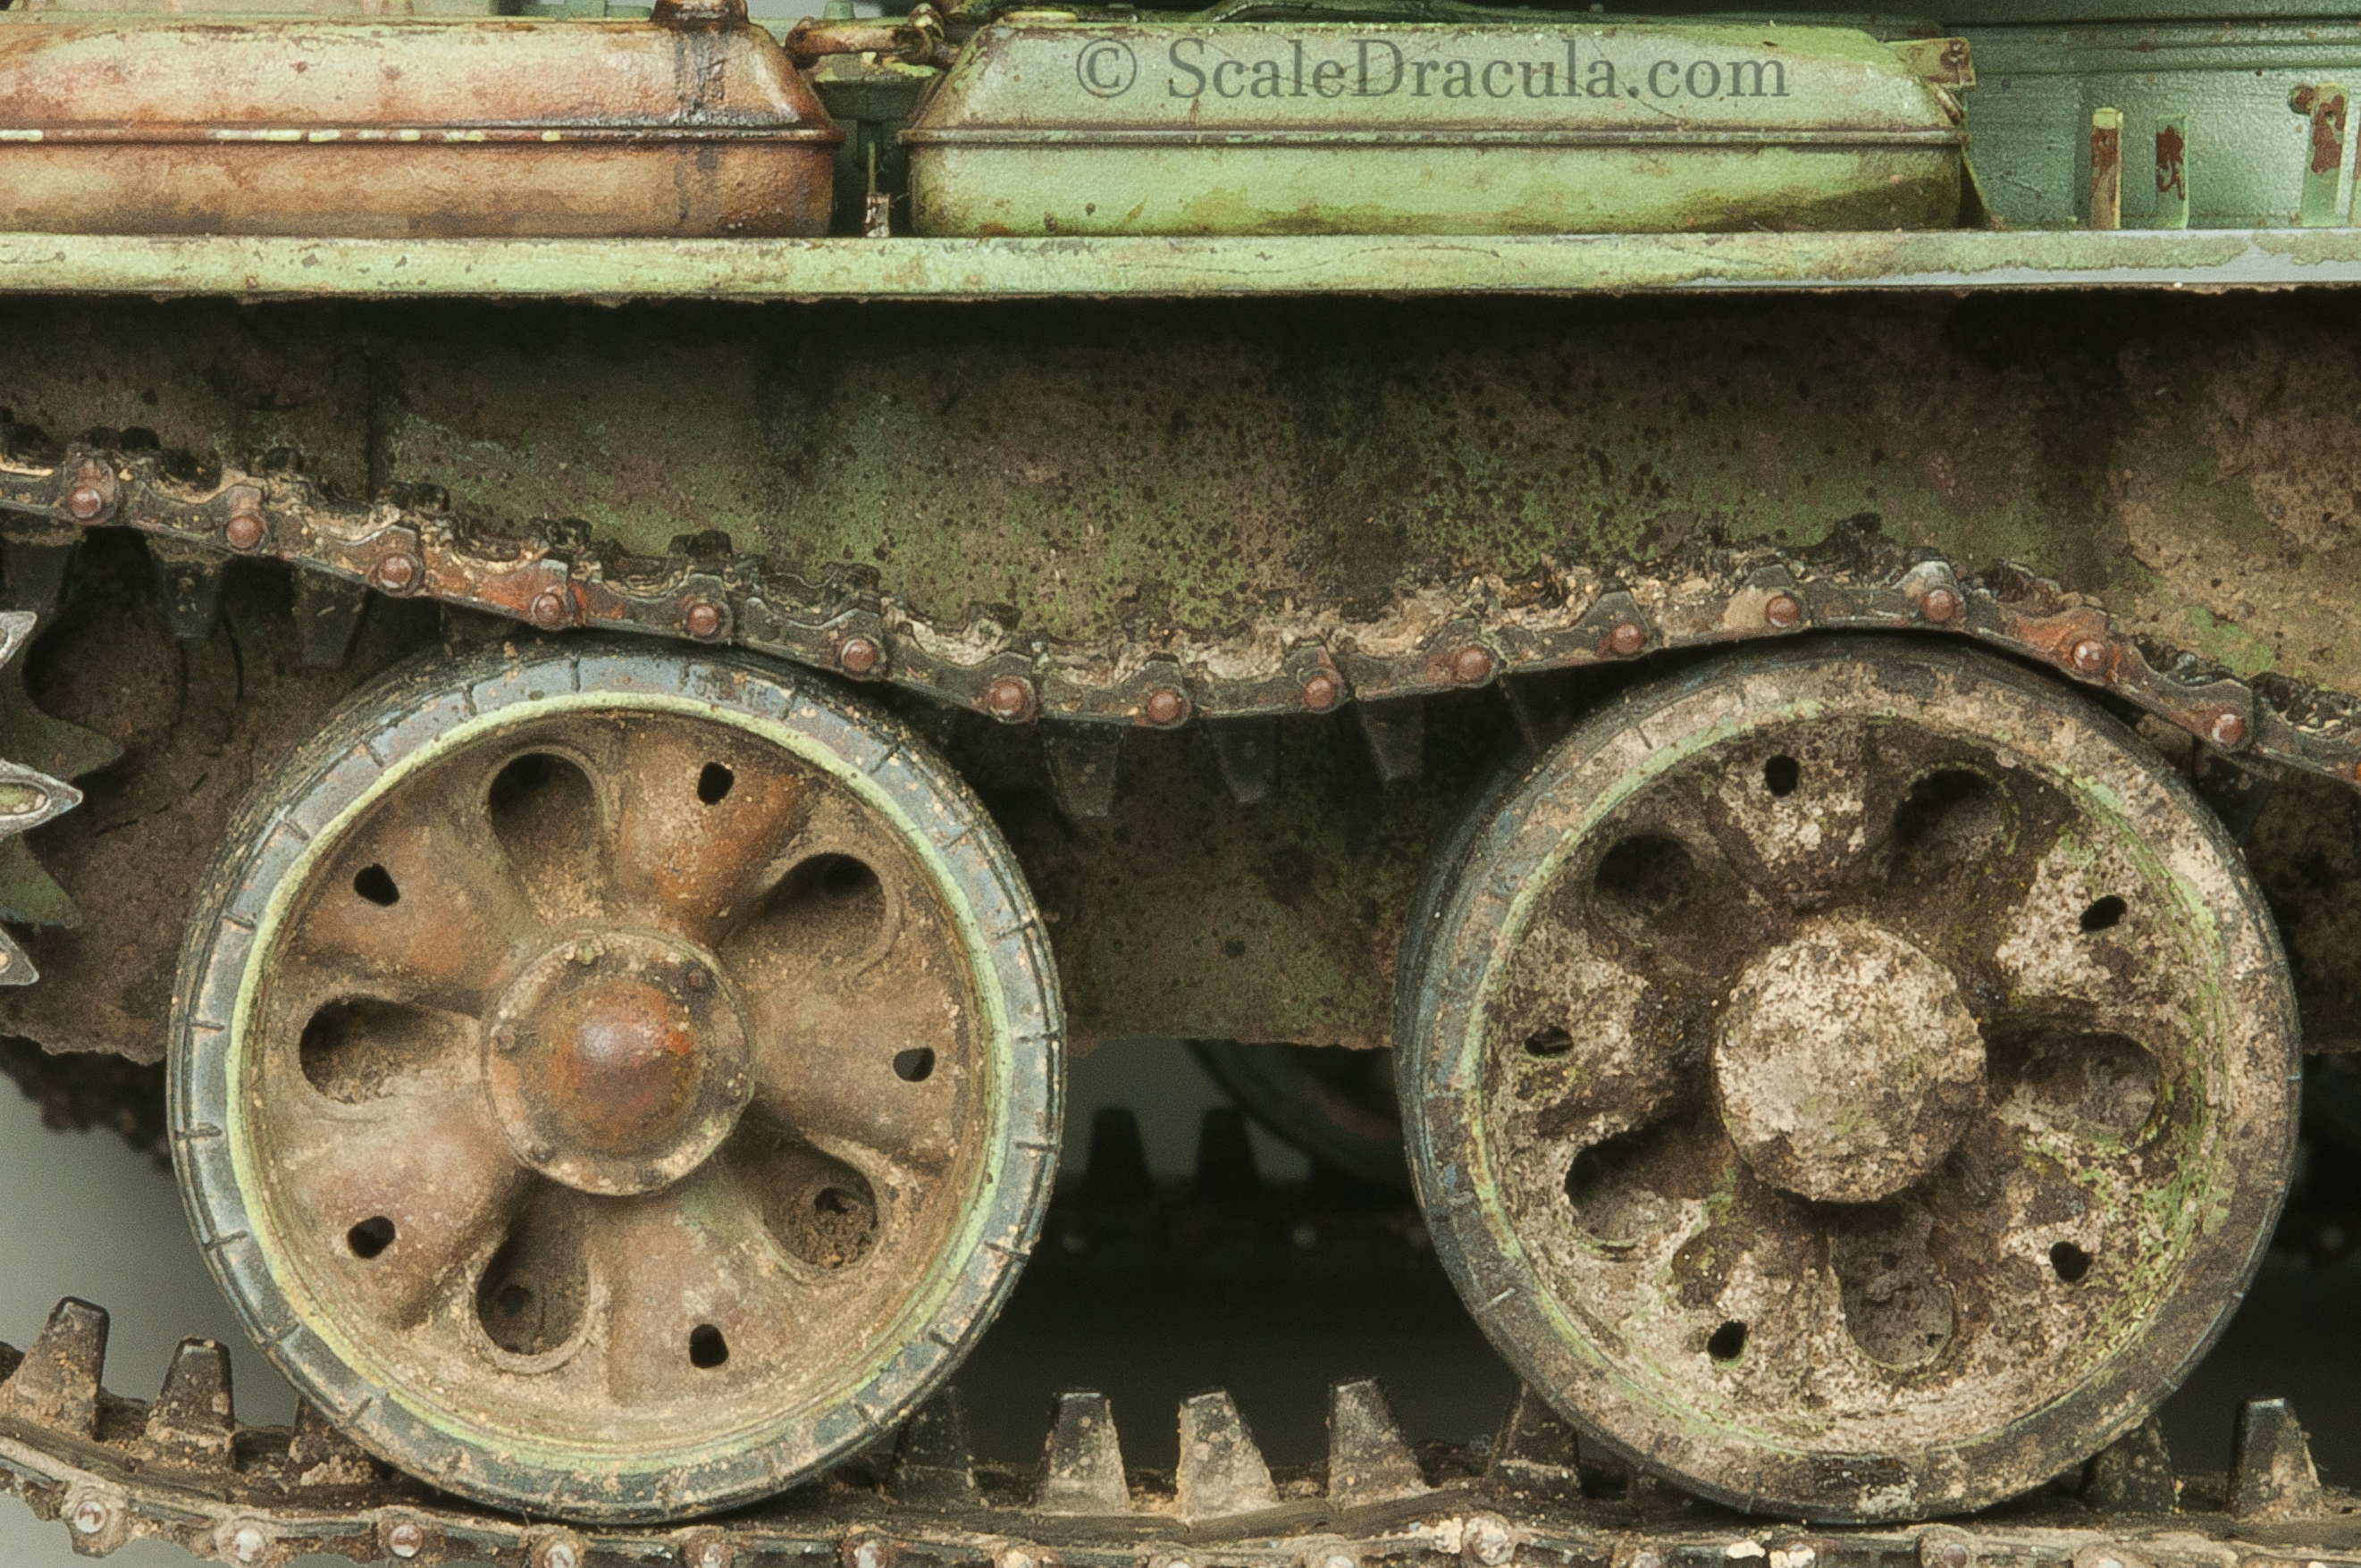
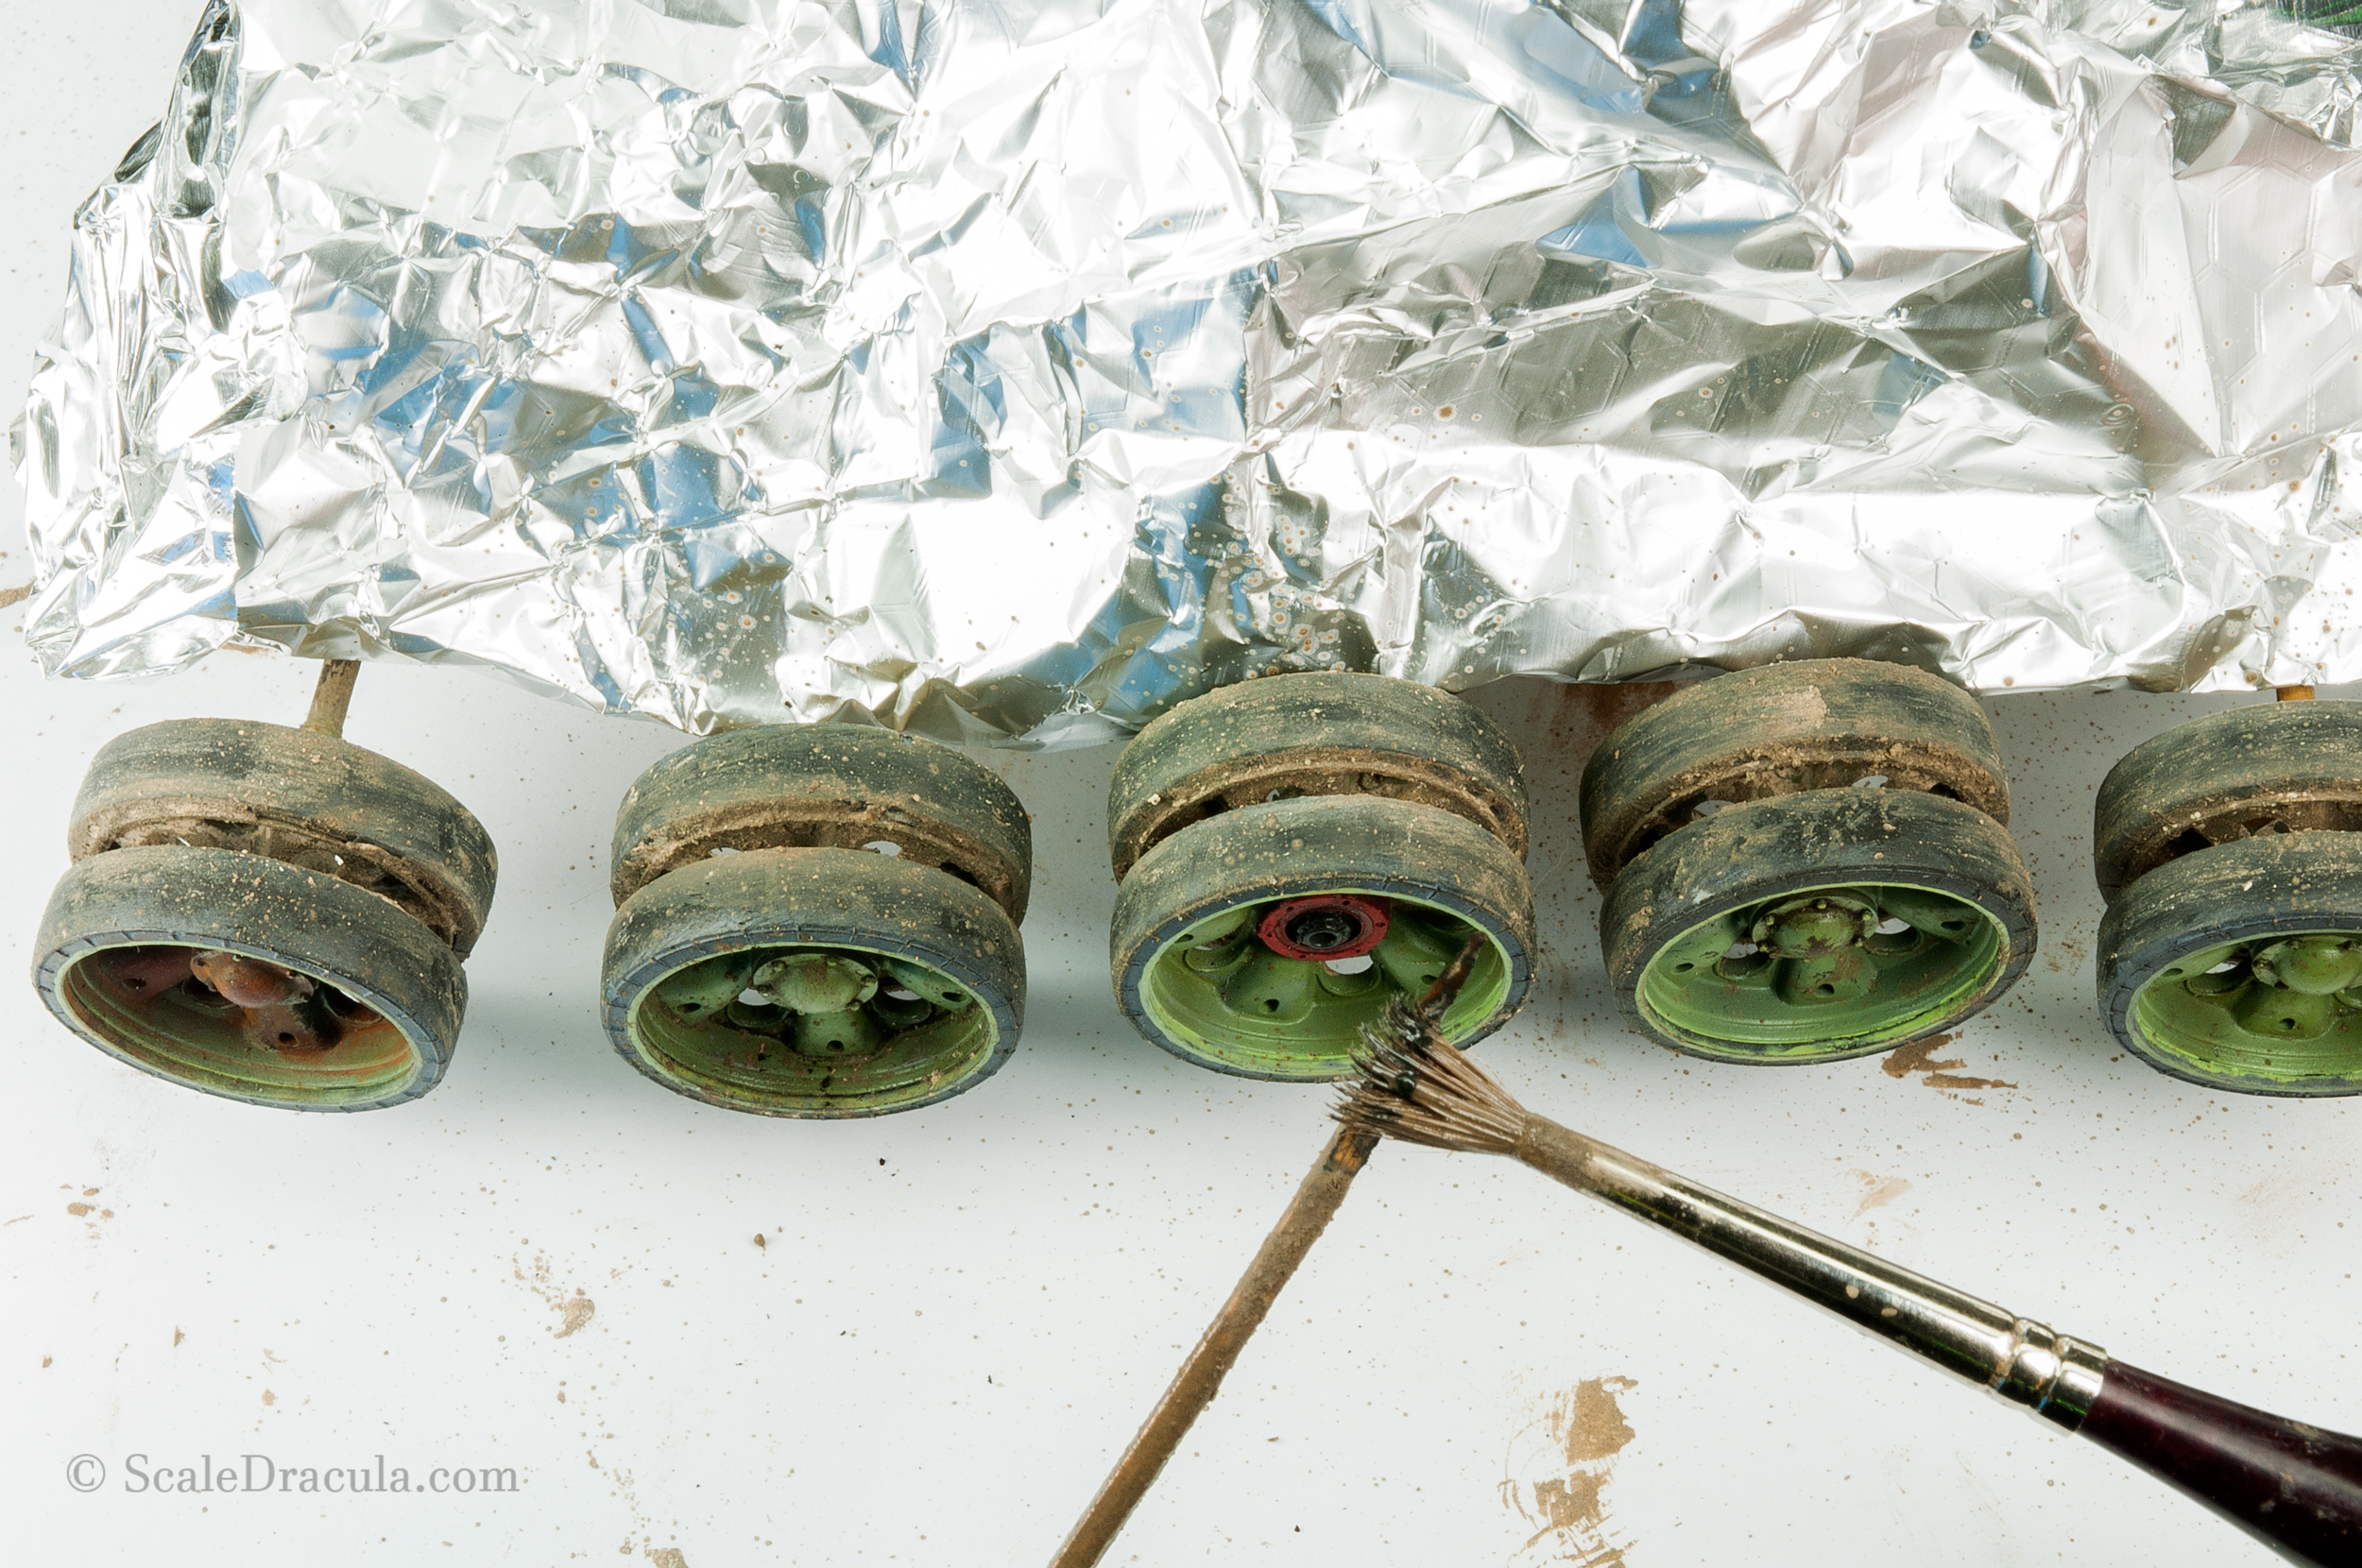
I already painted and weathered the rubber on the wheels. I'll show you how to do it on a separate SBS on my website.
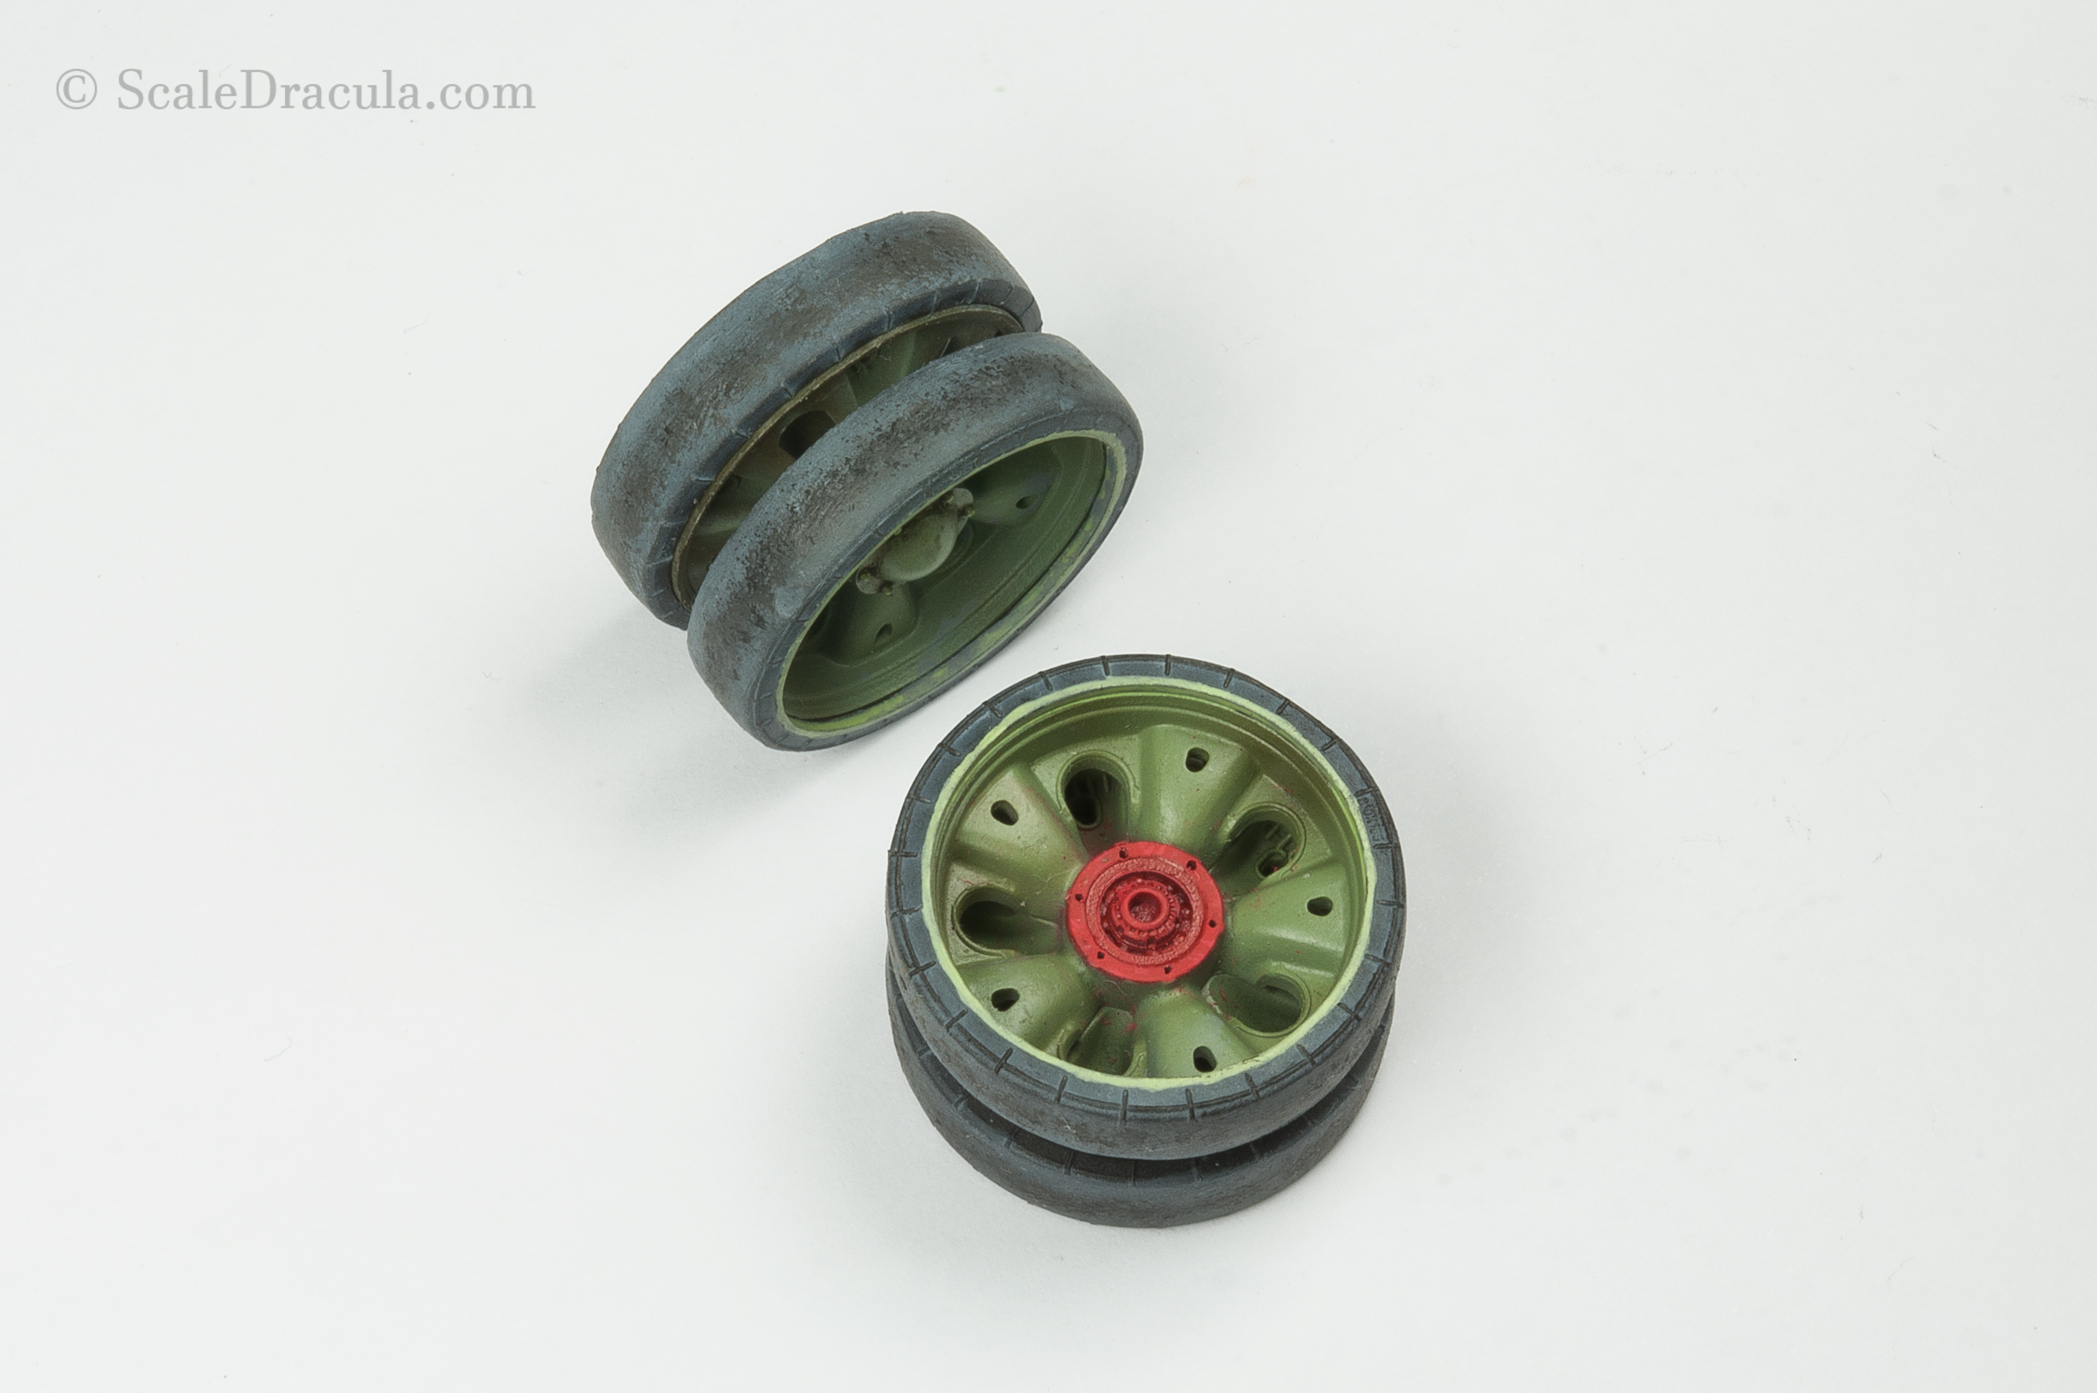
The wheels also receive the mud. Here I use a brush and a toothpick to create splashes.
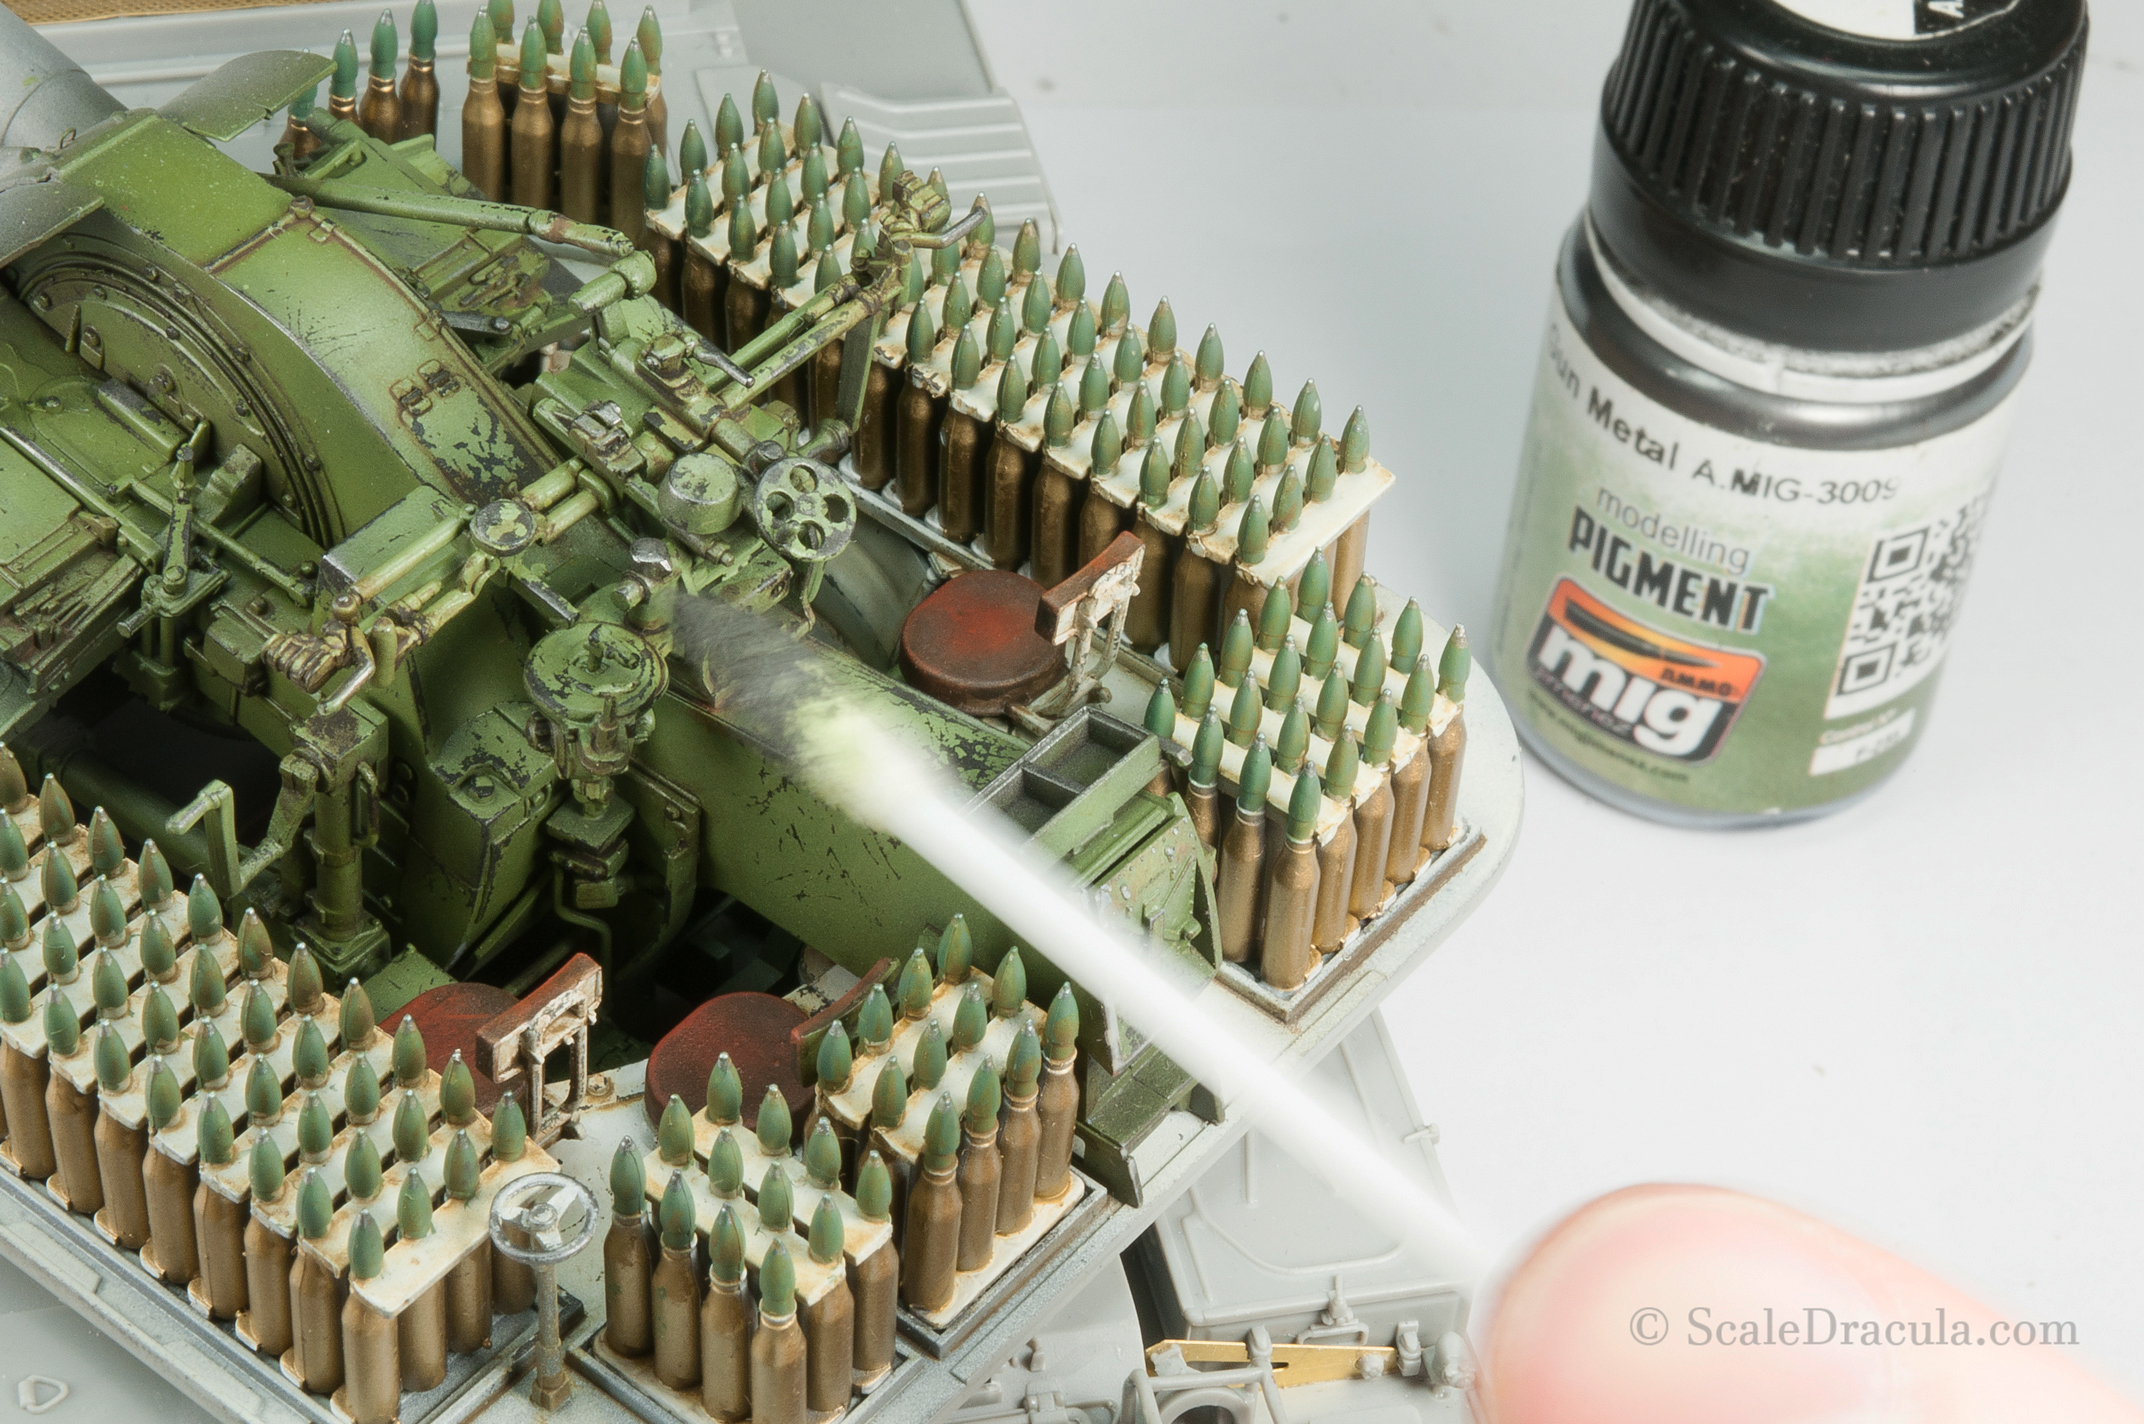
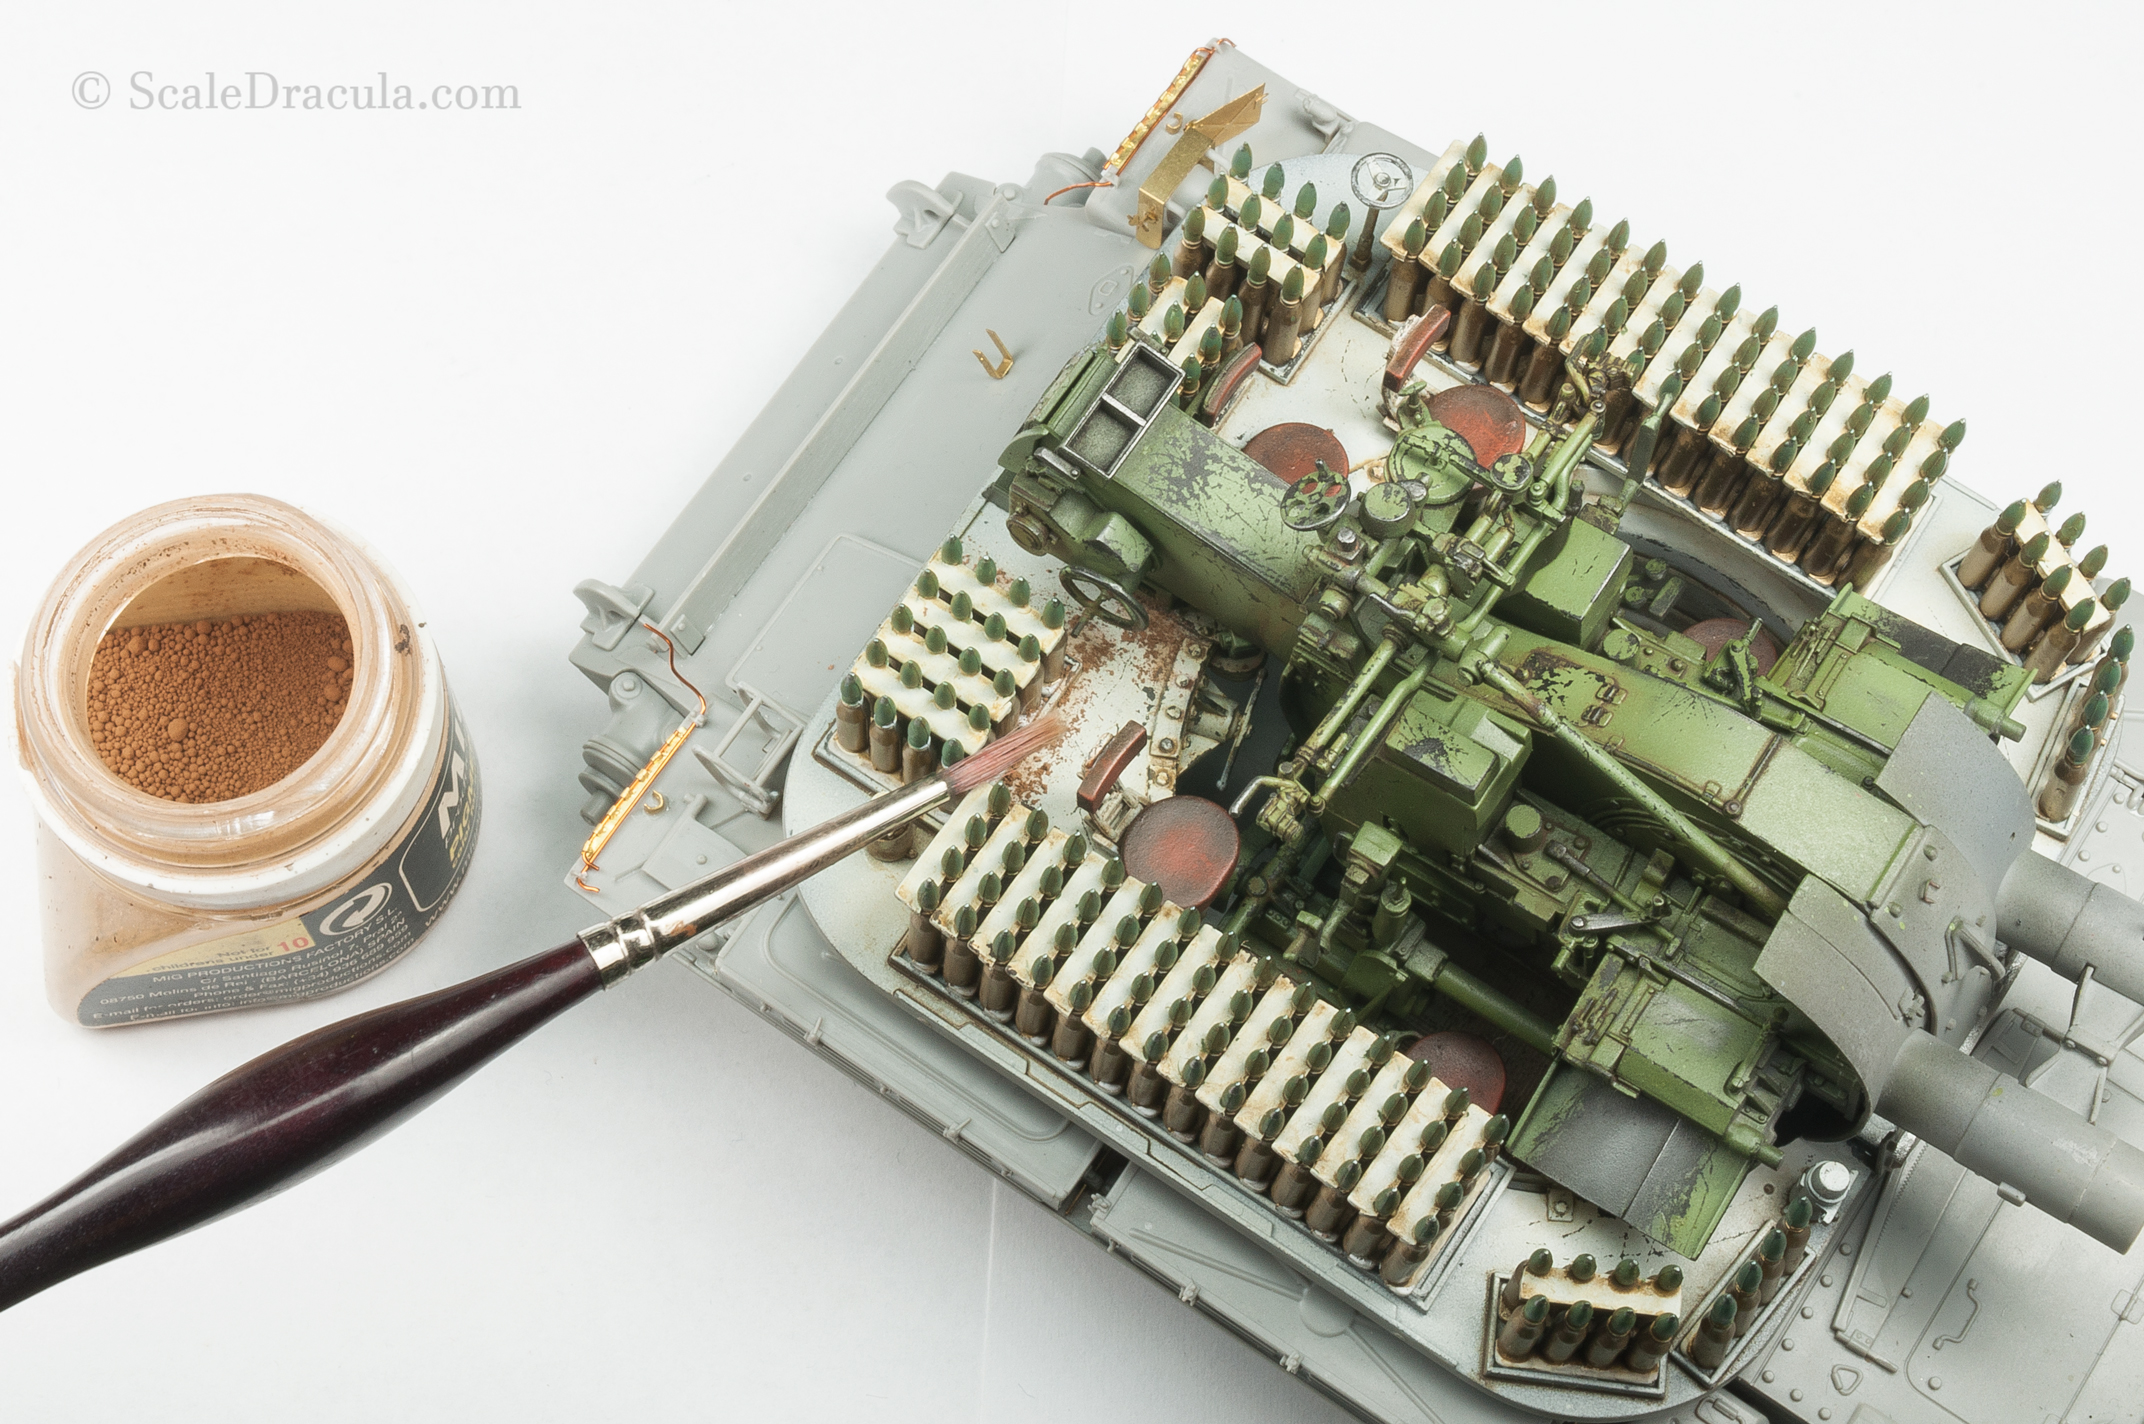
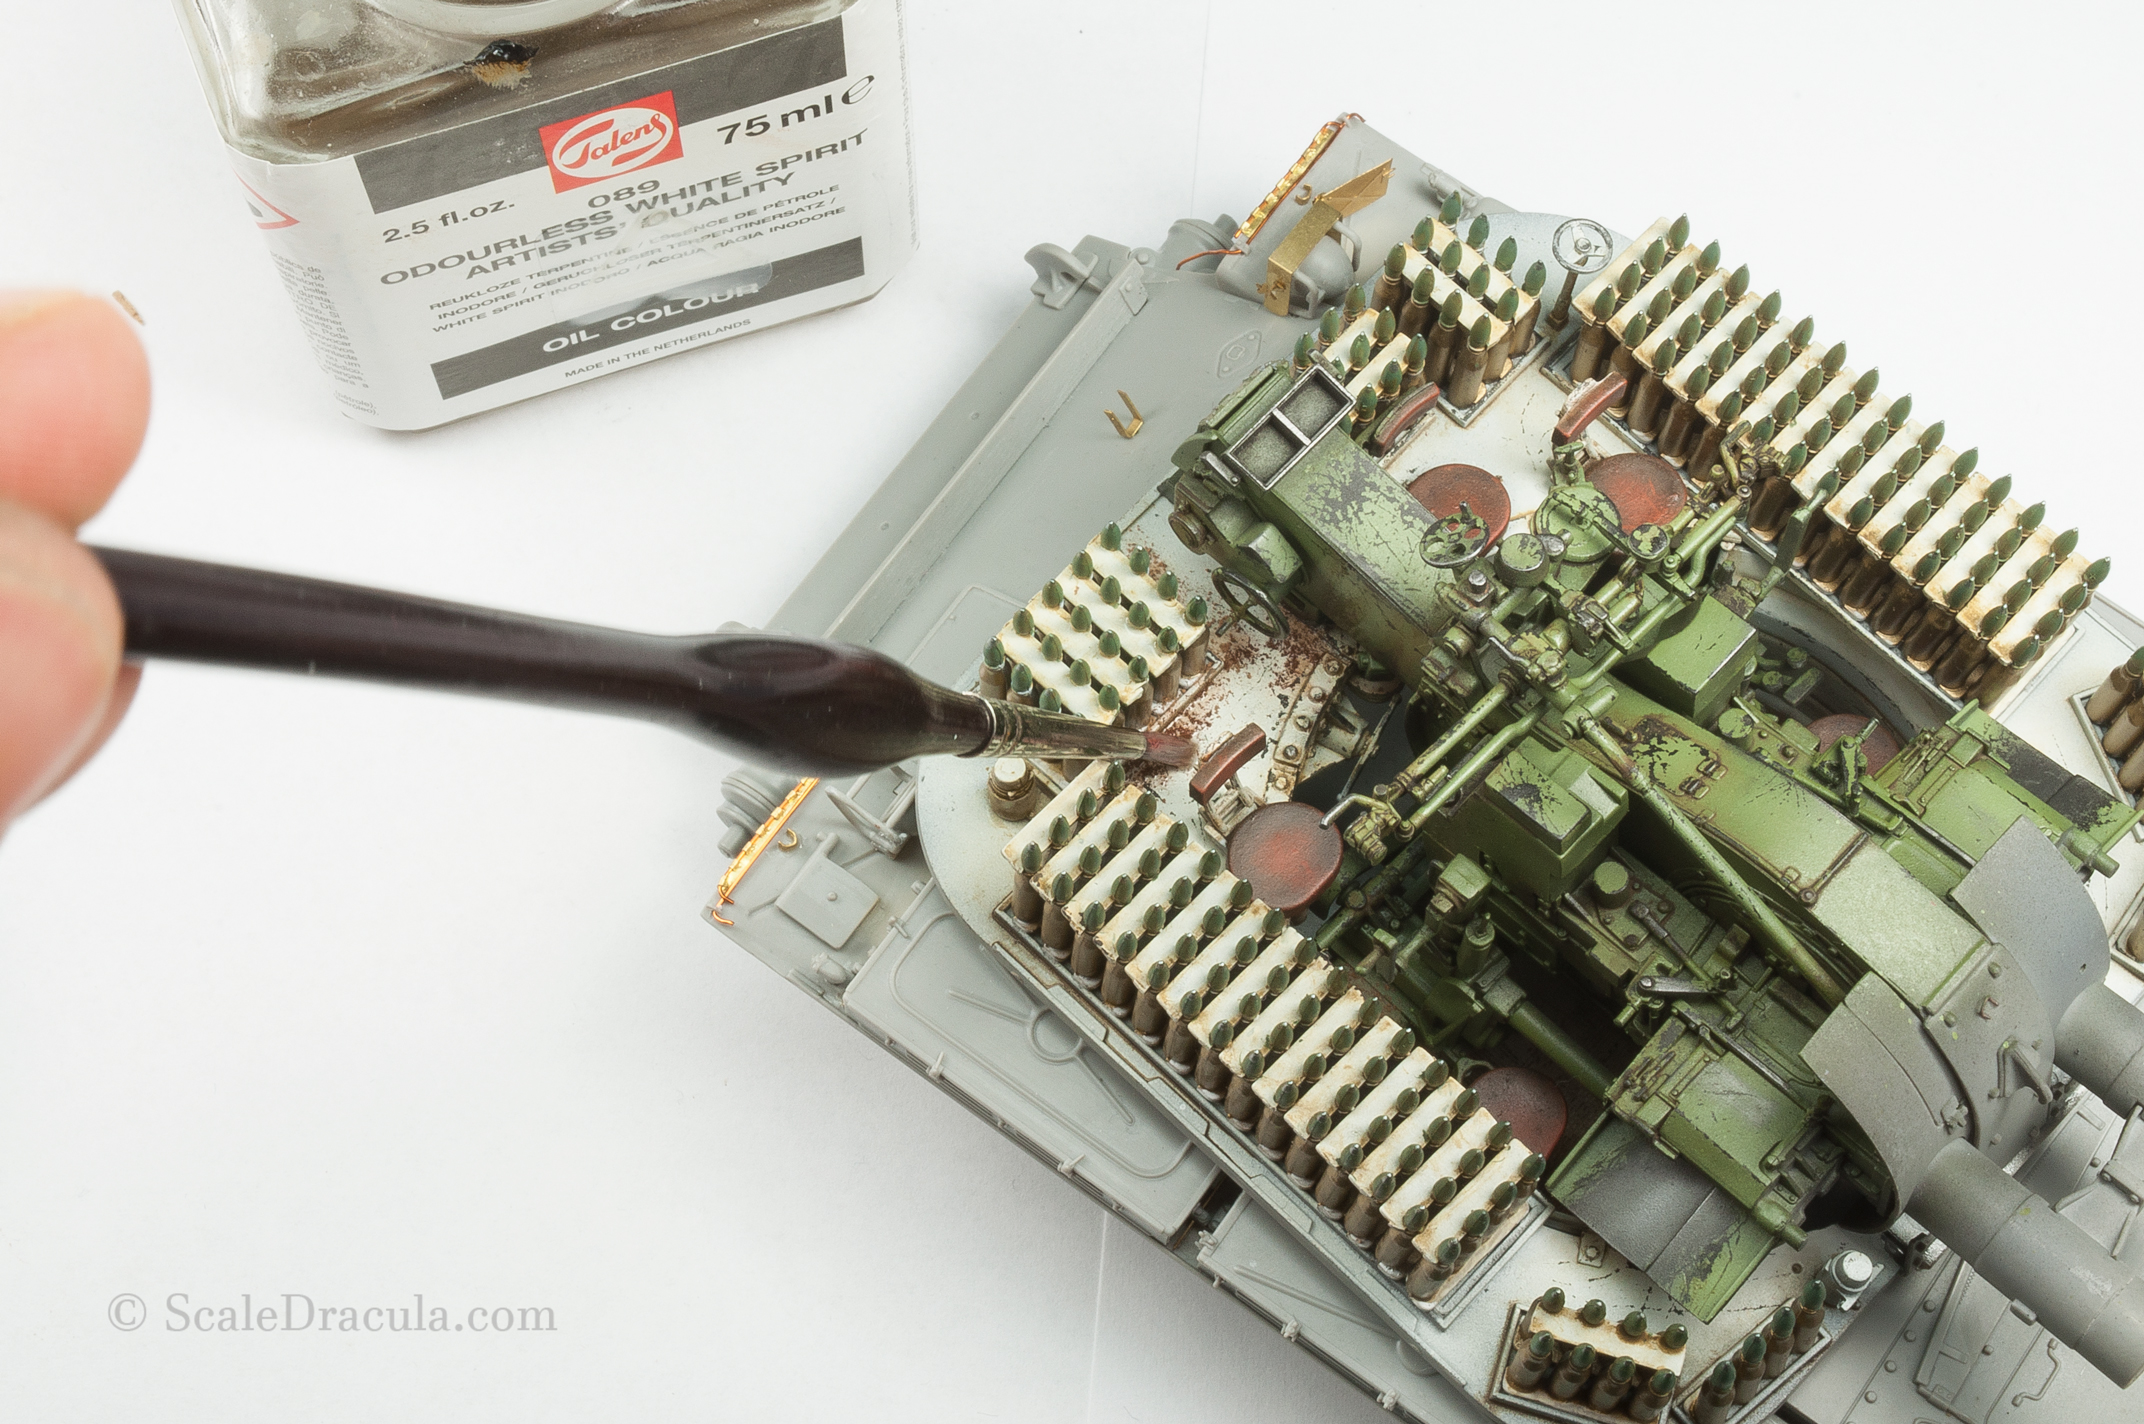
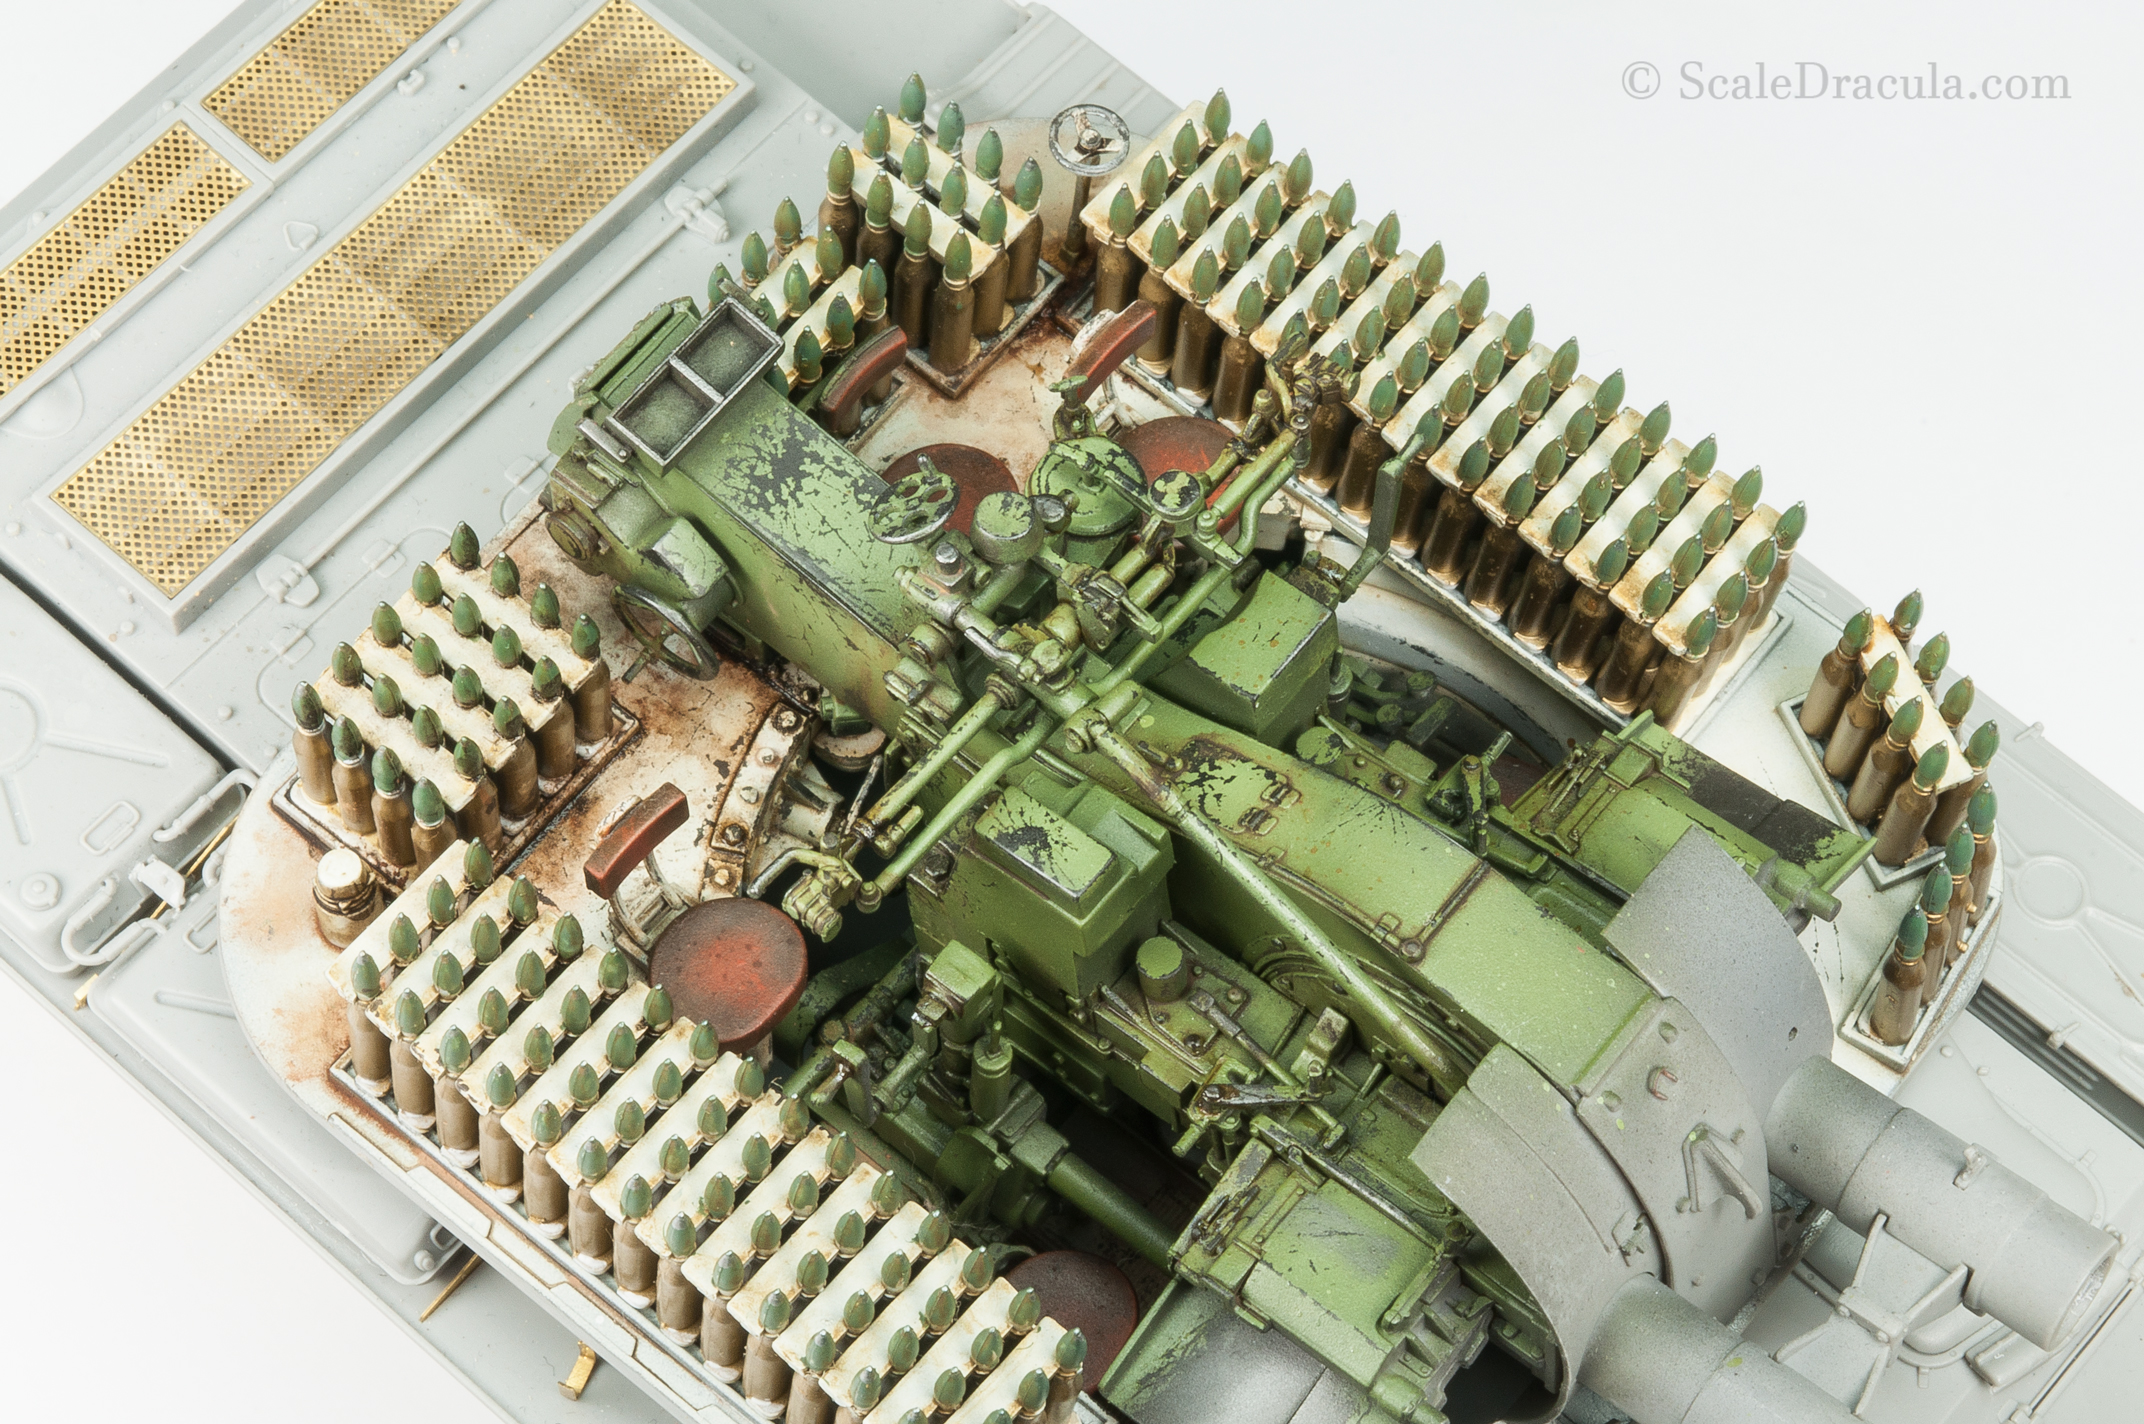
I used some raw pigments on the fenders to blend the difference between the dirty undercarriage and clean upper hull.
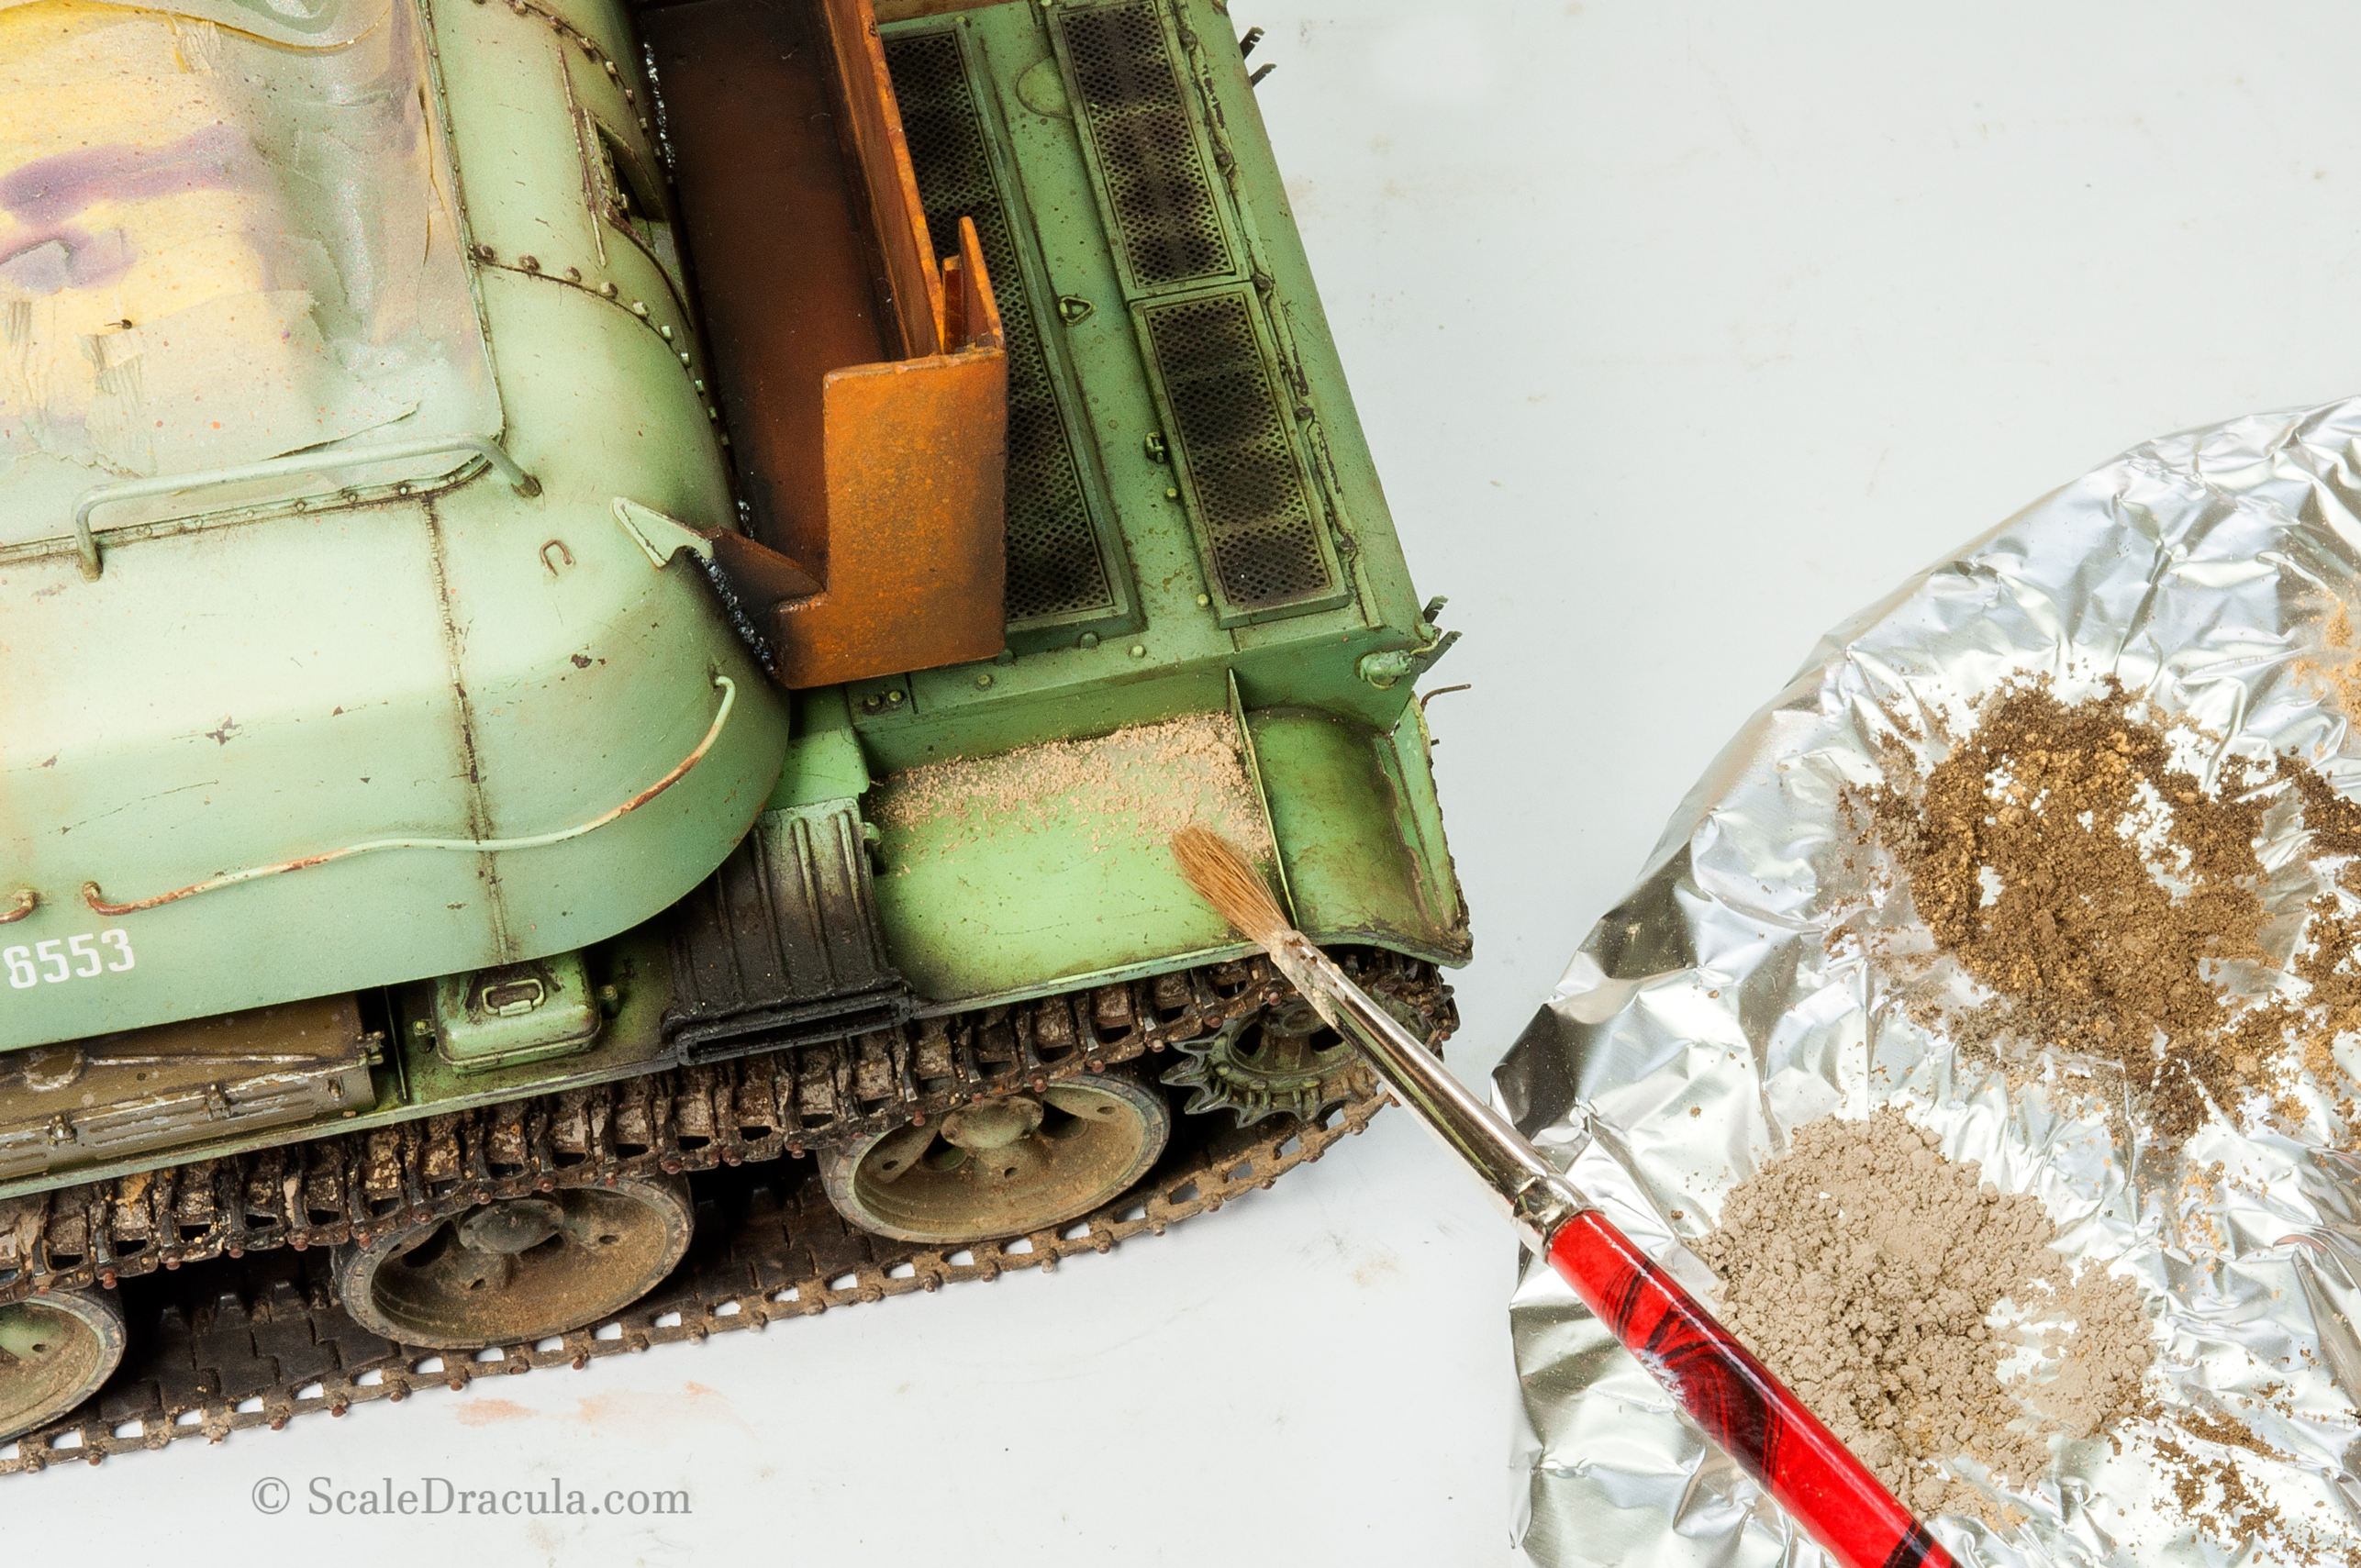
I fix the pigment with white spirit.

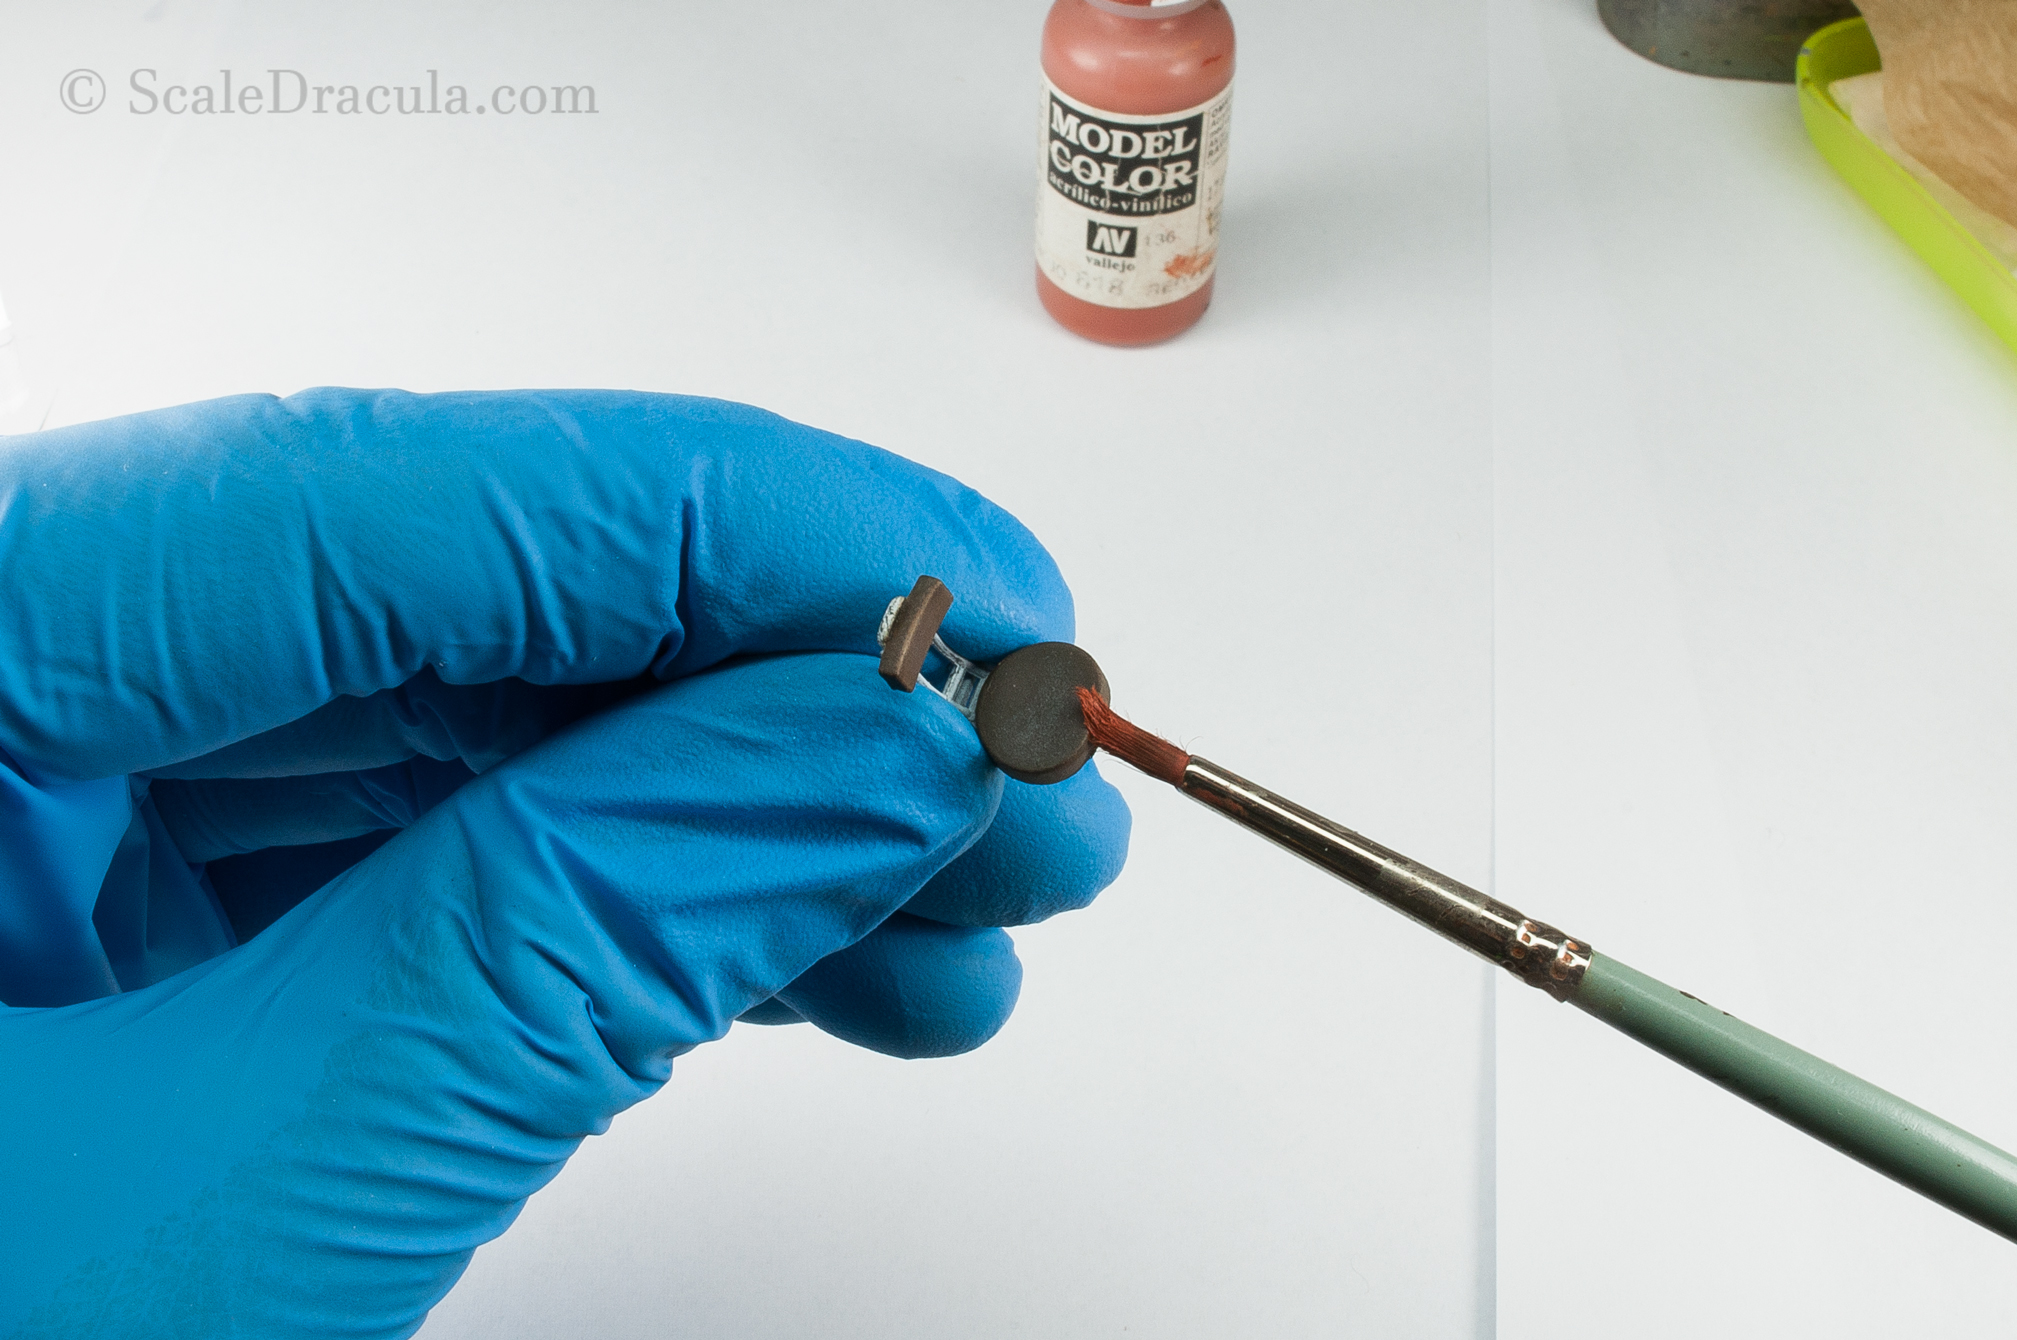
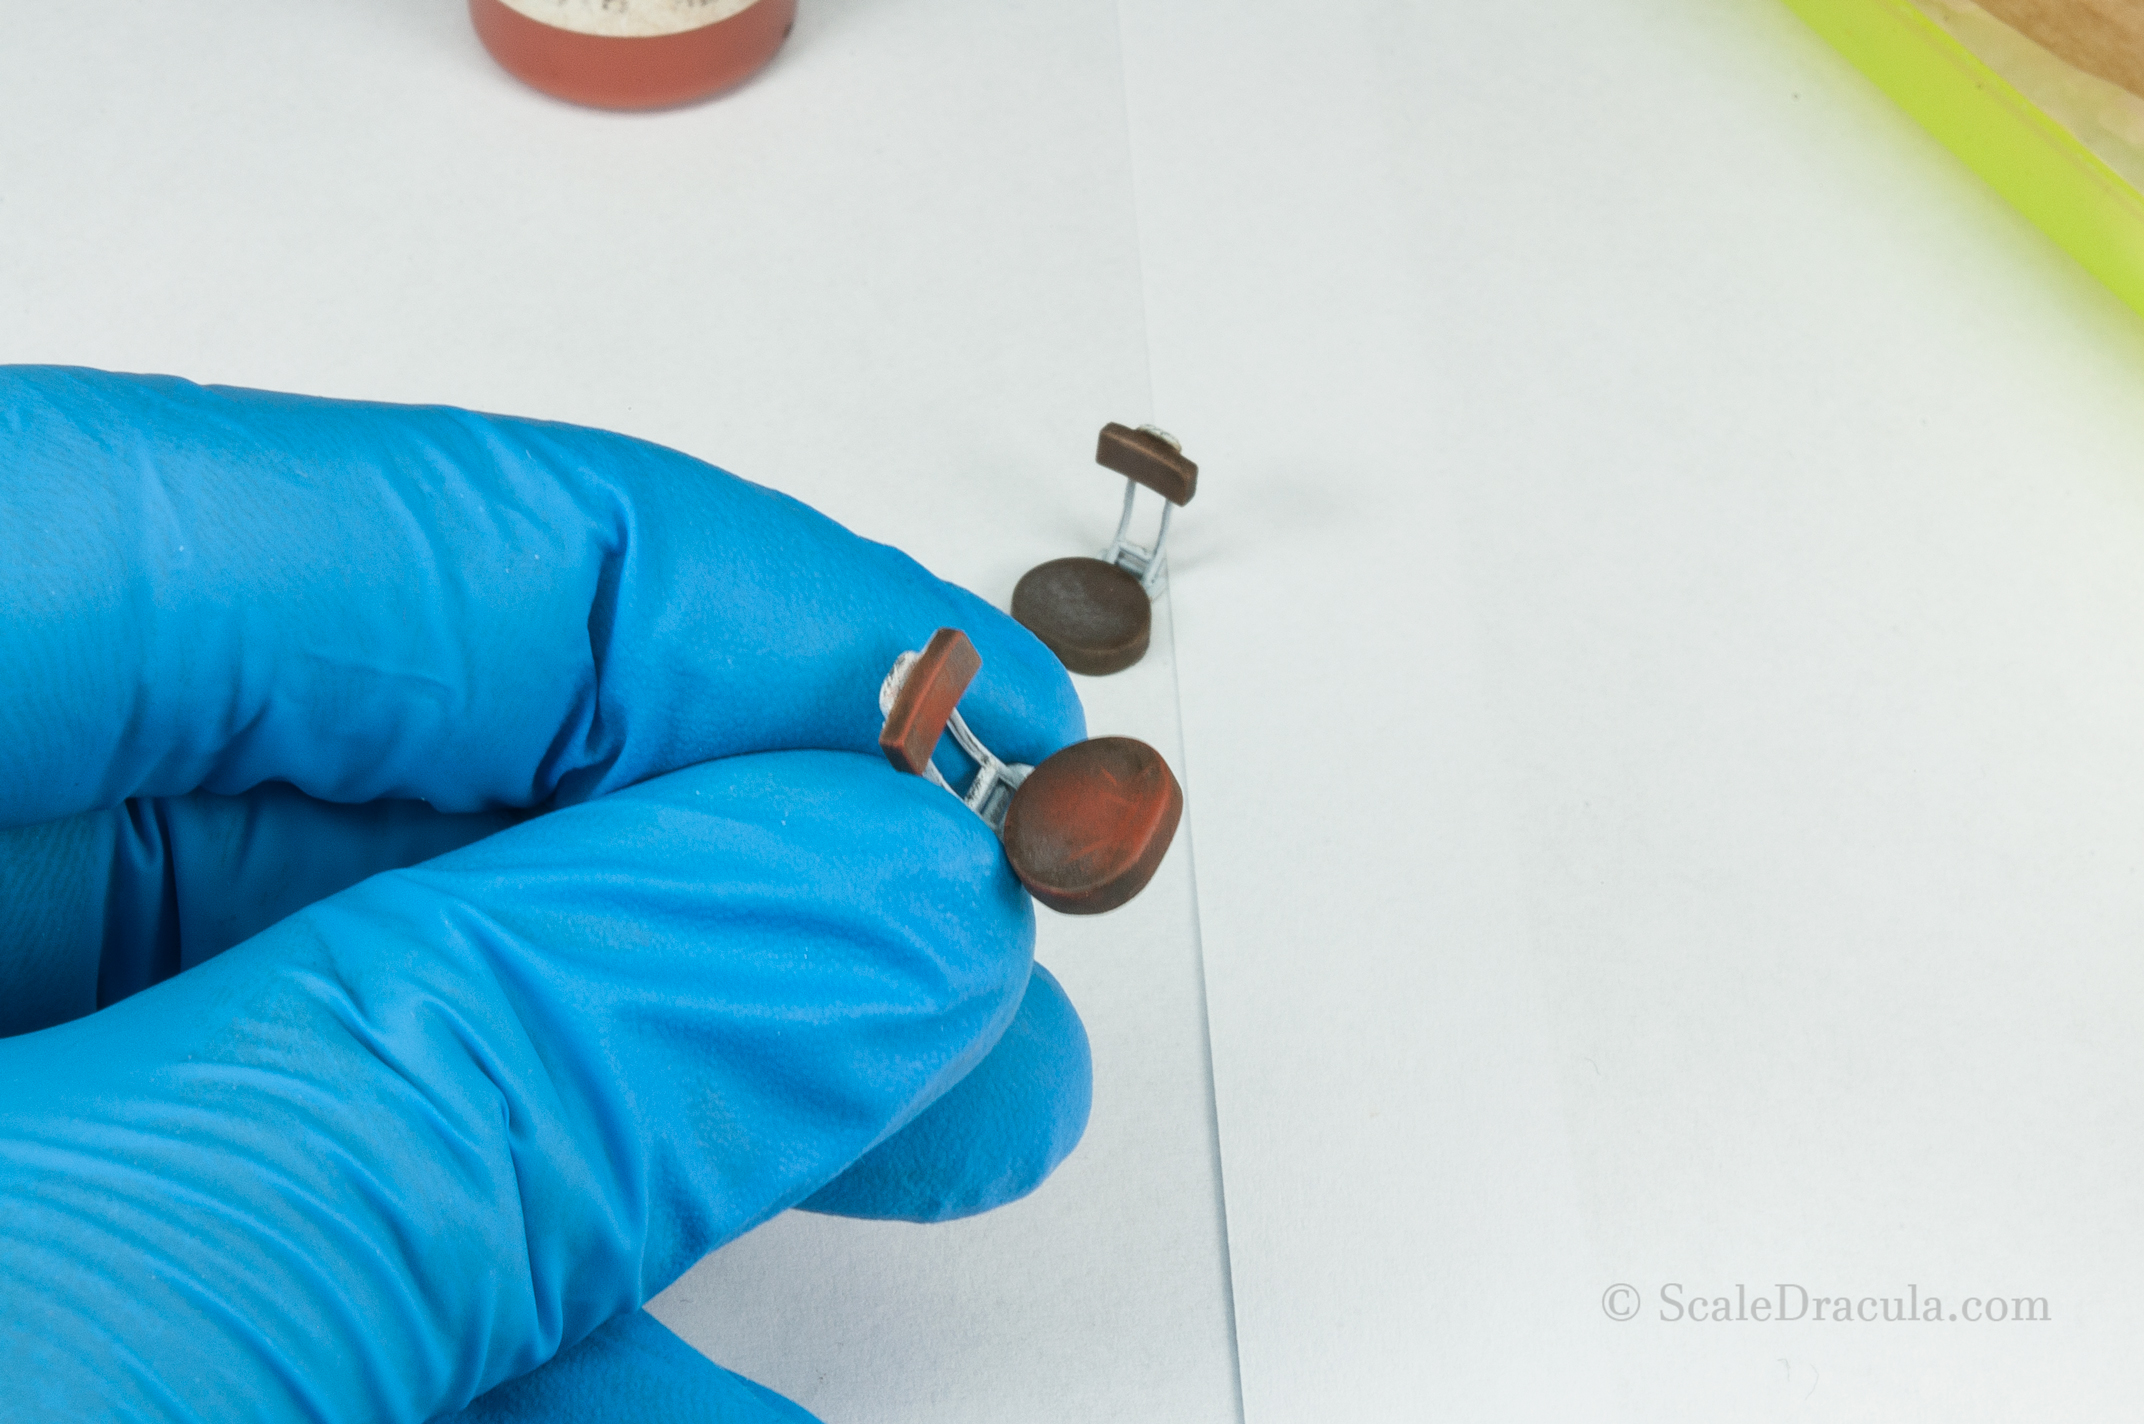
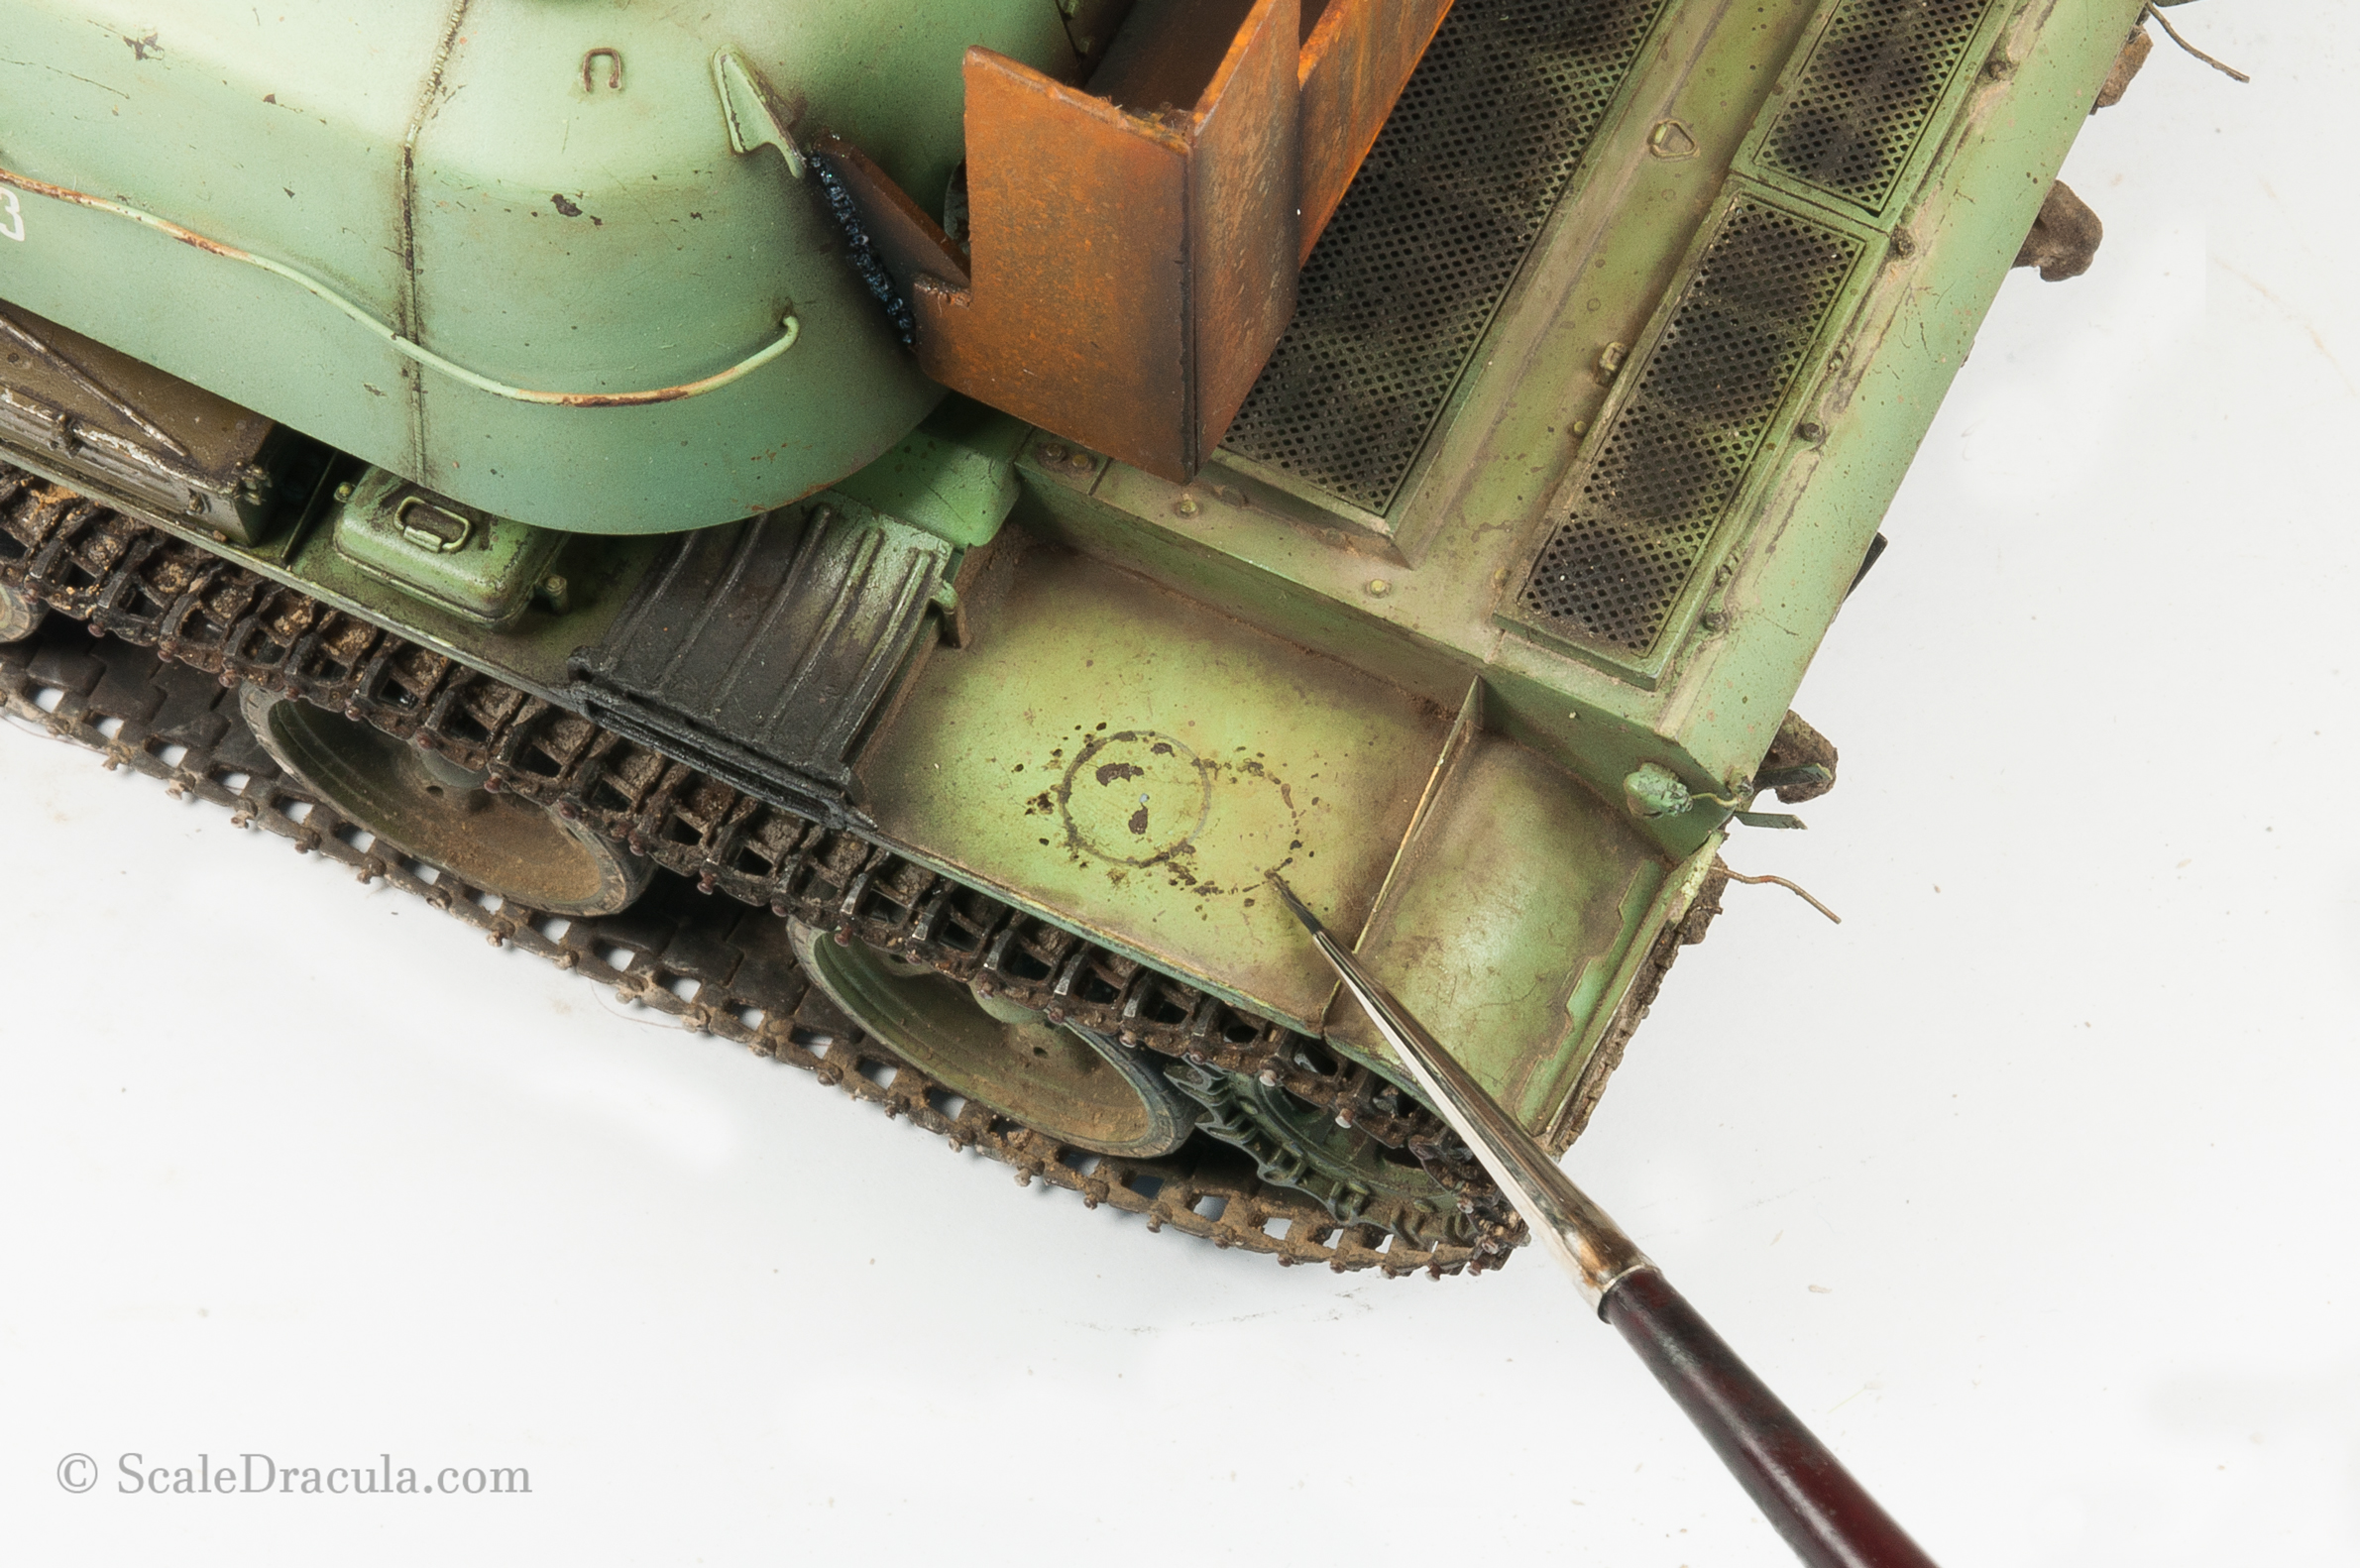
With a dilluted oil paint I paint some round wet staind that will match the bucket. Before that I marked the circle with a pencil.
On the top of the barrel I create some chips using sponge technique. I used acrylic paint for that, probably Vallejo.
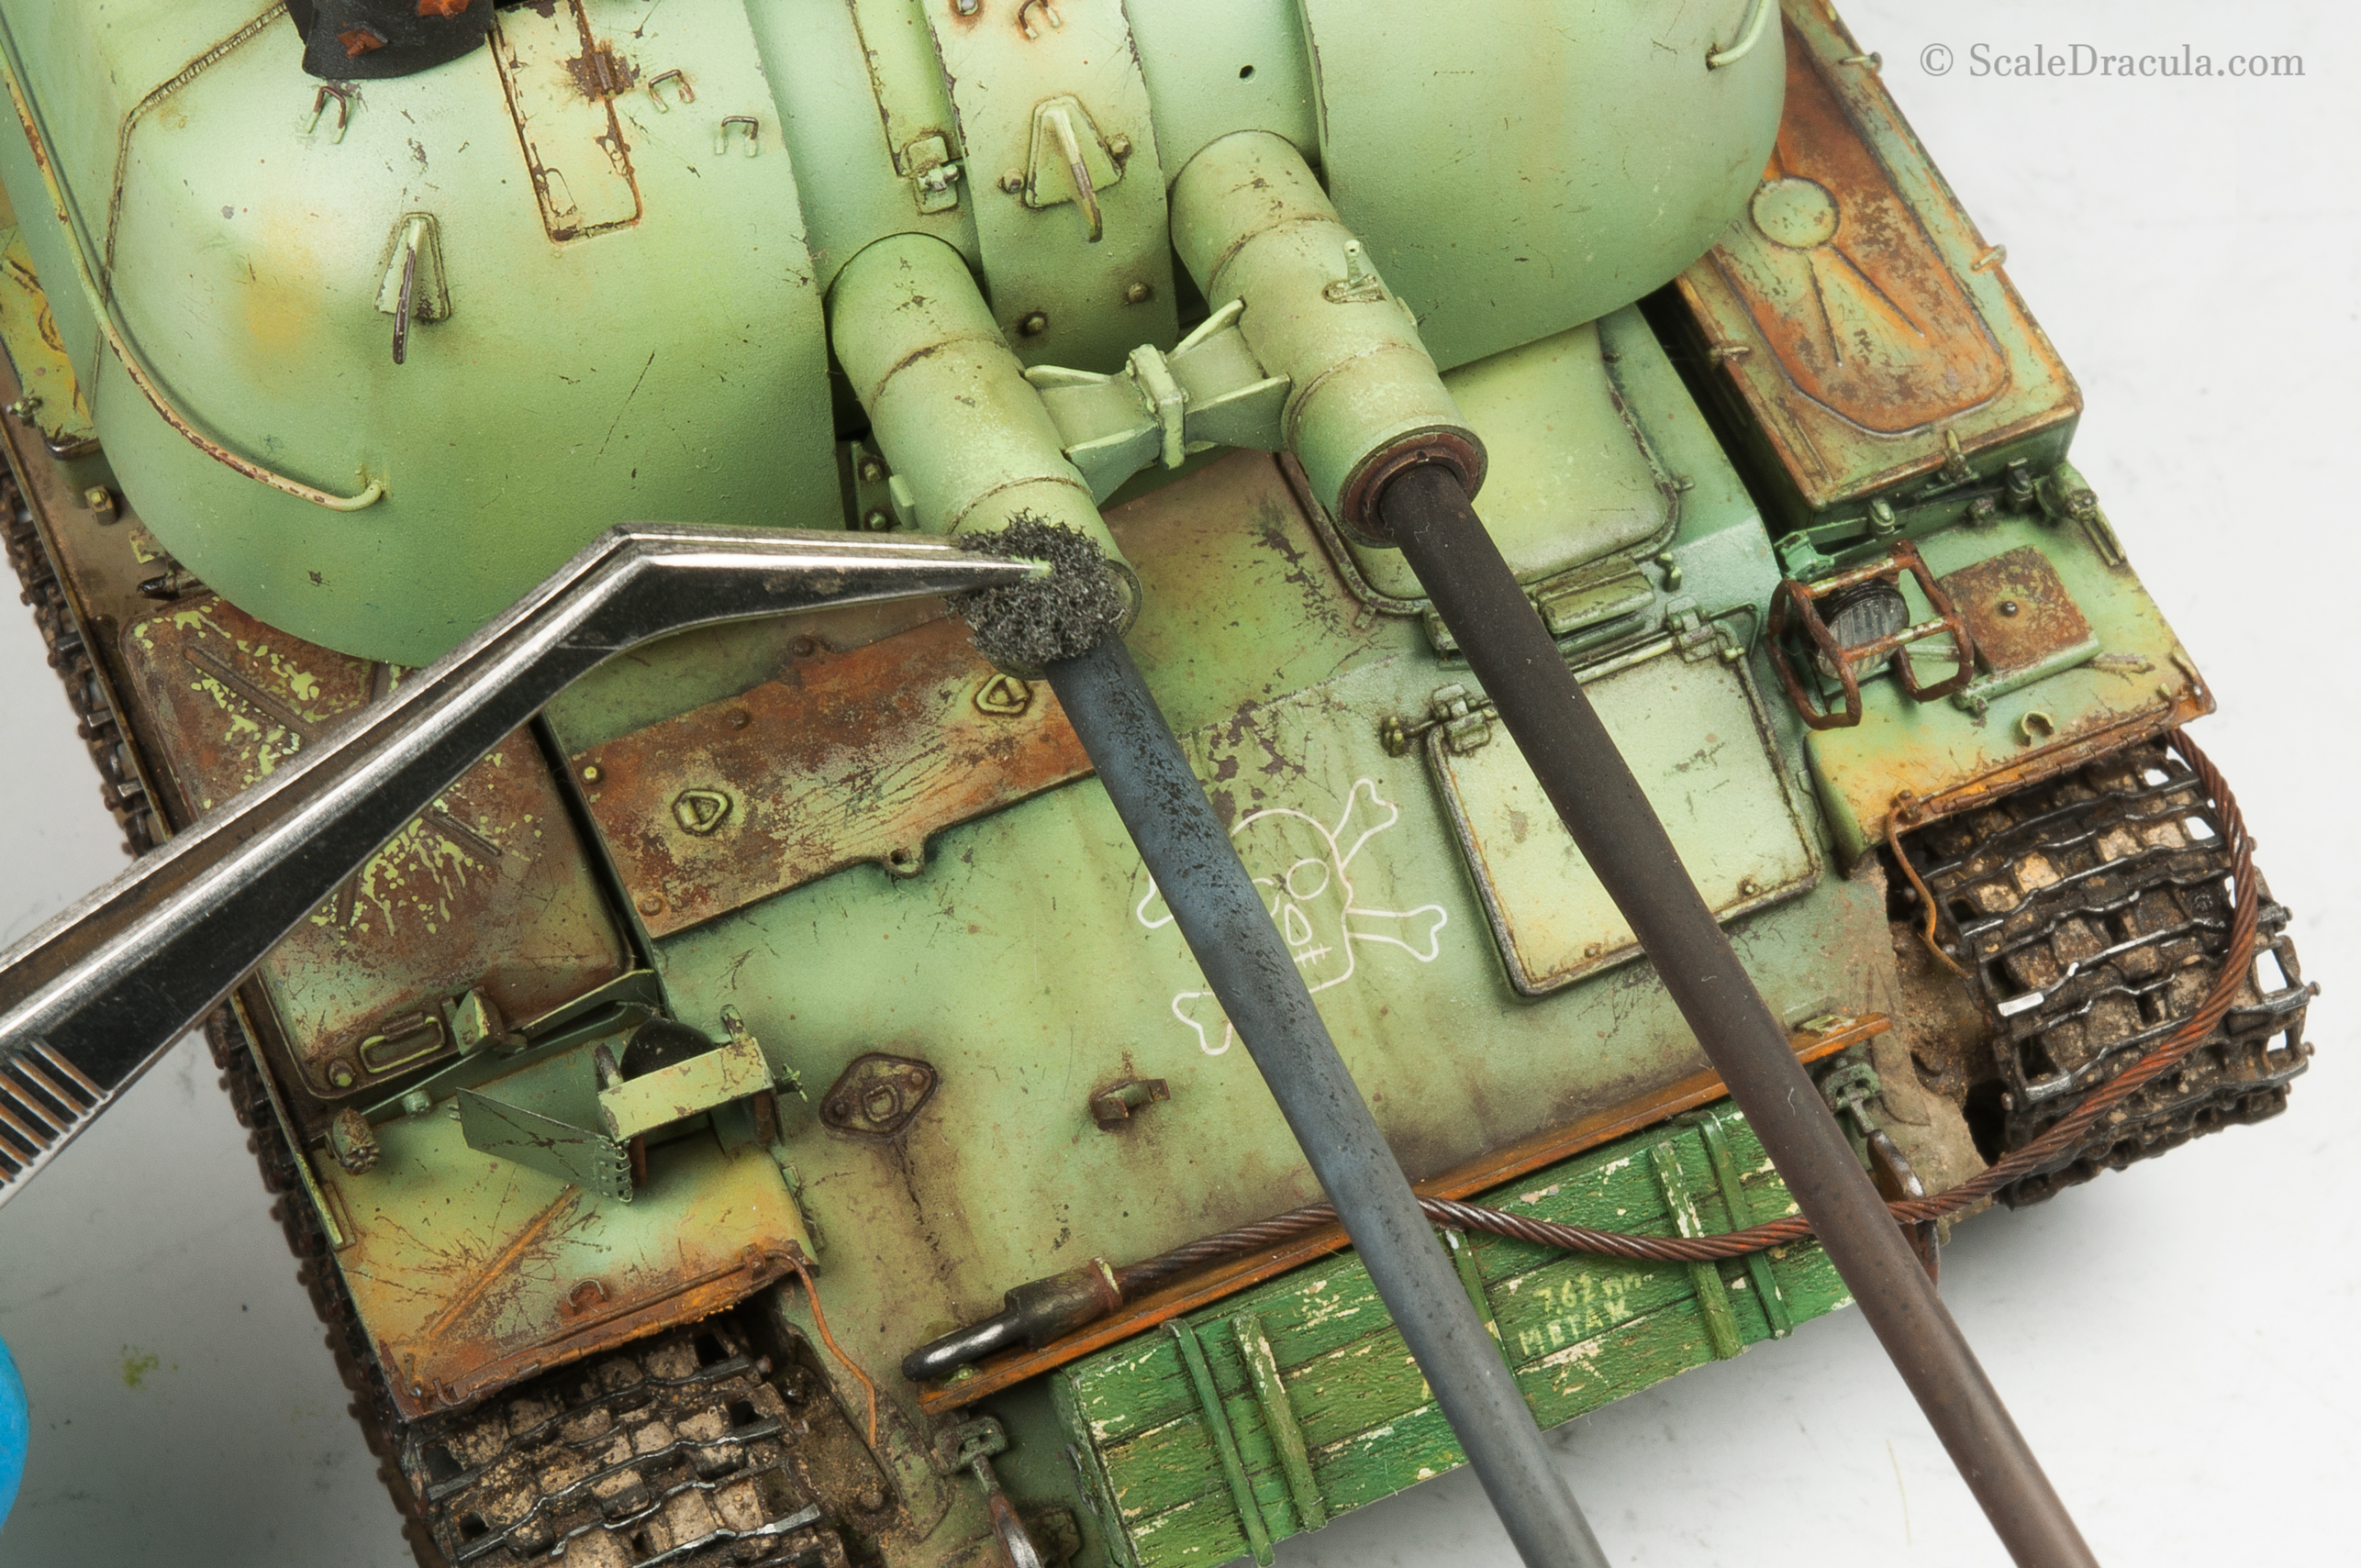
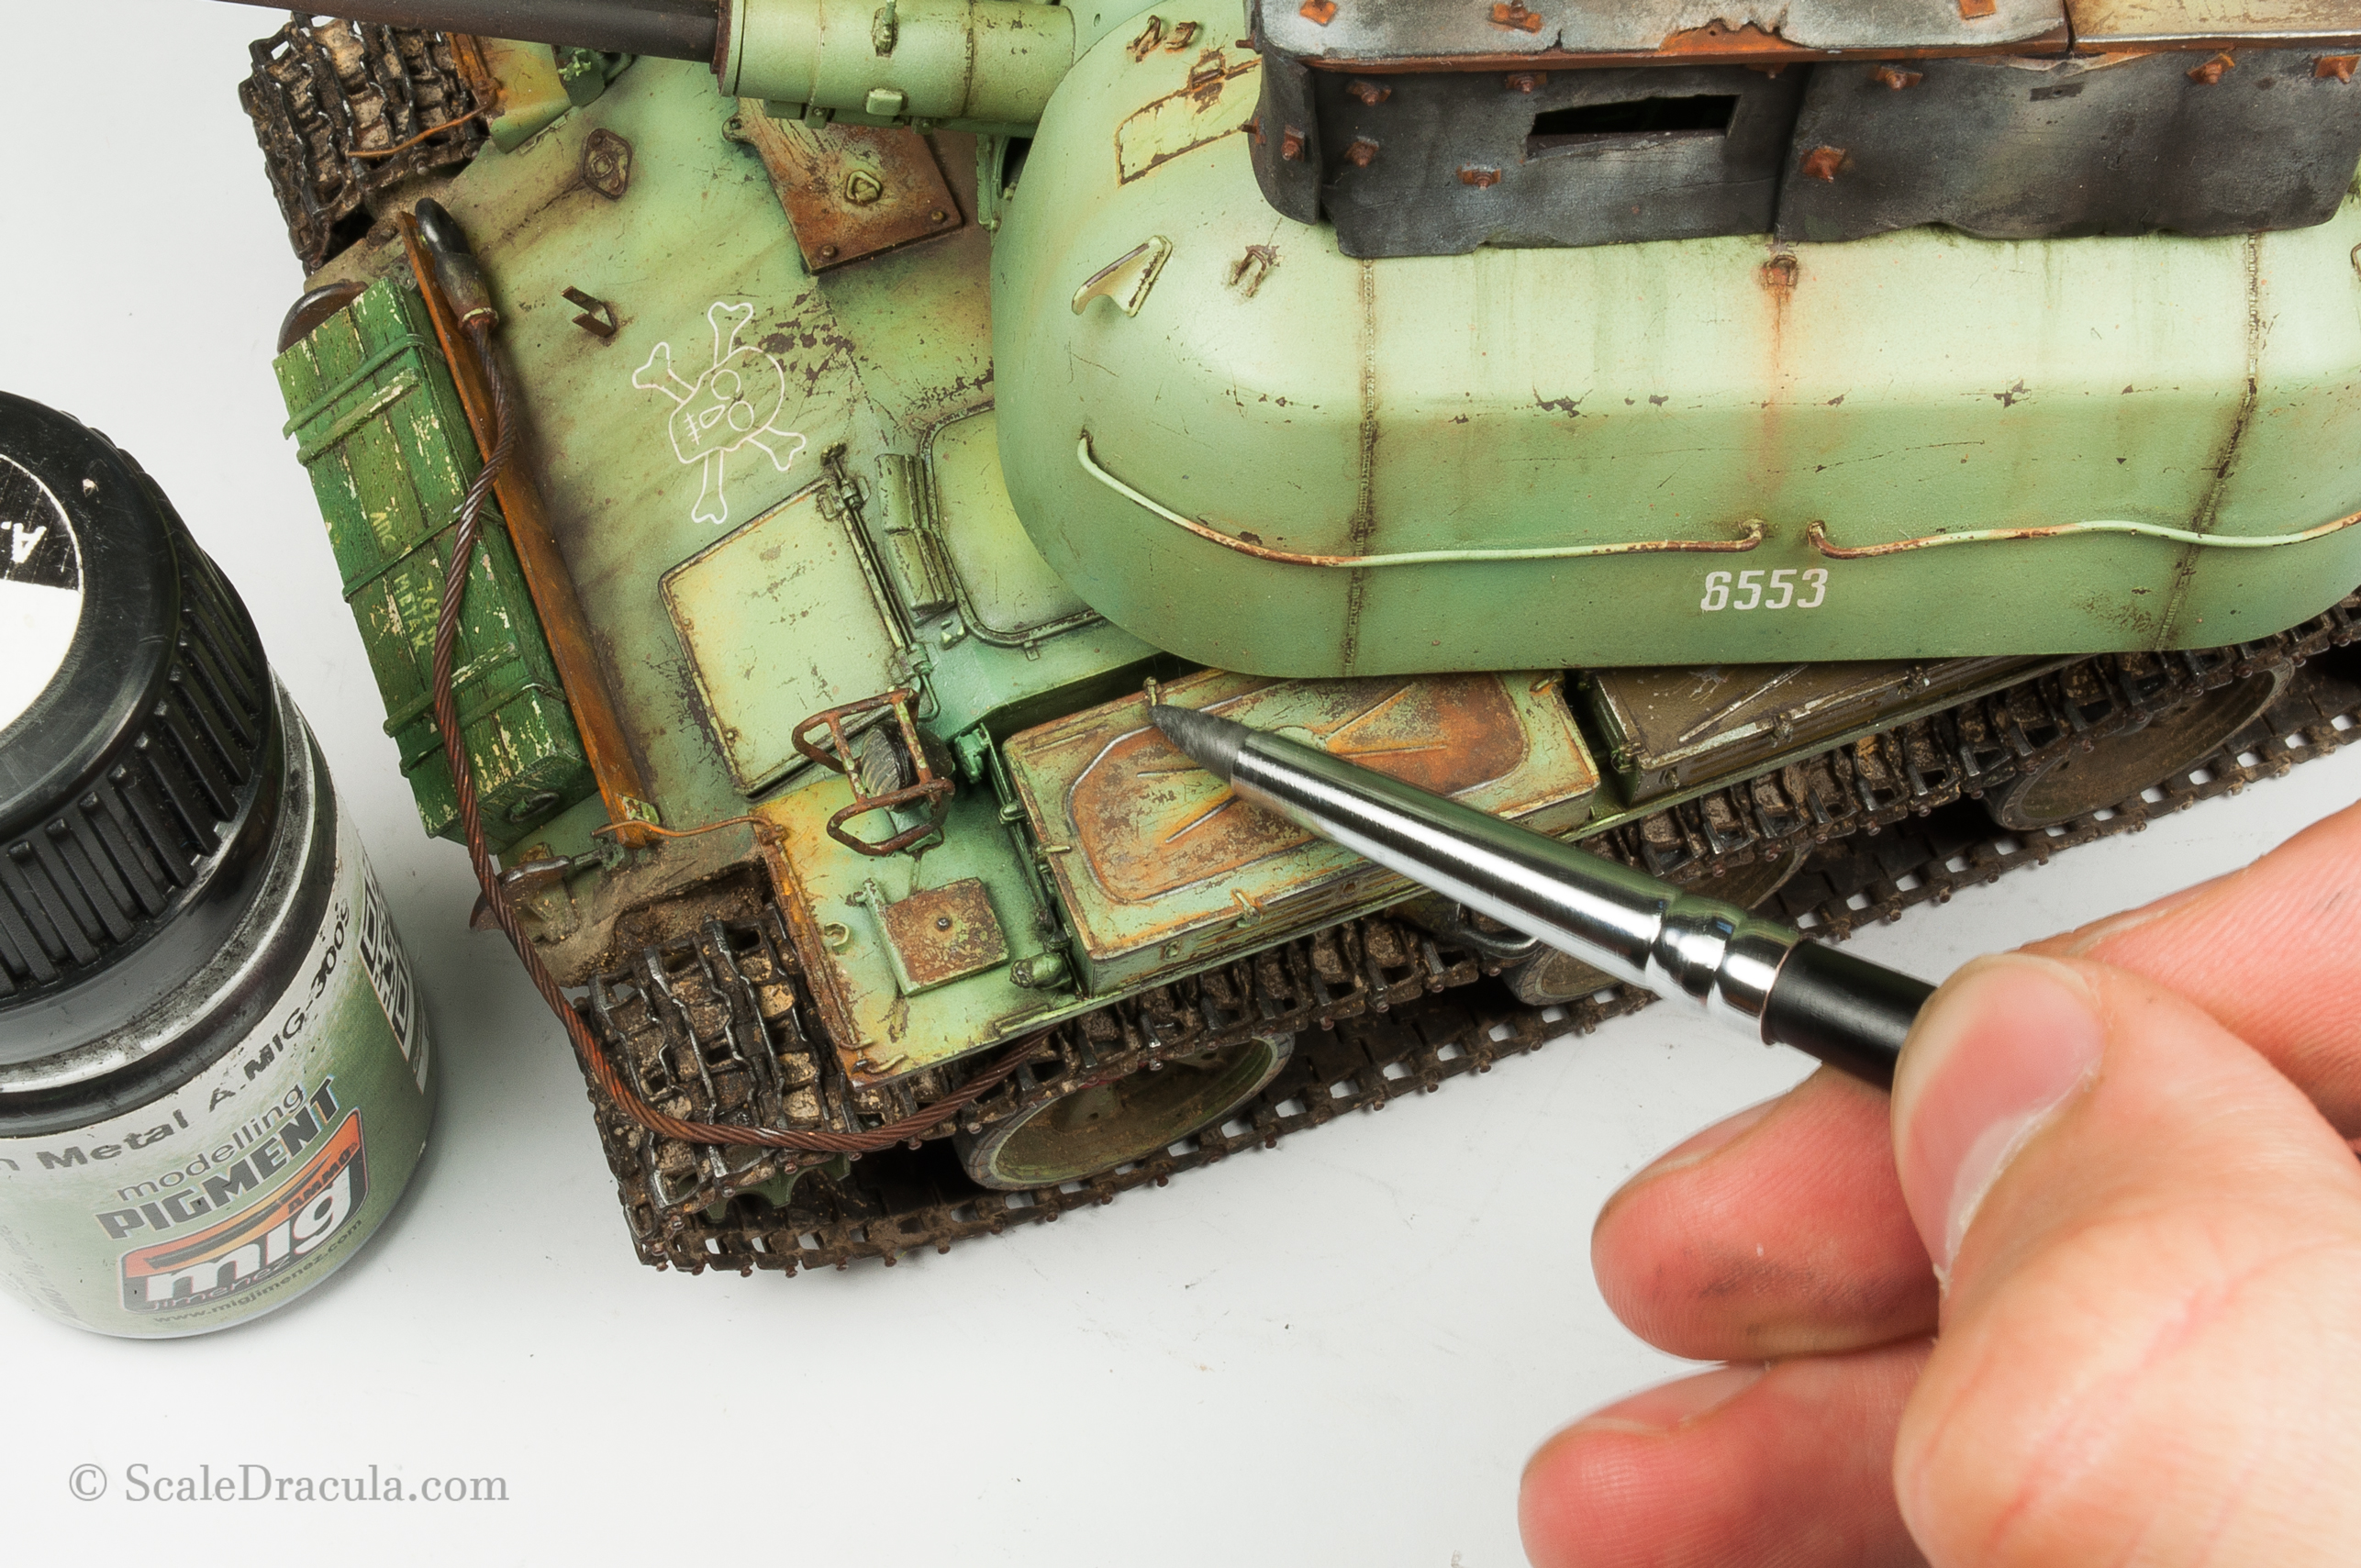
I used gun metal pigment to create polished metal effect. The silicone brush is a perfect tool for that. Highly recommended!
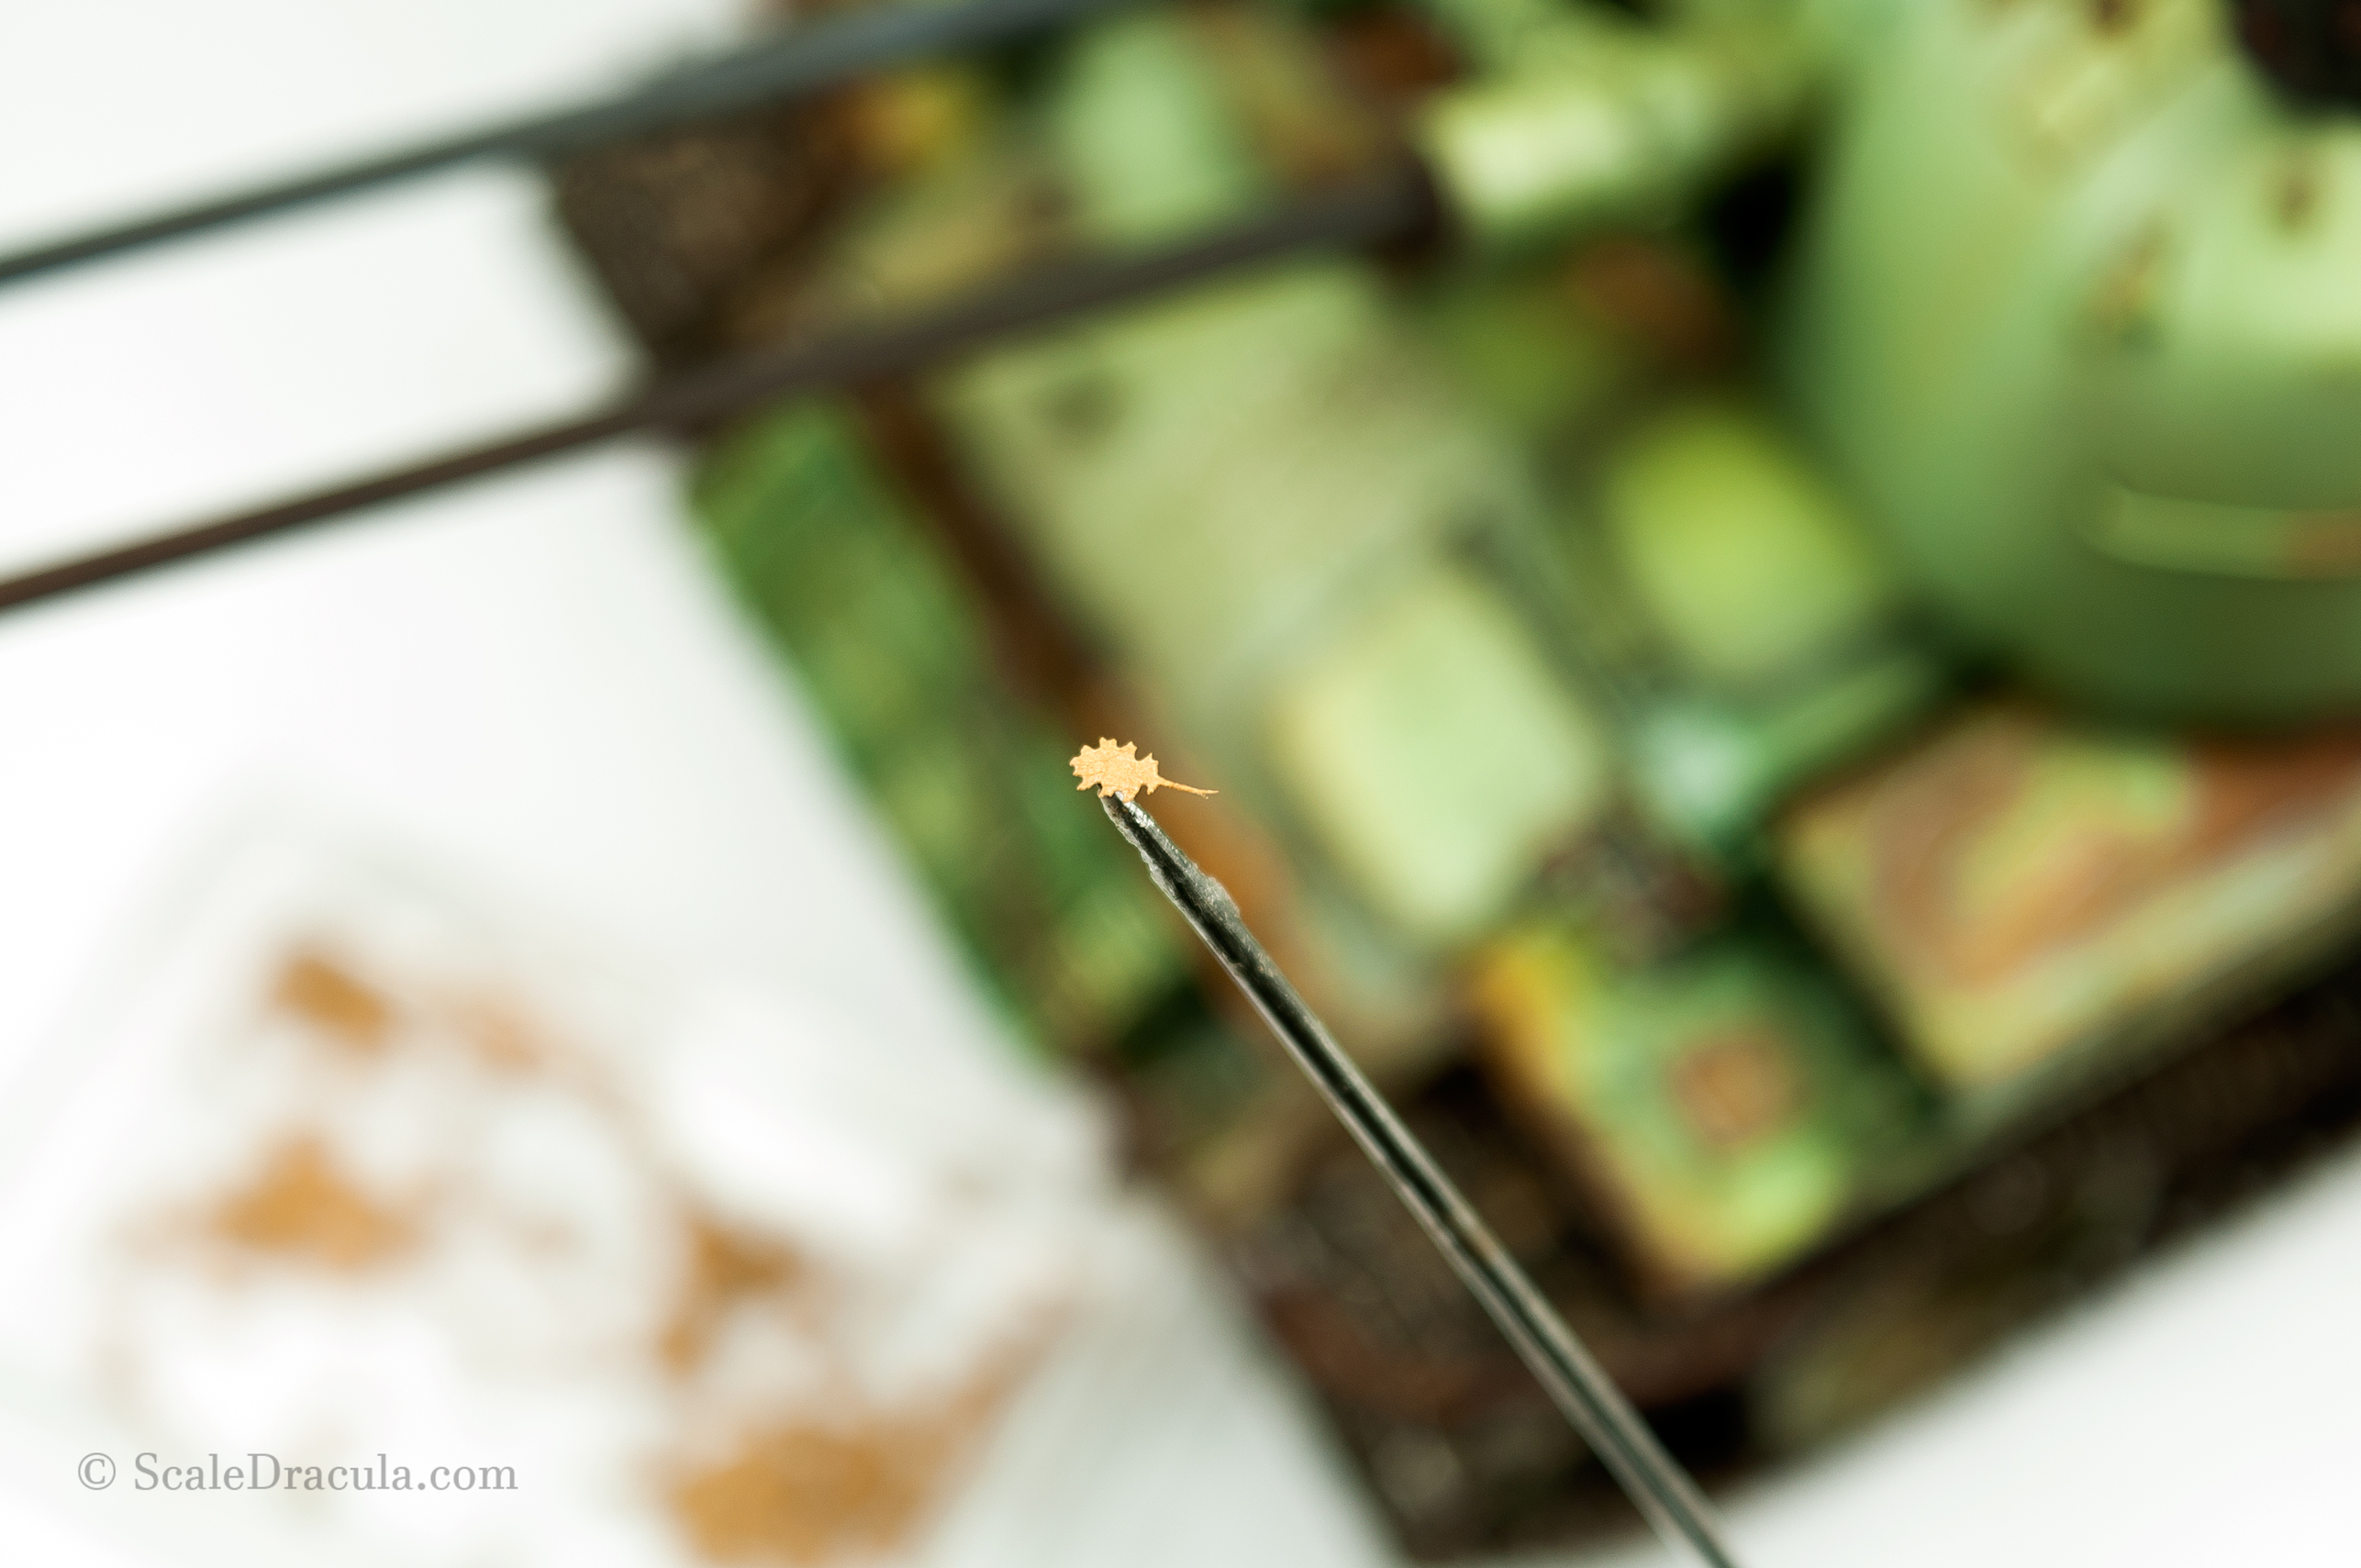
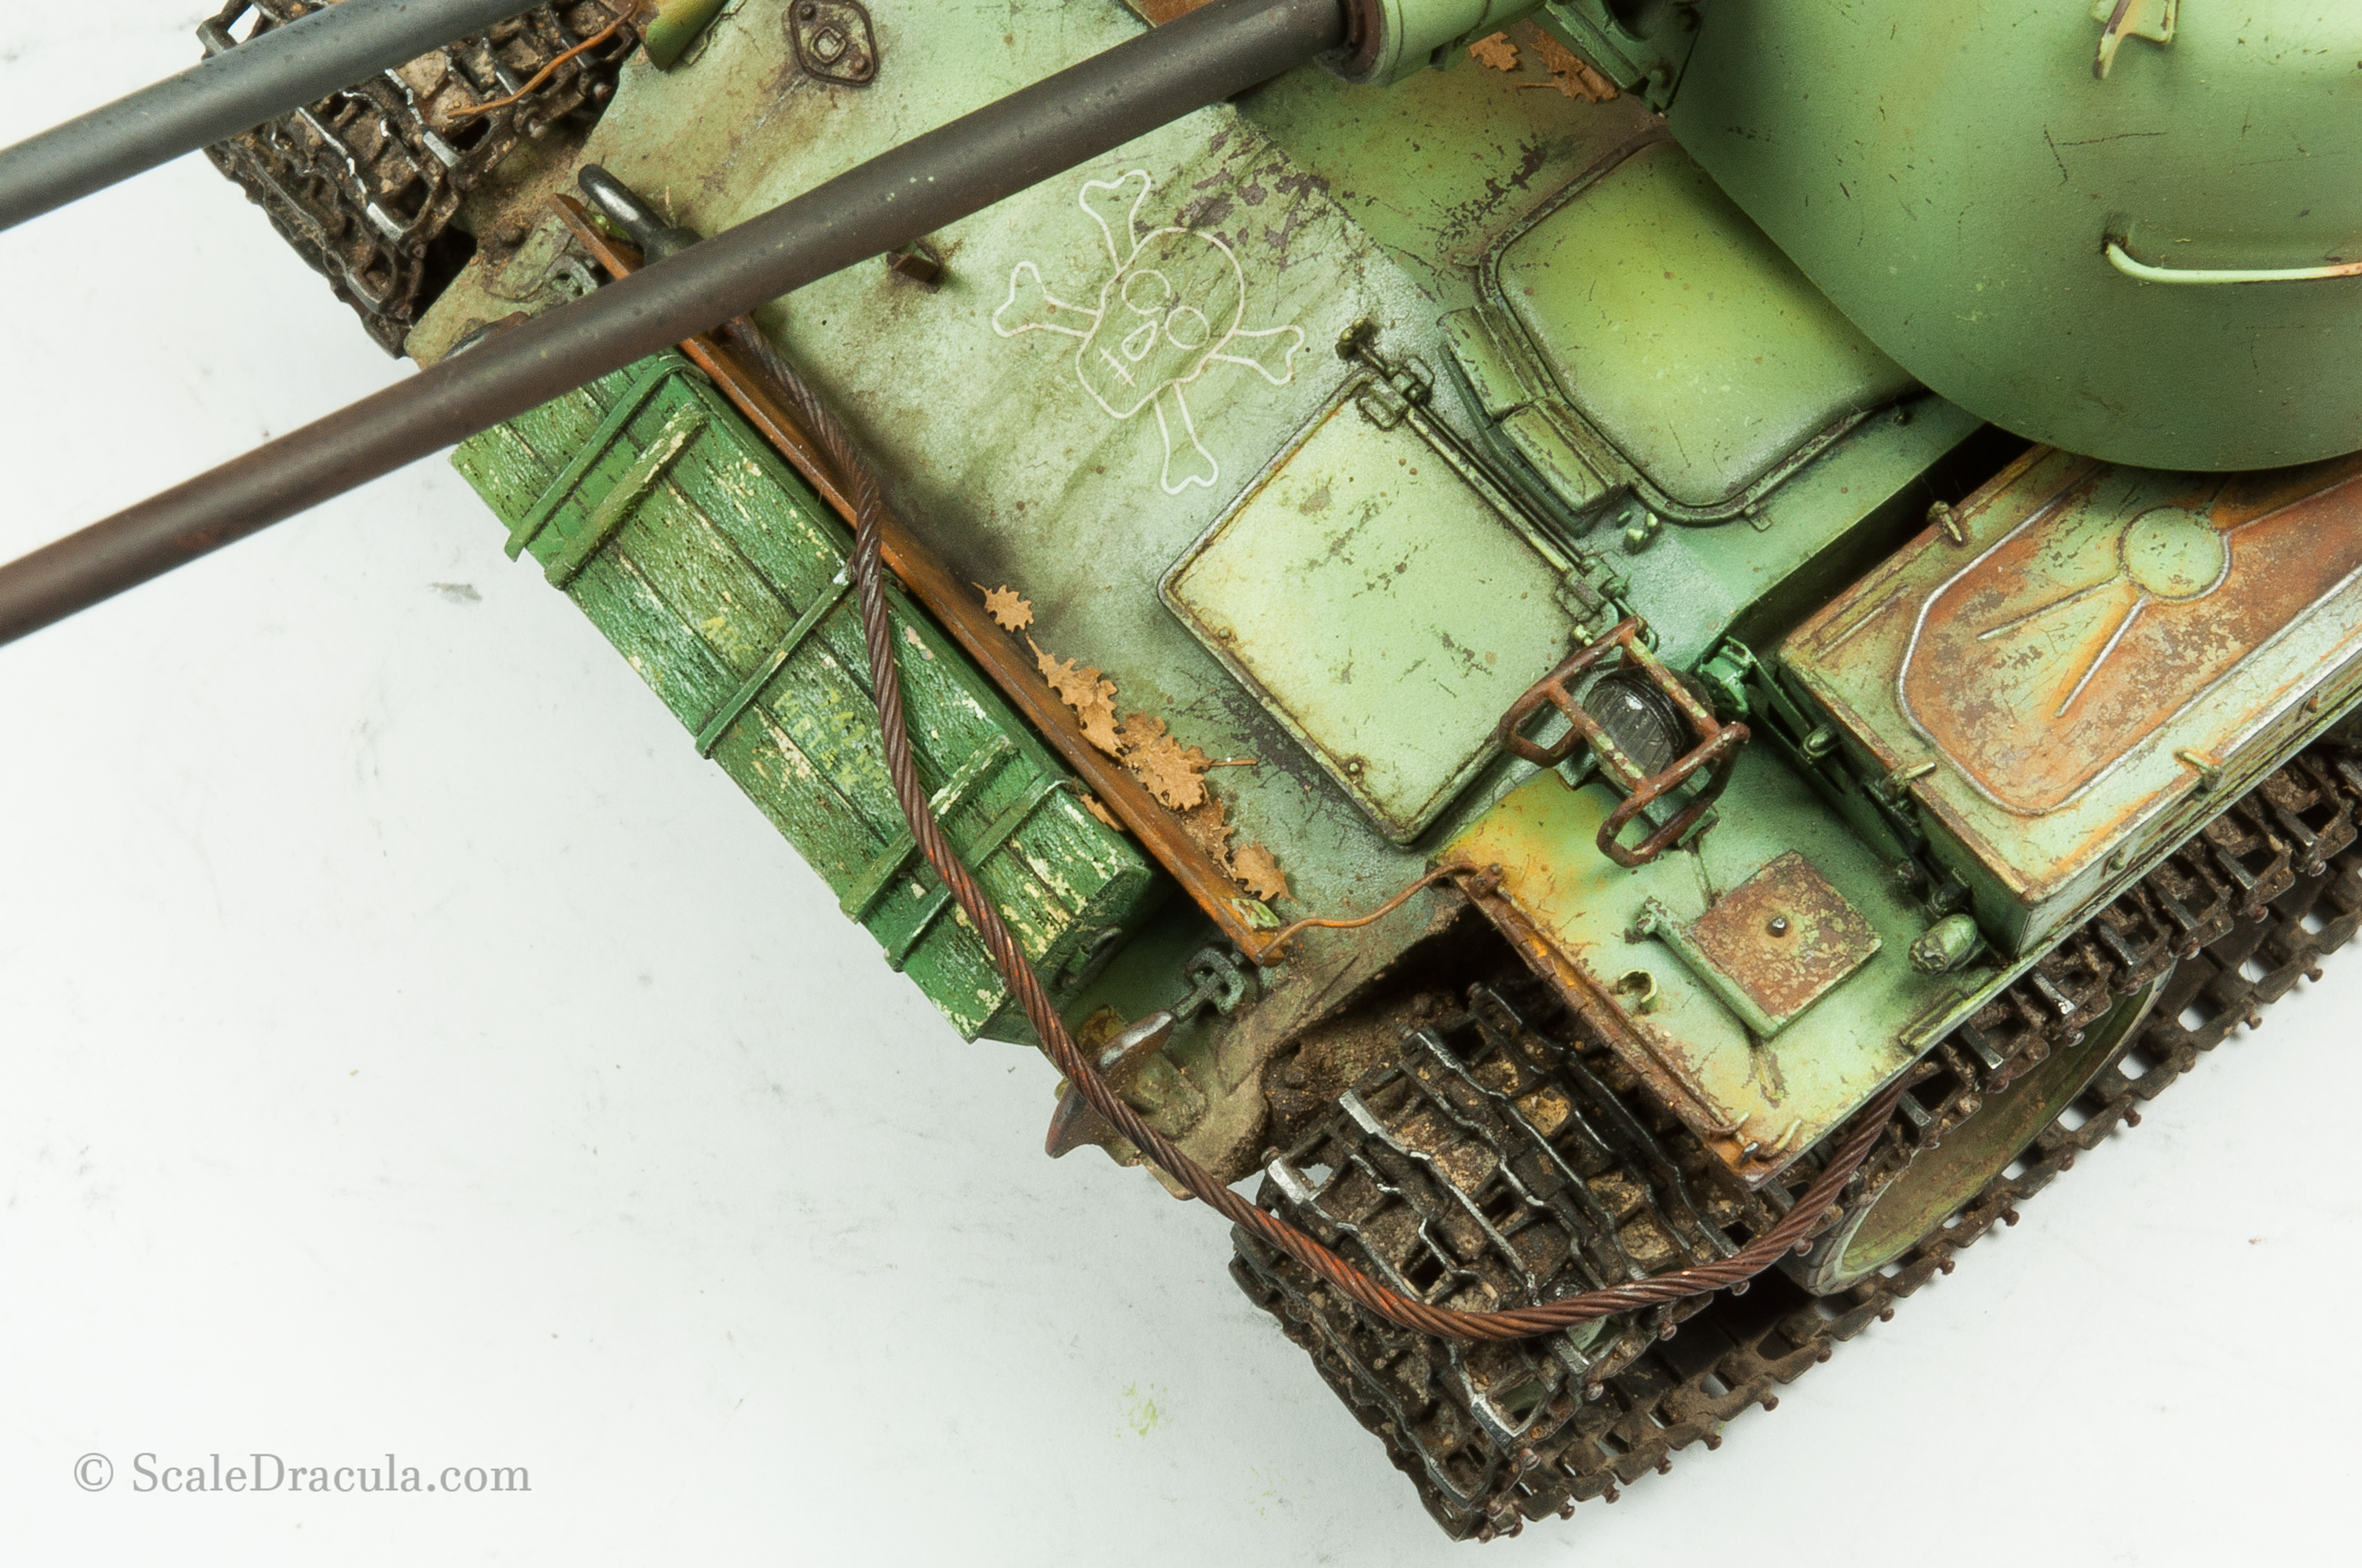
Some laser cut leaves were glued to the model with PVA glue
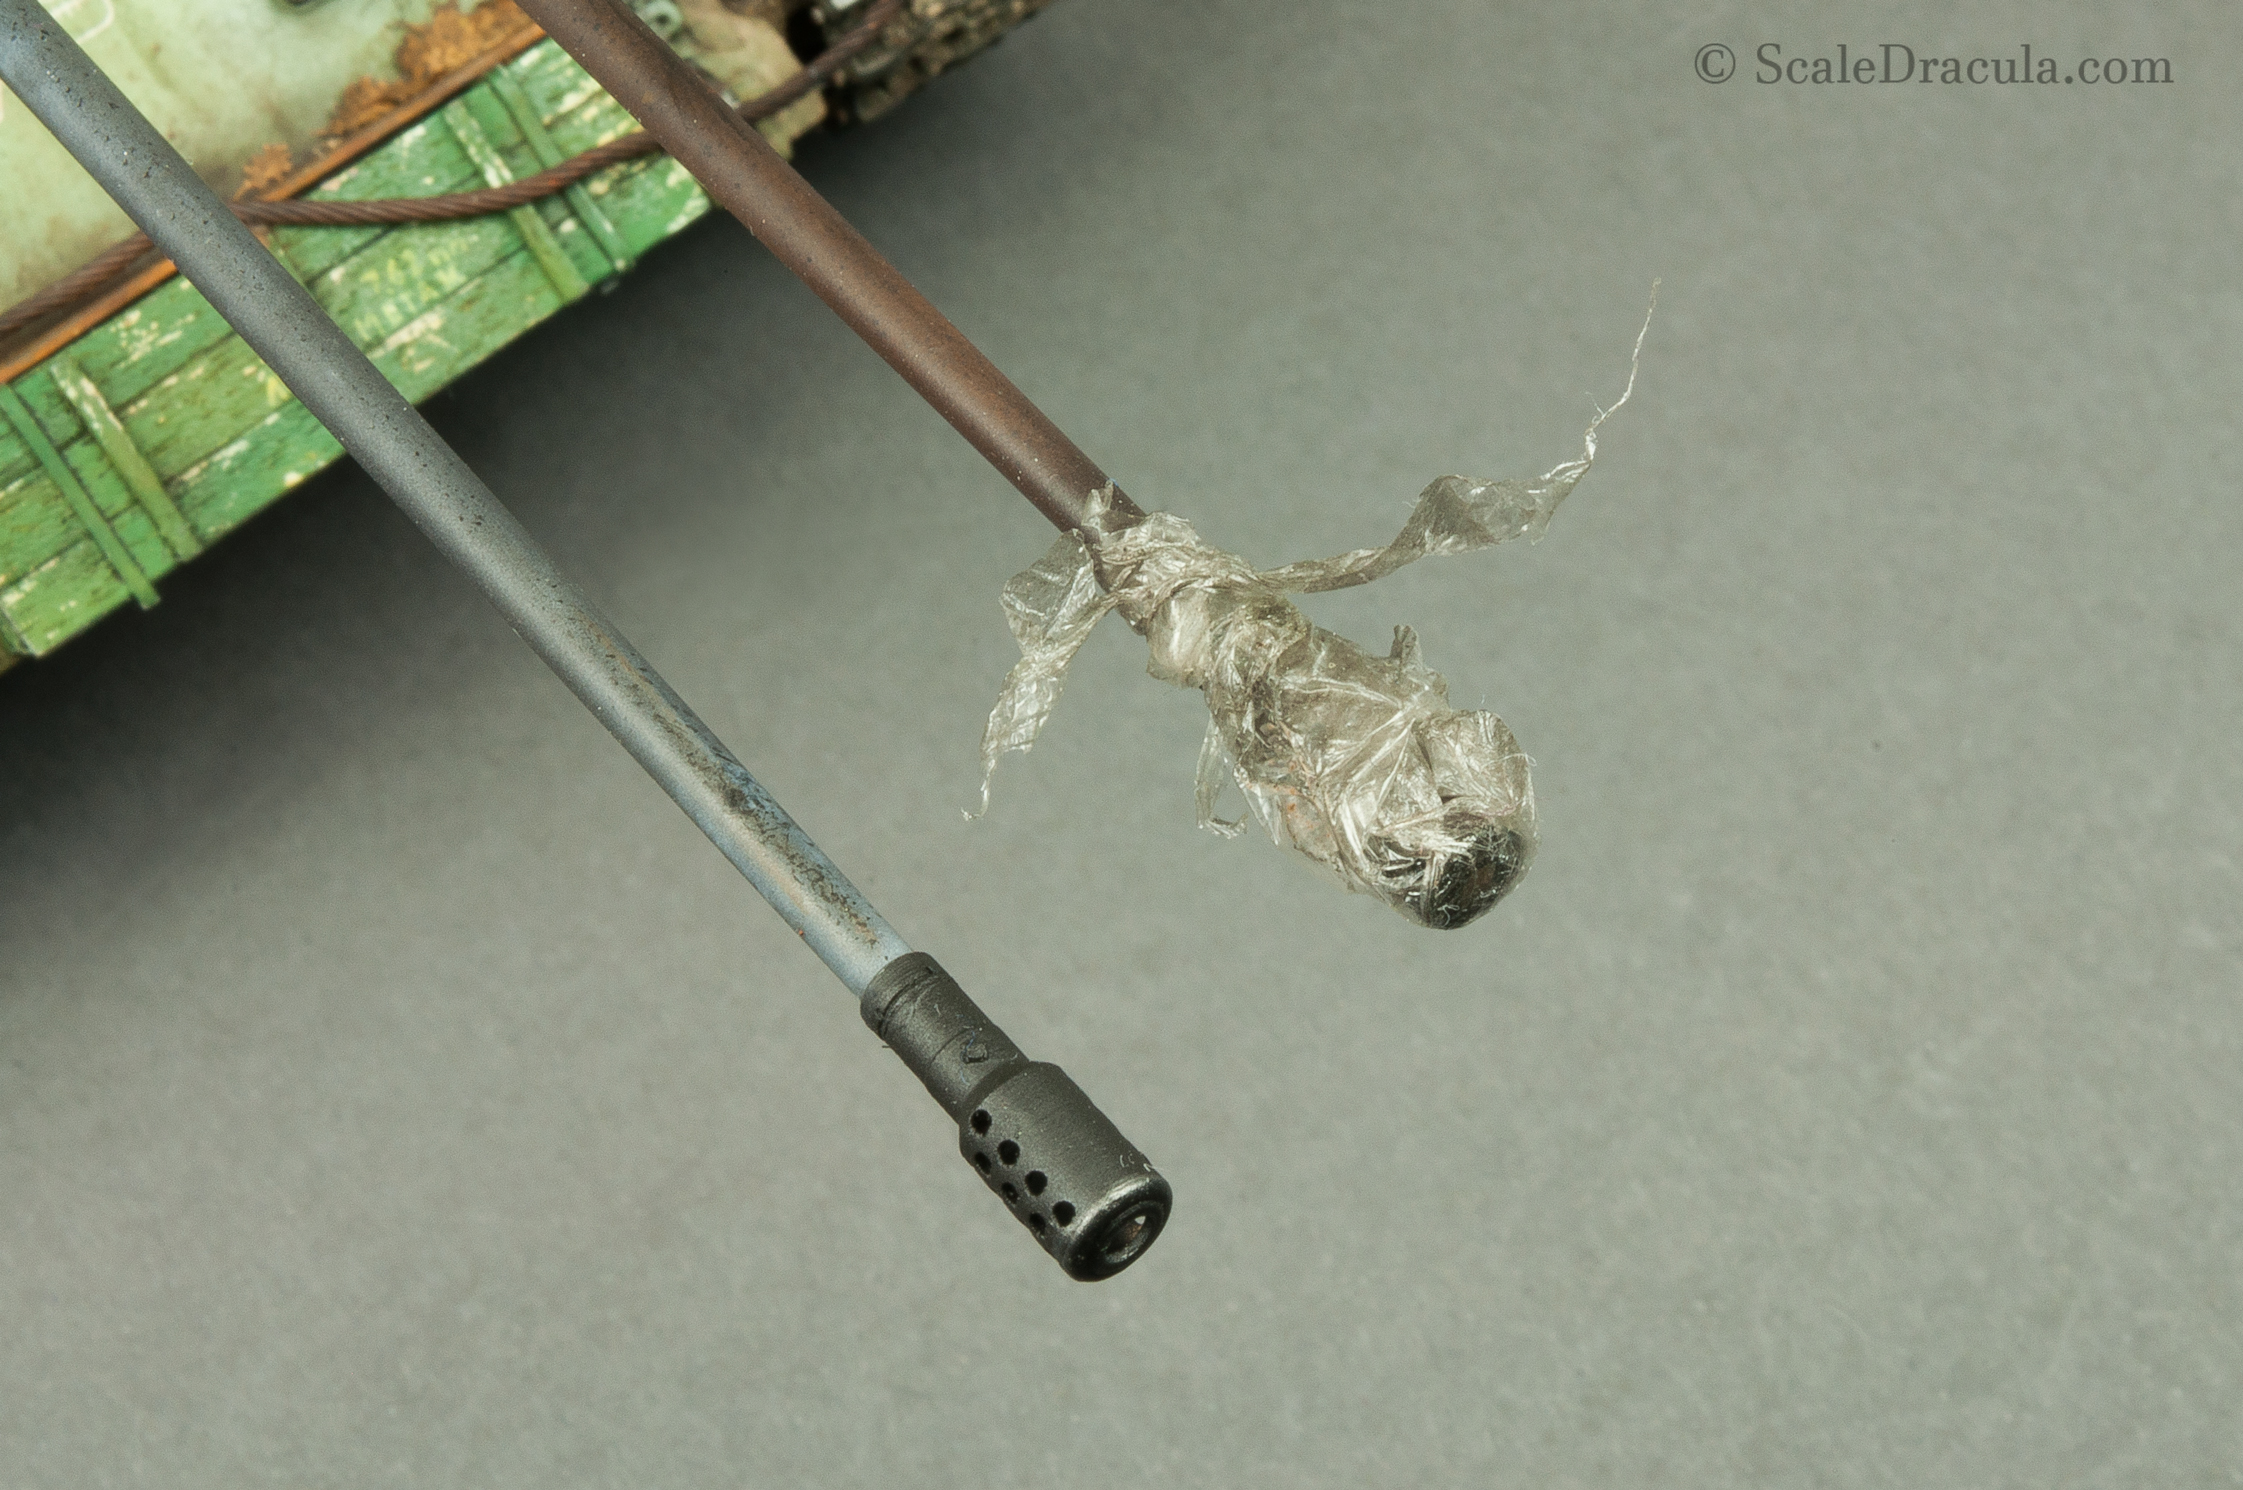
Last but not least I made a plastic bag with a... well, plastic bag.
I sprayed a thin layer of black paint to make the plastic look old and dirty.

After that I glued the bag on the barrel with CA glue.
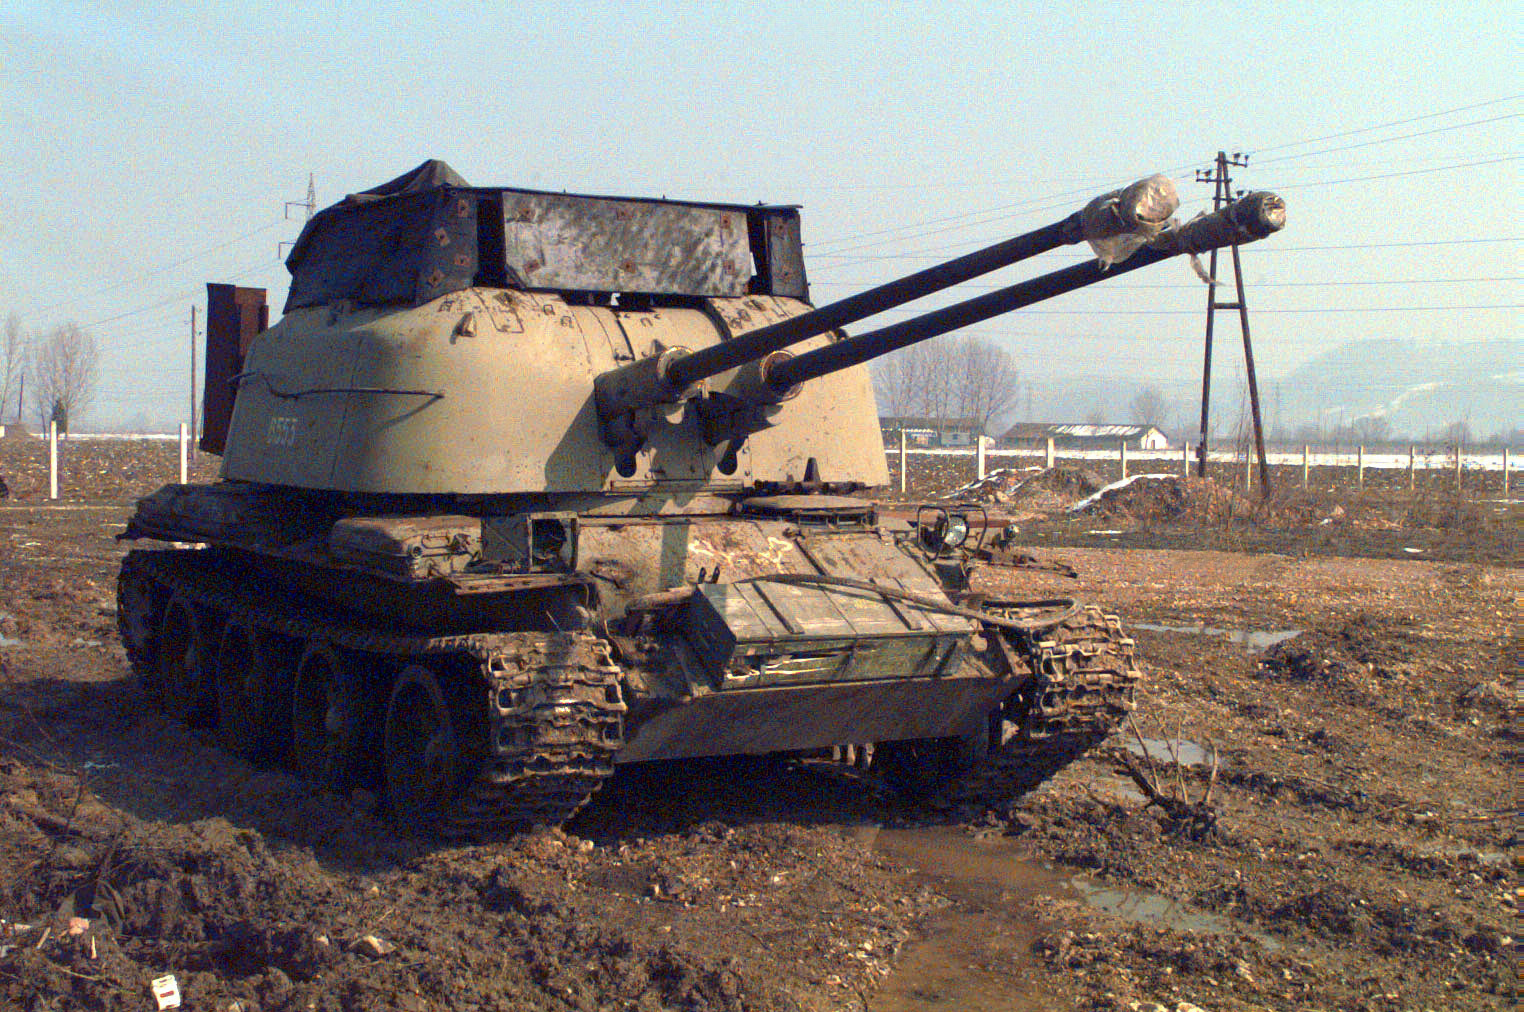
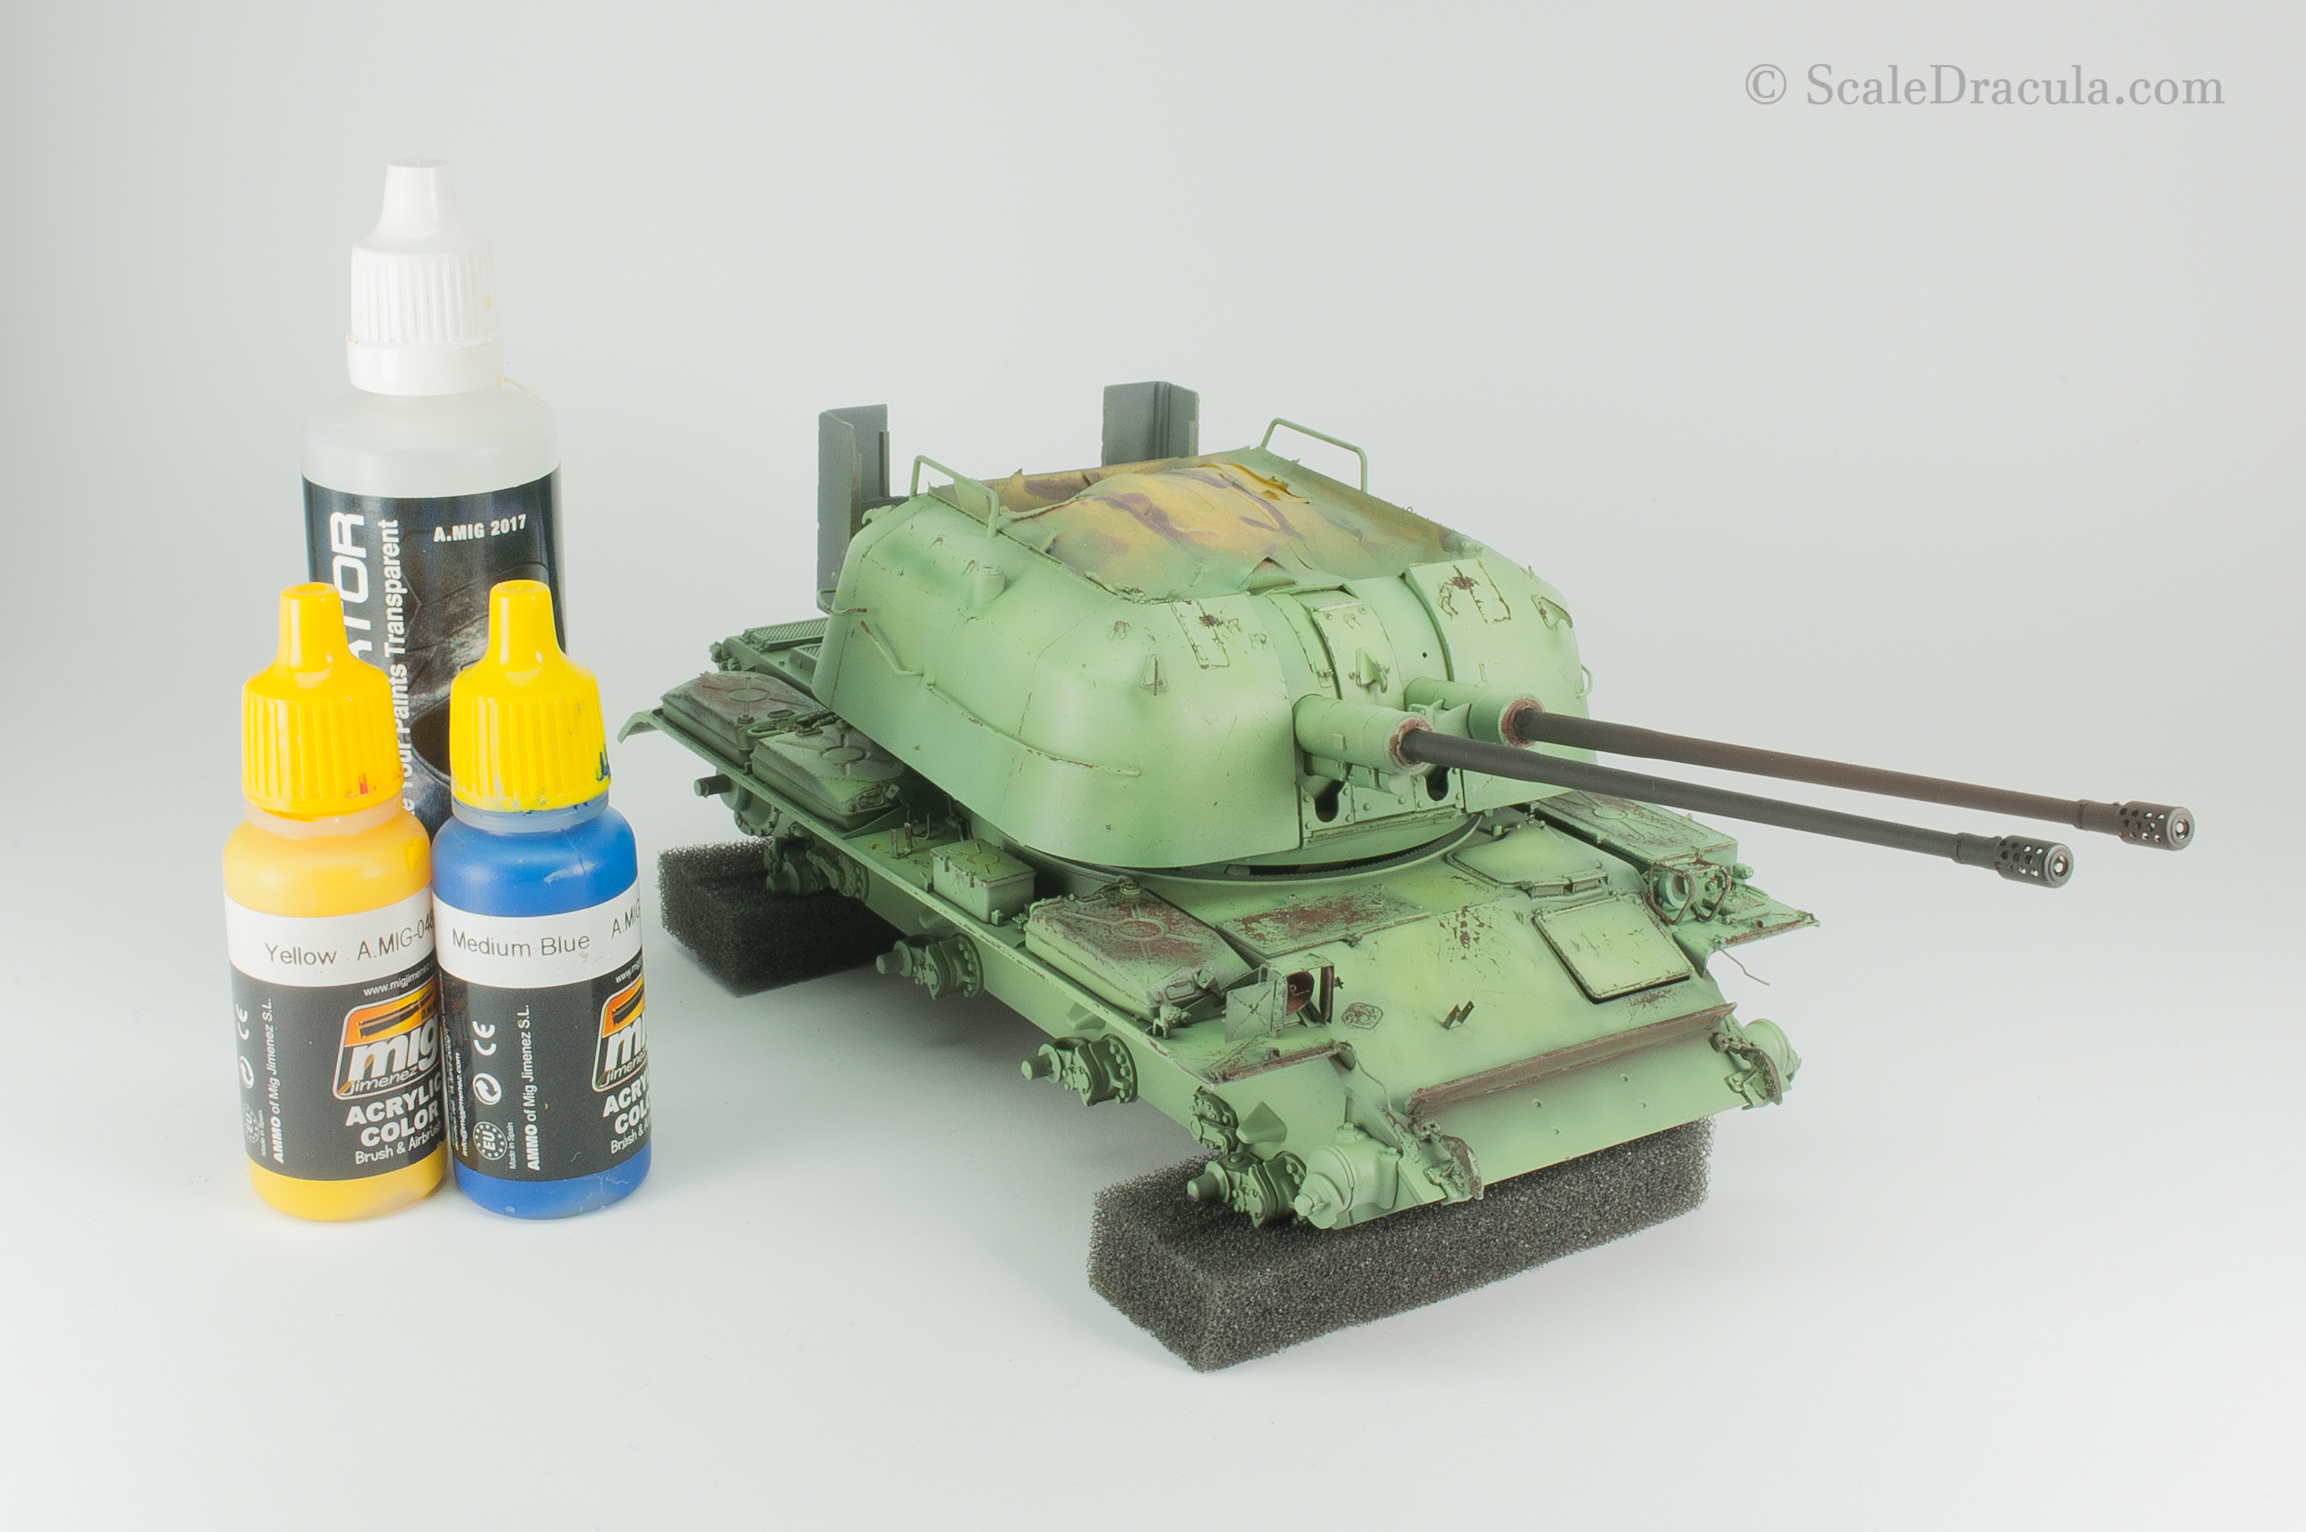
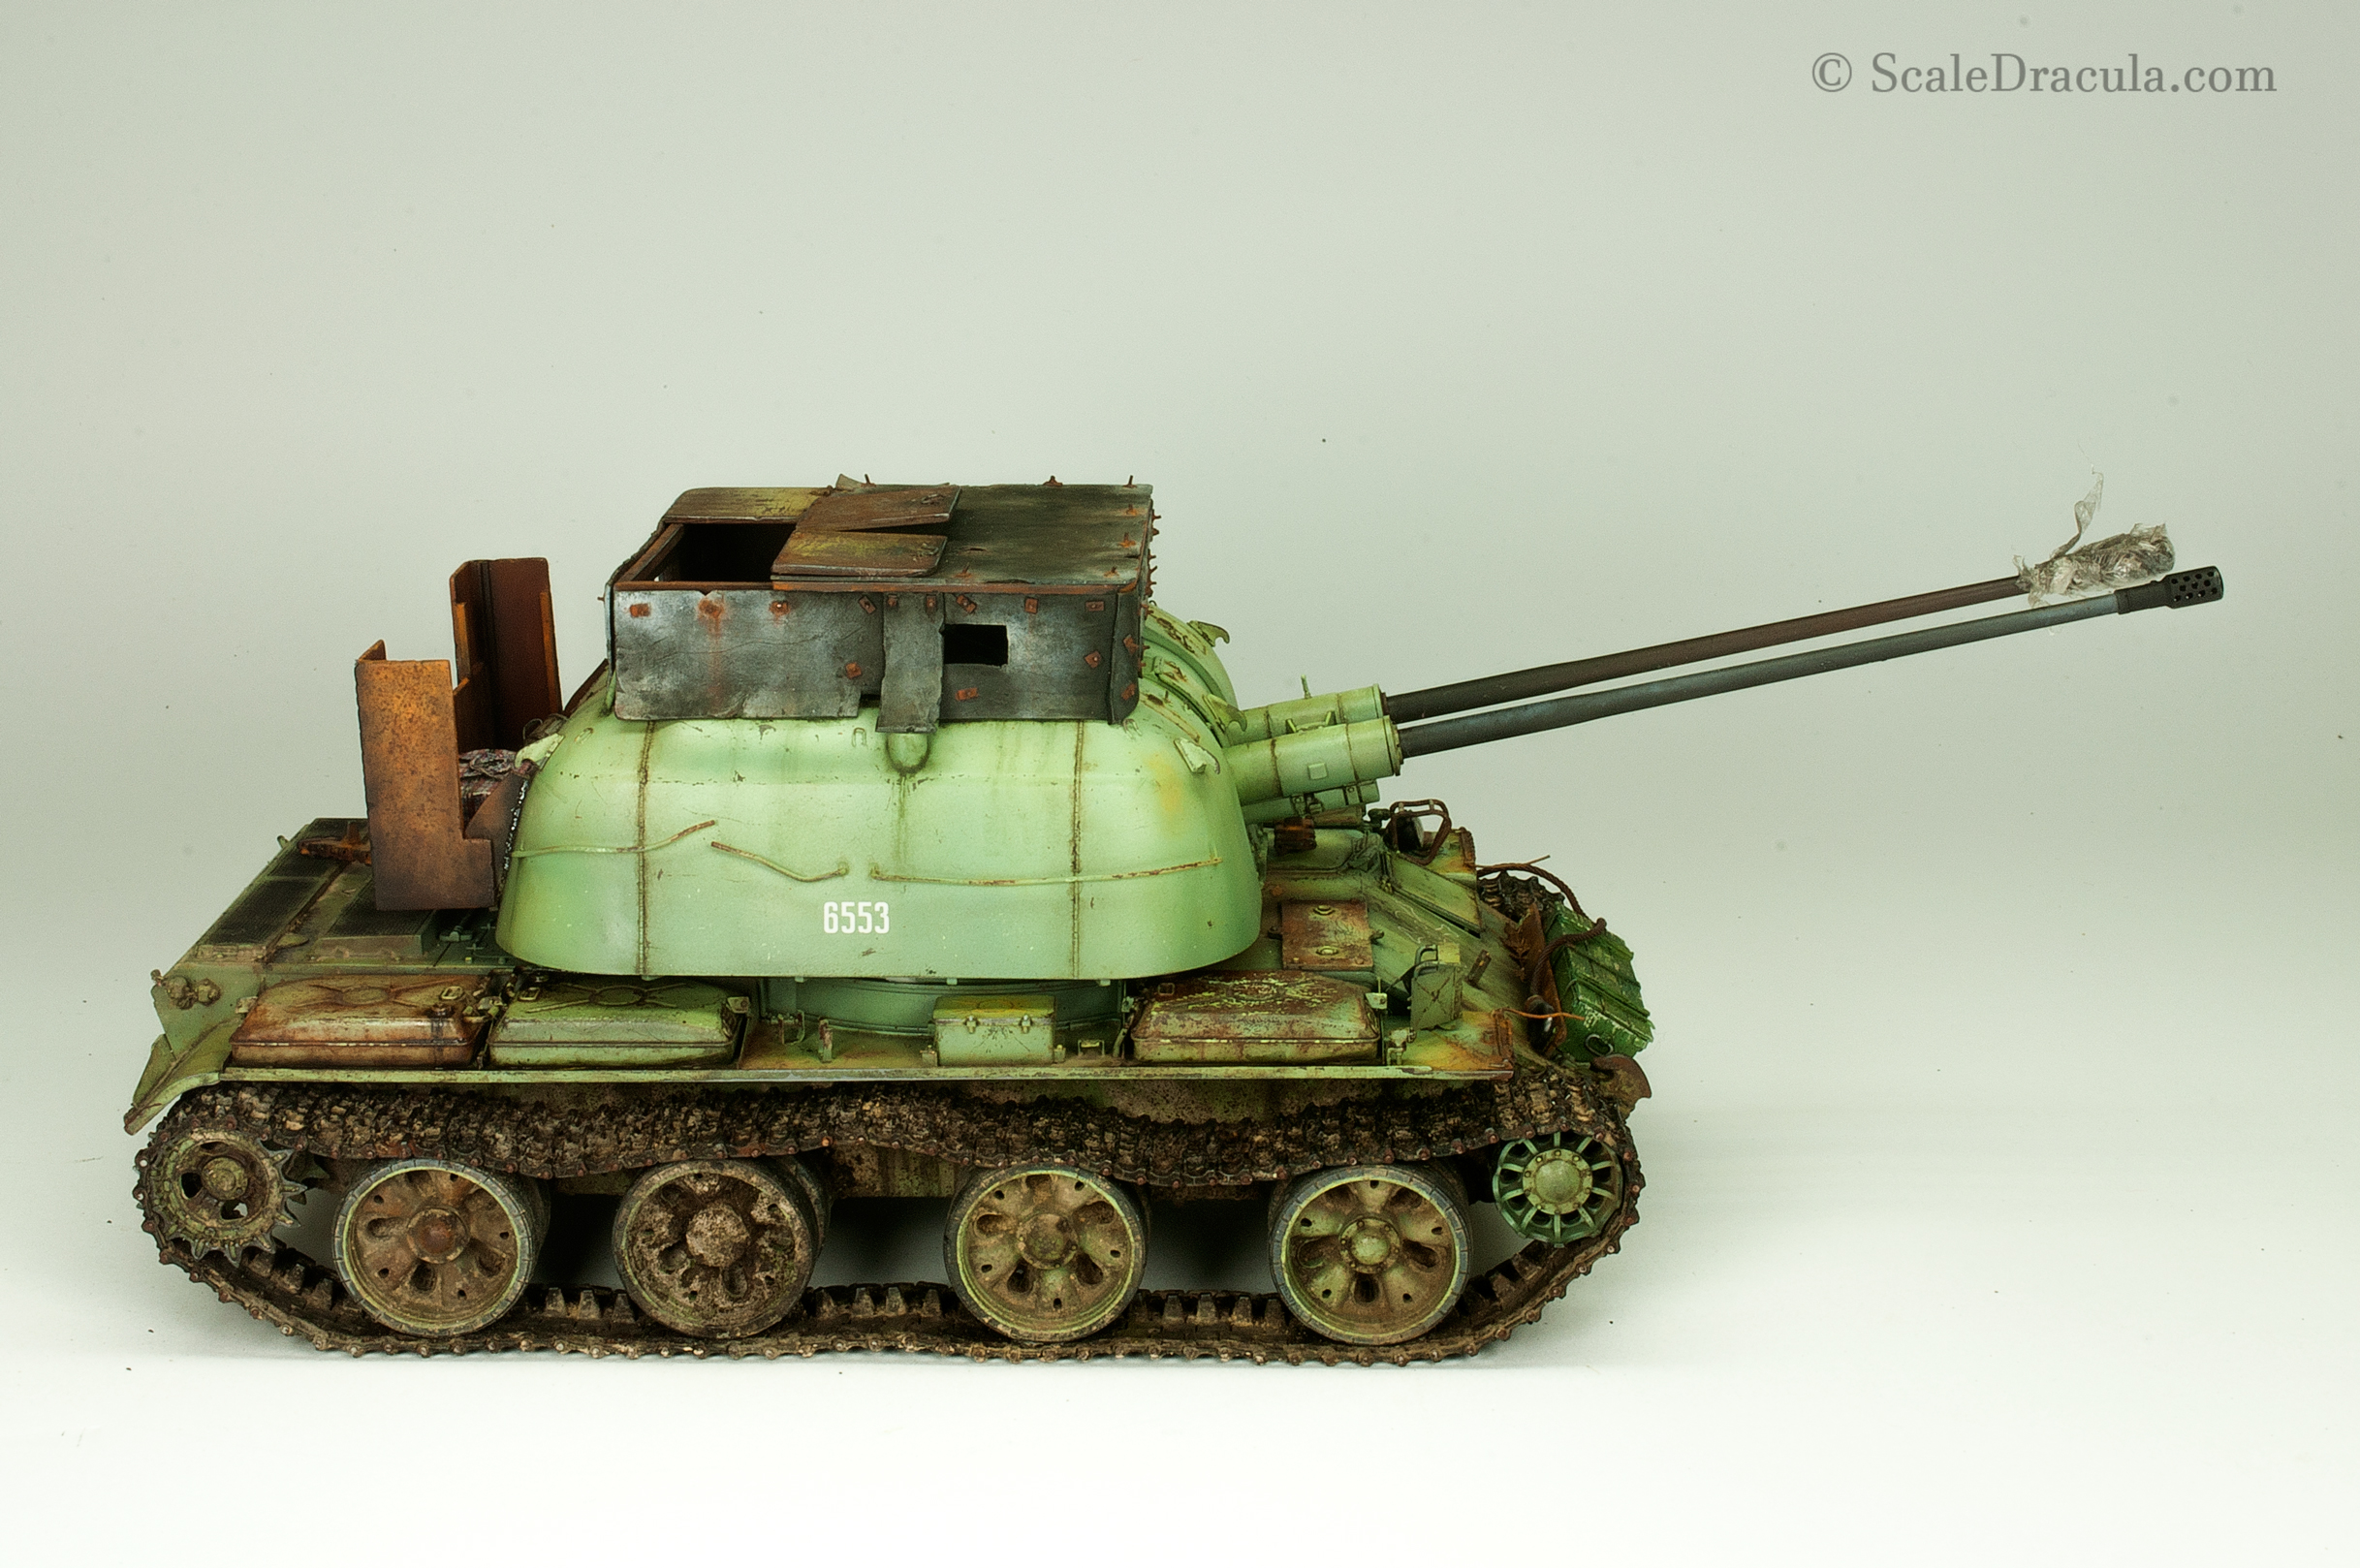
And this is it! The model is finished! I'll post the full gallery soon.
As always, take a look at the post on my website:
http://www.scaledracula.com/double-hitter-weathering/ for the complete SBS with more photos.
You can also check my facebook:
https://www.facebook.com/ScaleDracula/ There is more stuff to come.
Cheers!