Thanks very much Eric, nice of you to comment.
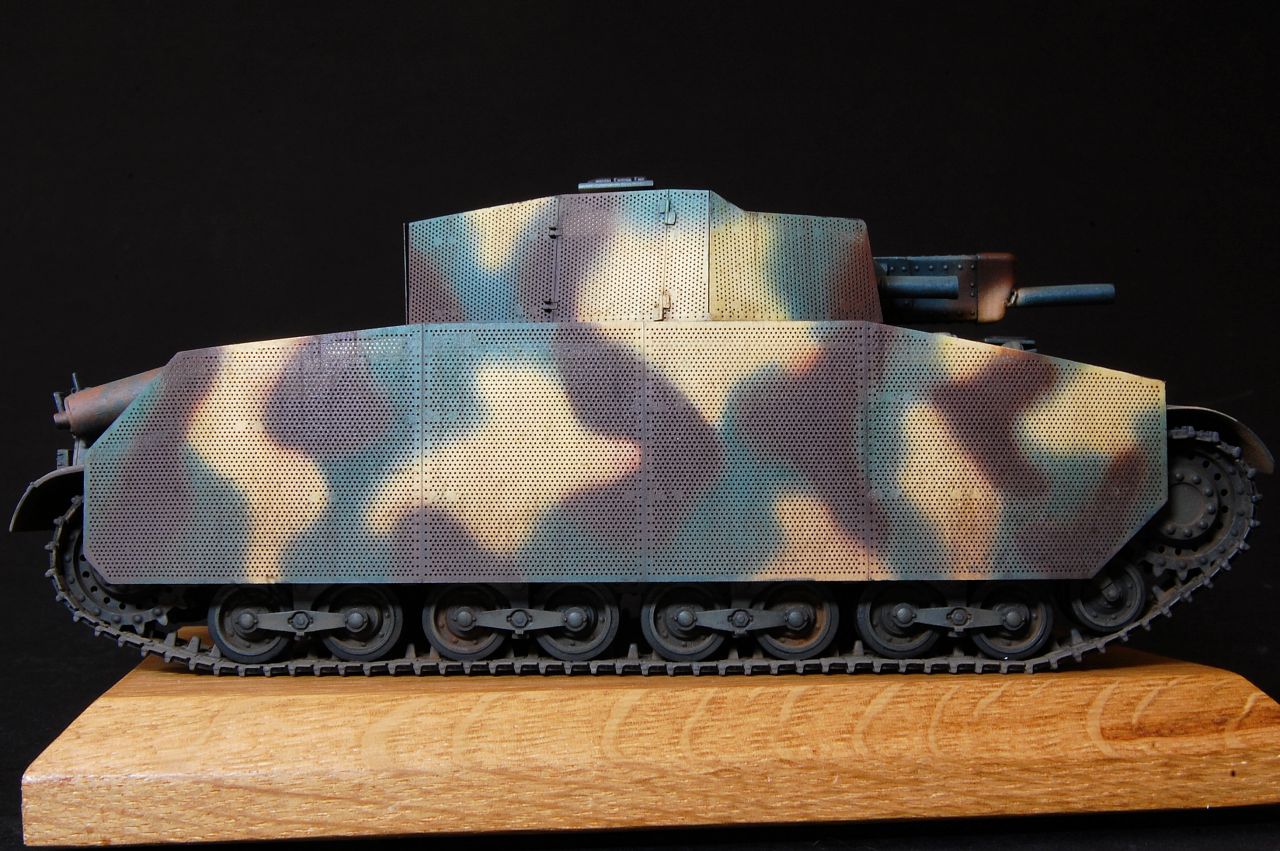
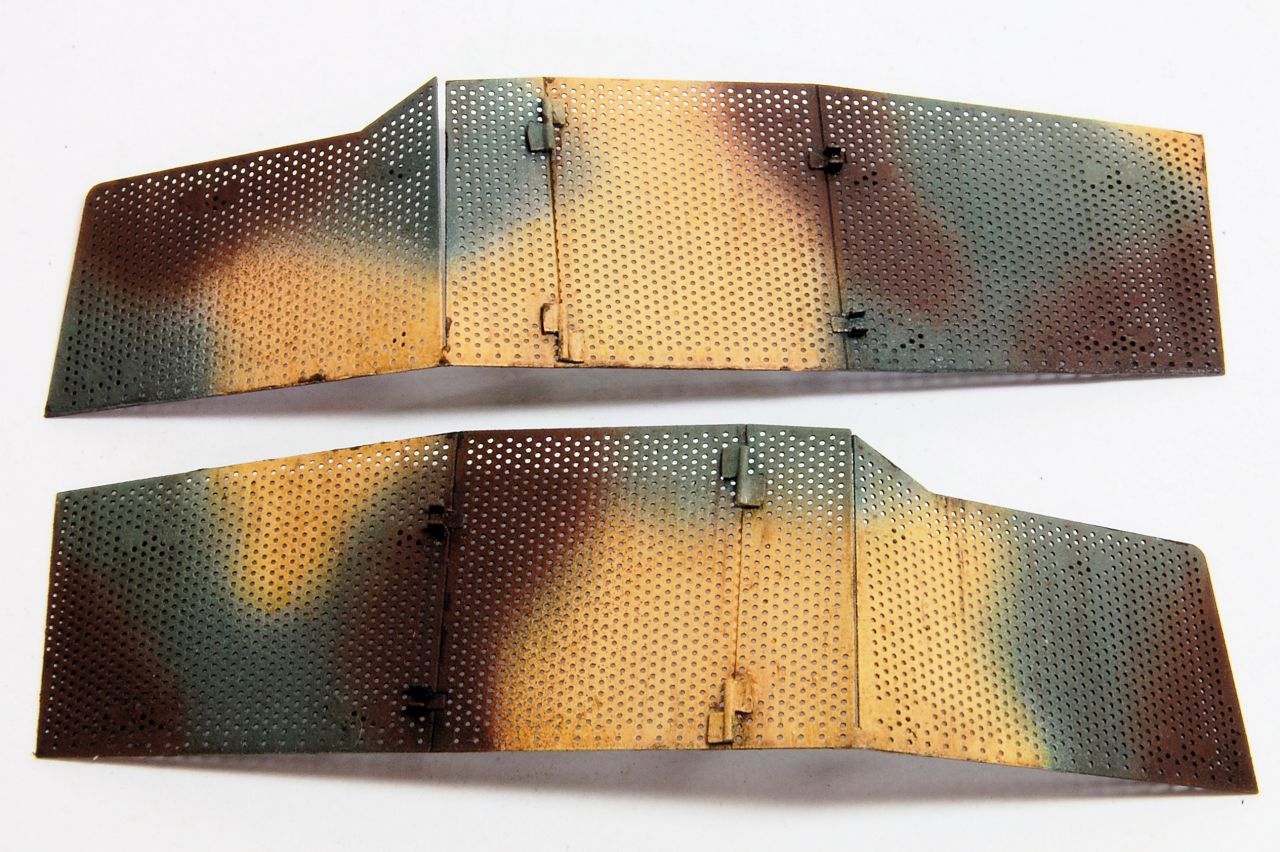
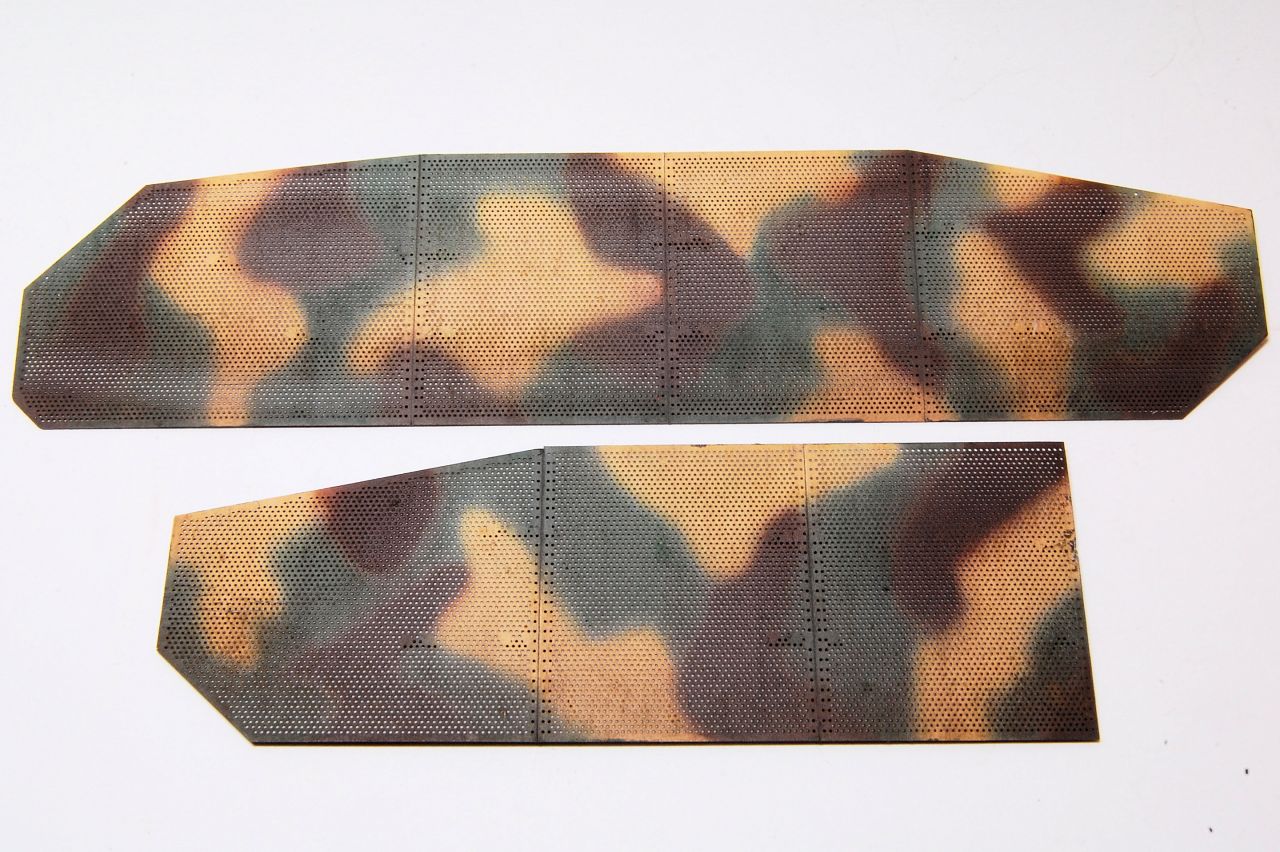
Weathering of the skirt armour has been continuing, this is the turret side plates more or less done:
One of the things that is missing on the big hull plates is any engraved line between the separate plates. It would make sense to engrave it yourself prior to painting, but having not done so I decided to paint it on. This is the masking:
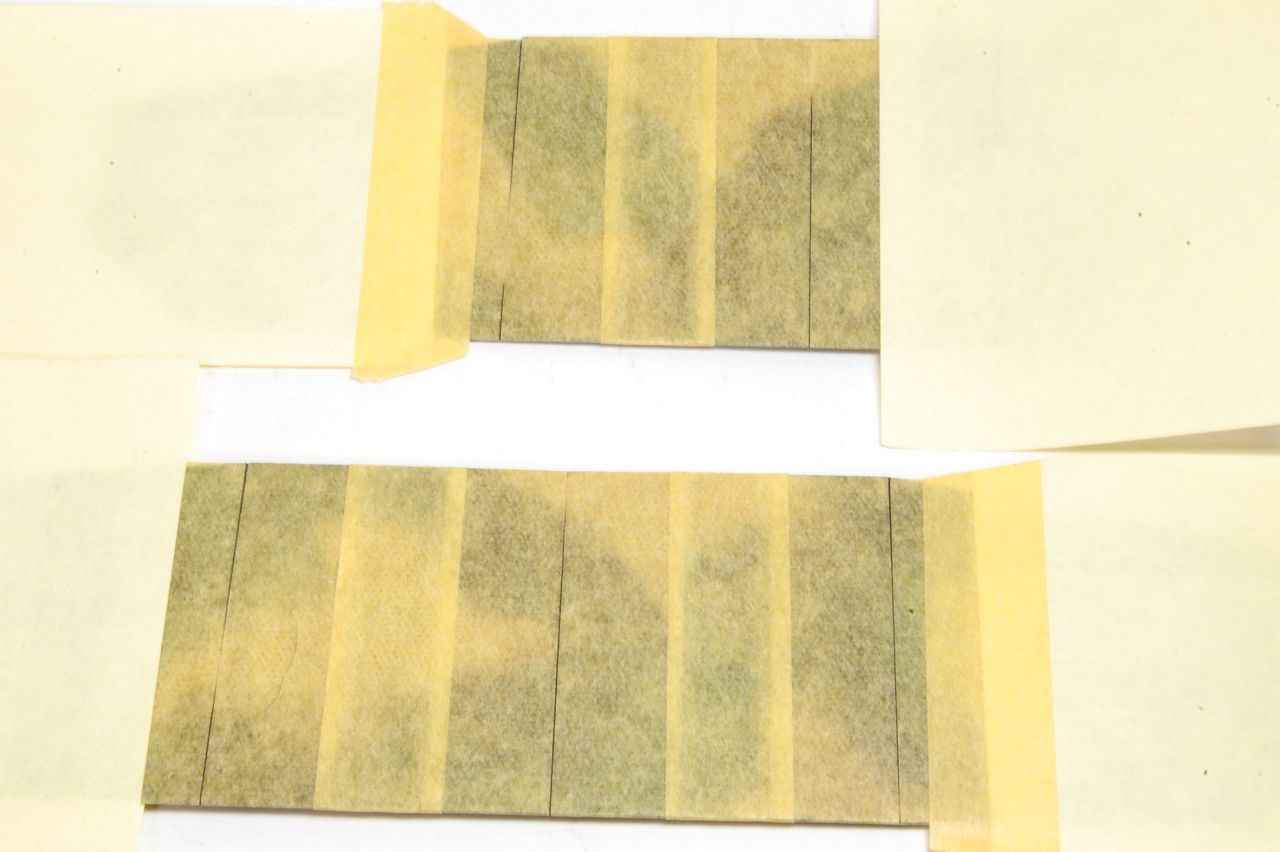
Vallejo German Camo Black Brown (often used as a chipping colour) was sprayed on, resulting in fine lines that I think are about the right degree of subtlety.
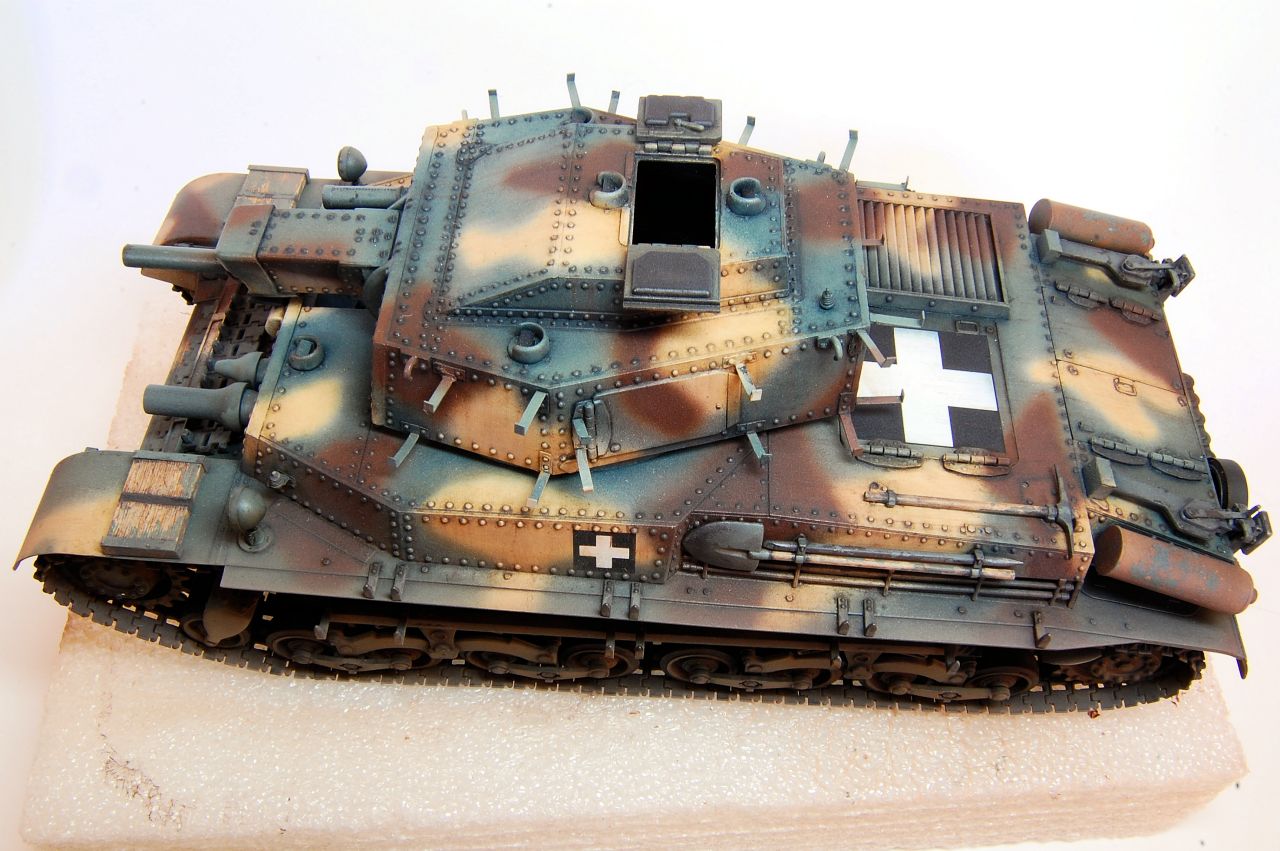
In preparation for the final big challenge of this kit, attaching the turret spaced armour, I thought I'd better test fit the turret to make sure it's not too difficult to fit in place, once the armour plates are on. The brackets make the turret painfully delicate, so all handling has to be done using the gun, the hatch, and the raised section on top.
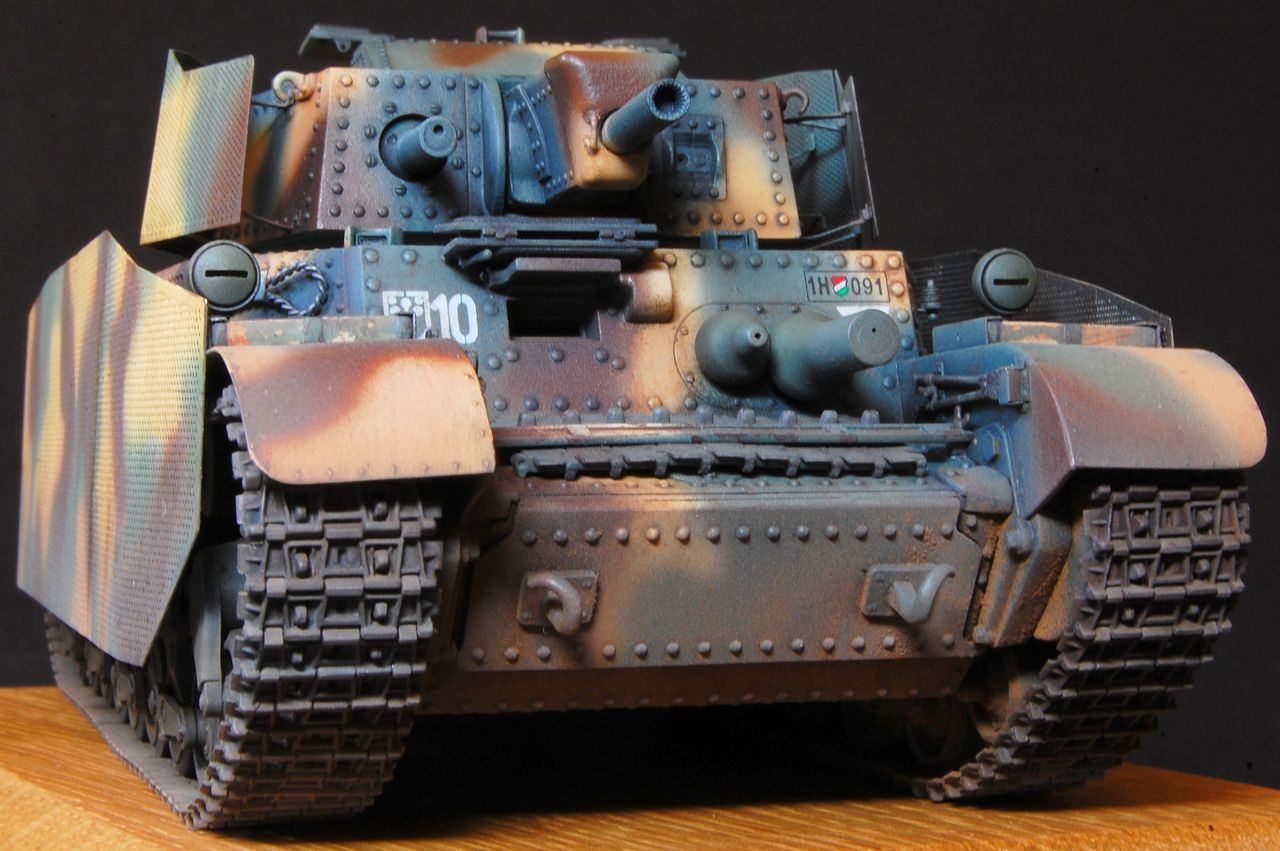
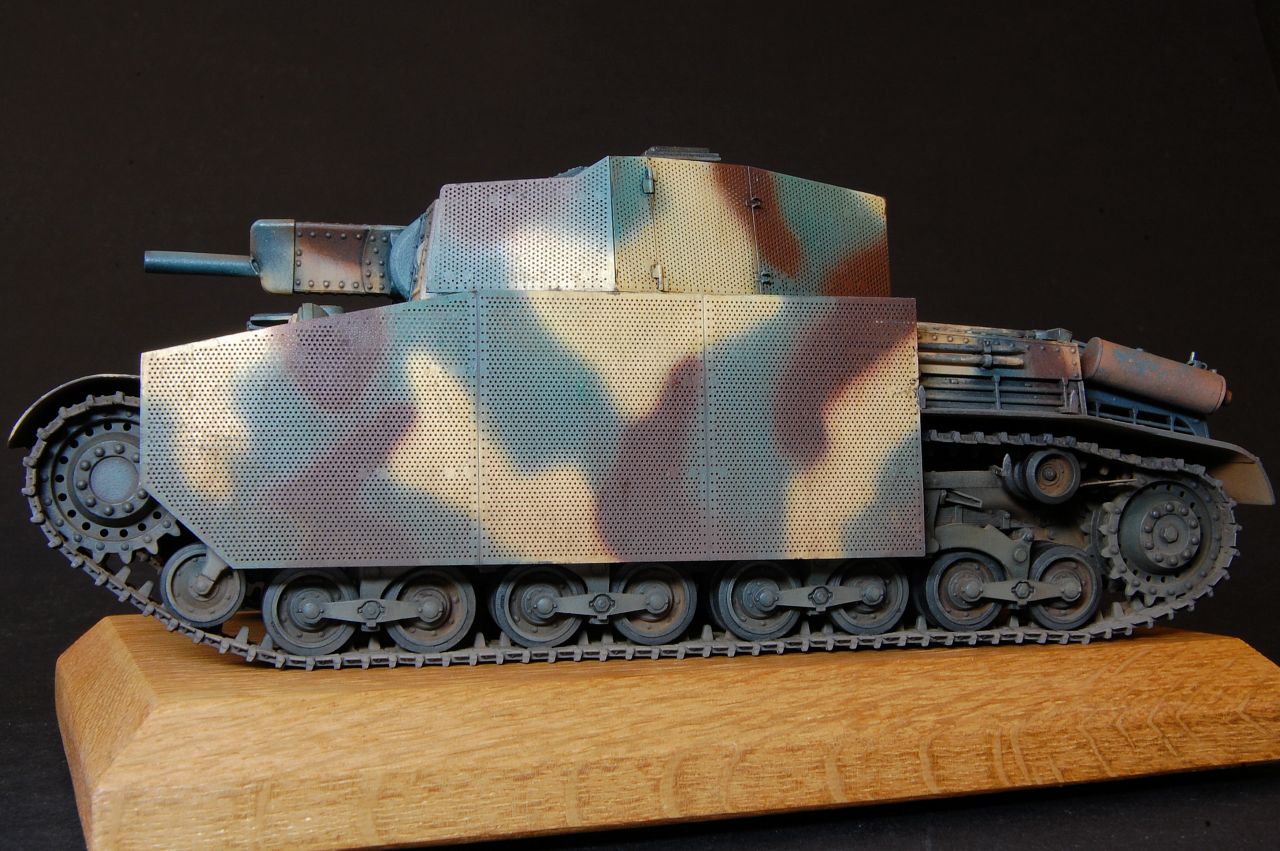
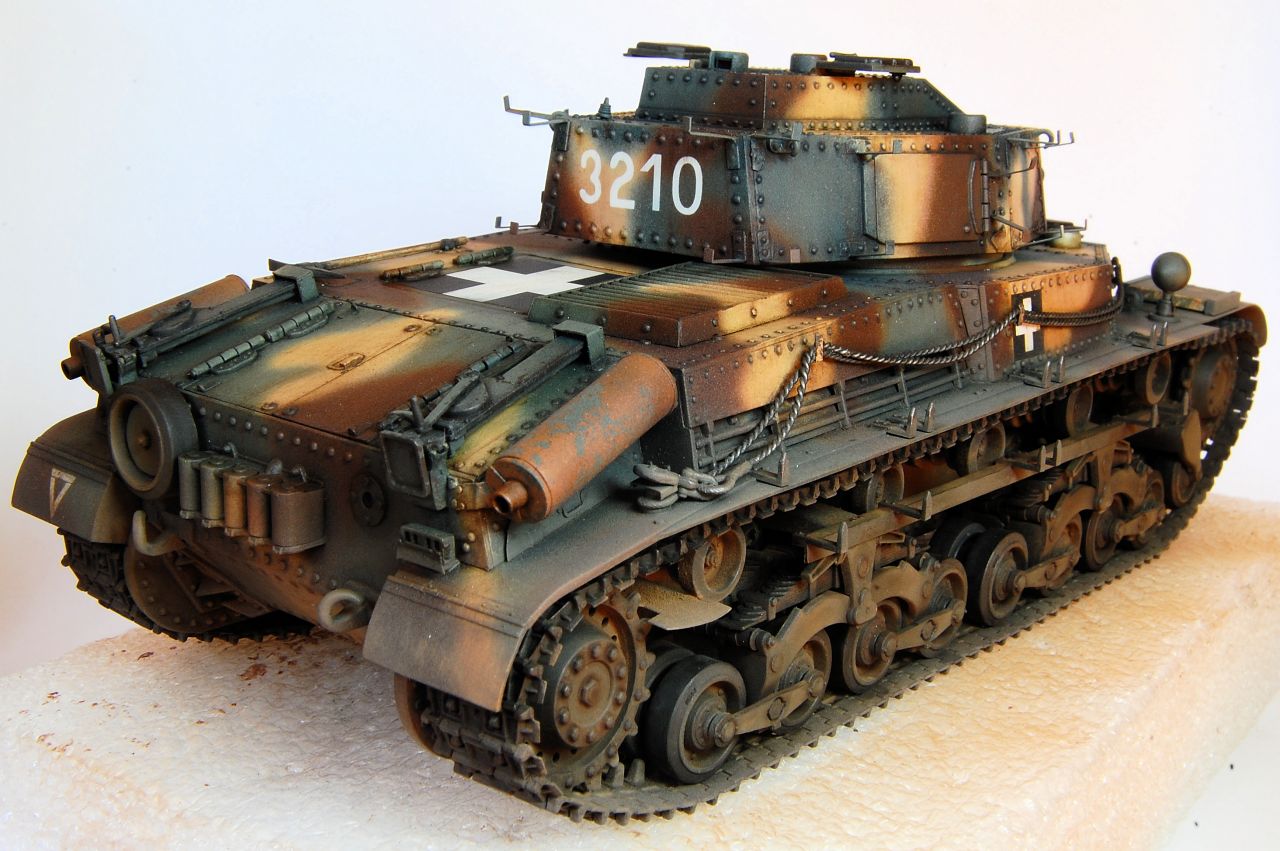
Fortunately it goes on quite easily, so time for a few shots of the almost finished model without any of the stand off armour:
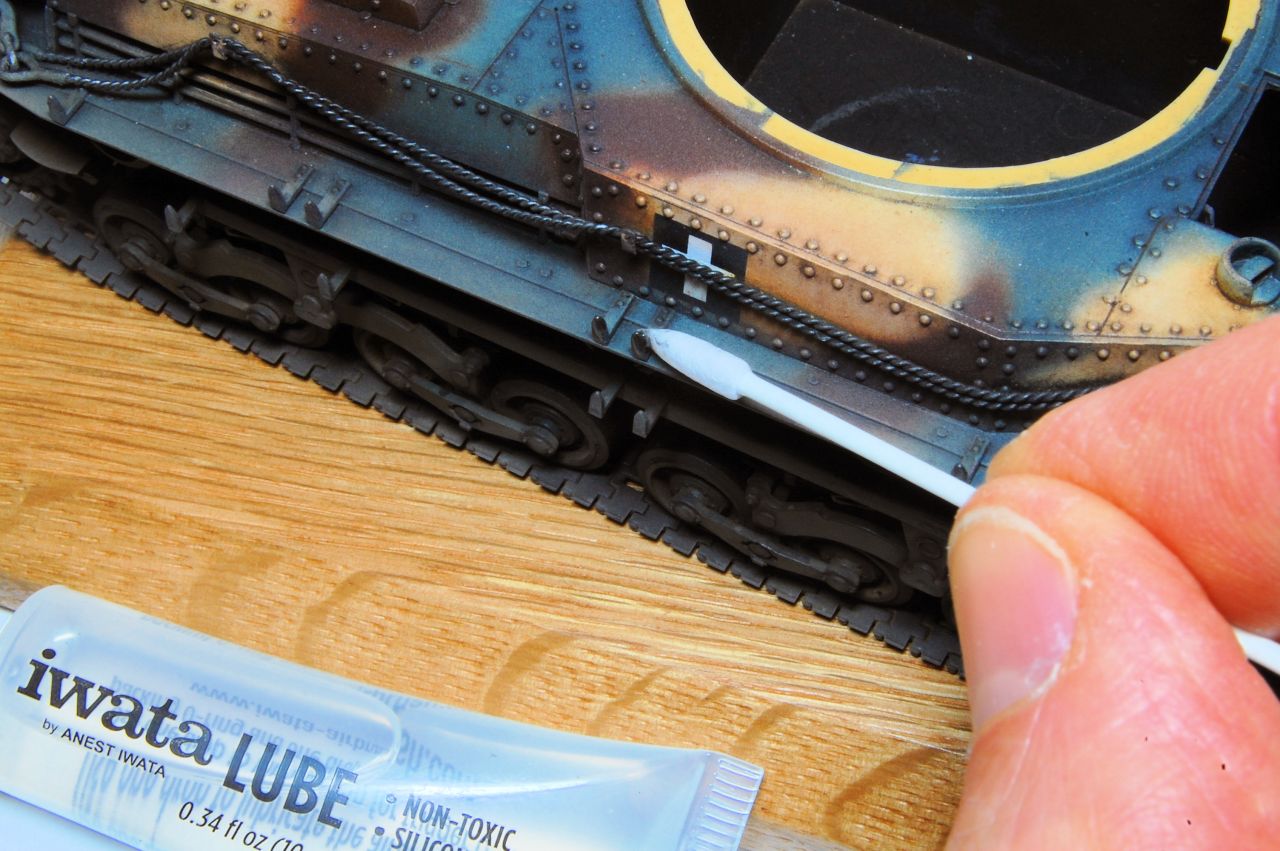
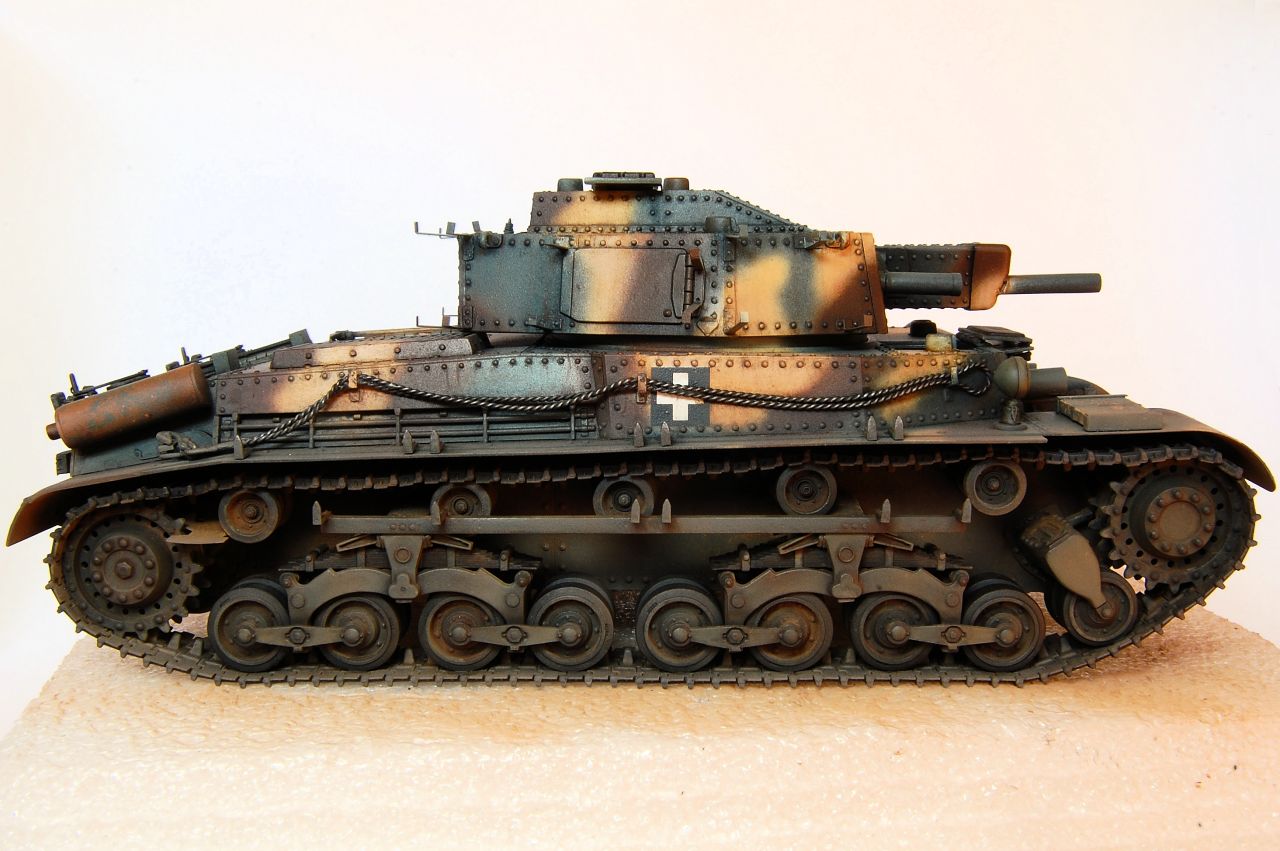
Here can be seen the result of quite a lot of painting work done to the bogies, wheels, tracks, with repeated oil and enamel washes, pigments, Tamiya Flat Earth etc.
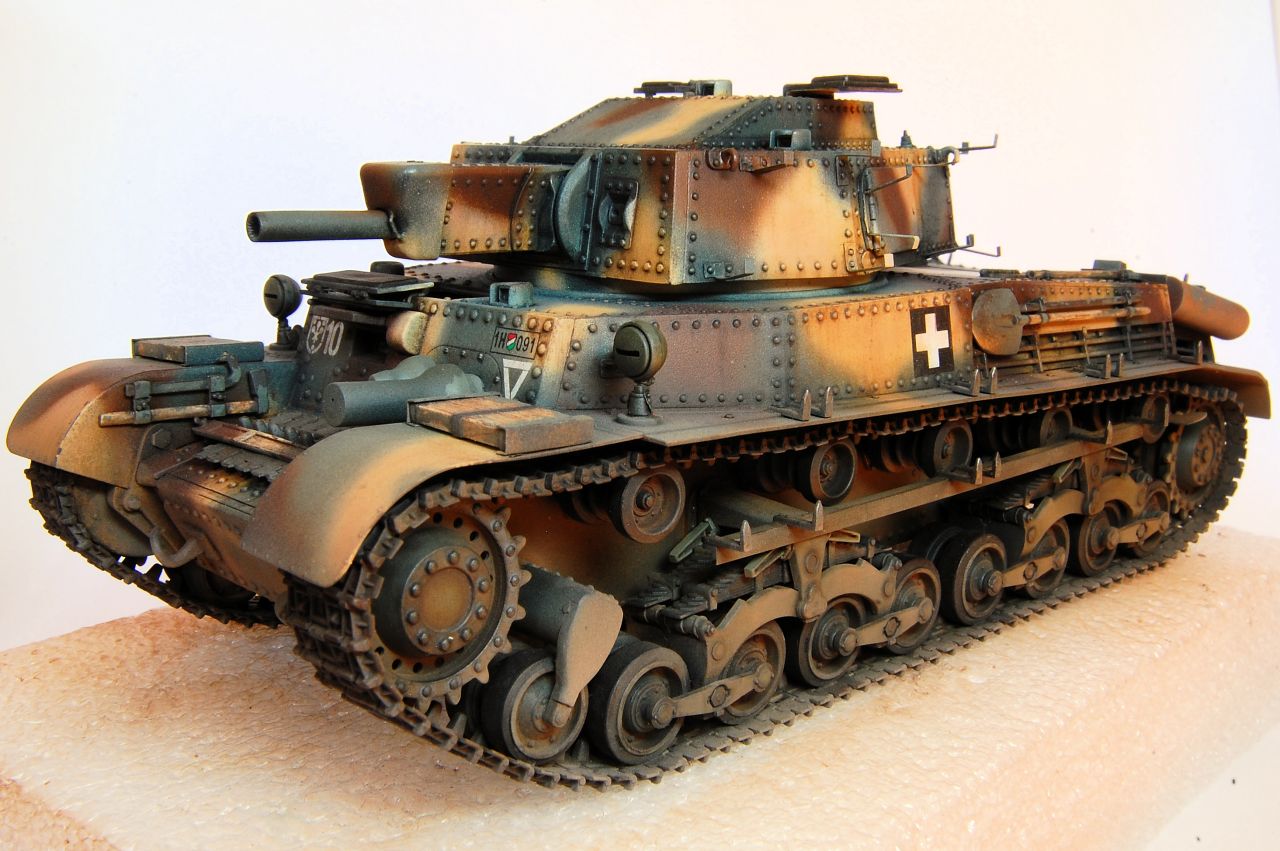
A very few small chips visible, and some metallic pigment on the hull armour hangers:
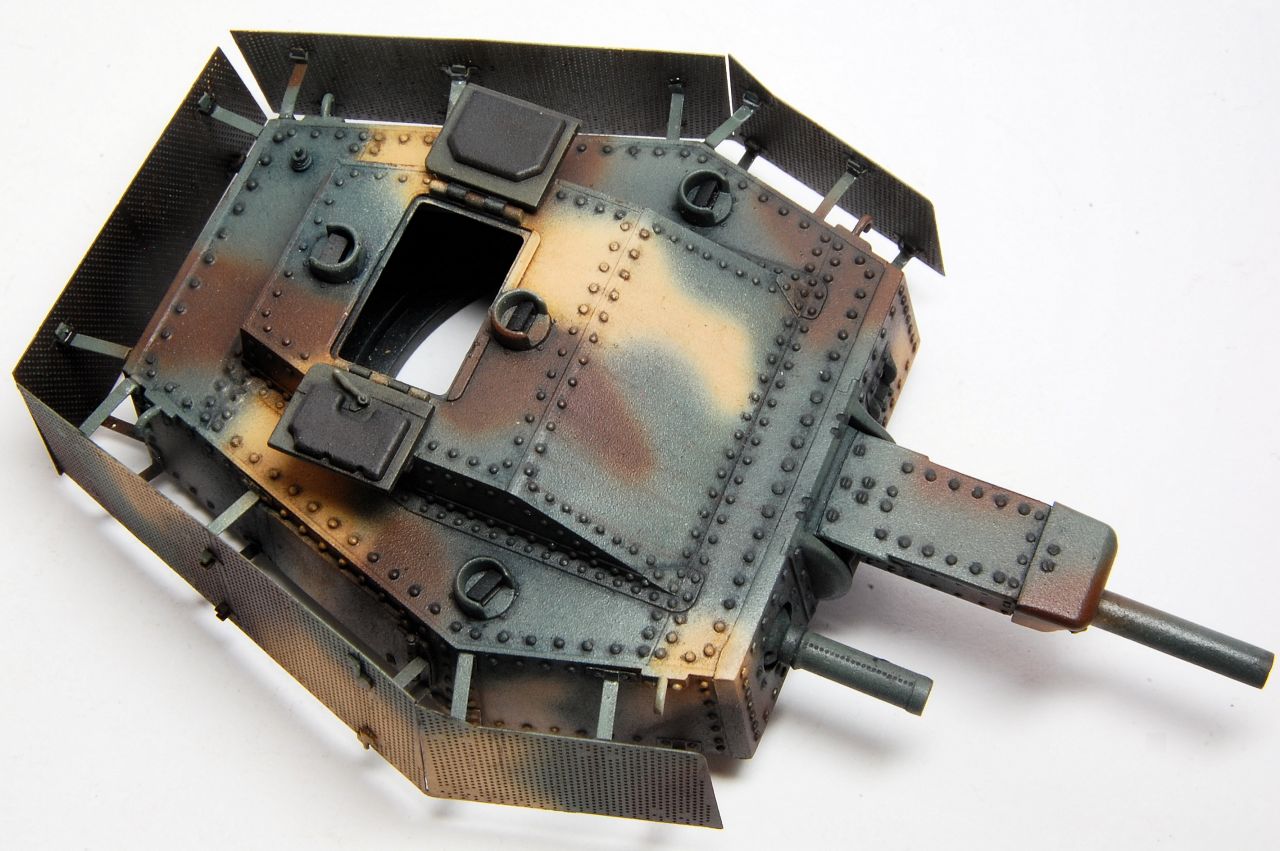
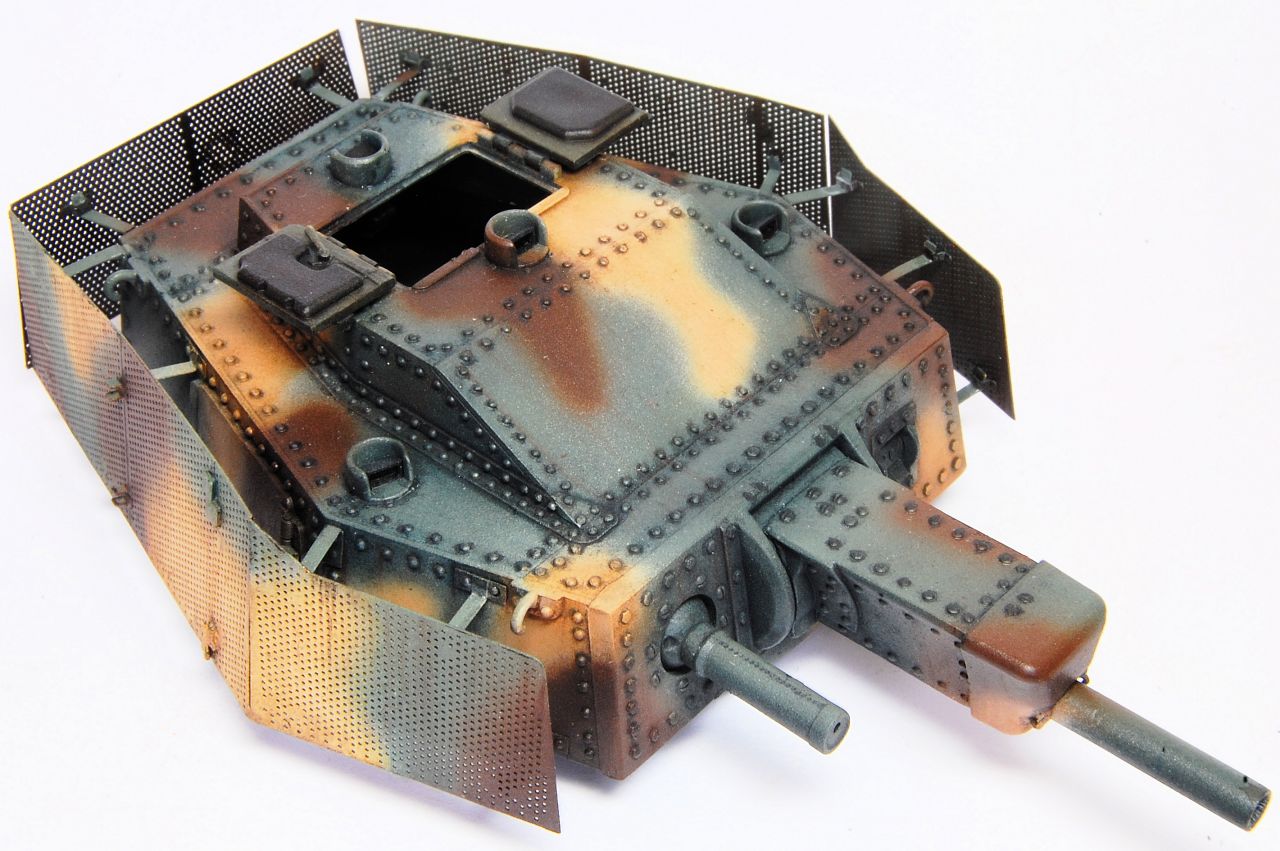
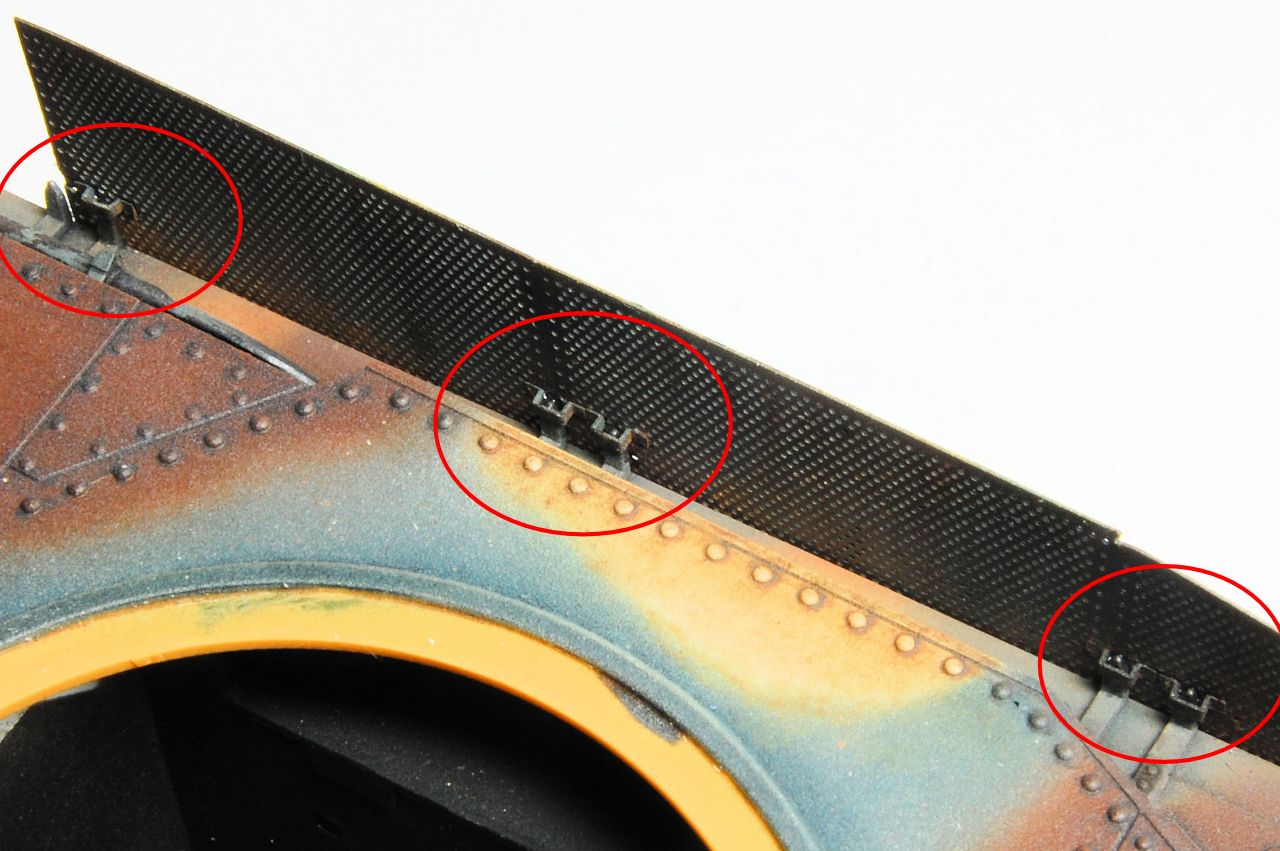
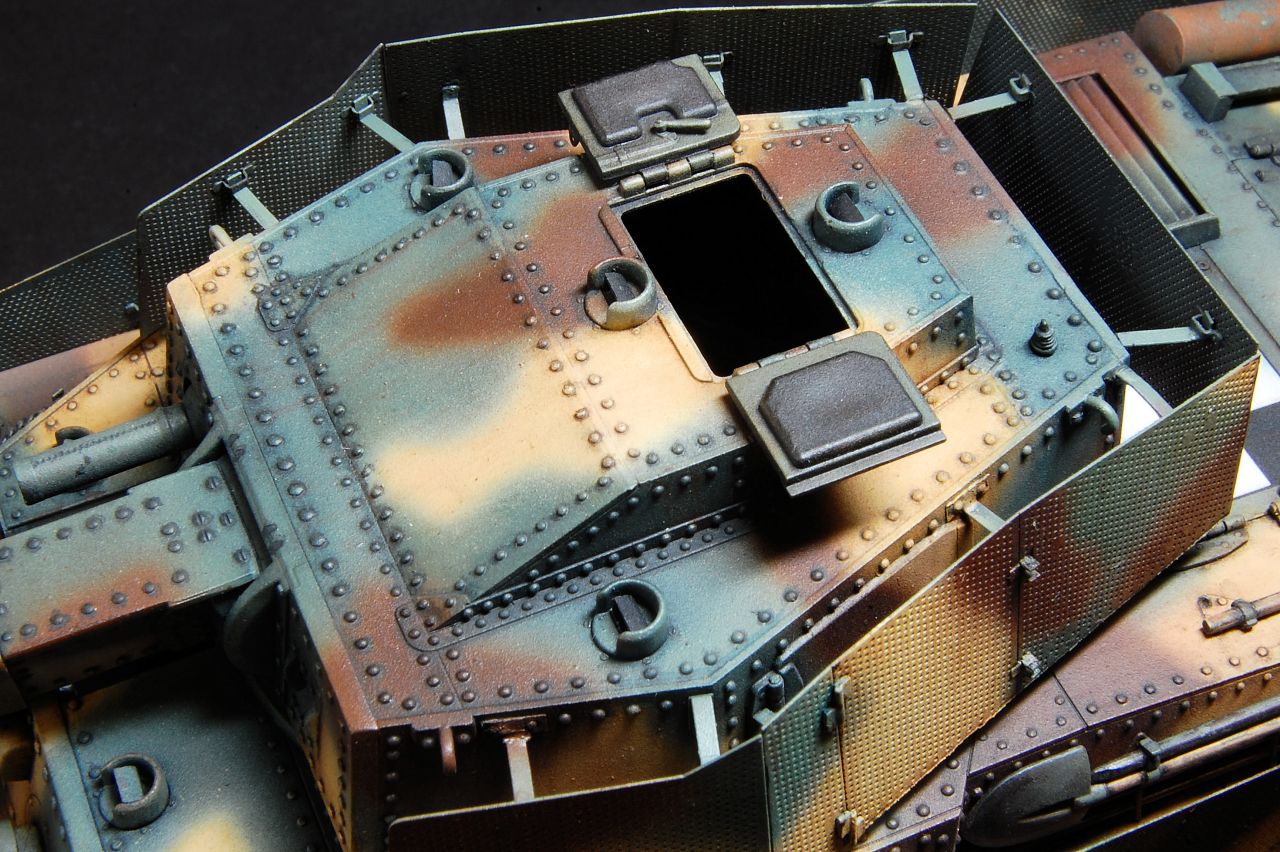
Fitting the turret armour was quite stressful. The brackets are delicate, and some needed bending a little to get into the right position for the eyelets on the plates, and needless to say that has to be done very carefully.
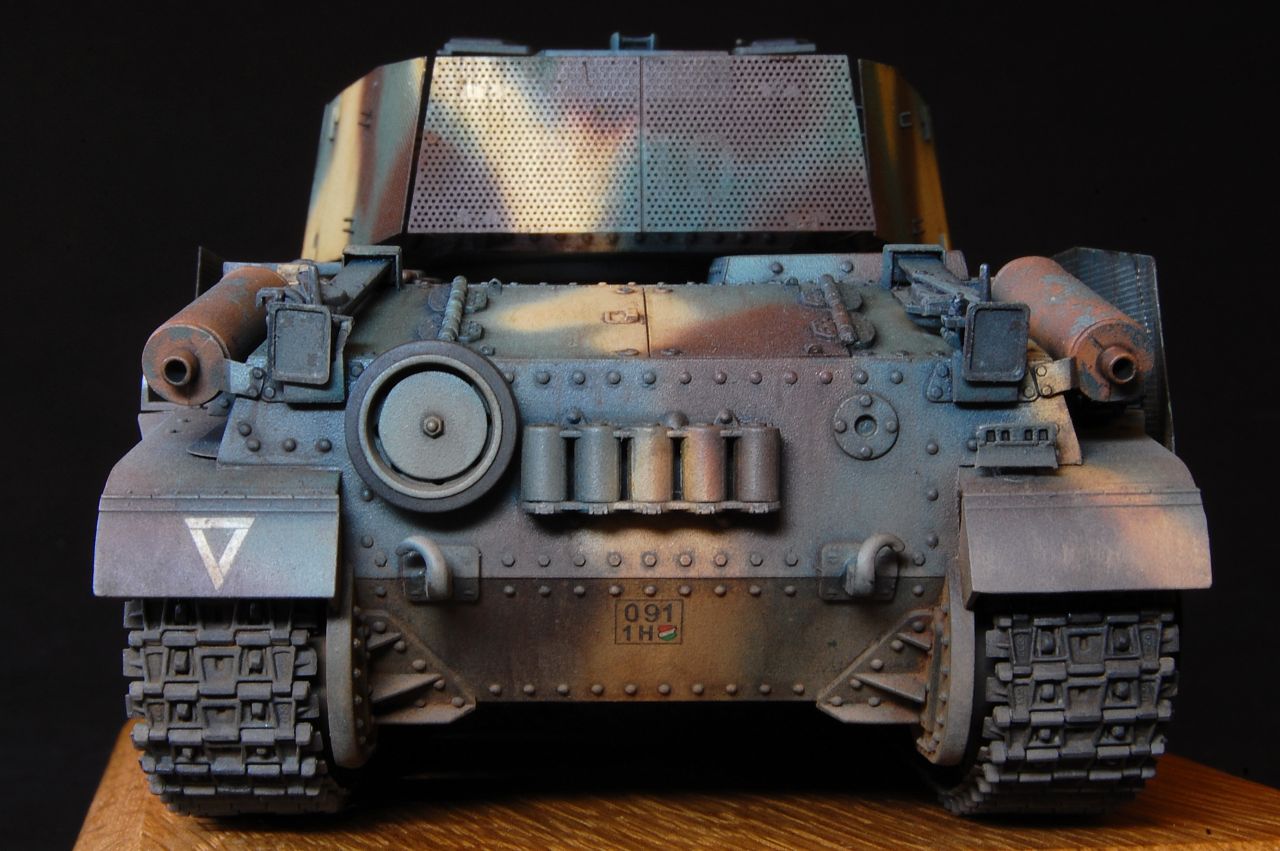
The lower left bracket on the rear plate (visible in the photo below) just wouldn't slot into the eyelet, and it also repeatedly hooked underneath the plate itself every time I tried to get all the brackets correctly engaged.
Trying to dry fit all the hooks and eyes in one go proved really hard, so on the side plate I made sure that the top of the rear section was engaged and applied CA glue. The front part is effectively slightly hinged where it angles round, so that section could be done separately. Once the top was done, I could turn the turret over and work on the lower section of hooks and eyes.
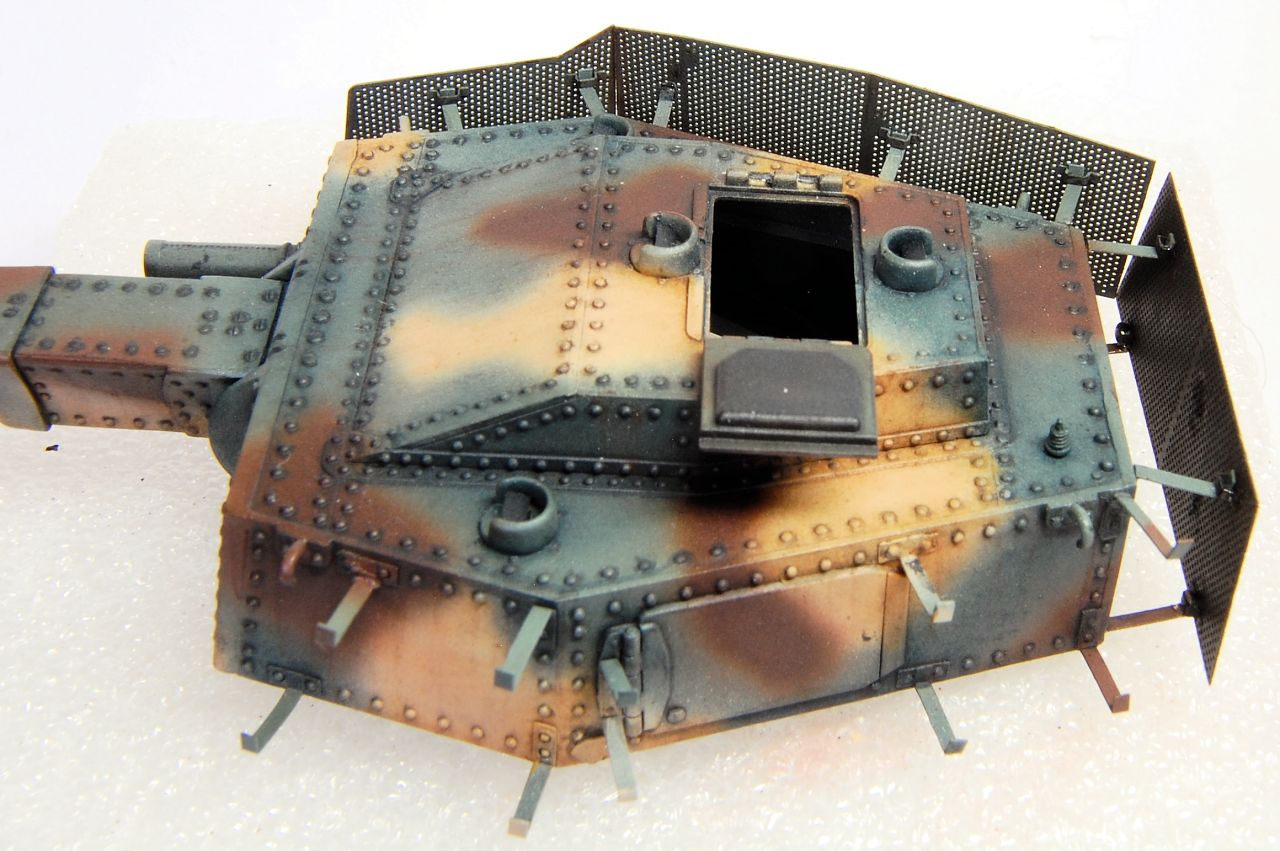
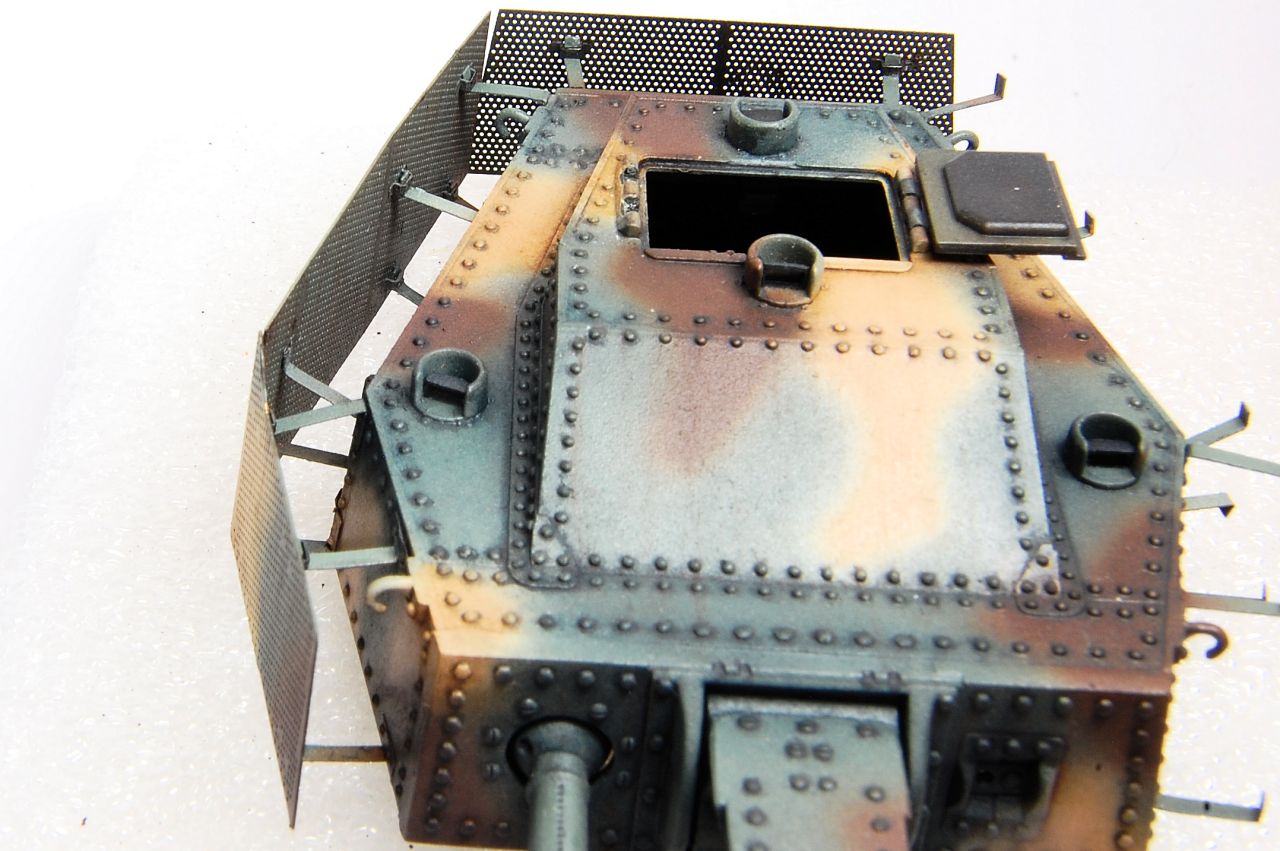
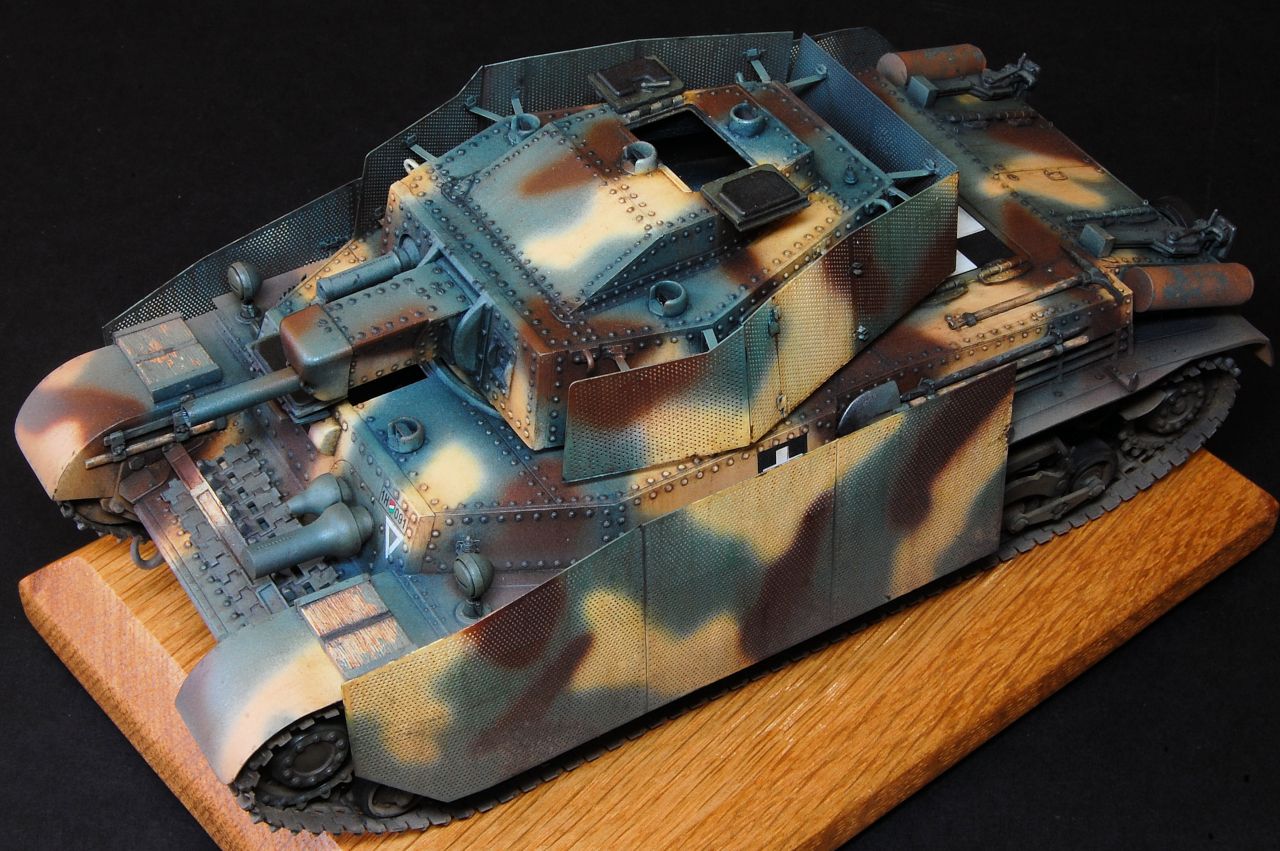
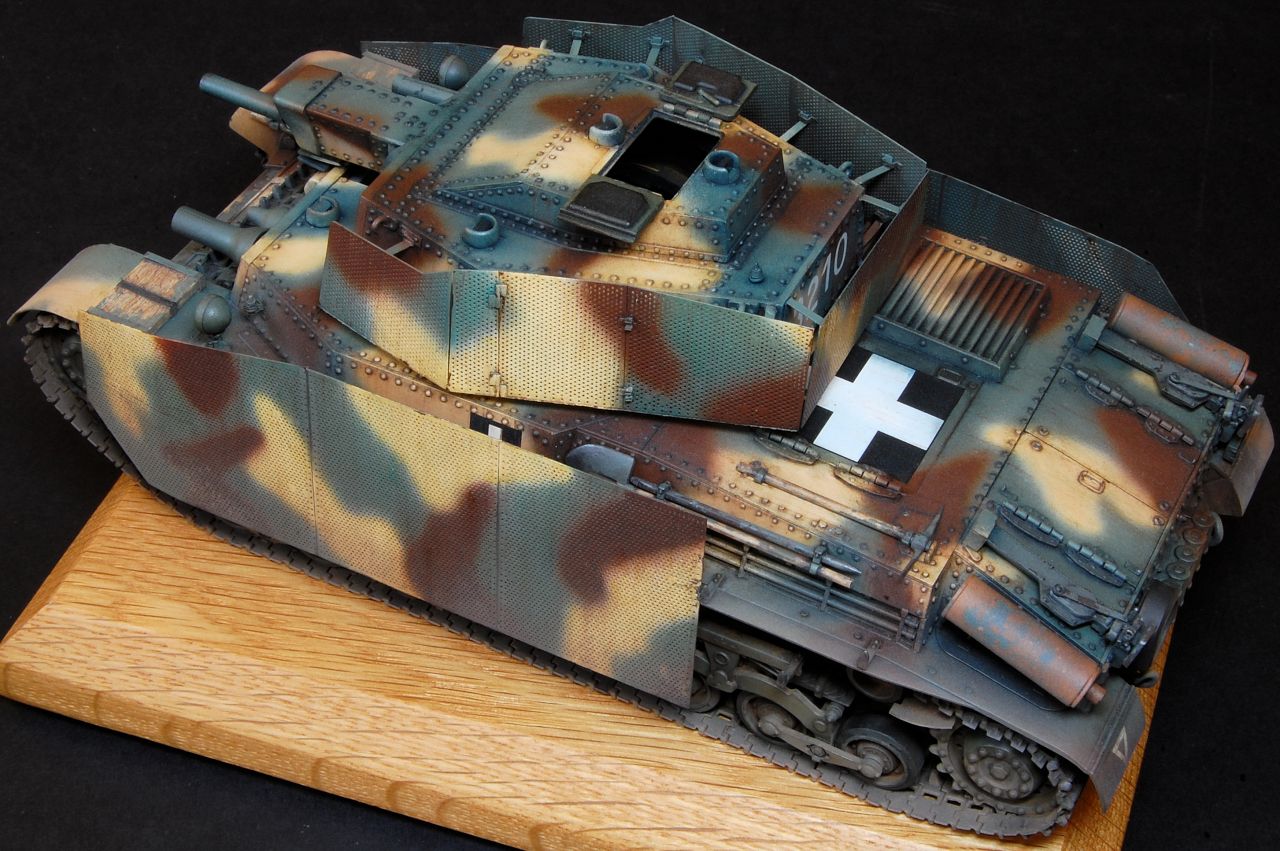
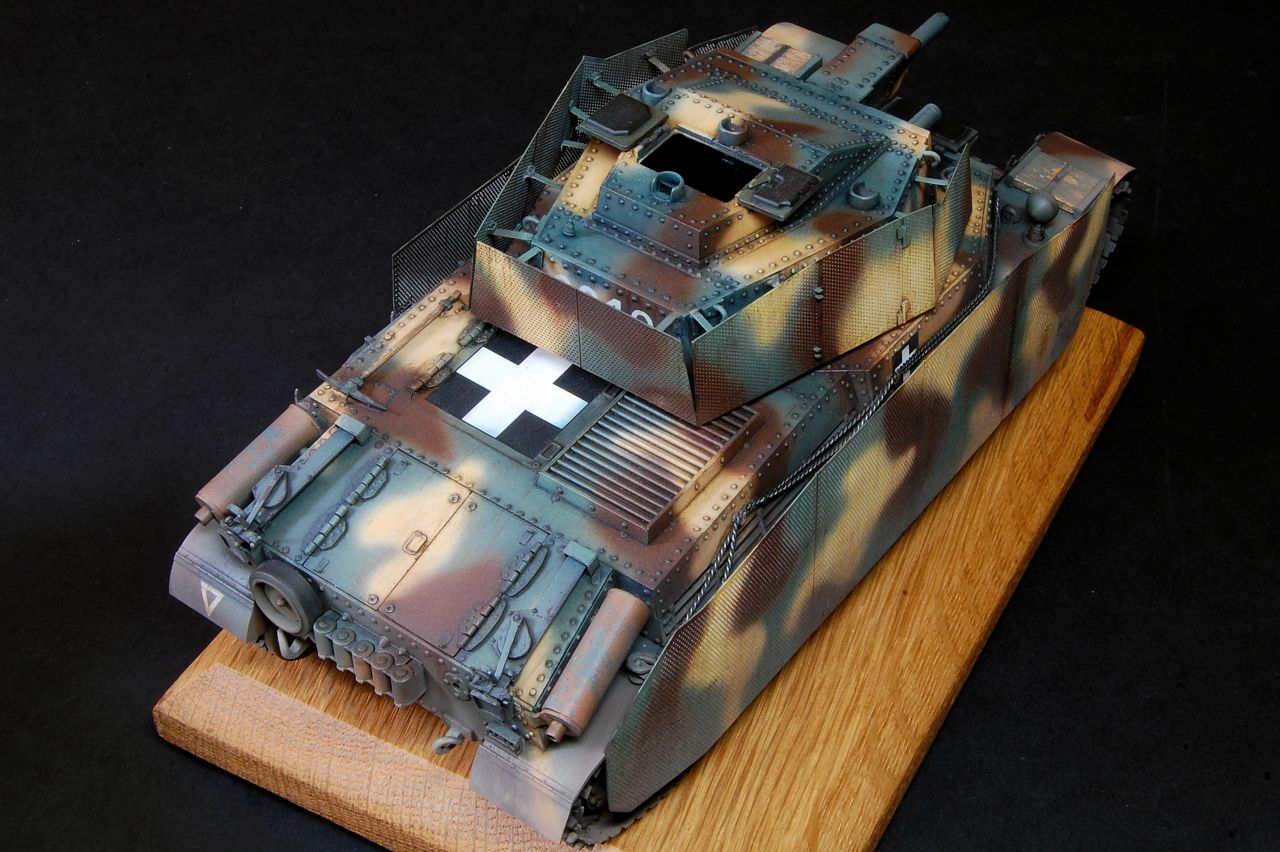
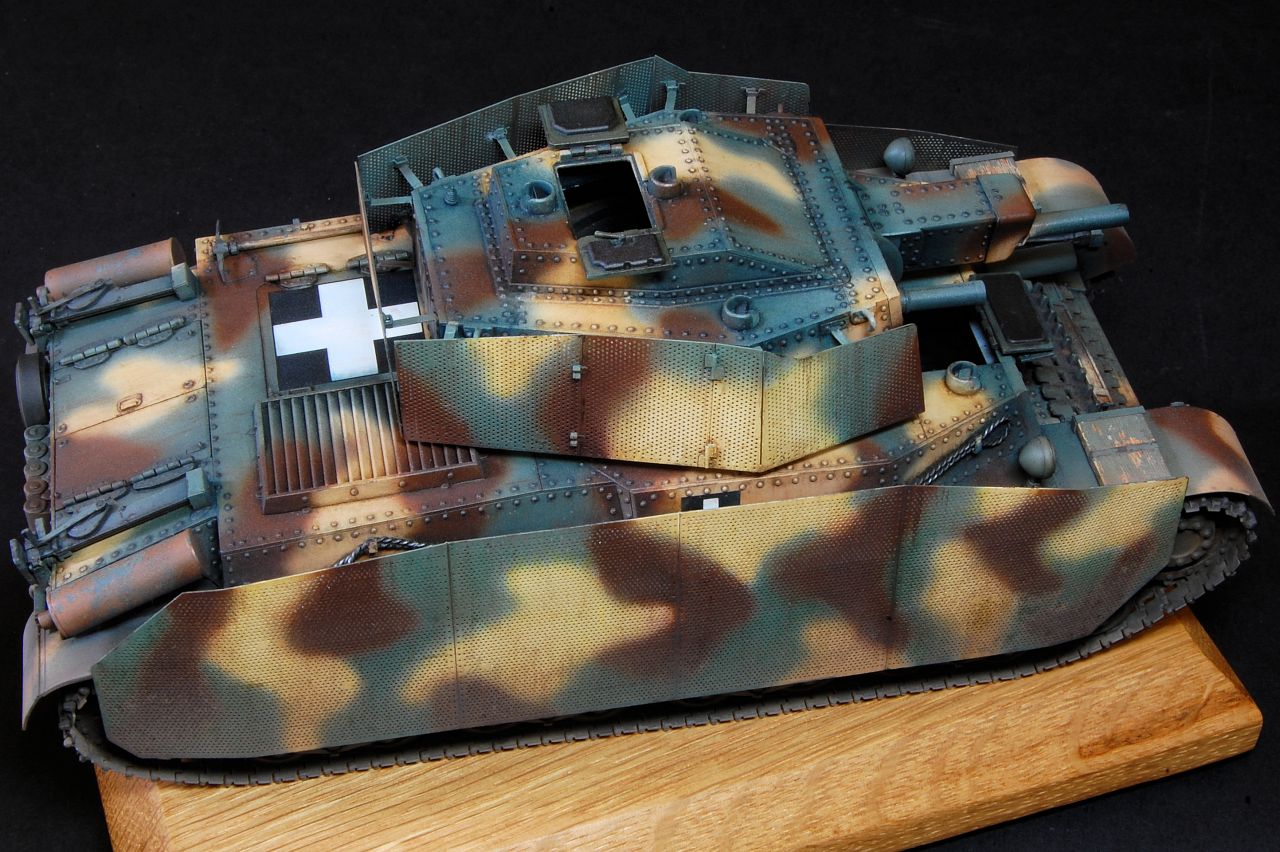
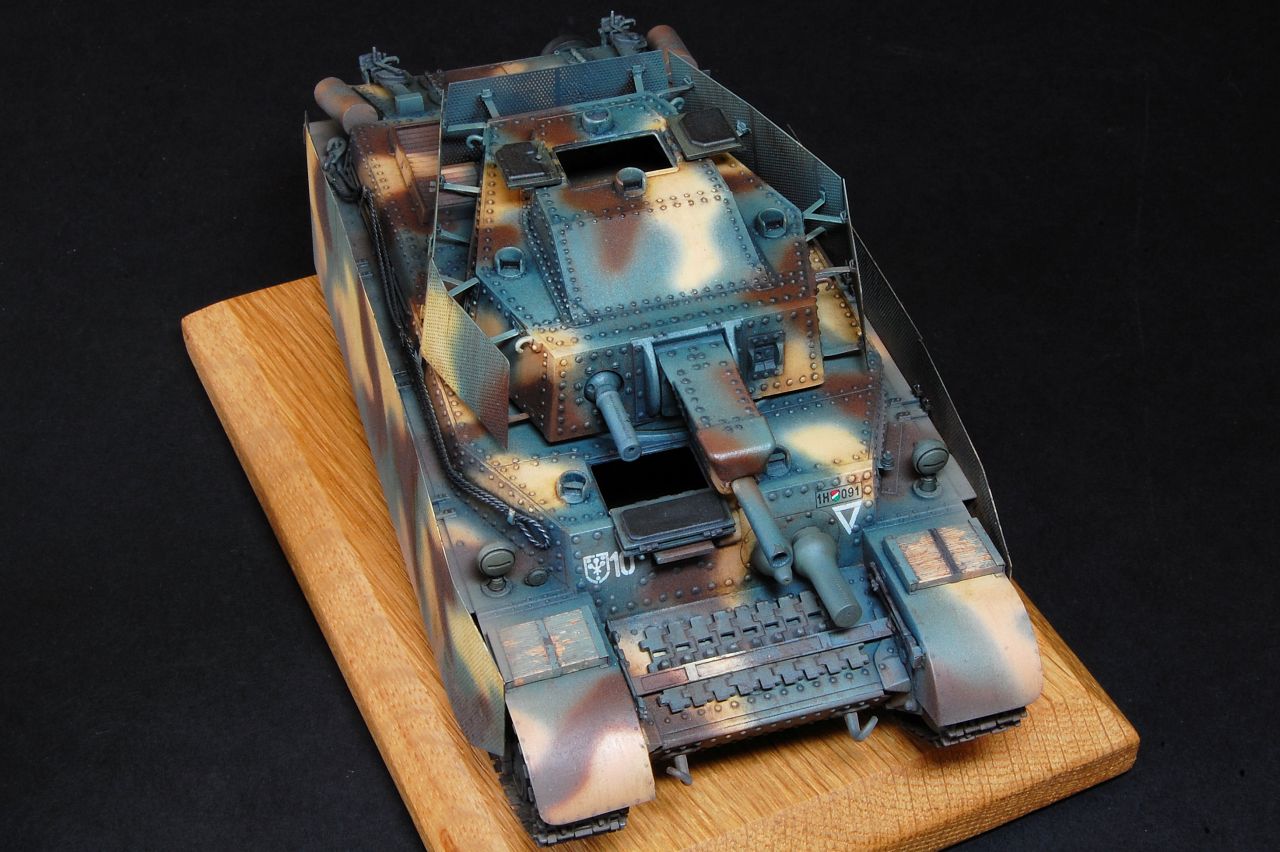
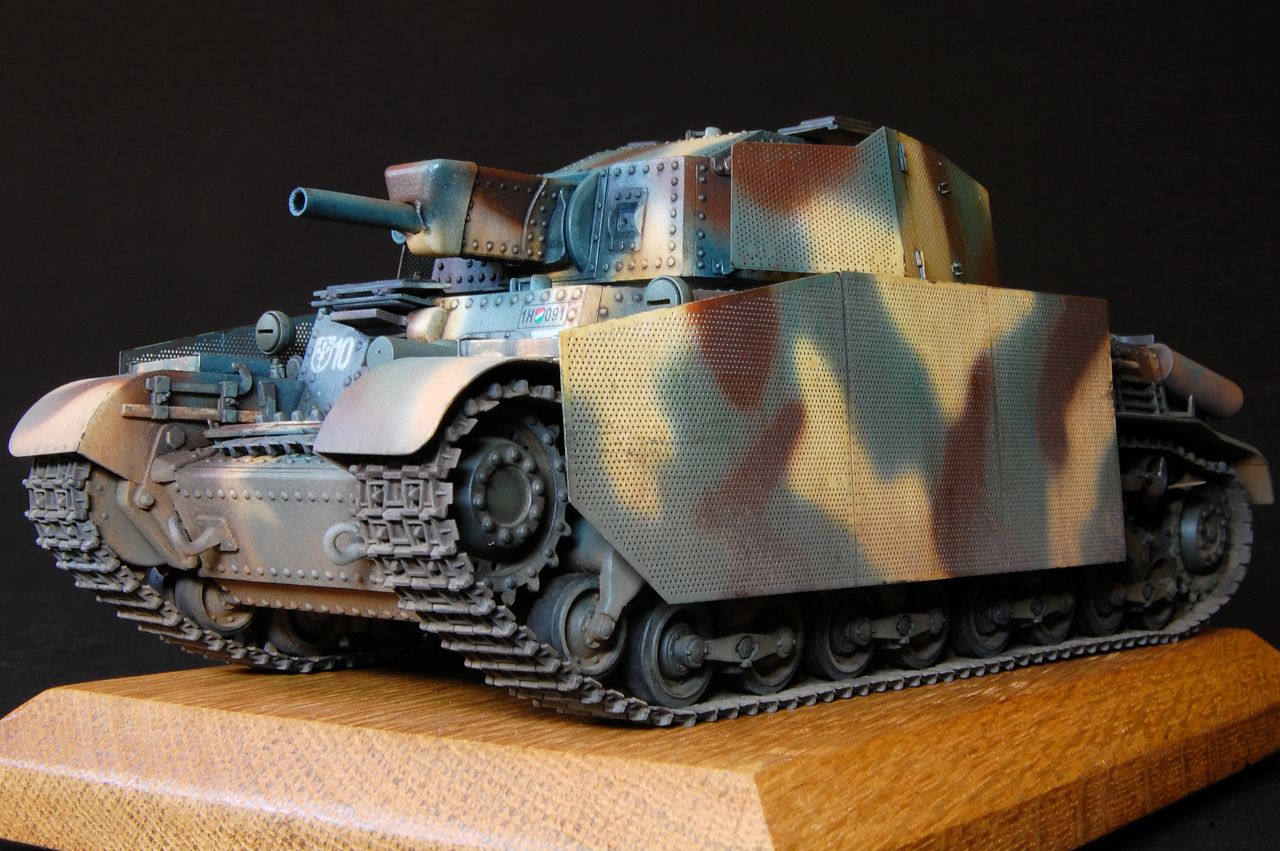
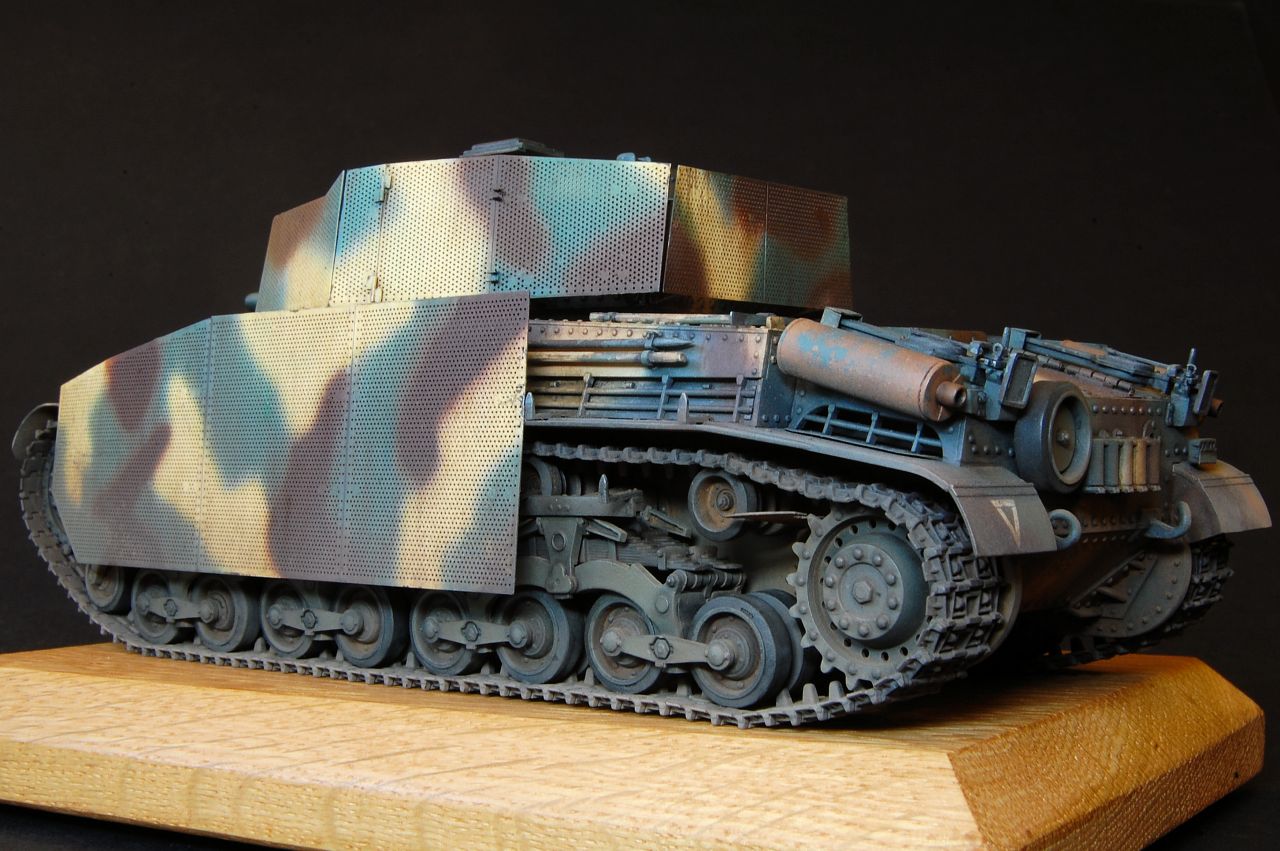
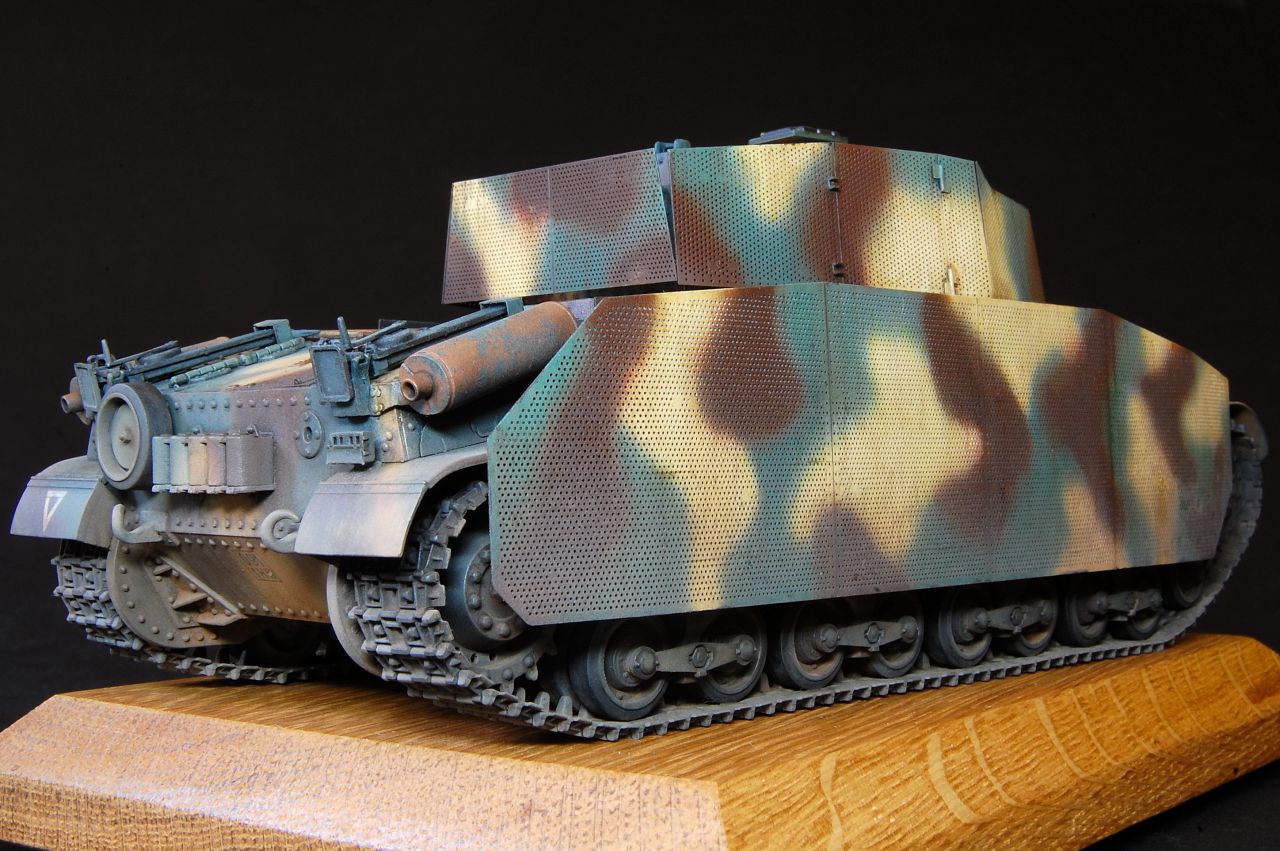
All of them attached, waiting for the glue to fully cure before doing any further adjustment, and also, probably, some touching up of paint:
