Tamiya Churchill MkVII OOB
United Kingdom
Joined: December 15, 2008
KitMaker: 246 posts
Armorama: 171 posts
Posted: Thursday, September 27, 2018 - 09:03 AM UTC
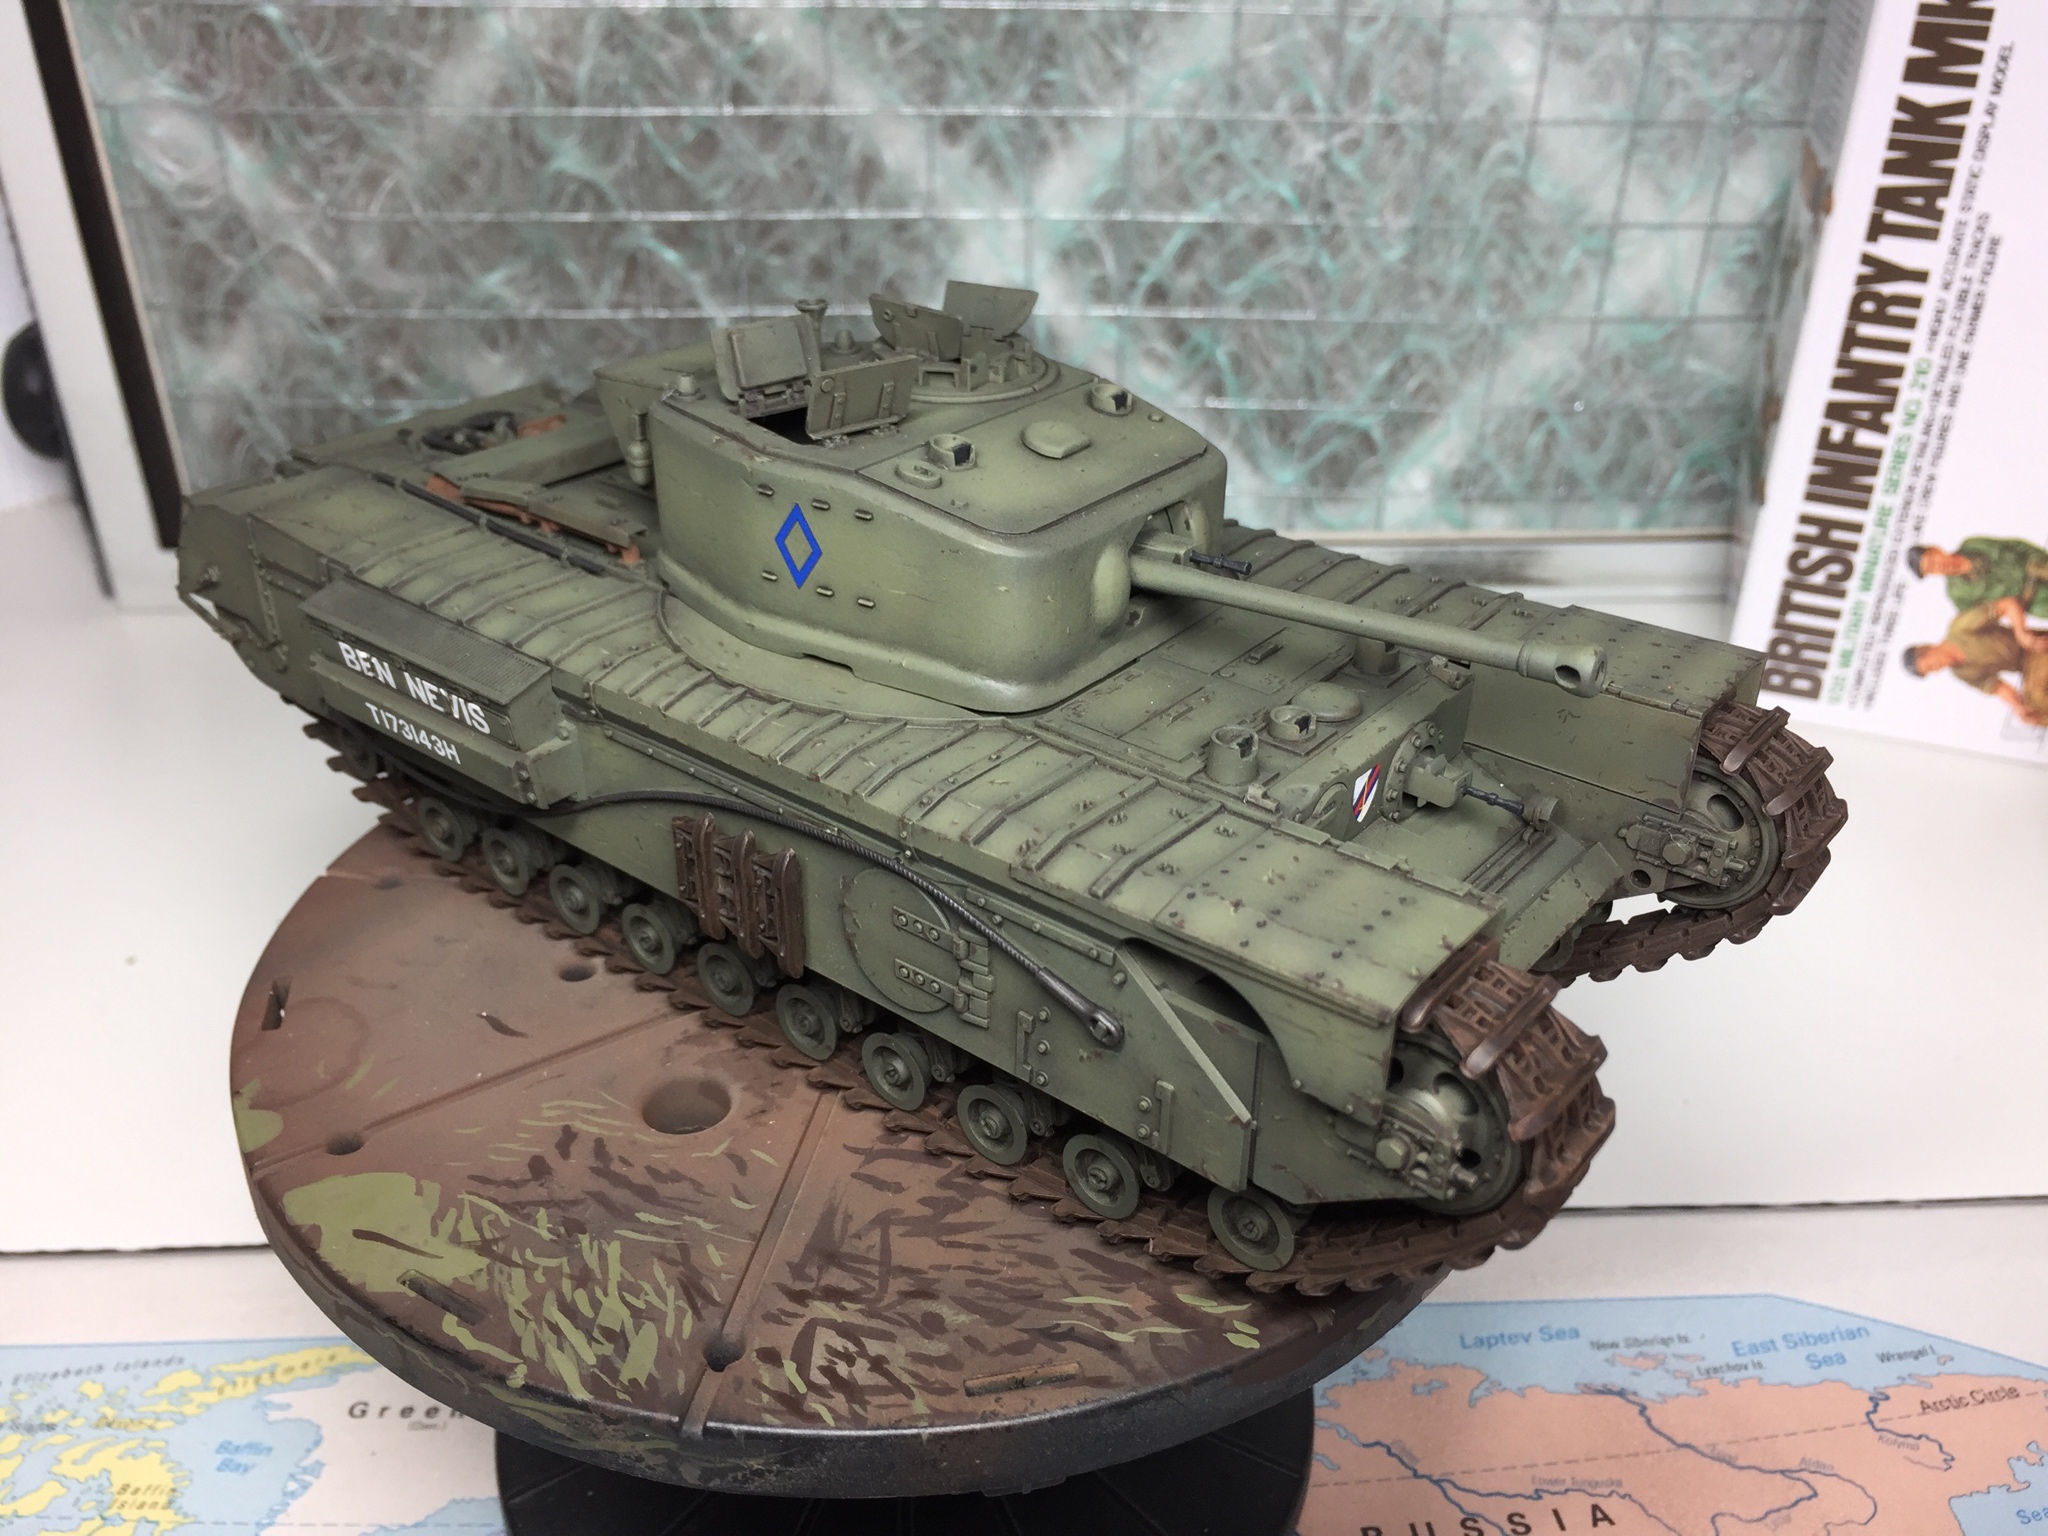
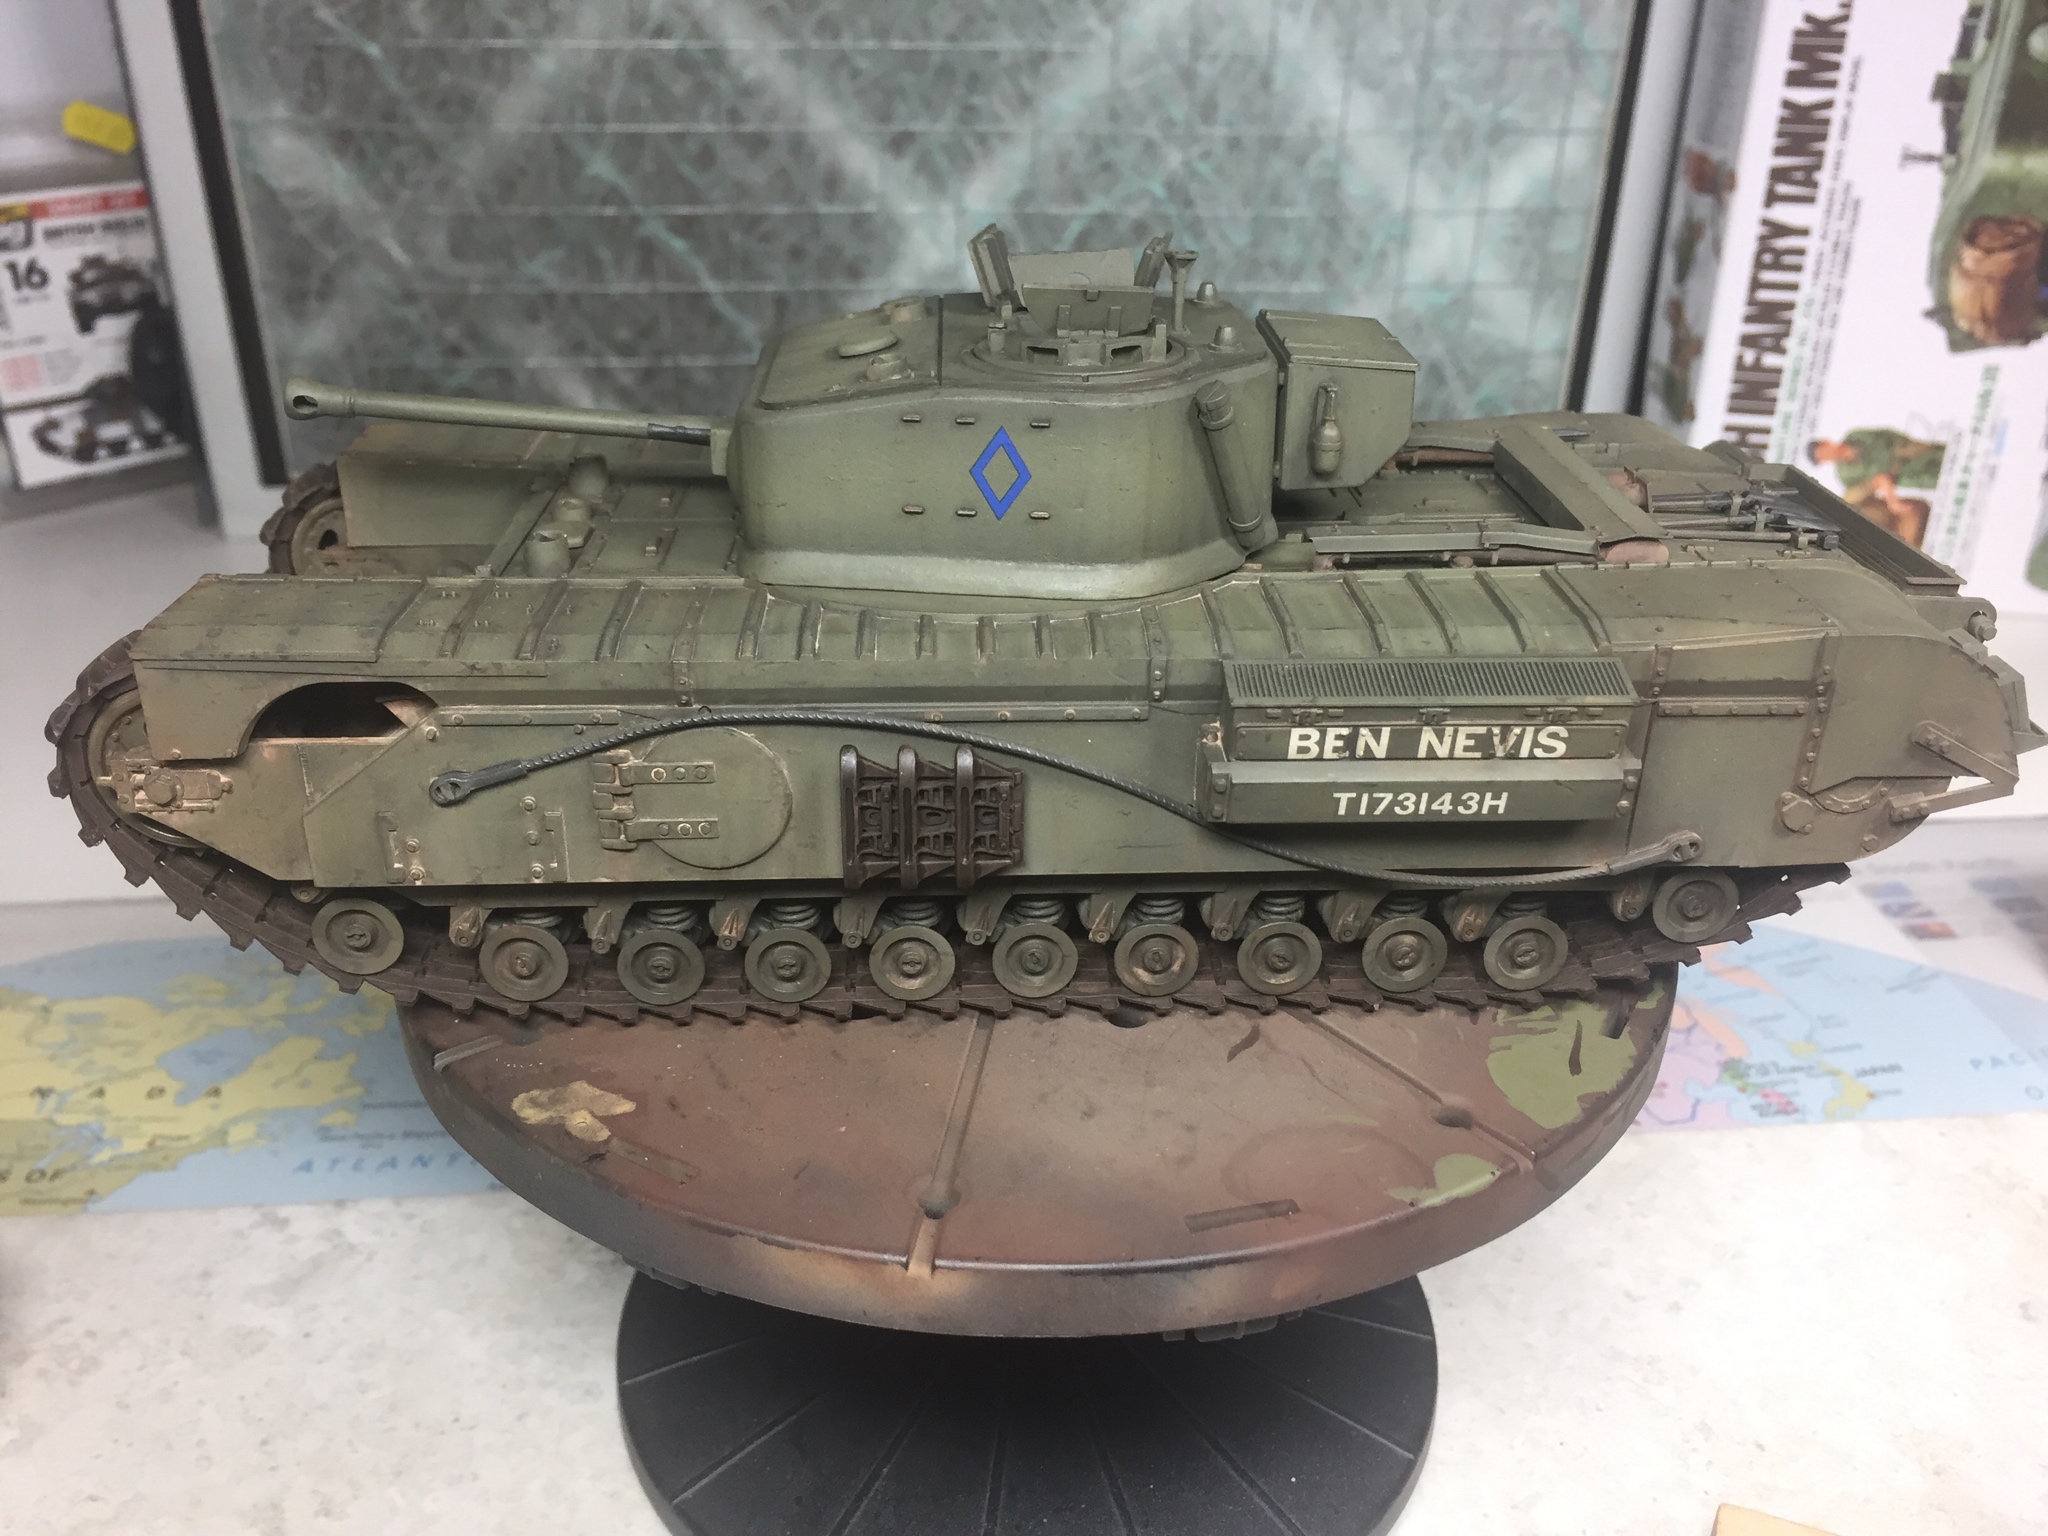
Thought I would share my progress so far on this which is to be a gift for a friends half century.
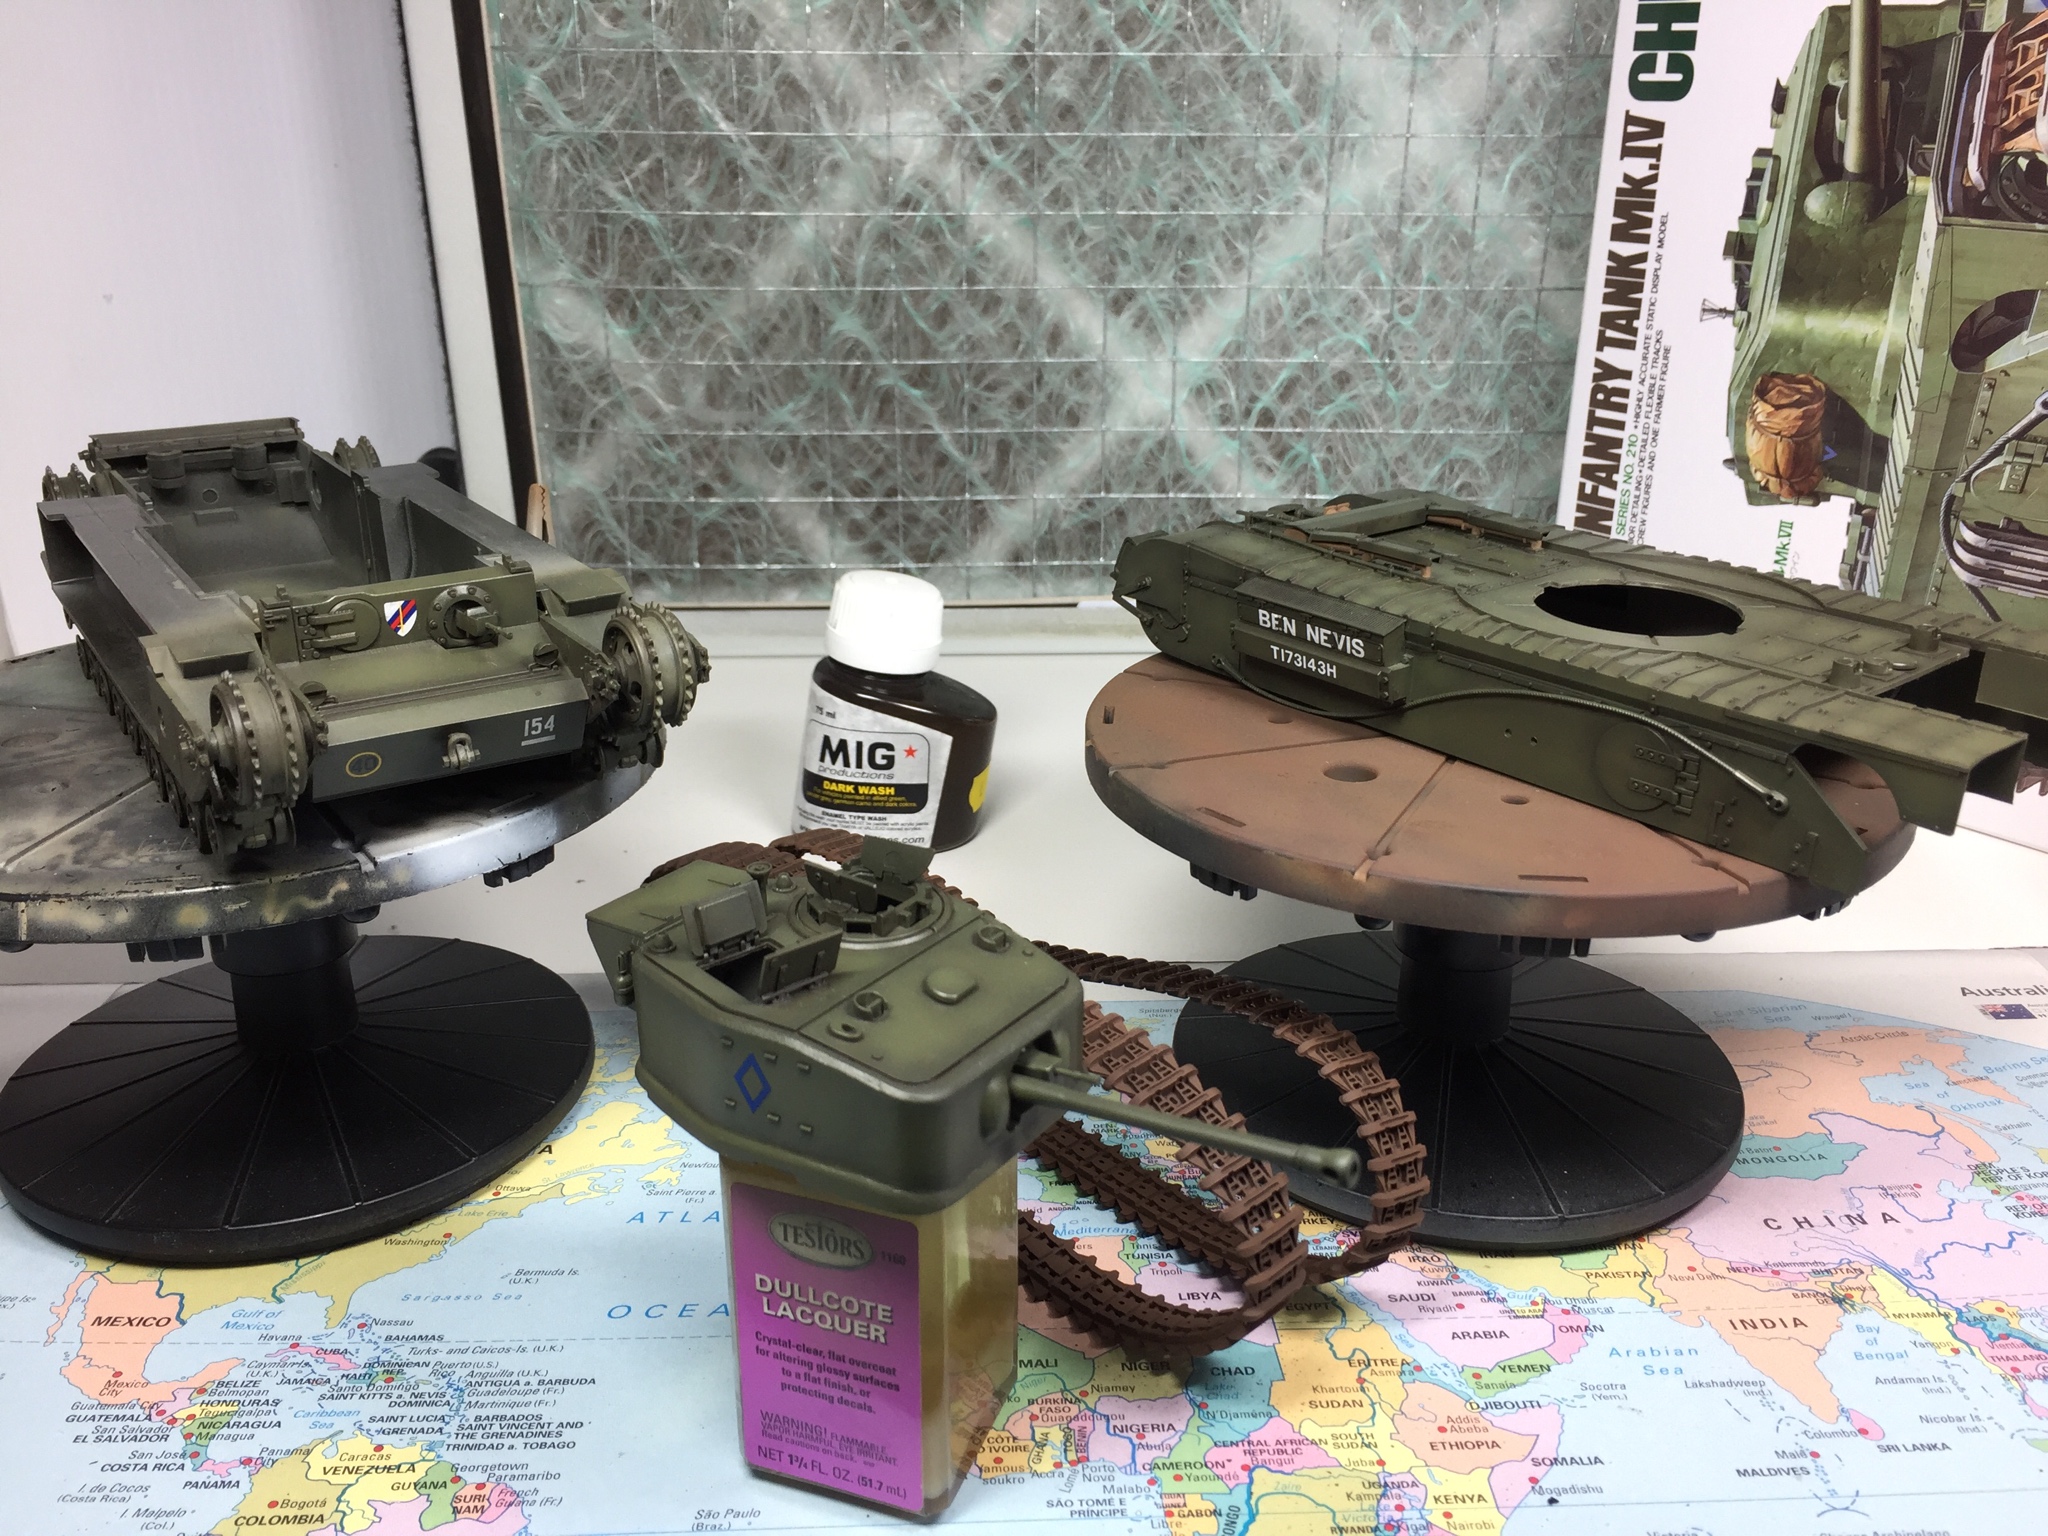
Simple build followed by tamiya medium grey as a primer
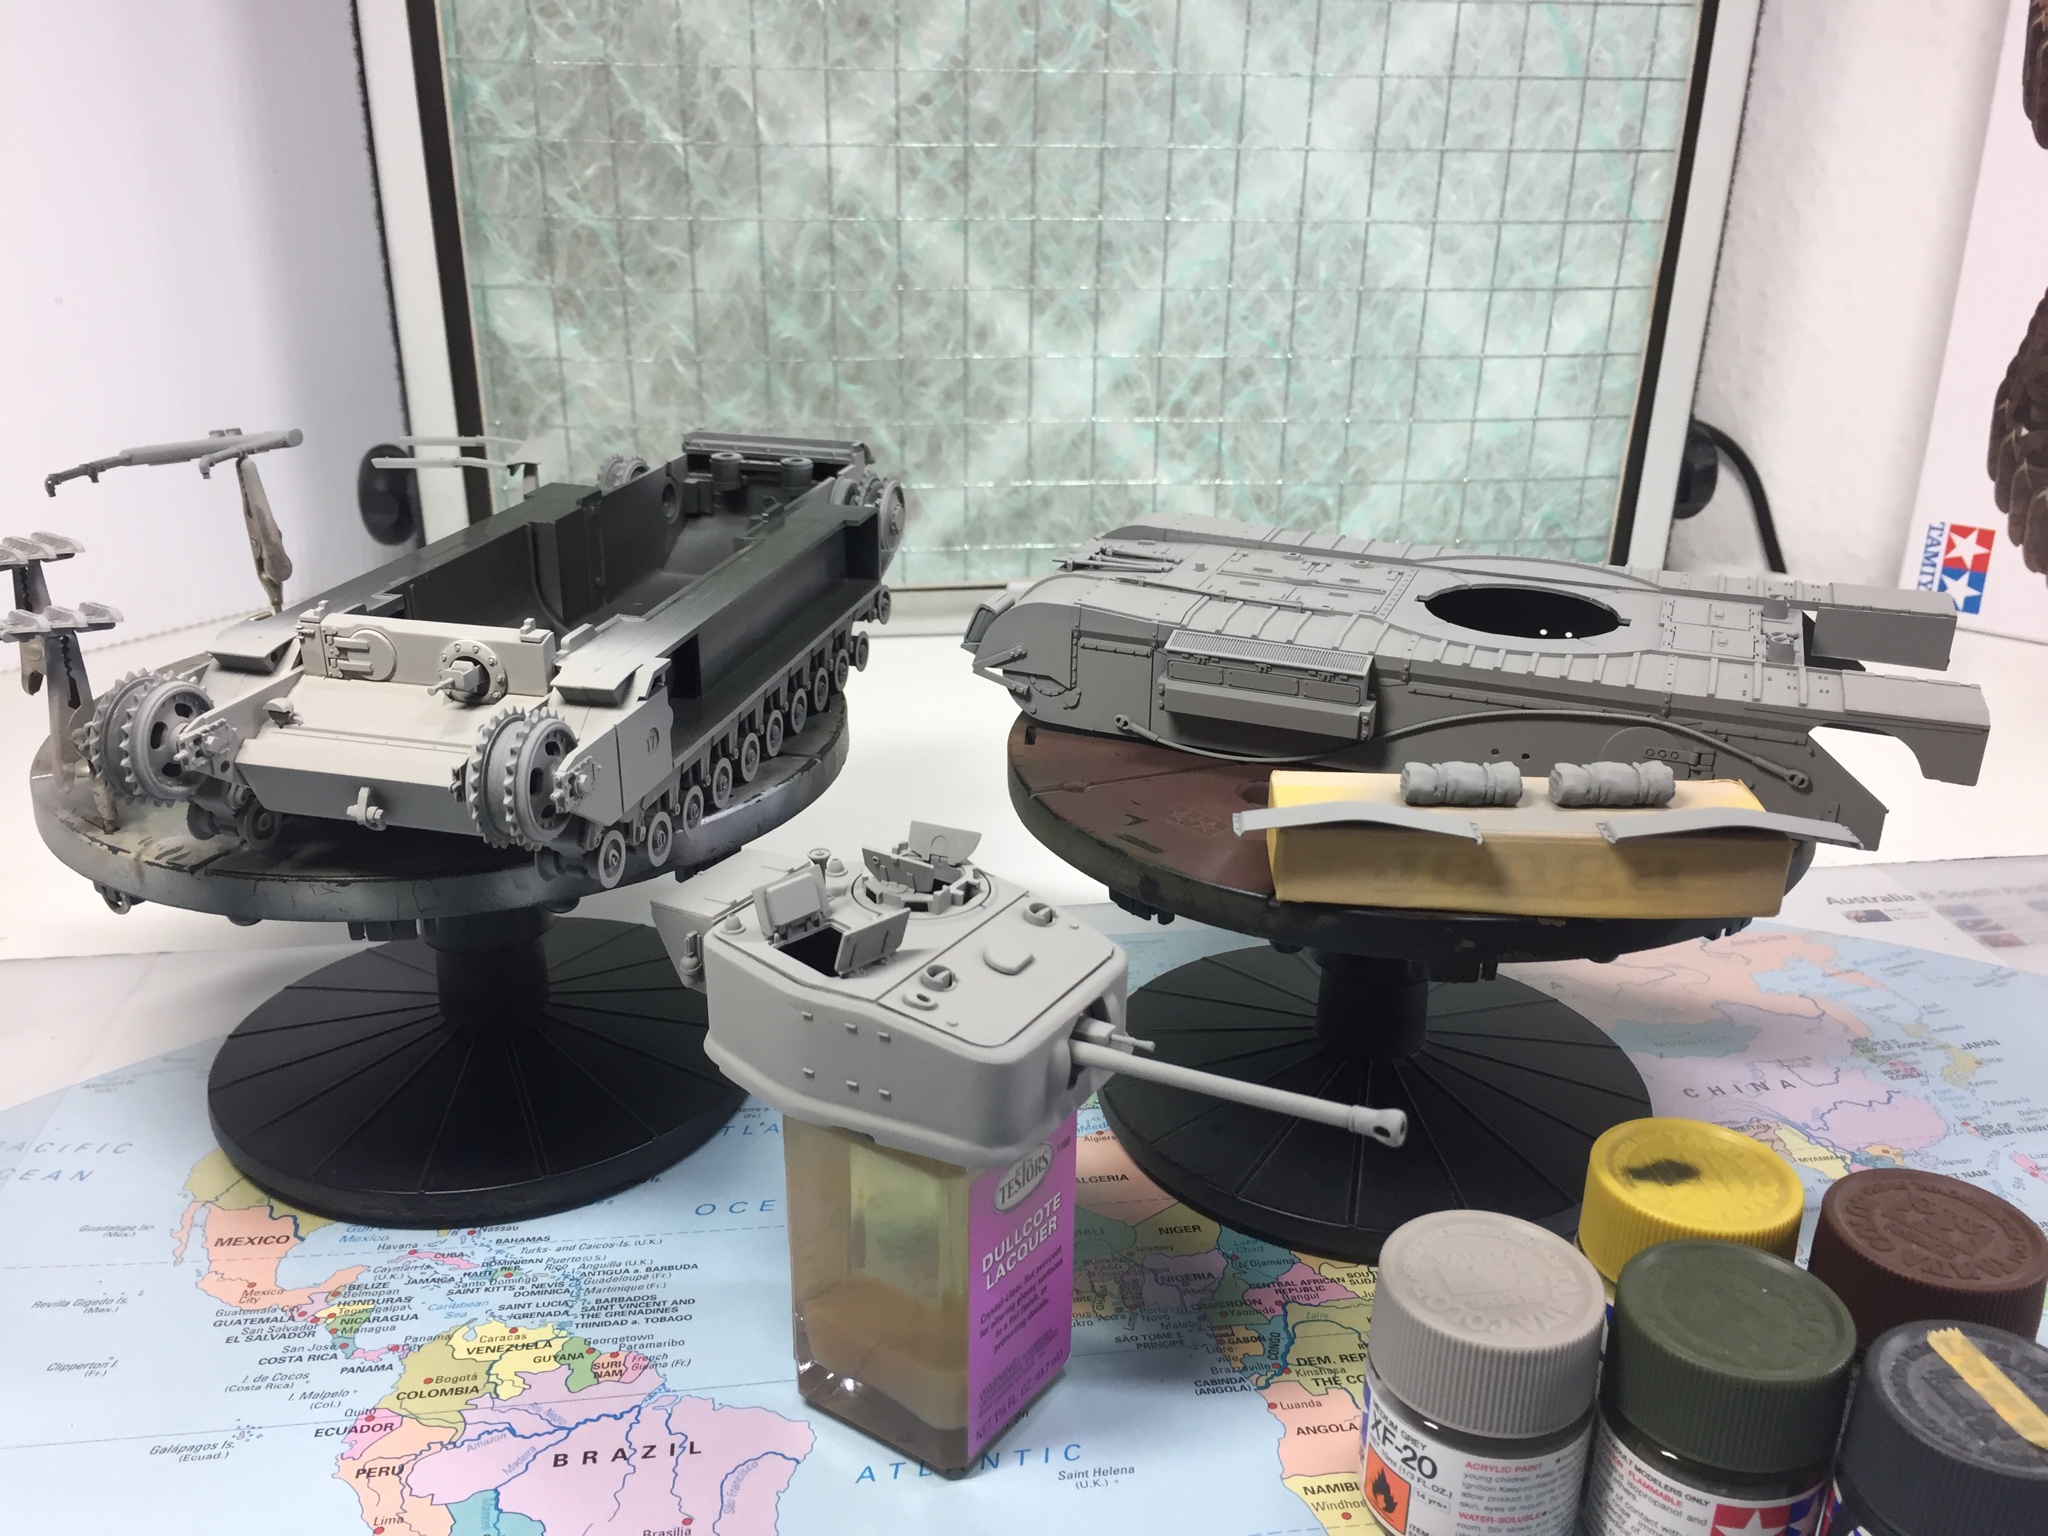
Then heavily thinner nato black as pre-shade
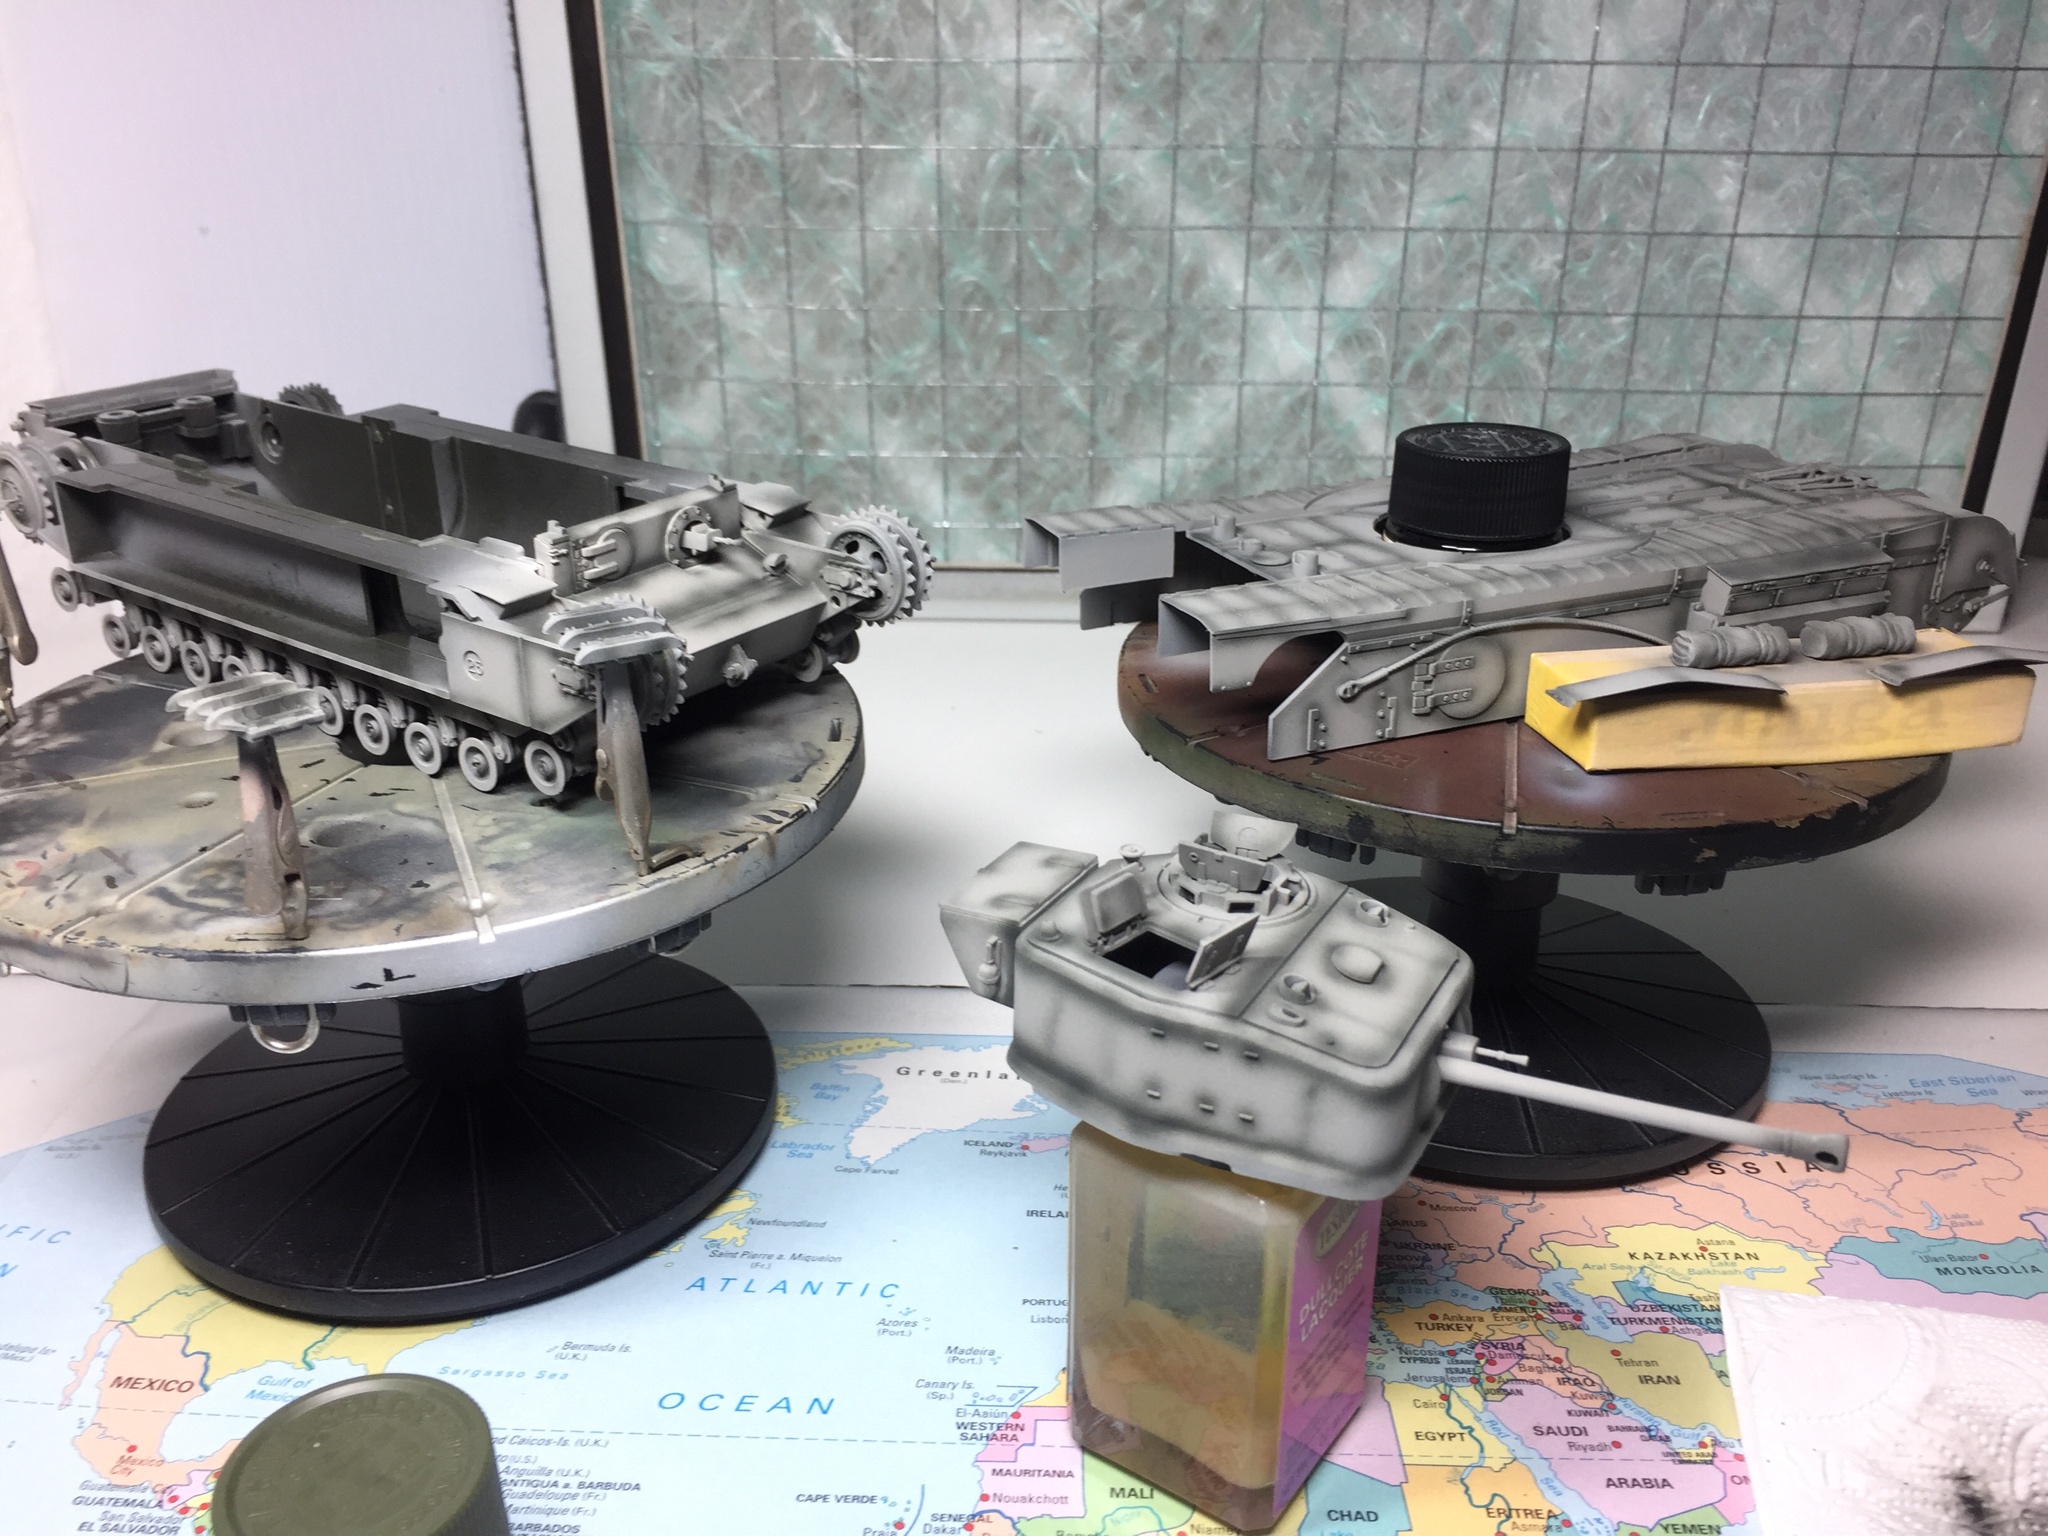
Tamiya dark green
Dark green lightened with yellow green

Glossed with Future and awaiting decals and wash.
Cheers, Jim.
United Kingdom
Joined: December 15, 2008
KitMaker: 246 posts
Armorama: 171 posts
Posted: Sunday, September 30, 2018 - 10:47 PM UTC
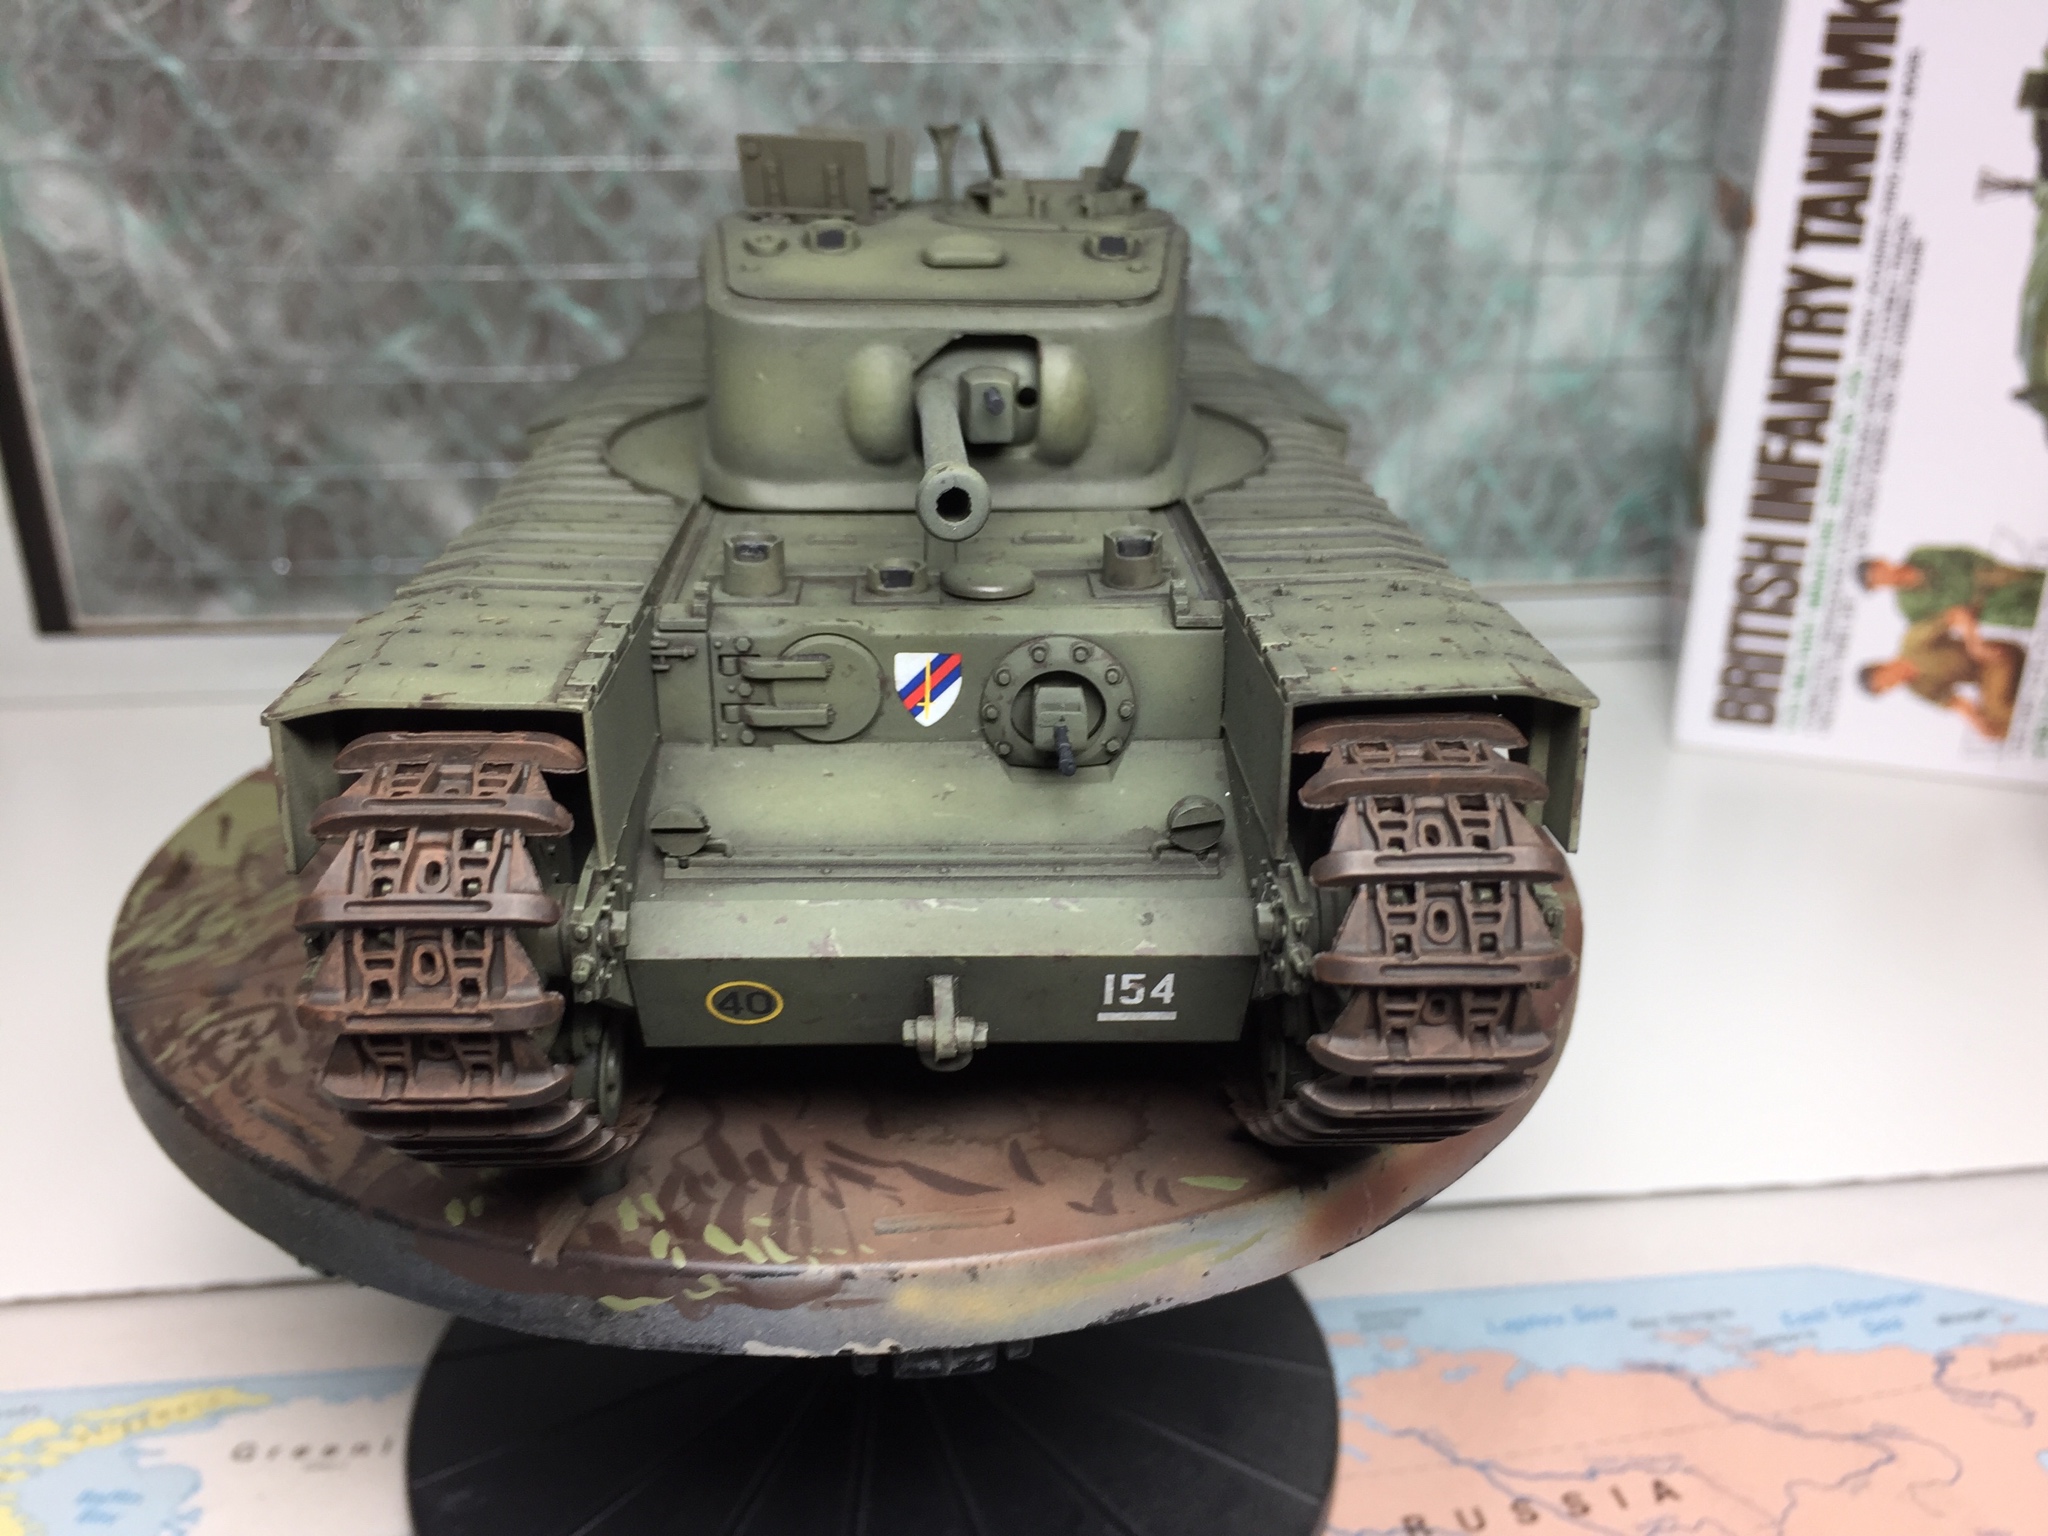
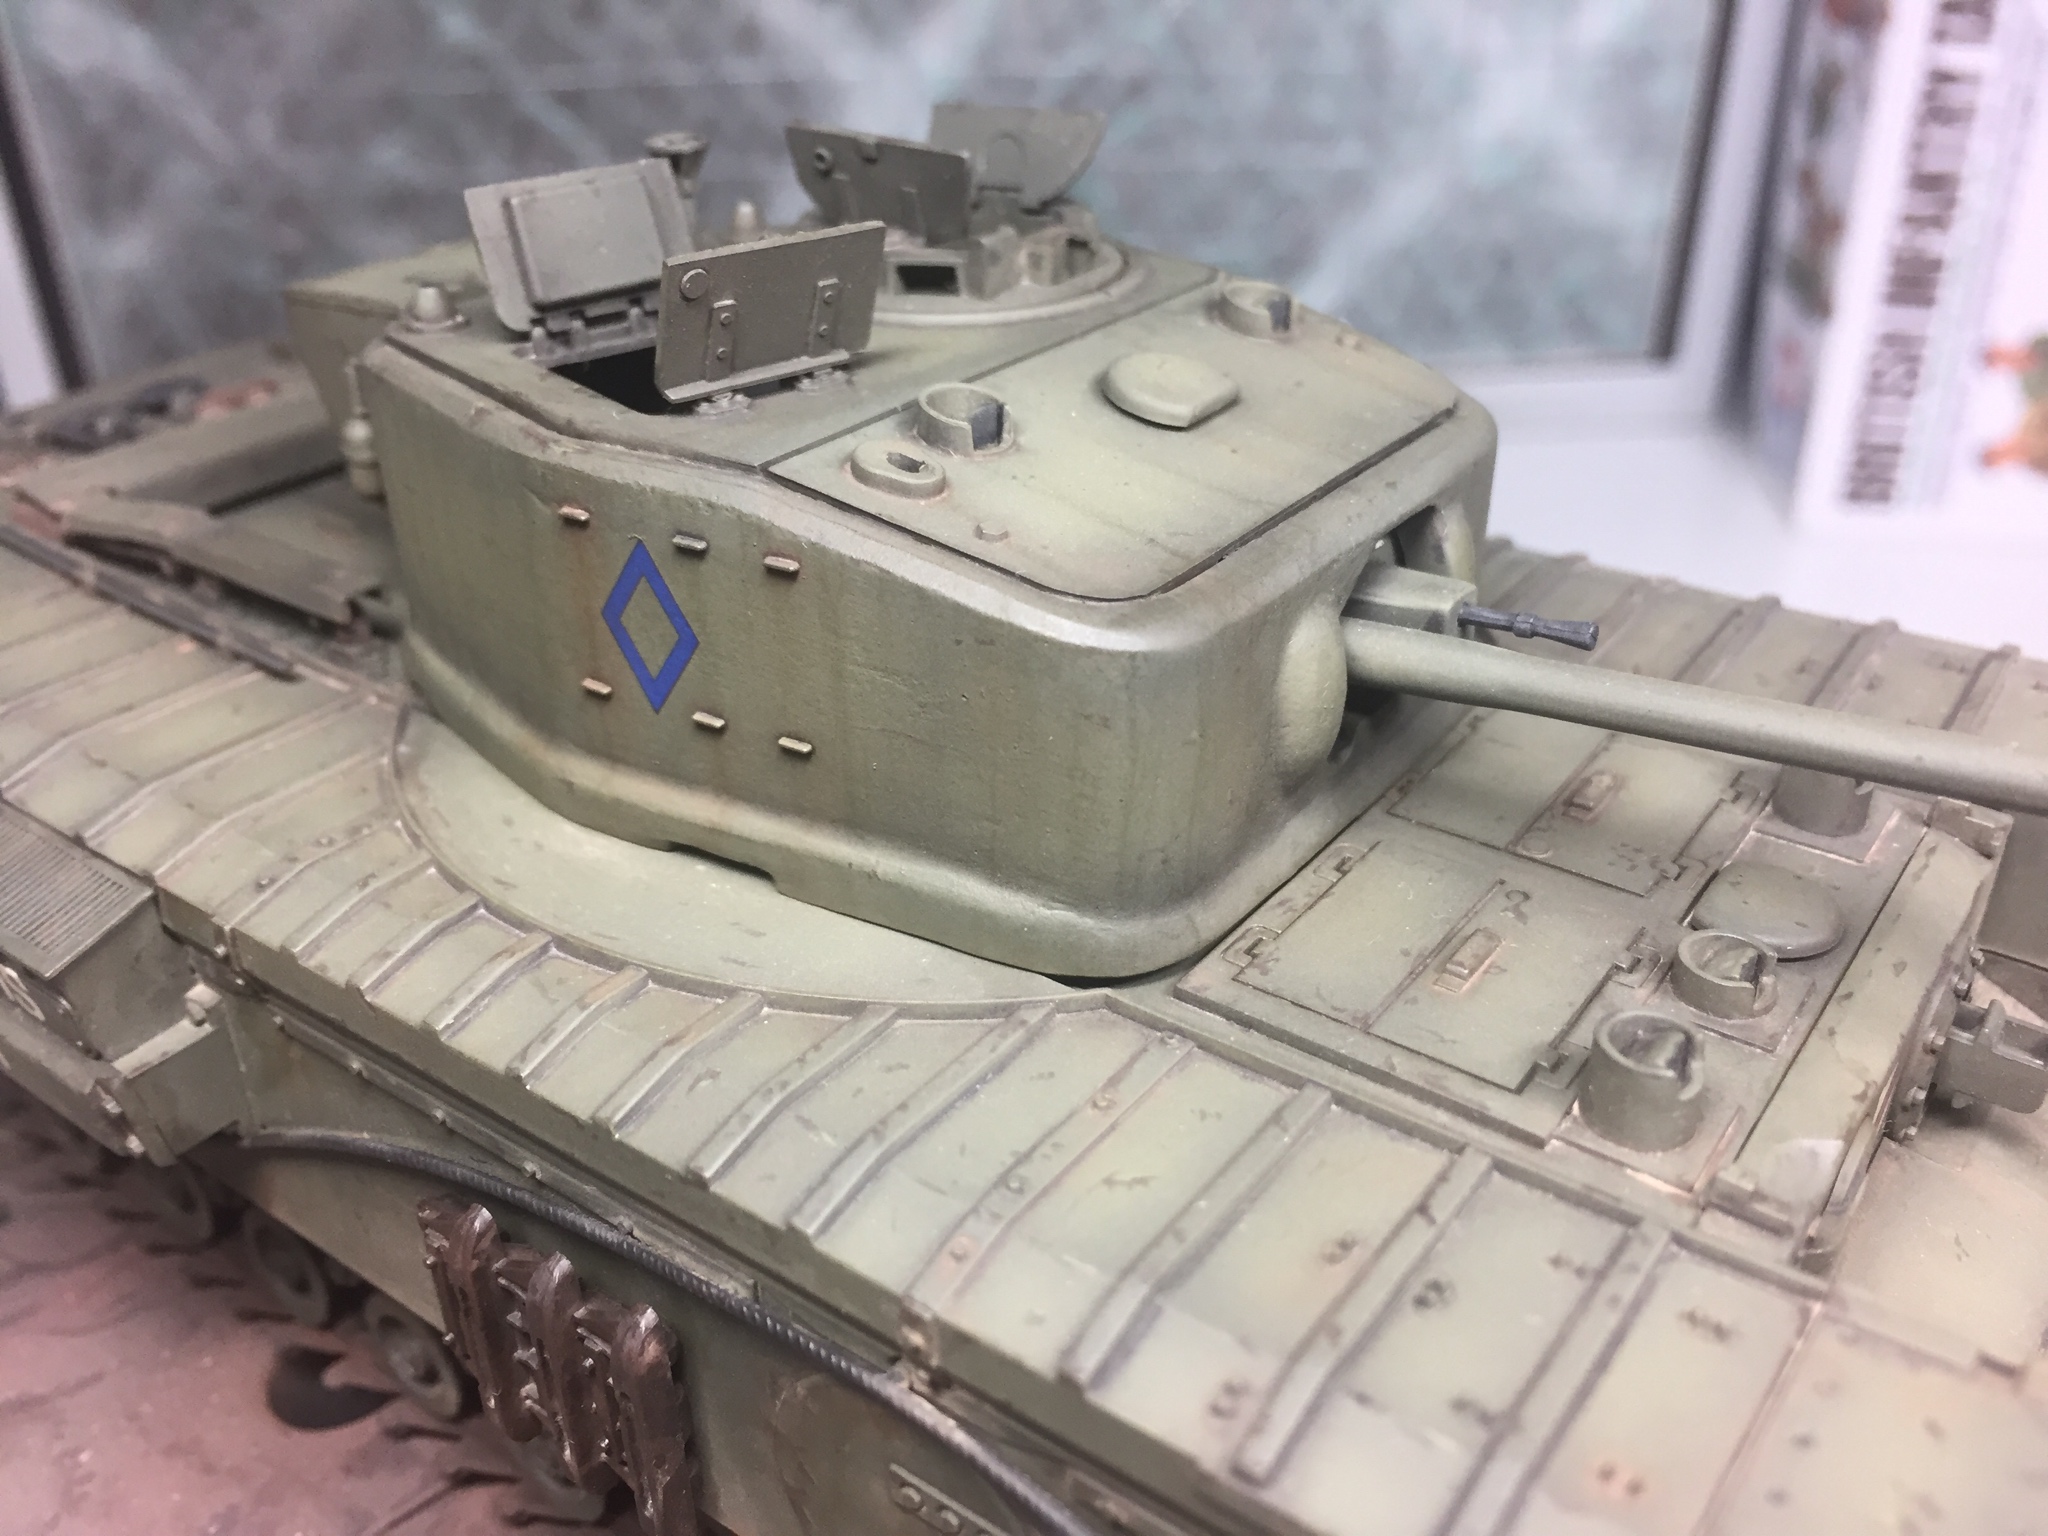
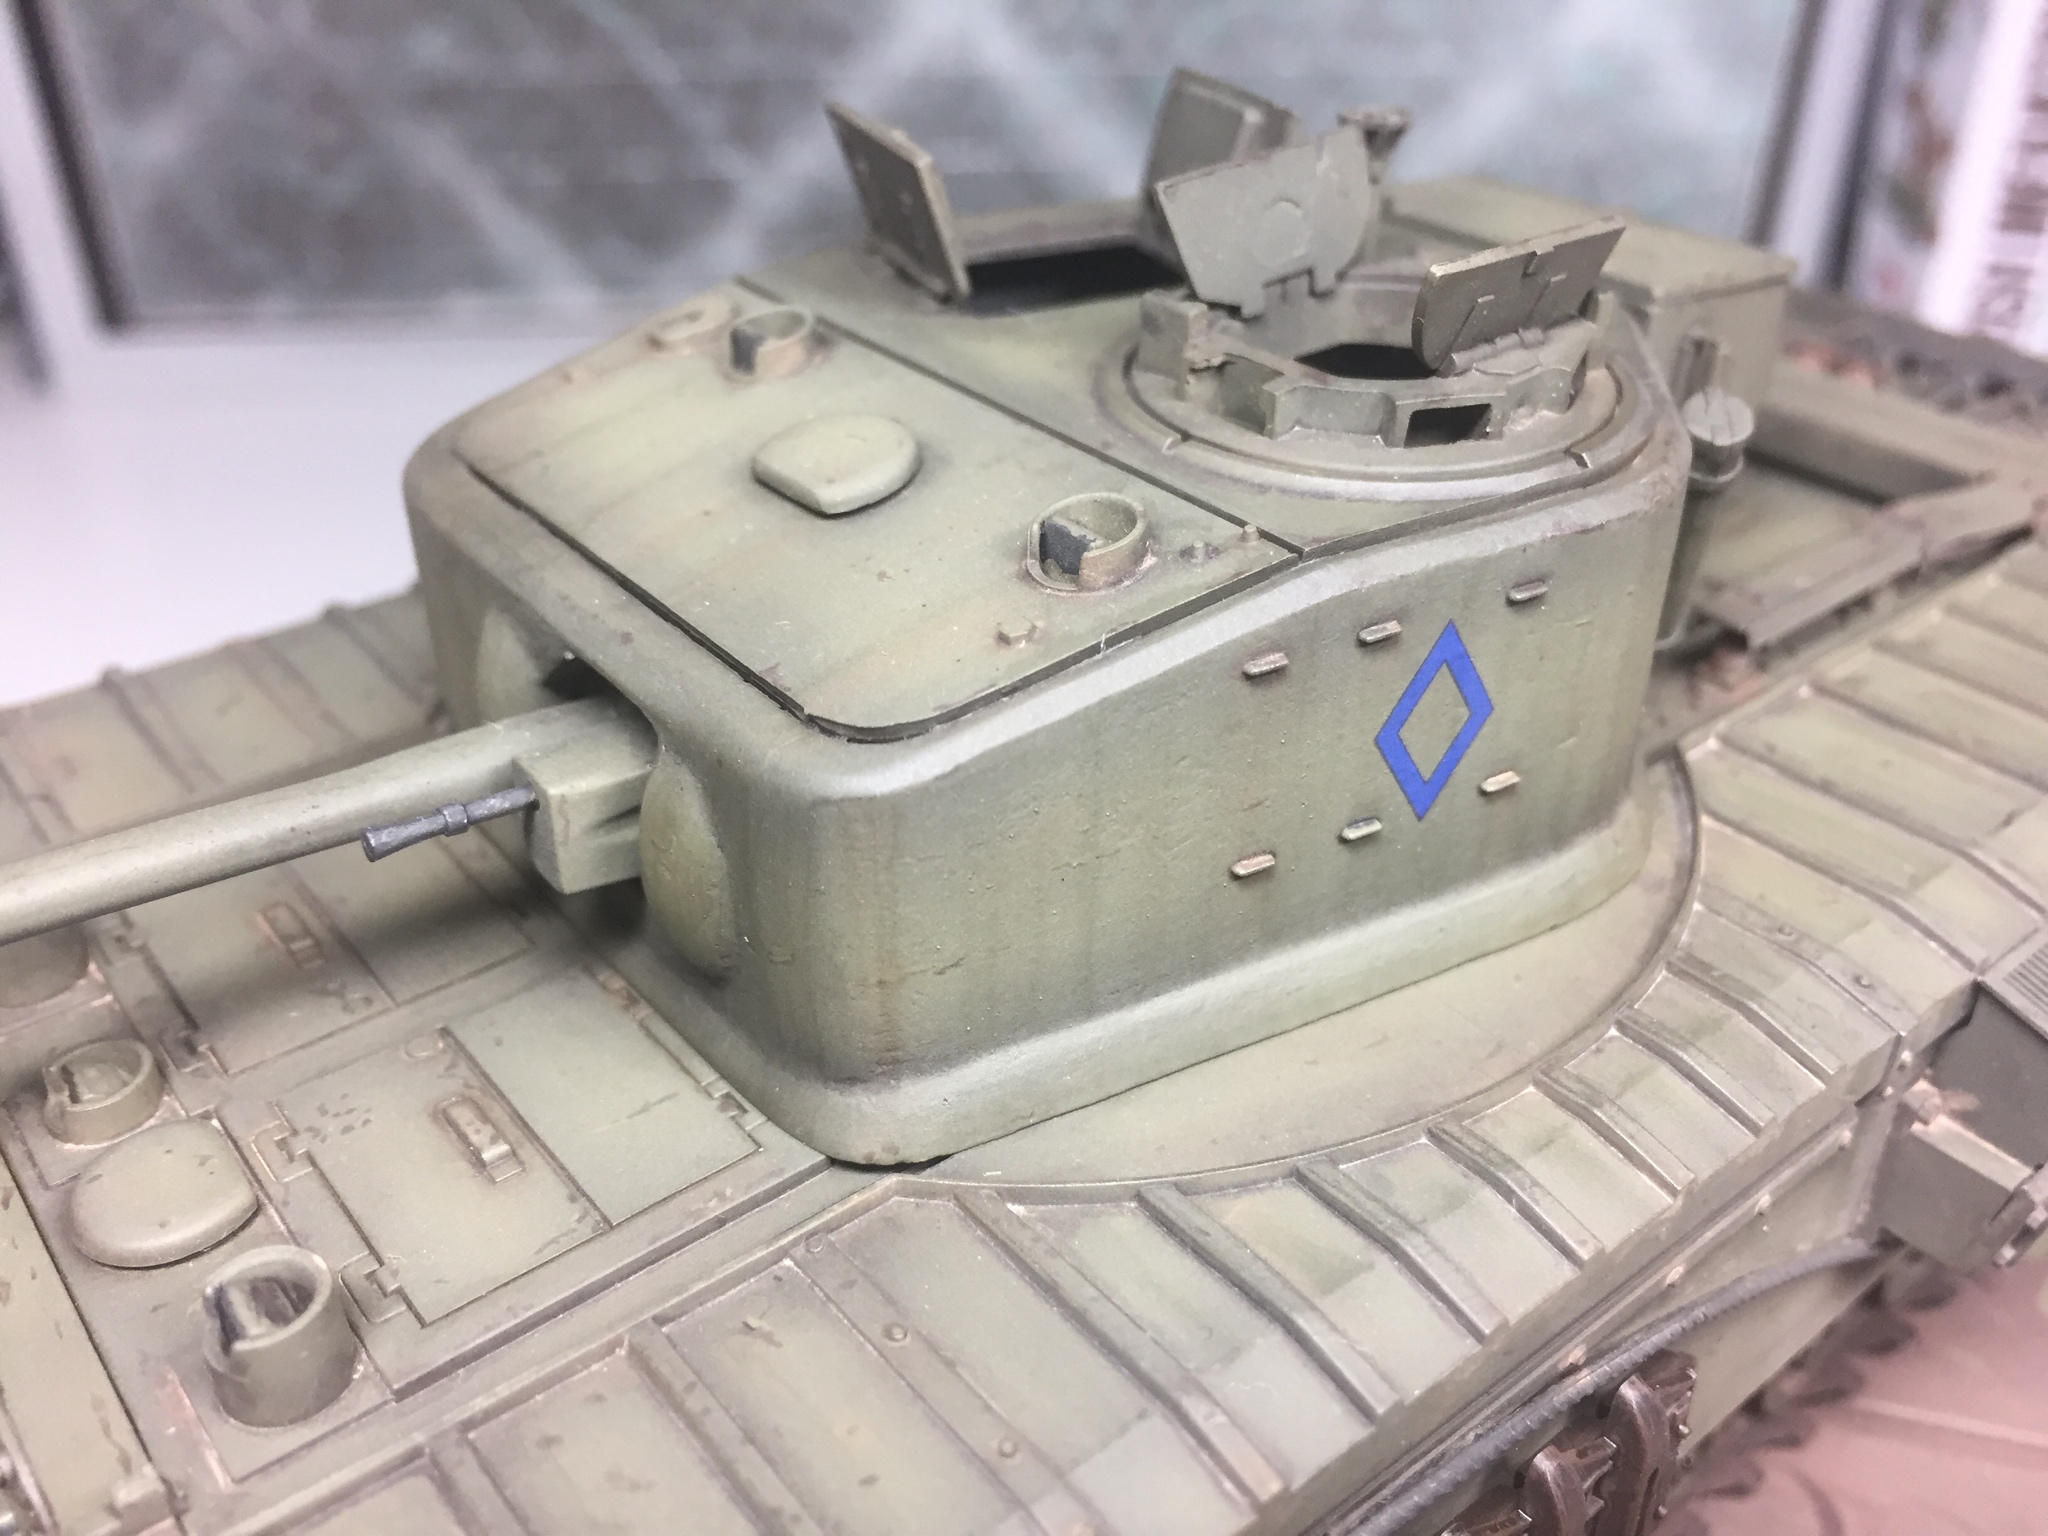
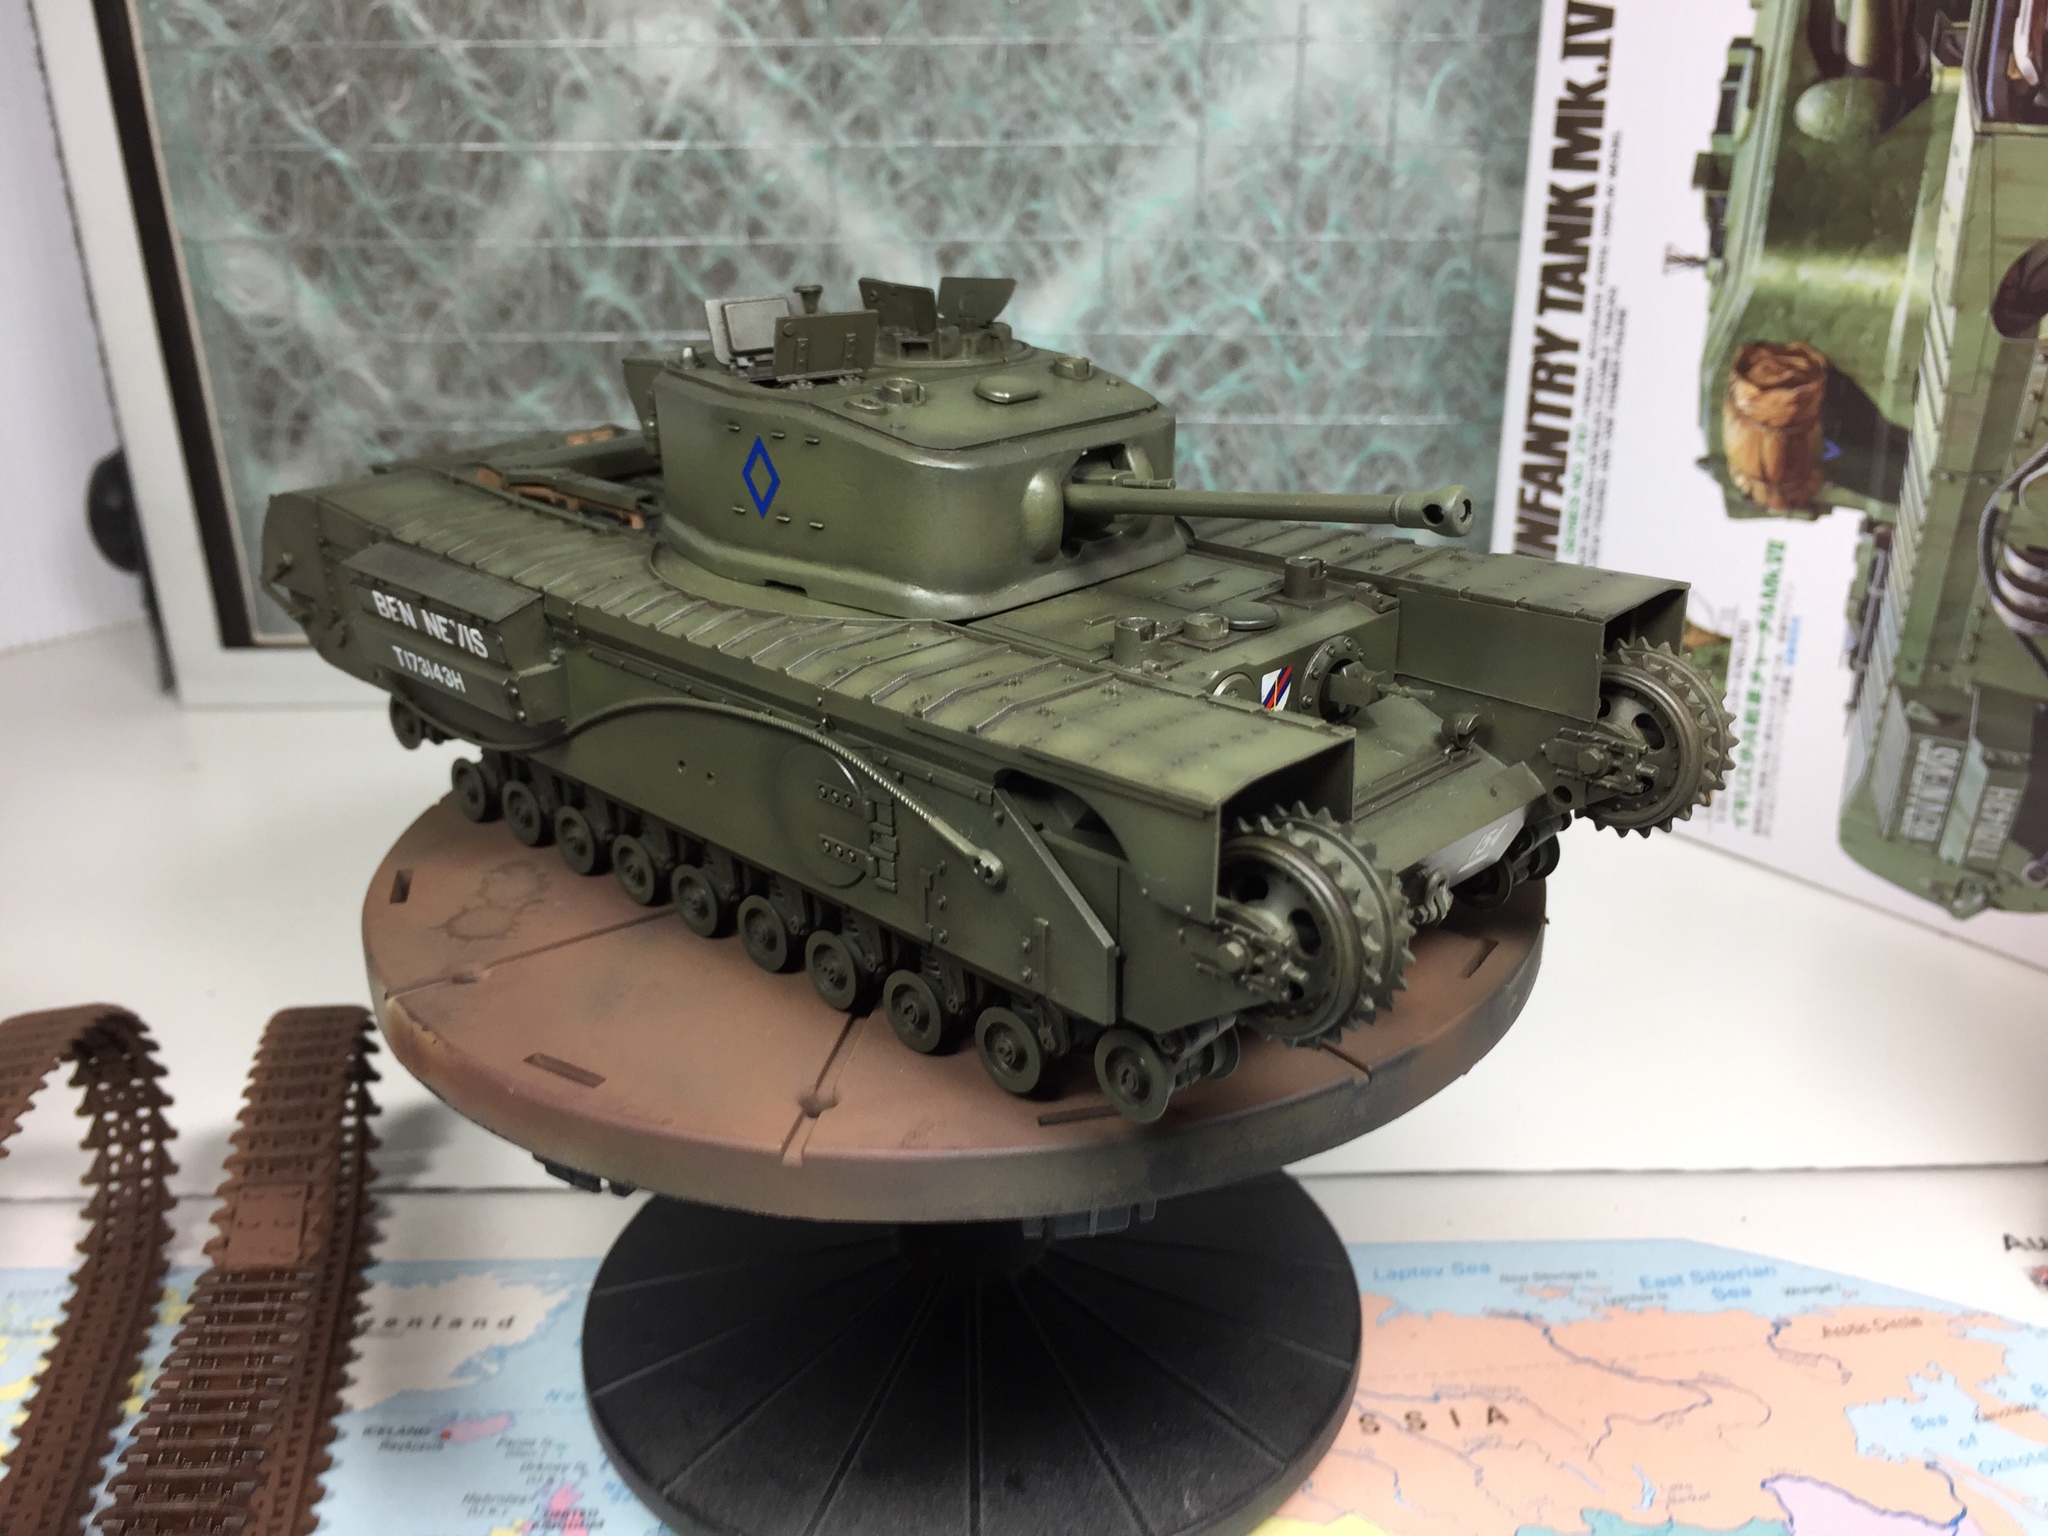
Decals now applied using microset and microsol. Kit decals settled down well even though they are a little thick.

New Jersey, United States
Joined: September 22, 2006
KitMaker: 1,081 posts
Armorama: 1,066 posts
Posted: Monday, October 01, 2018 - 12:29 AM UTC
United Kingdom
Joined: December 15, 2008
KitMaker: 246 posts
Armorama: 171 posts
Posted: Wednesday, October 03, 2018 - 01:26 AM UTC
Hey Lou, thanks
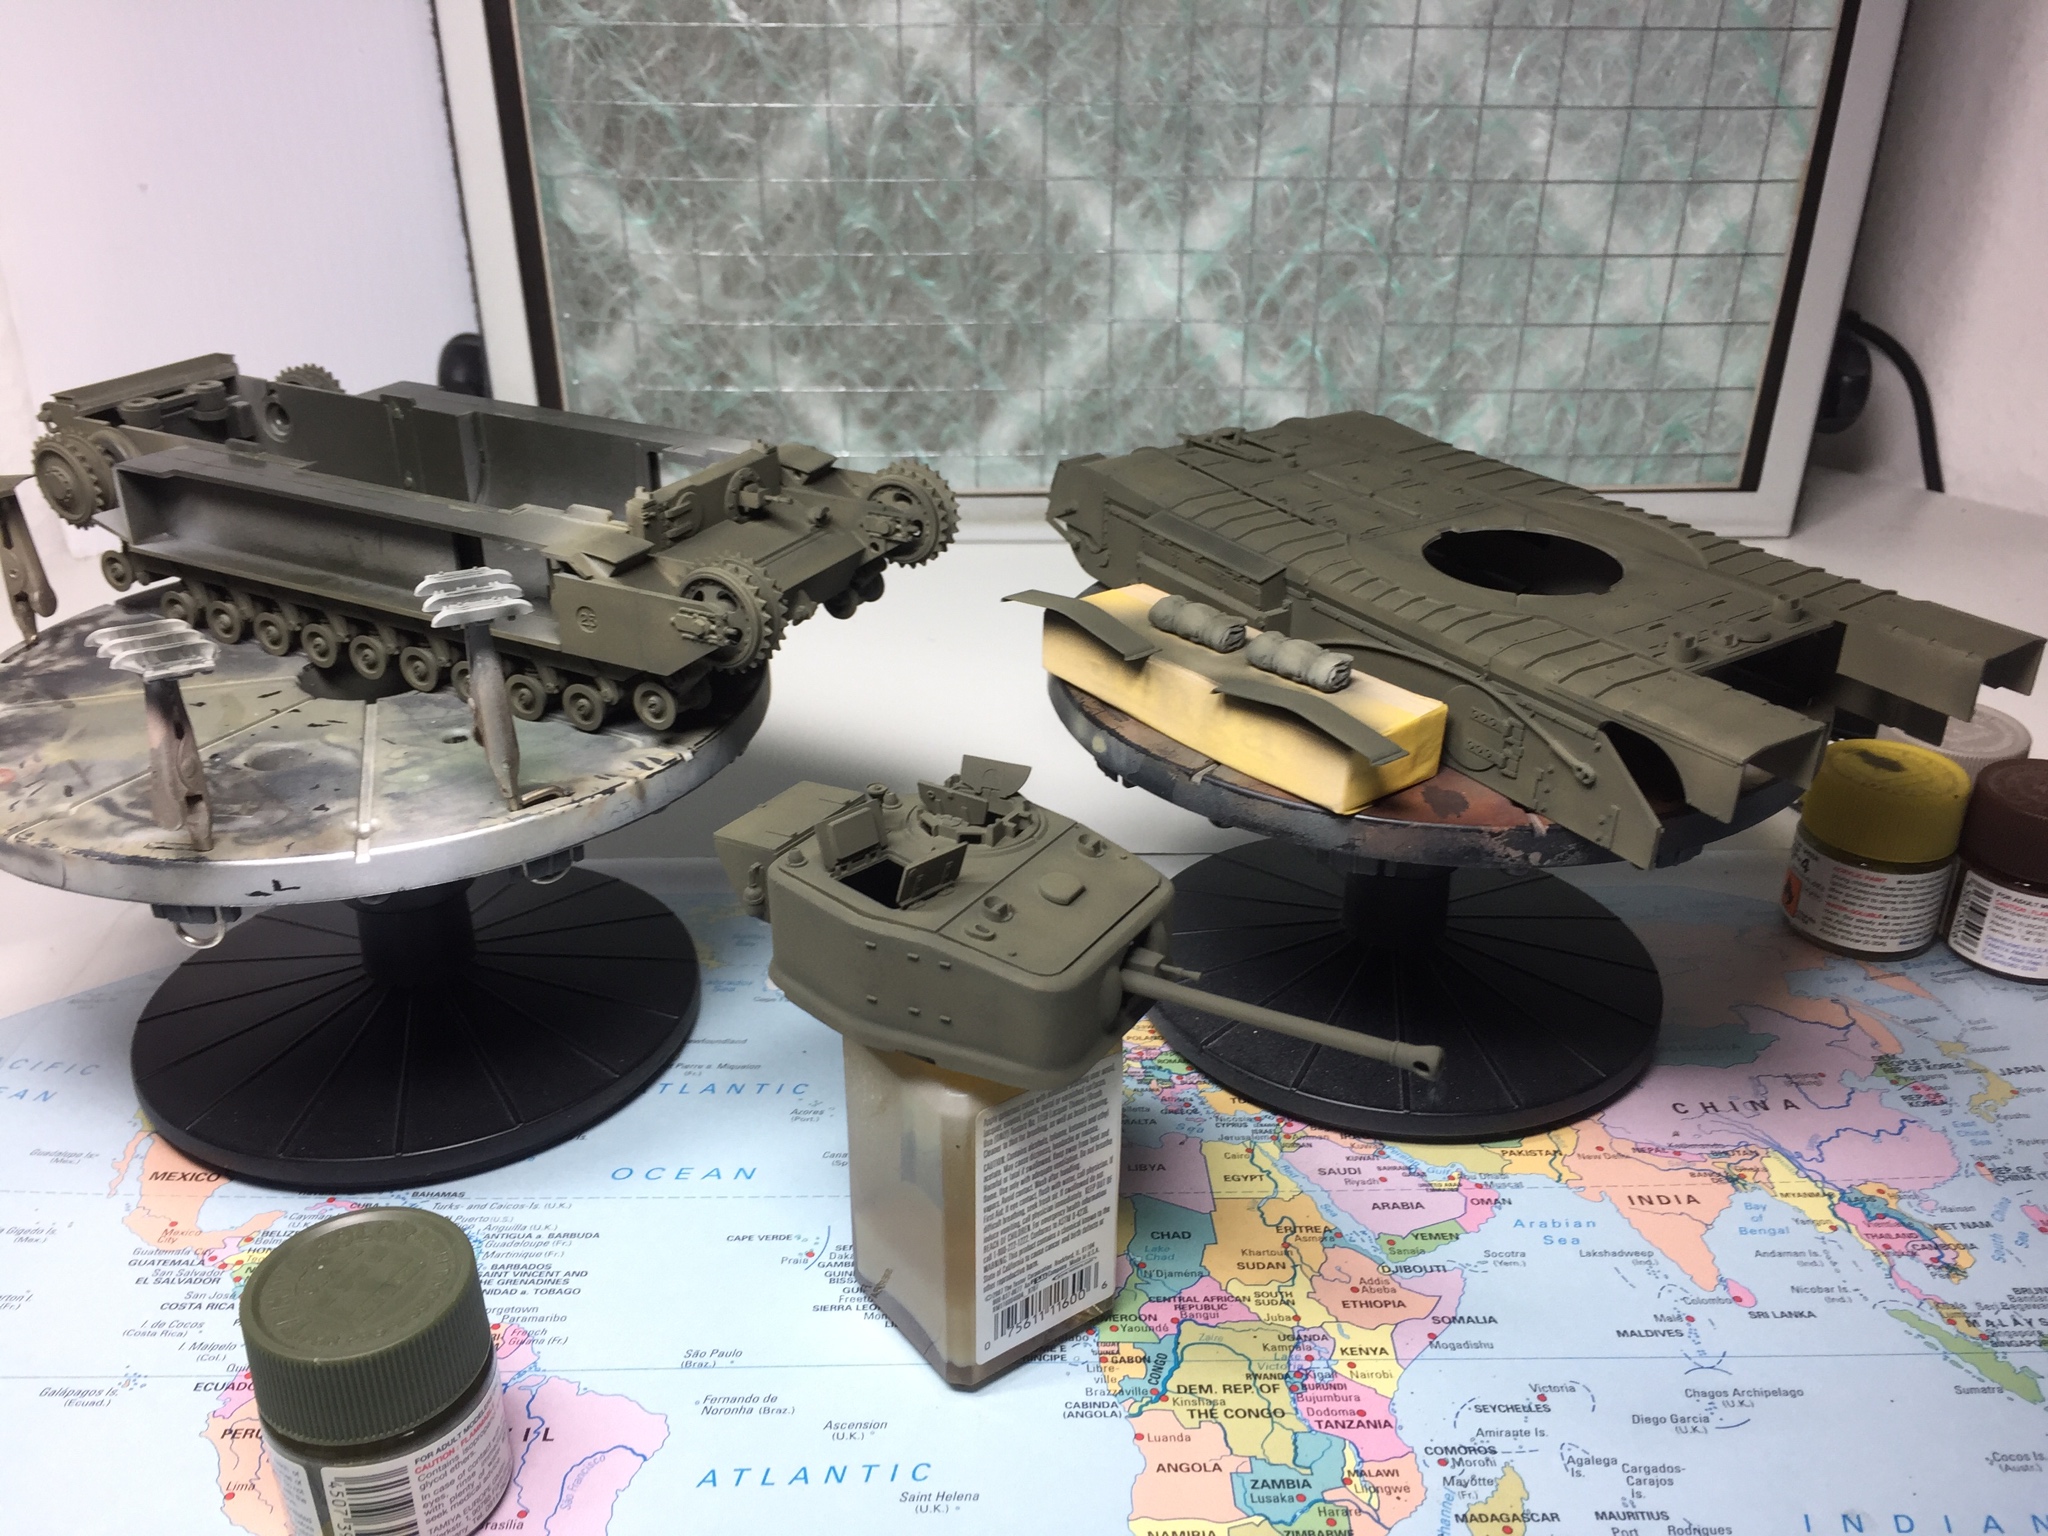
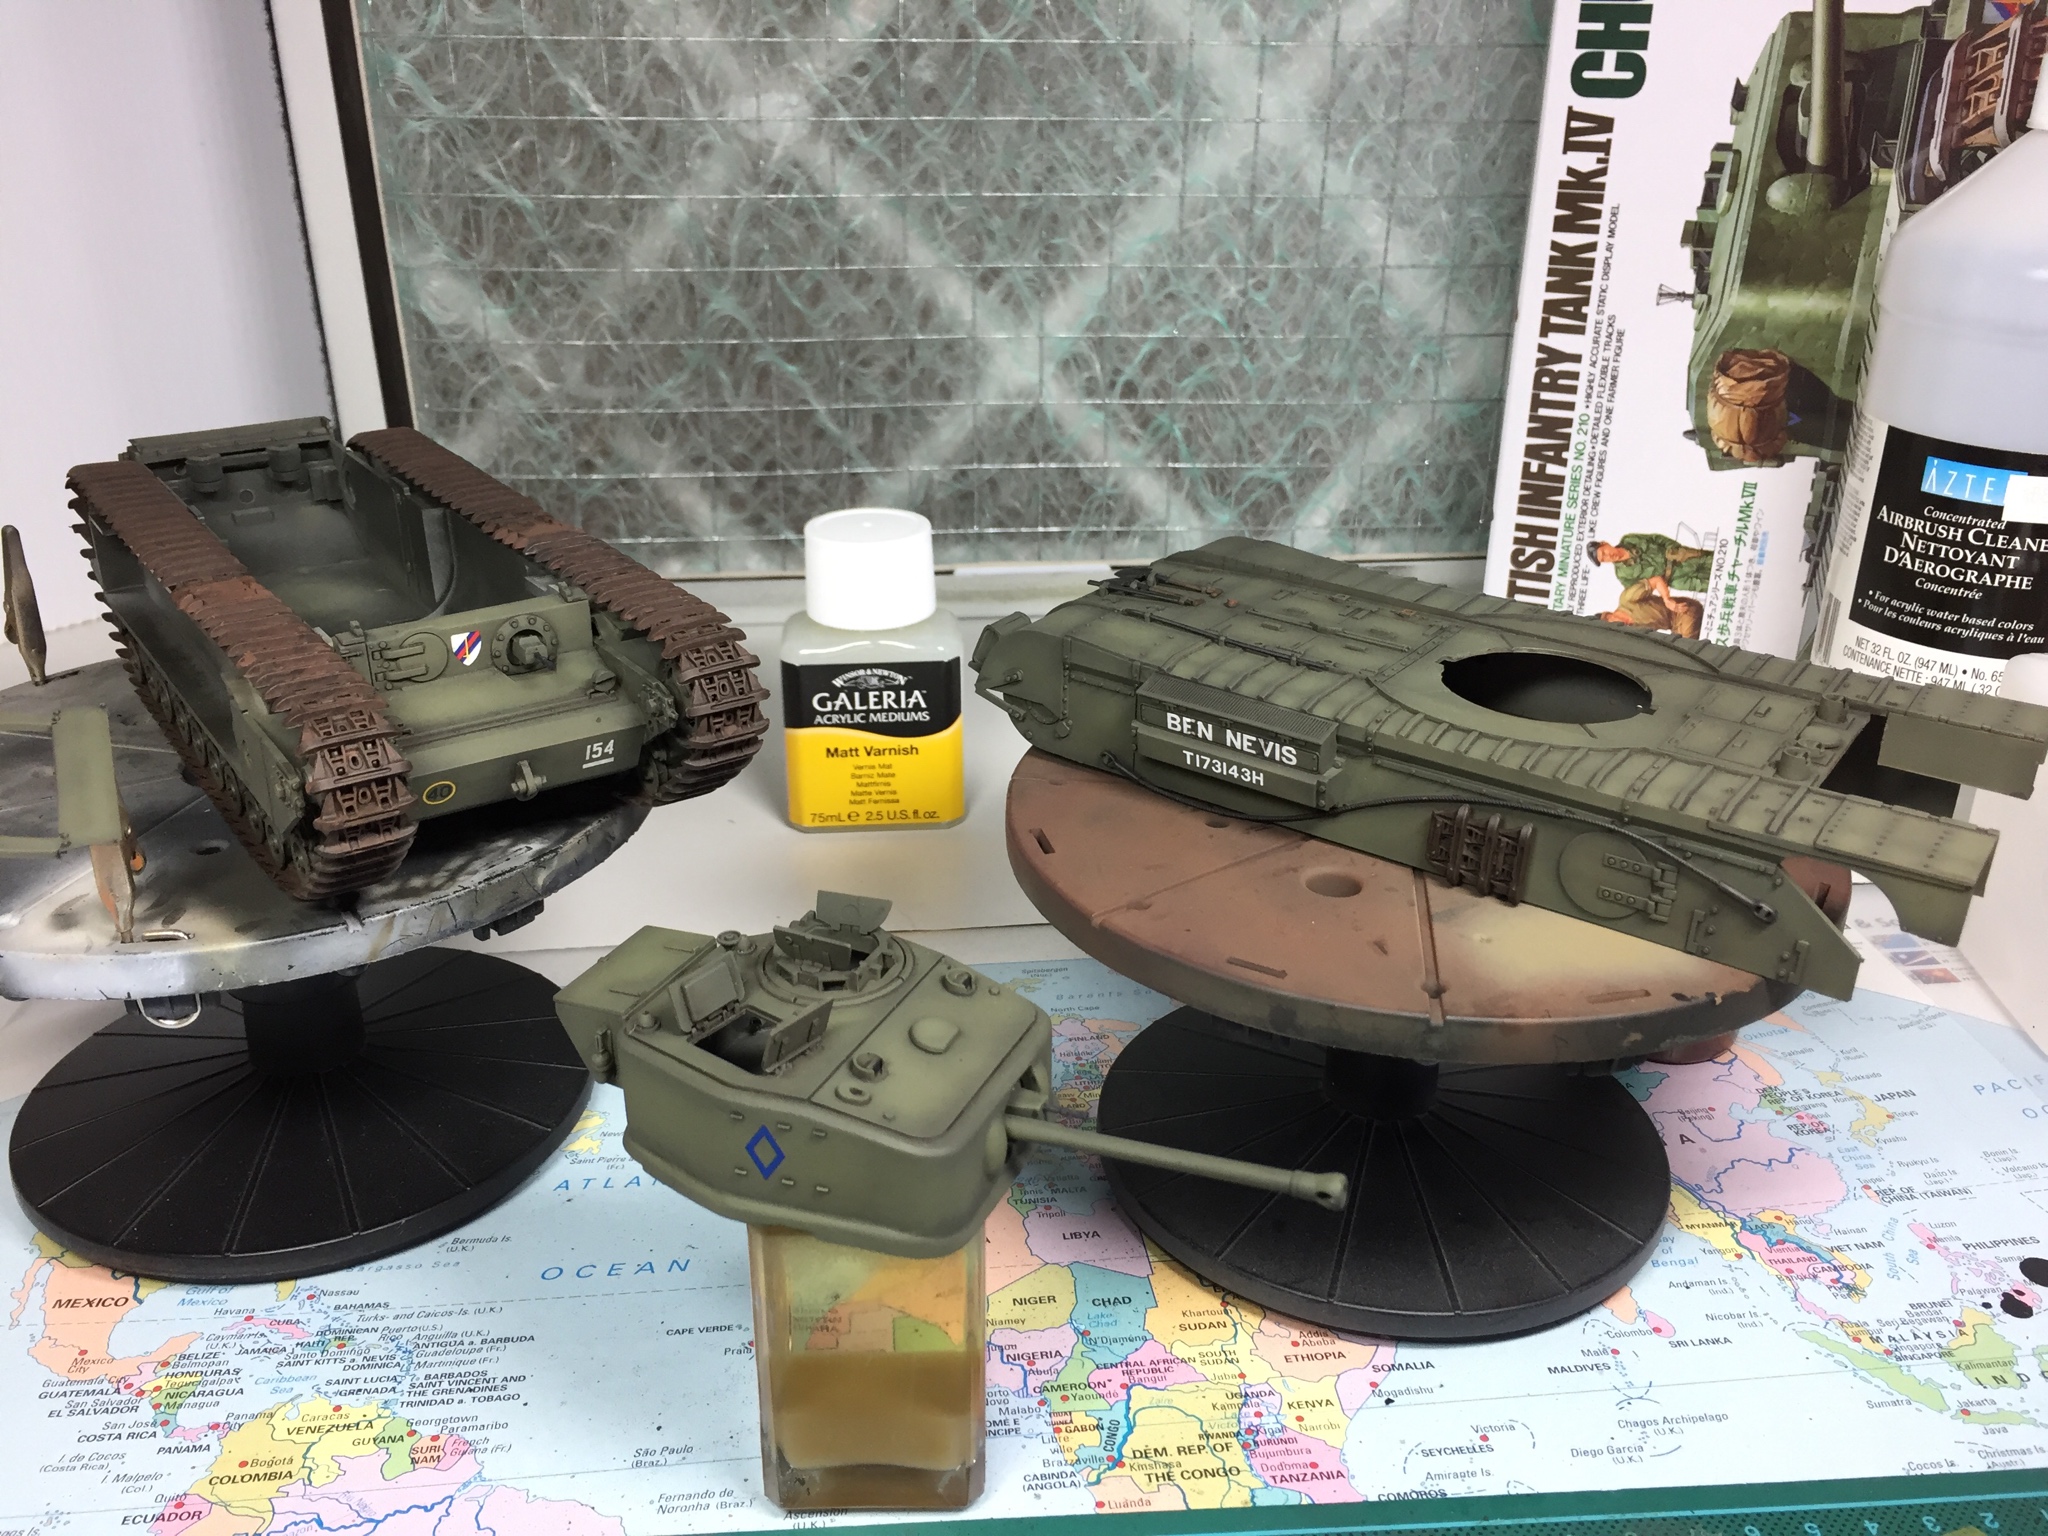
Dark wash on now, old mig productions stuff. And tracks started with a coat of red brown which will be getting the dark wash too.
Next up is painting the tools then a flat coat and pigments.
Anyway, heres the progress shots
United Kingdom
Joined: December 15, 2008
KitMaker: 246 posts
Armorama: 171 posts
Posted: Sunday, October 07, 2018 - 01:52 AM UTC
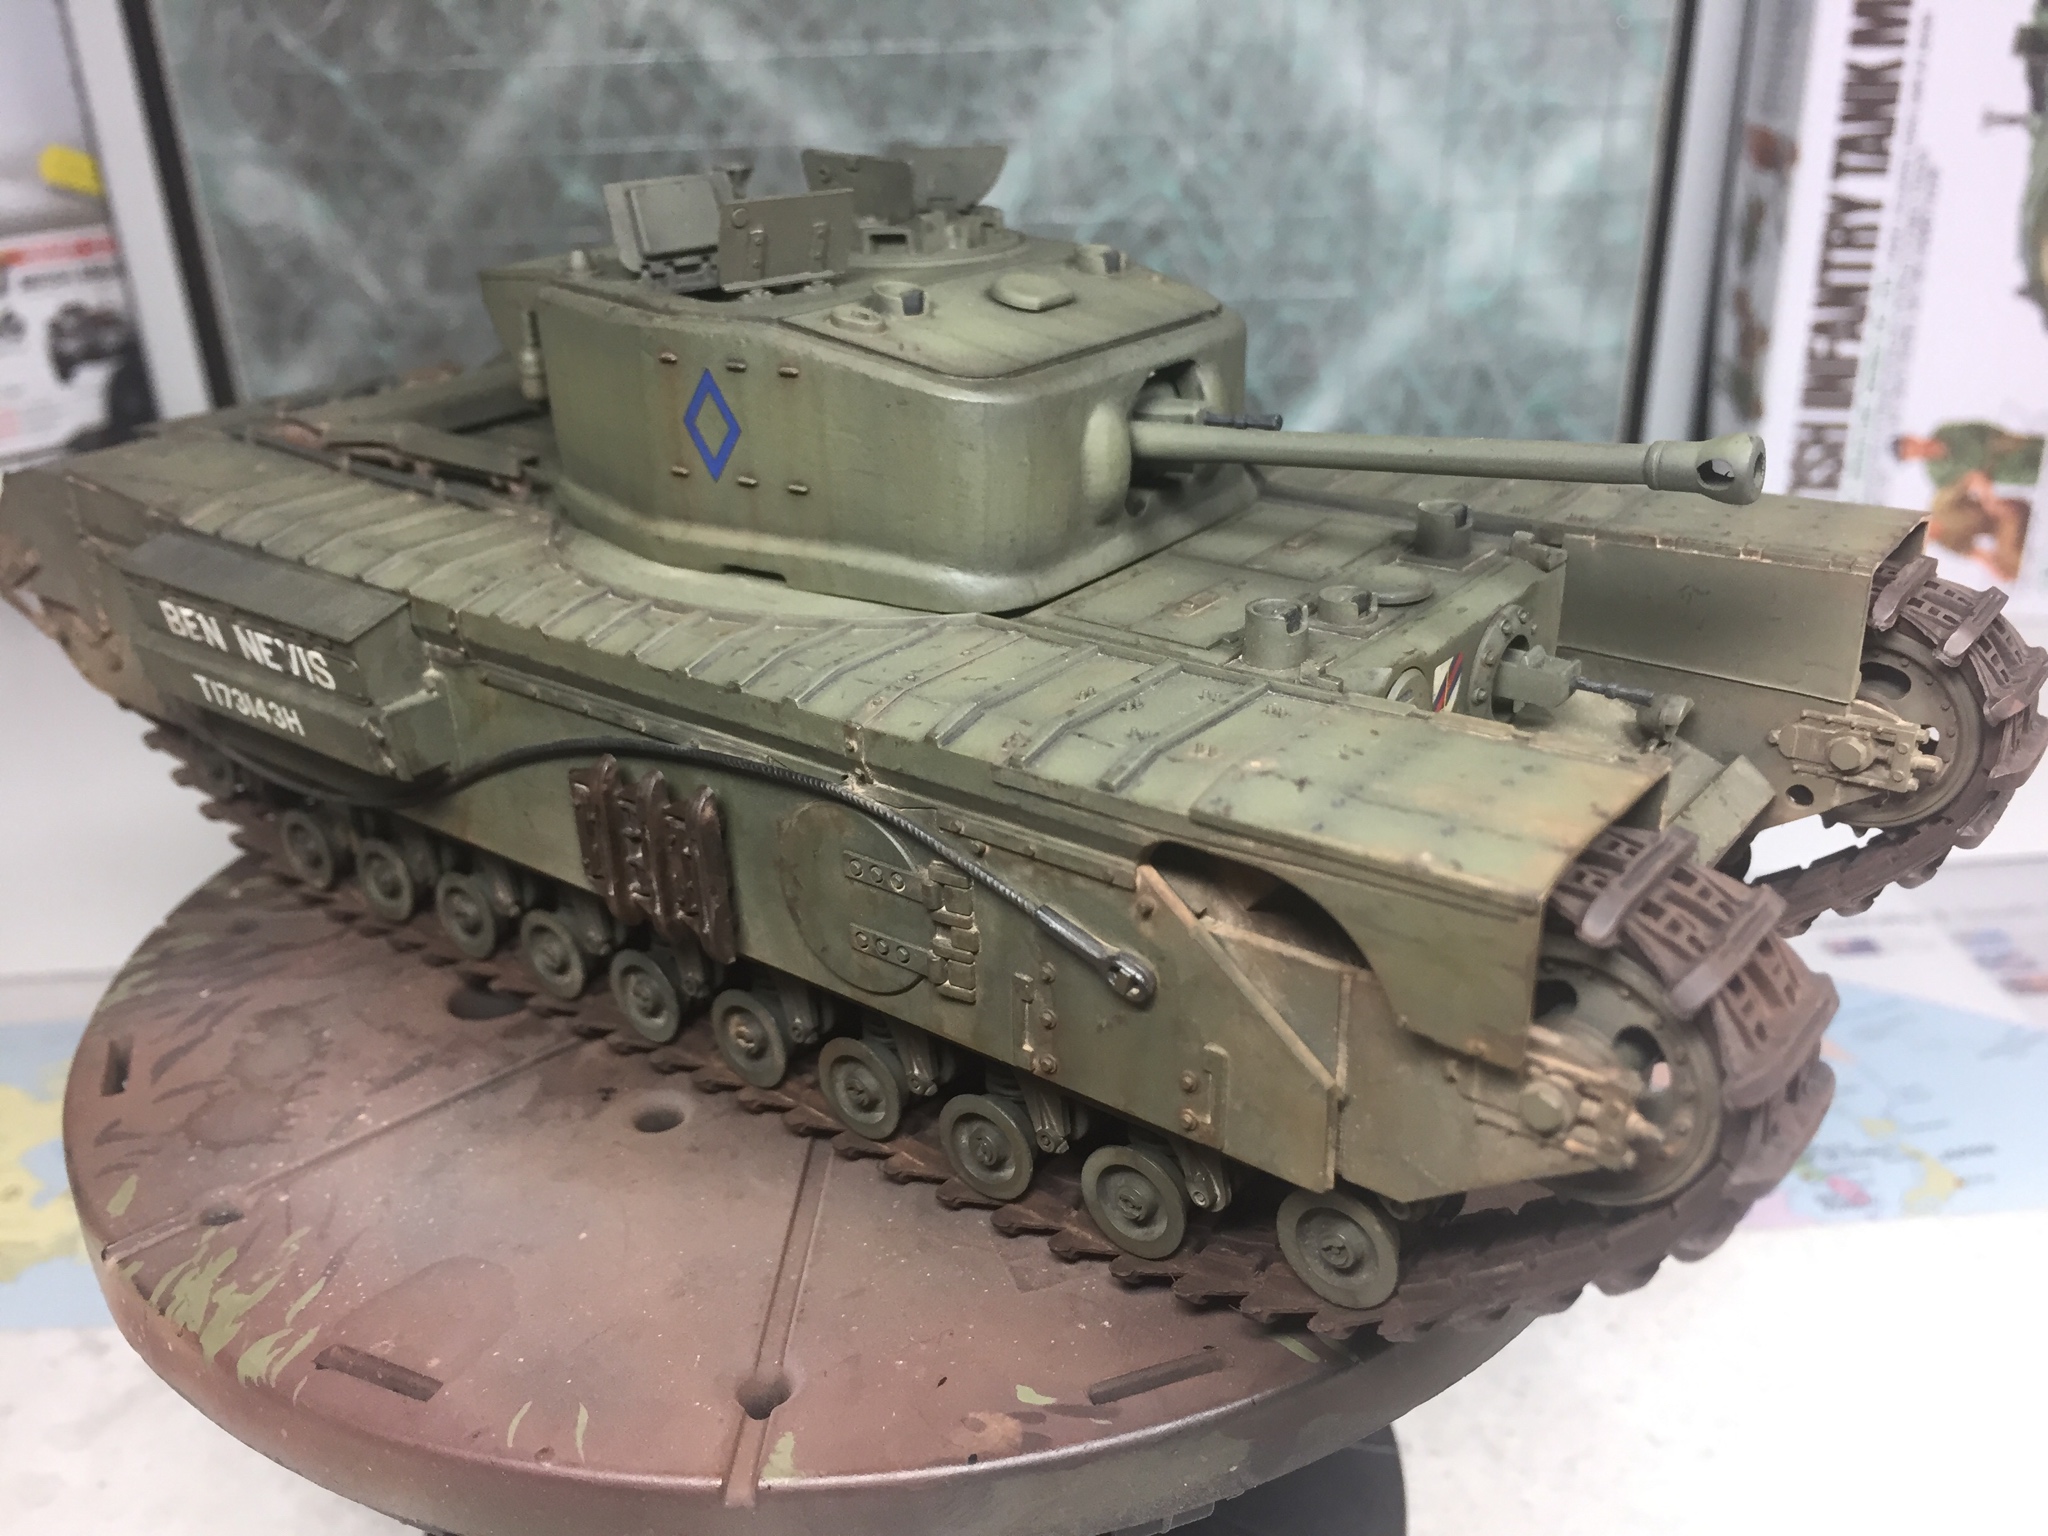
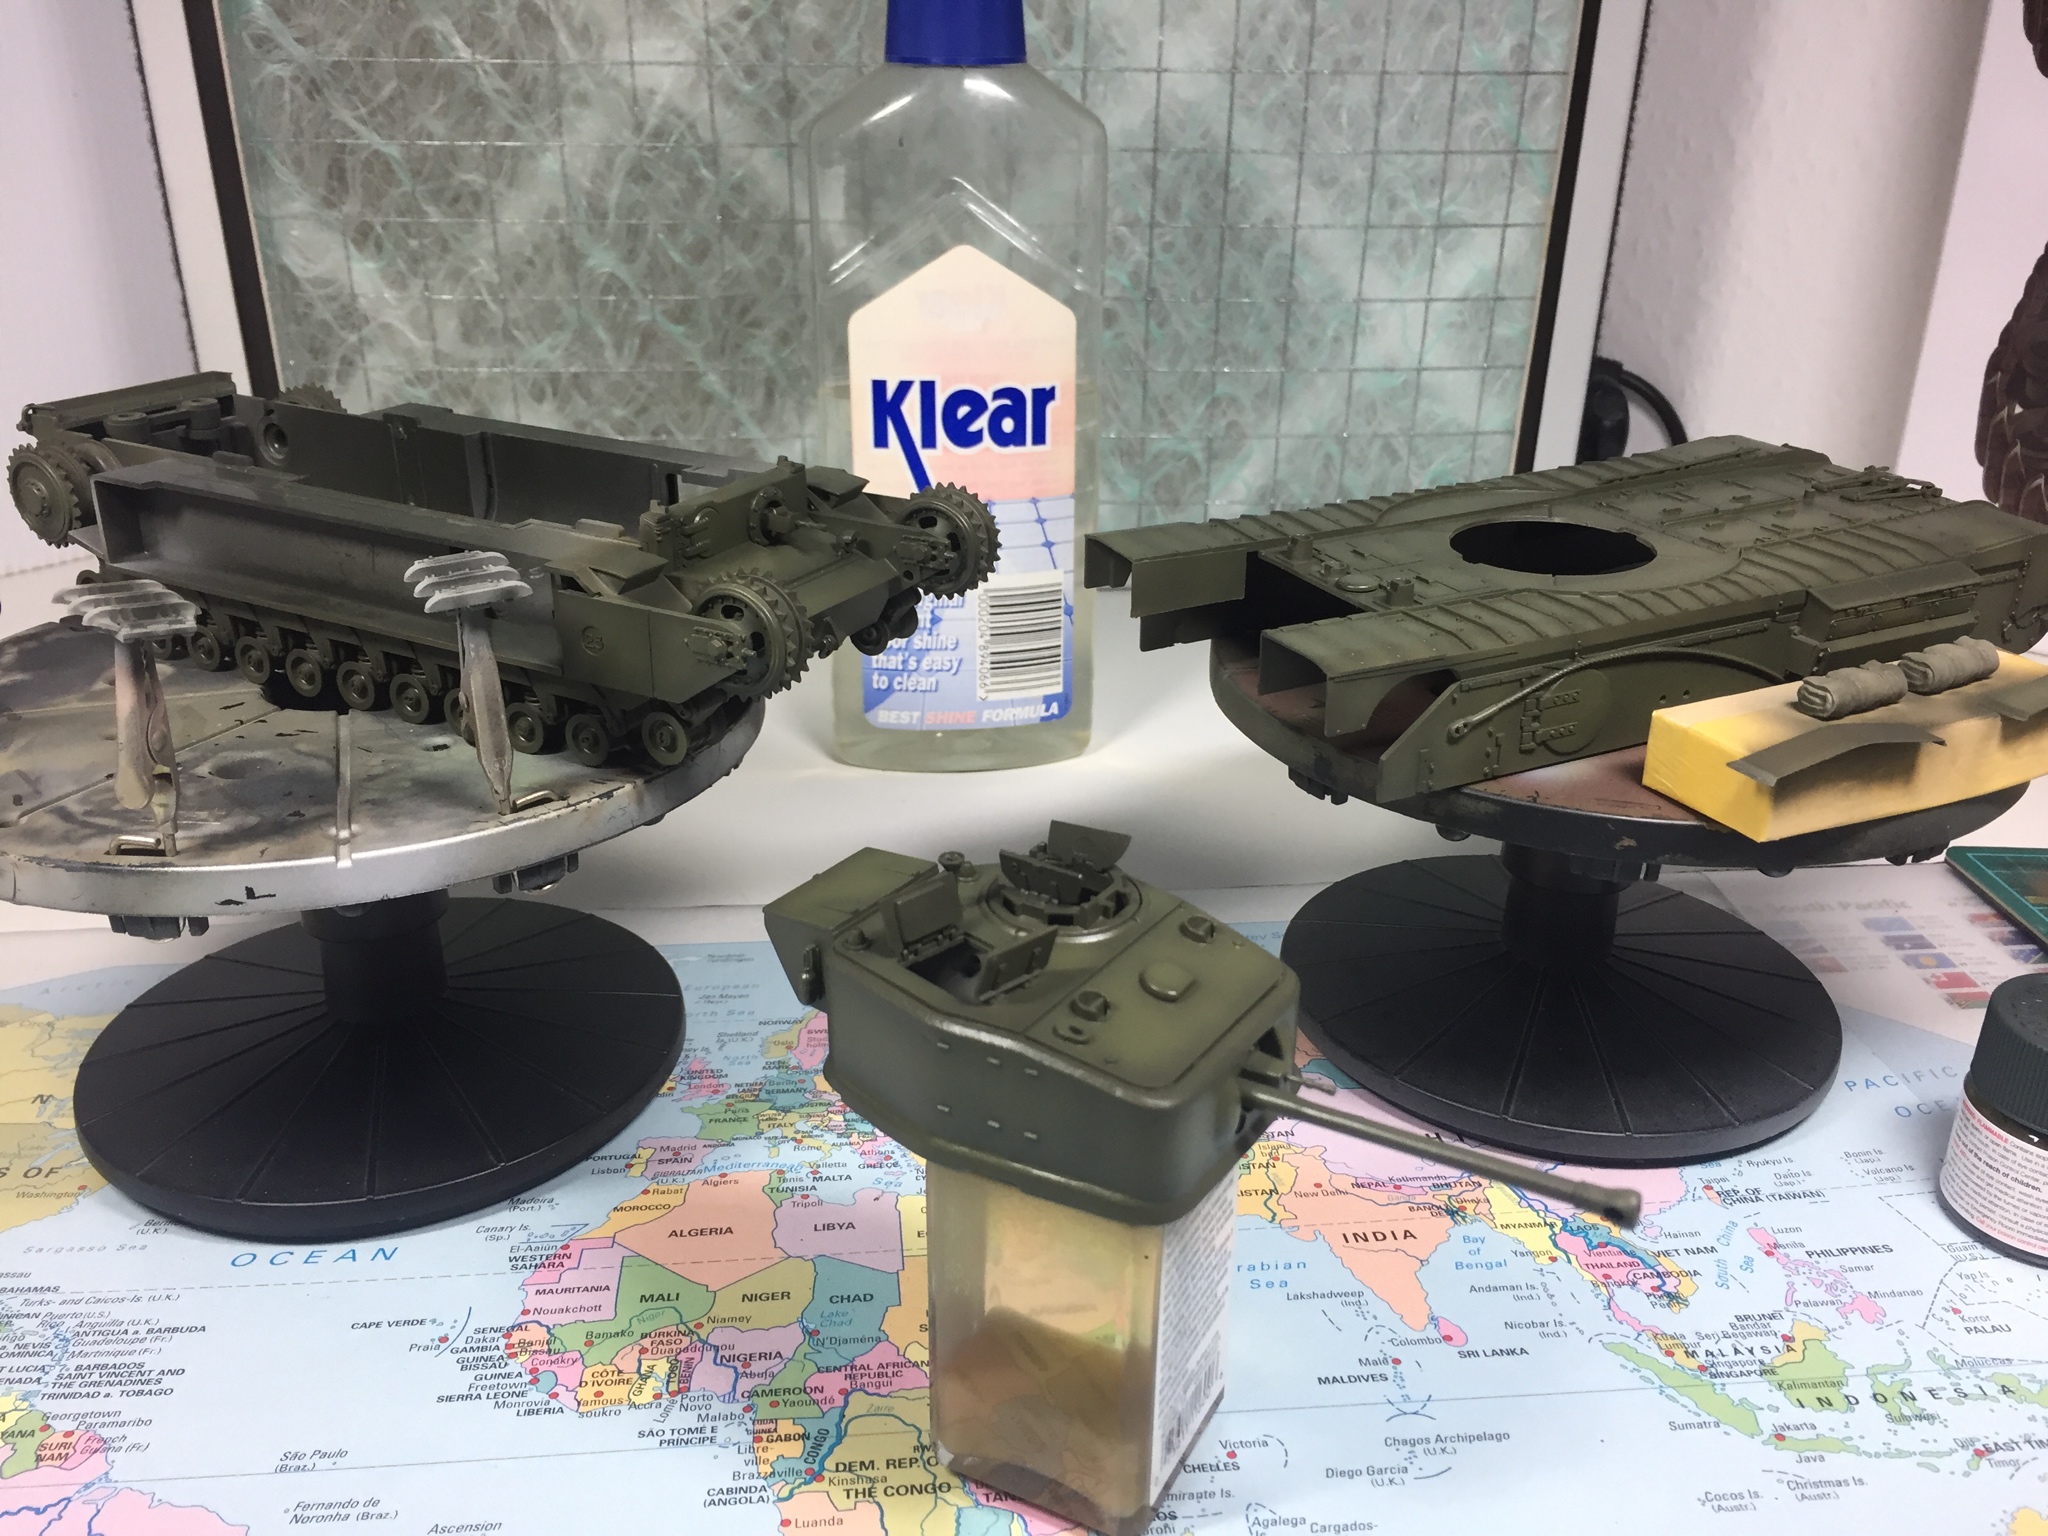
So tools painted and flat coat on. Used Windsor & Newton Galeria Matt varnish thinned with Tamiya x20a about 50/50. Very Matt and very forgiving! Quite happy with how tracks have com out so far. Not so happy with exhaust, not pictured yet, so will redo.
Thanks for looking and I hope you are enjoying the slow progress of the Churchill.

Oklahoma, United States
Joined: March 01, 2002
KitMaker: 6,043 posts
Armorama: 4,347 posts
Posted: Sunday, October 07, 2018 - 03:01 AM UTC
Looking good, nice paint, and finish so far.
Cheers
Jeff
United Kingdom
Joined: December 15, 2008
KitMaker: 246 posts
Armorama: 171 posts
Posted: Saturday, October 13, 2018 - 04:25 AM UTC

#494
New Brunswick, Canada
Joined: August 08, 2018
KitMaker: 213 posts
Armorama: 198 posts
Posted: Saturday, October 13, 2018 - 05:35 AM UTC
Don't know how I missed this one. Great job!! I really like the finish you've achieved. Well done.
United Kingdom
Joined: December 15, 2008
KitMaker: 246 posts
Armorama: 171 posts
Posted: Saturday, October 13, 2018 - 09:44 AM UTC
Hey Cam,
Thanks man, so glad you like it.
I think Im headed in the right direction. The plan is some dusting with highly thinned tamiya deck tan and maybe some khaki around the usual areas trying to keep it fairly subtle, then using some pigments to finish off.
Cheers, Jim.
#424
Queensland, Australia
Joined: April 23, 2015
KitMaker: 4,648 posts
Armorama: 2,248 posts
Posted: Saturday, October 13, 2018 - 09:55 AM UTC
"Artillery adds dignity, to what would otherwise be an ugly brawl."
Frederick The Great
Scotland, United Kingdom
Joined: September 11, 2005
KitMaker: 109 posts
Armorama: 98 posts
Posted: Saturday, October 13, 2018 - 11:56 AM UTC
Fantastic job so far,nice work on the chipping and not overdone. Can't wait to see it with pigments as well
Paul
United Kingdom
Joined: December 15, 2008
KitMaker: 246 posts
Armorama: 171 posts
Posted: Monday, October 22, 2018 - 07:47 AM UTC
Thanks a lot Gary and Paul, great to know it is appreciated.
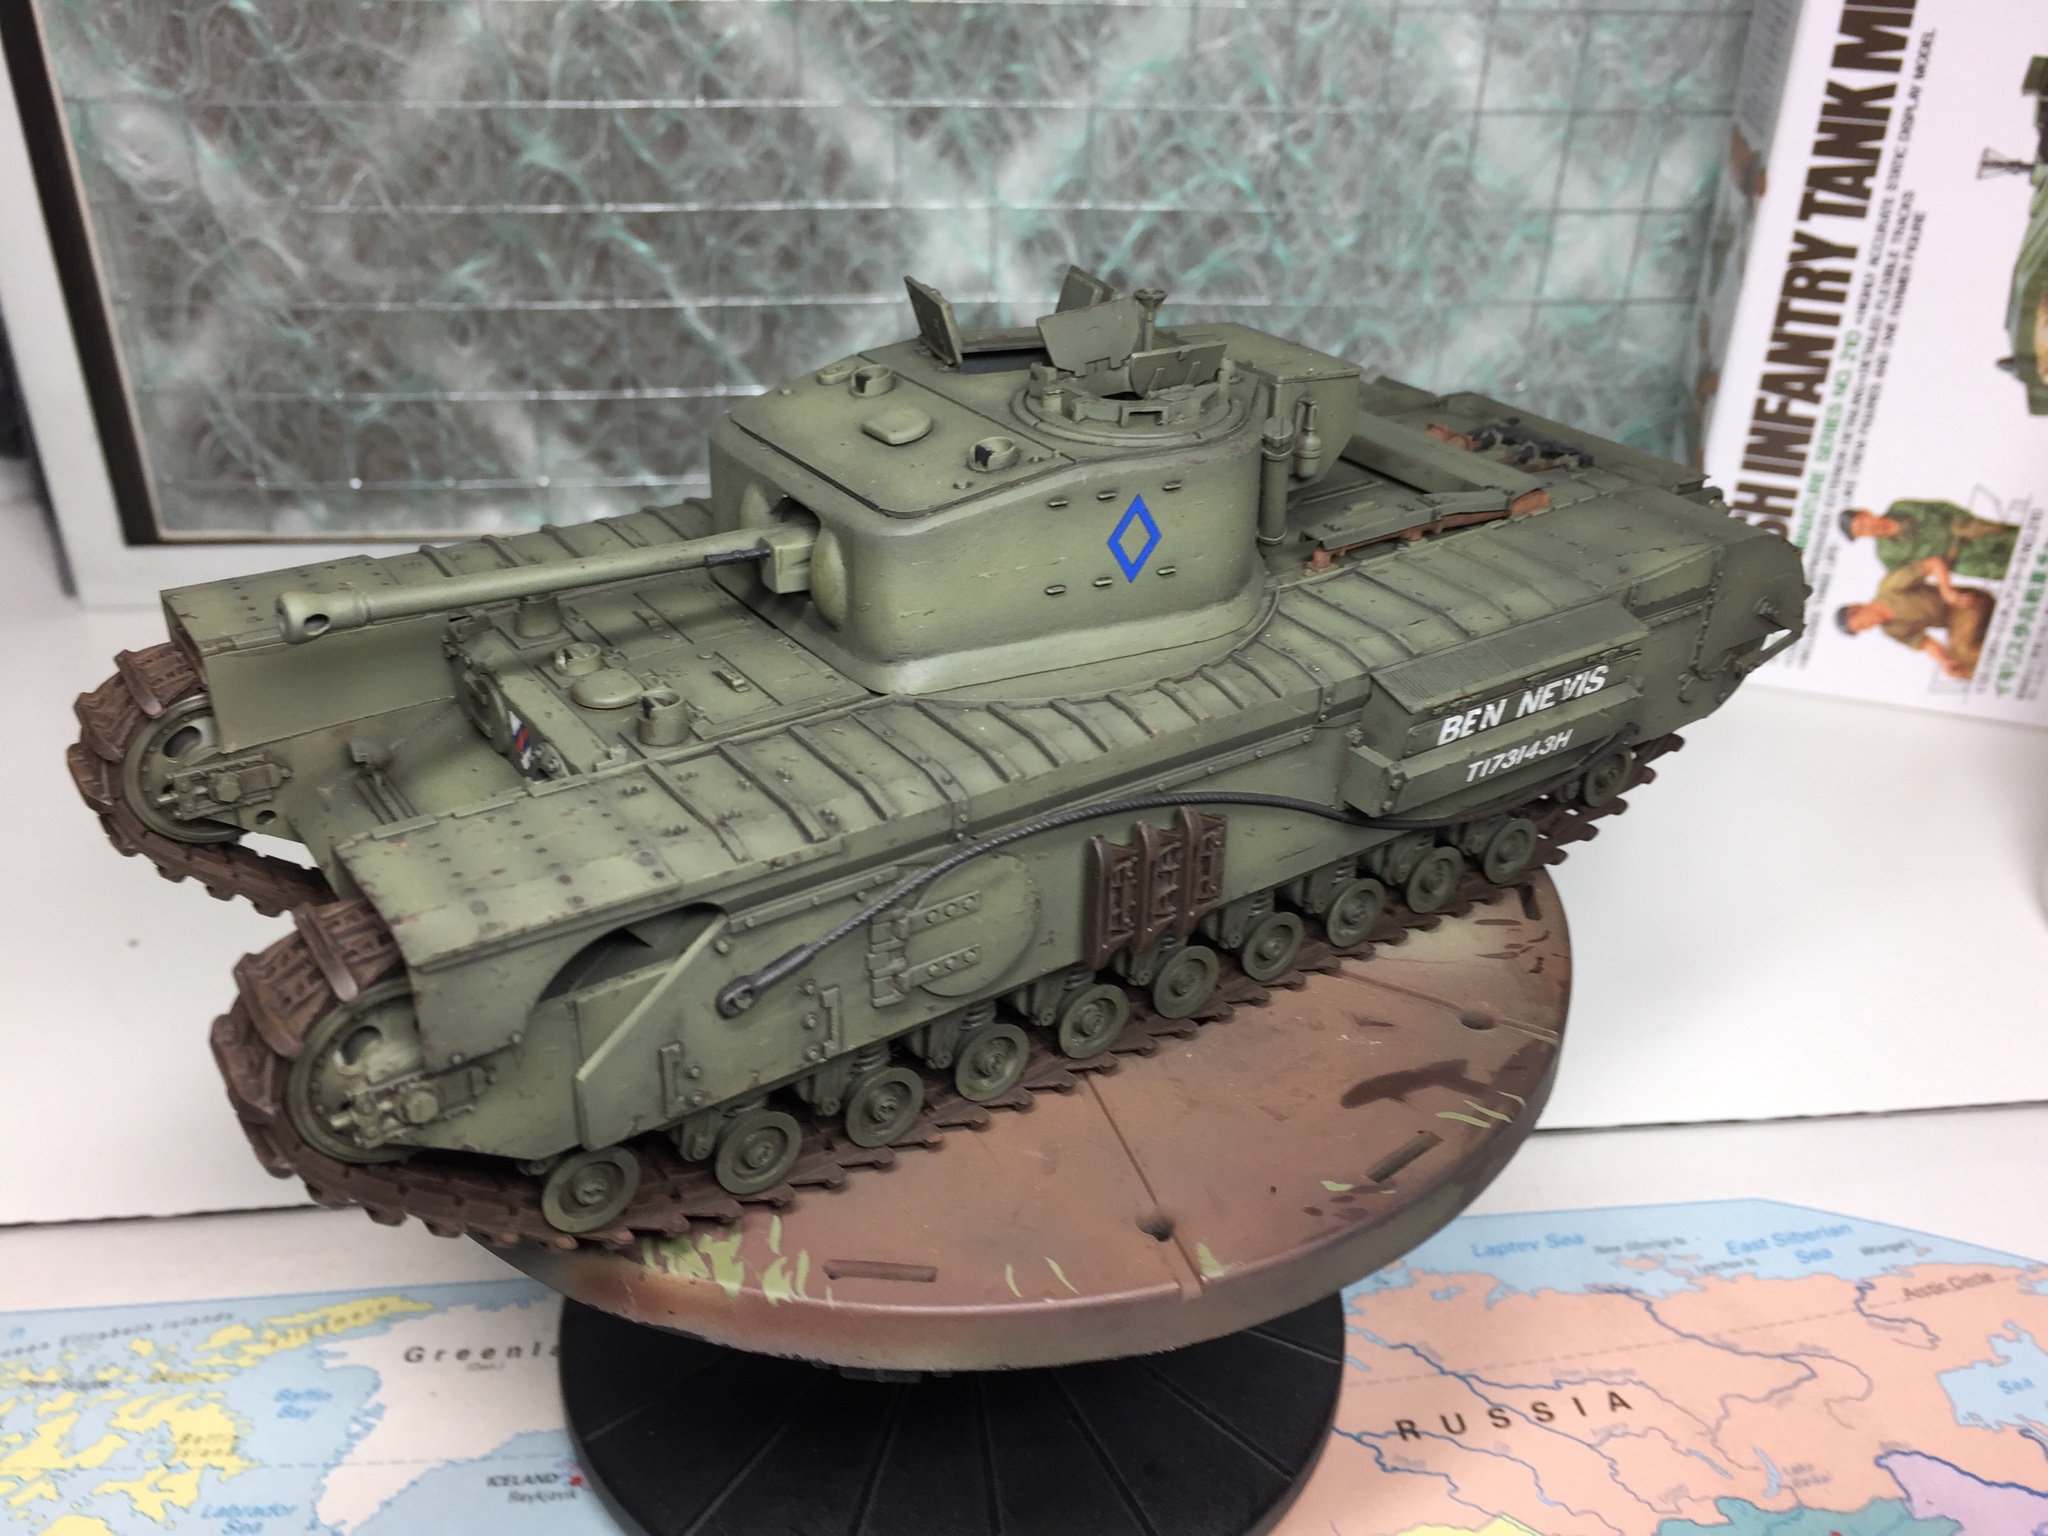
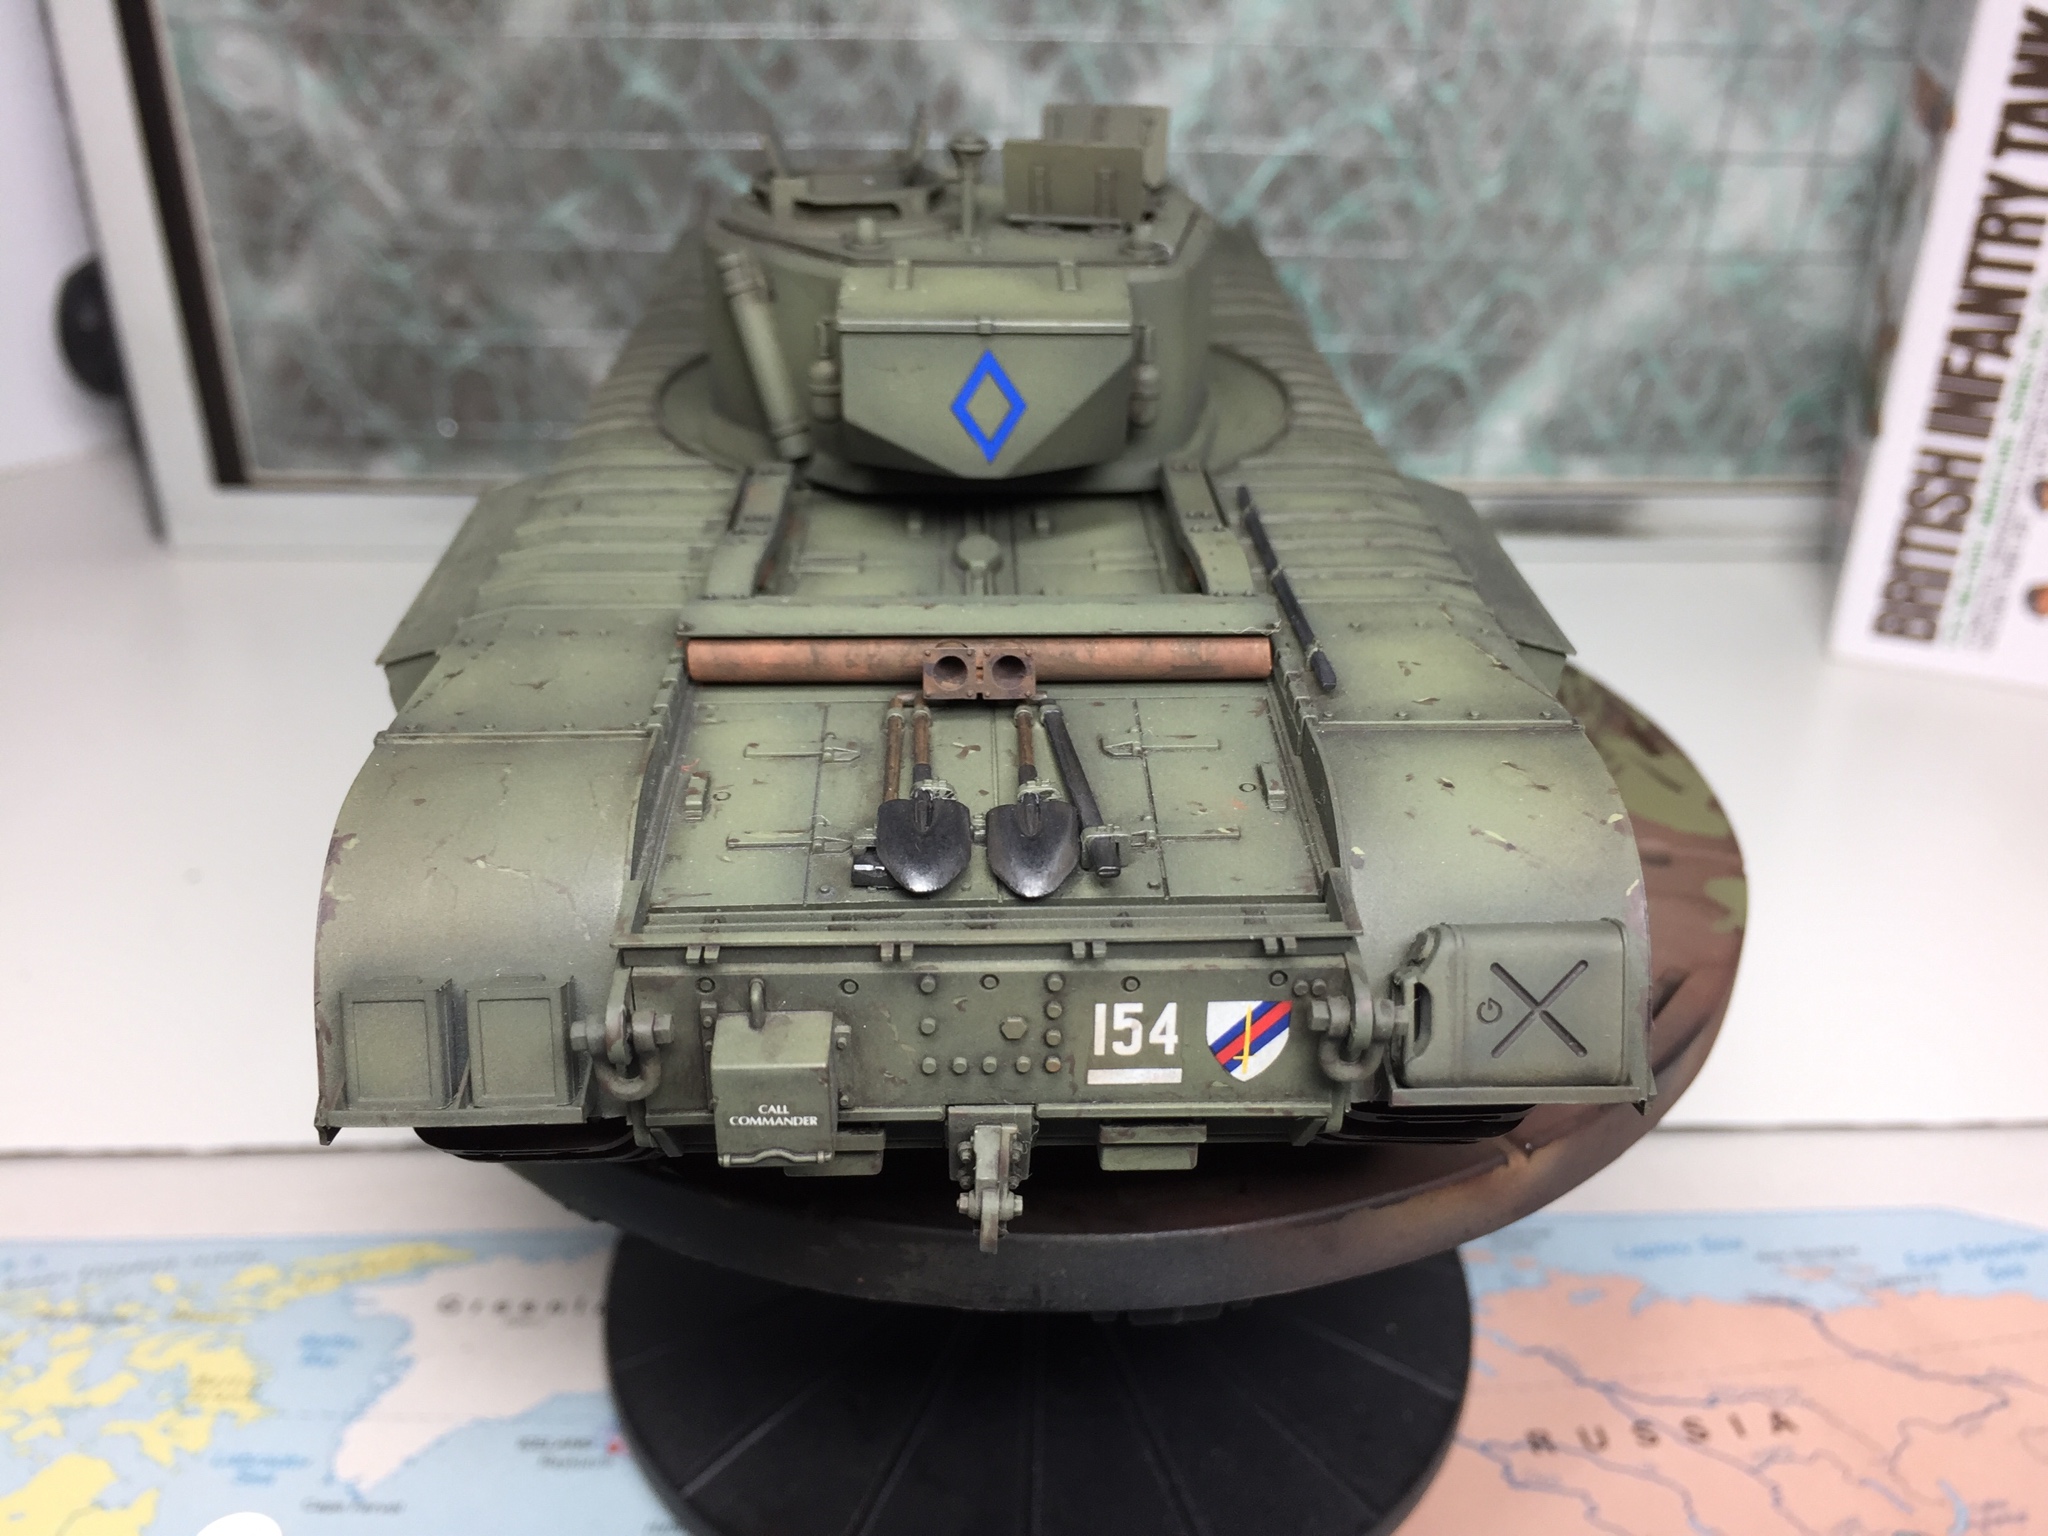
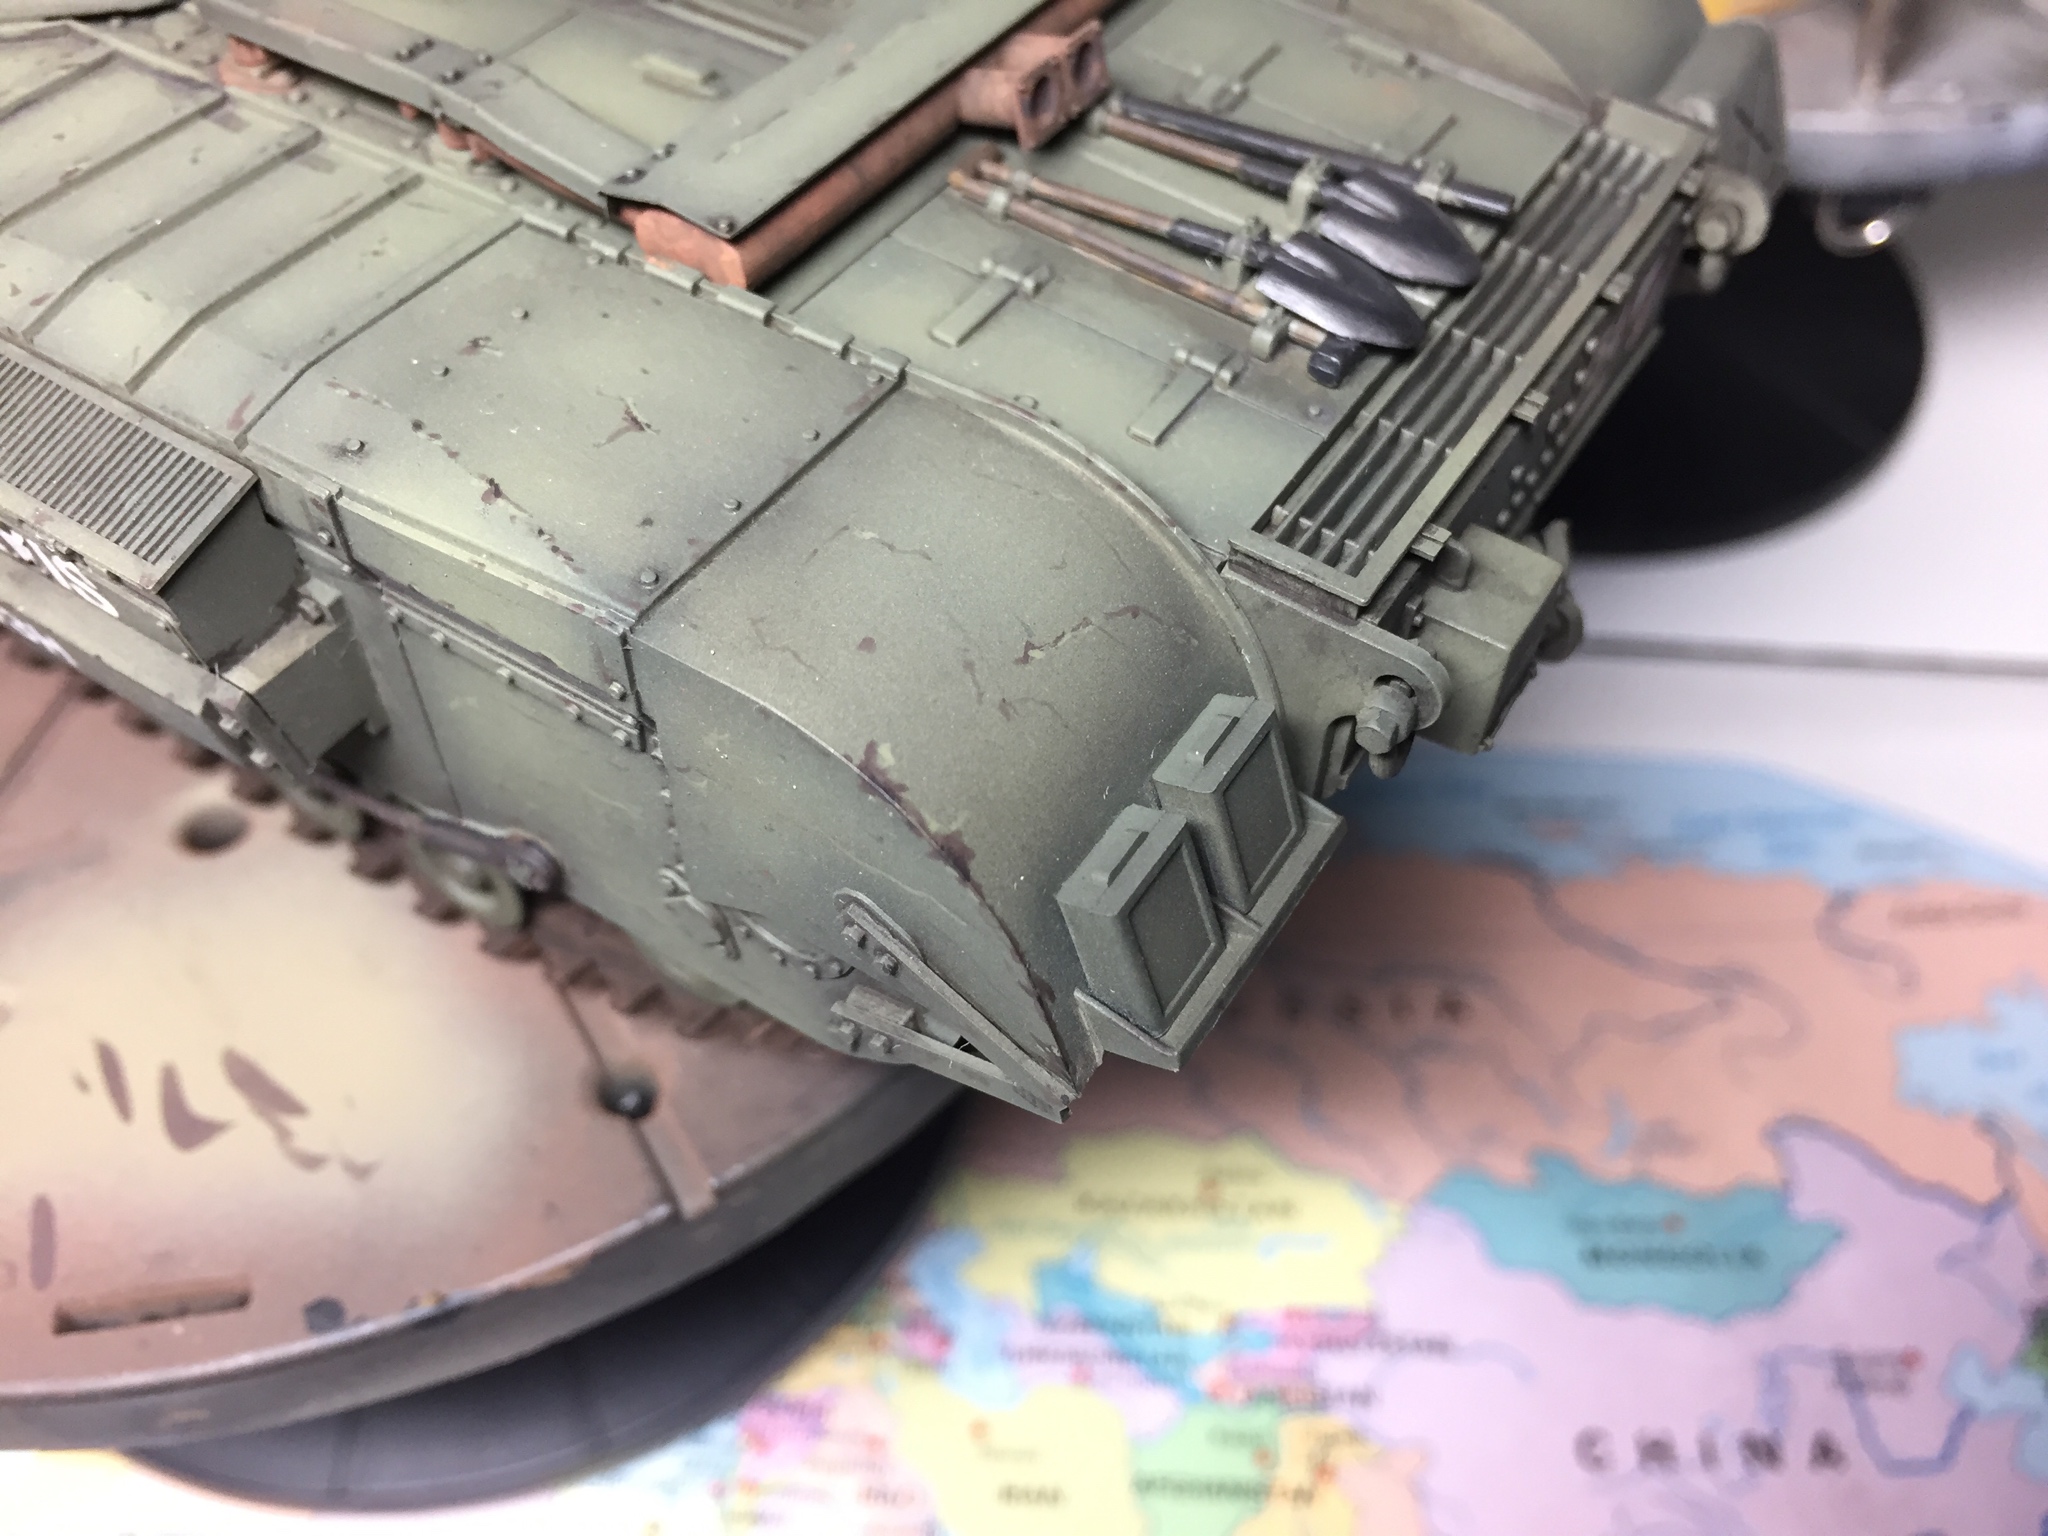
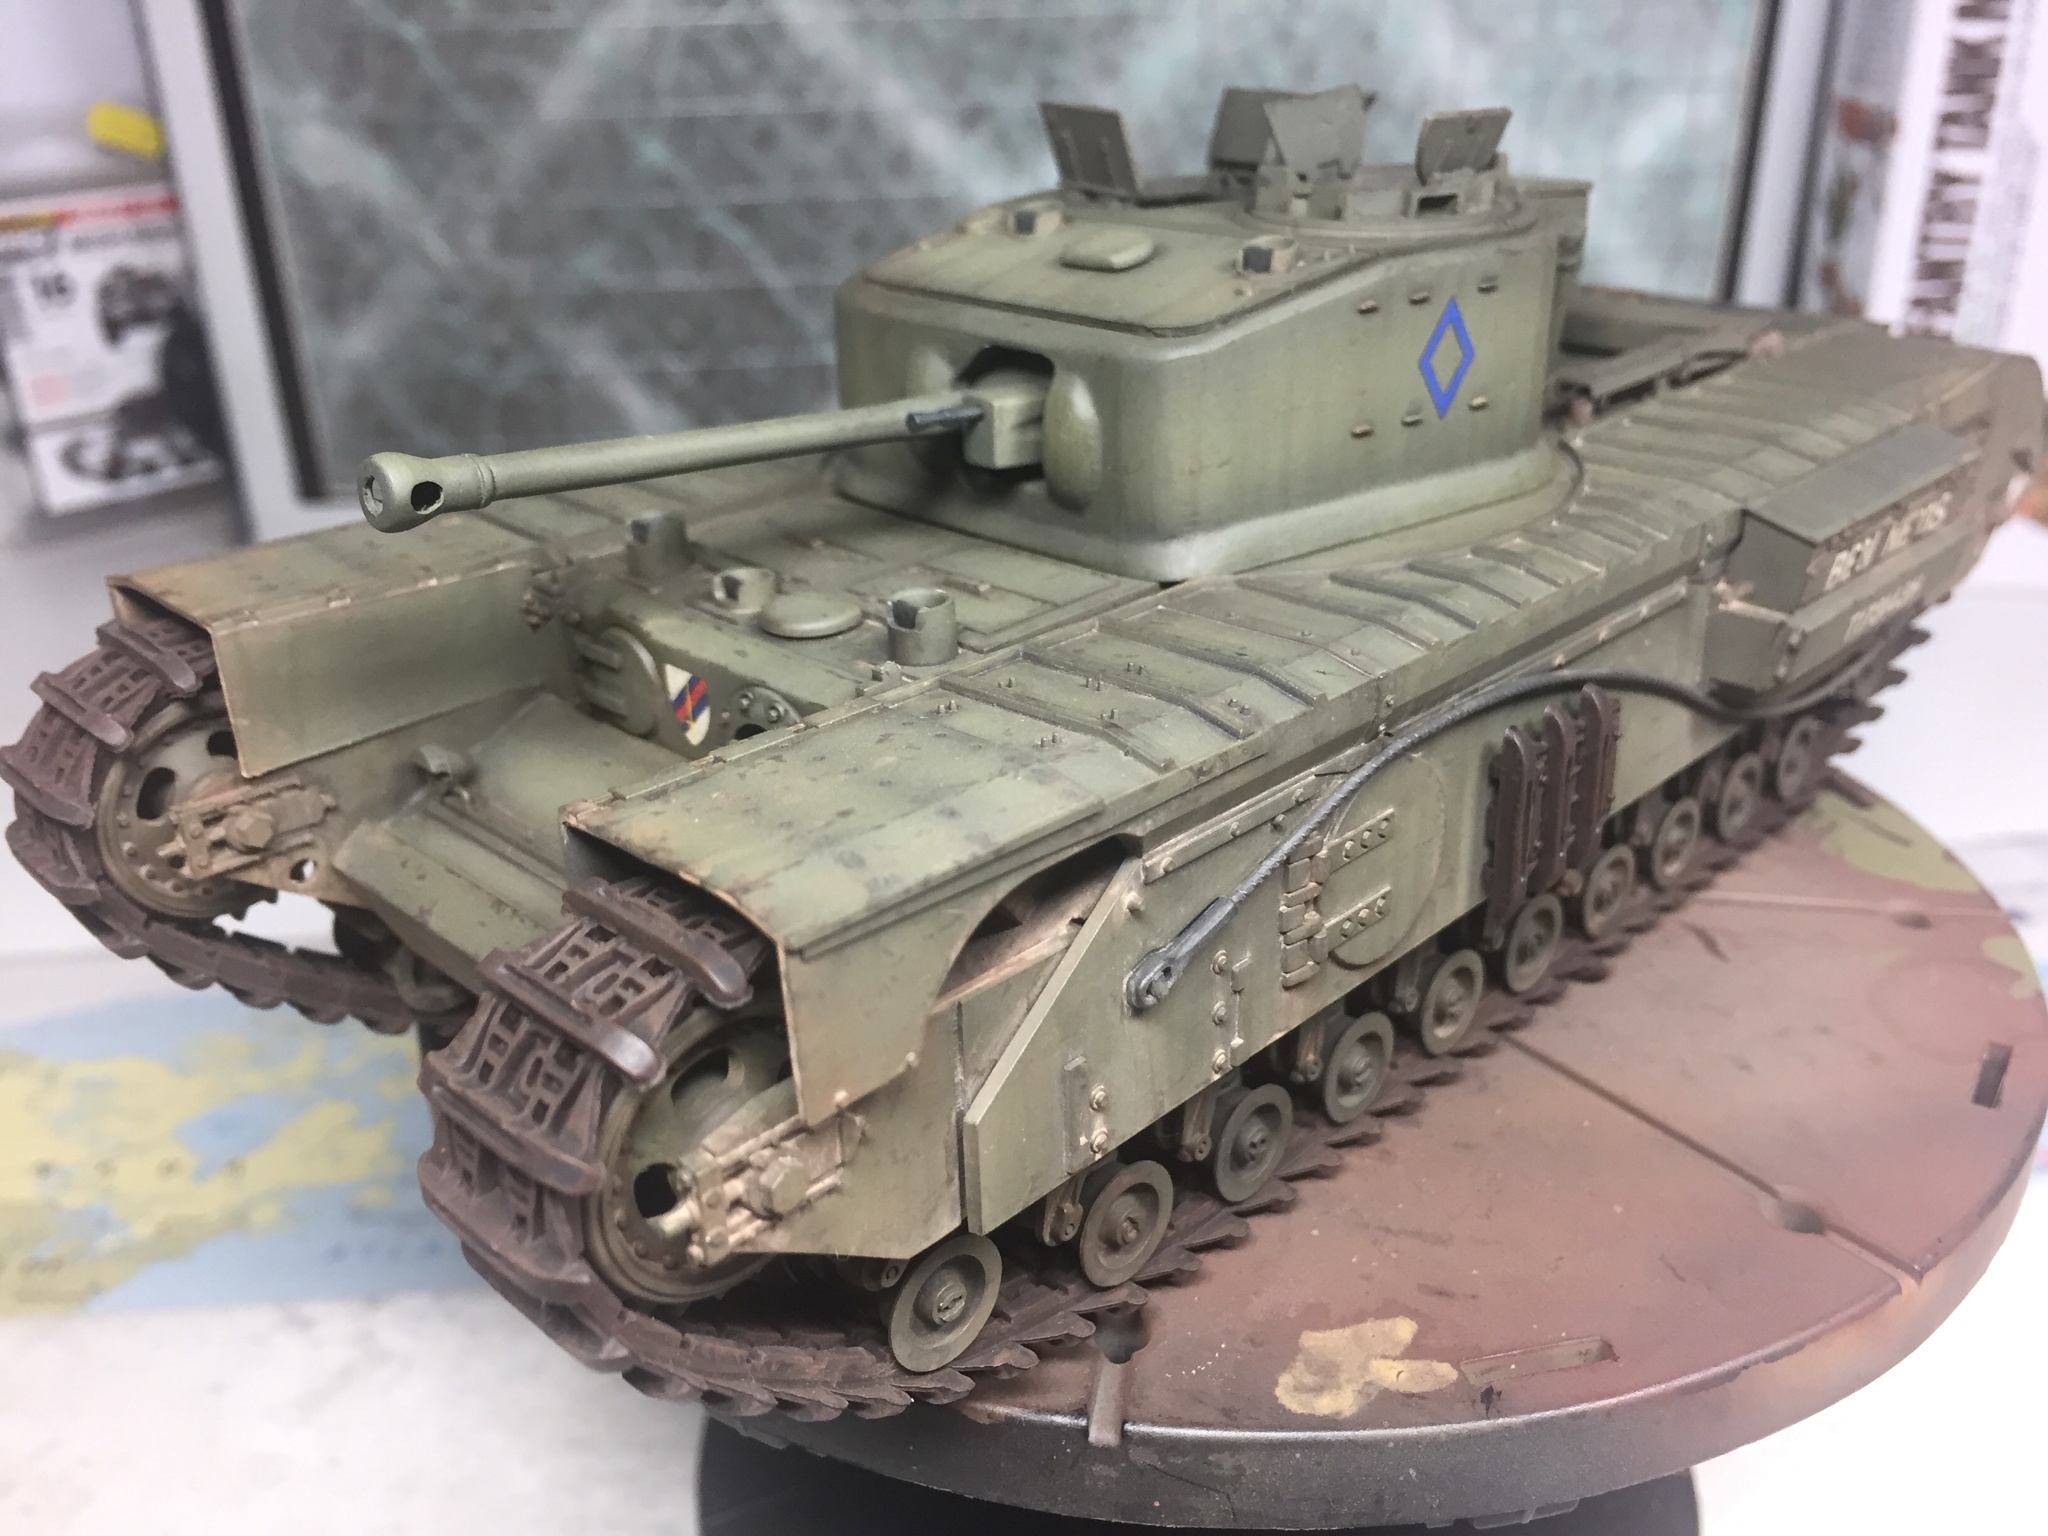
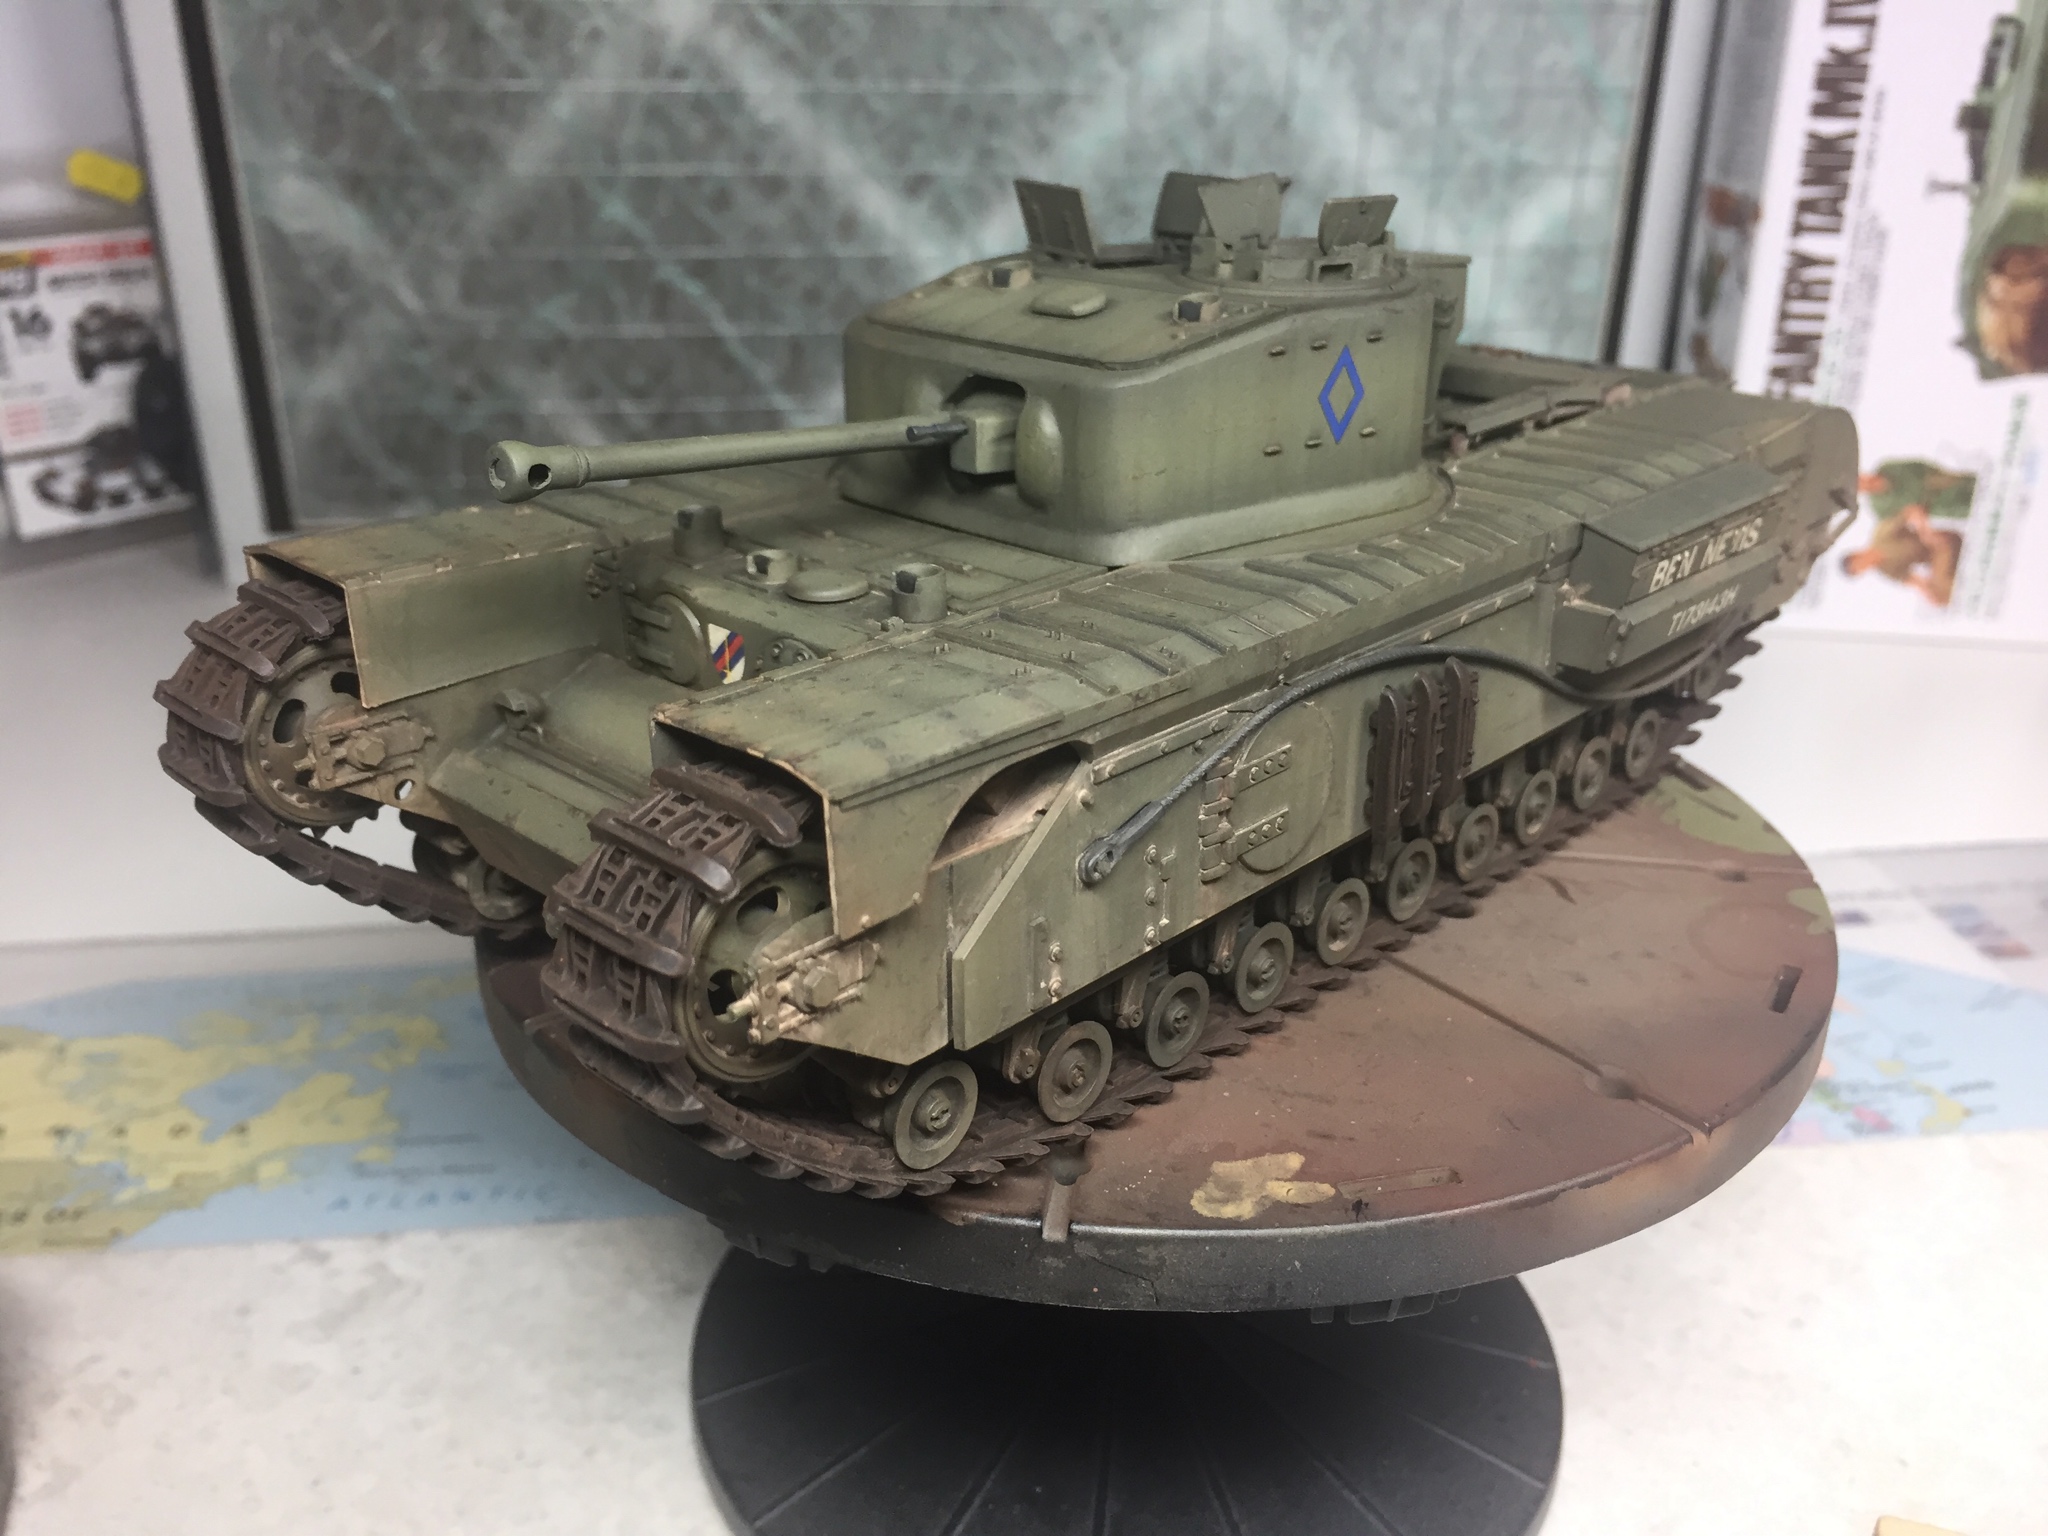
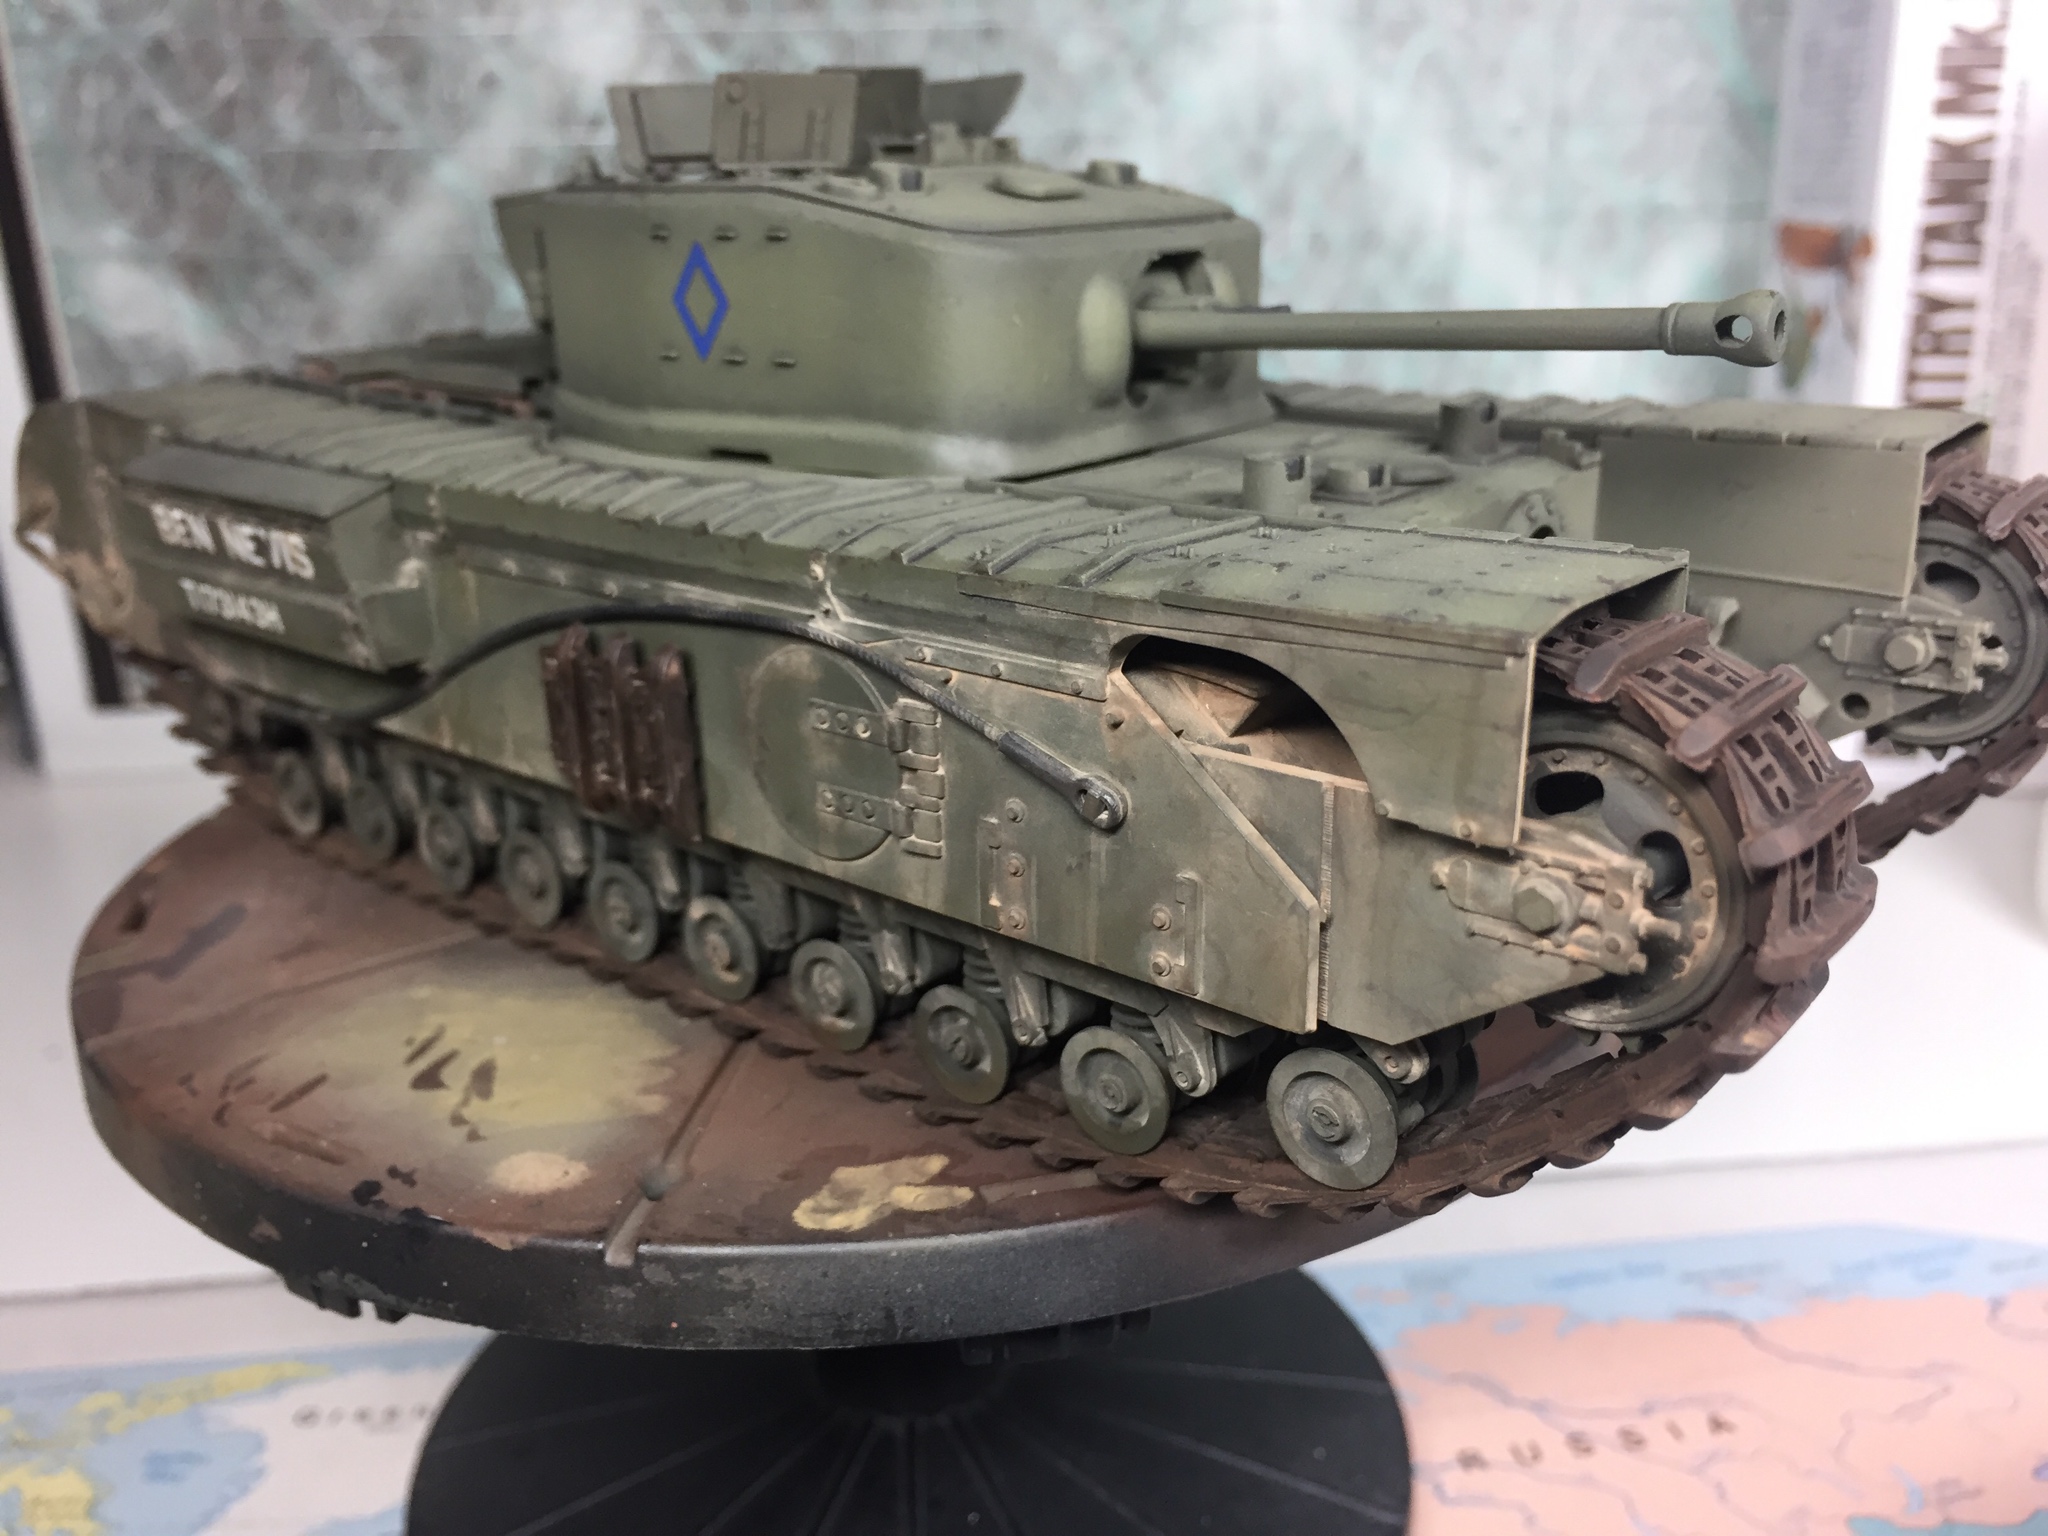
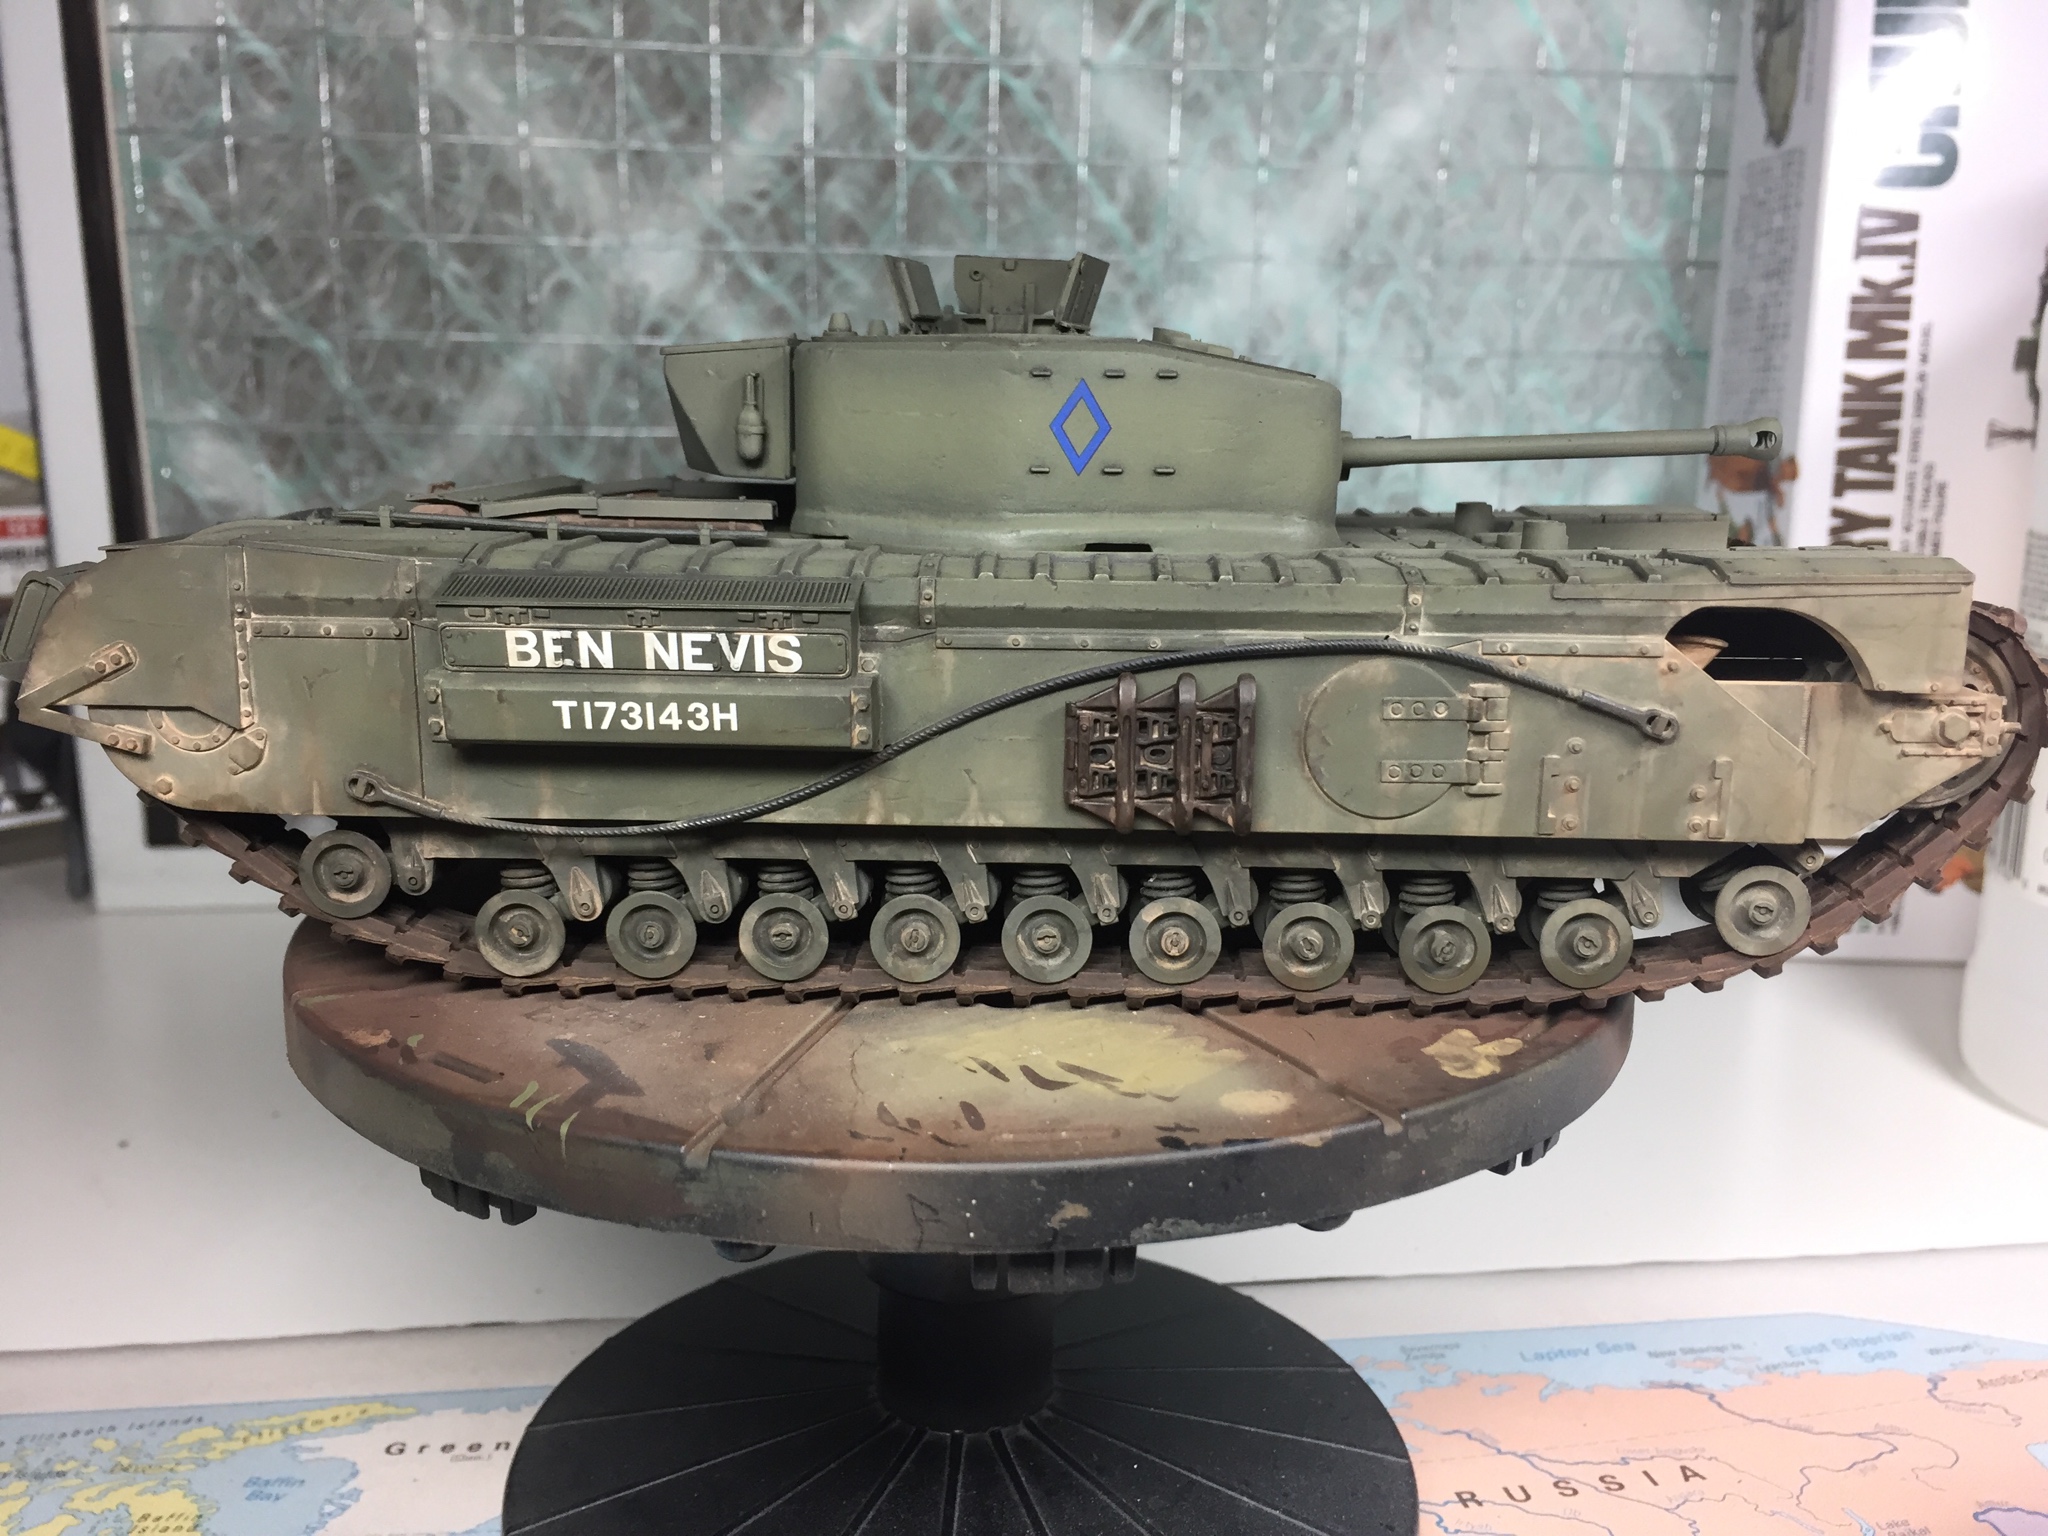
Have made a start with the pigments. Old Mig productions Europe dust, dry mud, dark mud and the newer ammo mig airfield dust. Applied by wetting the surface with turps then thinning pigments heavily with turps and using various size brushes to place then when dry blending with a stiff brush. Then messing about with cotton buds and applying more pigment and trying not to go too far!
Only done this one side so far but once again think it looks to be going in the right general direction. Phone pics not the best for which I apologise but not too far off reality.
Thanks, Jim.
United Kingdom
Joined: December 15, 2008
KitMaker: 246 posts
Armorama: 171 posts
Posted: Tuesday, October 23, 2018 - 08:32 AM UTC
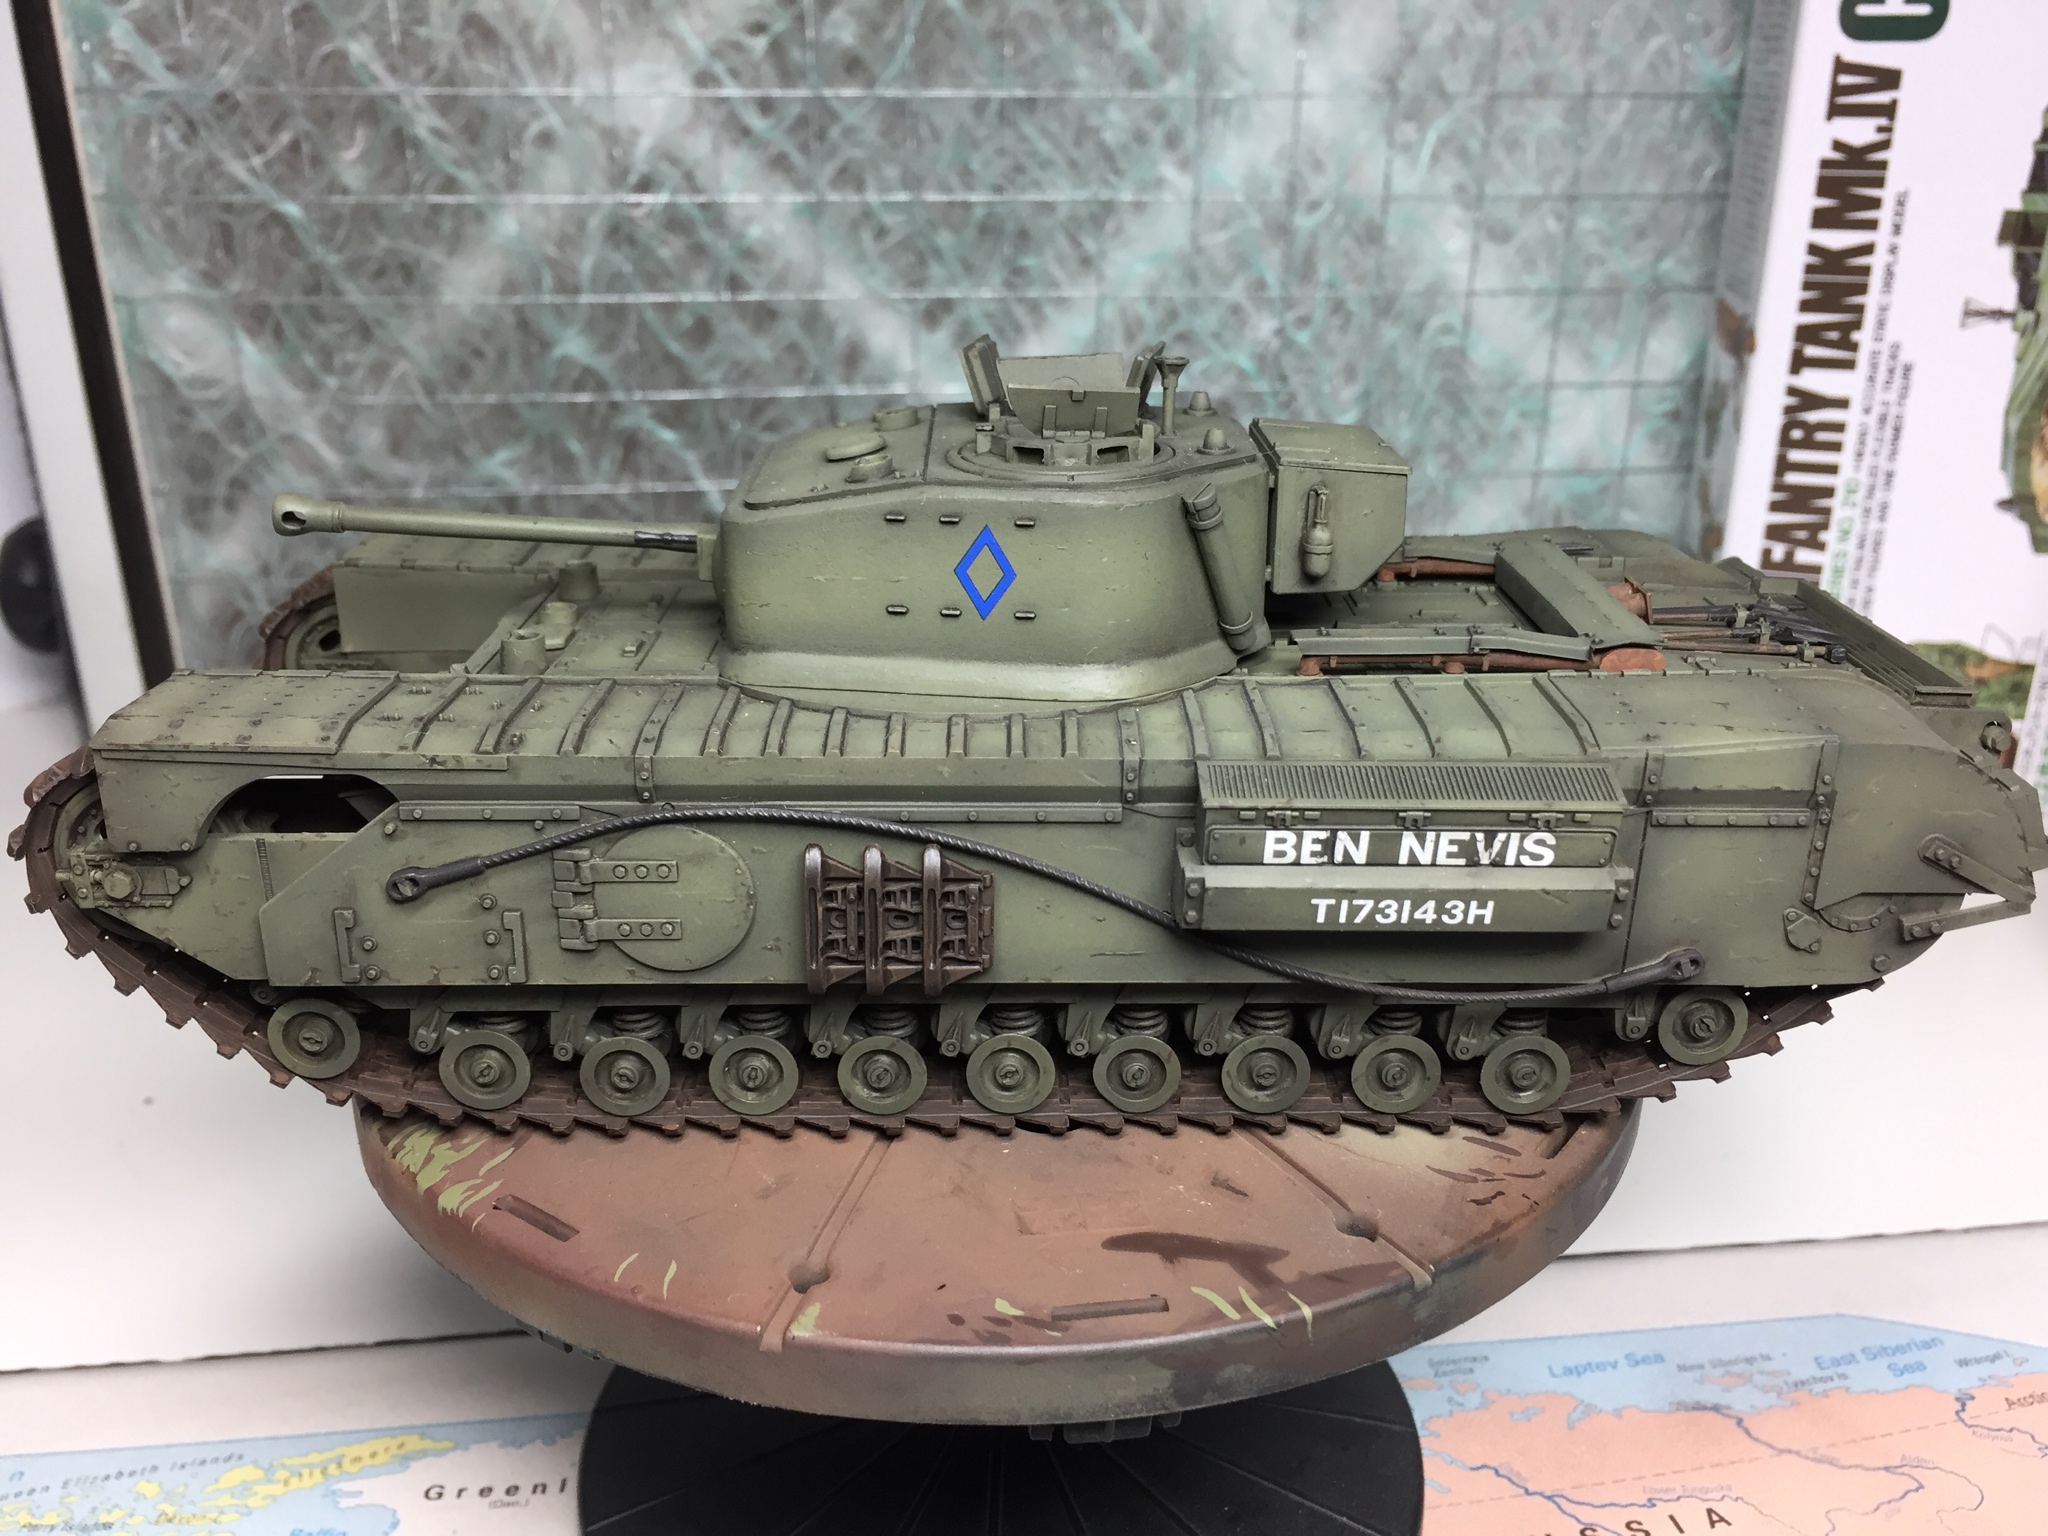
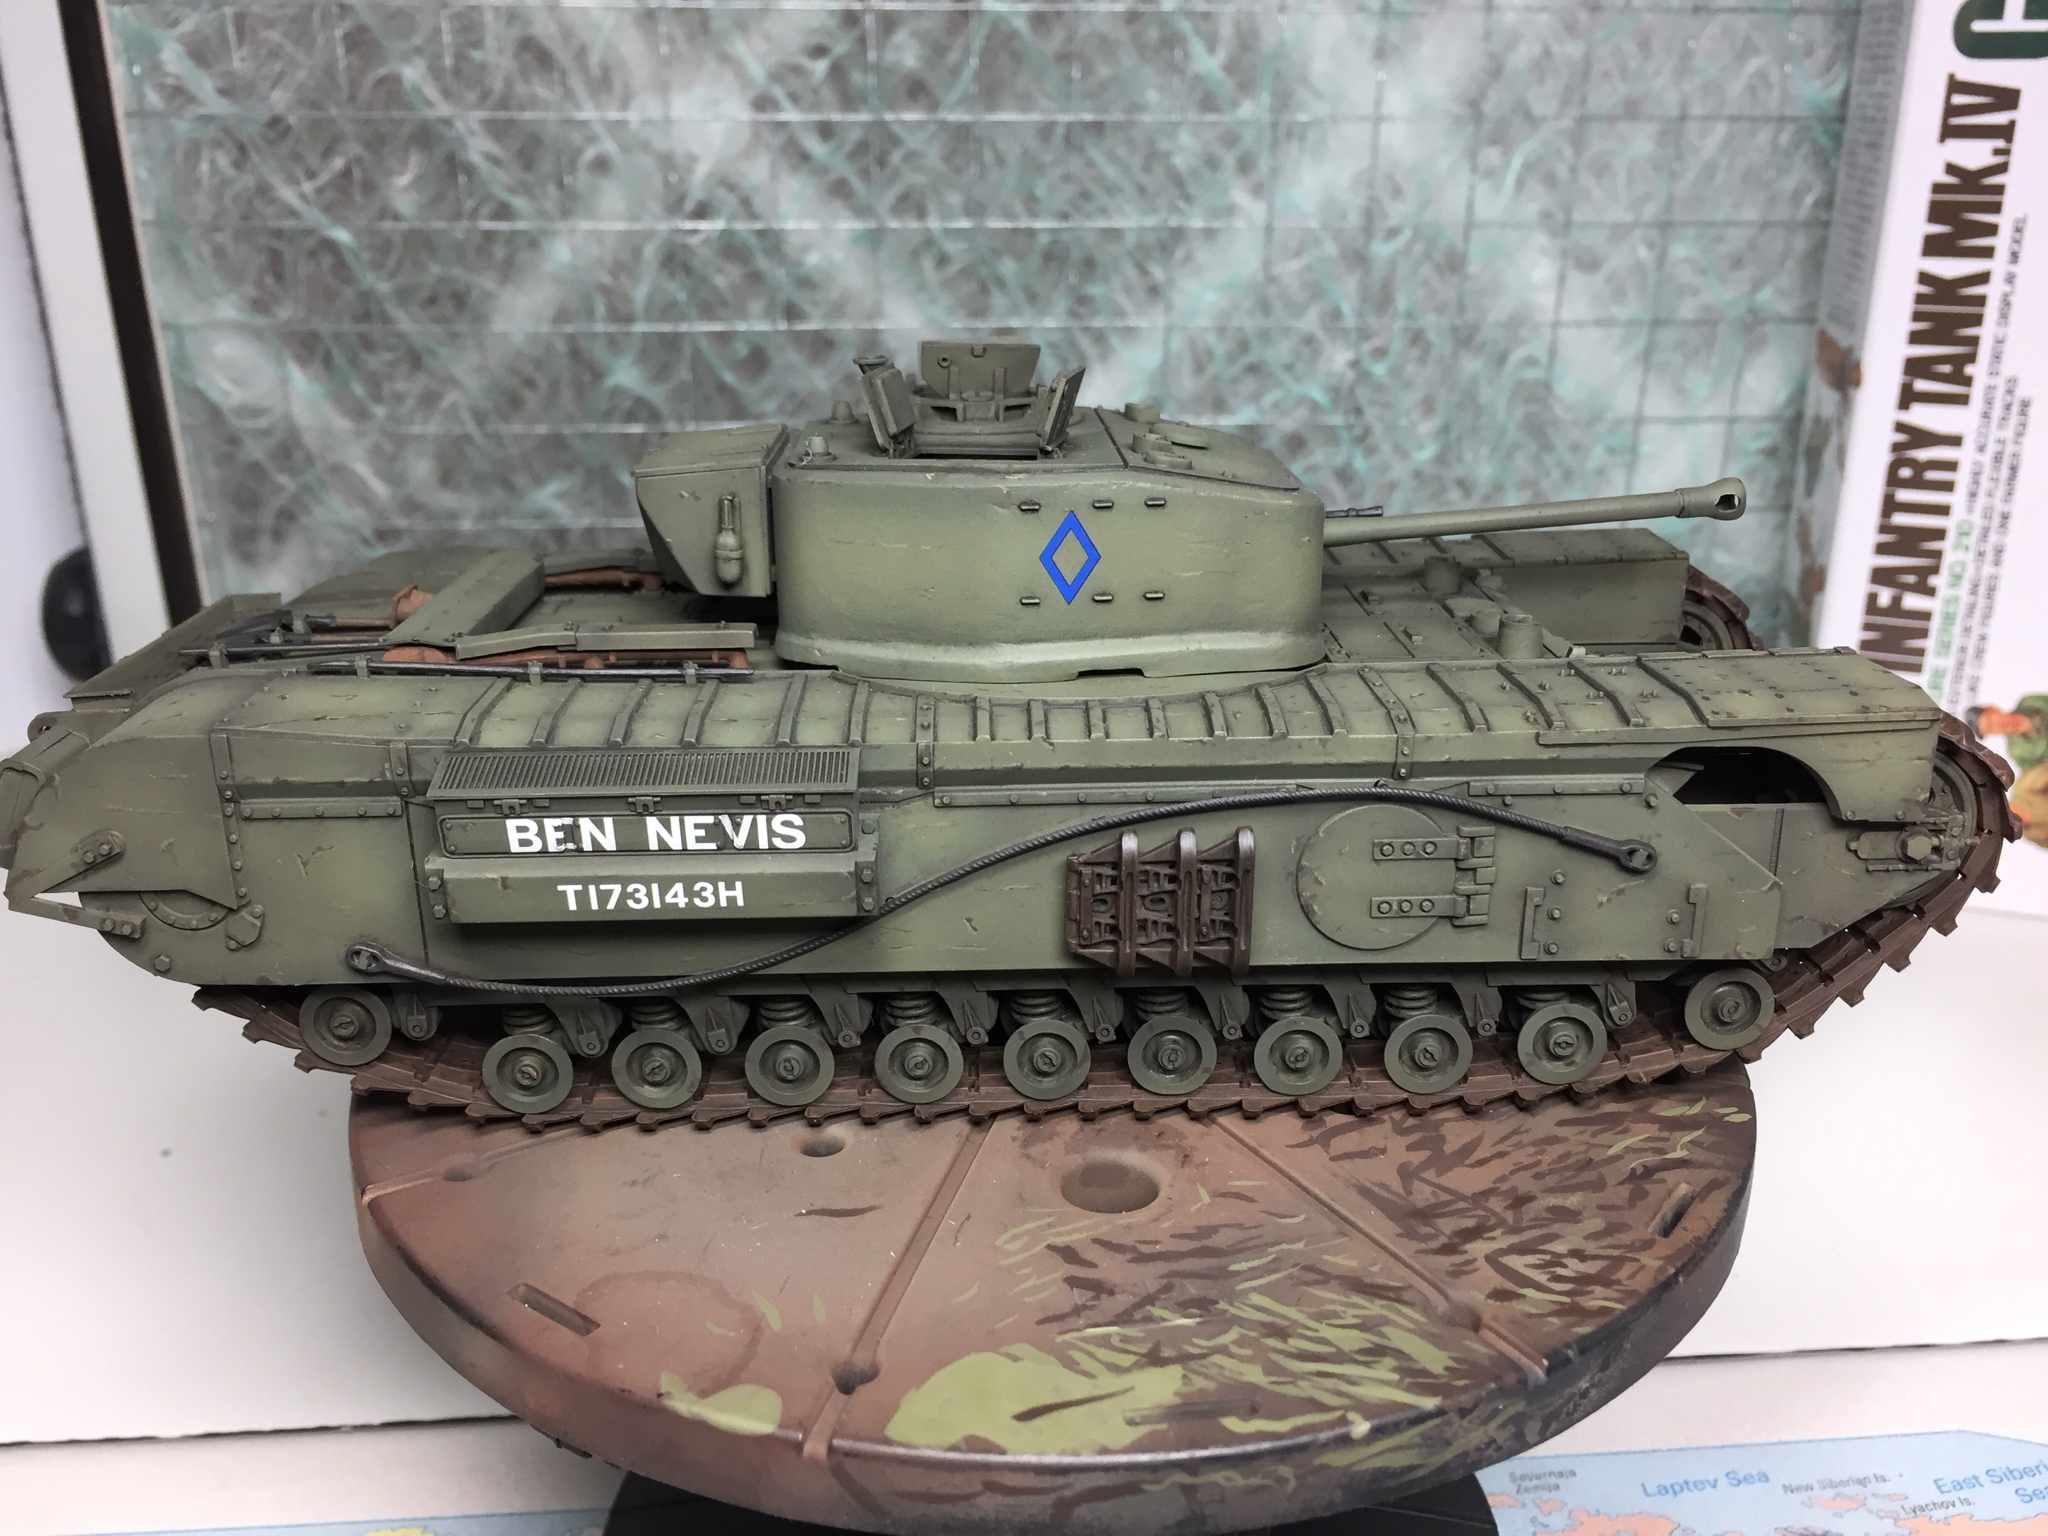
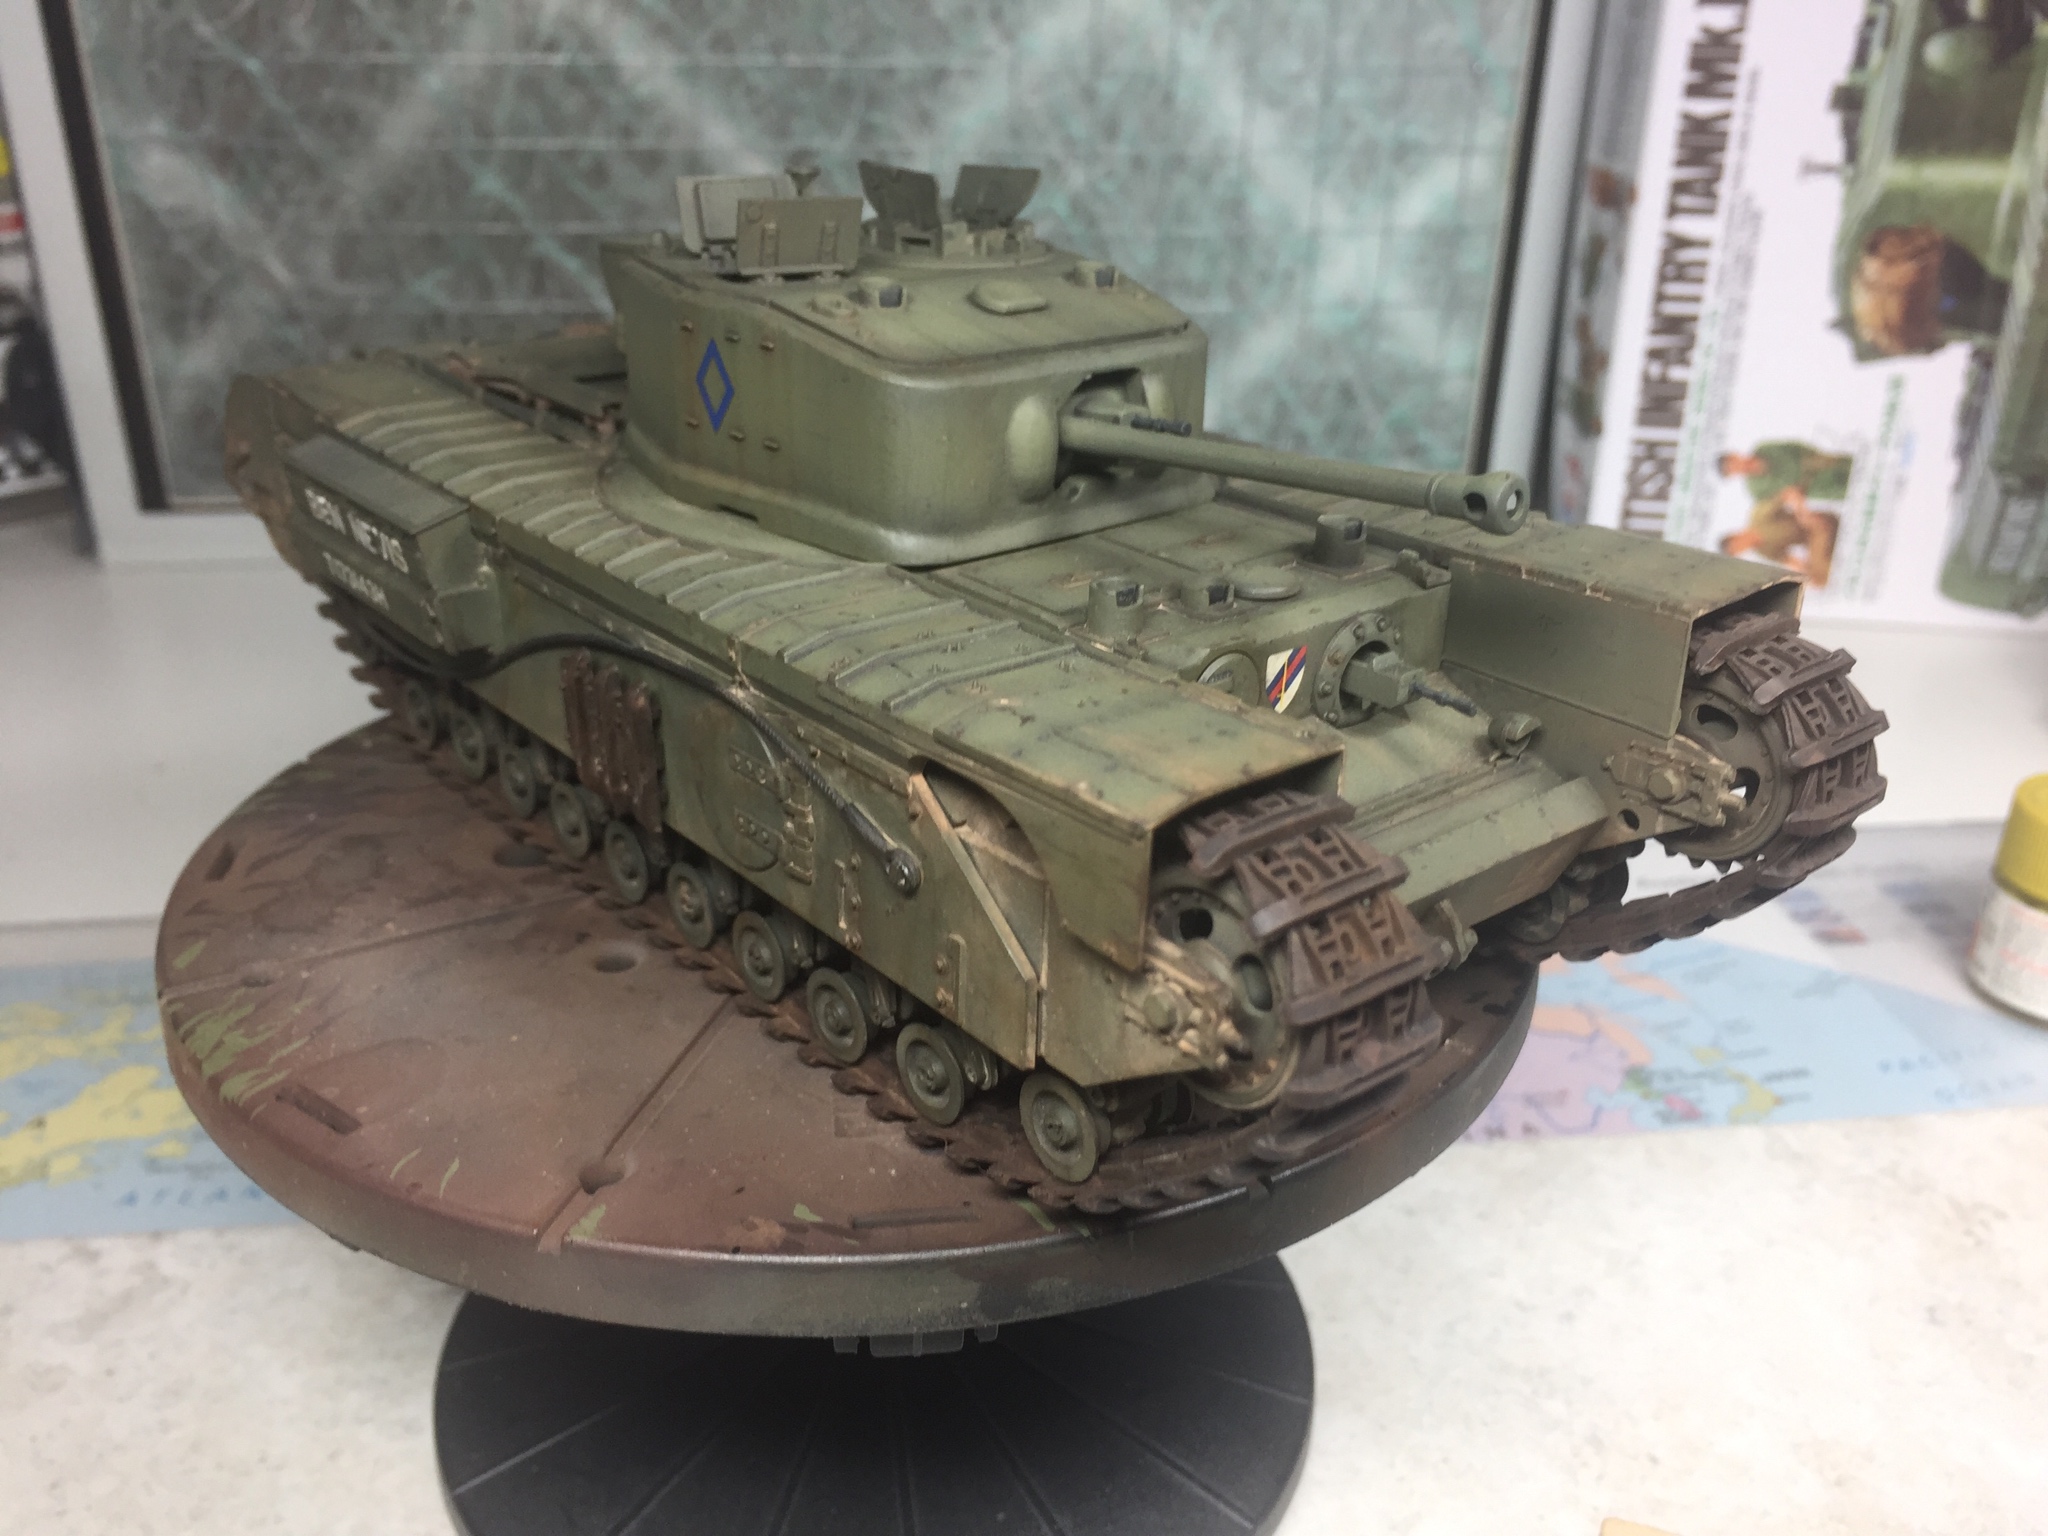
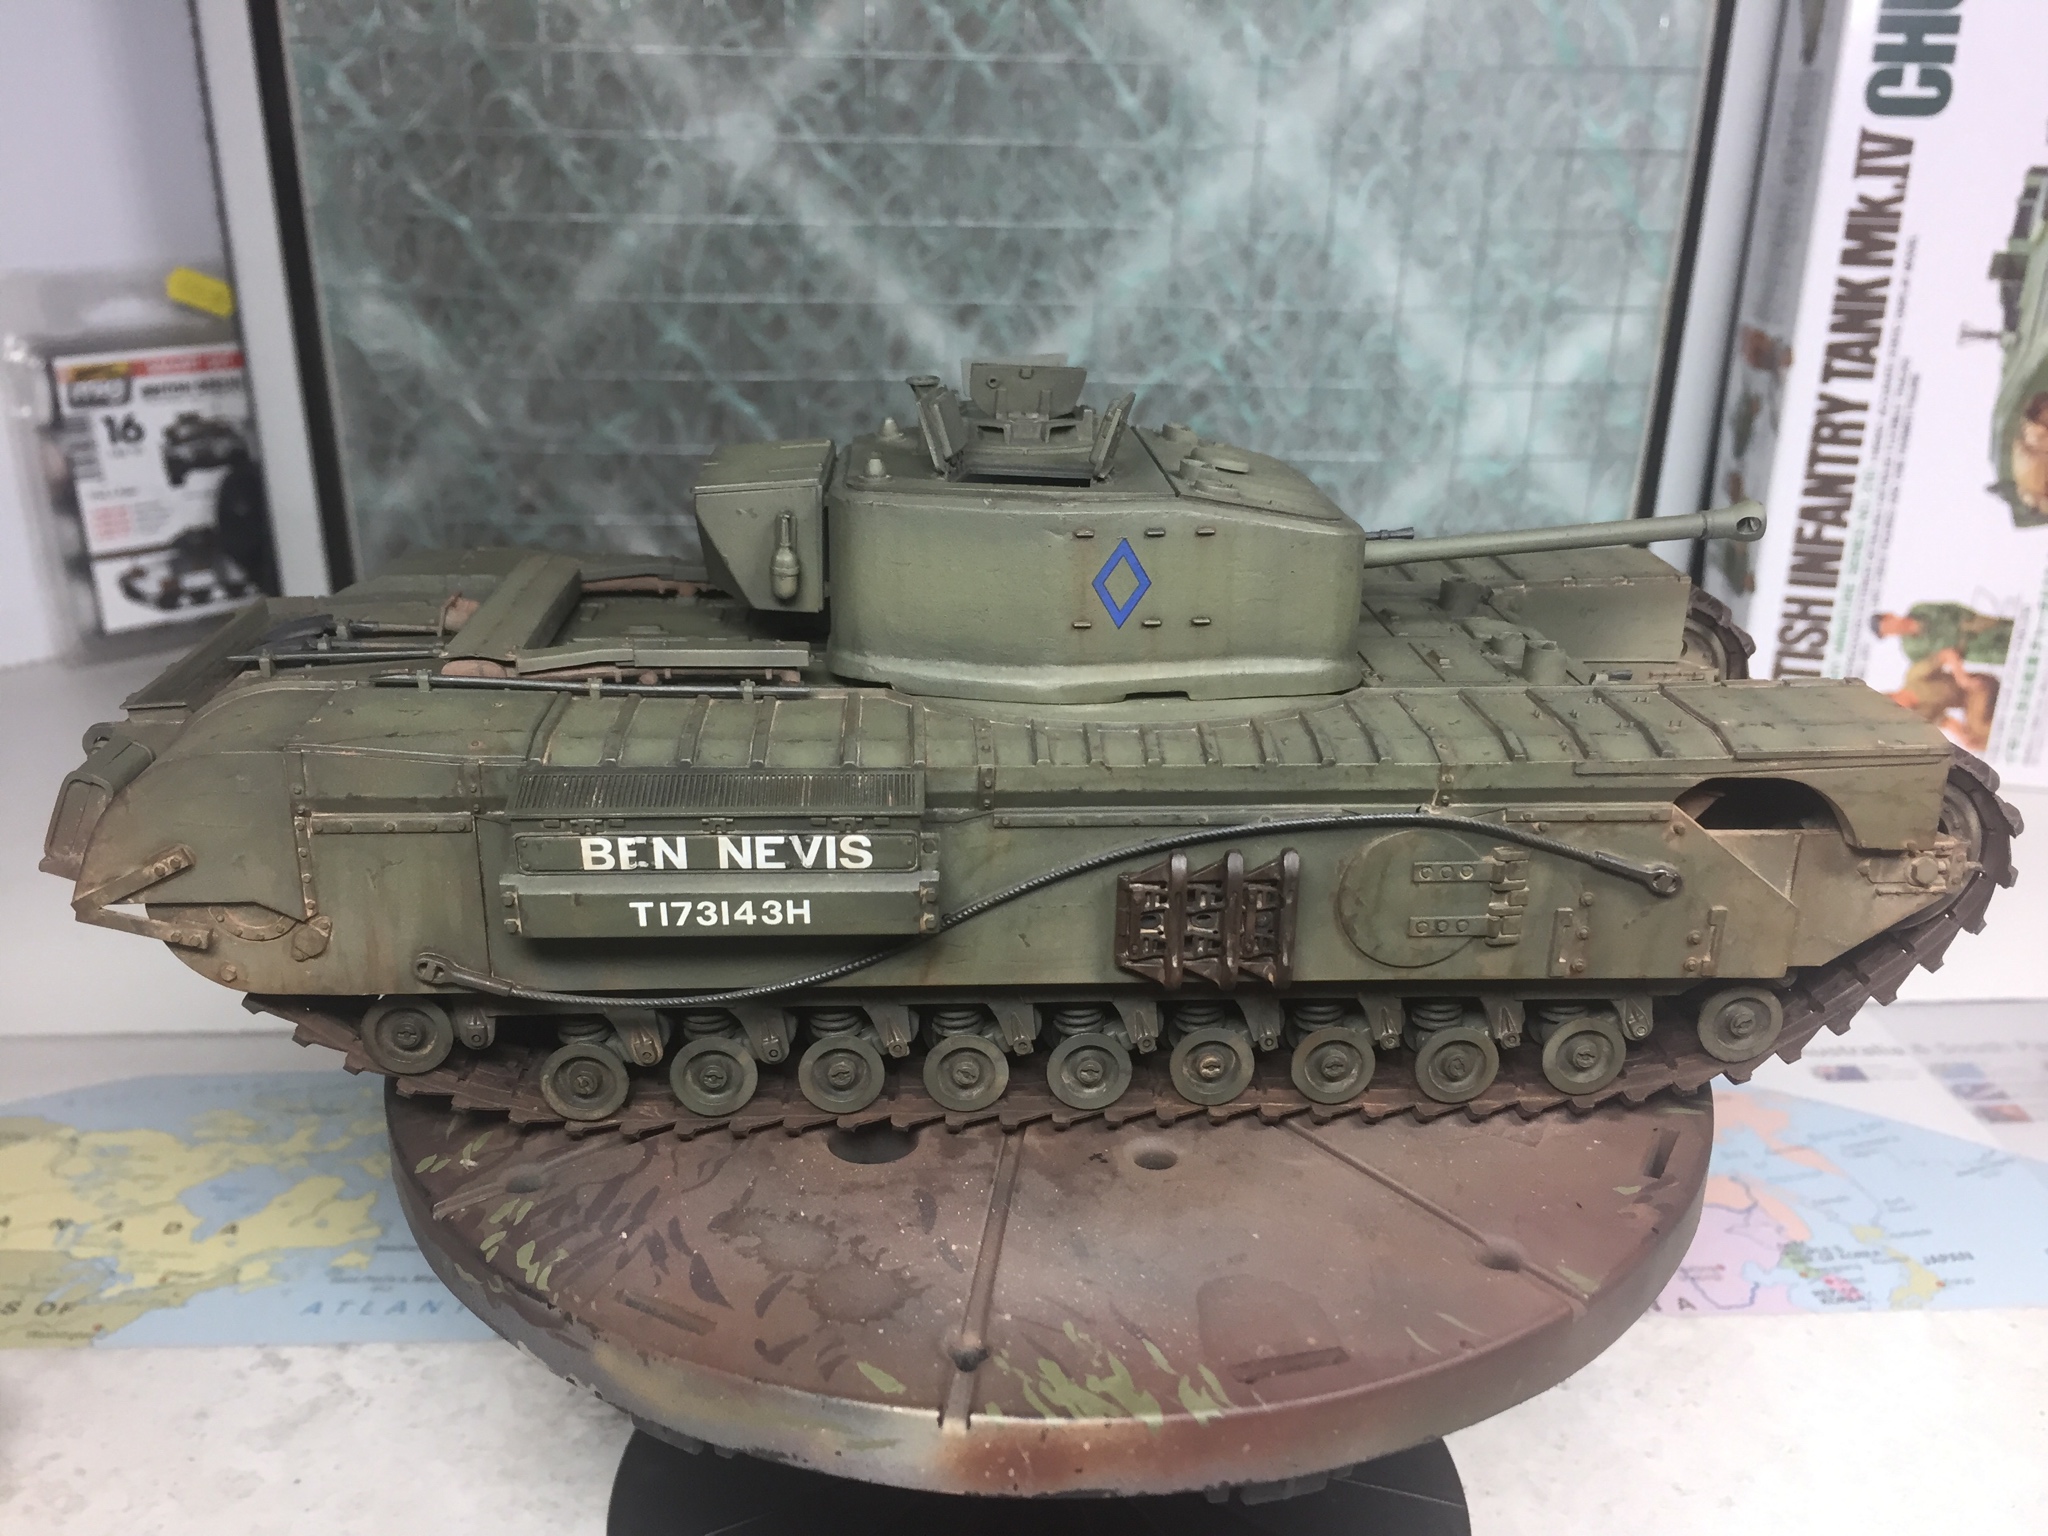
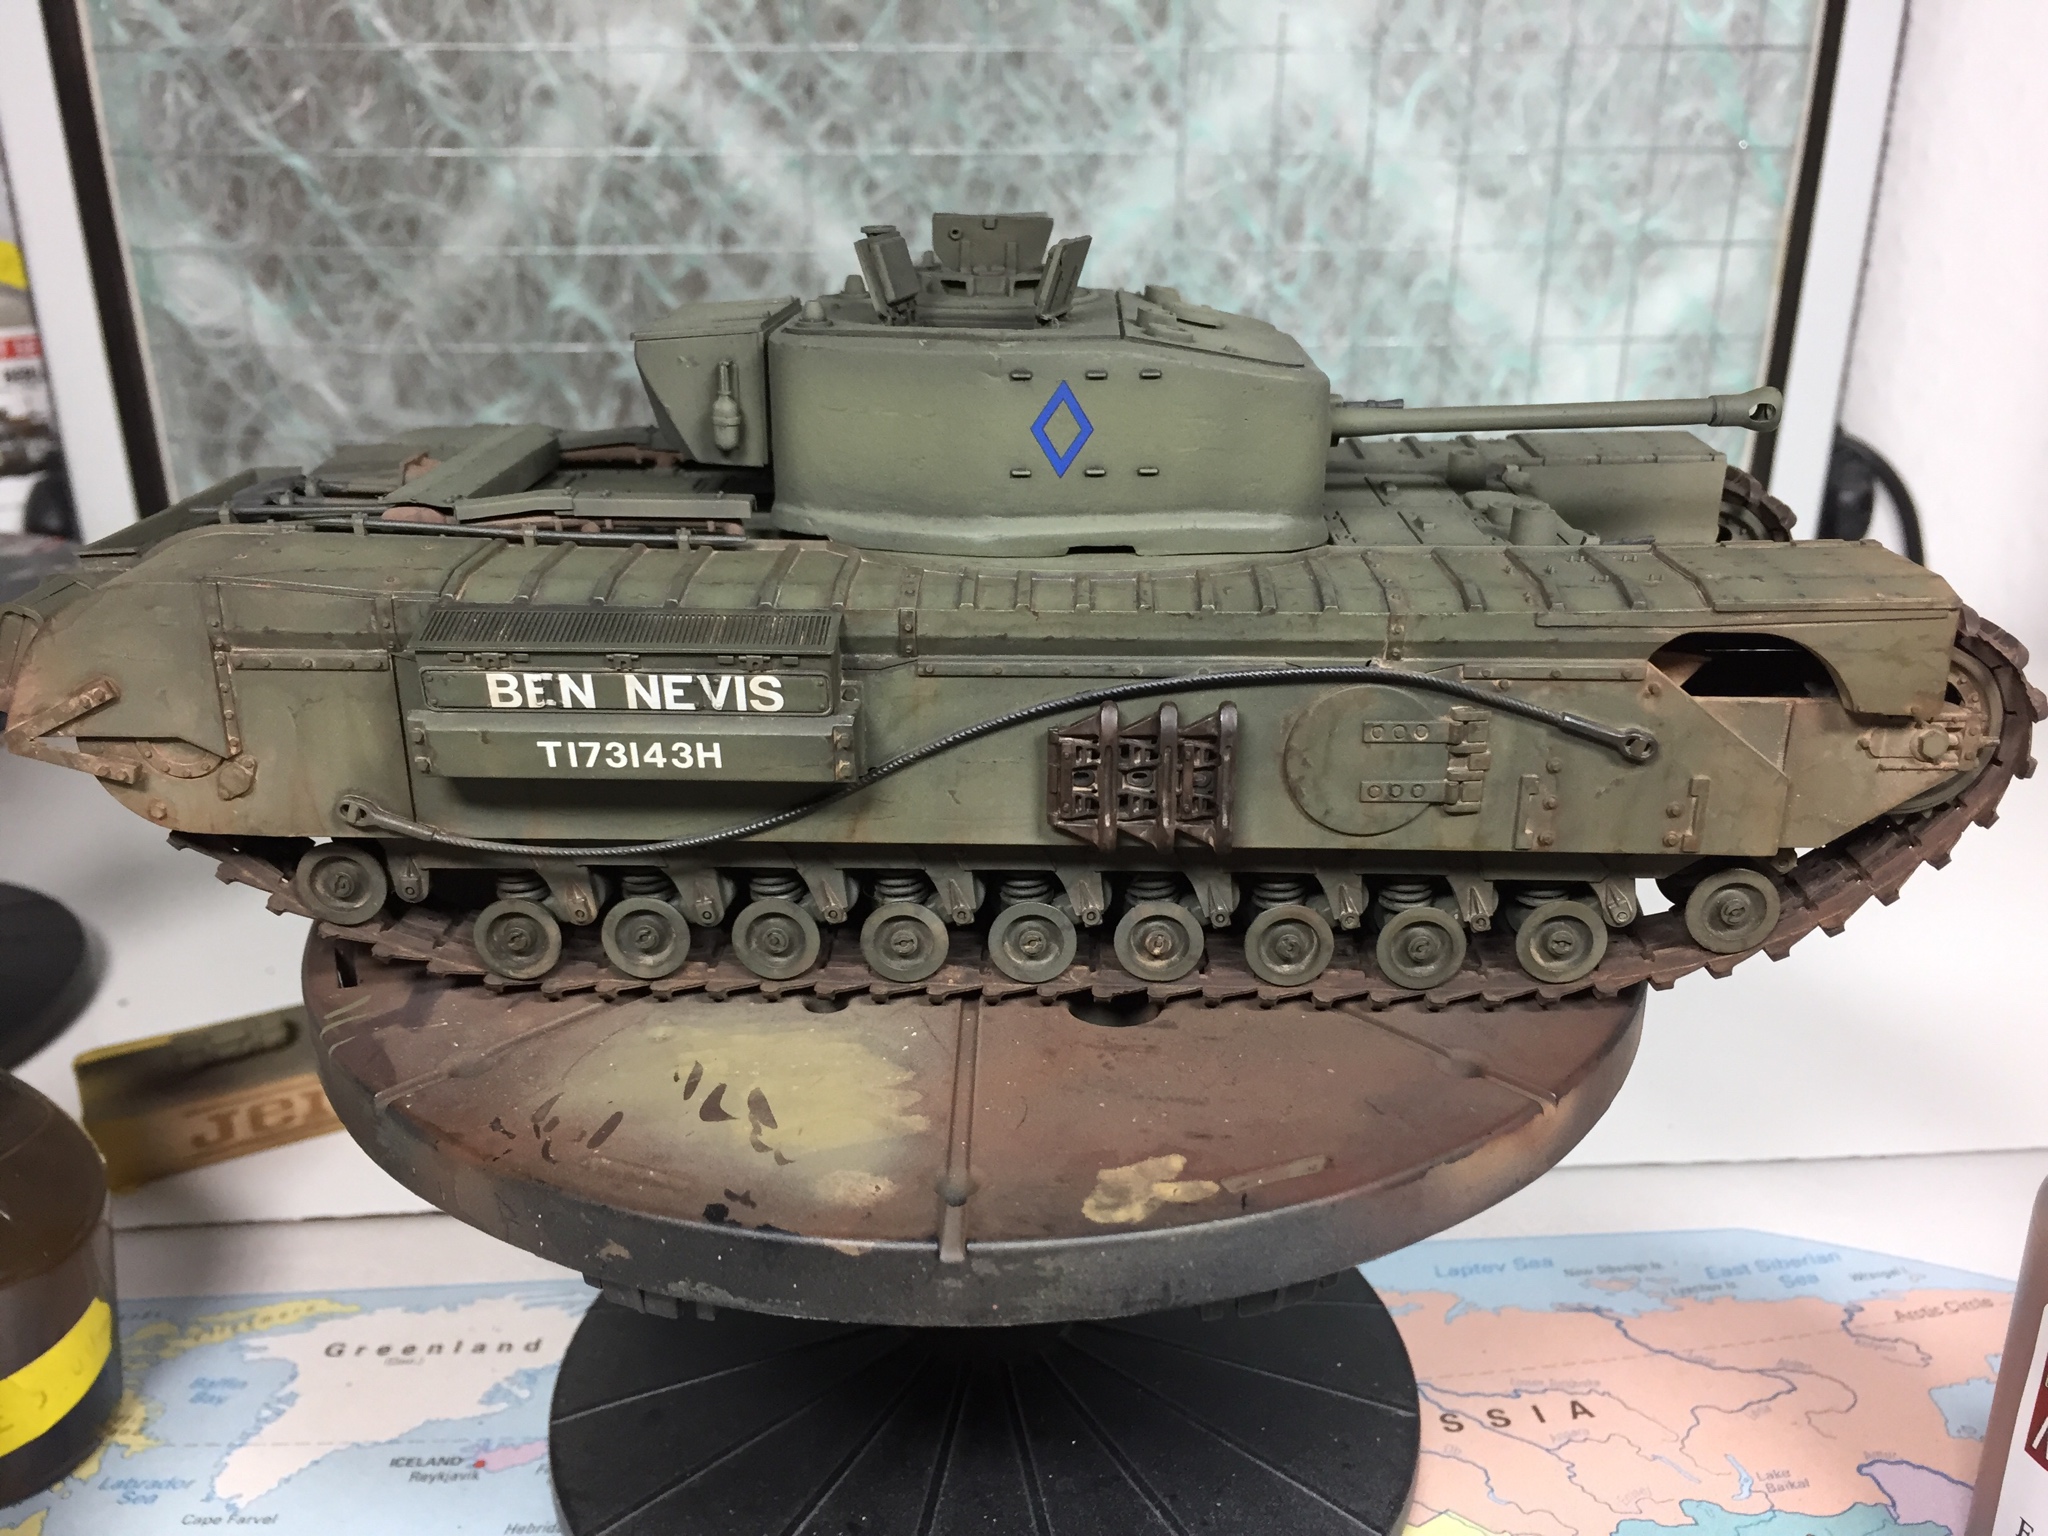
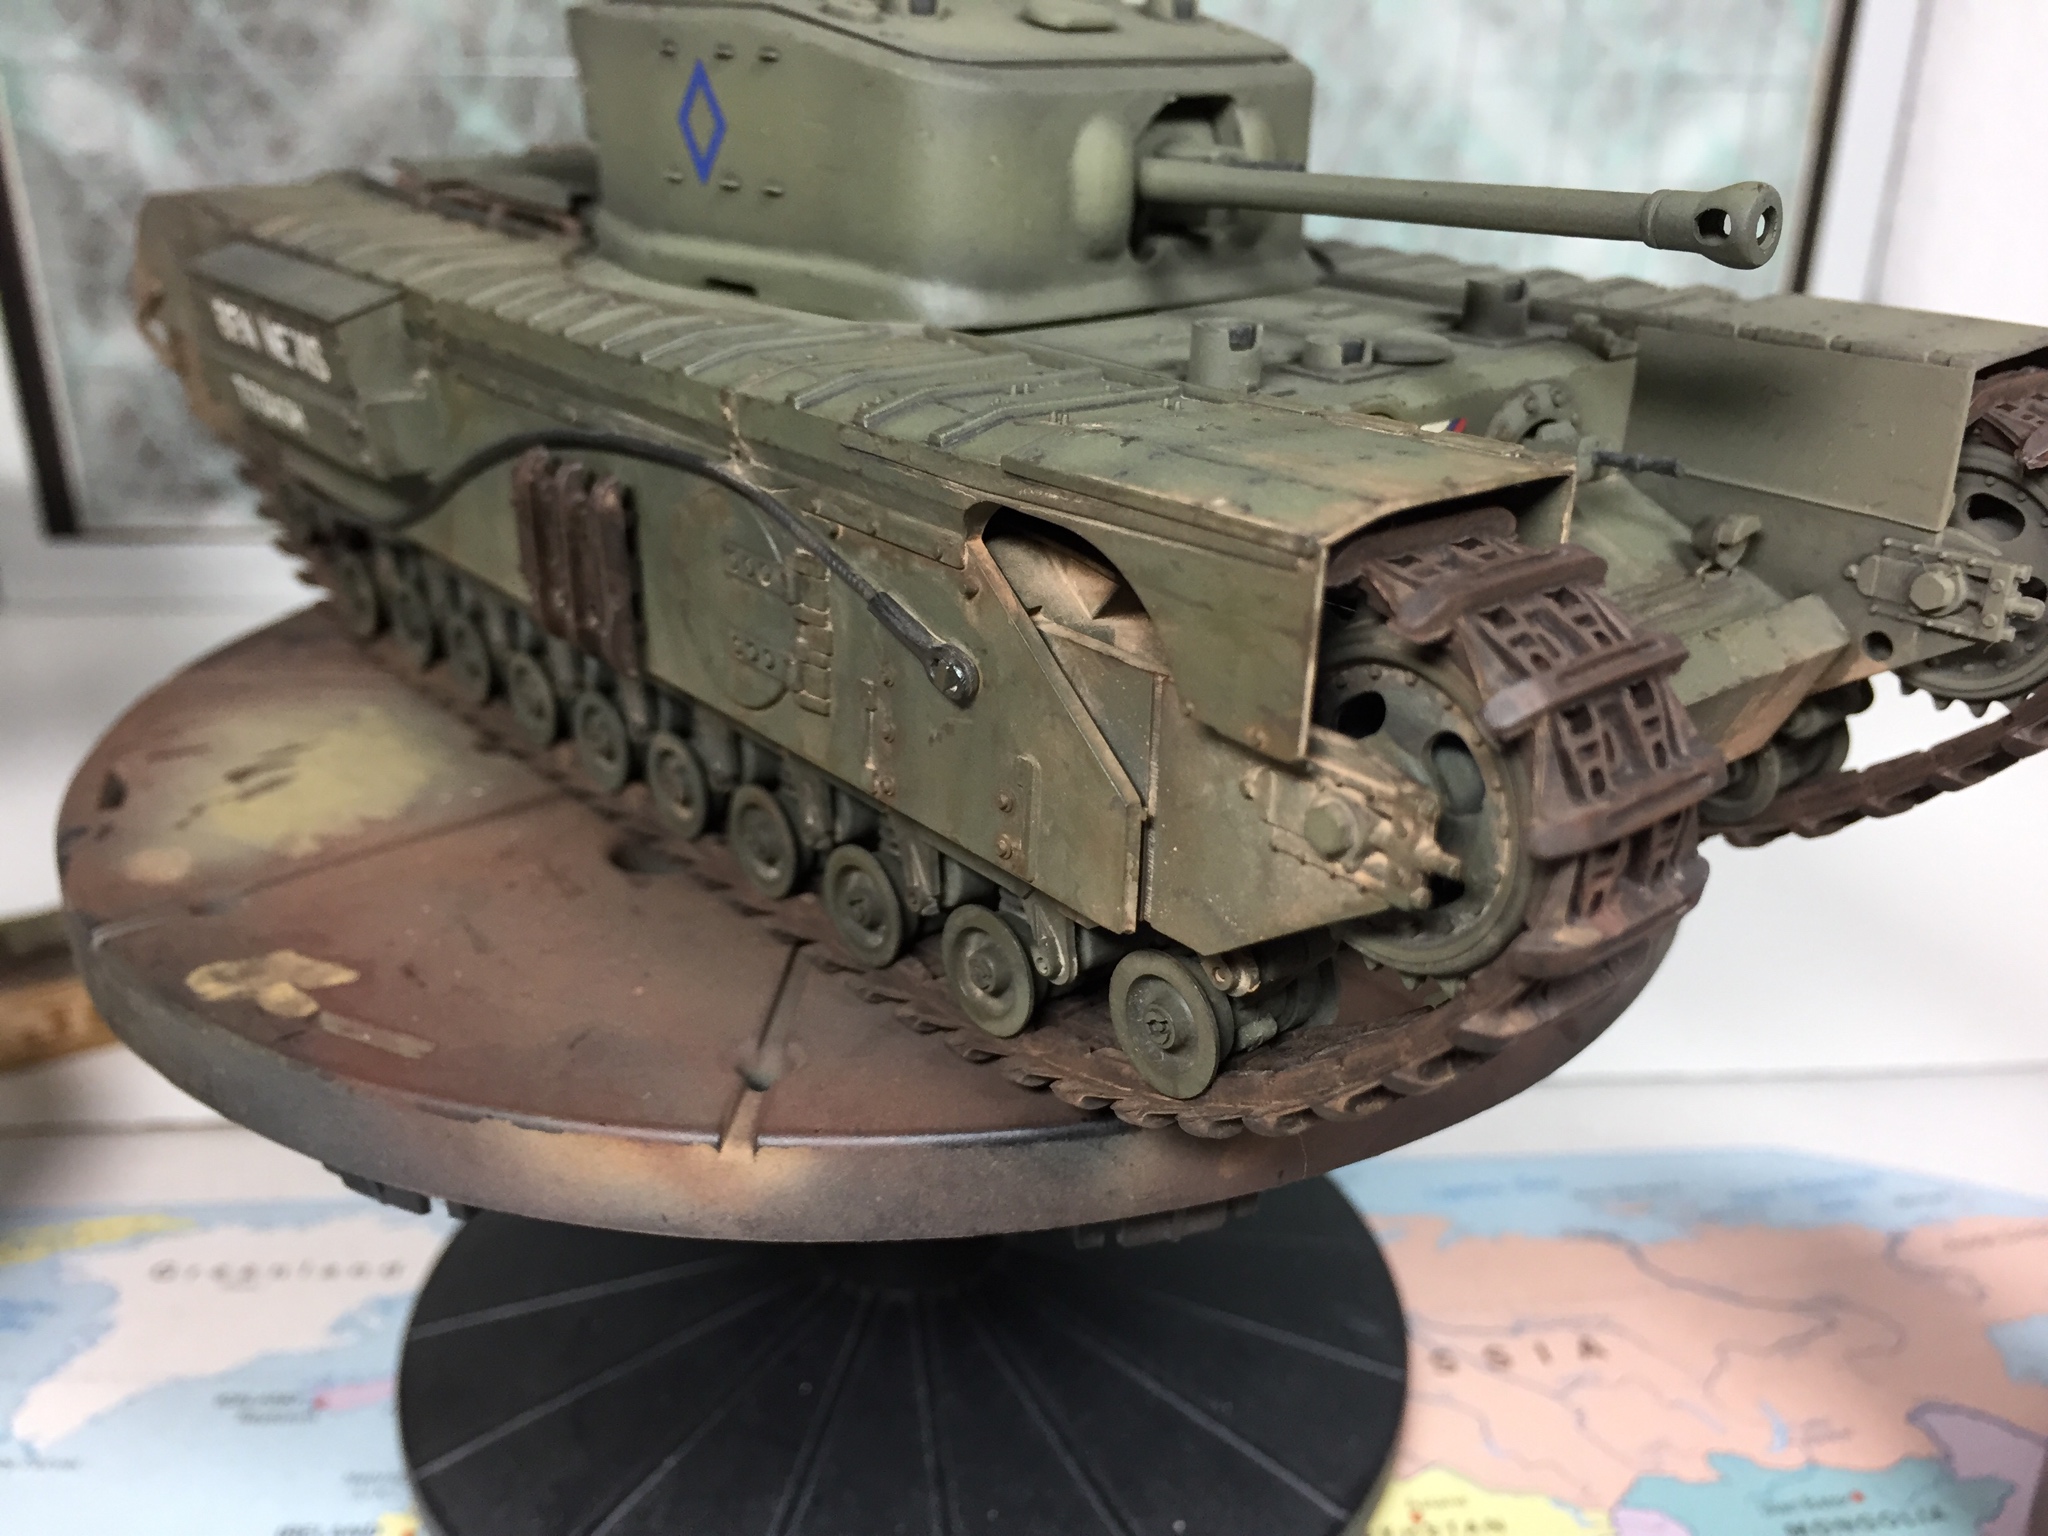
Ok, so Ive never used pigment fixer before but thought I would give it a try here. AK interactive stuff I picked up at the Glasgow model show on Saturday. Im glad I did as felt the pigments were maybe too light before and the fixer has toned them down nicely. A happy accident! Or do you think its worse than before...
Also added pigments to the top of the sponson.
Thanks for looking, Jim.
Oklahoma, United States
Joined: March 01, 2002
KitMaker: 6,043 posts
Armorama: 4,347 posts
Posted: Wednesday, October 24, 2018 - 01:18 PM UTC
Coming out great, nice all around.
Are you going to do the Mortar one?

Cheers
Jeff
United Kingdom
Joined: December 15, 2008
KitMaker: 246 posts
Armorama: 171 posts
Posted: Thursday, October 25, 2018 - 10:16 AM UTC
Oklahoma, United States
Joined: March 01, 2002
KitMaker: 6,043 posts
Armorama: 4,347 posts
Posted: Thursday, October 25, 2018 - 11:37 AM UTC
Yep that is dandy indeed.
Good job all around Jim.
United Kingdom
Joined: December 15, 2008
KitMaker: 246 posts
Armorama: 171 posts
Posted: Friday, October 26, 2018 - 08:39 AM UTC
Thanks again Jeff. I must say I am quite pleased with how this came out. It was my first model for quite a few years and my first tank in almost a decade! I have really enjoyed it and have caught the bug again.
Cheers, jim.
California, United States
Joined: November 04, 2018
KitMaker: 35 posts
Armorama: 25 posts
Posted: Sunday, December 09, 2018 - 04:51 AM UTC
just great job, it looks awesome.
Cannot wait to complete my german armor obsession and jump into different types.
Louisiana, United States
Joined: February 11, 2020
KitMaker: 62 posts
Armorama: 31 posts
Posted: Thursday, April 09, 2020 - 11:06 AM UTC
Hey Jim - did you gloss the treads before you put them on. Getting ready to gloss mine and was wondering if I should put the treads on 1st then gloss or gloss then treads?
United Kingdom
Joined: December 15, 2008
KitMaker: 246 posts
Armorama: 171 posts
Posted: Thursday, April 09, 2020 - 09:30 PM UTC
If I remember correctly I just painted them black, then red brown and then used the mig dark wash liberally on them. The mig wash is enamel based. Thats all I did on these as I liked how they looked at that point, no gloss coats, matt varnish or anything. Usually I would then add pigments but didnt bother, plus I ran out of time as it was a gift and had to go to its new home!
Louisiana, United States
Joined: February 11, 2020
KitMaker: 62 posts
Armorama: 31 posts
Posted: Friday, April 10, 2020 - 02:03 AM UTC
Quoted Text
If I remember correctly I just painted them black, then red brown and then used the mig dark wash liberally on them. The mig wash is enamel based. Thats all I did on these as I liked how they looked at that point, no gloss coats, matt varnish or anything. Usually I would then add pigments but didnt bother, plus I ran out of time as it was a gift and had to go to its new home!
Ck. Tks!
New Mexico, United States
Joined: May 19, 2020
KitMaker: 419 posts
Armorama: 217 posts
Posted: Friday, July 03, 2020 - 12:58 PM UTC
Looks great Jim you should be proud of this one!

United Kingdom
Joined: December 15, 2008
KitMaker: 246 posts
Armorama: 171 posts
Posted: Thursday, July 09, 2020 - 12:48 AM UTC
Thanks Ezra! I only get to see it when I visit my friend though. Keep going with that urban camo on your challenger 2. Im catching up with my Chieftain...
New Mexico, United States
Joined: May 19, 2020
KitMaker: 419 posts
Armorama: 217 posts
Posted: Thursday, July 09, 2020 - 05:15 AM UTC
England - South West, United Kingdom
Joined: October 17, 2017
KitMaker: 944 posts
Armorama: 928 posts
Posted: Friday, July 10, 2020 - 04:33 AM UTC
Hi Jim,
Nice looking Churchill, excellent, and subtle, paint job.
Cheers,

,
G
An optimist is a pessimist without all the facts.