

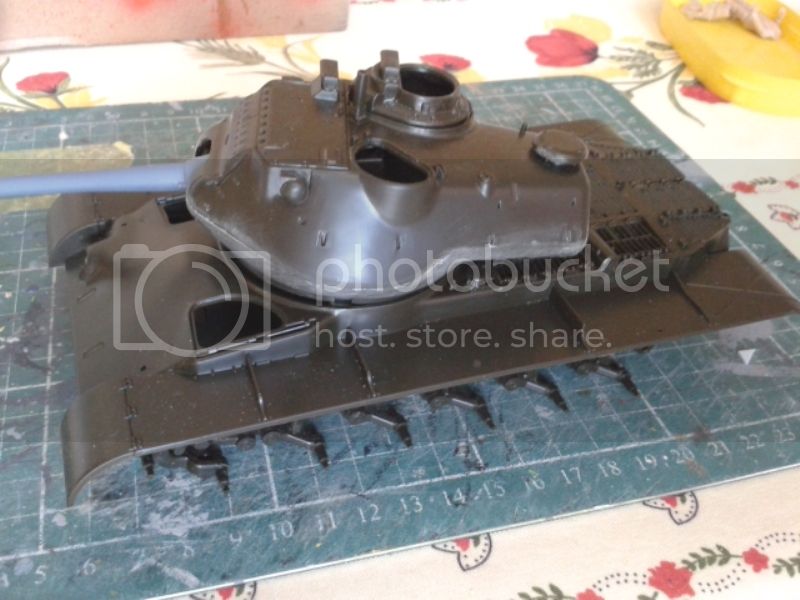
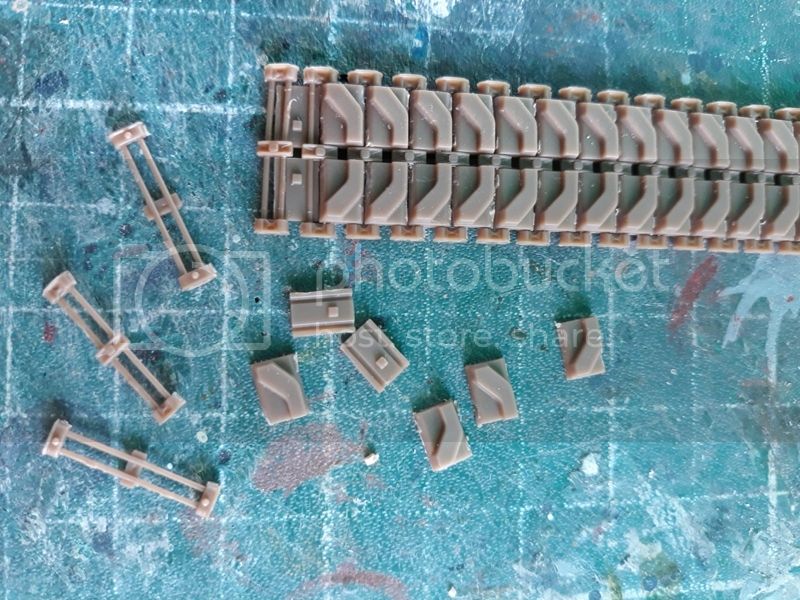
Here is the tank out of the box with some basic pieces glued on.


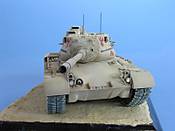
This is the one I did several years ago. A French Patton at Suez. It was out of the box, so I didn't add the specific details needed to really represent a French tank of the period. There were several engine deck details that were different.
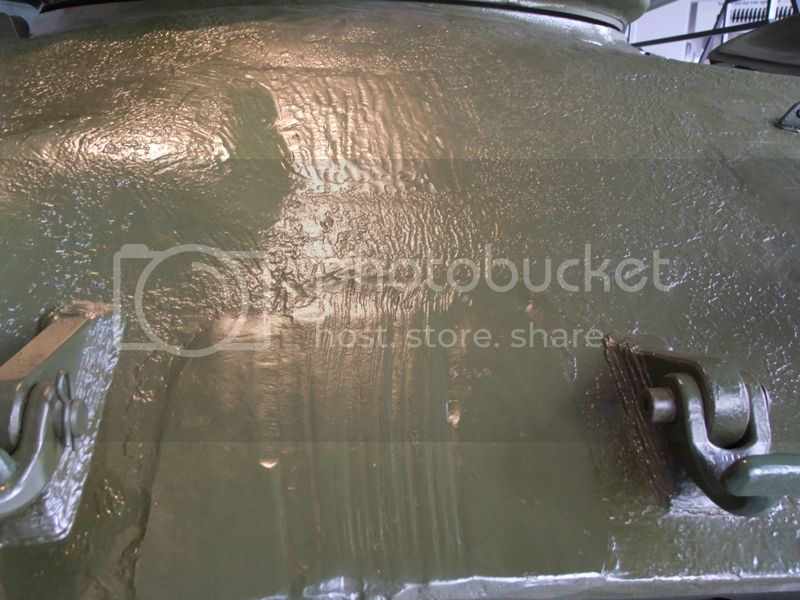
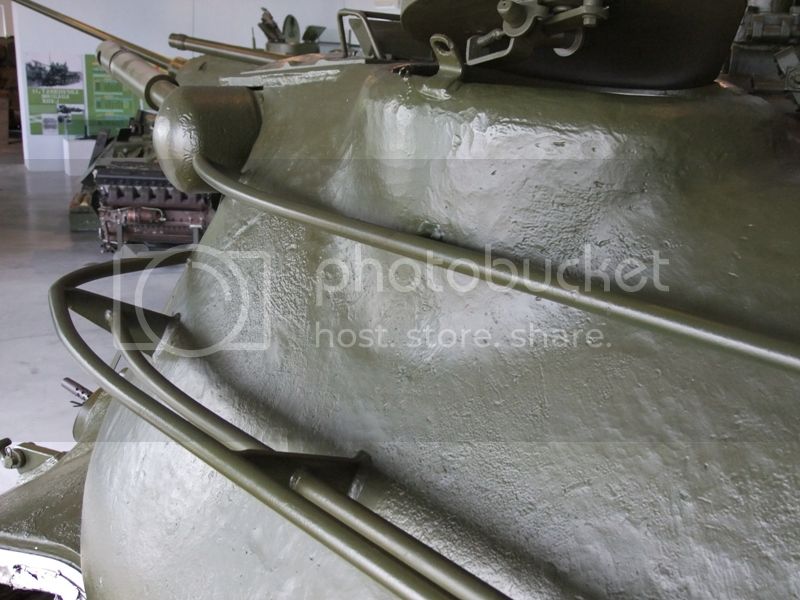
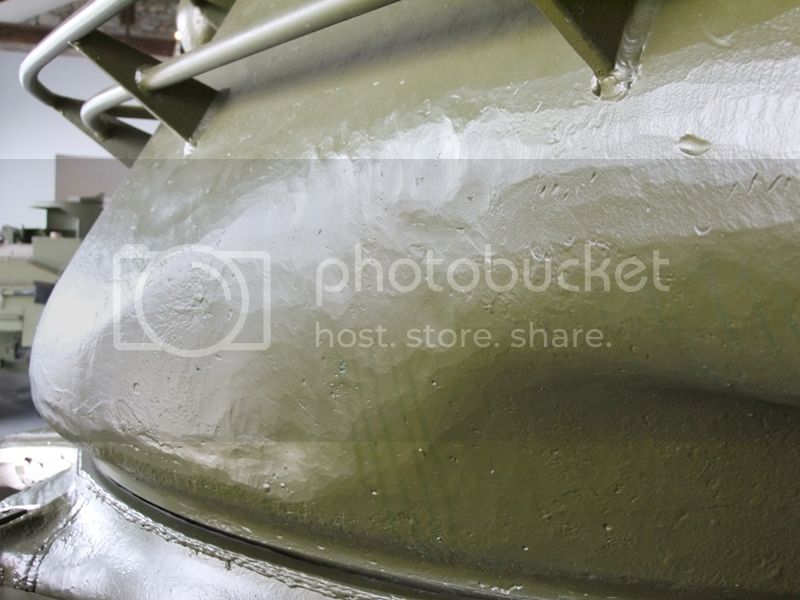
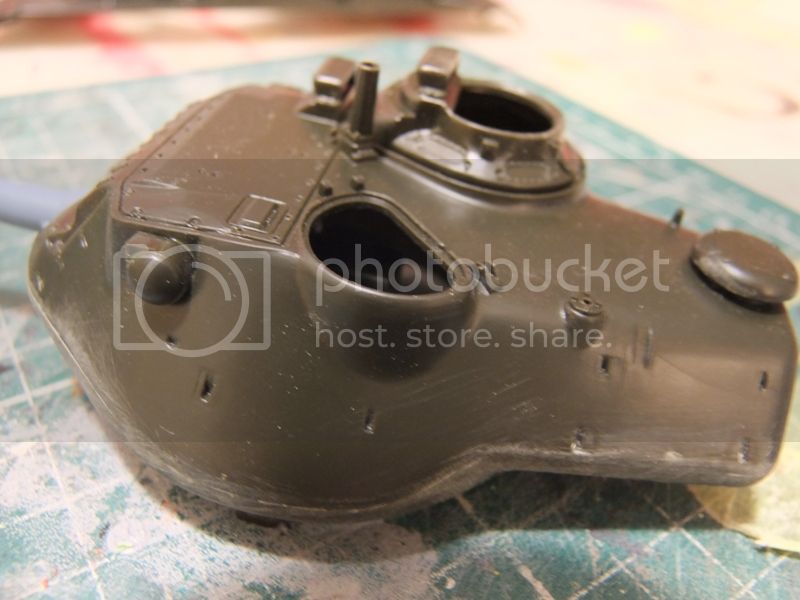
Unfortunately, you can't see much of the cast texture I added.


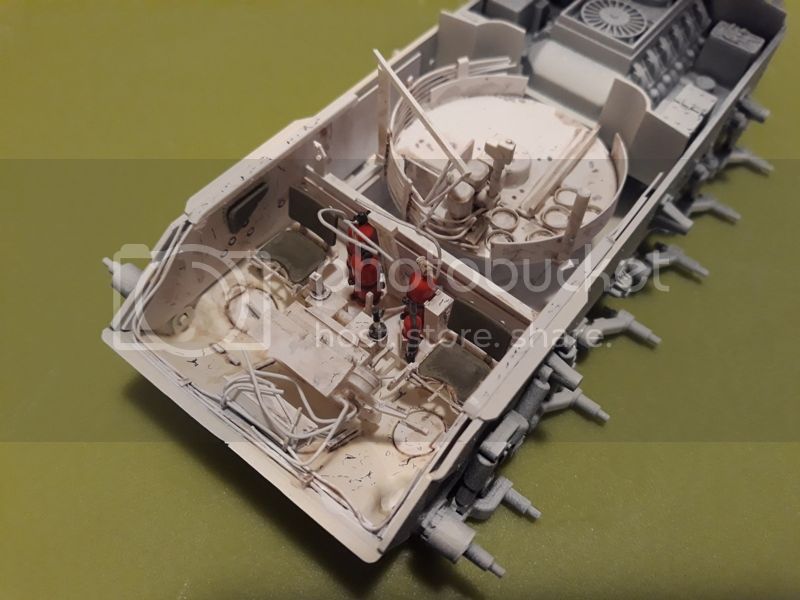
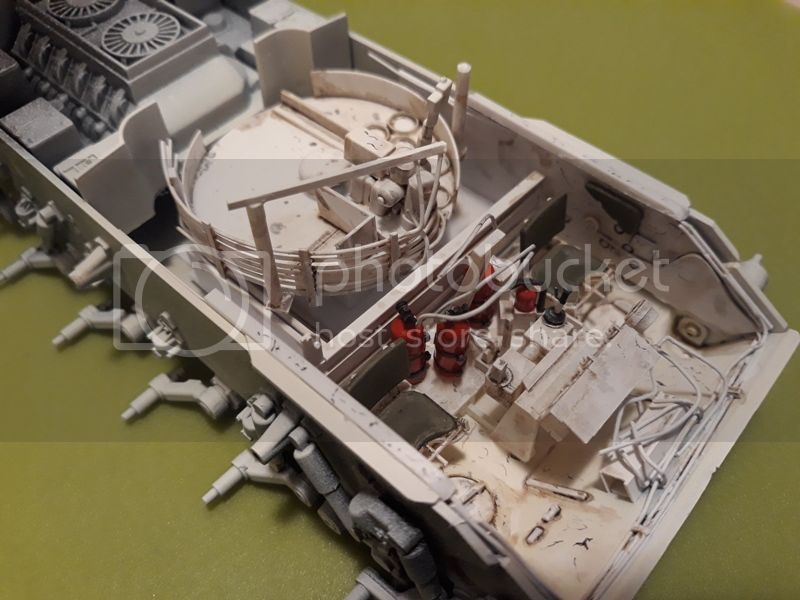
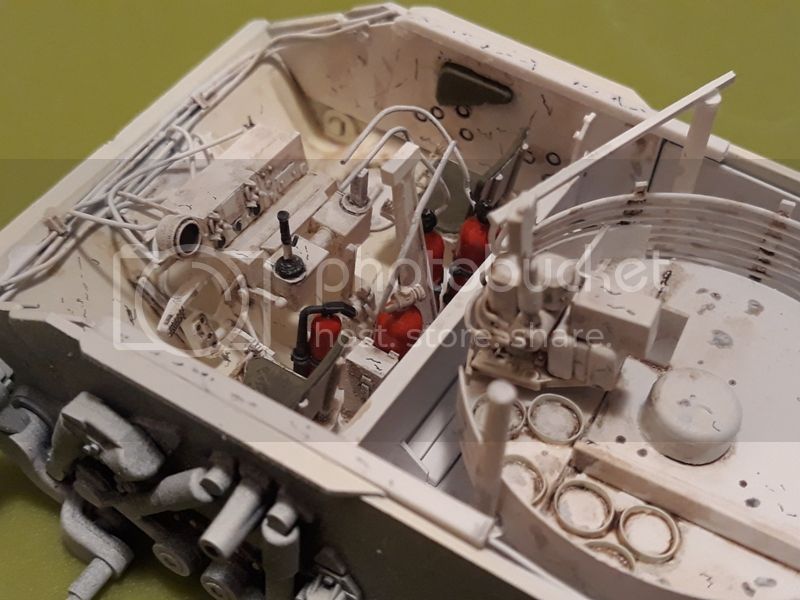
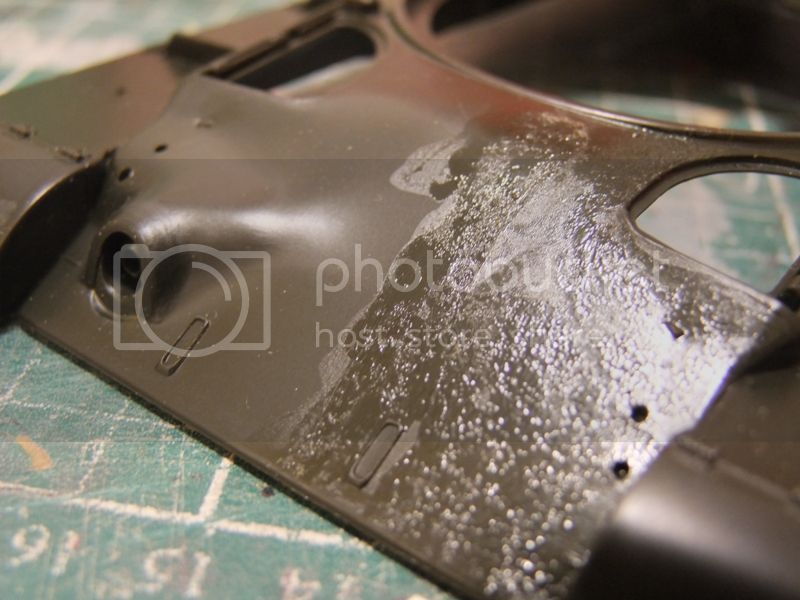
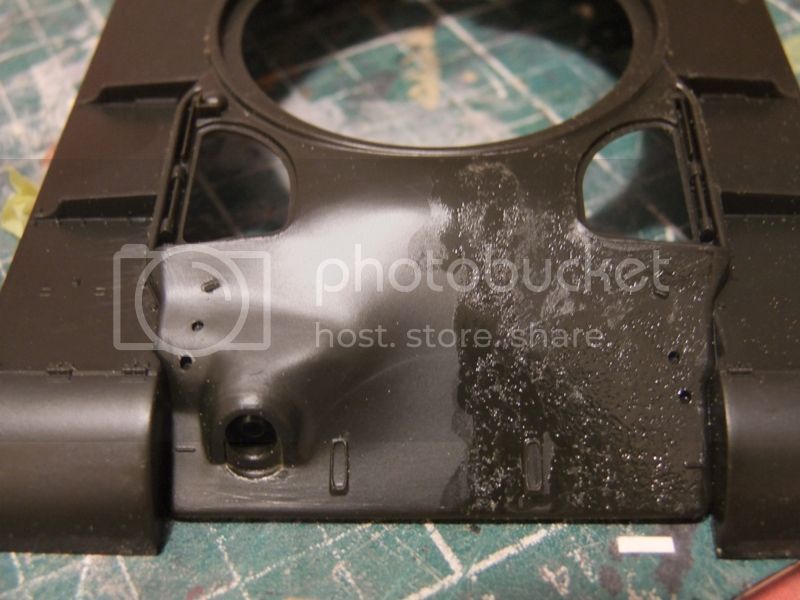
Interiors Painted and aged.


 |


