Hi All,
This build was completed a couple of months ago, but I have only recently taken some decent photos of it.
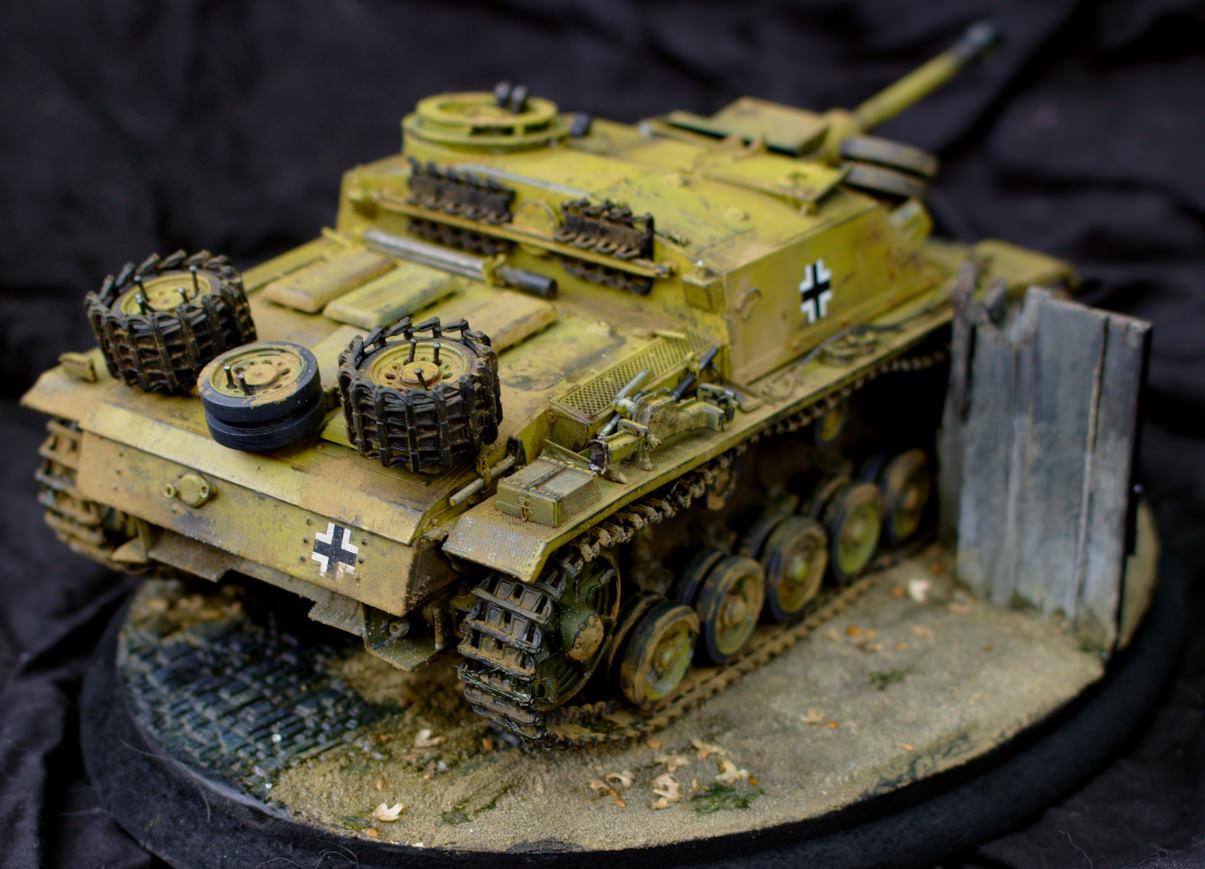
This is the Dragon 6320 kit, with some Voyager PE upgrades.
At the time I had wanted to try a limited pallet, with a single colour, and use the weathering to show some variation.
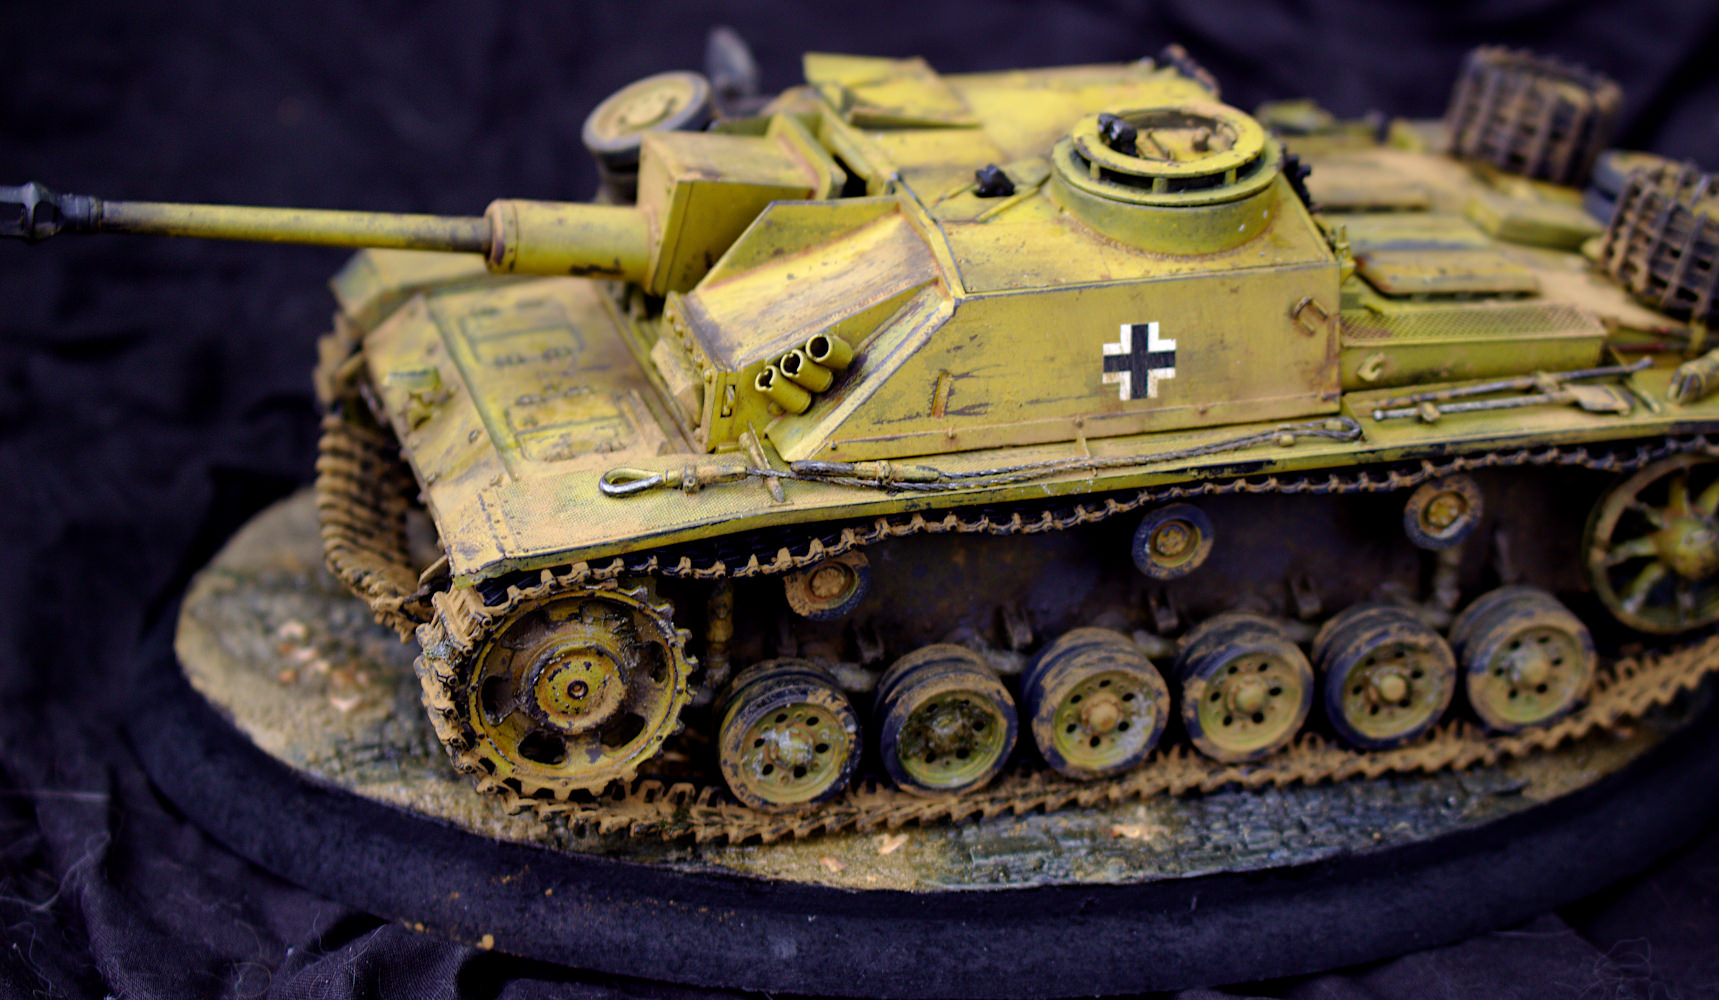
When building this one I wanted to show some things I'd seen on reference photos of all Stug 3 versions, like the tracks across the front, and all the spare road wheels.
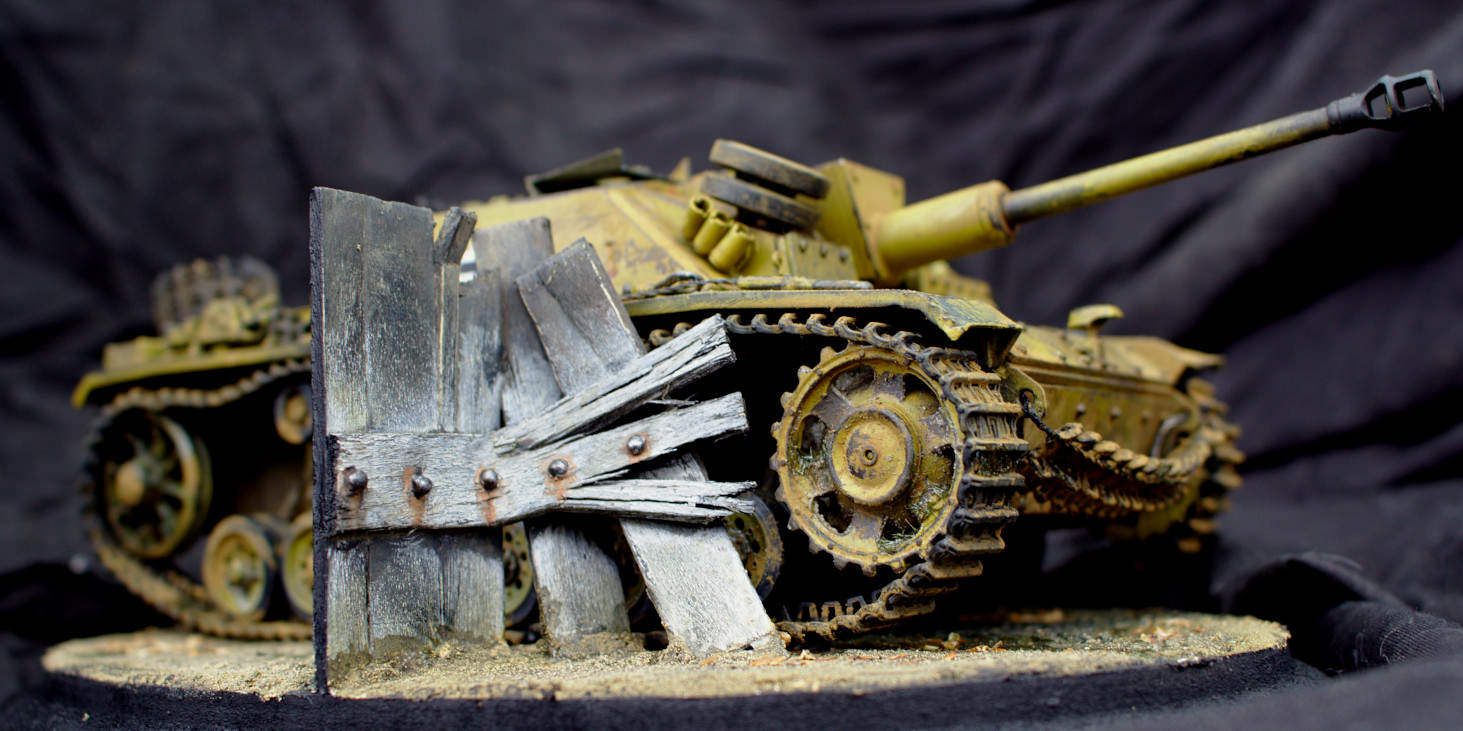
Construction was good, with the exception of the carpet monster eating one of the return rollers! I could have stolen one from a Stug with Schürzen, but I instead had the vehicle smashing through a fence to both cover it and try to add some interest to it.
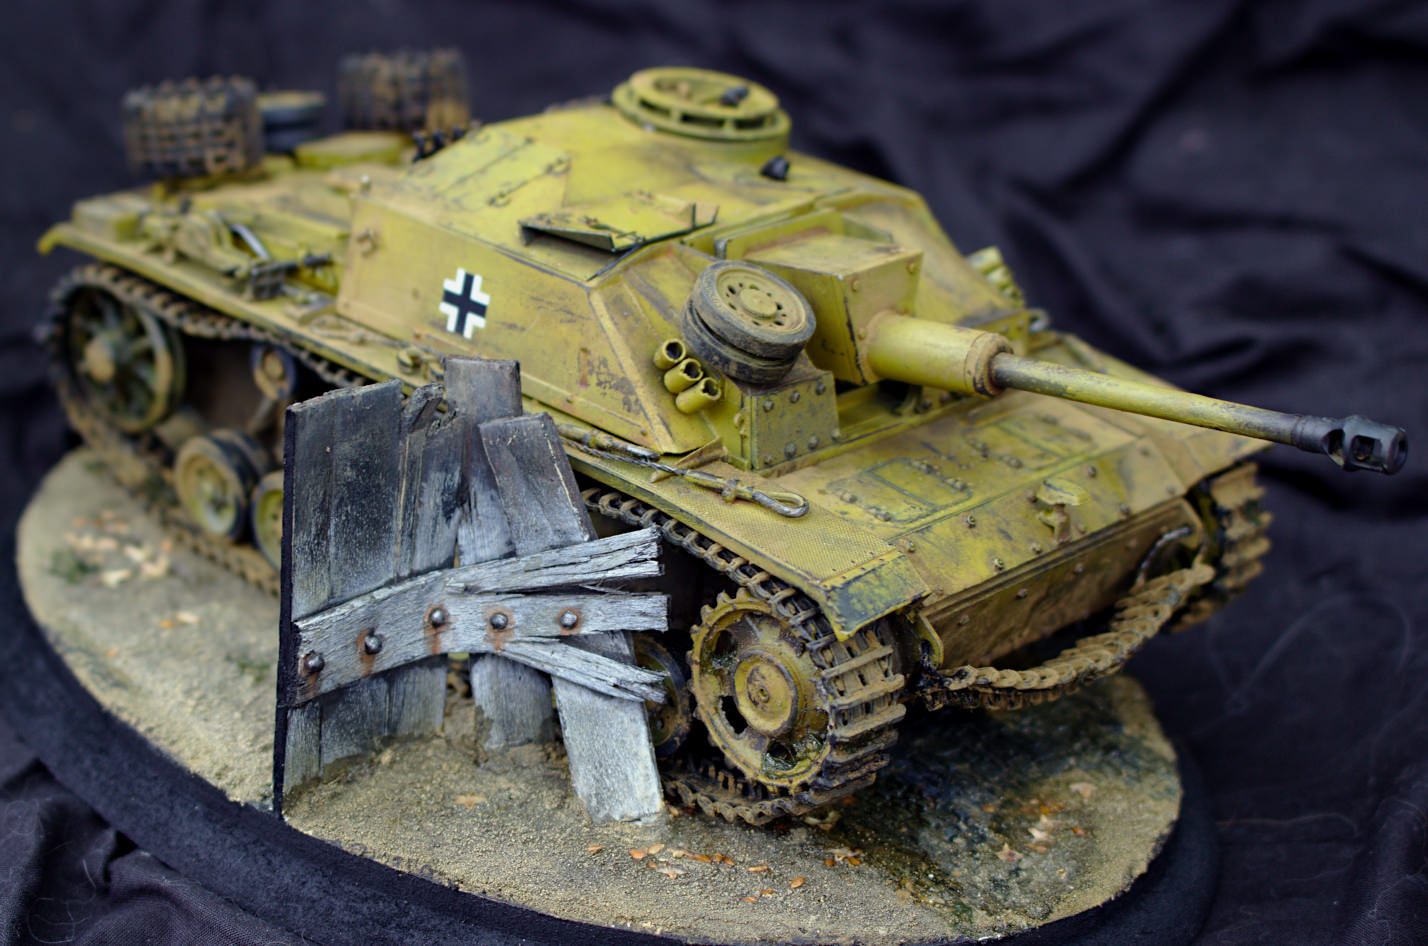
I'm not sure it added much to the finished piece, but it sure did cover that missing roller!
I was fighting a battle with this one between 'too plain' and 'overdone' which tends to be the standard struggle for me, but I think looking at the vehicle only, it is a fairly good middle ground that im happy with.
Thanks for looking!
~ Steve
Constructive Feedback
For in-progress or completed build photos. Give and get contructive feedback!
Hosted by Darren Baker, Dave O'Meara
Stug III Ausf. G (Dragon 6320) [complete]
DrChopp
Victoria, Australia
Joined: August 16, 2016
KitMaker: 116 posts
Armorama: 107 posts
Joined: August 16, 2016
KitMaker: 116 posts
Armorama: 107 posts
Posted: Monday, November 12, 2018 - 11:23 AM UTC
obg153
Texas, United States
Joined: April 07, 2009
KitMaker: 1,063 posts
Armorama: 1,049 posts
Joined: April 07, 2009
KitMaker: 1,063 posts
Armorama: 1,049 posts
Posted: Monday, November 12, 2018 - 02:33 PM UTC
Not enough or too much sounds personally familiar, but I think it looks good overall. I like the fence idea and it looks convincing. One observation I'd make; the sprocket teeth, guide horns & tracks could use a bit of bare metal dry-brushing to show wear.
retiredyank
Arkansas, United States
Joined: June 29, 2009
KitMaker: 11,610 posts
Armorama: 7,843 posts
Joined: June 29, 2009
KitMaker: 11,610 posts
Armorama: 7,843 posts
Posted: Monday, November 12, 2018 - 11:23 PM UTC
I like the placement of spare tracks, around the spare road wheels. I have a couple of suggestions. Your tracks look to be floating and the markings appear to be brand new. This does not sync, with the heavy weathering on the rest of the build.
DrChopp
Victoria, Australia
Joined: August 16, 2016
KitMaker: 116 posts
Armorama: 107 posts
Joined: August 16, 2016
KitMaker: 116 posts
Armorama: 107 posts
Posted: Wednesday, November 14, 2018 - 02:22 PM UTC
Quoted Text
Not enough or too much sounds personally familiar, but I think it looks good overall. I like the fence idea and it looks convincing. One observation I'd make; the sprocket teeth, guide horns & tracks could use a bit of bare metal dry-brushing to show wear.
Yes! good point, totally missed that, I'll have to rectify, thanks!
Quoted Text
I like the placement of spare tracks, around the spare road wheels. I have a couple of suggestions. Your tracks look to be floating and the markings appear to be brand new. This does not sync, with the heavy weathering on the rest of the build.
Very good point, I'm not sure why the tracks look like that, but I can see it now that you mention it. Maybe ill have to add some putty under them or something...
Yes, I agree about the decals, I'll have to fix those too, good spotting!
babaoriley
California, United States
Joined: June 23, 2017
KitMaker: 195 posts
Armorama: 179 posts
Joined: June 23, 2017
KitMaker: 195 posts
Armorama: 179 posts
Posted: Wednesday, November 14, 2018 - 06:49 PM UTC
Quoted Text
I like the placement of spare tracks, around the spare road wheels. I have a couple of suggestions. Your tracks look to be floating and the markings appear to be brand new. This does not sync, with the heavy weathering on the rest of the build.
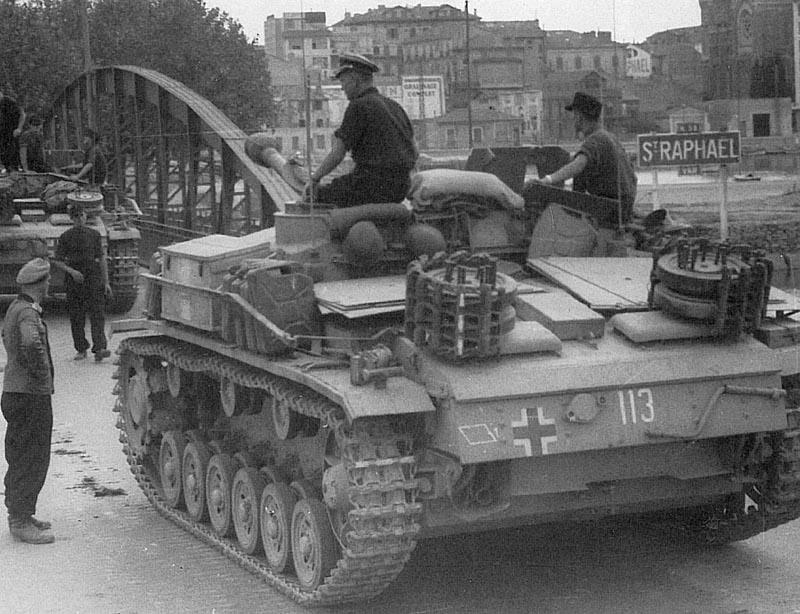
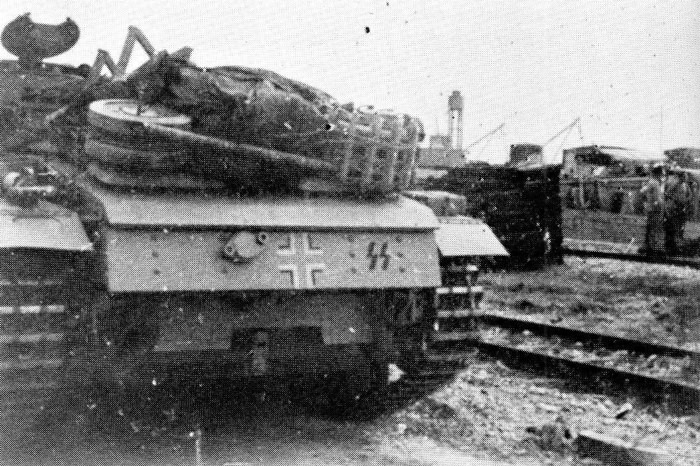
I wondered about the spare track wrapped around the spare road wheels, never seen that before, I wonder if it is based on a photograph?
Kaktusas
Vilnius, Lithuania
Joined: April 12, 2017
KitMaker: 196 posts
Armorama: 196 posts
Joined: April 12, 2017
KitMaker: 196 posts
Armorama: 196 posts
Posted: Wednesday, November 14, 2018 - 07:29 PM UTC
Great looking kit (I must get more of theese Stugs, they are great kits to build )
Few notes on weathering. Chipping is bit excessive in some areas. Ones that attract eye bit too much, is sloping parts at superstructure front. How on earth crew managed to do more damage on given areas, than anywhere else?
Then, there's some chipping on edges of MG shield, but almost none on curved (beak shaped) part on the inside of the shield. In combat, crew had two options. Fold shield like you did, of fold it backwards, on loaders hatches. Second option allows you to automatically erect MG shield, and lock it while opening the hatch (thats what curved part is for, hatch edge slides there). Else way, loader had to expose himself, to erect gun shield. I have seen pictures of both options.. So there should be shipping and wear on that part, plus on touching surfaces of the hatch. Dont get me wrong, this isn't some area that "must" be chipped, but if vehicle has lots of wear, this area is very likely to be chipped more than some other parts (because of edge to edge rubbing of metal parts).
In all the rest areas, chipping is well placed, i like it.
Mud coverage looks like it was done in one go (too much contrast on parts like tires). Dilute it, layer it. Dont rush. Apply some, wash it down, ad some more, let it cure, and put some more if you need some, of remove some. Else way, it will look like freshly cleaned vehicle has just ran over single mud puddle in town.
AgentG
Nevada, United States
Joined: December 21, 2008
KitMaker: 1,109 posts
Armorama: 1,095 posts
Joined: December 21, 2008
KitMaker: 1,109 posts
Armorama: 1,095 posts
Posted: Thursday, November 15, 2018 - 11:44 PM UTC
Quoted Text
Quoted TextI like the placement of spare tracks, around the spare road wheels. I have a couple of suggestions. Your tracks look to be floating and the markings appear to be brand new. This does not sync, with the heavy weathering on the rest of the build.
I wondered about the spare track wrapped around the spare road wheels, never seen that before, I wonder if it is based on a photograph?
That was a common method of carrying spare track used by one of the StuG Abt. I cannot remember which one at this time.
AgentG
Nevada, United States
Joined: December 21, 2008
KitMaker: 1,109 posts
Armorama: 1,095 posts
Joined: December 21, 2008
KitMaker: 1,109 posts
Armorama: 1,095 posts
Posted: Friday, November 16, 2018 - 02:30 AM UTC
G
DrChopp
Victoria, Australia
Joined: August 16, 2016
KitMaker: 116 posts
Armorama: 107 posts
Joined: August 16, 2016
KitMaker: 116 posts
Armorama: 107 posts
Posted: Sunday, November 18, 2018 - 01:07 PM UTC
Quoted Text
Great looking kit (I must get more of theese Stugs, they are great kits to build )
Few notes on weathering. Chipping is bit excessive in some areas. Ones that attract eye bit too much, is sloping parts at superstructure front. How on earth crew managed to do more damage on given areas, than anywhere else?
Then, there's some chipping on edges of MG shield, but almost none on curved (beak shaped) part on the inside of the shield. In combat, crew had two options. Fold shield like you did, of fold it backwards, on loaders hatches. Second option allows you to automatically erect MG shield, and lock it while opening the hatch (thats what curved part is for, hatch edge slides there). Else way, loader had to expose himself, to erect gun shield. I have seen pictures of both options.. So there should be shipping and wear on that part, plus on touching surfaces of the hatch. Dont get me wrong, this isn't some area that "must" be chipped, but if vehicle has lots of wear, this area is very likely to be chipped more than some other parts (because of edge to edge rubbing of metal parts).
In all the rest areas, chipping is well placed, i like it.
Mud coverage looks like it was done in one go (too much contrast on parts like tires). Dilute it, layer it. Dont rush. Apply some, wash it down, ad some more, let it cure, and put some more if you need some, of remove some. Else way, it will look like freshly cleaned vehicle has just ran over single mud puddle in town.
Thanks! I was thinking the crew would use the front parts to climb on, and perhaps infantry may ride there - but after looking at wear patterns in my reference material, I see your point!
Thank you also for the information on the MG shield, I'll have to go back to it and add some more chipping on the curved piece, and some rubbing chips and scratches on the gunner's hatch. Really appreciate this info!
You're spot on when you mention the mud going on in one go, that's what I did. It was done with dry pigments mixed with white spirit, and when it went on it was much darker, then dried much lighter which created the unrealistic contrast. I'll have to rectify this also!
Thanks to everyone who took the time to look at the post, and those who commented - its all very much appreciated!