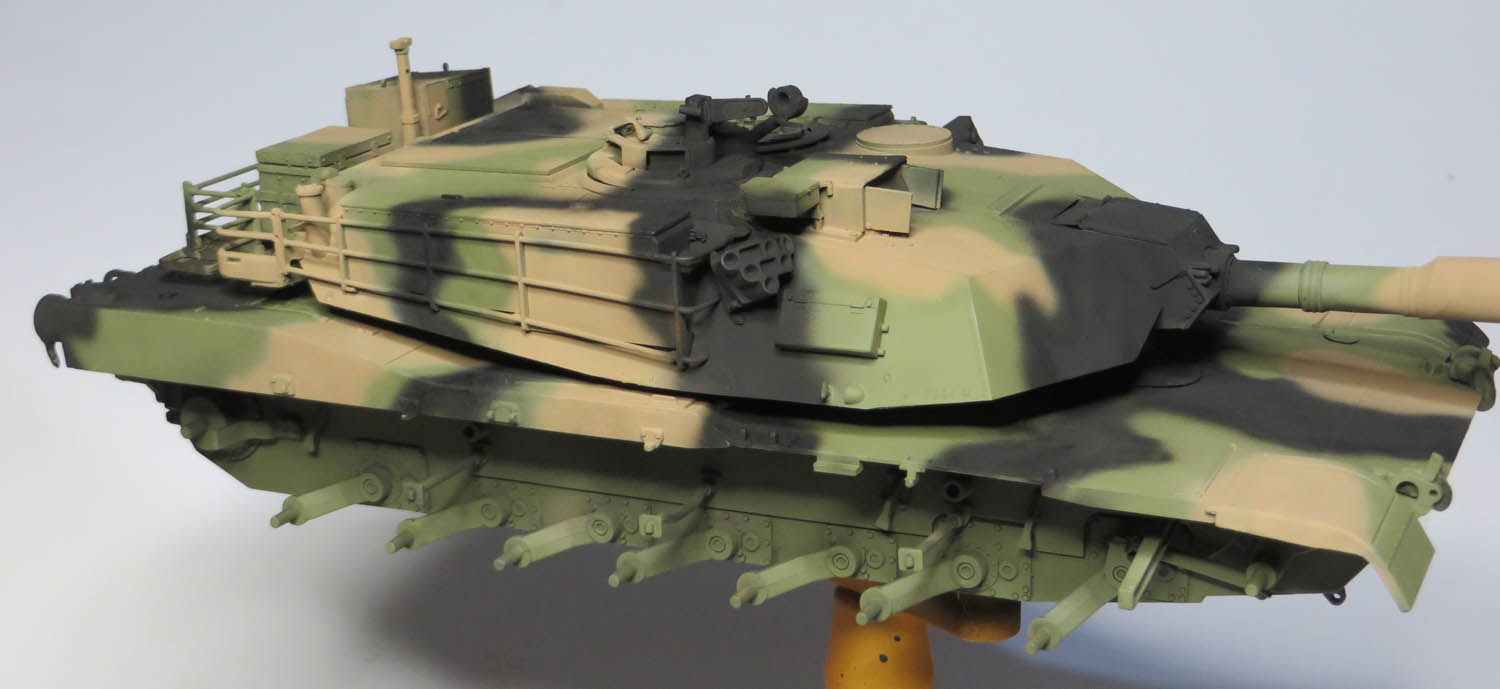
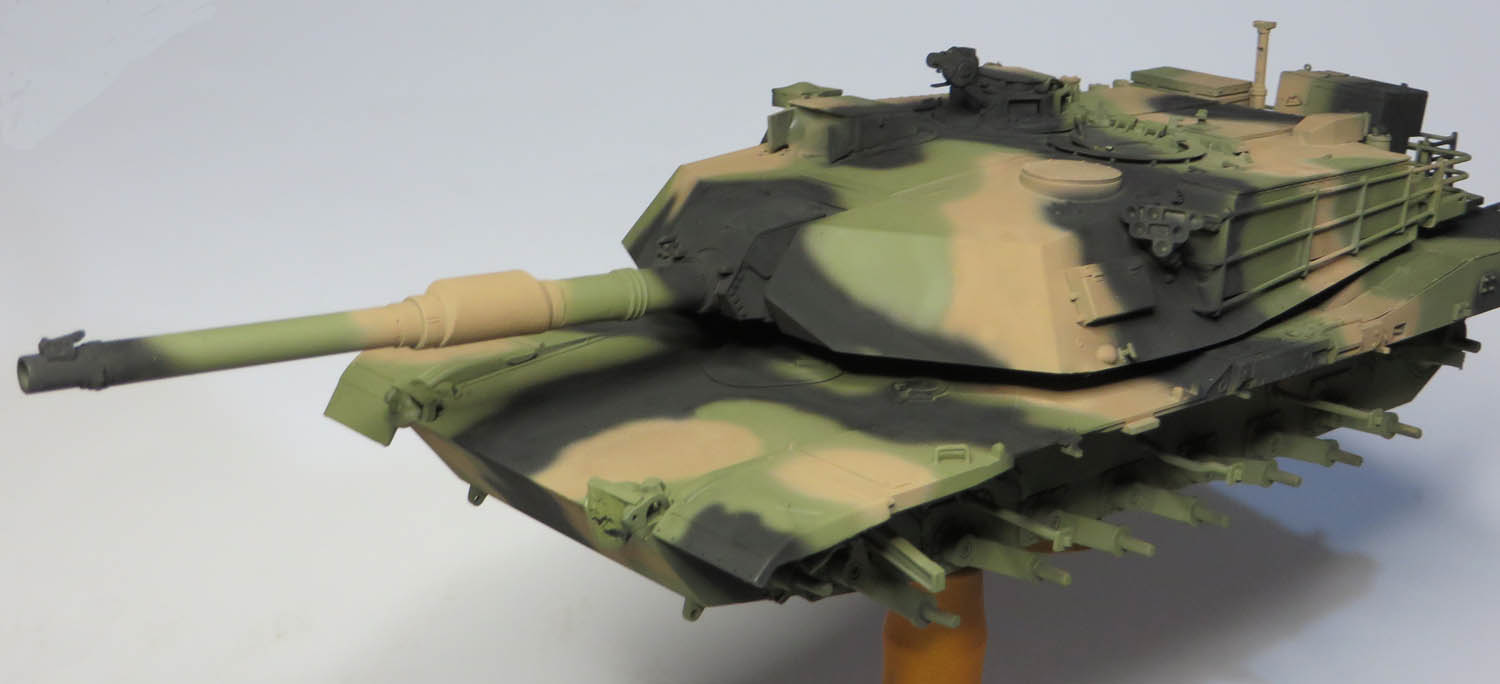
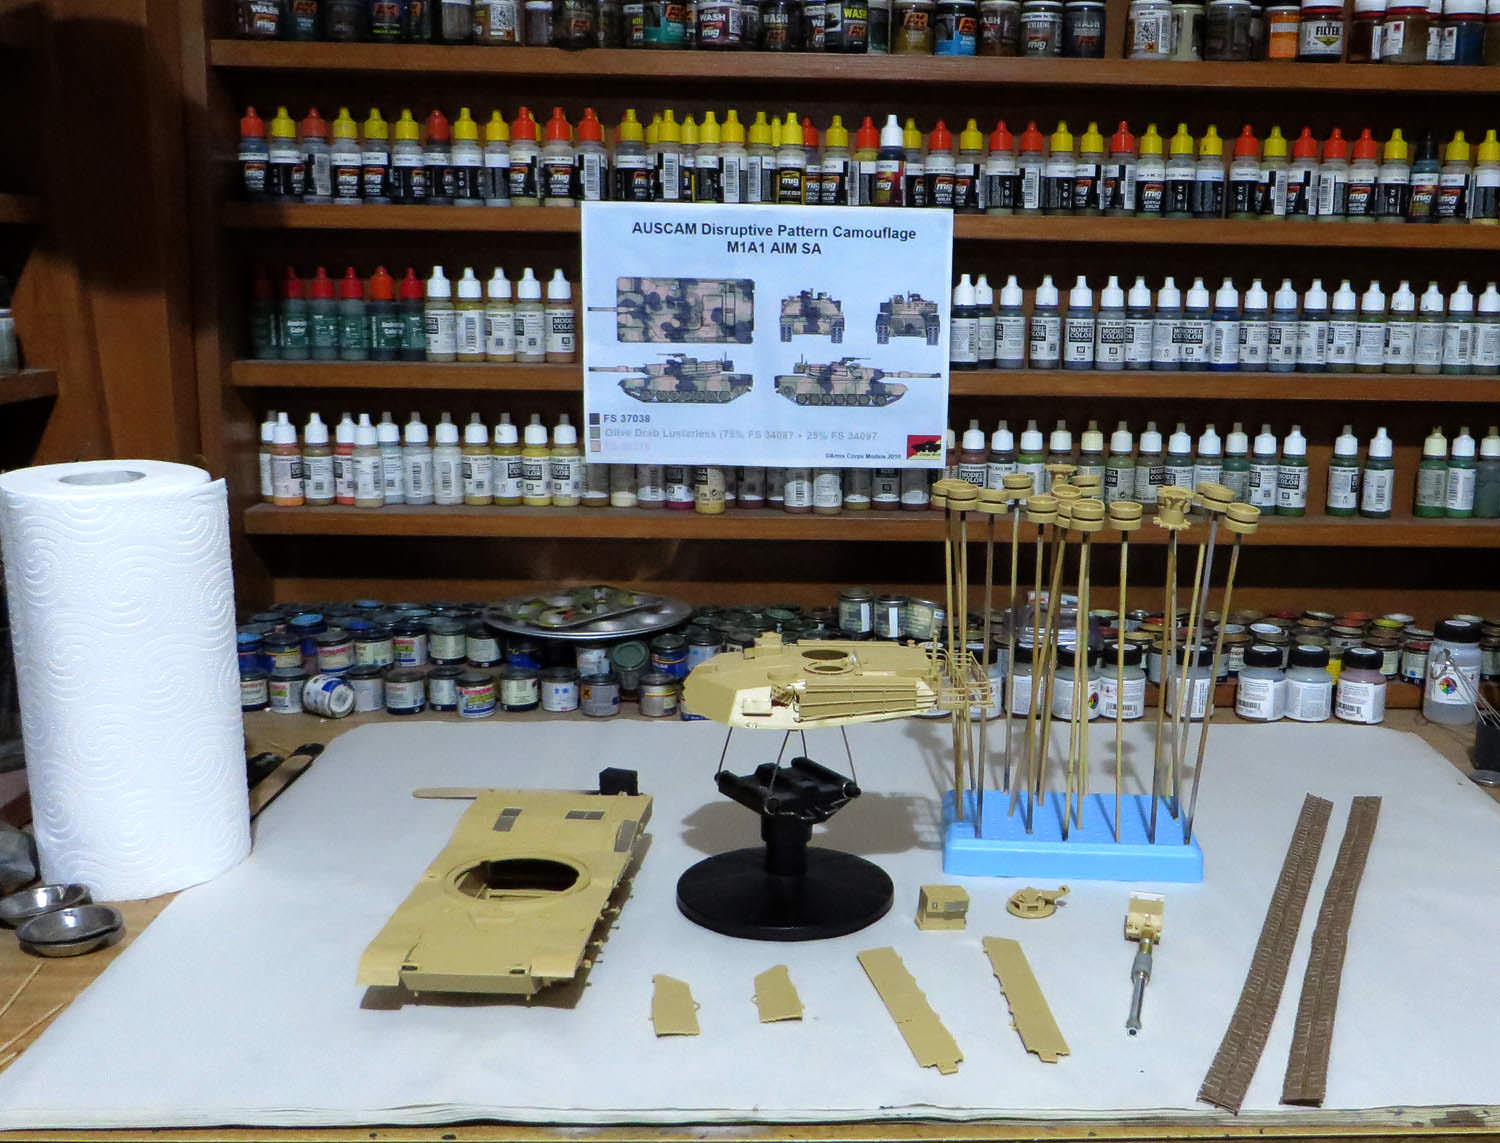
To break things up a little with projects on the workbench there was a publication on the Australian M1A1 Abrams which caught my eye at the Brisbane Hobby show and since then it's been full speed ahead to get the ball rolling with the Meng M1A1 being the test bed for the Aussie Abrams .
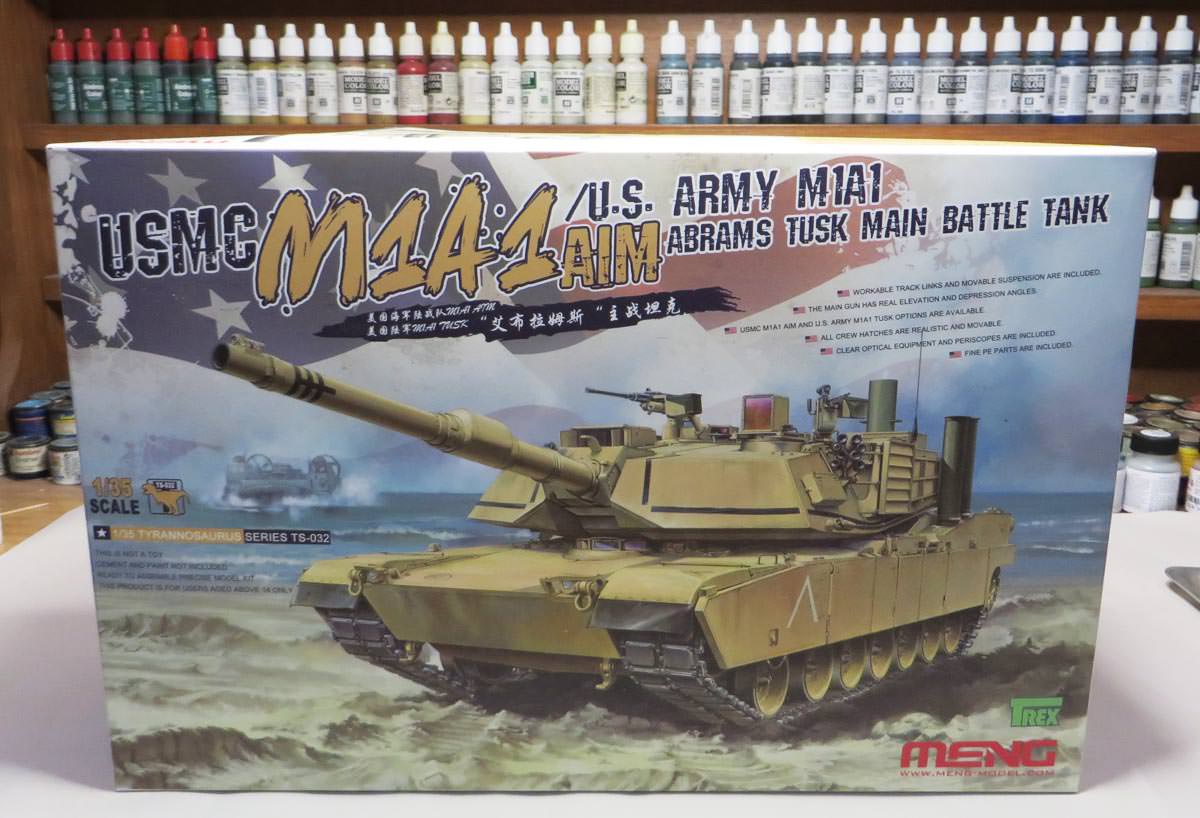
The donor kit from Meng to convert to the Australian Abrams.
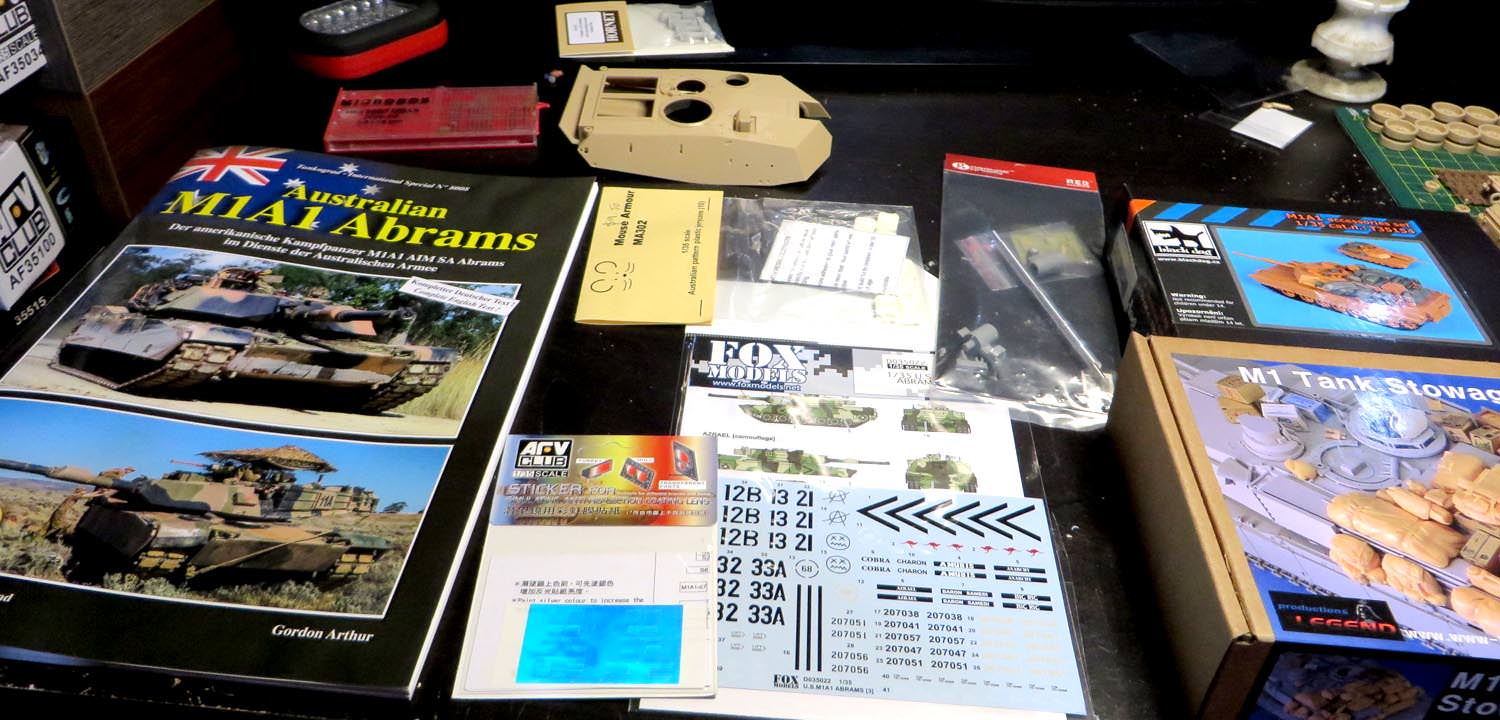
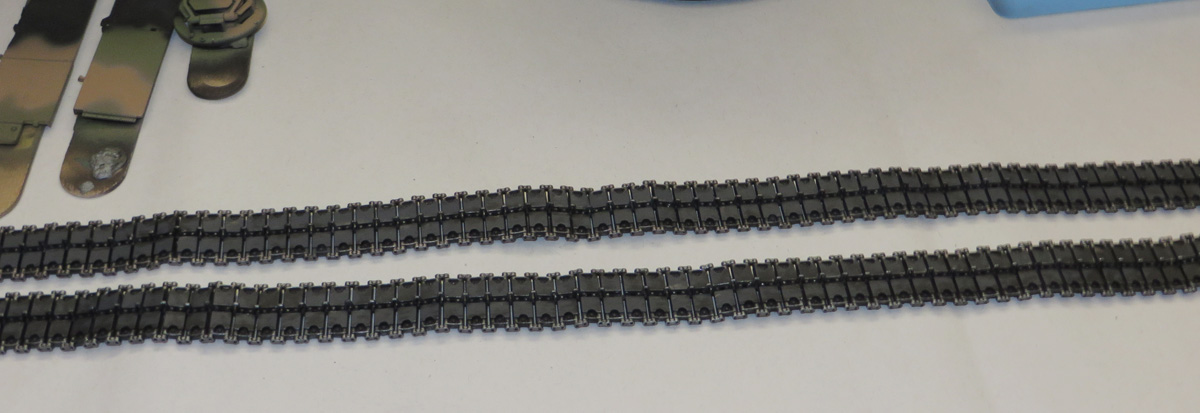
Bigfoot tracks, Orange hobby metal barrel, AFV Club anti reflective coating stickers,Fox models decals and resin accessories from Legends and Black Dog.
This is supposed to be a quick break away from what is on the workbench with a small somewhat quick build and hopefully be portrayed similar to an Abrams in the Tankograd publication.
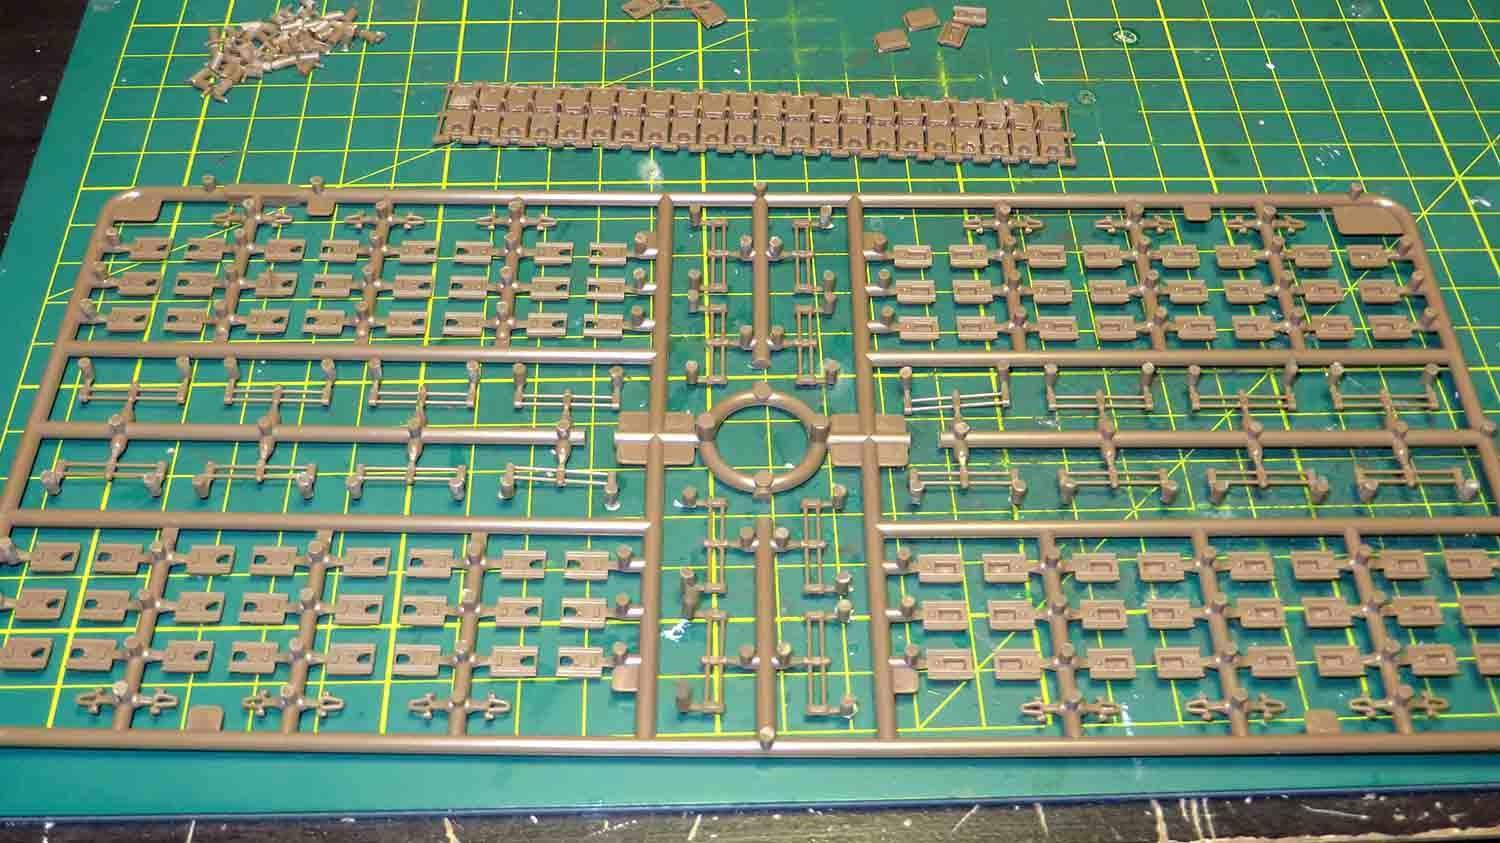
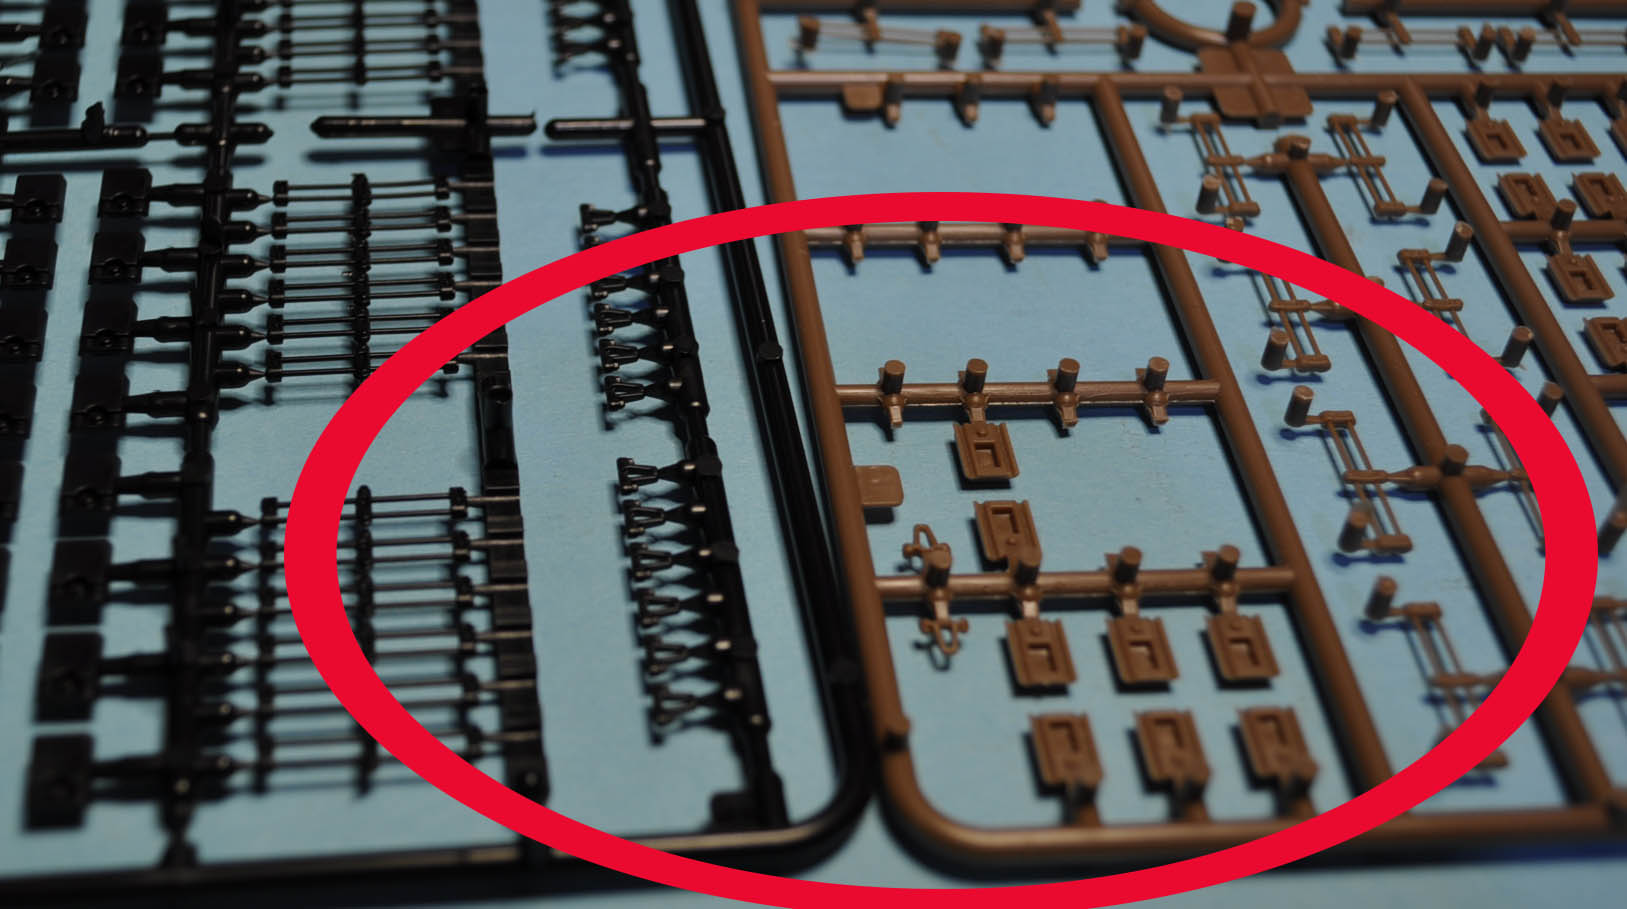
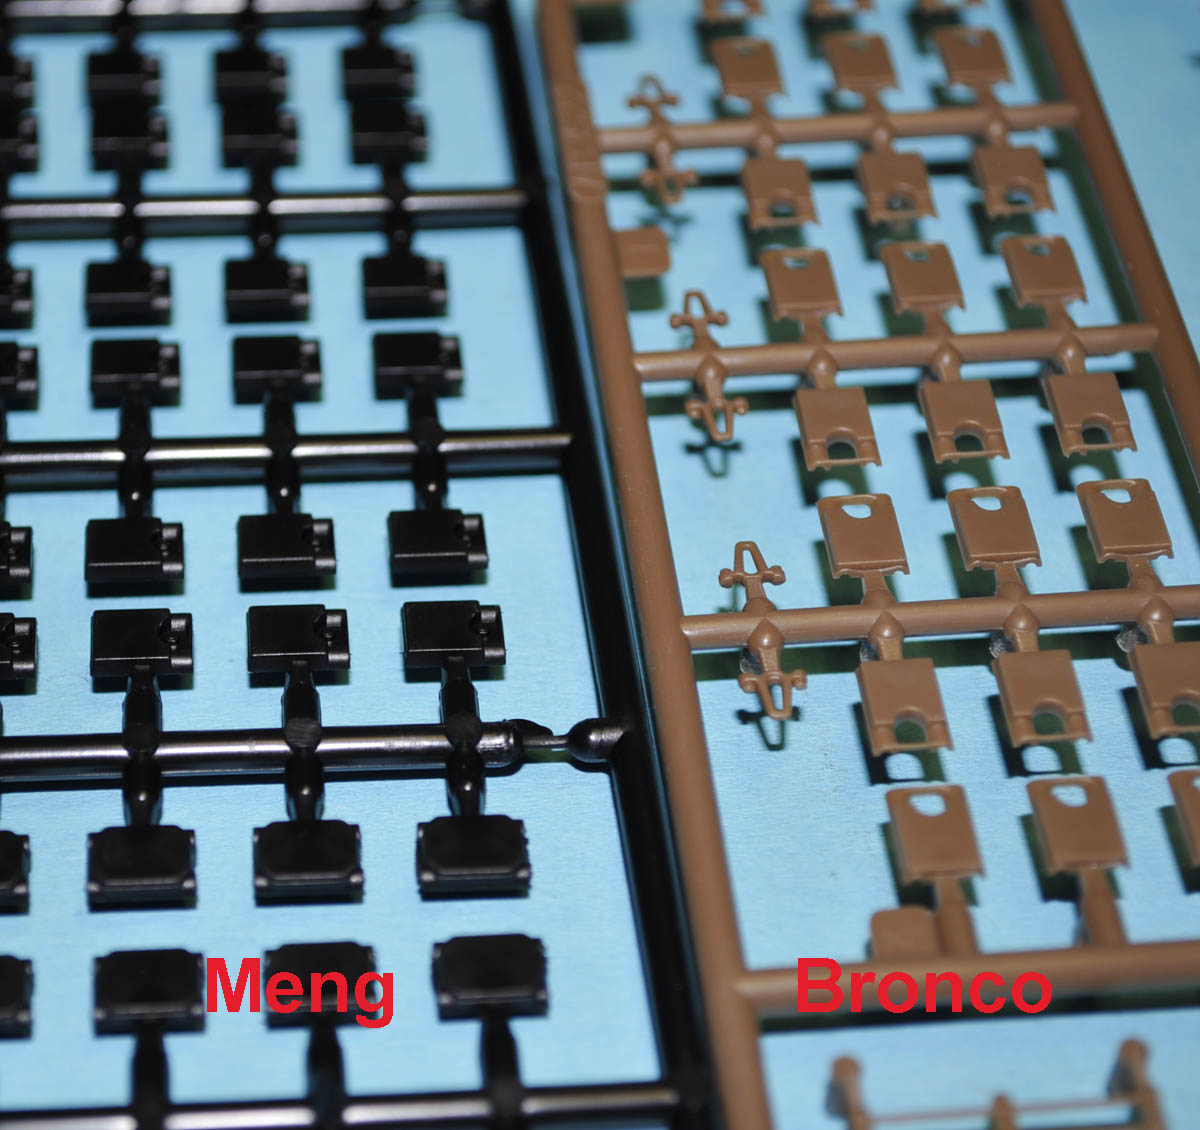
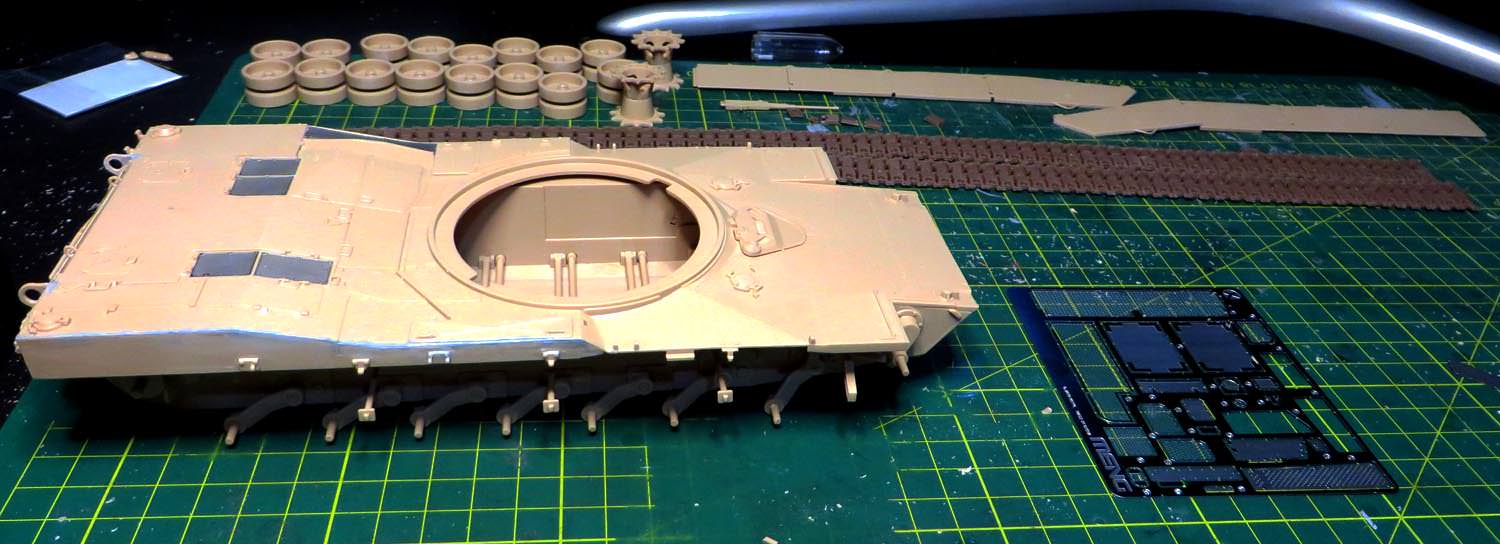
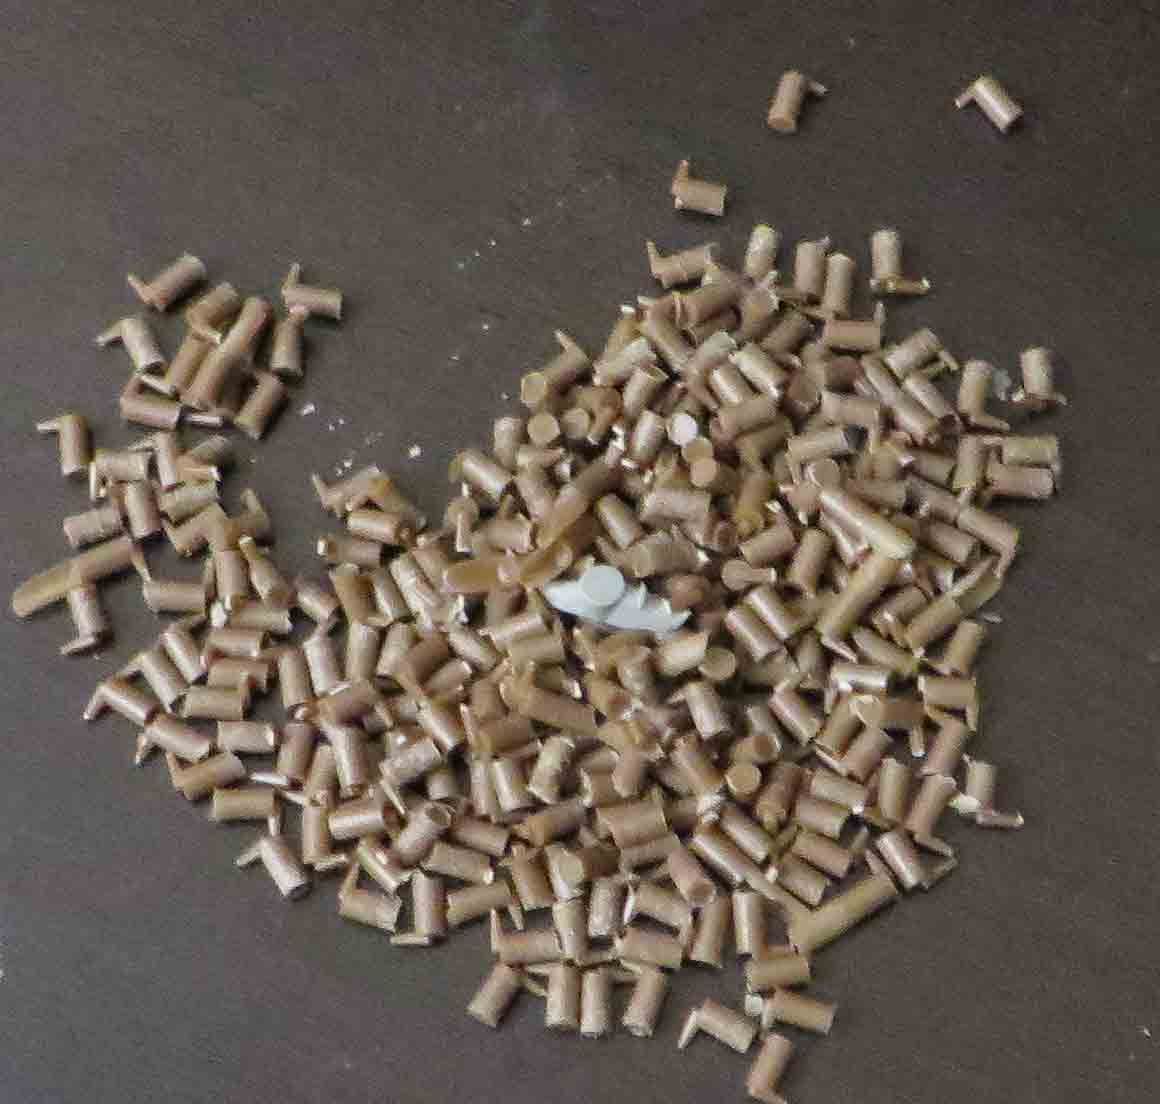
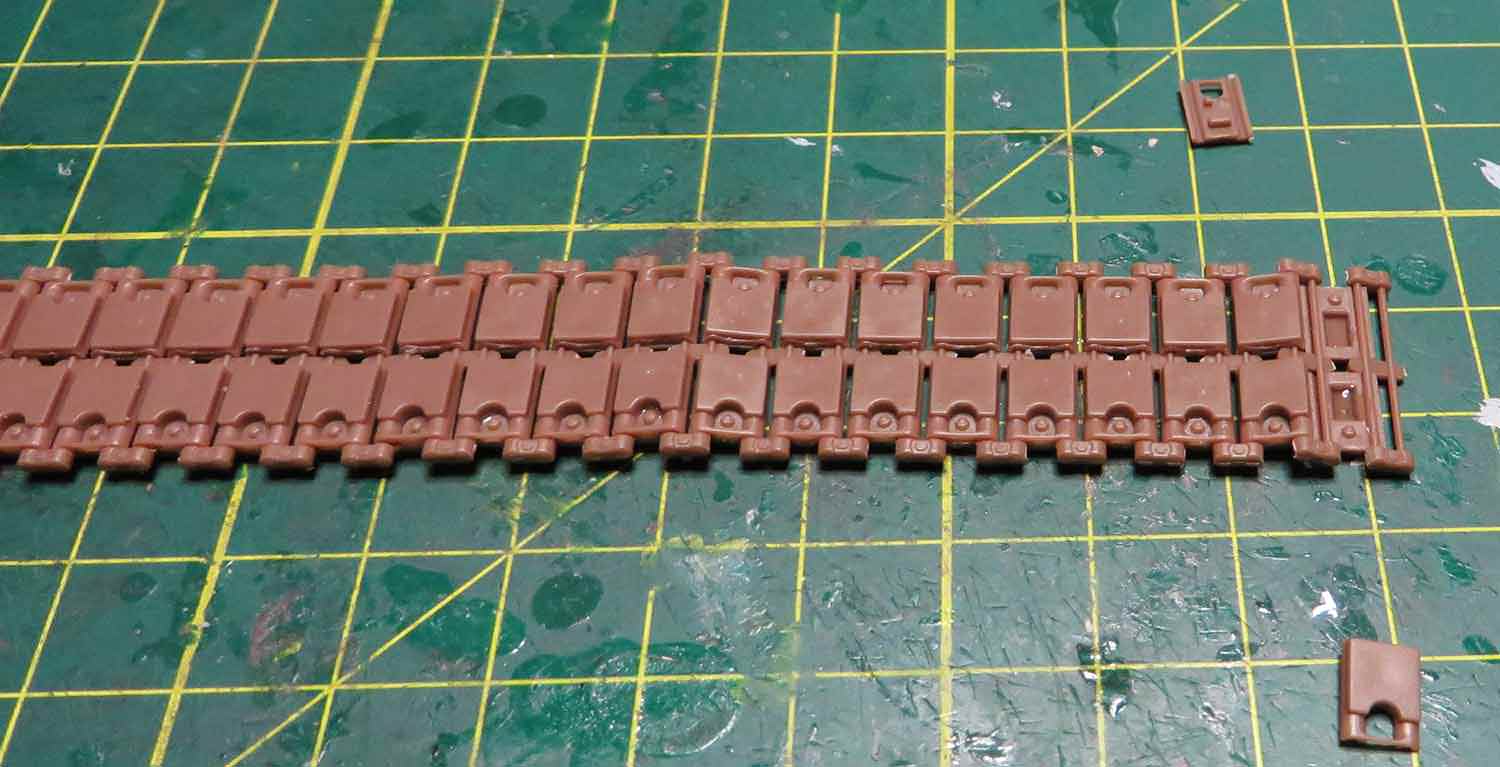
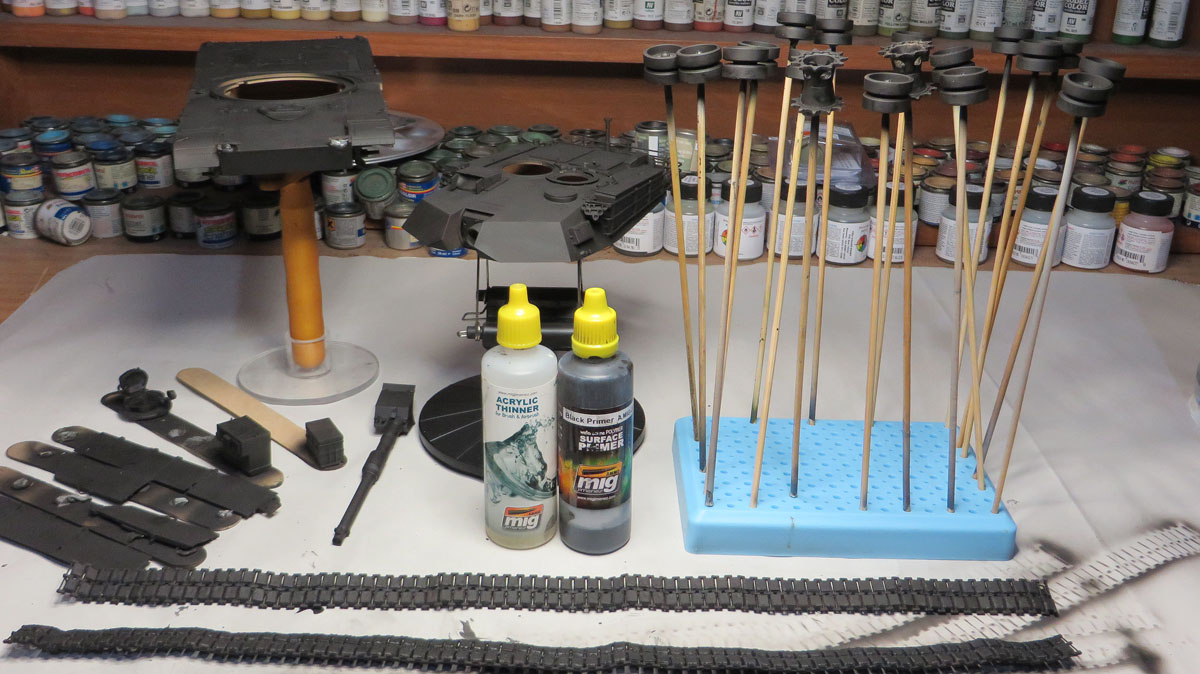
This is the large number of excess lugs trimmed off the sprues to get 2 workable tracks
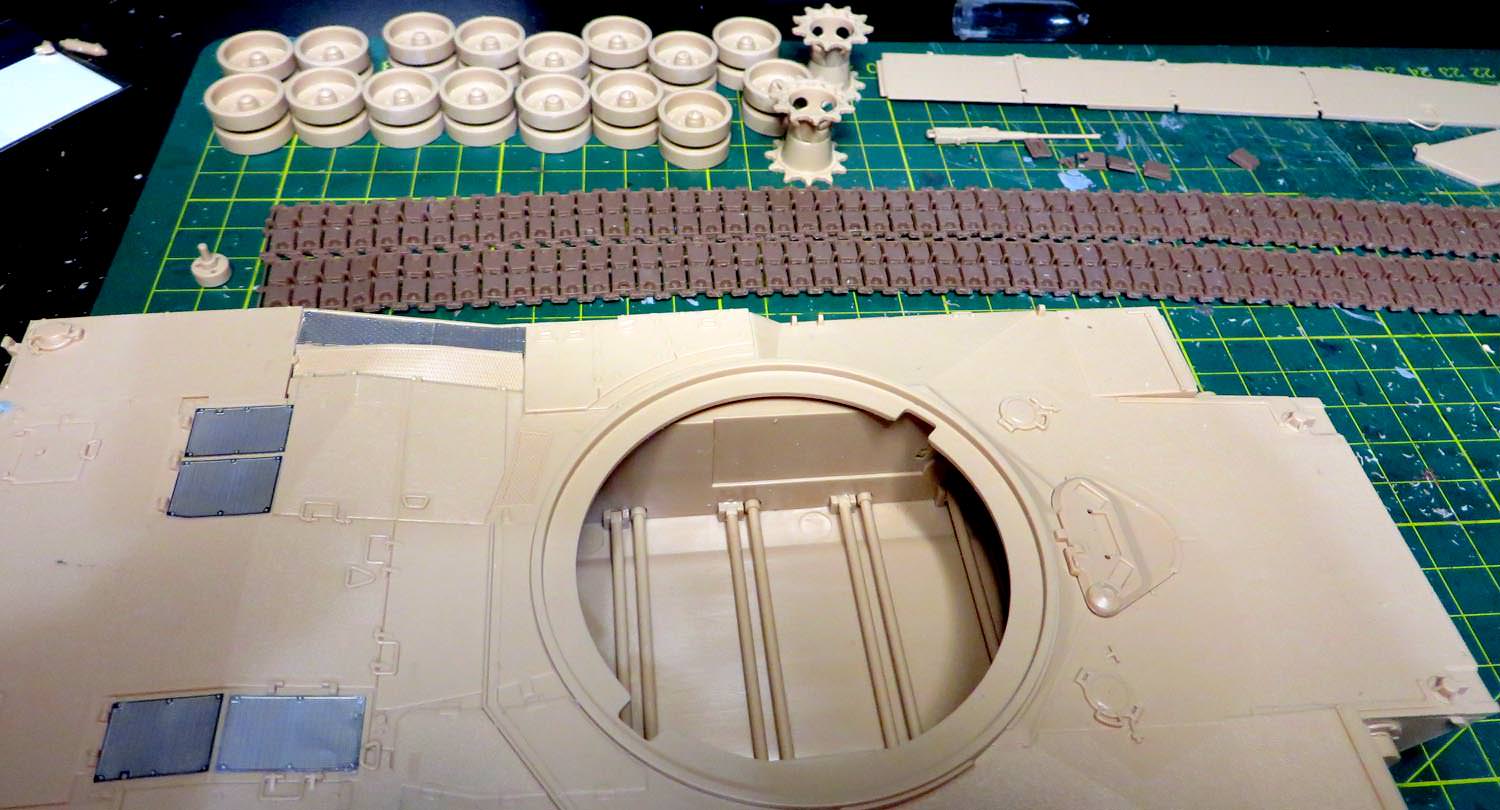
Test fitting the workable track will suit the Meng drive sprocket
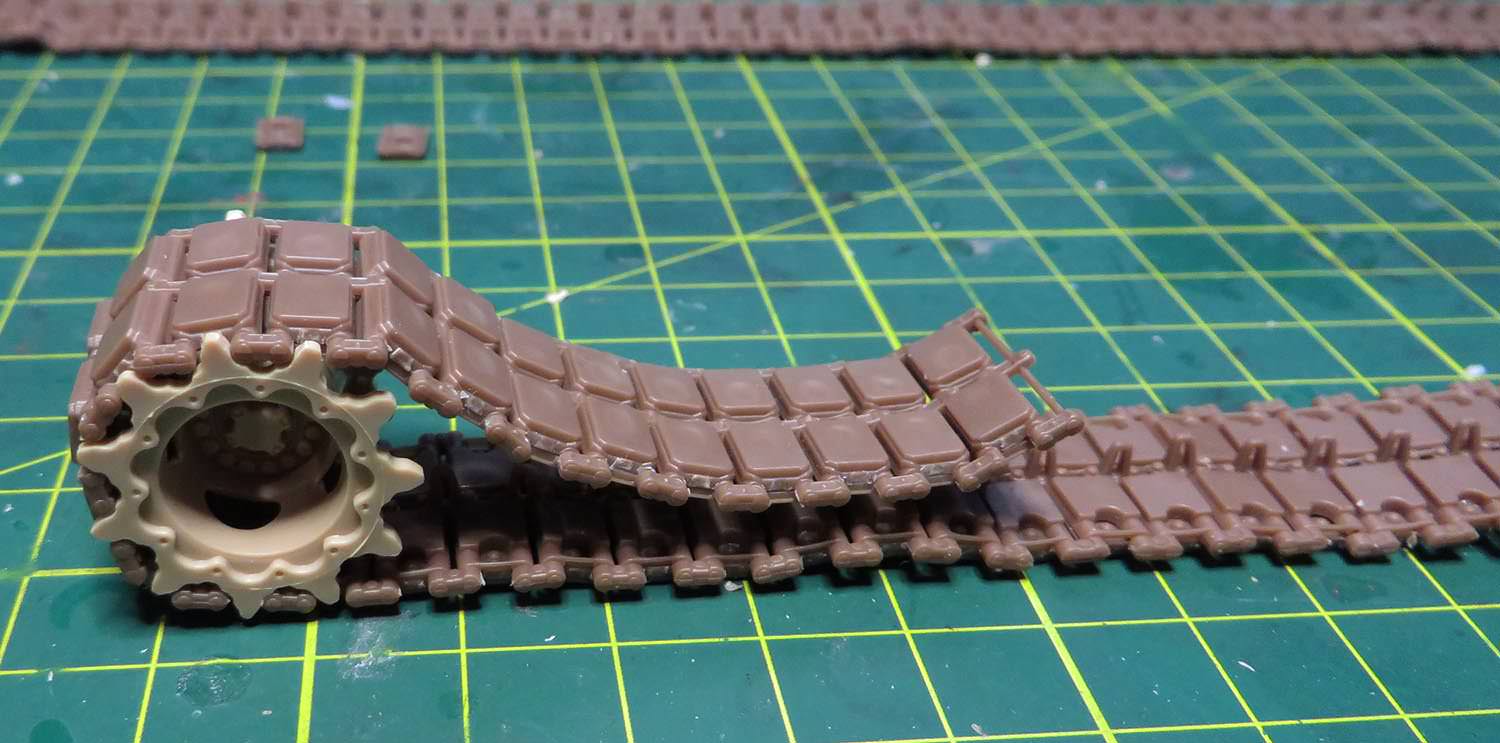
7 Pieces for 1 track link, are you ready for this .
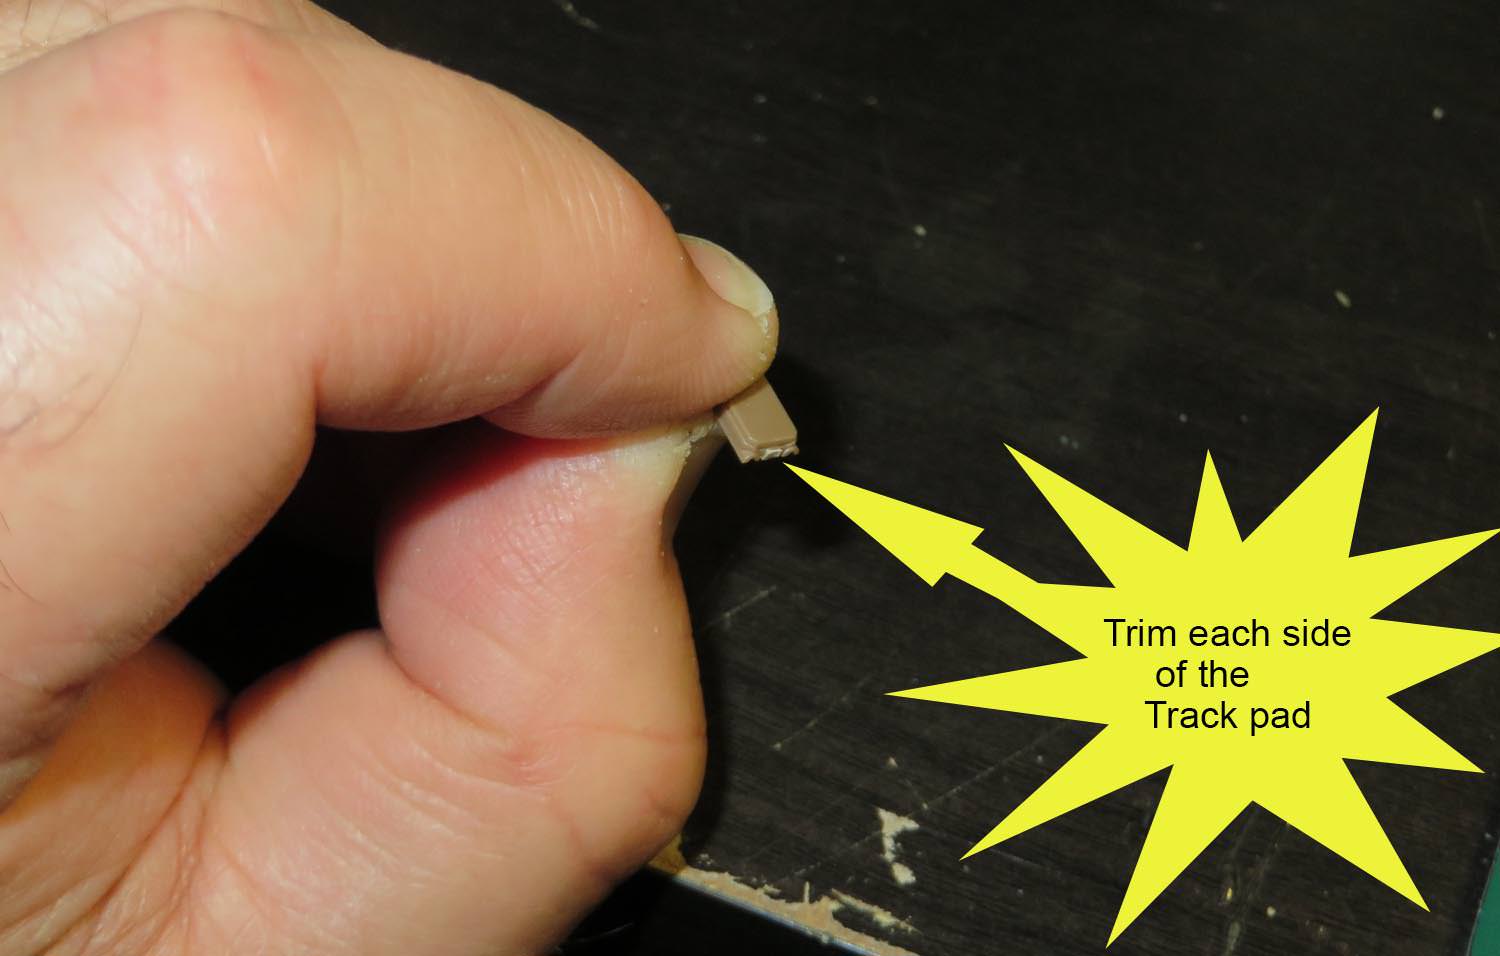
And, Both sides of each track link drilled out to replicate accuracy.
Work has been slow. The intention was to scratch build the fridge located in the stowage basket.
It was something that made me contemplate the accuracy but fortunately with a stroke of luck Mouse House had 1 available in resin. Happy days.
With ordering the fridge,Mouse House upgrades and Back up supply of Auscam paint bring the tank more into line with an Australian Abrams.

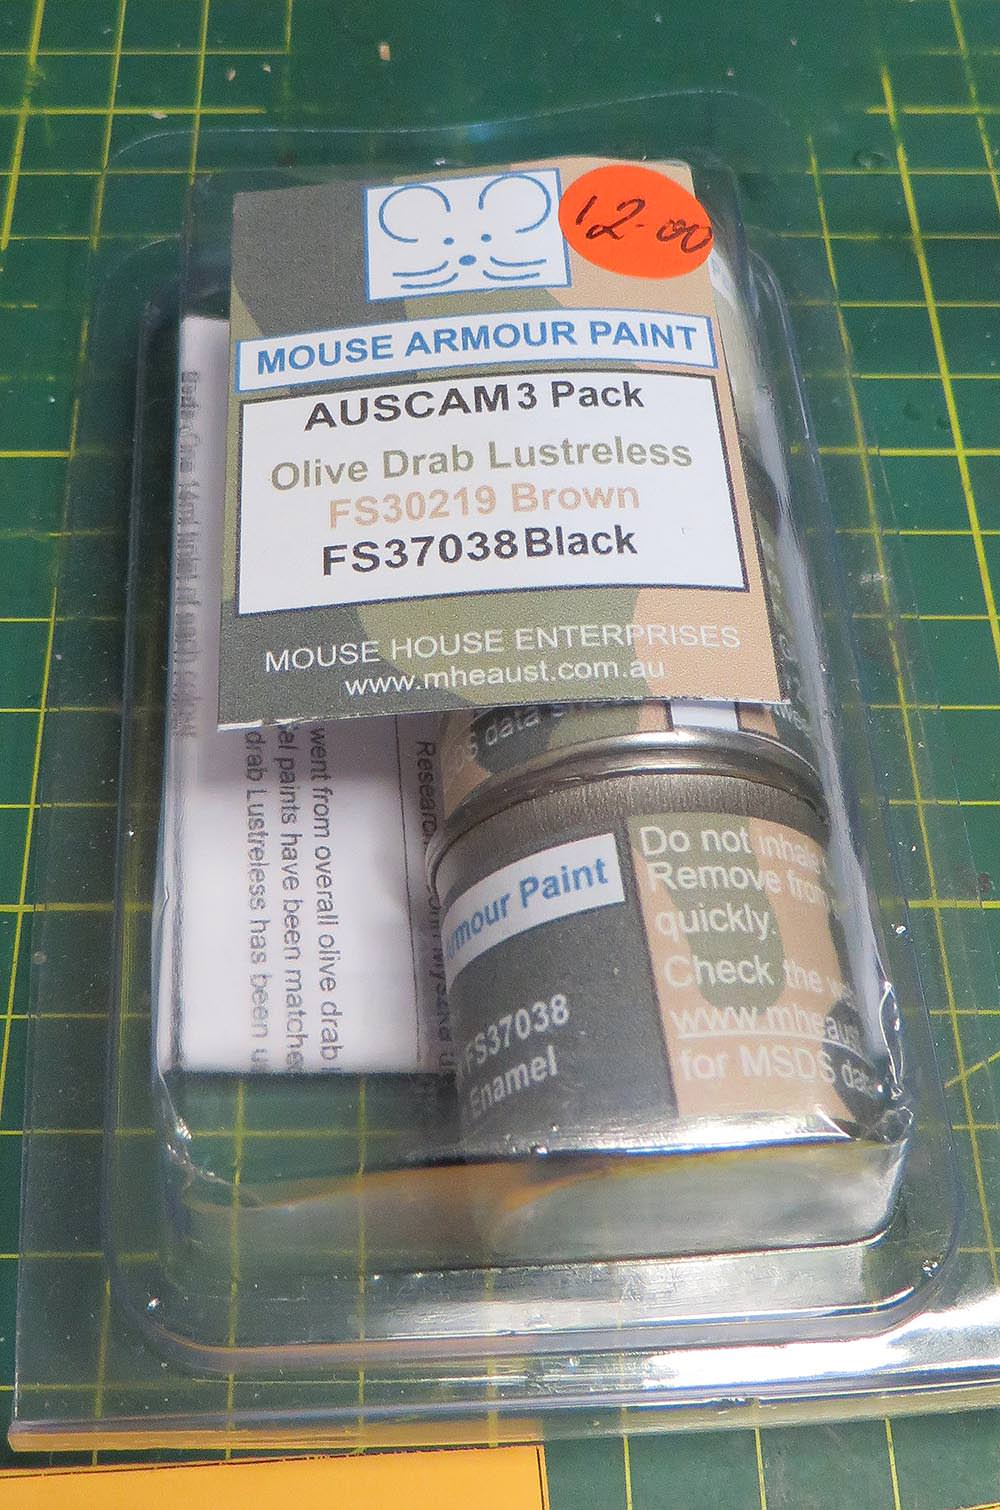
The Mouse house paint is the closest colour to the Auscam colours.
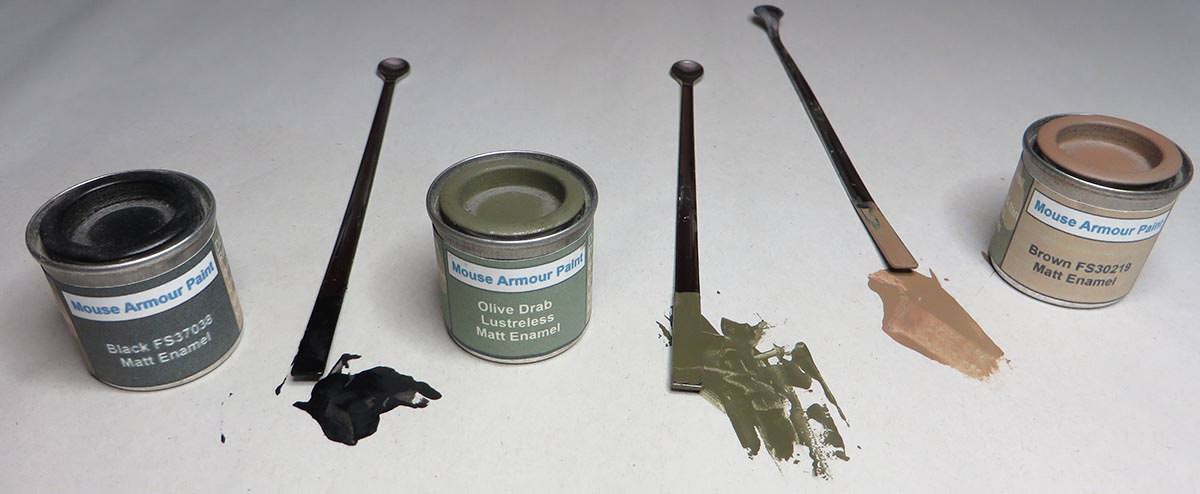
Serving in the Australian Army from 85-89 and seeing the colour up close as a Driver in an Infantry unit I would have to say the Mouse House colours are spot on.
The metal barrel required some modifications with the extra weight of the barrel made the gun drop down.
By cutting out the centre of internal barrel support and inserting a shaft helped counteract the weight of the barrel holding it firm in position at any angle.
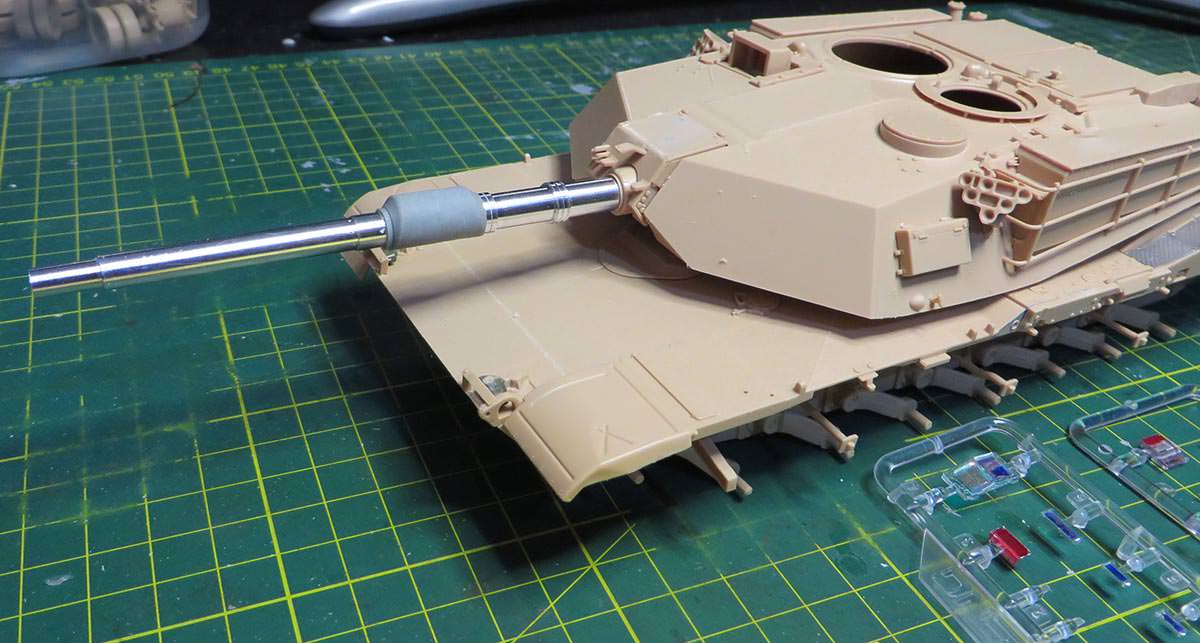
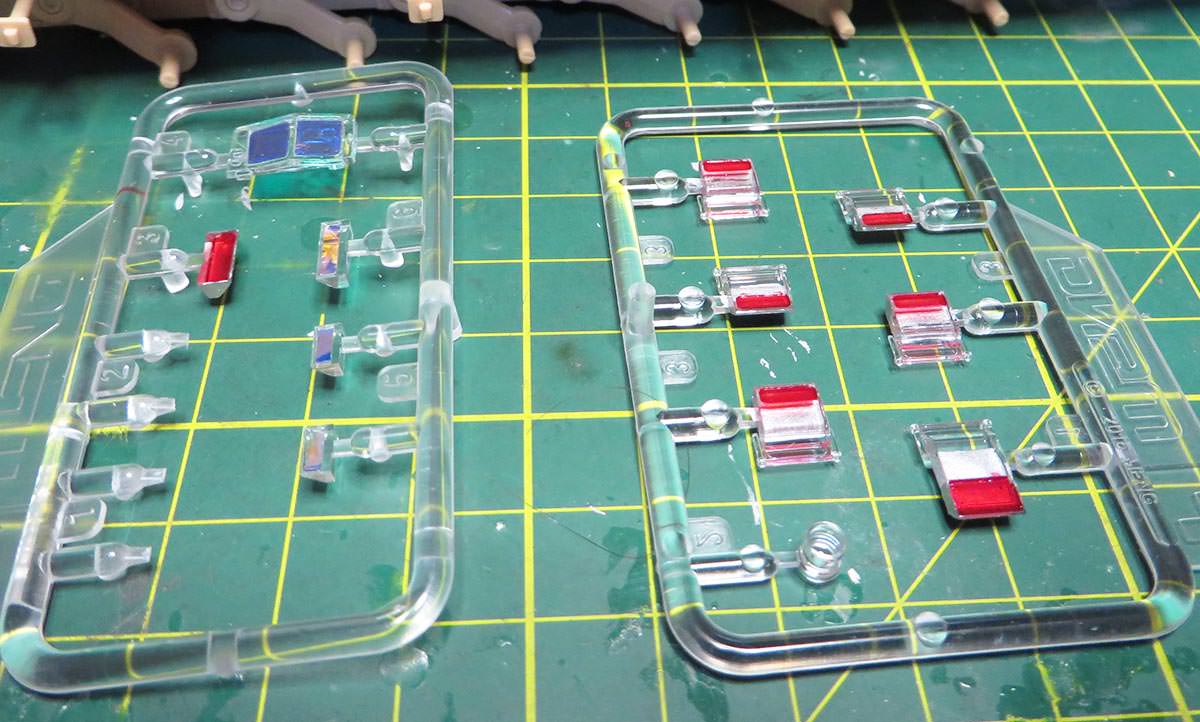
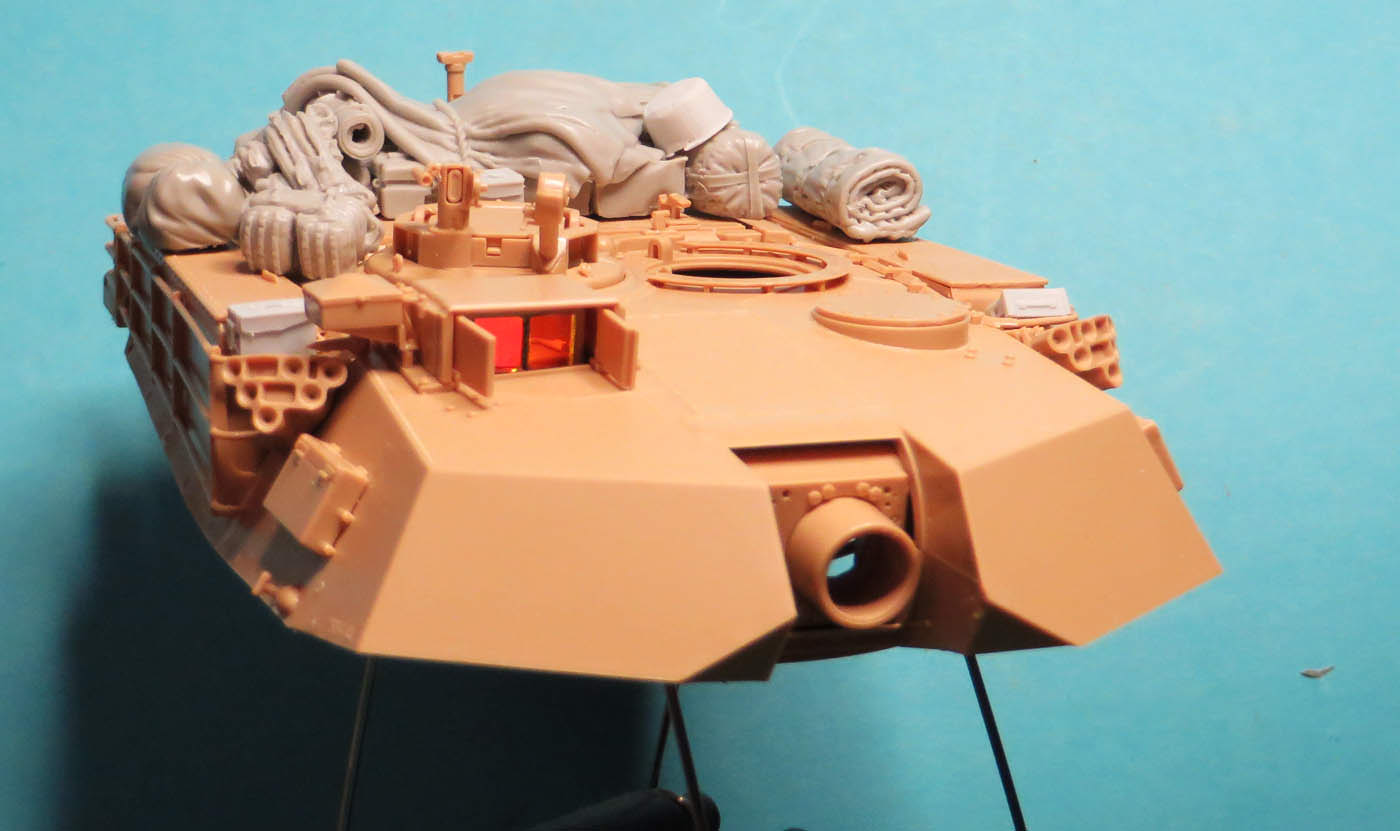
The Vision blocks had a combination of Mig Crystal red and a highlight silver colour painted behind the Crystal red to give it depth of the vision block. AFV Club also provided anti glare decals of which I had to cut different size out for the gunners sight on the turret. There is enough material on the sheet to cut your own sizes out.
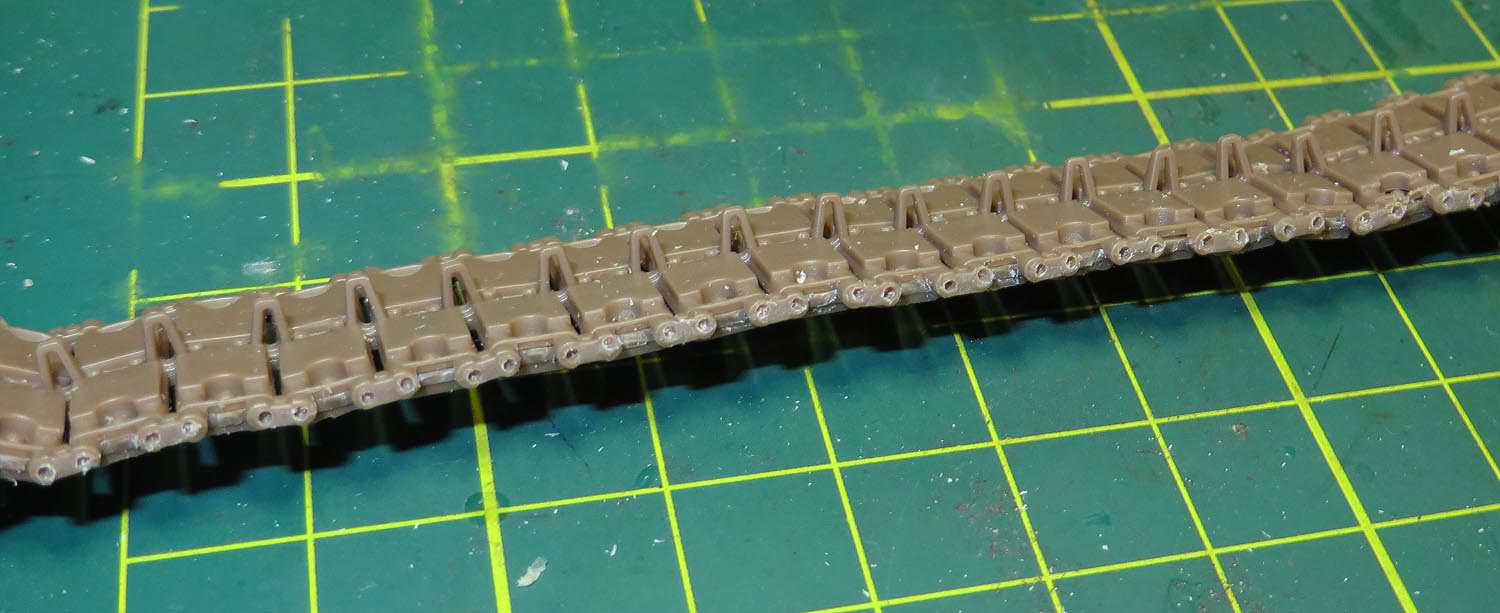
Simulated track pad wear with a number 11 blade, time consuming but worth the effort in the end.
Track wear before painting
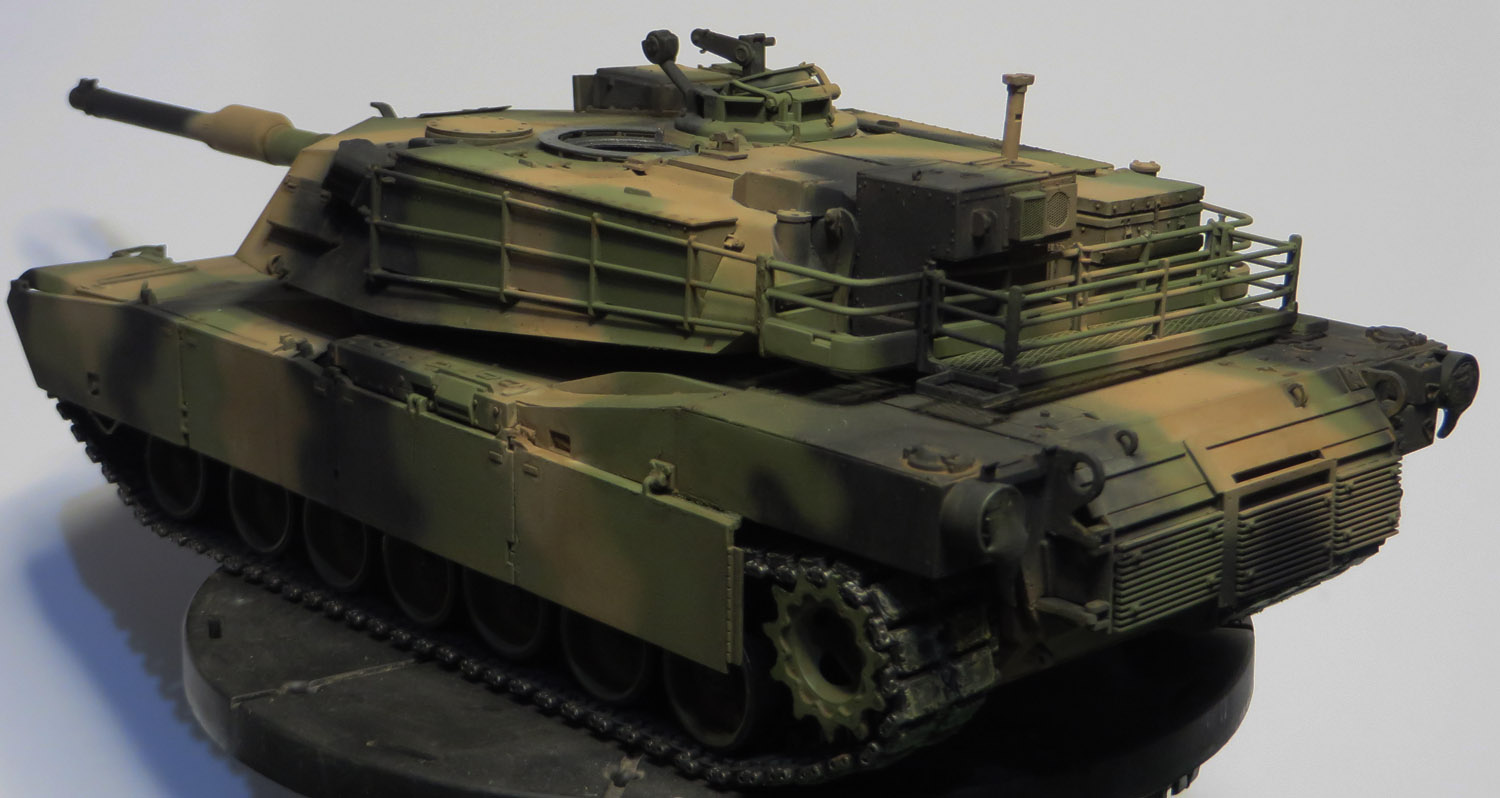
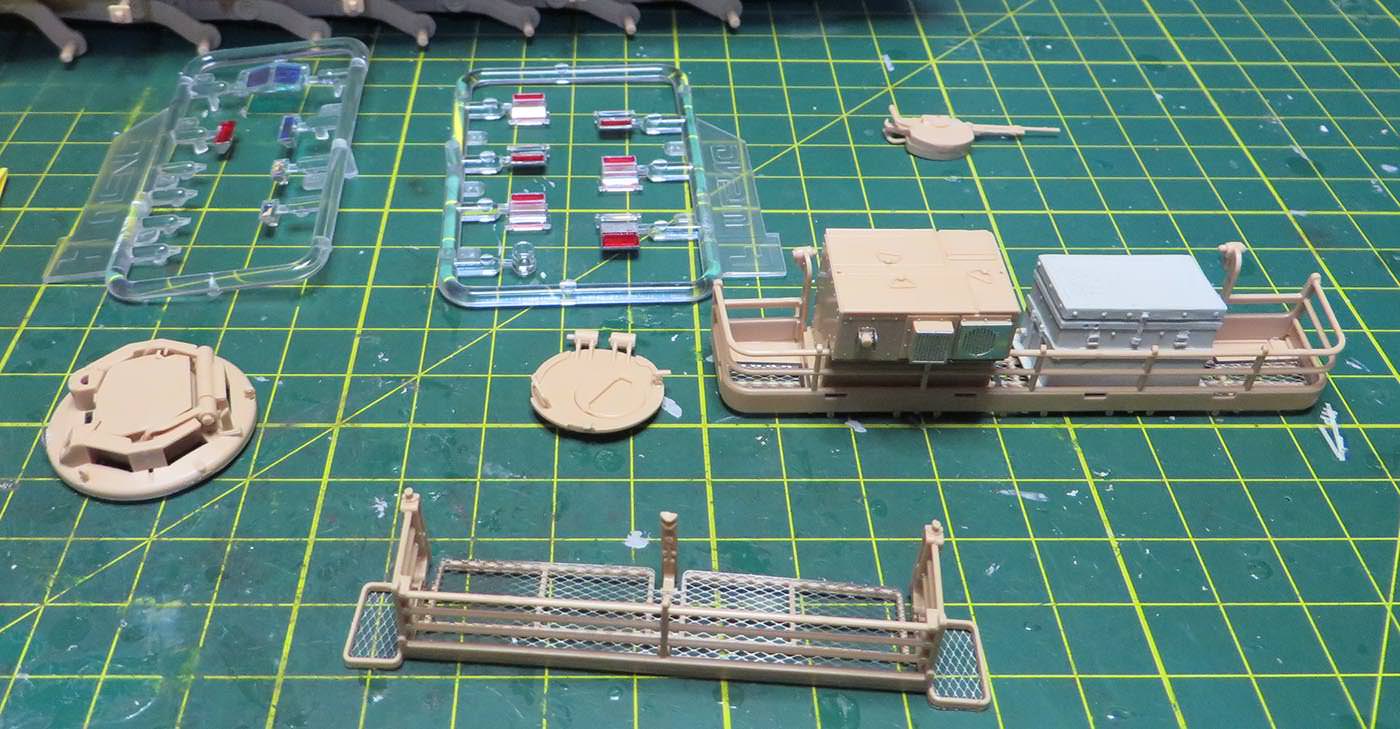
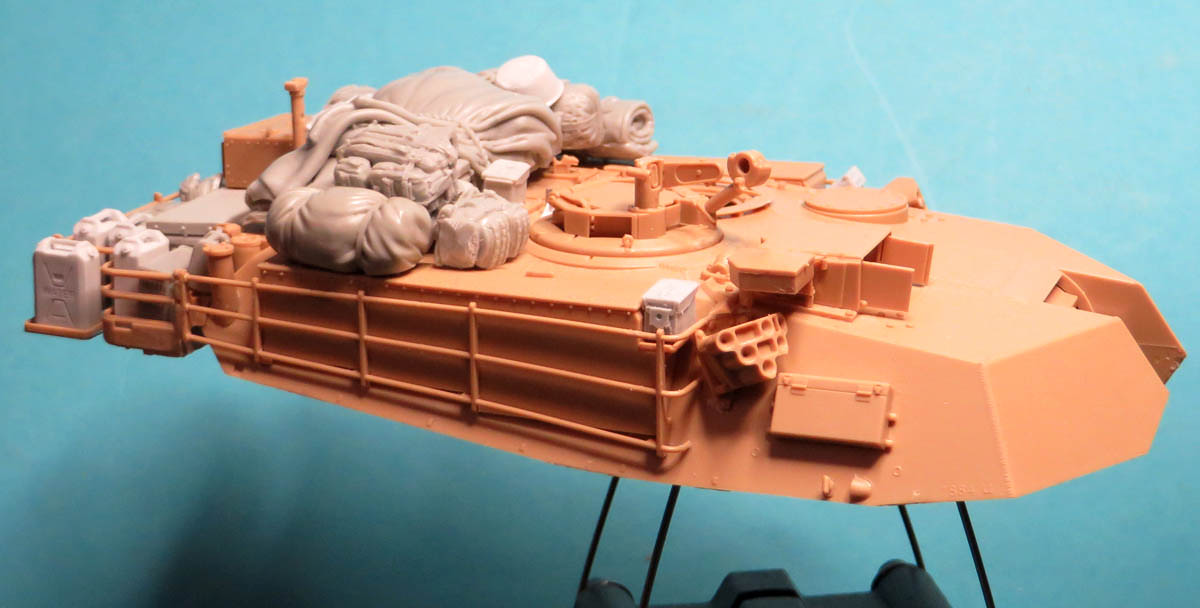
The stowage has been test fitted on the turret to achieve the right look.
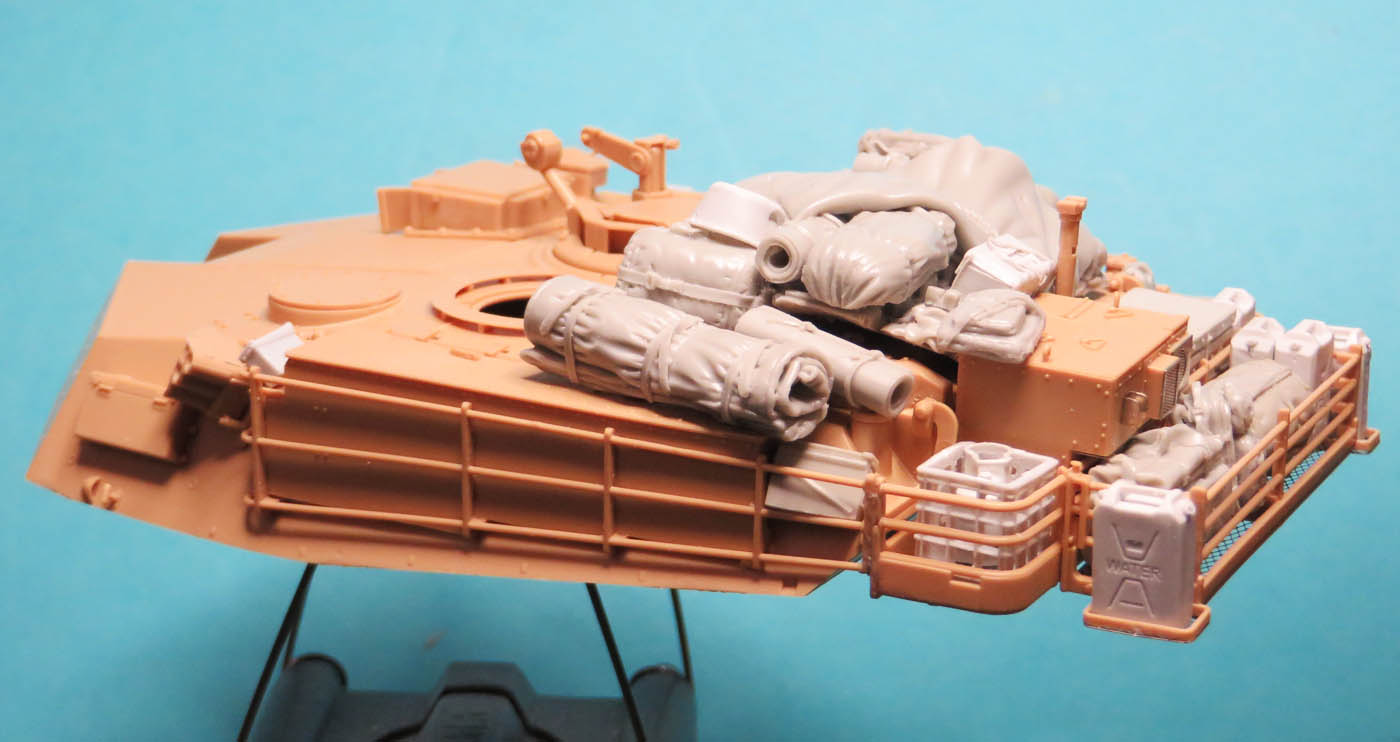
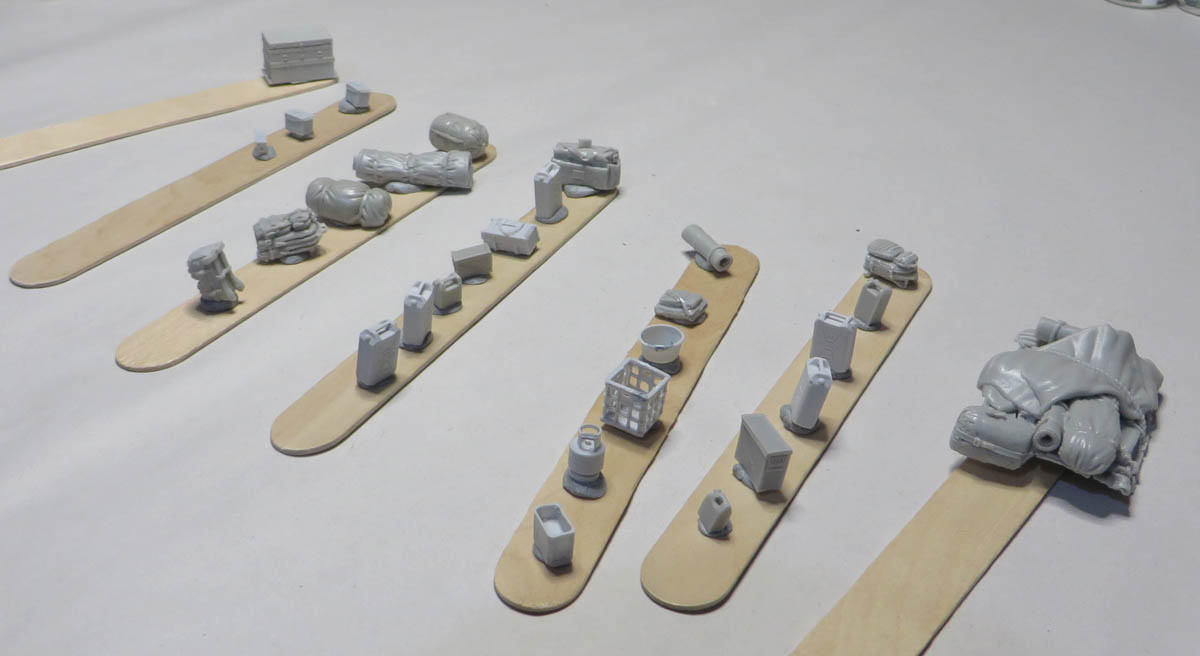
Stowage
Stowage ready for priming
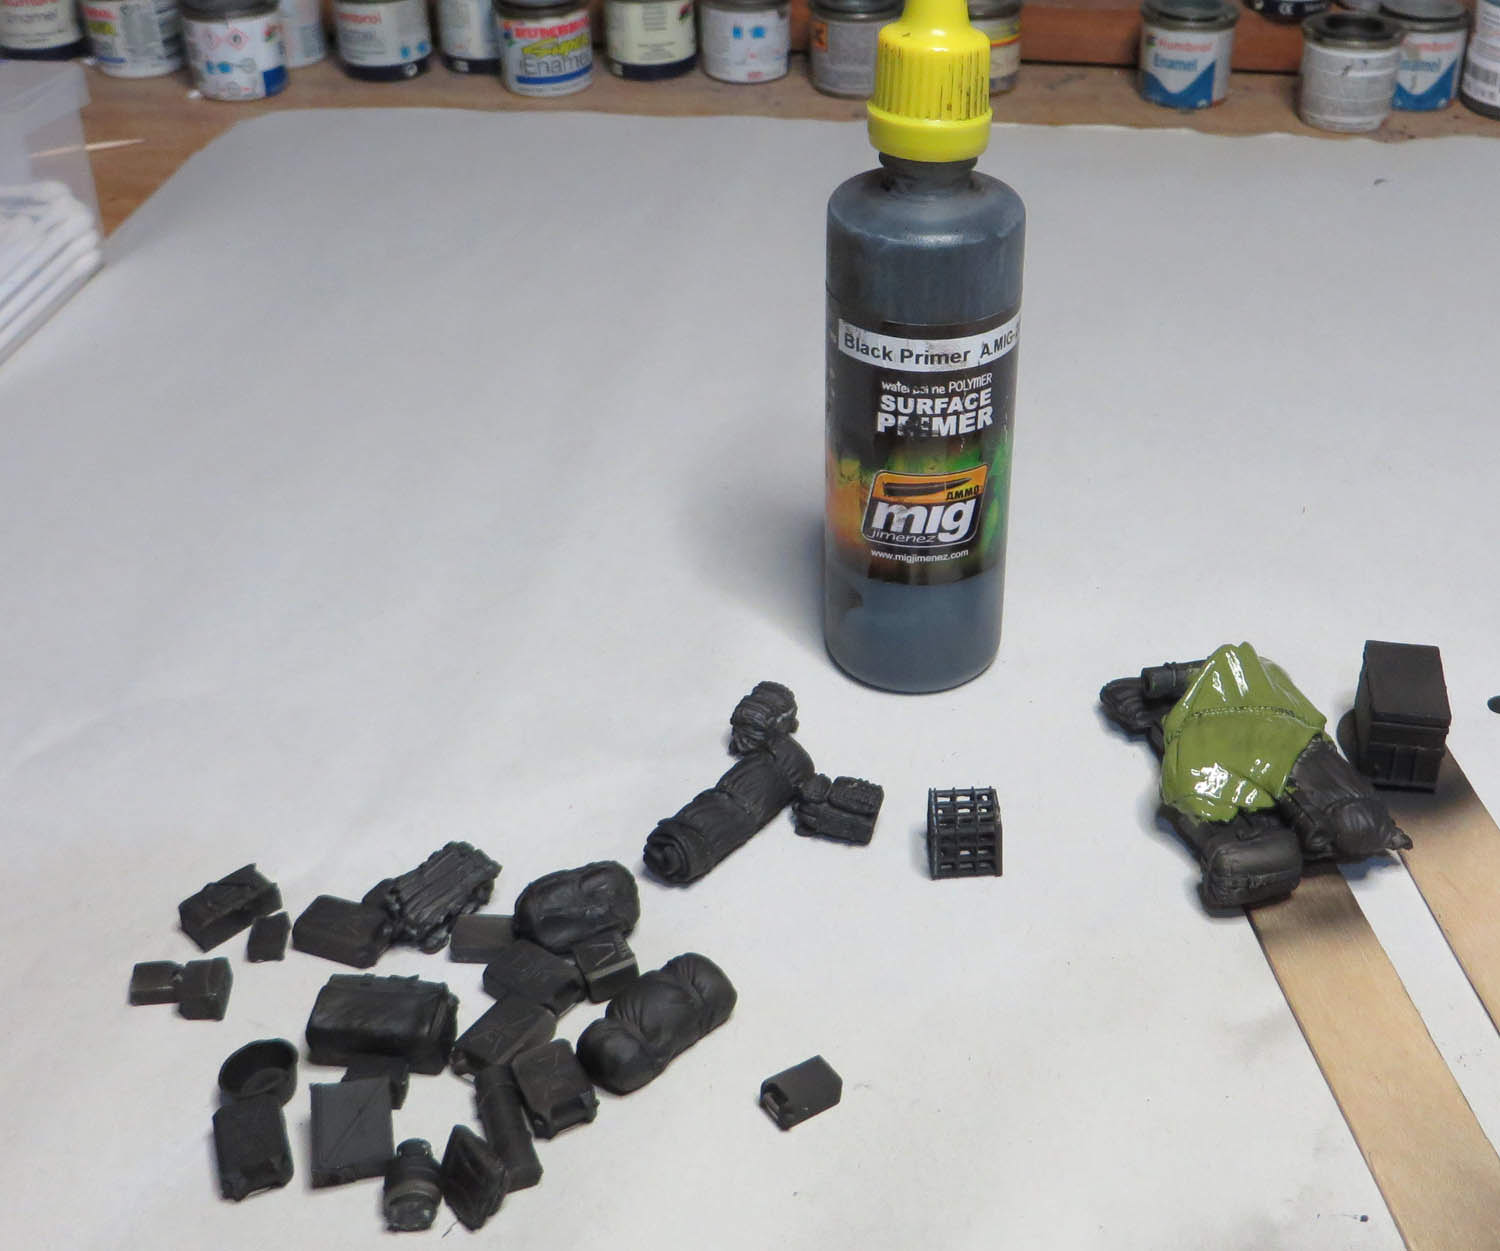
Primed Stowage
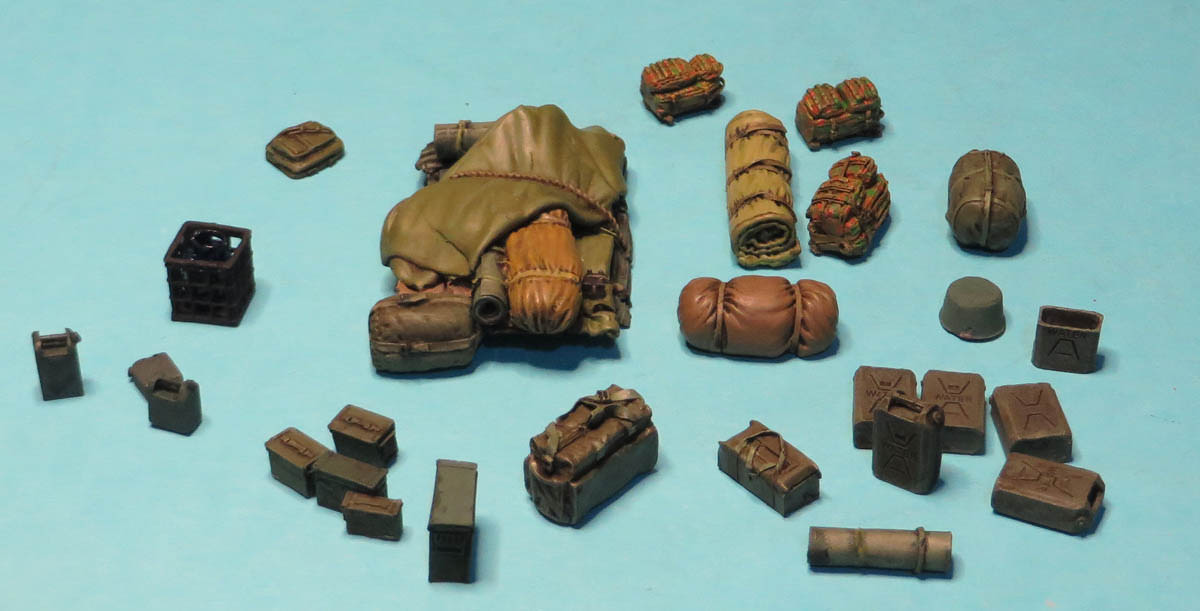
Each Stowage piece was painted and a light acrylic wash was given to enhance the equipment on the turret.
Painted stowage
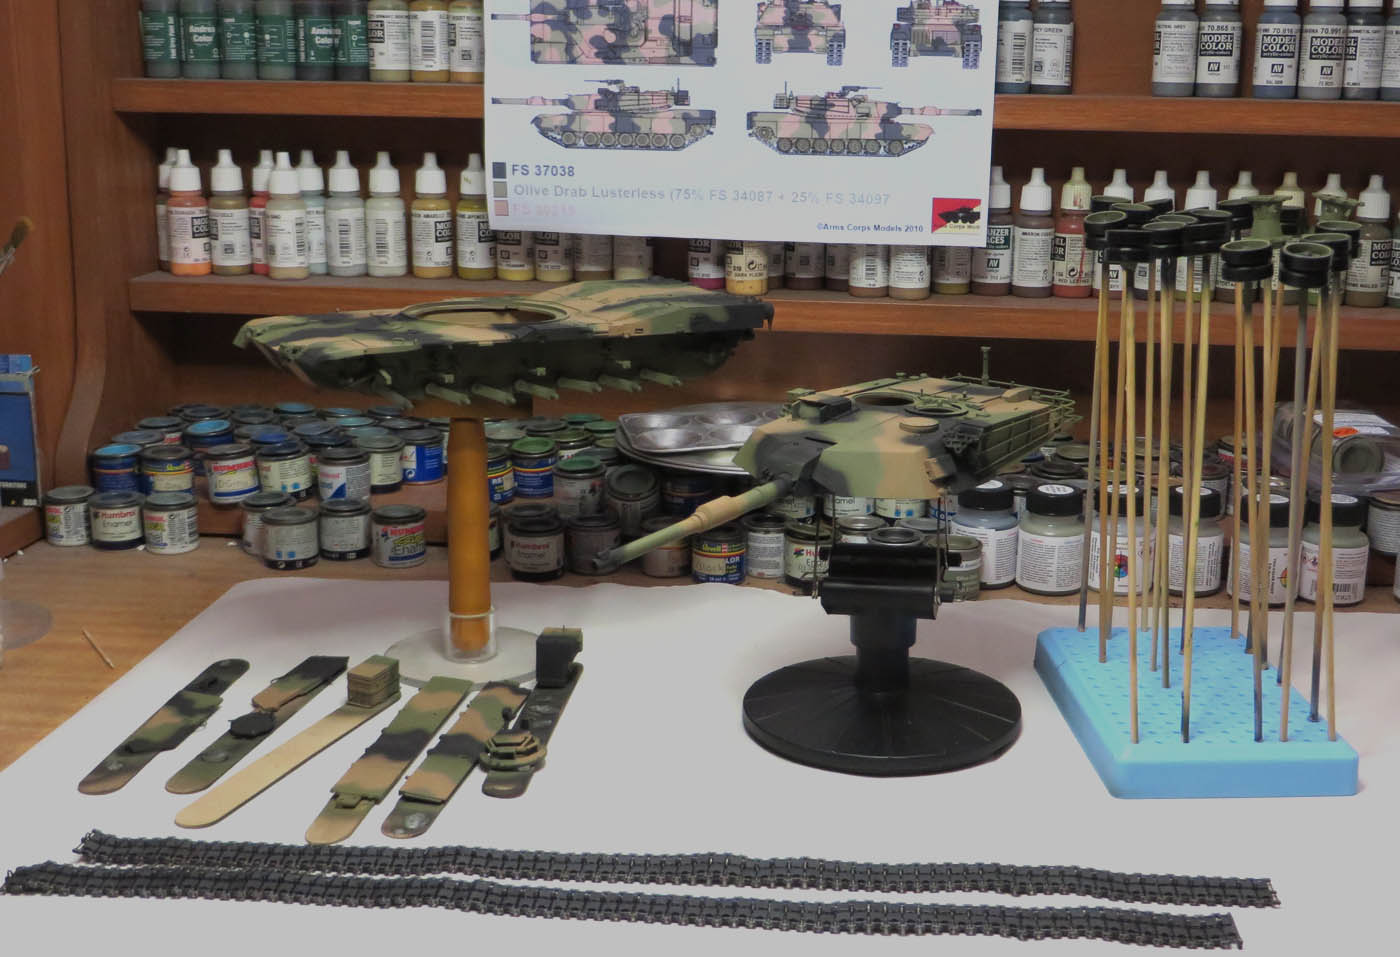
Sub assemblies and track ready for priming and painting.
Ready to paint
The Mig Ammo Primer applied.
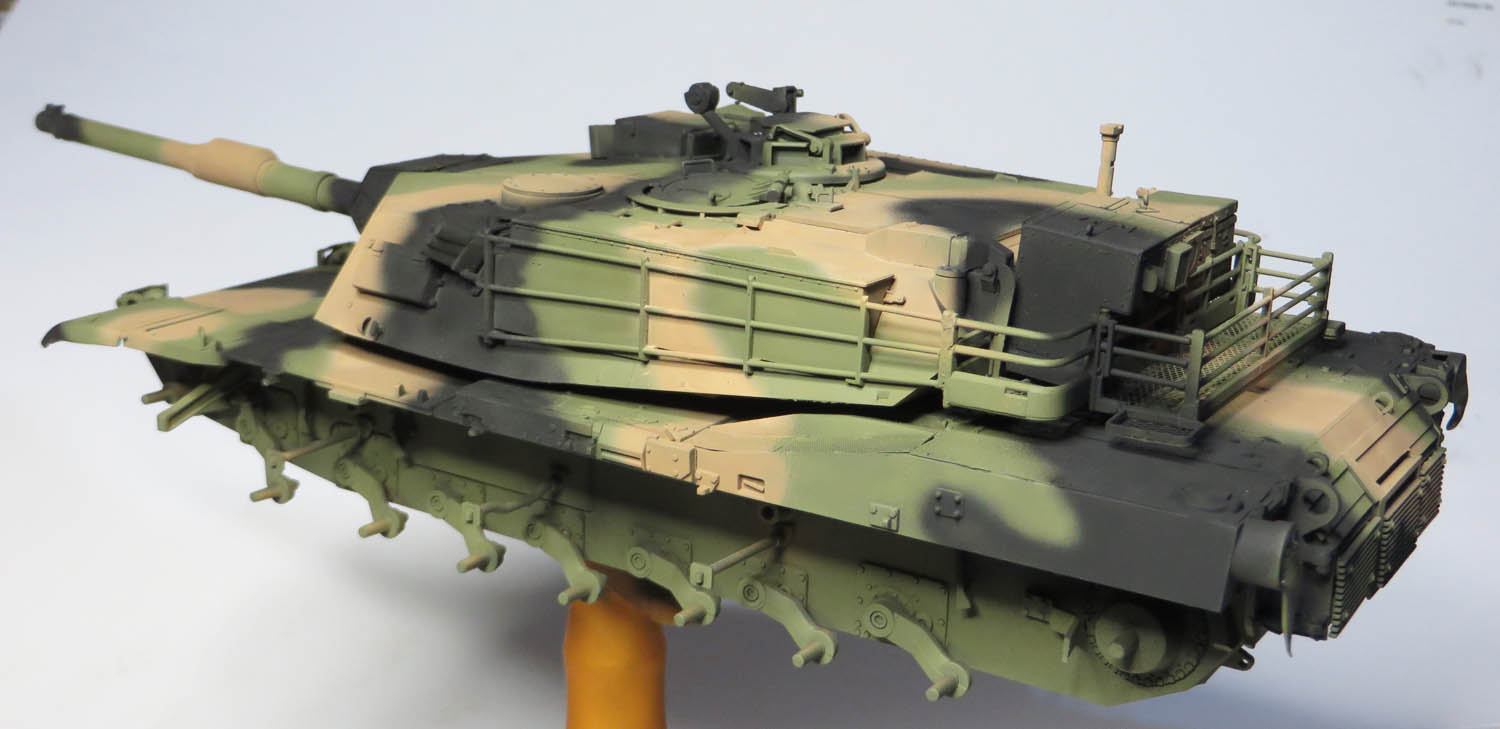
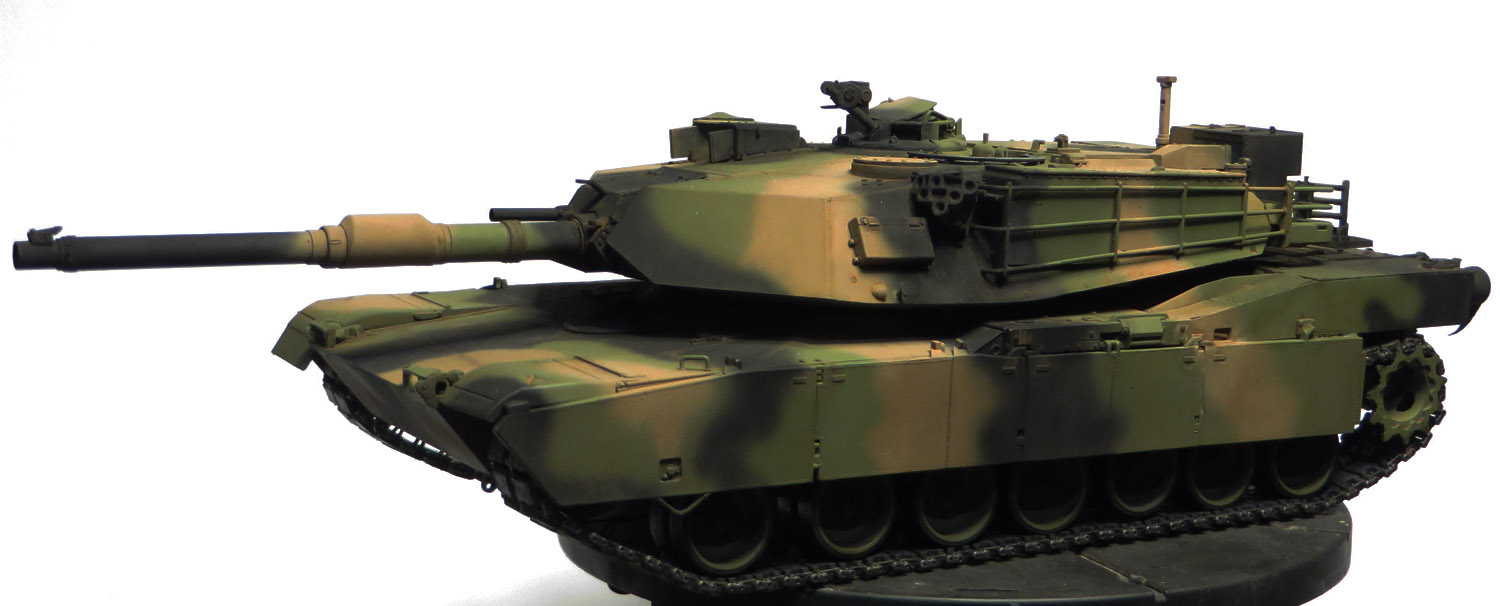
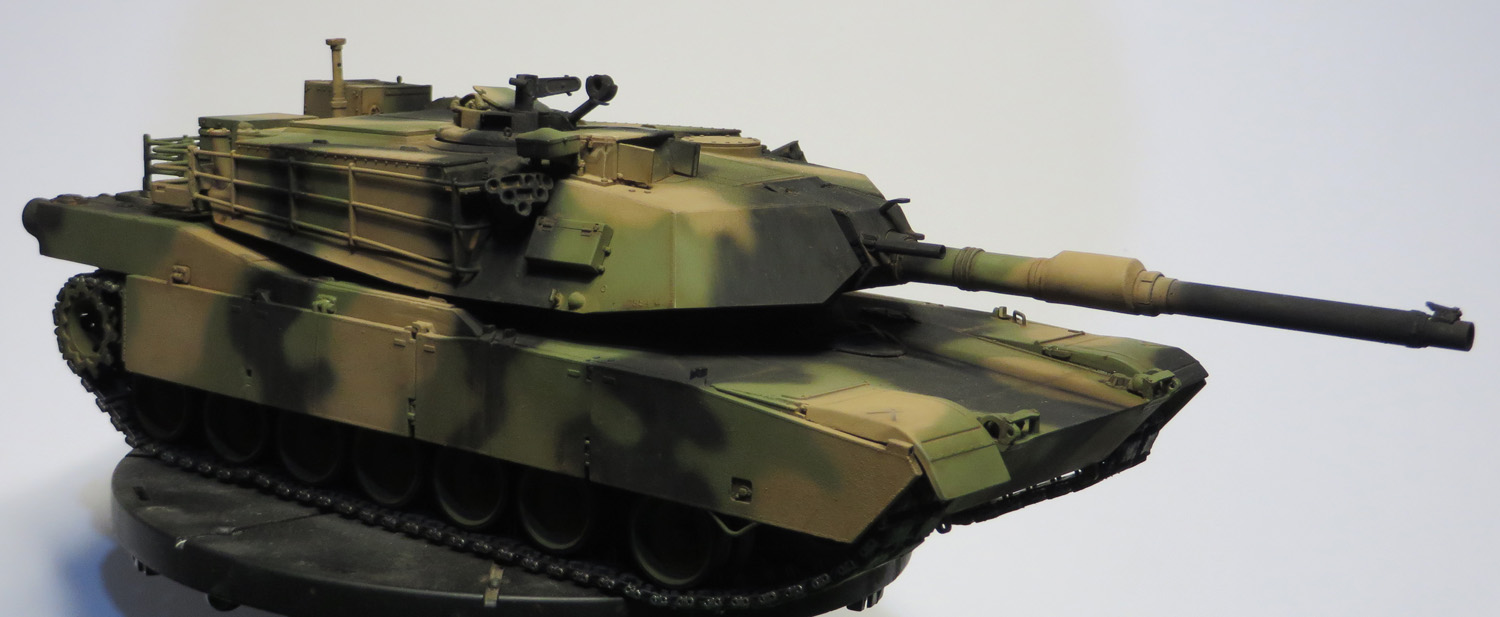
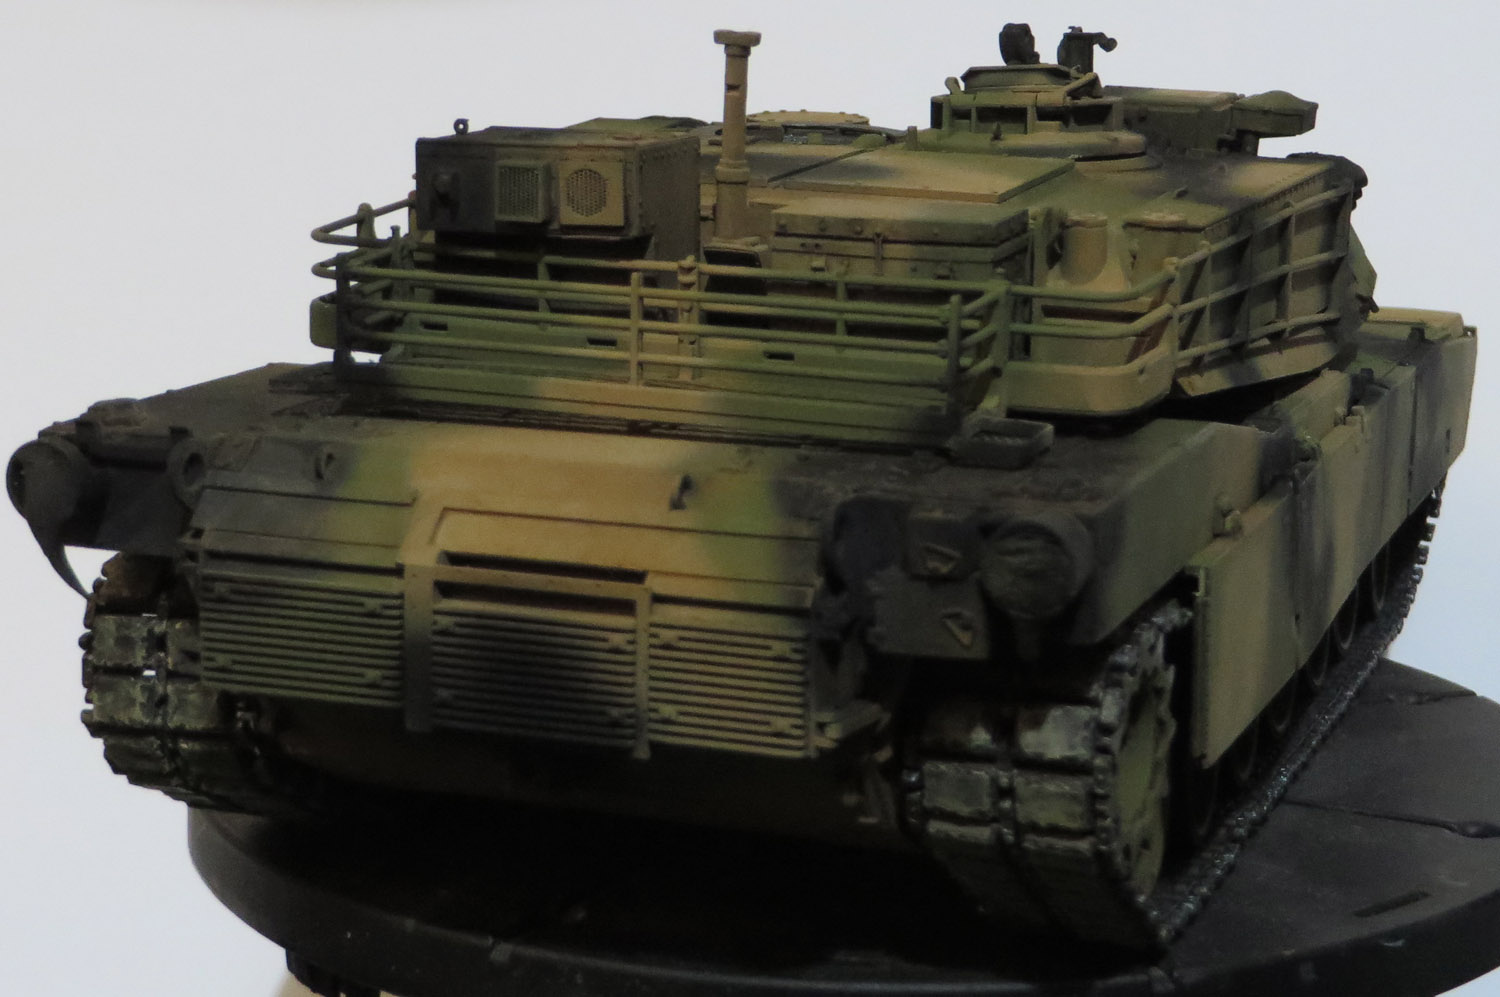
Then the 3 tone camoflage which was time consuming and still not finished. Some minor touch ups to do.

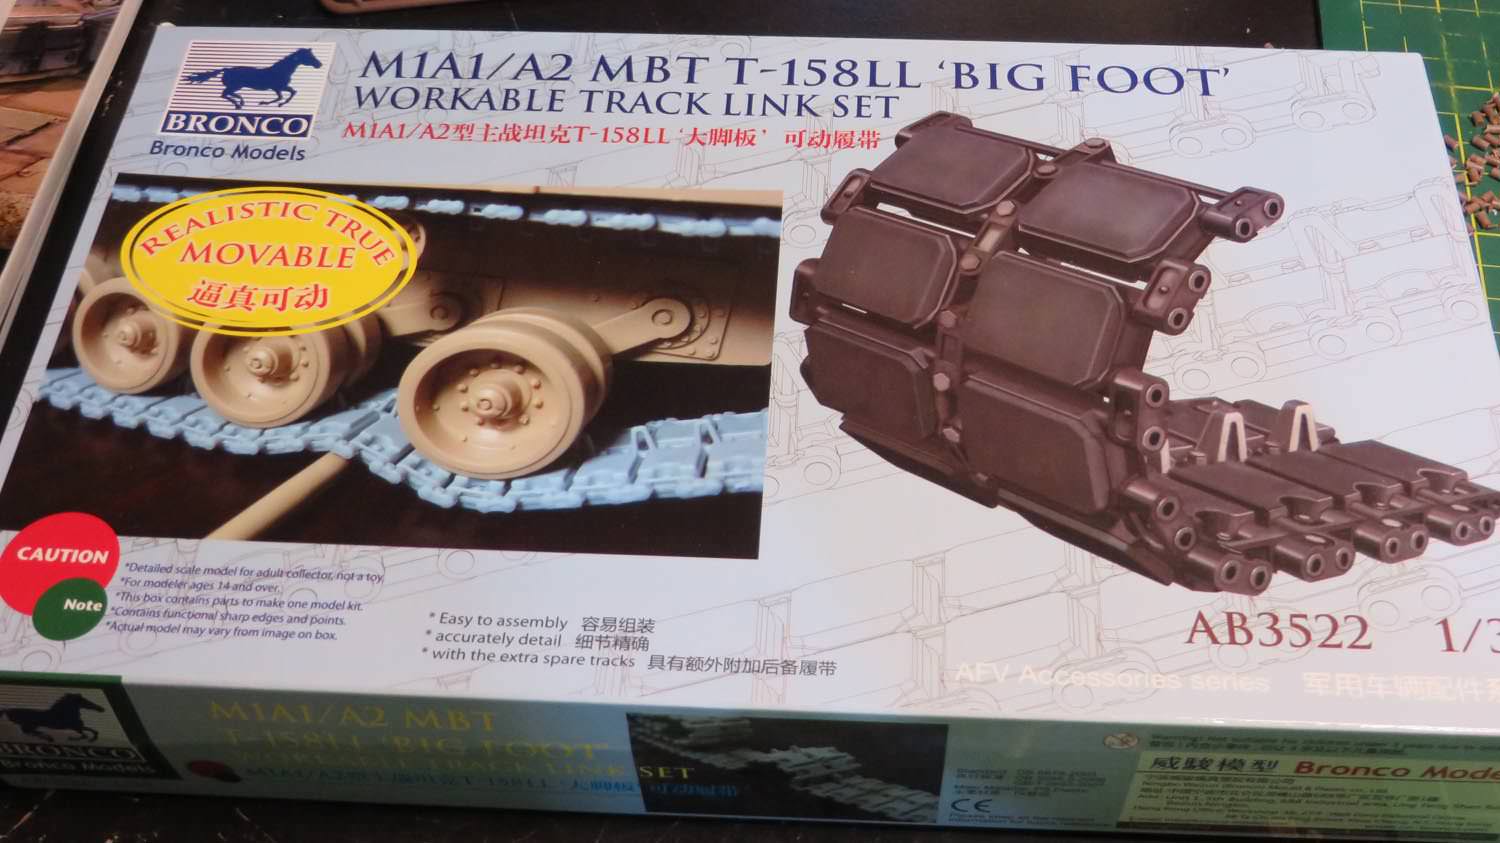
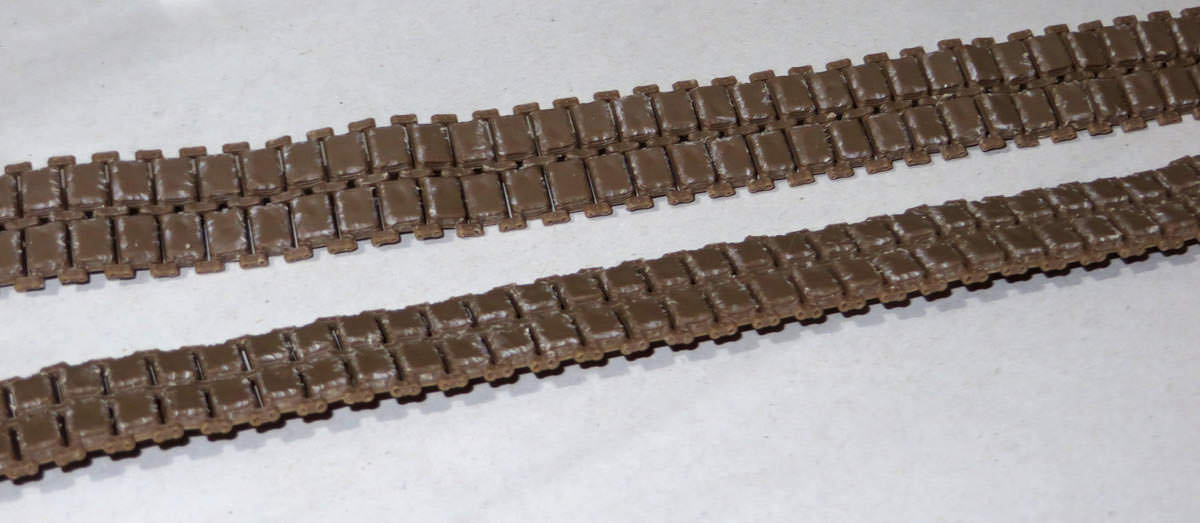
The Bronco M1A1 Big foot track received a lot of attention.
Gunze metal was hand painted on the guide horns and end connectors.
Vallejo Tan was drybrushed on the track rubber to show the wear and tear.
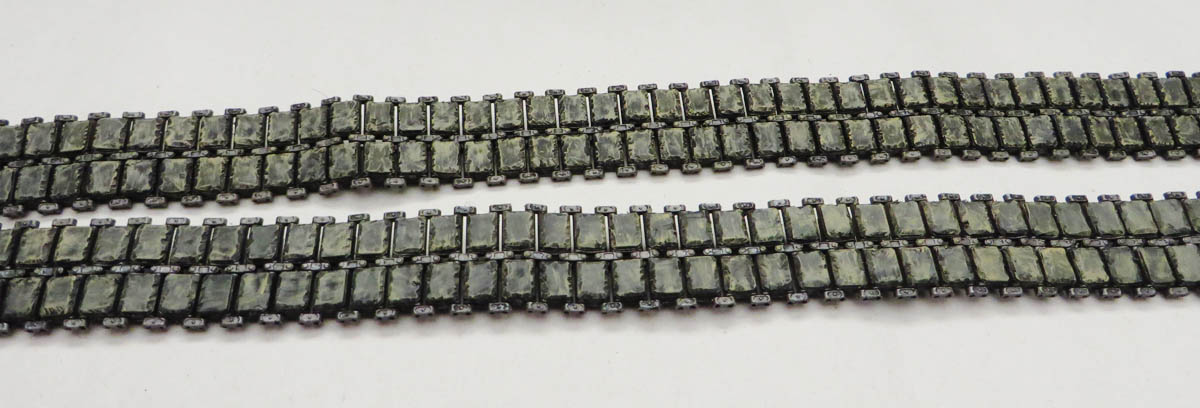
The inside of the track was drybrushed in Vallejo black grey to show slight wear from the road wheels.
Michael