_GOTOBOTTOM
Constructive Feedback
For in-progress or completed build photos. Give and get contructive feedback!
Trumpeter Aerosan RF-8/GAZ-98 fit question
zontar
Visit this Community
Hawaii, United States
Joined: August 27, 2006
KitMaker: 1,646 posts
Armorama: 1,557 posts
Posted: Sunday, August 25, 2019 - 05:42 AM UTC
Aloha All,

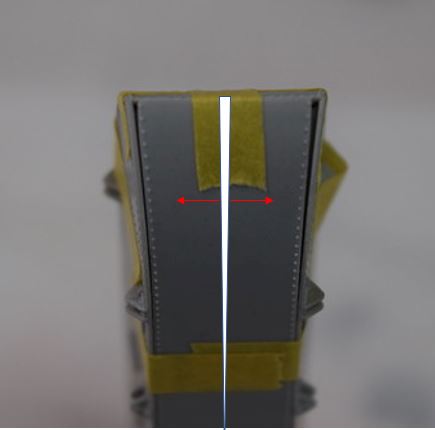
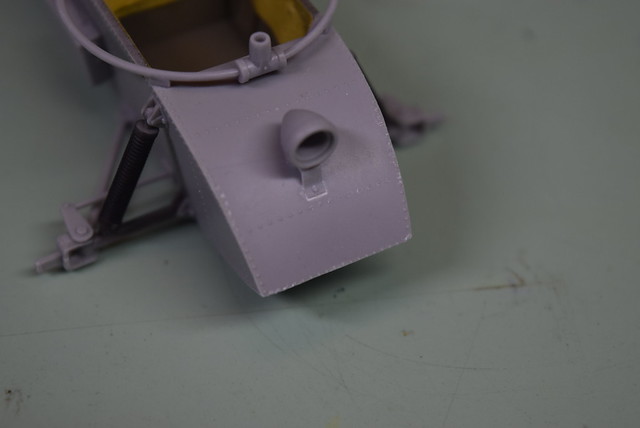
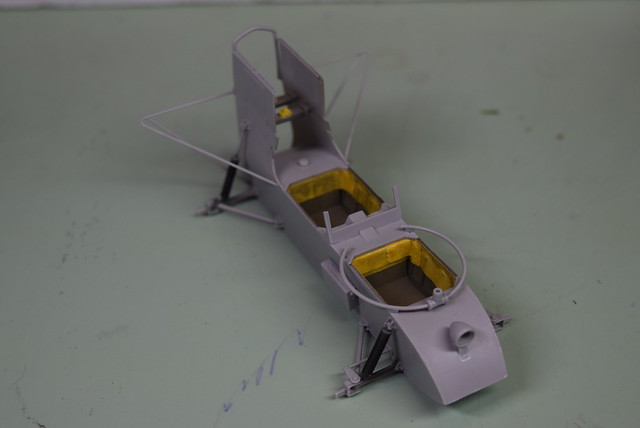
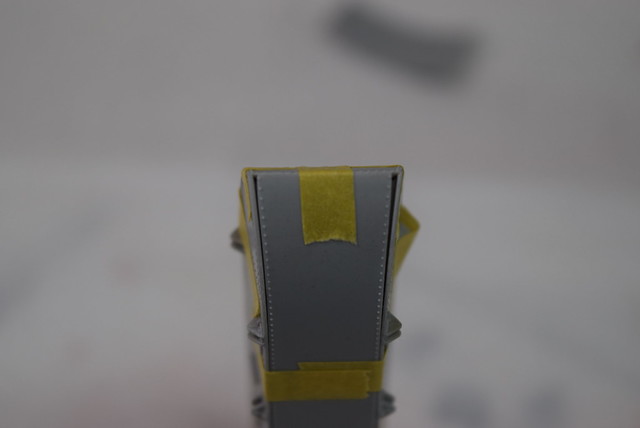
I've encountered a fit problem with the Trumpeter Aerosan I elected to build for the Trumpeter Campaign. The problem is at the front of the fuselage. Essentially the top plate is wider than the bottom as they meet at the nose.

Is it a better strategy to fill the gaps on the bottom, or to shave down the top?

My other concern is losing the rivet detail, as they are outies and not innies.
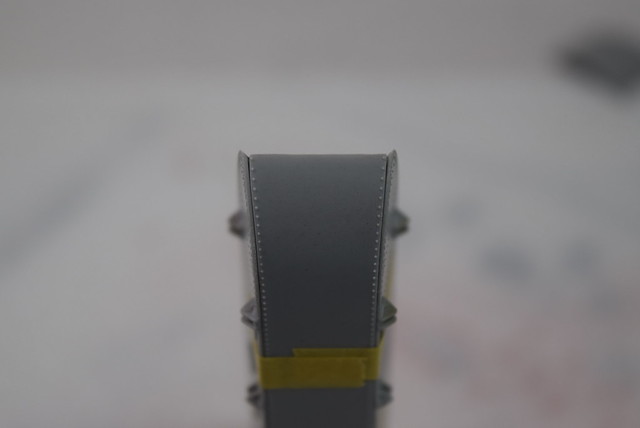

Here is the fit of the bottom without the top plate.

Here is the fit of the bottom with the top plate installed
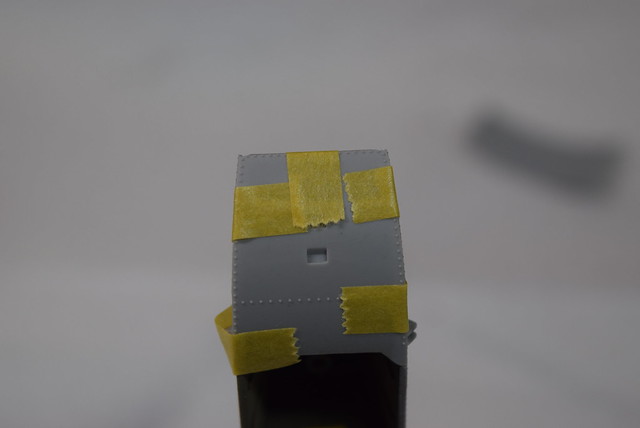

This is the top plate from the top.

Thanks in advance for any guidance on fixing this.

Happy Modeling,
Zon
varanusk
Staff MemberManaging Editor
ARMORAMA
Visit this Community
Santa Cruz de Tenerife, Spain / Espaņa
Joined: July 04, 2013
KitMaker: 1,288 posts
Armorama: 942 posts
Posted: Saturday, September 07, 2019 - 11:33 PM UTC
Probably you have already solved it, but in any case I would fill the gap using Vallejo acrylic putty, which can be removed easily with water before curing. You may need to add a plastic strip if the gap is too large
165thspc
#521
Visit this Community
Kentucky, United States
Joined: April 13, 2011
KitMaker: 9,465 posts
Armorama: 8,695 posts
Posted: Sunday, September 08, 2019 - 01:33 AM UTC
I would recommend gluing thin Evergreen plastic strips on each side of that wedge shaped nose piece. Then thinning down these strips to make the piece fit properly.

One tip that I would share here: (Maybe it is commonly known, maybe not.)

I use a #11 Xacto blade exclusively, and I will drag it sideways at a 90 degree angle over these glued strips of plastic. Just like a carpenter would use a Wood Plane or a Draw Knife, with each pass a thin shaving of plastic is taken off to finally thin the plastic to the desired measure.

The other great thing about this process is that applying more strokes to one end of a strip (as in the problem posed above) will thin that end more than the other. Rest assured it requires little or no talent to learn the trick of spreading your strokes out to successfully and uniformly taper the glued strip as desired.

Just sharing - worth every penny you paid for it!


p.s. If it were not for the rivets on the top piece I would just shave it down to make it more narrow.
RobinNilsson
Staff MemberTOS Moderator
KITMAKER NETWORK
Visit this Community
Stockholm, Sweden
Joined: November 29, 2006
KitMaker: 6,693 posts
Armorama: 5,562 posts
Posted: Saturday, September 14, 2019 - 11:21 PM UTC
I would split the bottom plate lengthwise,
add reinforcing strips inside to lock down the adjusted, wider, width and then fill the gap with strips, file/sand to follow the contour.

zontar
Visit this Community
Hawaii, United States
Joined: August 27, 2006
KitMaker: 1,646 posts
Armorama: 1,557 posts
Posted: Sunday, September 15, 2019 - 05:28 PM UTC
Thank you Carlos, Michael and Robin!

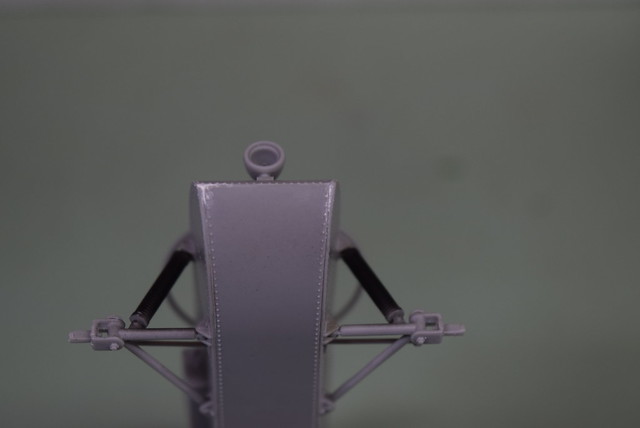
I ended up gluing the bottom on to about 3/4 of the way up, then fixing the top piece and finally, after everything else was set, somewhat forcing the rest of the sides to mate with the top and bottom as much as possible. The gaps ended up quite a bit smaller than i expected and I filled those with putty. Next will be a coat of primer, then more putty if necessary.


Overall I'm pretty pleased with how this is building up.


Happy Modeling,
Zon
 _GOTOTOP