_GOTOBOTTOM
Constructive Feedback
For in-progress or completed build photos. Give and get contructive feedback!
ZSU 57-2, Takom 1/35 WIP
Doodeck
Visit this Community
Croatia Hrvatska
Joined: August 15, 2014
KitMaker: 155 posts
Armorama: 154 posts
Posted: Sunday, September 22, 2019 - 10:04 PM UTC
Hi guys,
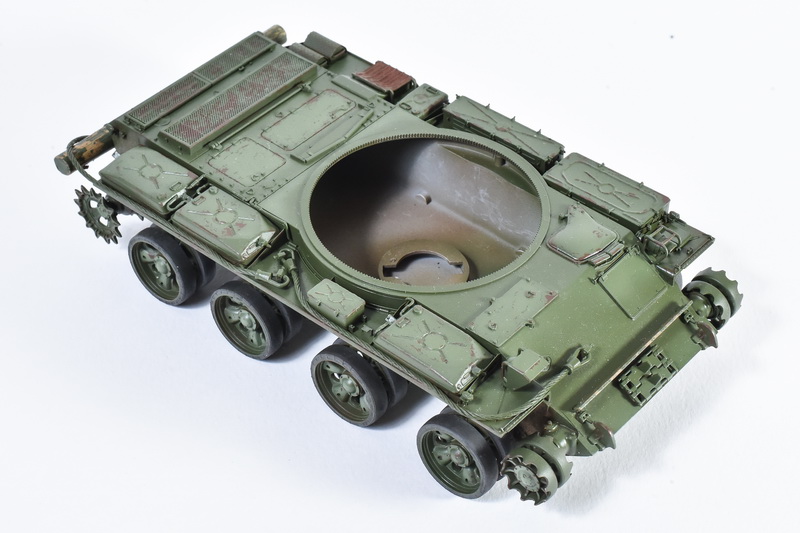
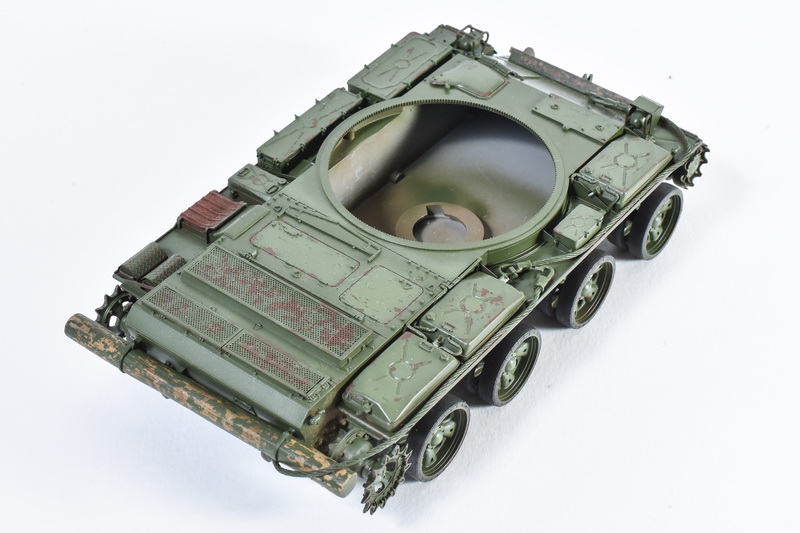
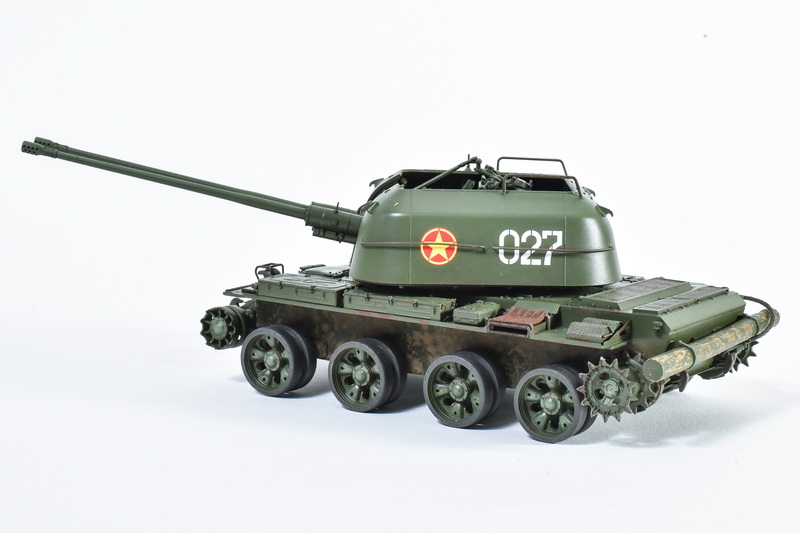
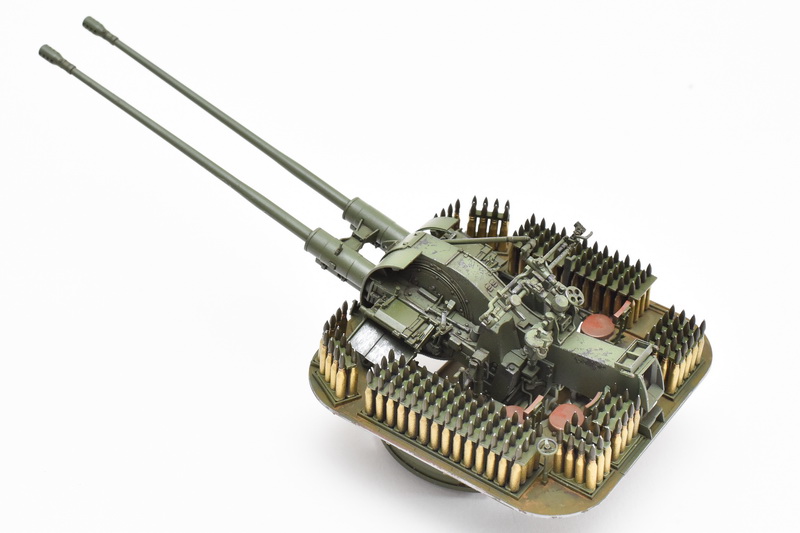
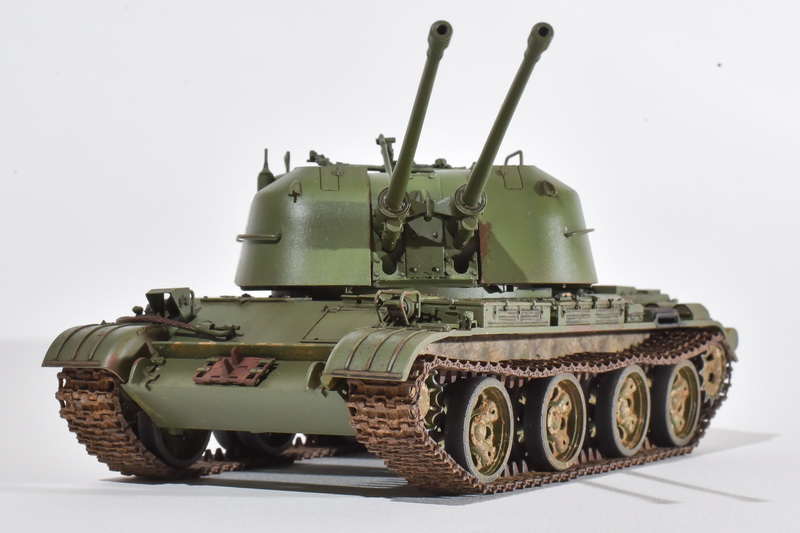
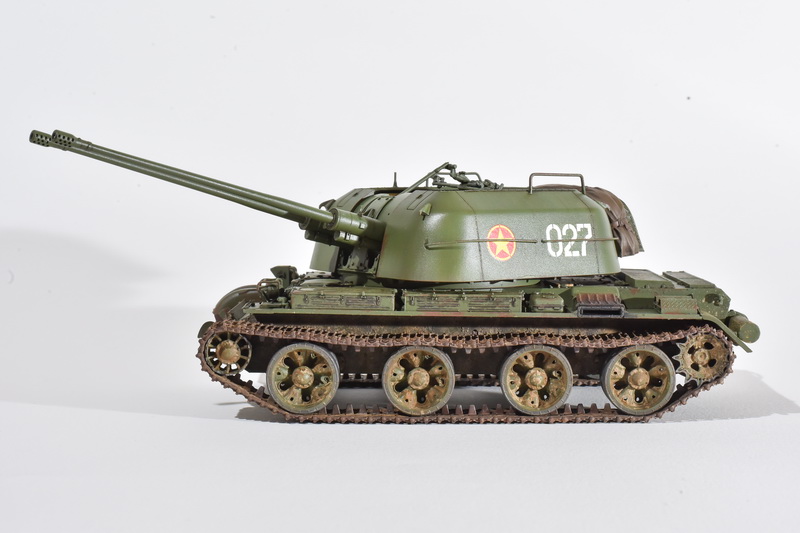
Here are some pics of my work in progress on Takom ZSU 57-2. Beautiful model, great to work on, although i ran into some problems.
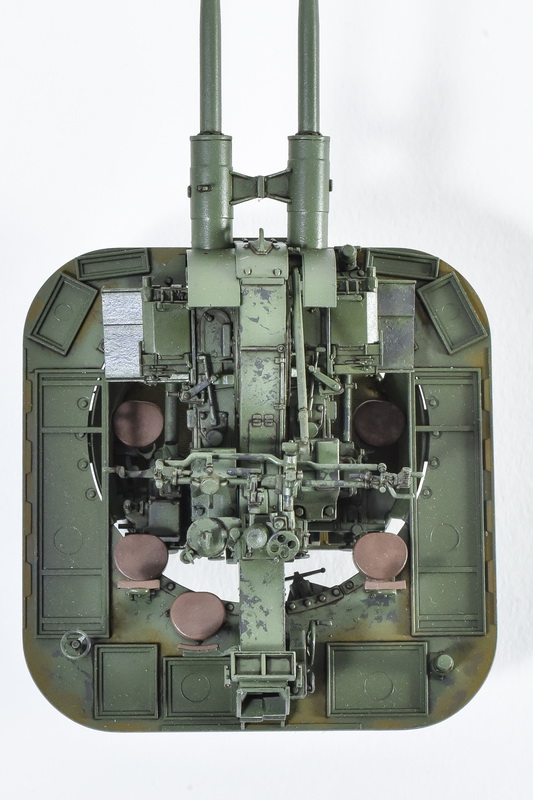
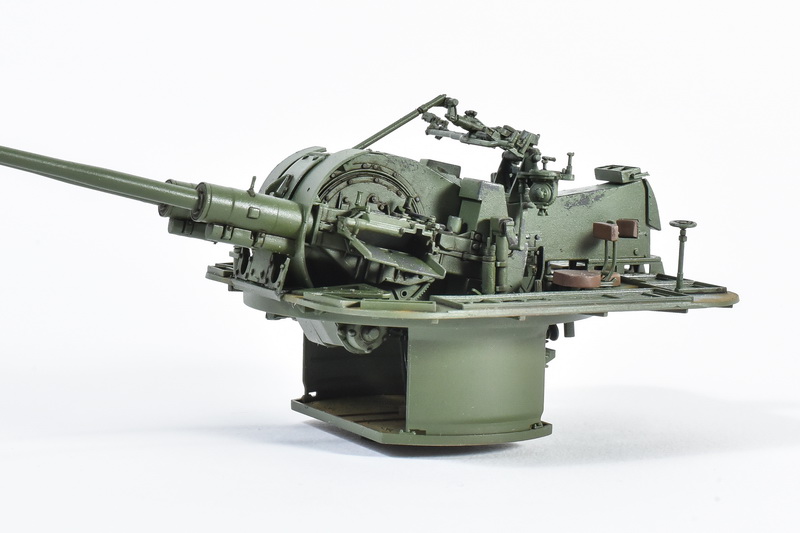
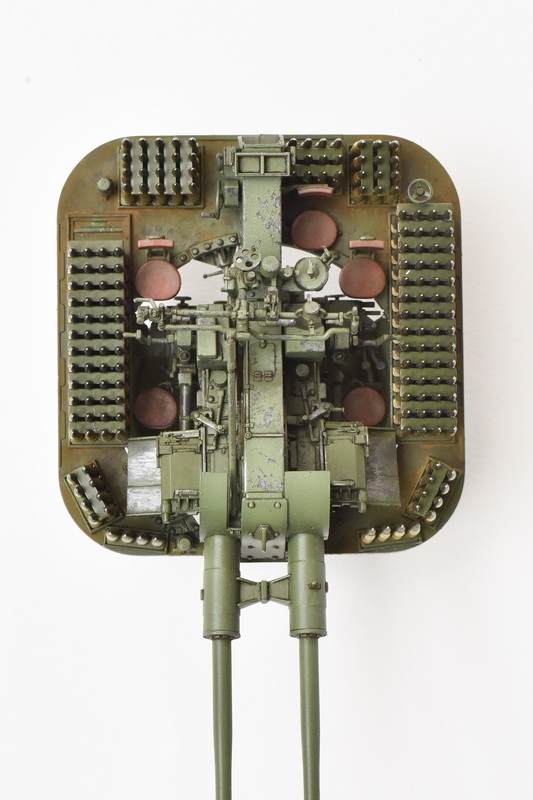
First was on aiming mechanism, it was way too fragile to leave elevating mechanism movable (when raising, it constantly was falling apart), so i had to glue it in fixed position.
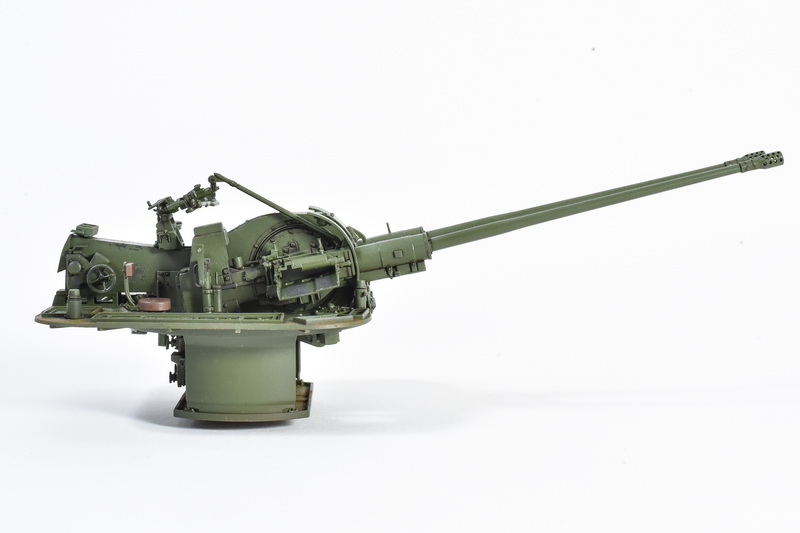
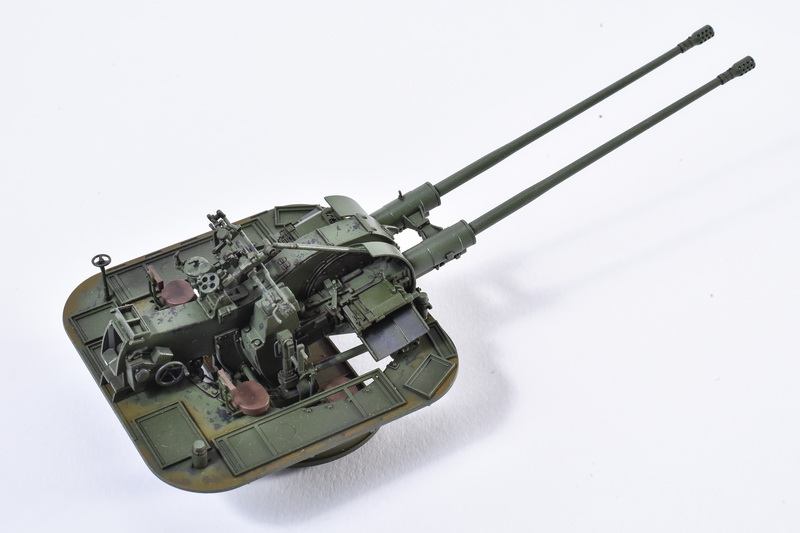
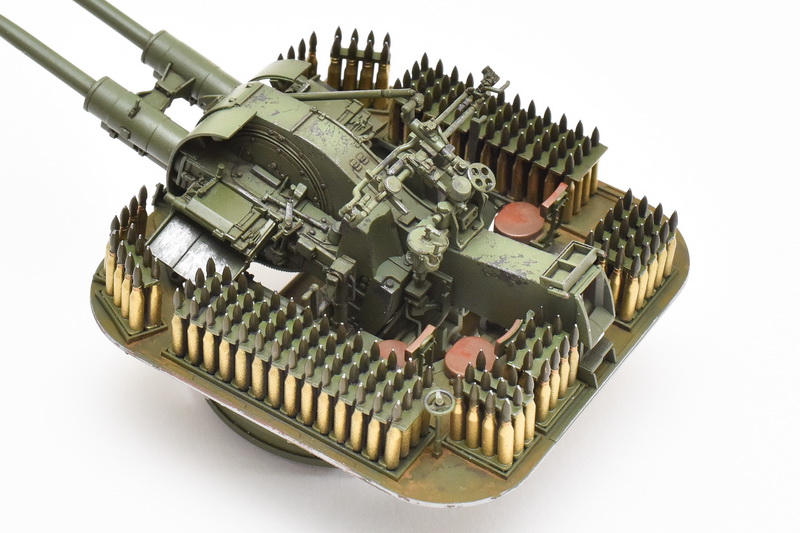
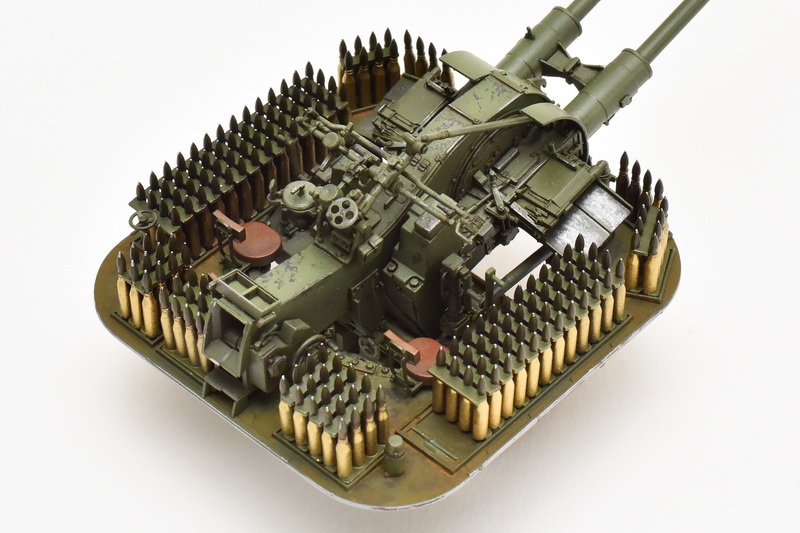
Next one was with the guns. When connecting them in their place, one barrel was about 2 mm's longer. I have no clue why. Probably my mistake somewhere, but i couldn't figure out where and what. Everything looked right in their place. Some minor surgery and now it seems OK.
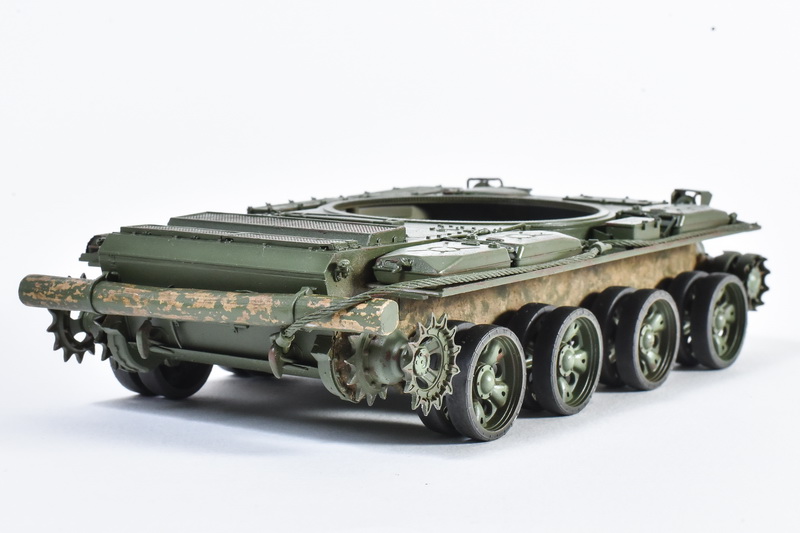
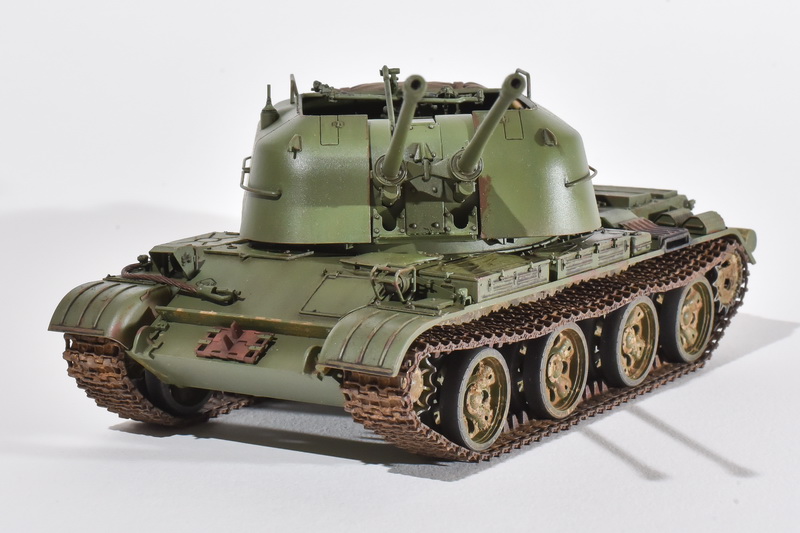
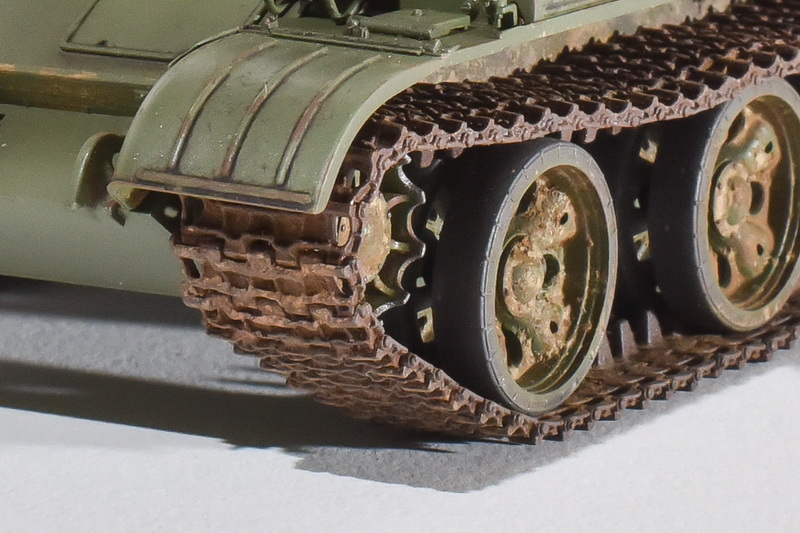
The main frustration were the link by link tracks. They just didn't want to cooperate around the driving sprocket, breaking constantly at various places when trying to align. After a few days of trying, cursing, crying and screaming I finally gave up and ordered Friuls...
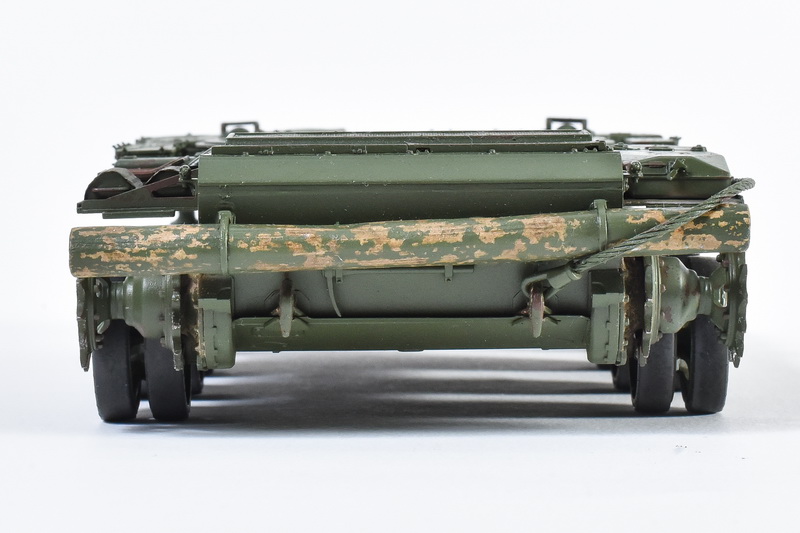
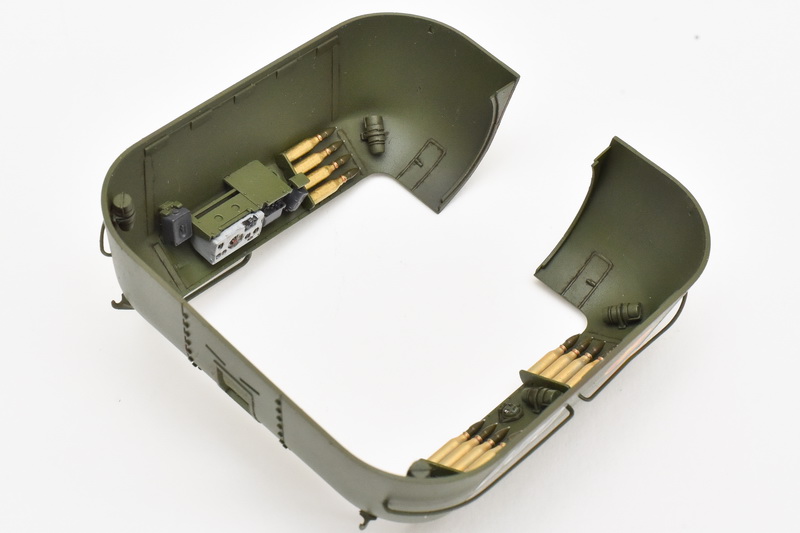
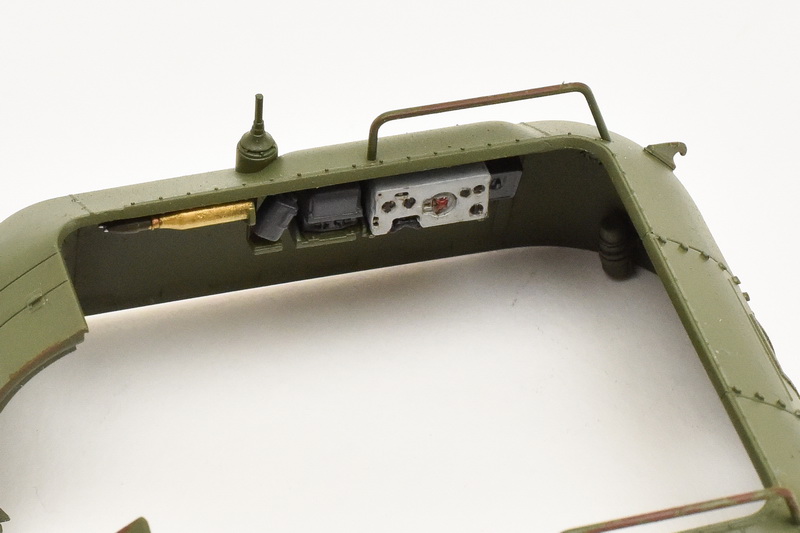
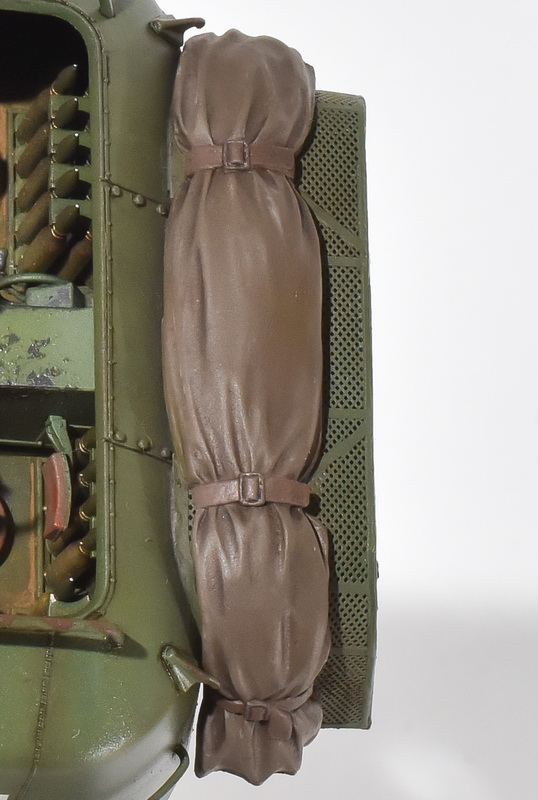
Next to do is finish grenade racks to bring the hull to finish, paint cables and tools and some fun with oils and pigments.
As always, comments and critics are more than welcome.


bison126
Visit this Community
Correze, France
Joined: June 10, 2004
KitMaker: 5,329 posts
Armorama: 5,204 posts
Posted: Monday, September 23, 2019 - 04:46 AM UTC
It is really looking good so far.

Olivier
beerbryan11
Visit this Community
Florida, United States
Joined: September 19, 2016
KitMaker: 7 posts
Armorama: 7 posts
Posted: Monday, September 23, 2019 - 05:35 AM UTC
your work looks great! I love how your did the un-ditching log great work
GulfWarrior
Staff MemberCampaigns Administrator
ARMORAMA
Visit this Community
Texas, United States
Joined: January 05, 2010
KitMaker: 1,051 posts
Armorama: 1,029 posts
Posted: Monday, September 23, 2019 - 06:04 AM UTC
Yeah, I like the ditching log too. How did you do it? I've never really understood how to best handle one of those. I've seen some where it's just painted to match the vehicle and others where it looks like a fresh log somebody harvested and mounted to the back of the vehicle.


Doodeck
Visit this Community
Croatia Hrvatska
Joined: August 15, 2014
KitMaker: 155 posts
Armorama: 154 posts
Posted: Monday, September 23, 2019 - 06:23 AM UTC
Thanks for reply guys, I'm glad you like it.
As for the log, it's really easy job. Paint it with some lighter wood colour, give it an oil wash, seal with clear coat, and then hairspray (or in this case chipping fluid). If the log has poor grooves, scrape it with razor saw before painting.
Doodeck
Visit this Community
Croatia Hrvatska
Joined: August 15, 2014
KitMaker: 155 posts
Armorama: 154 posts
Posted: Friday, September 27, 2019 - 03:08 AM UTC
Fighting department done. Grenades on the right side had to lose 2 rows because that little gizmo on the right side of radio was in their way and upper and lower half would not sit in place. Some oils yet on the inside of the hull to break the monotony of the green and then gluing two halves (dryfitting shows some minor issues with that but glueing bit by bit will solve that I hope).


kaleu
Visit this Community
Indiana, United States
Joined: June 11, 2003
KitMaker: 123 posts
Armorama: 112 posts
Posted: Friday, September 27, 2019 - 05:45 AM UTC
Well done. The paint and weathering look great.
Doodeck
Visit this Community
Croatia Hrvatska
Joined: August 15, 2014
KitMaker: 155 posts
Armorama: 154 posts
Posted: Wednesday, October 16, 2019 - 08:02 AM UTC
Progress so far:
Tracks done (Friuls) and on. Although the instructions for the kits tracks call for 92 links per side, it only took 80-something (I forgot) Friul links. Tracks were primed, painted and weathered the classic way (no Blacken It, or whatever it's called). Some more mud might be required.


The weakest part of the build (my fault, not manufacturer) is the rear basket. While glueing it with CA, the upper part of basket lifted off the paint like wallpaper but I managed (more or less succesfuly) to repair it and repaint, but some more hiding with oils and pigment will be neccesary. Also, while fiddling with the basket, it fell apart (of course), so it will also need some rust for hiding the irregularities.


Next is oils and pigments work on the body and hopefully bringing it to the end soon.
Critics and comments more than welcome.
GulfWarrior
Staff MemberCampaigns Administrator
ARMORAMA
Visit this Community
Texas, United States
Joined: January 05, 2010
KitMaker: 1,051 posts
Armorama: 1,029 posts
Posted: Wednesday, October 16, 2019 - 09:10 AM UTC
That's a whole lot of ammo!


jasegreene
Visit this Community
Florida, United States
Joined: October 21, 2013
KitMaker: 751 posts
Armorama: 751 posts
Posted: Wednesday, October 16, 2019 - 10:59 AM UTC
Amazing!!!This is very great work and look forward to seeing your finished model.
bison126
Visit this Community
Correze, France
Joined: June 10, 2004
KitMaker: 5,329 posts
Armorama: 5,204 posts
Posted: Wednesday, October 16, 2019 - 06:43 PM UTC
Stunning job on the interior. I love the chipping you applied. It is very realistic.

Olivier
 _GOTOTOP