Armor/AFV
For discussions on tanks, artillery, jeeps, etc.
For discussions on tanks, artillery, jeeps, etc.
Hosted by Darren Baker, Mario Matijasic
Husky TSV Heavy
billyporche

Joined: August 14, 2018
KitMaker: 8 posts
Armorama: 2 posts

Posted: Wednesday, July 15, 2020 - 02:32 AM UTC
Mario I have been following this build at a distance, fantastic work! I do have a question, what black are you using here? Looks so different from just black. Thanks in advance.
Maki


Joined: February 13, 2002
KitMaker: 5,579 posts
Armorama: 2,988 posts

Posted: Wednesday, July 15, 2020 - 03:41 AM UTC
Thanks Billy, I appreciate your comments. As for the black, it is Gunze Tire Black, but I always mix some sand color in to make it even lighter.
Mario
Mario
billyporche

Joined: August 14, 2018
KitMaker: 8 posts
Armorama: 2 posts

Posted: Wednesday, July 15, 2020 - 04:20 AM UTC
Thank you! so helpful....trying to learn new things...will be following your work for sure! 

philhendry

Joined: December 26, 2009
KitMaker: 57 posts
Armorama: 56 posts
Posted: Saturday, July 18, 2020 - 02:42 AM UTC
This is brilliant work - the attention to detail is amazing.
As someone who usually shies away from vehicles with visible interior details, I'm intrigued by the process - making bits, 'finishing' them and then addding them - like the dashboard - I suppose you must clean some of the paint off the 'shell' to fit things like that - or do you mask carefully before the base-coat? And how will you 'mask' the interior once you get on to working on the exterior, so as not to paint it in error?
As someone who usually shies away from vehicles with visible interior details, I'm intrigued by the process - making bits, 'finishing' them and then addding them - like the dashboard - I suppose you must clean some of the paint off the 'shell' to fit things like that - or do you mask carefully before the base-coat? And how will you 'mask' the interior once you get on to working on the exterior, so as not to paint it in error?
Maki


Joined: February 13, 2002
KitMaker: 5,579 posts
Armorama: 2,988 posts

Posted: Saturday, July 18, 2020 - 04:05 AM UTC
Thank you.
For some reason the interior is the best part of the modeling process for me. Yes, it is finishing bits and pieces before installing them. There is usually no need to clean the pieces, the layer of paint is thin and doesn’t influence the fit. As for masking the interior before working on the exterior, yes I will add the windows and mask the door spaces with Tamiya tape until all of the exterior is done.
Mario
Yoshiii

Joined: September 18, 2018
KitMaker: 7 posts
Armorama: 7 posts

Posted: Saturday, July 18, 2020 - 04:44 AM UTC
Really, really like what your doing. Very impressive!
TankManNick

Joined: February 01, 2010
KitMaker: 551 posts
Armorama: 543 posts

Posted: Saturday, July 18, 2020 - 05:17 AM UTC
Really effective interior. Very nicely done!
Can you come work on my car next?
Can you come work on my car next?

Maki


Joined: February 13, 2002
KitMaker: 5,579 posts
Armorama: 2,988 posts

Posted: Thursday, August 20, 2020 - 11:20 PM UTC
The undercarriage:
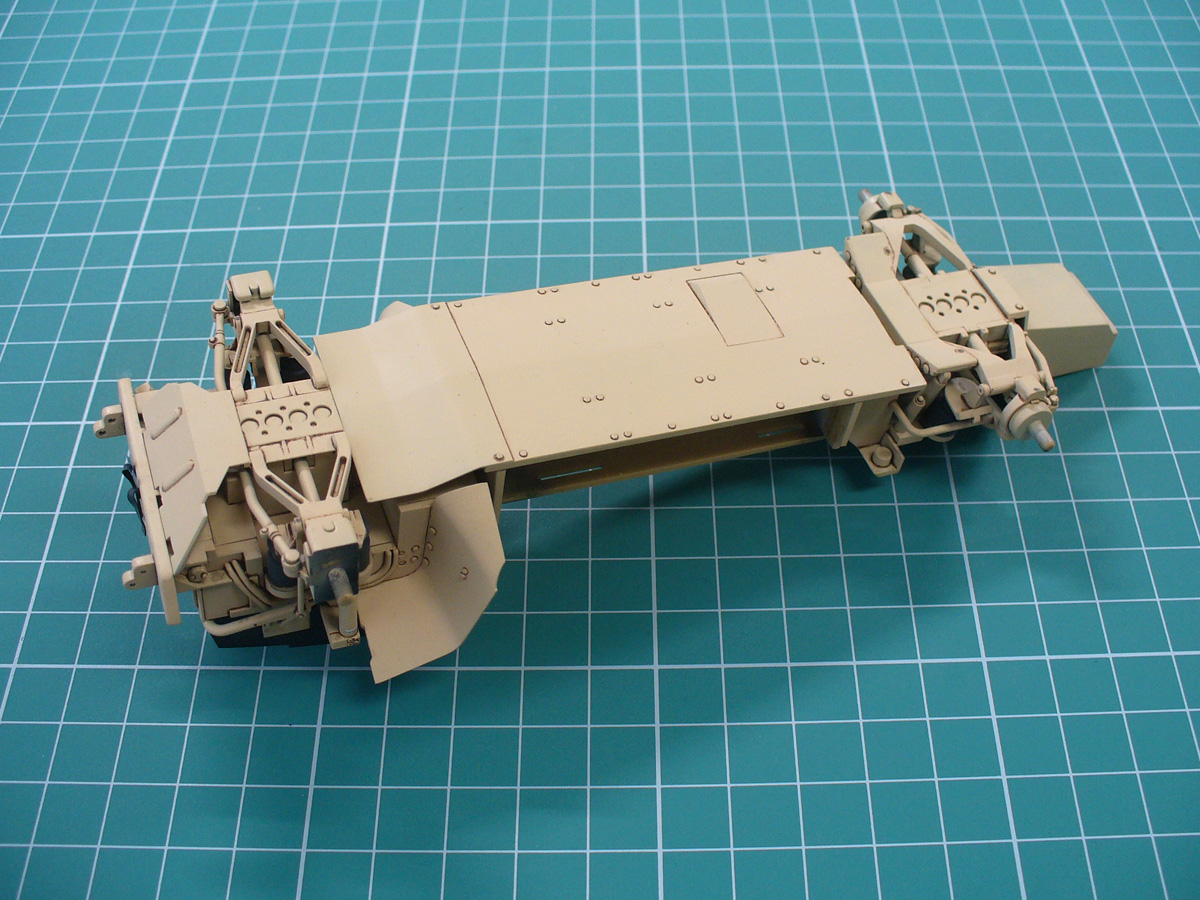
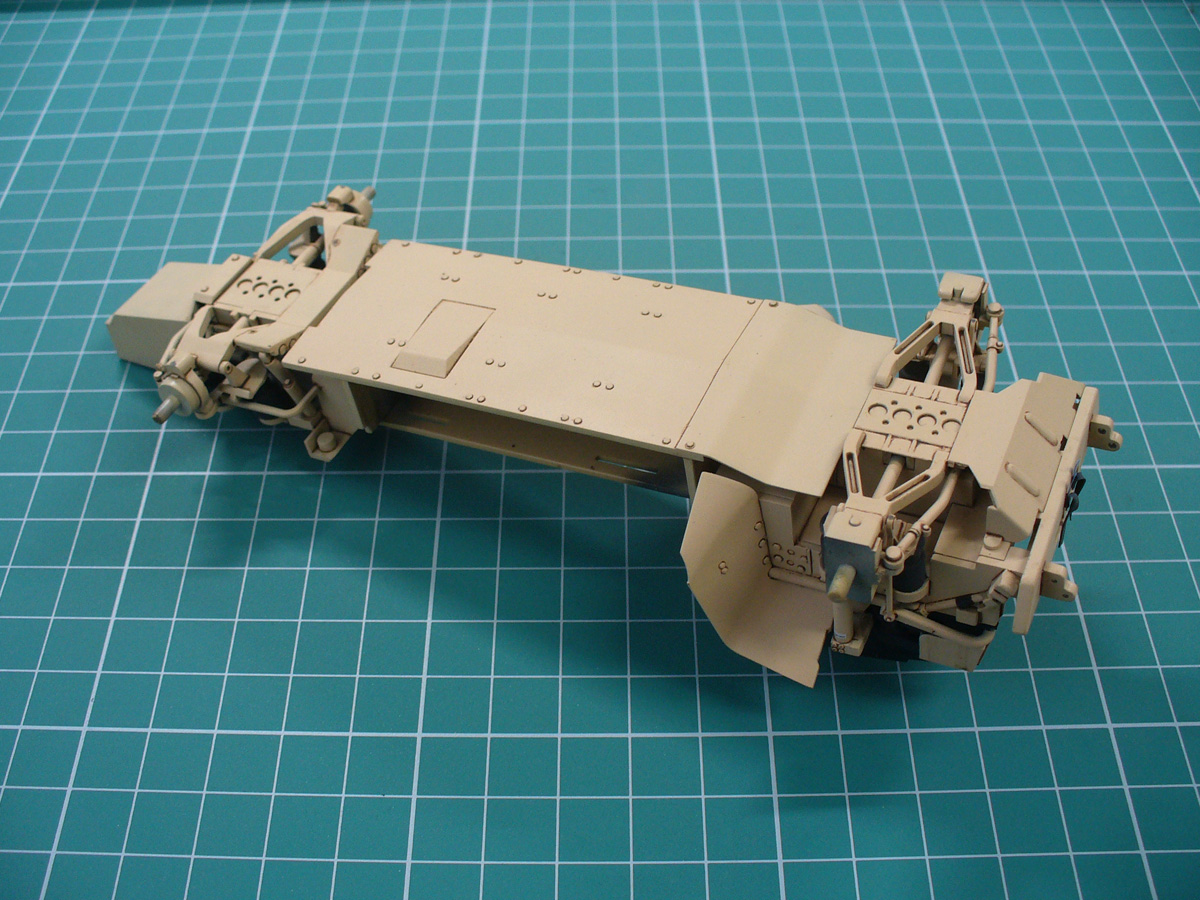
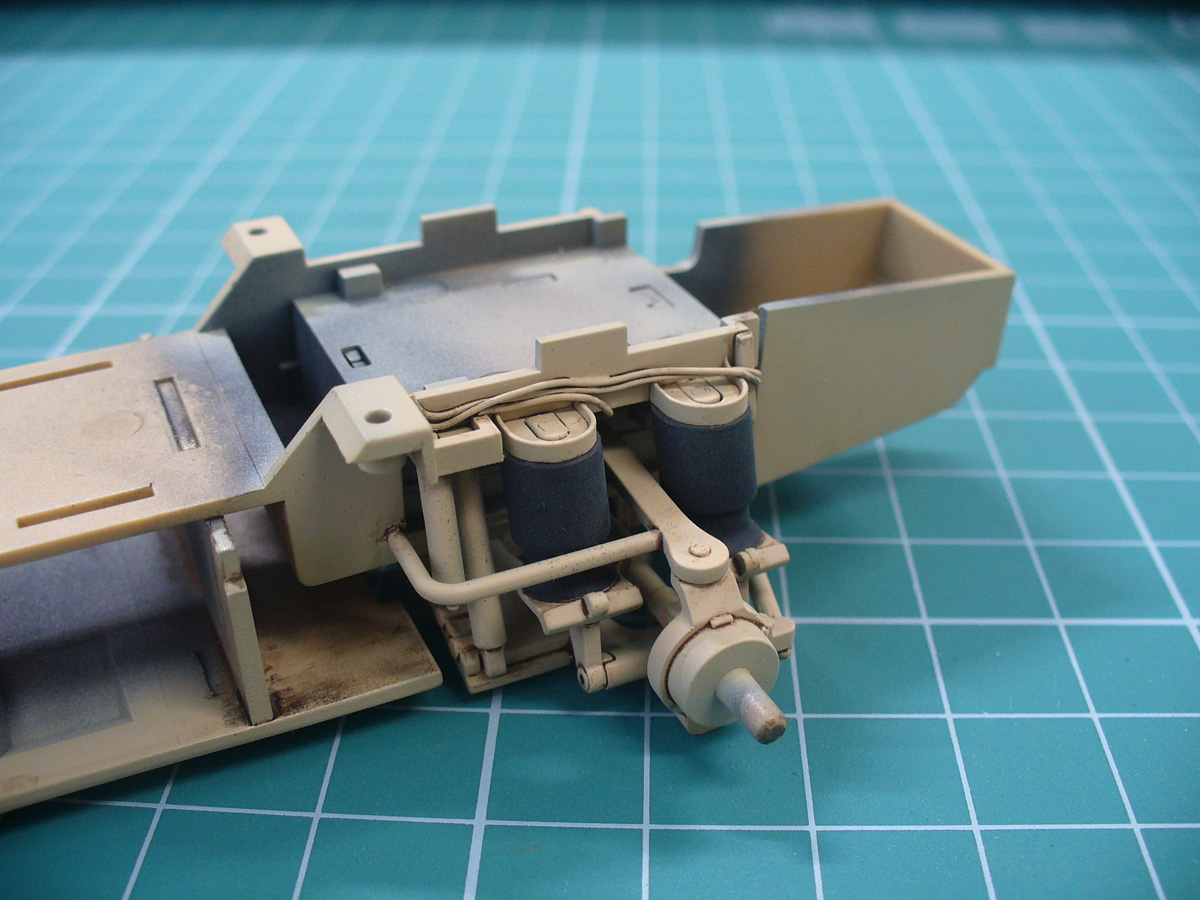
Some details:
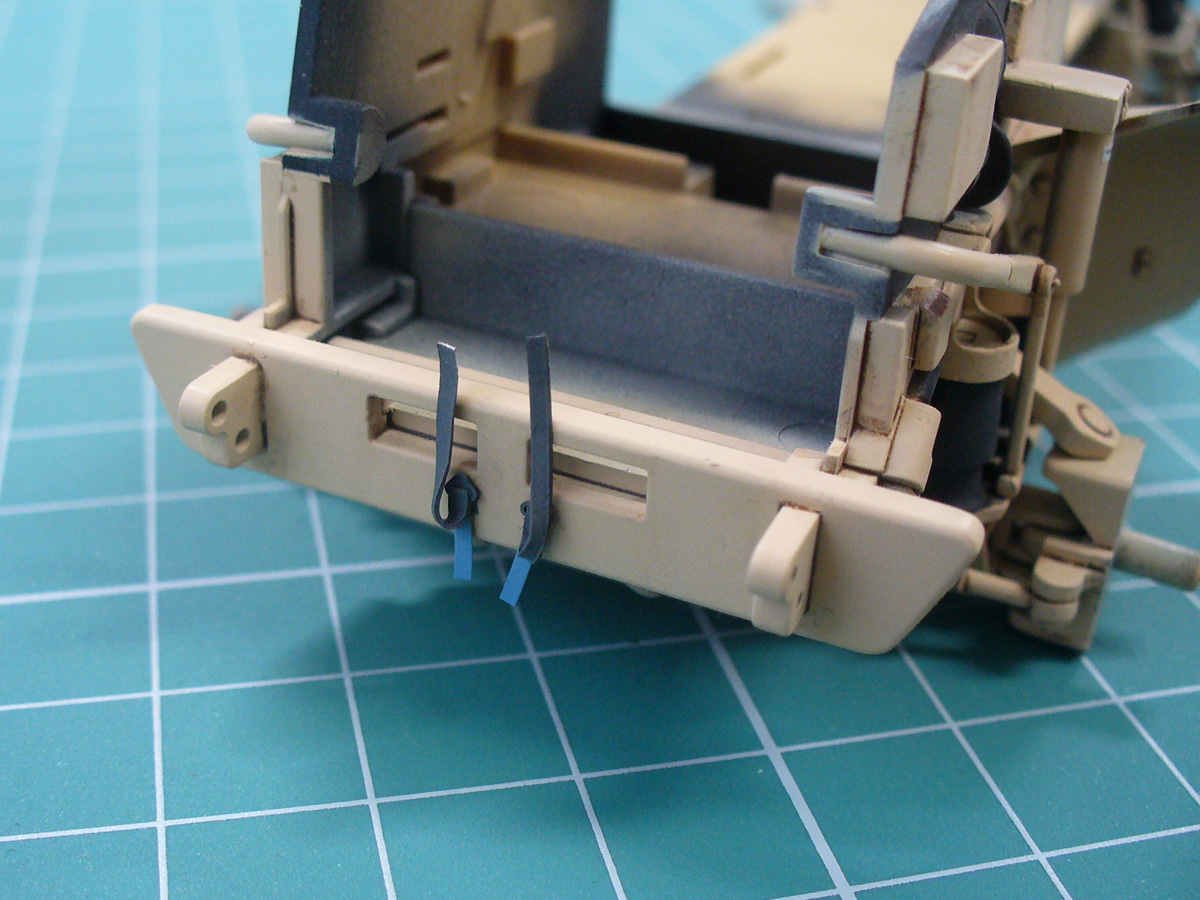
The front thingie (some sort of electronics box I guess):
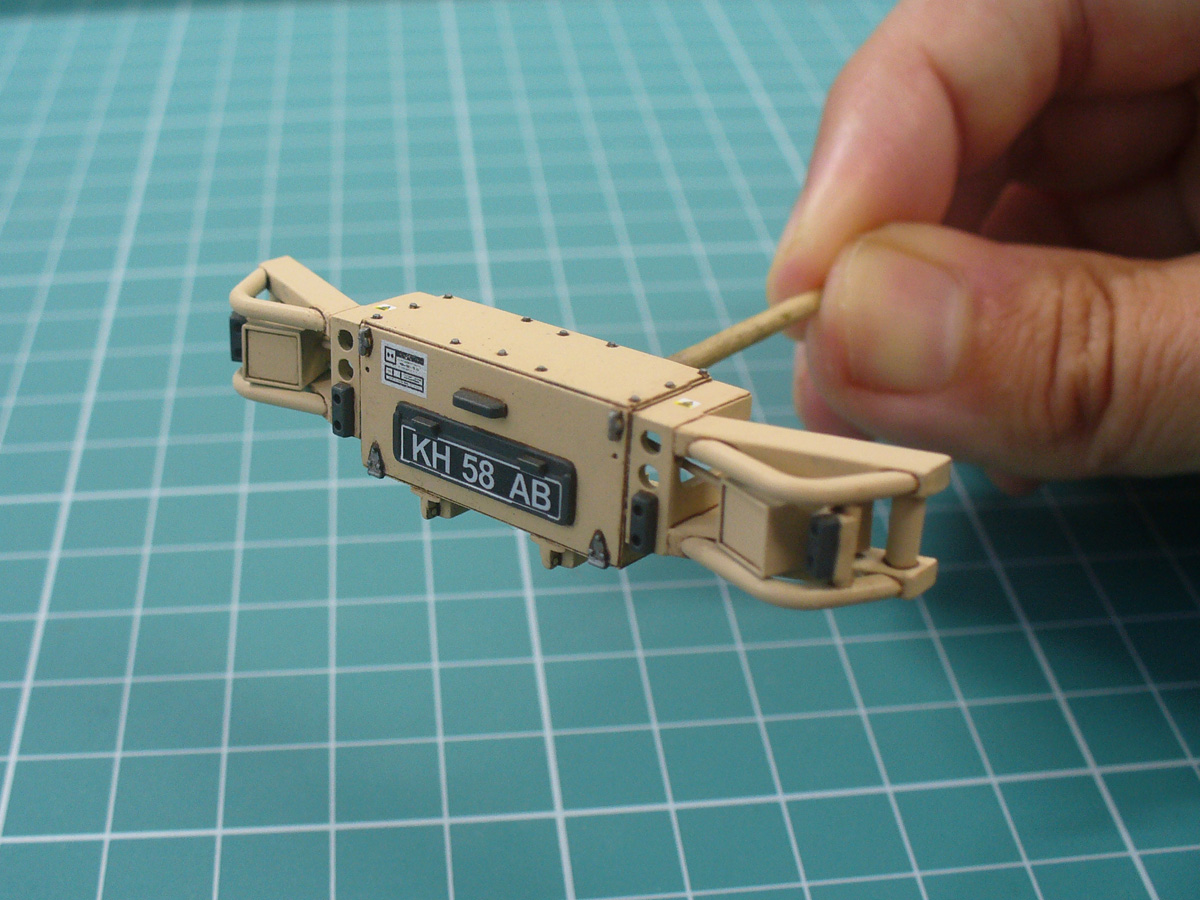
I added a custom decal, it seems most vehicles from Afghanistan had this white sticker on the front. Also, most deployed vehicles had WLL 8 Tonne Round Sling stowed around the front... like this:
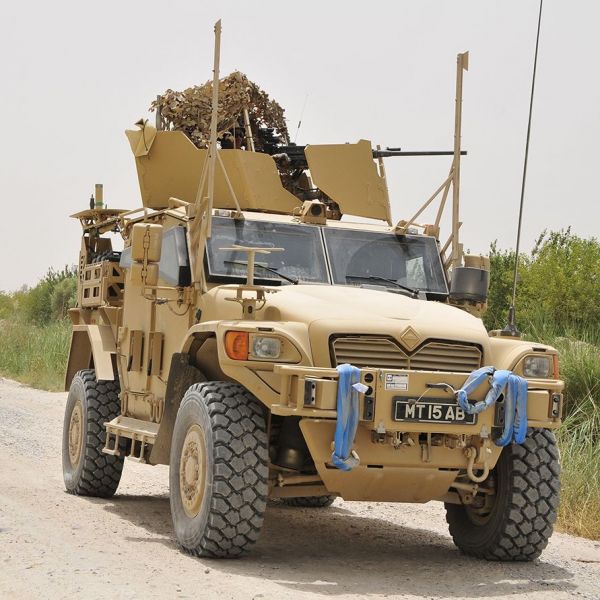
or this:
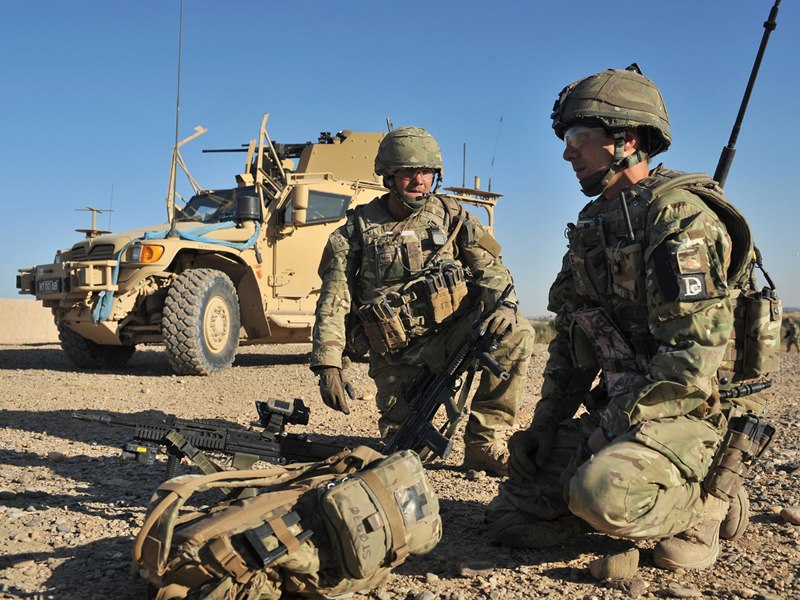
I'm thinking of the best way to replicate this kinetic sling in scale, as it is a sleeve of some kind, not just a 2D sling:

Any ideas?
Mario


Some details:


The front thingie (some sort of electronics box I guess):

I added a custom decal, it seems most vehicles from Afghanistan had this white sticker on the front. Also, most deployed vehicles had WLL 8 Tonne Round Sling stowed around the front... like this:

or this:

I'm thinking of the best way to replicate this kinetic sling in scale, as it is a sleeve of some kind, not just a 2D sling:

Any ideas?
Mario
philhendry

Joined: December 26, 2009
KitMaker: 57 posts
Armorama: 56 posts
Posted: Friday, August 21, 2020 - 12:14 AM UTC
Quoted Text
The front thingie (some sort of electronics box I guess):
I added a custom decal, it seems most vehicles from Afghanistan had this white sticker on the front.
Amazingly neat job, as always! How did you make a decal with white in it? Or did you paint a white square and apply a black decal over it?
Quoted Text
Also, most deployed vehicles had WLL 8 Tonne Round Sling stowed around the front... like this:

or this:

I'm thinking of the best way to replicate this kinetic sling in scale, as it is a sleeve of some kind, not just a 2D sling:
Any ideas?
That's a tricky thing to reproduce in scale. As you say, it's not flat, so you can't just use a bit of paper or something. I wonder whether a strip of facial tissue, wrapped around fine string or wire and held in place with PVA glue, might do it? I'll have a think... I'm probably going to need to reproduce the same thing, when I get onto building mine.
Brian3394

Joined: April 01, 2020
KitMaker: 7 posts
Armorama: 5 posts
Posted: Friday, August 21, 2020 - 09:35 AM UTC
Hi,
That interior is superb looking!
What radios did you end up using?
Also, your headsets, are they scratch built or bought?
Thanks
Brian
That interior is superb looking!
What radios did you end up using?
Also, your headsets, are they scratch built or bought?
Thanks
Brian

18Bravo

Joined: January 20, 2005
KitMaker: 7,219 posts
Armorama: 6,097 posts

Posted: Friday, August 21, 2020 - 09:40 AM UTC
Thin shoelace? Gutted five fifty cord?


philhendry

Joined: December 26, 2009
KitMaker: 57 posts
Armorama: 56 posts
Posted: Friday, August 21, 2020 - 09:49 AM UTC
That’s given me an idea... When I was still working in the lab (I’m a physicist by profession), we used to use ‘braided’ fishing line as insulation on fine wires - it came in a variety of thicknesses - with the inner ‘core’ removed (grab it with very fine tweezers and pull), the heavier grades could look ‘near enough’ the material those slings are made from. I wonder whether I’ve still got any in my toolbox?

18Bravo

Joined: January 20, 2005
KitMaker: 7,219 posts
Armorama: 6,097 posts

Posted: Friday, August 21, 2020 - 09:53 AM UTC
Try it. By the way, how fast does a bullet travel when fired in space?
Maki


Joined: February 13, 2002
KitMaker: 5,579 posts
Armorama: 2,988 posts

Posted: Friday, August 21, 2020 - 06:31 PM UTC
Thanks for the comments guys.
Phil, the decal was printed on white decal paper.
Brian, the radios are in the AA conversion. I did add DAGR (3D printed part) and VUDT monitor from spares box to the system. Headsets are a Live Resin item (35029).
Thanks for the tips on making the sling. I was also thinking of flattening a larger diameter lead wire (or something similar) and then using some kind of a sleeve for it. I don't think "braided" stuff would be the optimal solution, as these slings don't have a texture which would be noticeable in 1/35 scale. A friend provided some heat-shrink tubing in different diameters, so that might do the trick.
Mario
StephenB

Joined: July 21, 2020
KitMaker: 15 posts
Armorama: 14 posts

Posted: Friday, August 21, 2020 - 09:16 PM UTC
Stowage items often look unnatural...but this stuff is so real! Breathtaking build.
philhendry

Joined: December 26, 2009
KitMaker: 57 posts
Armorama: 56 posts
Posted: Friday, August 21, 2020 - 11:01 PM UTC
Quoted Text
Thanks for the comments guys.
Phil, the decal was printed on white decal paper.
Thanks!
Quoted Text
Thanks for the tips on making the sling. I was also thinking of flattening a larger diameter lead wire (or something similar) and then using some kind of a sleeve for it. I don't think "braided" stuff would be the optimal solution, as these slings don't have a texture which would be noticeable in 1/35 scale. A friend provided some heat-shrink tubing in different diameters, so that might do the trick.
Heat shrink is a good idea. It might work best with ‘something’ inside it - string or something - to keep it from flattening completely where you bend it around the bumper.
Trisaw

Joined: December 24, 2002
KitMaker: 4,105 posts
Armorama: 2,492 posts

Posted: Saturday, August 22, 2020 - 05:51 AM UTC
Mario,
Your ability to airbrush everything just like how they paint the real vehicle is truly amazing. The quality of your outstanding craftsmanship really shows!

Your ability to airbrush everything just like how they paint the real vehicle is truly amazing. The quality of your outstanding craftsmanship really shows!


 |


