Maki
 Senior Editor
Croatia Hrvatska
Joined: February 13, 2002
KitMaker: 5,579 posts
Armorama: 2,988 posts
Posted: Sunday, October 06, 2019 - 03:43 AM UTC
A new project on my bench...
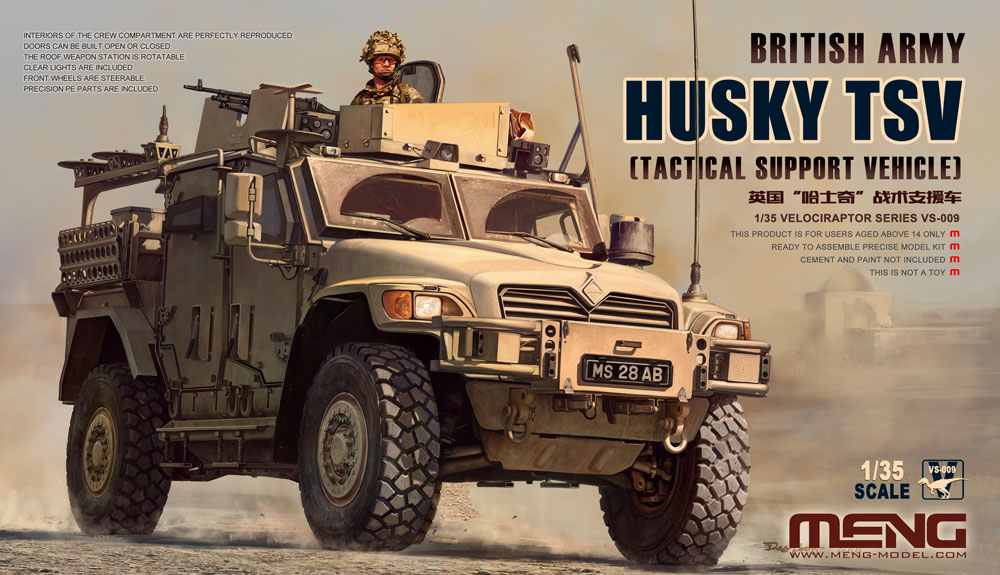
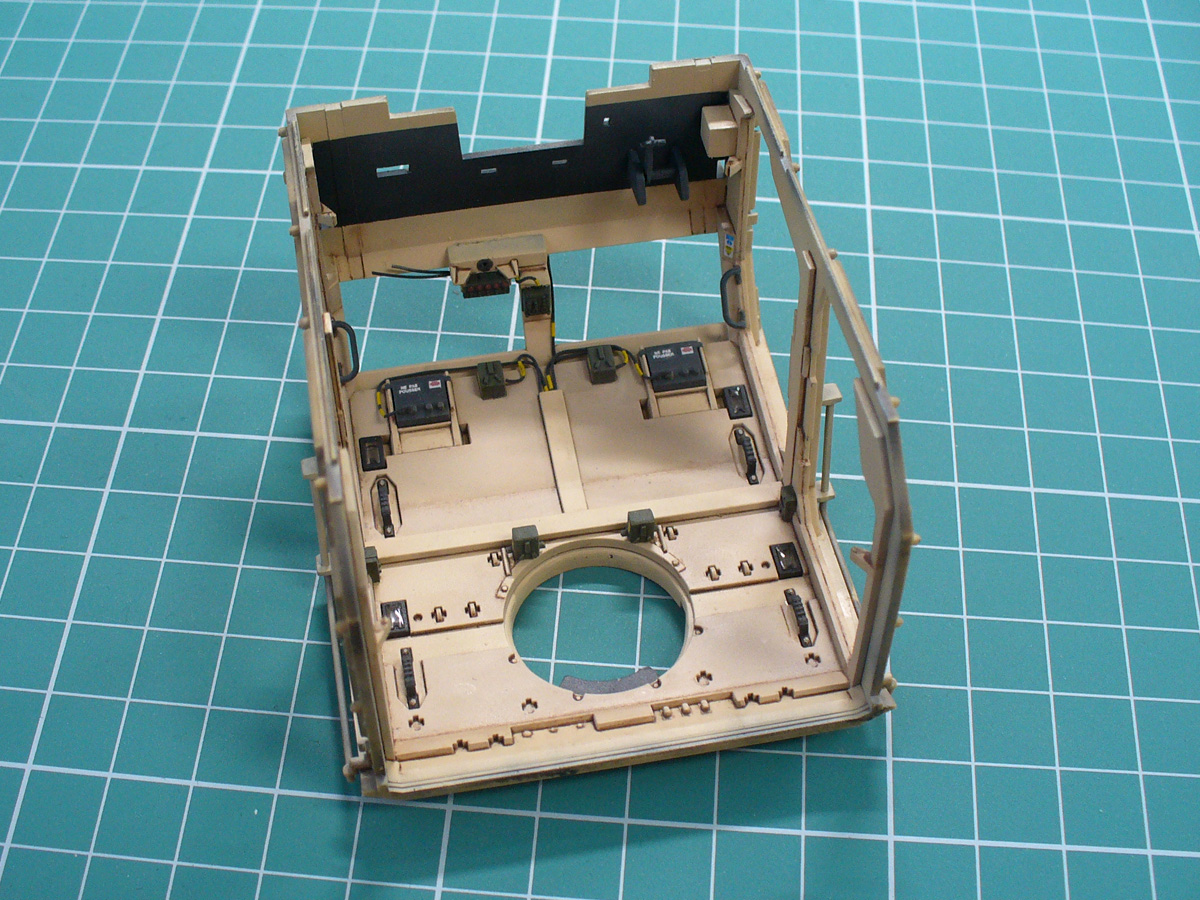
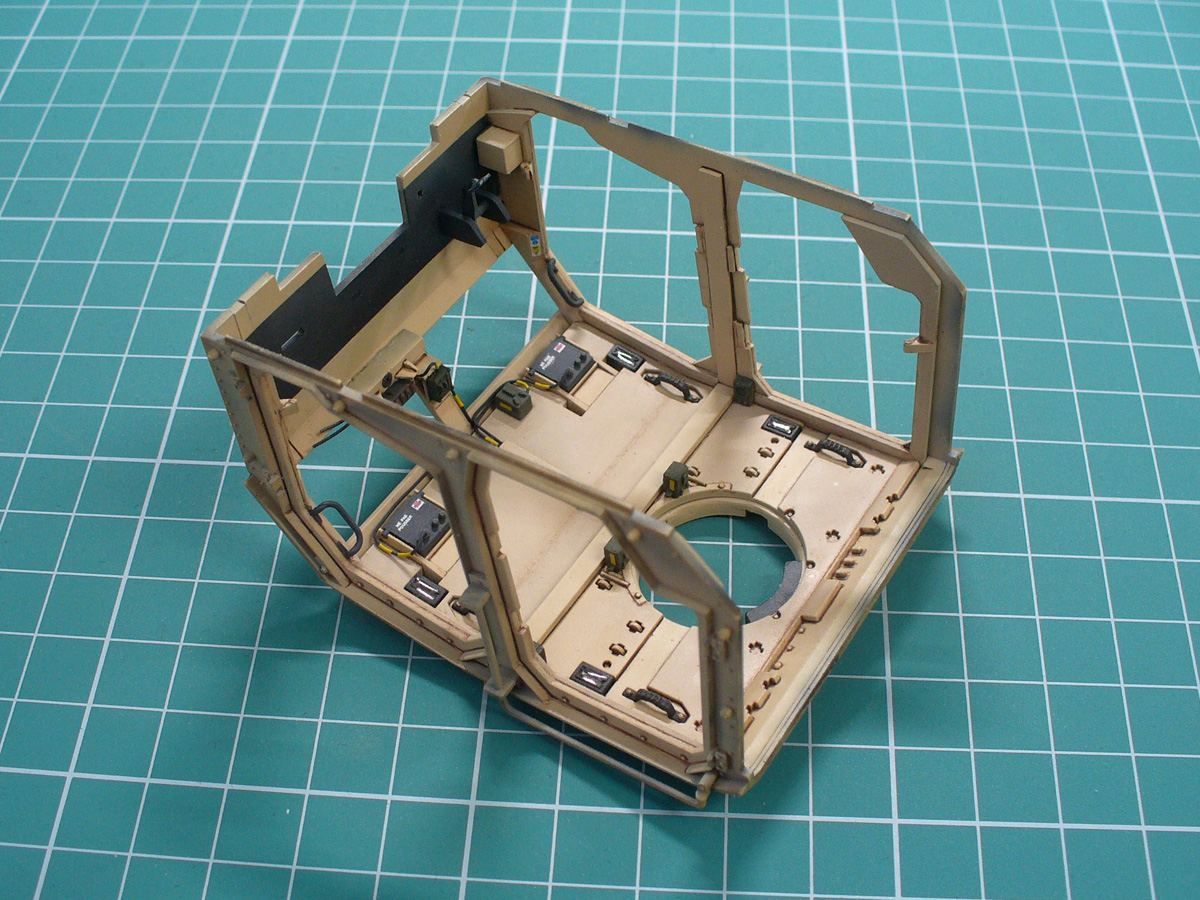
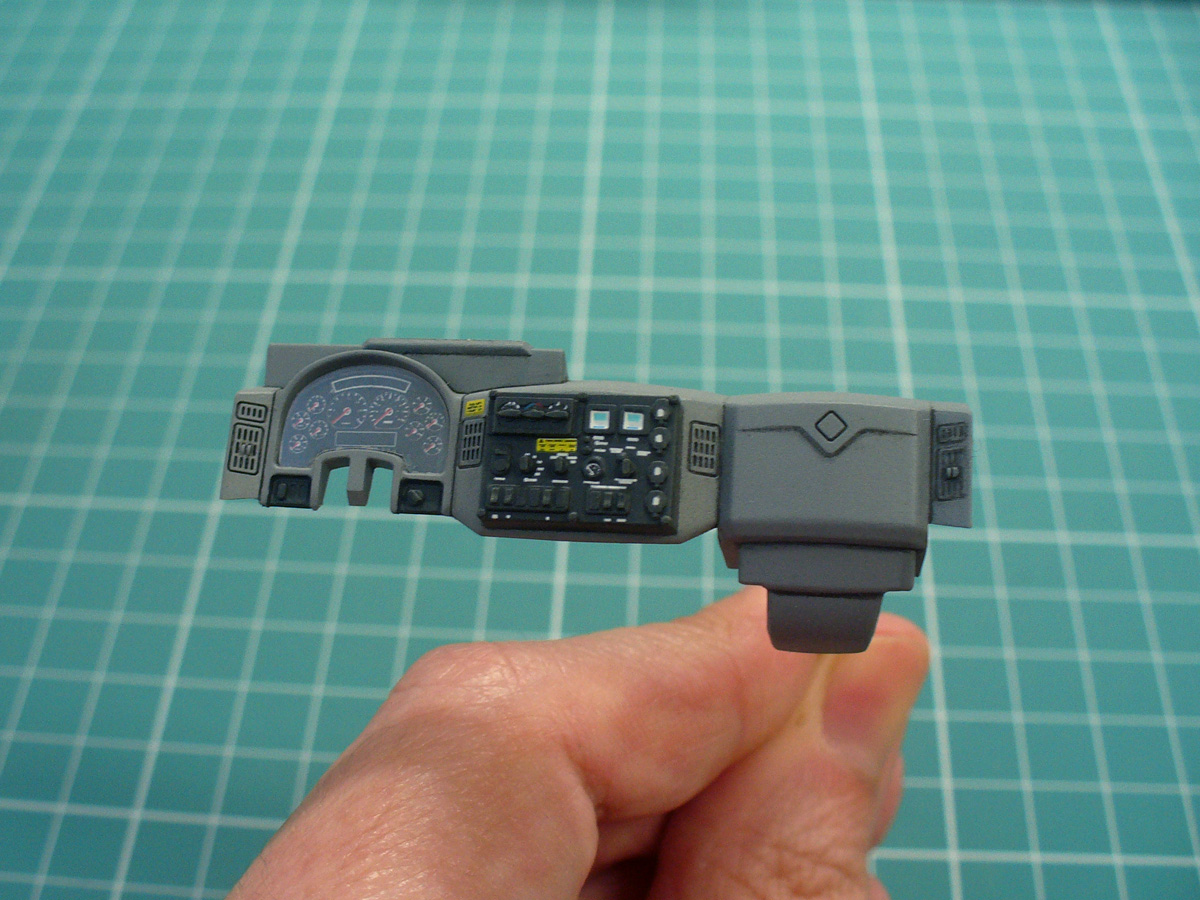
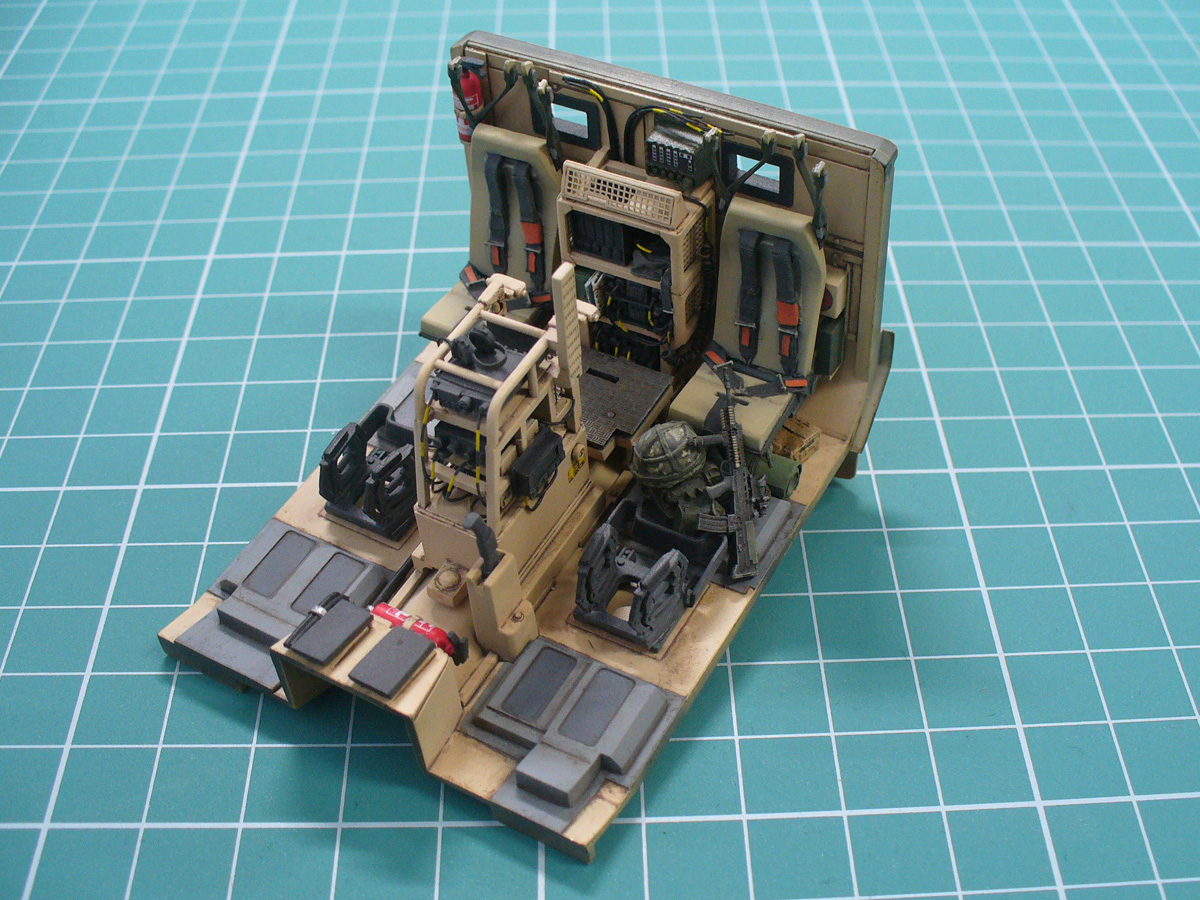
The kit is really nice, everything goes together without any problems. I got Accurate Armour "Heavy" conversion which includes a completely new turret with .50 cal and deals with some interior shortcomings of the kit as well. Unfortunately, the conversion lacks some "Heavy" specific stuff, so I'll have to do some scratch-building...
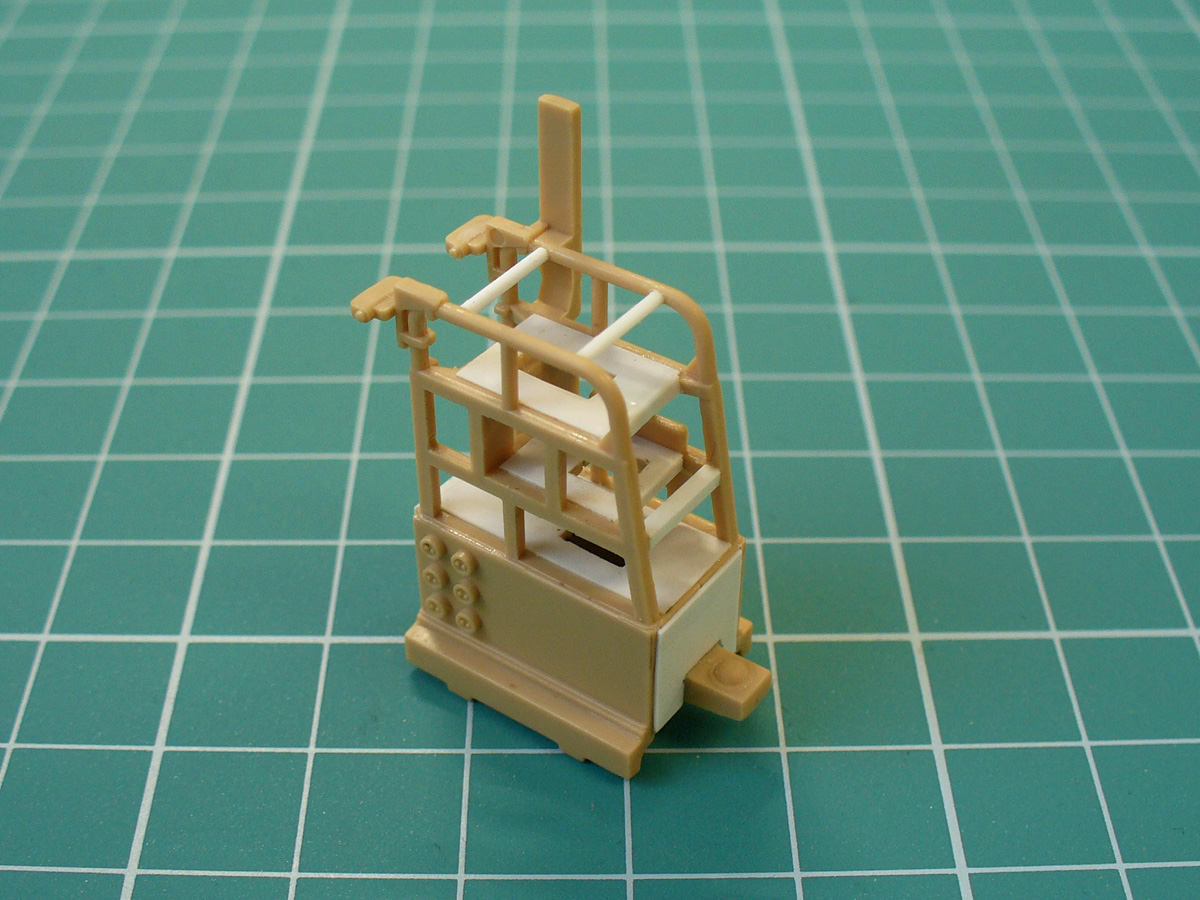
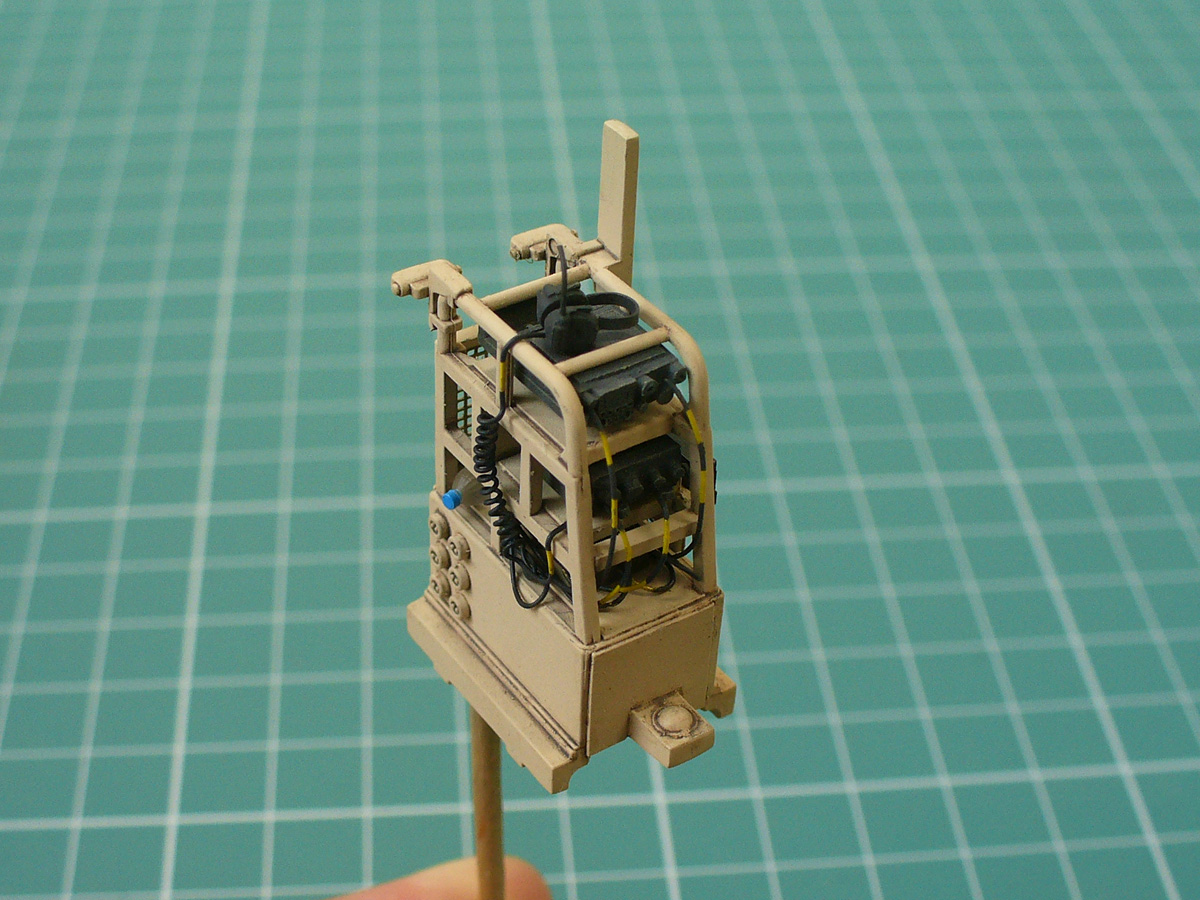
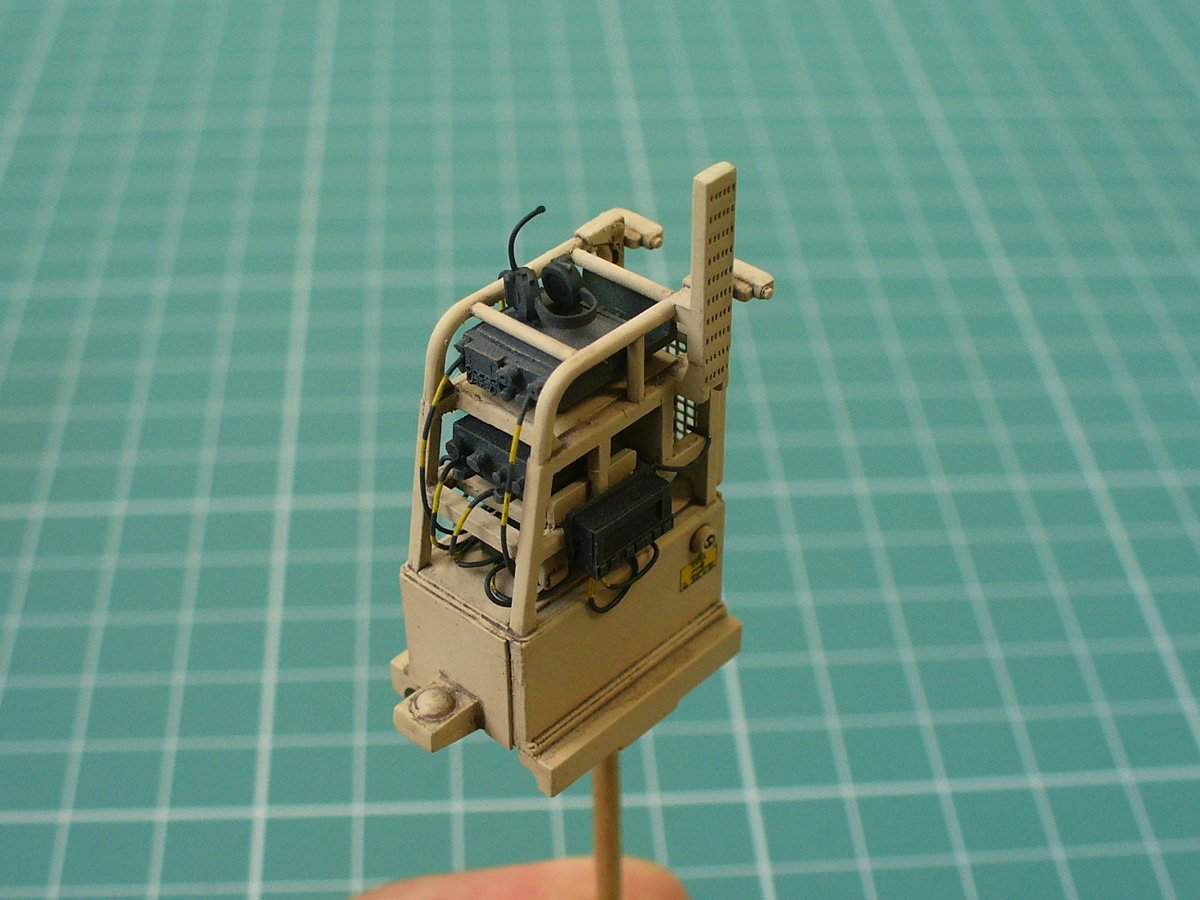
Anyway, here is the progress so far. The only thing I didn't like in the kit was radio racks build which is awkward and leaves substantial gaps, together with the fact the kit doesn't provide any kind of communication equipment... nothing, nada, zilch.
I used some sheet styrene for a bit of an upgrade:
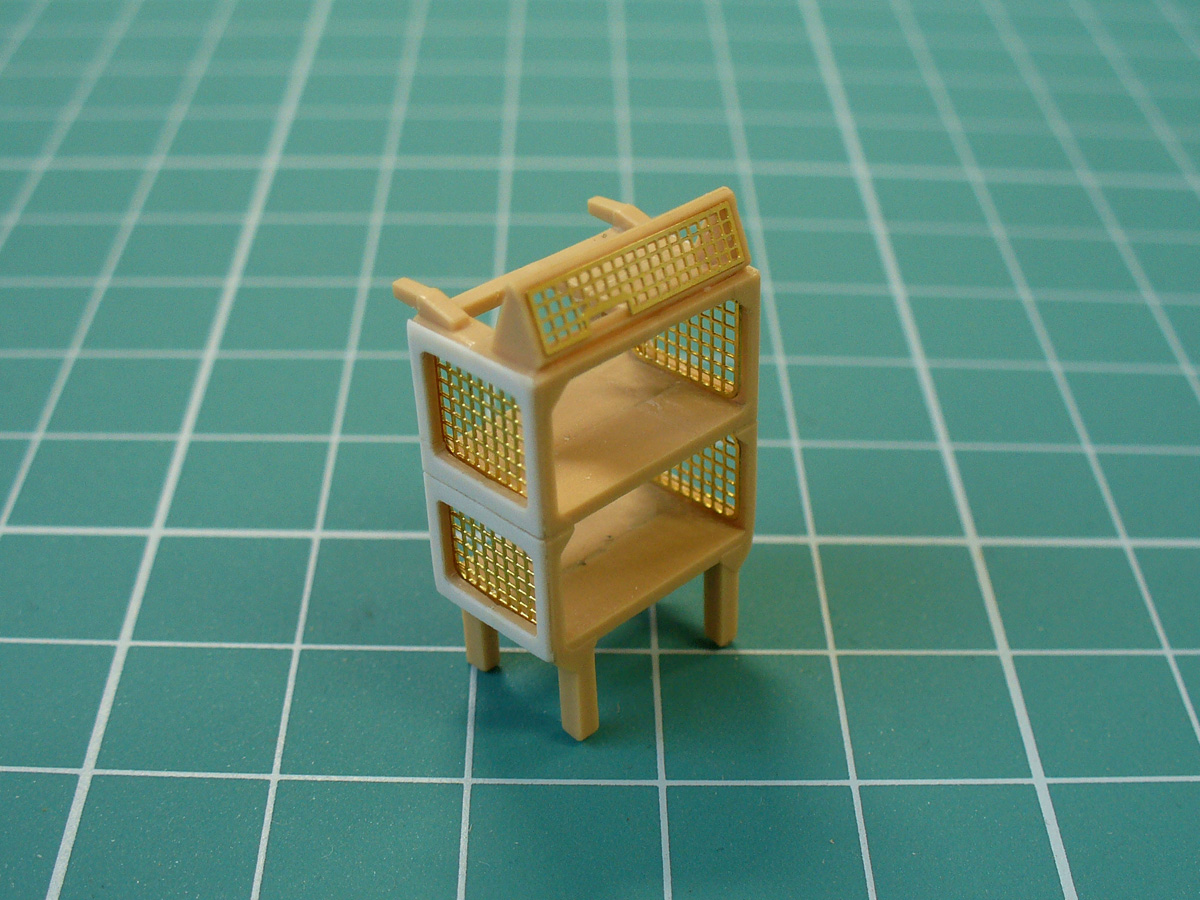
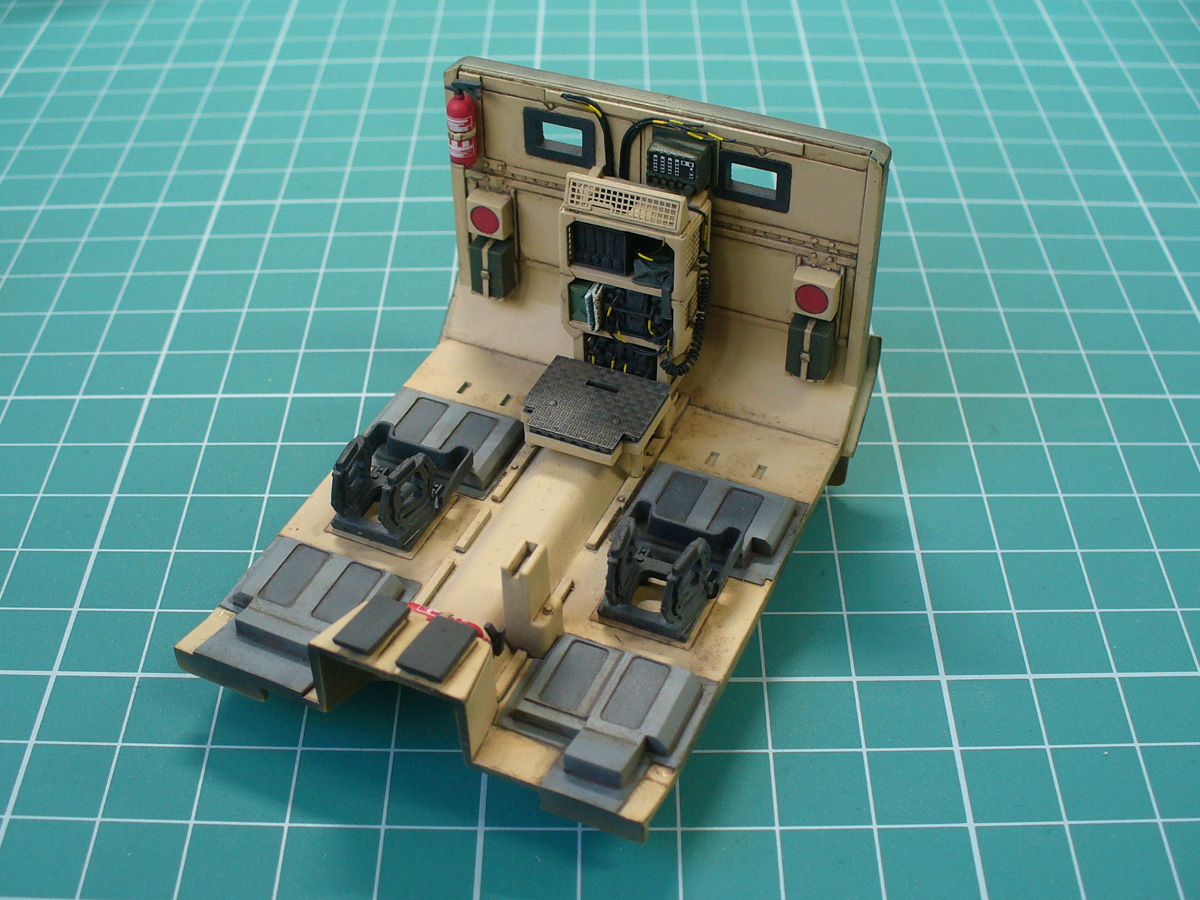
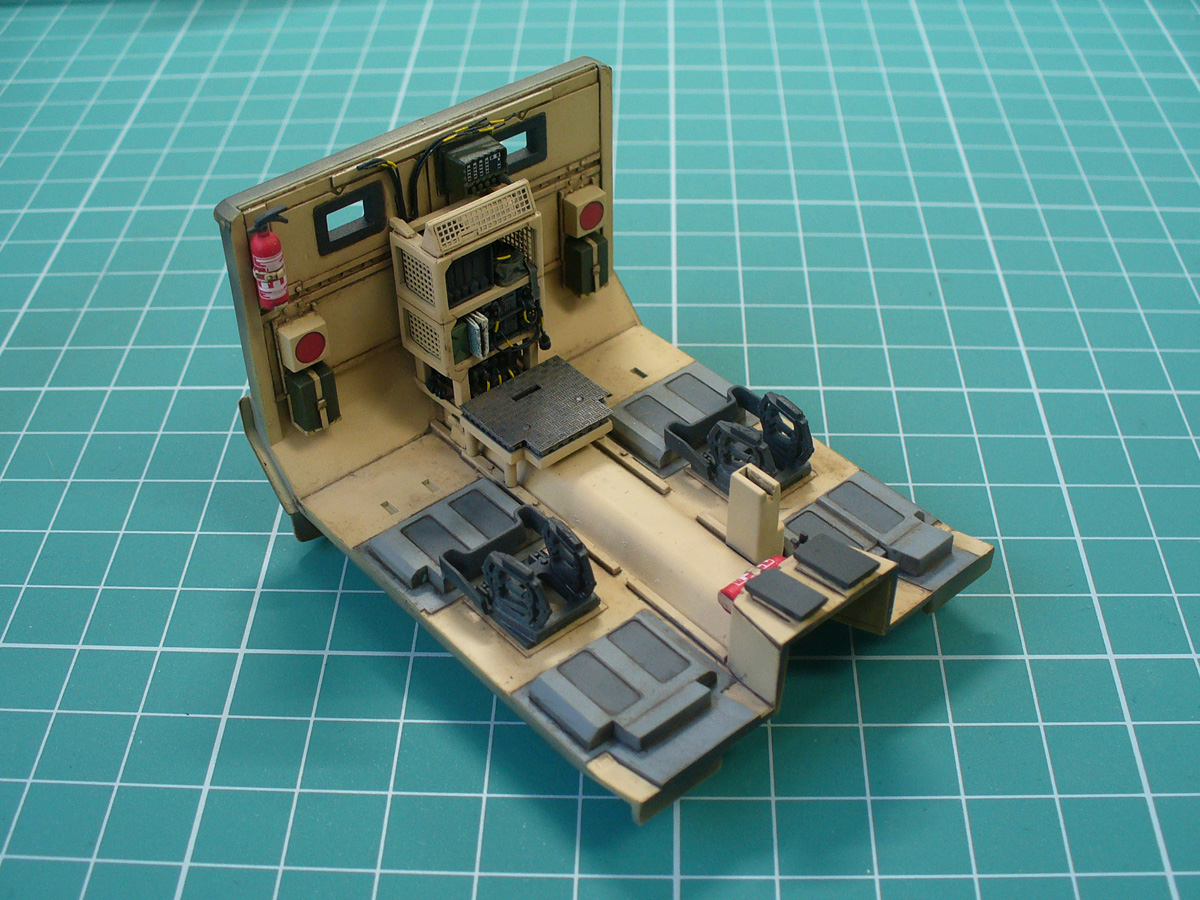
Accurate Armour conversion includes the comms equipment, but there are no reference photos showing the equipment in the vehicle... so the comms setup and wiring is pretty much my guess.
Mario
Queensland, Australia
Joined: August 06, 2005
KitMaker: 3,353 posts
Armorama: 3,121 posts
Posted: Sunday, October 06, 2019 - 10:13 AM UTC
Excellent work Mario. Sure does make a difference!
On the Bench:
Dust, styrene scraps, paint splotches and tears.
Maki
 Senior Editor
Croatia Hrvatska
Joined: February 13, 2002
KitMaker: 5,579 posts
Armorama: 2,988 posts
Posted: Saturday, December 14, 2019 - 12:49 AM UTC
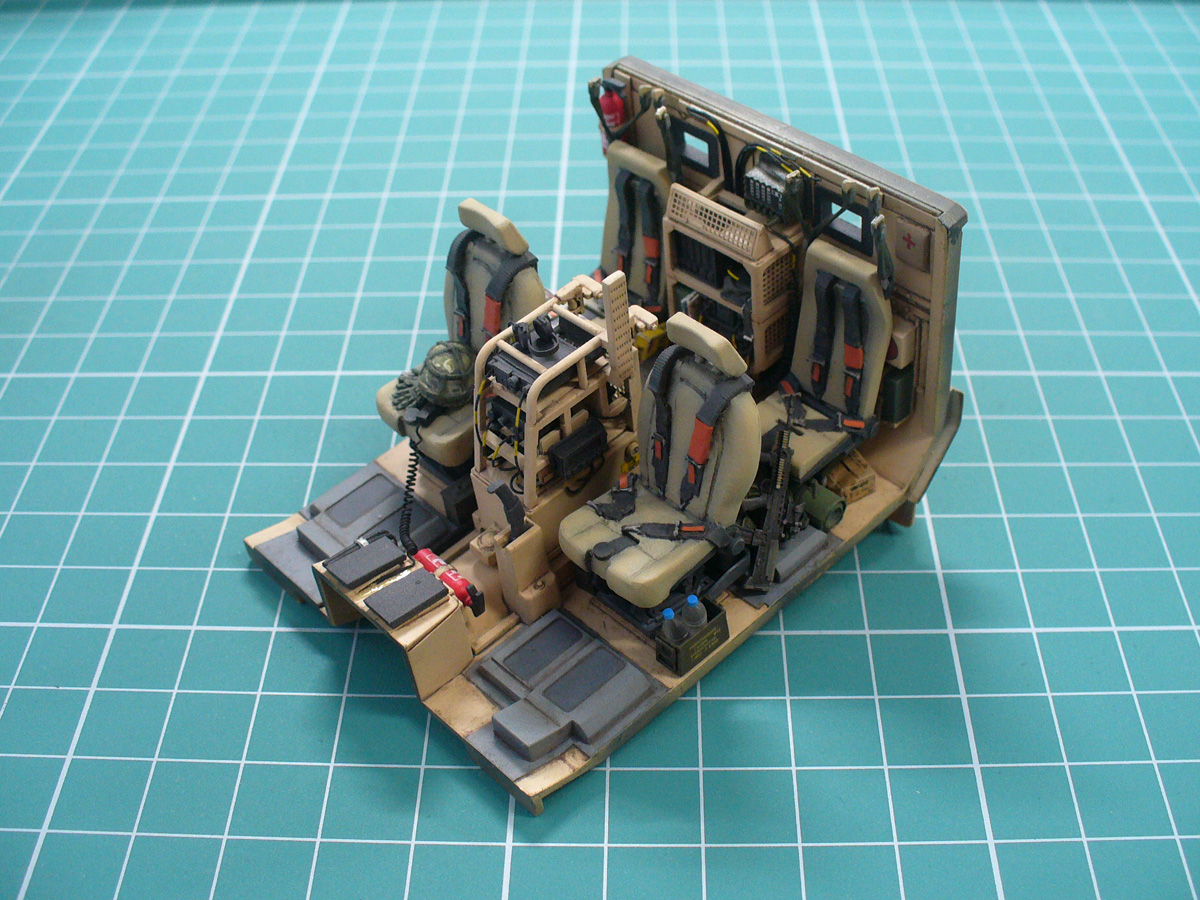
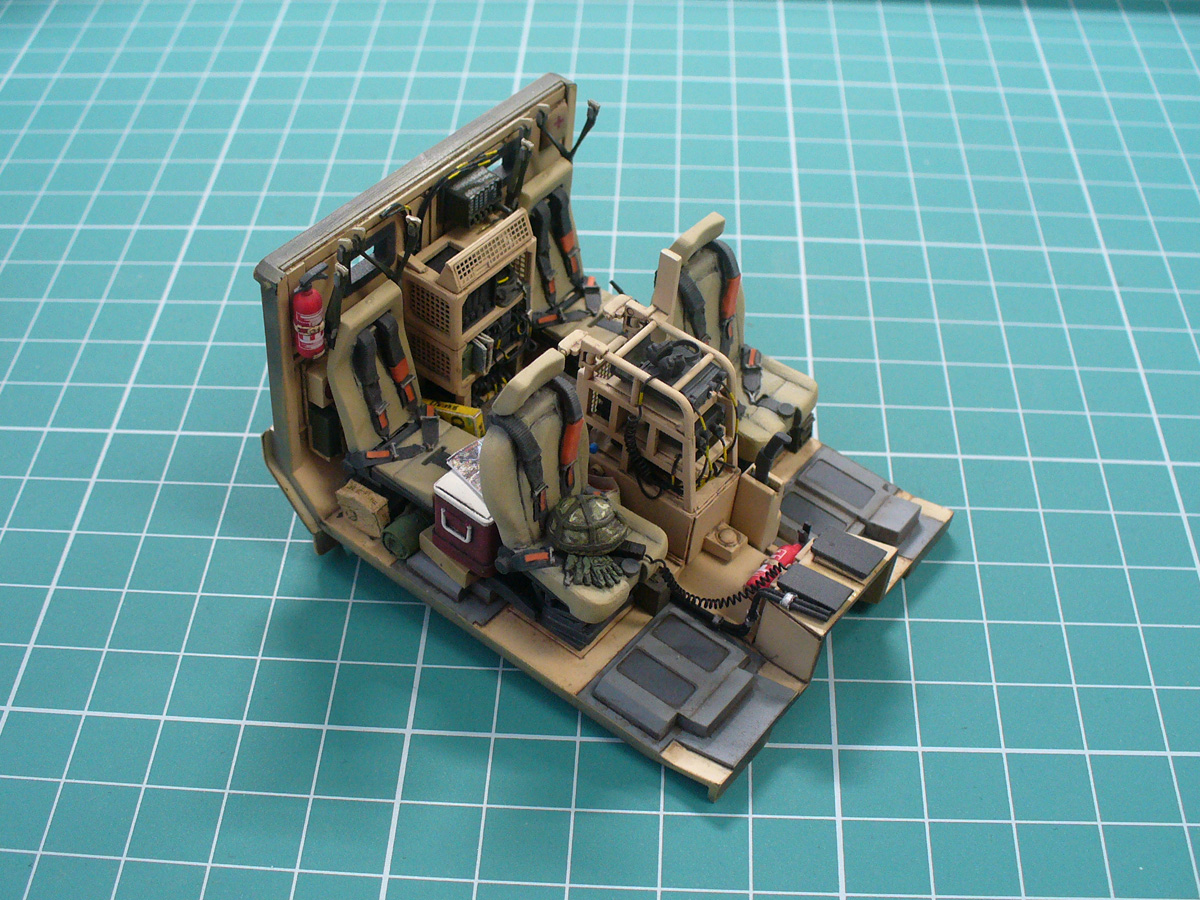
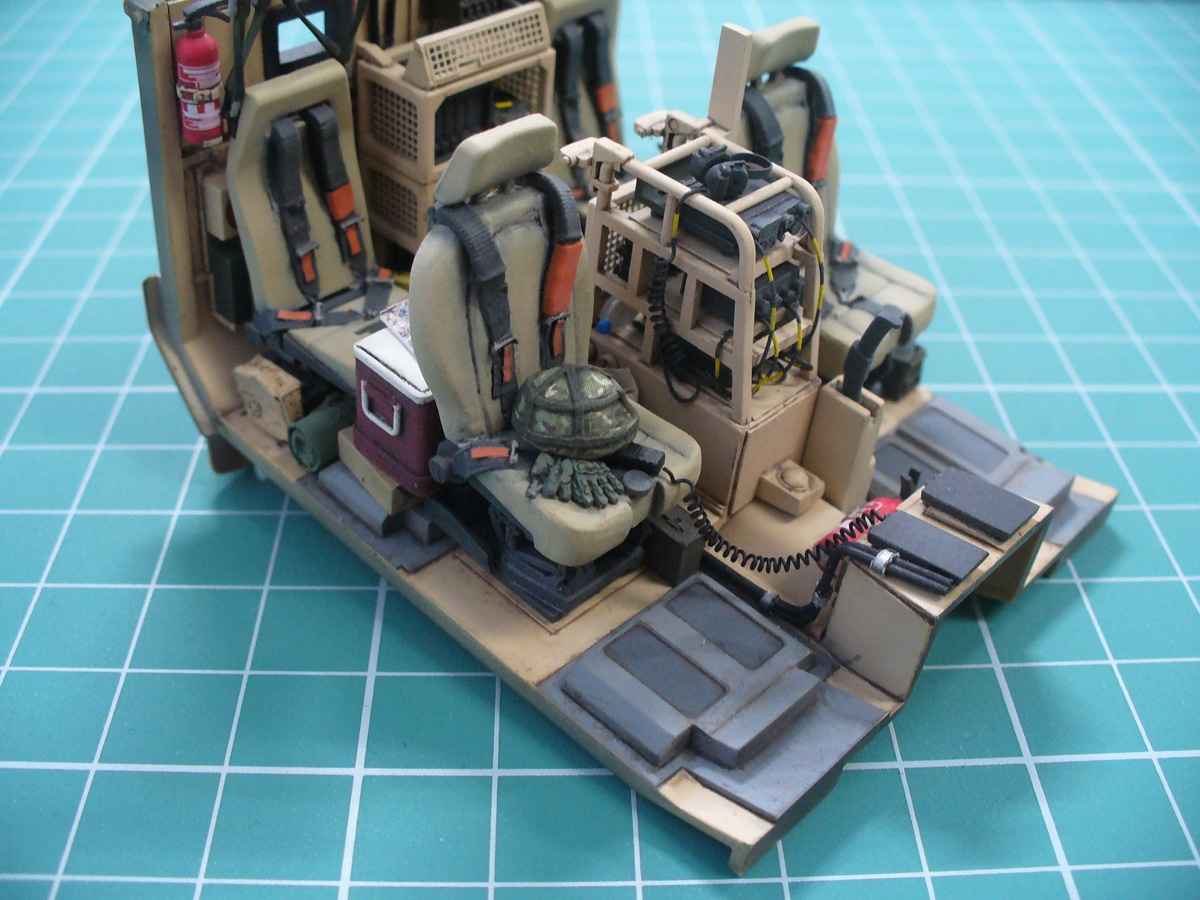
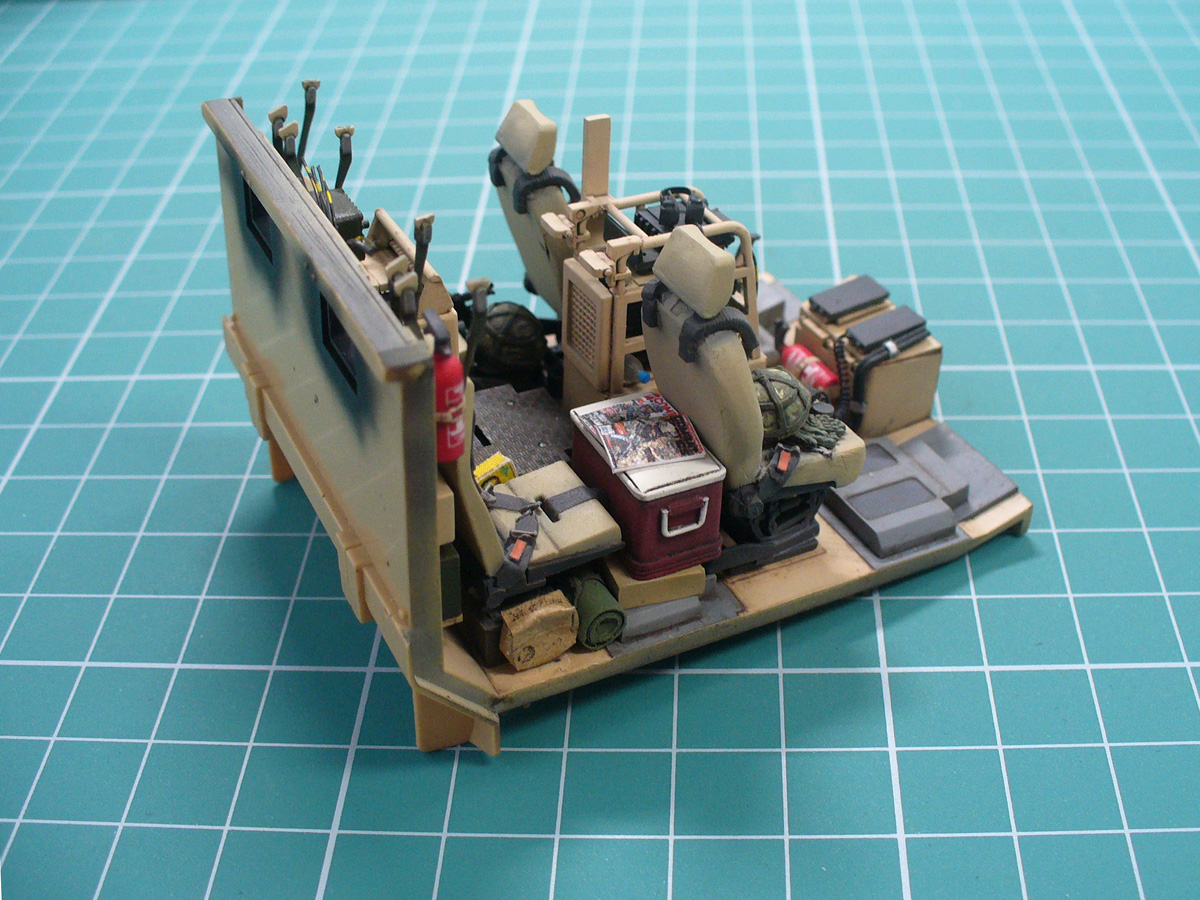
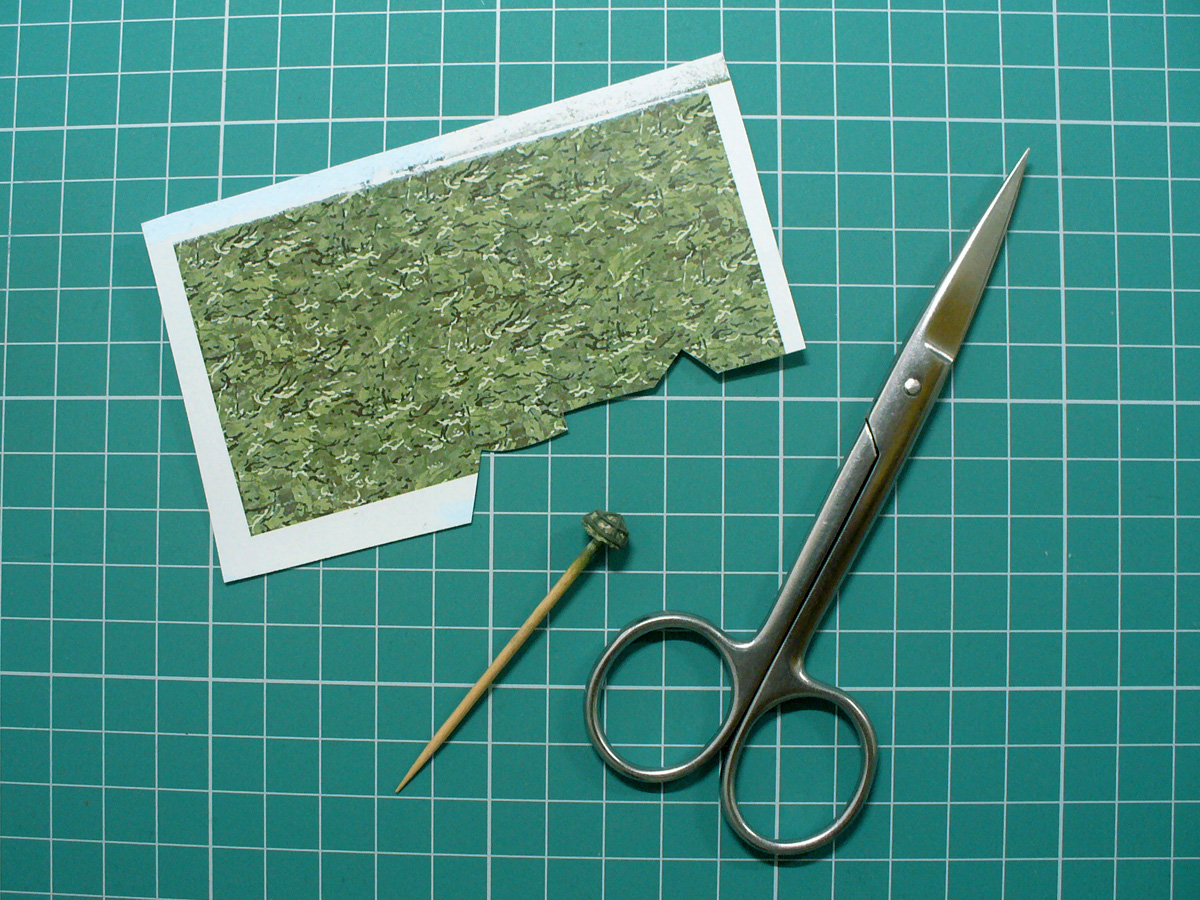
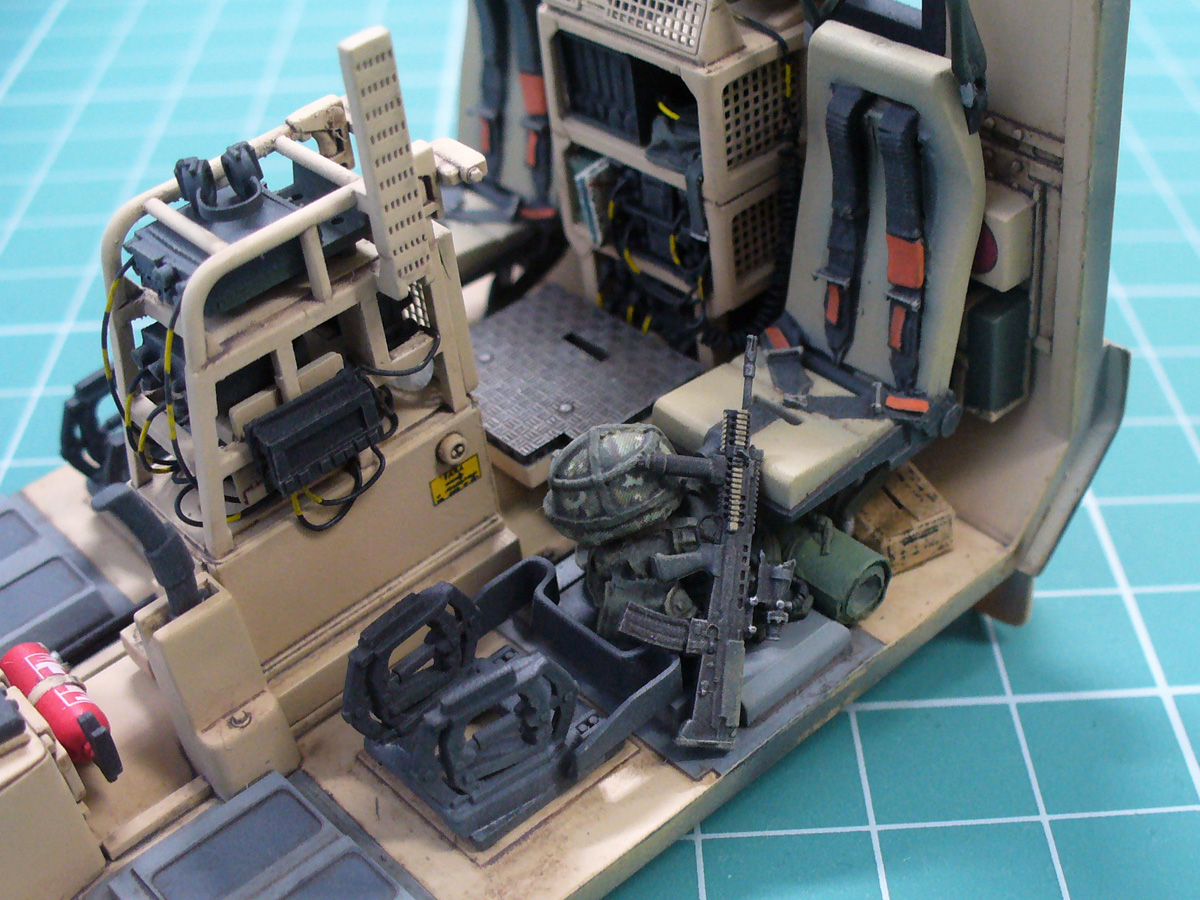
A small update... I was thinking of adding some load to the interior and wanted to use a helmet as well. Although I like painting camo patterns, I just couldn't get the MTP camo right. So I opted to make some decals of the pattern and used those:
And here's a close up of the helmet:
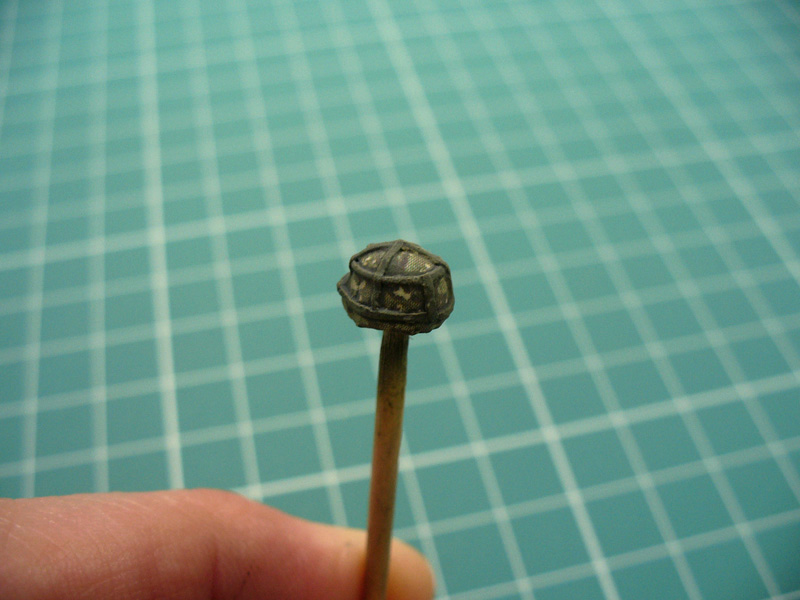
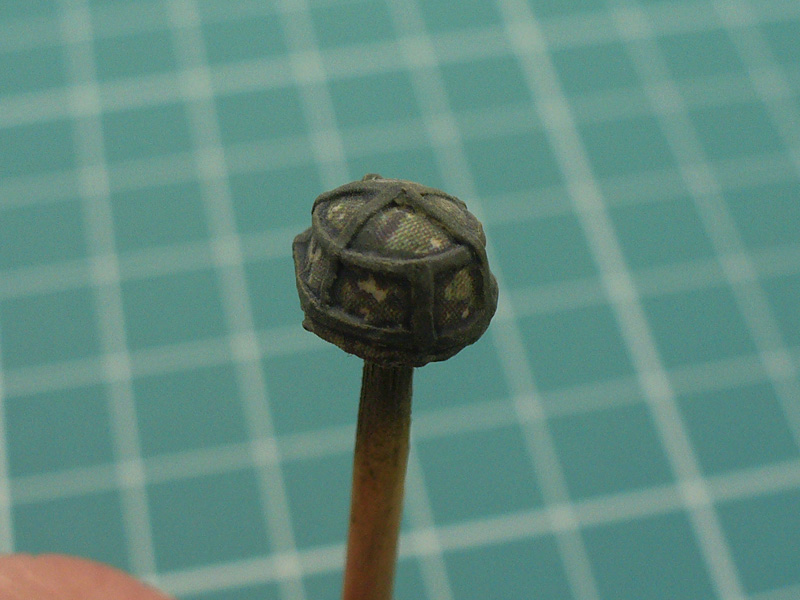
Upon extreme magnification one can see the printing pattern, but this is completely invisible to the naked eye. Although the helmet would probably not be seen well in the interior, I wanted to try this approach as I have several camo bergens and figures in MTP uniforms planned for this build.
Anyway, here's how the interior looks at the moment:
Mario
RobinNilsson
 TOS Moderator
Stockholm, Sweden
Joined: November 29, 2006
KitMaker: 6,693 posts
Armorama: 5,562 posts
Posted: Saturday, December 14, 2019 - 01:01 AM UTC
Good job on that helmet! The rest looks good too.
Are you planning on more weathering/dirt on the interior or do you want to keep it reasonably clean?
/ Robin
In memory of Al Superczynski:
"Build what YOU want, the way YOU want to....
and the critics will flame you every time"
Maki
 Senior Editor
Croatia Hrvatska
Joined: February 13, 2002
KitMaker: 5,579 posts
Armorama: 2,988 posts
Posted: Saturday, December 14, 2019 - 01:06 AM UTC
Thanks Robin.
I'm planning to use some pigments, but will probably keep it reasonable.
Mario

#384
Nevada, United States
Joined: August 23, 2005
KitMaker: 1,426 posts
Armorama: 1,316 posts
Posted: Saturday, December 14, 2019 - 06:38 AM UTC
England - South West, United Kingdom
Joined: June 29, 2019
KitMaker: 604 posts
Armorama: 506 posts
Posted: Saturday, December 14, 2019 - 07:28 AM UTC
Looking very good so far Mario. One question, I have read other threads where guys mention making their own decals (love the MTP you've done btw ) .. how is this done ? Is it a difficult process ?
Newfoundland, Canada
Joined: December 08, 2005
KitMaker: 1,370 posts
Armorama: 1,331 posts
Posted: Saturday, December 14, 2019 - 08:28 AM UTC
Really excellent work, I'll watch this closely.
Slowly, slowly catch your monkey.
Maki
 Senior Editor
Croatia Hrvatska
Joined: February 13, 2002
KitMaker: 5,579 posts
Armorama: 2,988 posts
Posted: Sunday, December 15, 2019 - 05:56 AM UTC
I'm glad you like it, guys.
John, making custom decals is not a big deal. I usually find the artwork or design it myself, scale it to 1/35 and print it on decal paper.
These MTP decals were printed on clear decal film, so the helmet was base painted using white color. I applied a lot of gloss coat, as a base for decal placement. There is also option to print the MTP on white decal film, but these decals are a bit thicker and conform less well to surface details.
Mario
England - South West, United Kingdom
Joined: June 29, 2019
KitMaker: 604 posts
Armorama: 506 posts
Posted: Monday, December 16, 2019 - 10:13 AM UTC
Thanks for the info Mario, not sure I'm ready to start making my own but its great to see it done like you have to such an amazing degree of realism. Will be following this closely.

Texas, United States
Joined: May 12, 2015
KitMaker: 475 posts
Armorama: 394 posts
Posted: Monday, December 16, 2019 - 04:07 PM UTC
Ontario, Canada
Joined: August 05, 2003
KitMaker: 1,698 posts
Armorama: 1,563 posts
Posted: Tuesday, December 17, 2019 - 01:33 PM UTC
I'd recognize your style anywhere Mario. Wonderful and precise. Looking forward to the rest!
Why plan when you can react?
California, United States
Joined: December 24, 2002
KitMaker: 4,105 posts
Armorama: 2,492 posts
Posted: Tuesday, December 17, 2019 - 03:09 PM UTC
Great work, Mario!
What is brush and what is airbrush? Your paint job looks so great that it's hard to tell the difference.
Maki
 Senior Editor
Croatia Hrvatska
Joined: February 13, 2002
KitMaker: 5,579 posts
Armorama: 2,988 posts
Posted: Tuesday, December 17, 2019 - 08:36 PM UTC
Thanks guys, I appreciate your comments.
Graeme, thank you, it means a lot. Your work was something I aspired to.
Pete, it's all airbrush.
Mario
Maki
 Senior Editor
Croatia Hrvatska
Joined: February 13, 2002
KitMaker: 5,579 posts
Armorama: 2,988 posts
Posted: Thursday, December 19, 2019 - 09:09 PM UTC
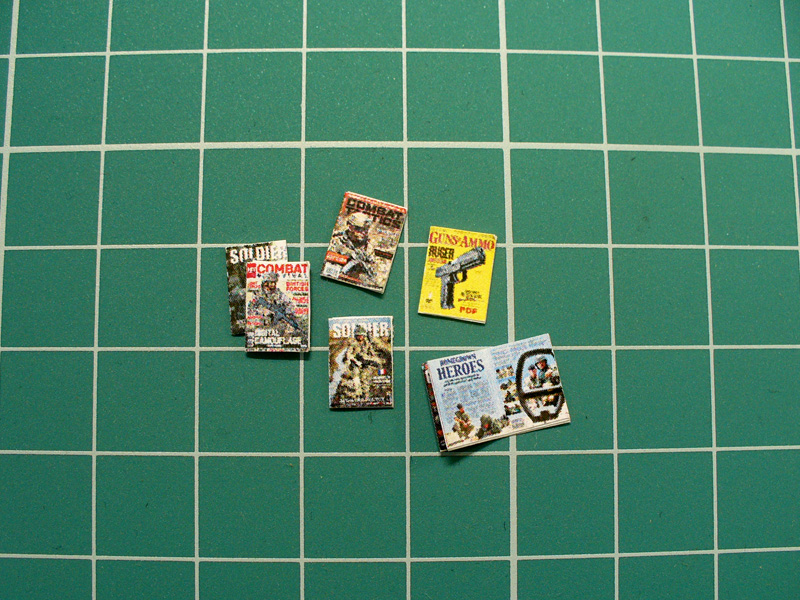
I damaged my airbrush, so I have to find something else to do... here are some magazines that will probably find their way to the Husky interior.
Mario
Maki
 Senior Editor
Croatia Hrvatska
Joined: February 13, 2002
KitMaker: 5,579 posts
Armorama: 2,988 posts
Posted: Friday, May 08, 2020 - 04:50 AM UTC
Correze, France
Joined: June 10, 2004
KitMaker: 5,329 posts
Armorama: 5,204 posts
Posted: Friday, May 08, 2020 - 05:21 AM UTC
Great job Mario.
For the MTP, the French brand FFSMC has developed a sheet of decal. It could be helpful for those like me who are not comfortable with home made decals.
Olivier
Visit my site Click the banner
"La reine des batailles, j'ai nommé l'infanterie"
Napoléon
Maki
 Senior Editor
Croatia Hrvatska
Joined: February 13, 2002
KitMaker: 5,579 posts
Armorama: 2,988 posts
Posted: Saturday, May 09, 2020 - 09:05 PM UTC
Thanks Olivier, I didn't know about the company before. Luckily I have my own way to make decals, but it is not easy to apply them.
Mario
France
Joined: February 20, 2012
KitMaker: 1,932 posts
Armorama: 1,907 posts
Posted: Sunday, May 10, 2020 - 12:12 AM UTC
Very fine paint work
I like the magazines, original touch !
In France we have
"Raids"
"Opérations Spéciales"
"Assaut" (this one stopped in 2013)
Correze, France
Joined: June 10, 2004
KitMaker: 5,329 posts
Armorama: 5,204 posts
Posted: Sunday, May 10, 2020 - 01:07 AM UTC
Quoted Text
Thanks Olivier, I didn't know about the company before
They are doing many other references either for WWII or modern period. For what it's worth.
Olivier
Visit my site Click the banner
"La reine des batailles, j'ai nommé l'infanterie"
Napoléon
Maki
 Senior Editor
Croatia Hrvatska
Joined: February 13, 2002
KitMaker: 5,579 posts
Armorama: 2,988 posts
Posted: Wednesday, June 17, 2020 - 09:54 PM UTC
France
Joined: February 20, 2012
KitMaker: 1,932 posts
Armorama: 1,907 posts
Posted: Thursday, June 18, 2020 - 03:56 AM UTC
Very precise work as usual. I like a lot the finish of the paint.
England - East Anglia, United Kingdom
Joined: August 03, 2005
KitMaker: 273 posts
Armorama: 272 posts
Posted: Thursday, June 18, 2020 - 05:50 AM UTC
Love this build and the attention to details .. super work .. don’t forget if you are making an operational vehicle in theatre don’t add the TES laser receivers to the roof..
Terry
France
Joined: February 20, 2012
KitMaker: 1,932 posts
Armorama: 1,907 posts
Posted: Thursday, June 18, 2020 - 10:07 AM UTC
Quoted Text
Love this build and the attention to details .. super work .. don’t forget if you are making an operational vehicle in theatre don’t add the TES laser receivers to the roof..
Terry
Interesting precision, Terry. Can you please show how does this device look like ? Used for training ?
Maki
 Senior Editor
Croatia Hrvatska
Joined: February 13, 2002
KitMaker: 5,579 posts
Armorama: 2,988 posts
Posted: Thursday, June 18, 2020 - 06:28 PM UTC
Thanks guys!
Yes, TES will not be mounted. I'm a bit puzzled by the lack of Husky Heavy specific modifications in Accurate Armour conversion. I'll have to do some scratchbuilding to the exterior.
Mario


