I picked this Tamiya fig from their Field Briefing set that is kinda long in the tooth now,but not too shabby. It is surely sold at a reasonable price anyway. The figs can be vastly improved with resin heads though,if you do nothing else.
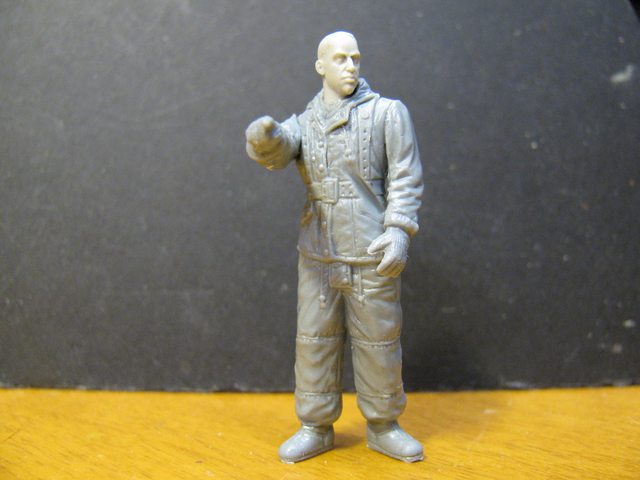
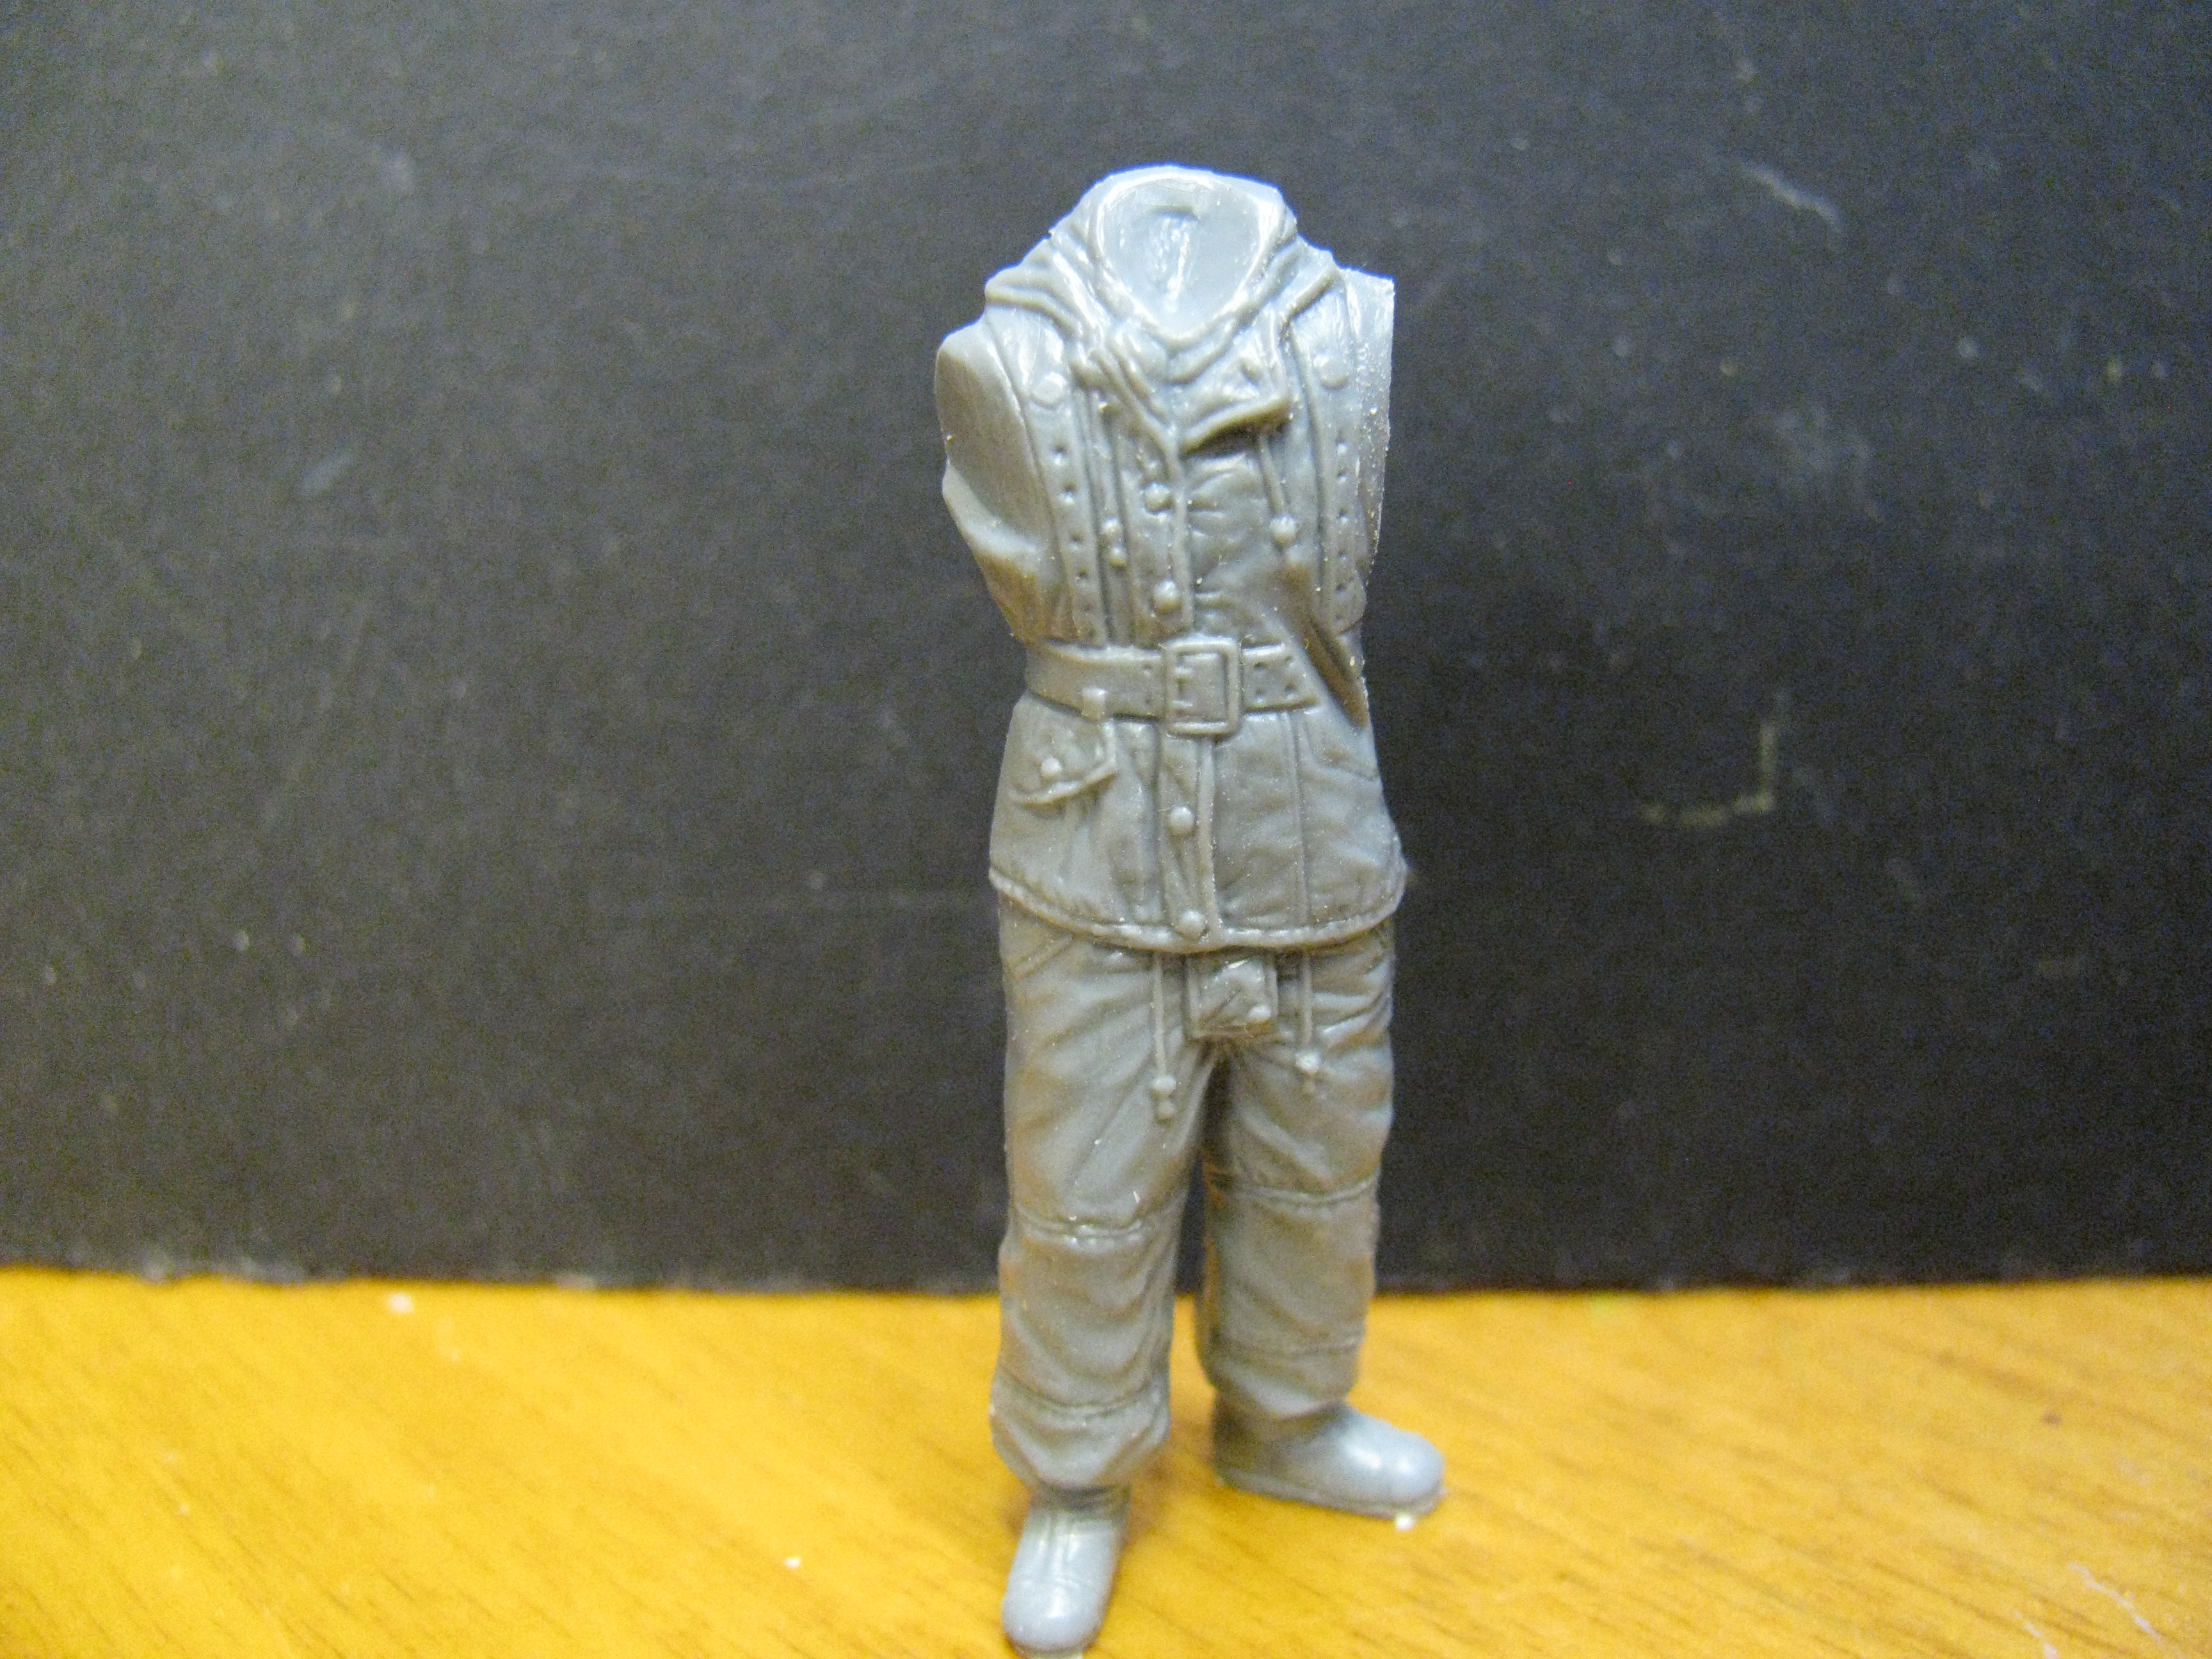
Here is the stock fig right from the sprue.
First off,I got my dremel with a round cutting bit and ground out the neck area. I also undercut a little around the collar area to show what a bit of work with a number 11 blade can do.
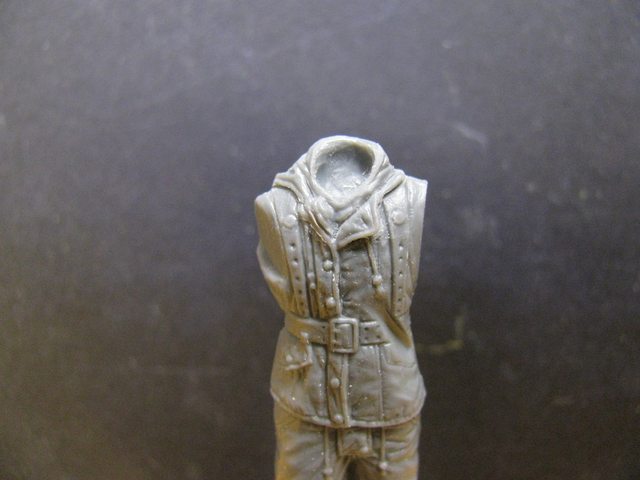
Notice how the collar turn-back pops more now after about a minute of blade work?
next,the noggin. This is the kit part. An amiable enough guy but lacking a lot of human quality ?

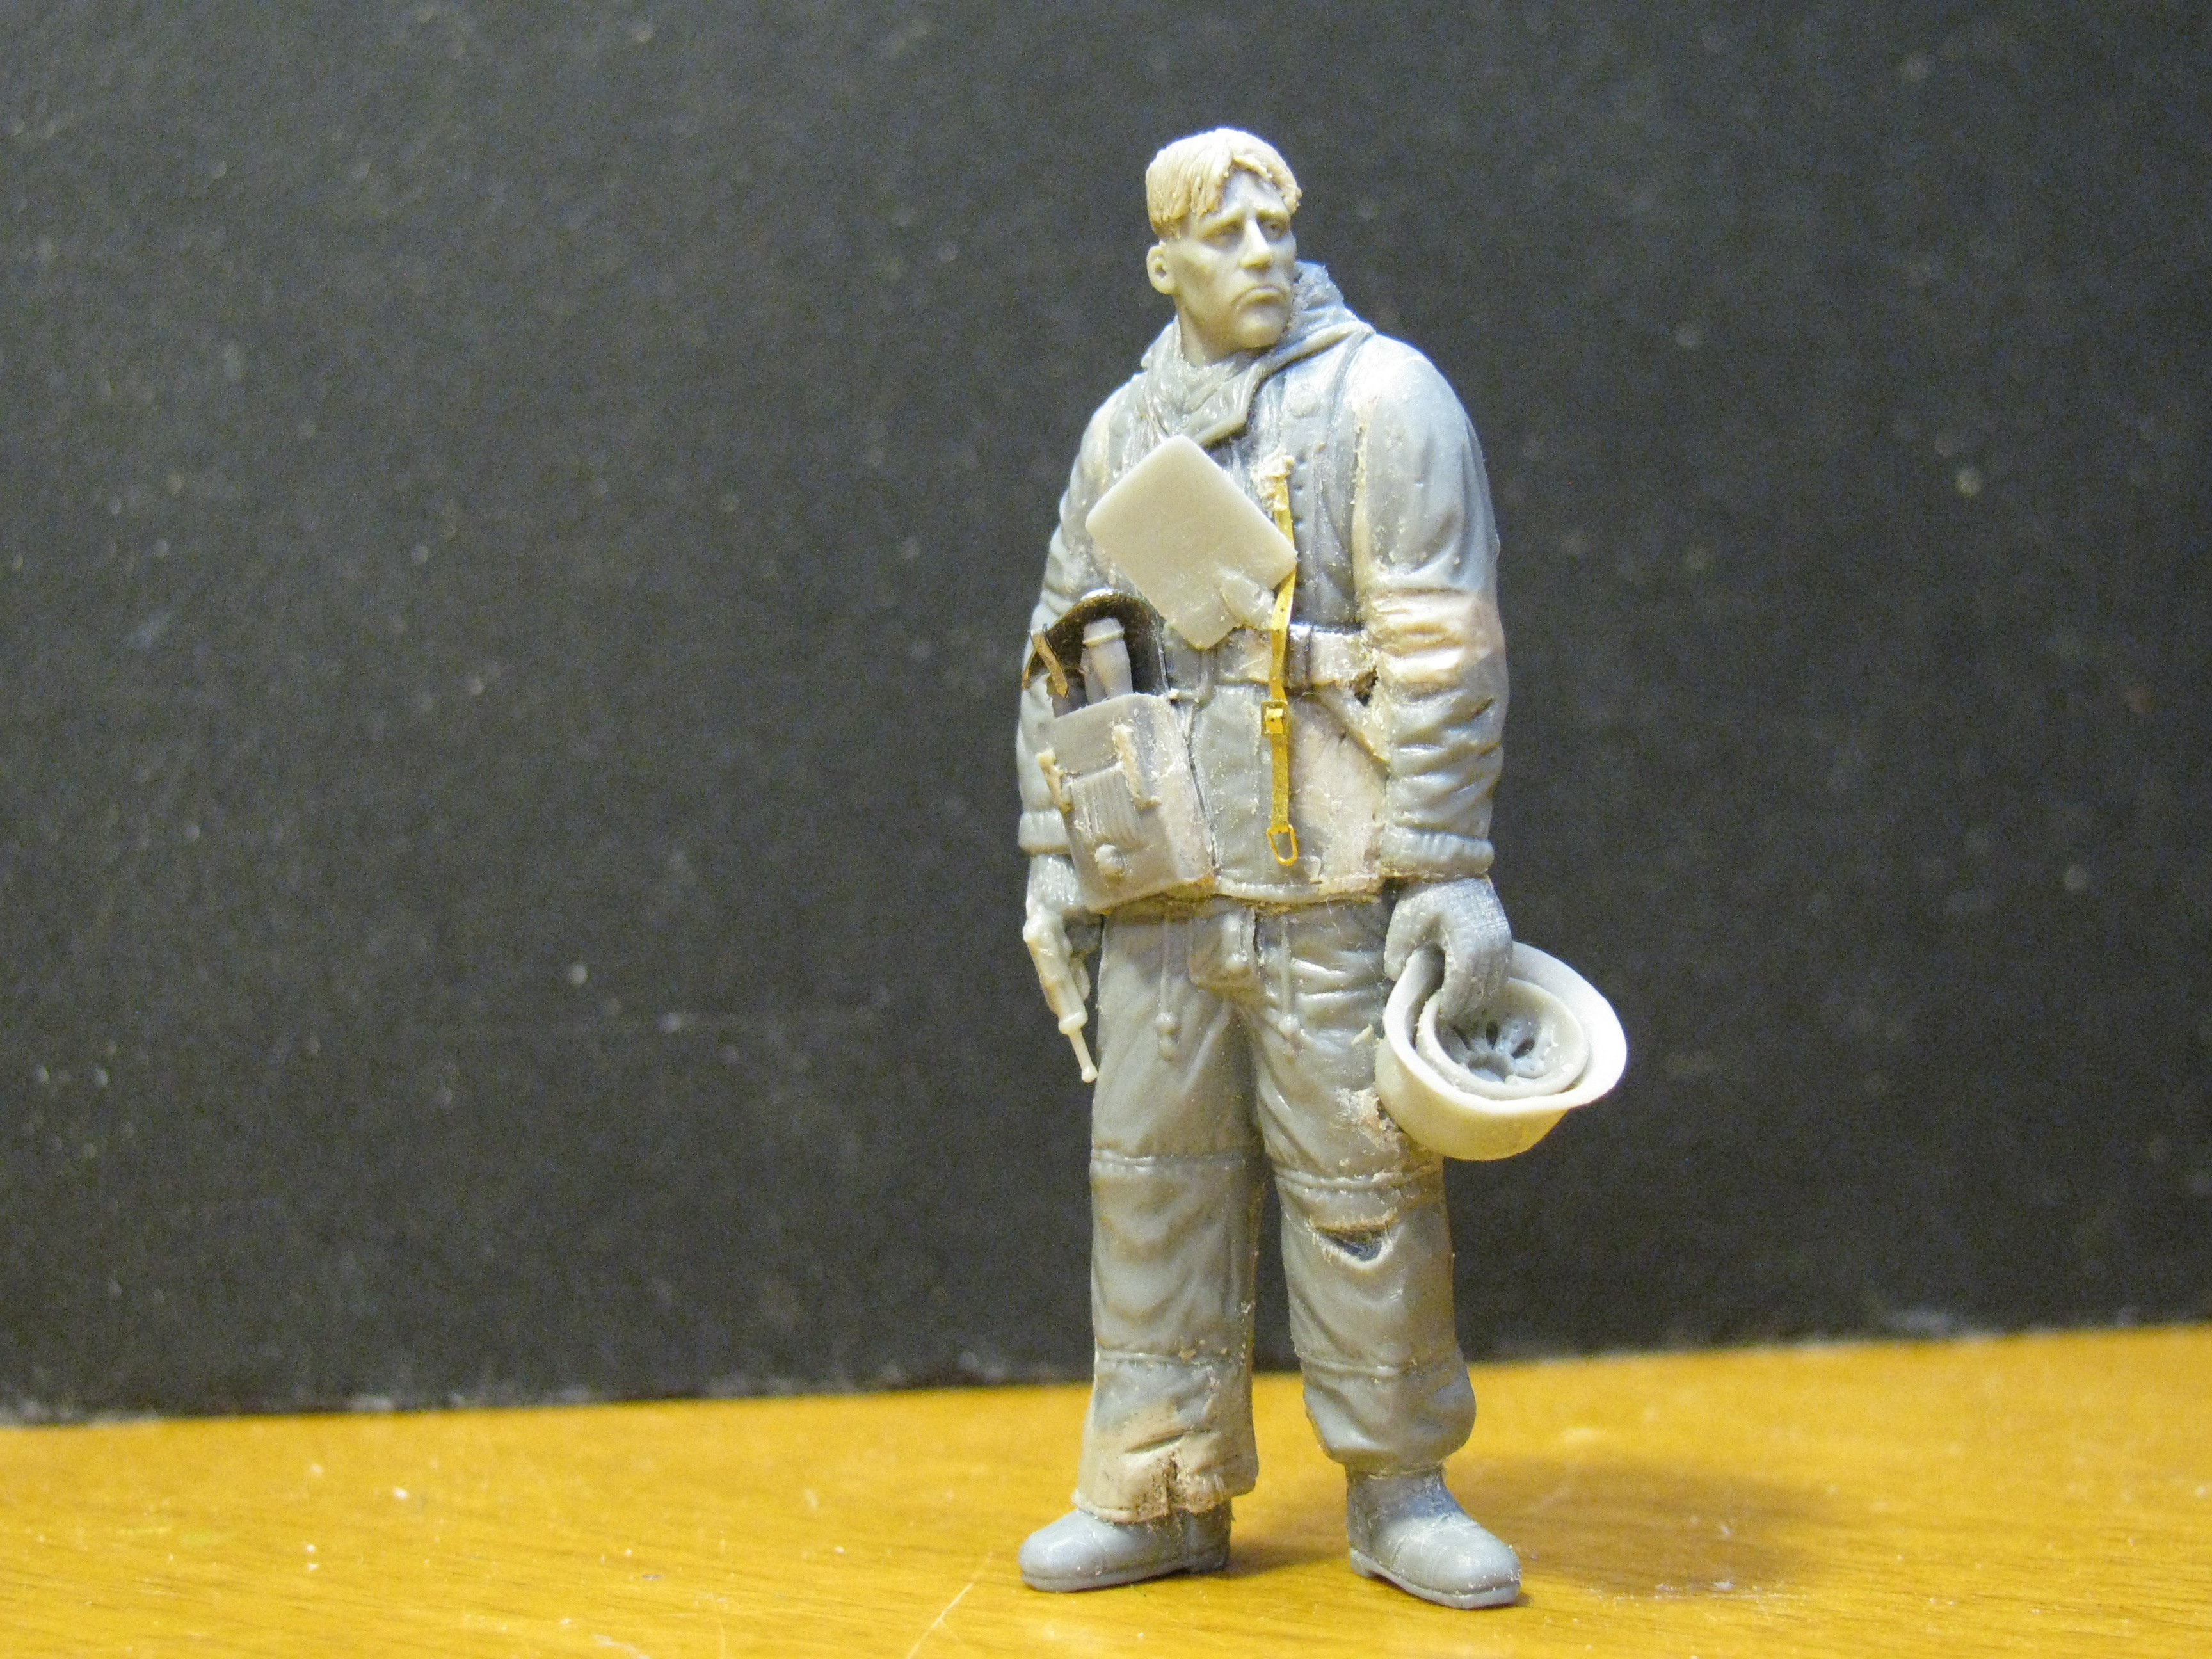
I dug into my drawer of Hornet and Alpine heads and picked this guy. Right off-you can see the level of detail is exponentially larger.
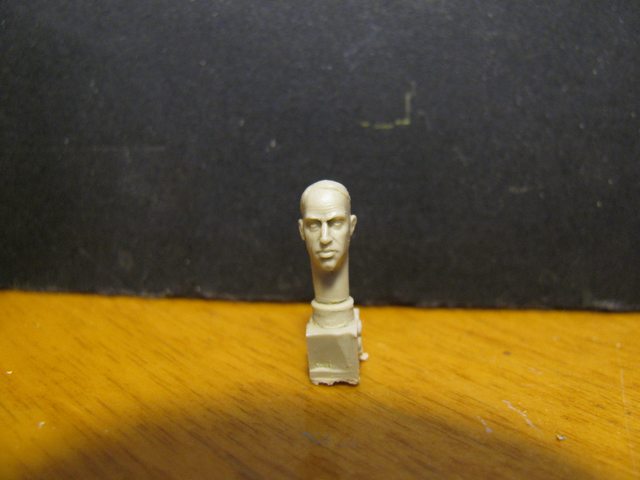
First step here is removing the casting block. I do this by cutting either from front to back or back to front because I learned the hard way going from a side can damage the fragile ears. A very difficult repair !

Attaching the new frankenstein head.
Two major things to avoid here. I see this a lot on line. I applaud folks that want to up the detail and I appreciate when they attempt it. Here is how you can up your game.
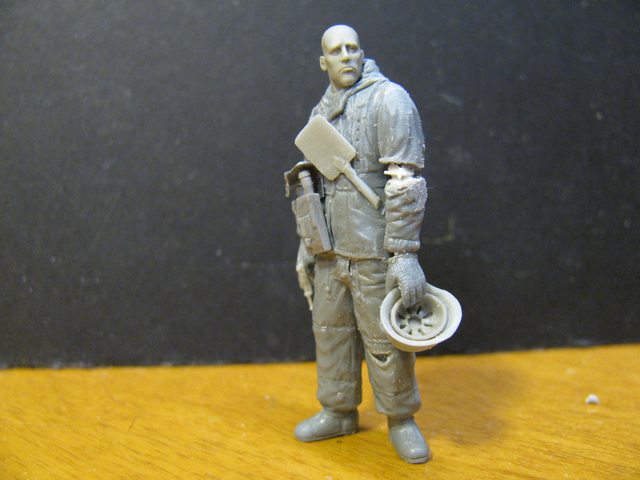
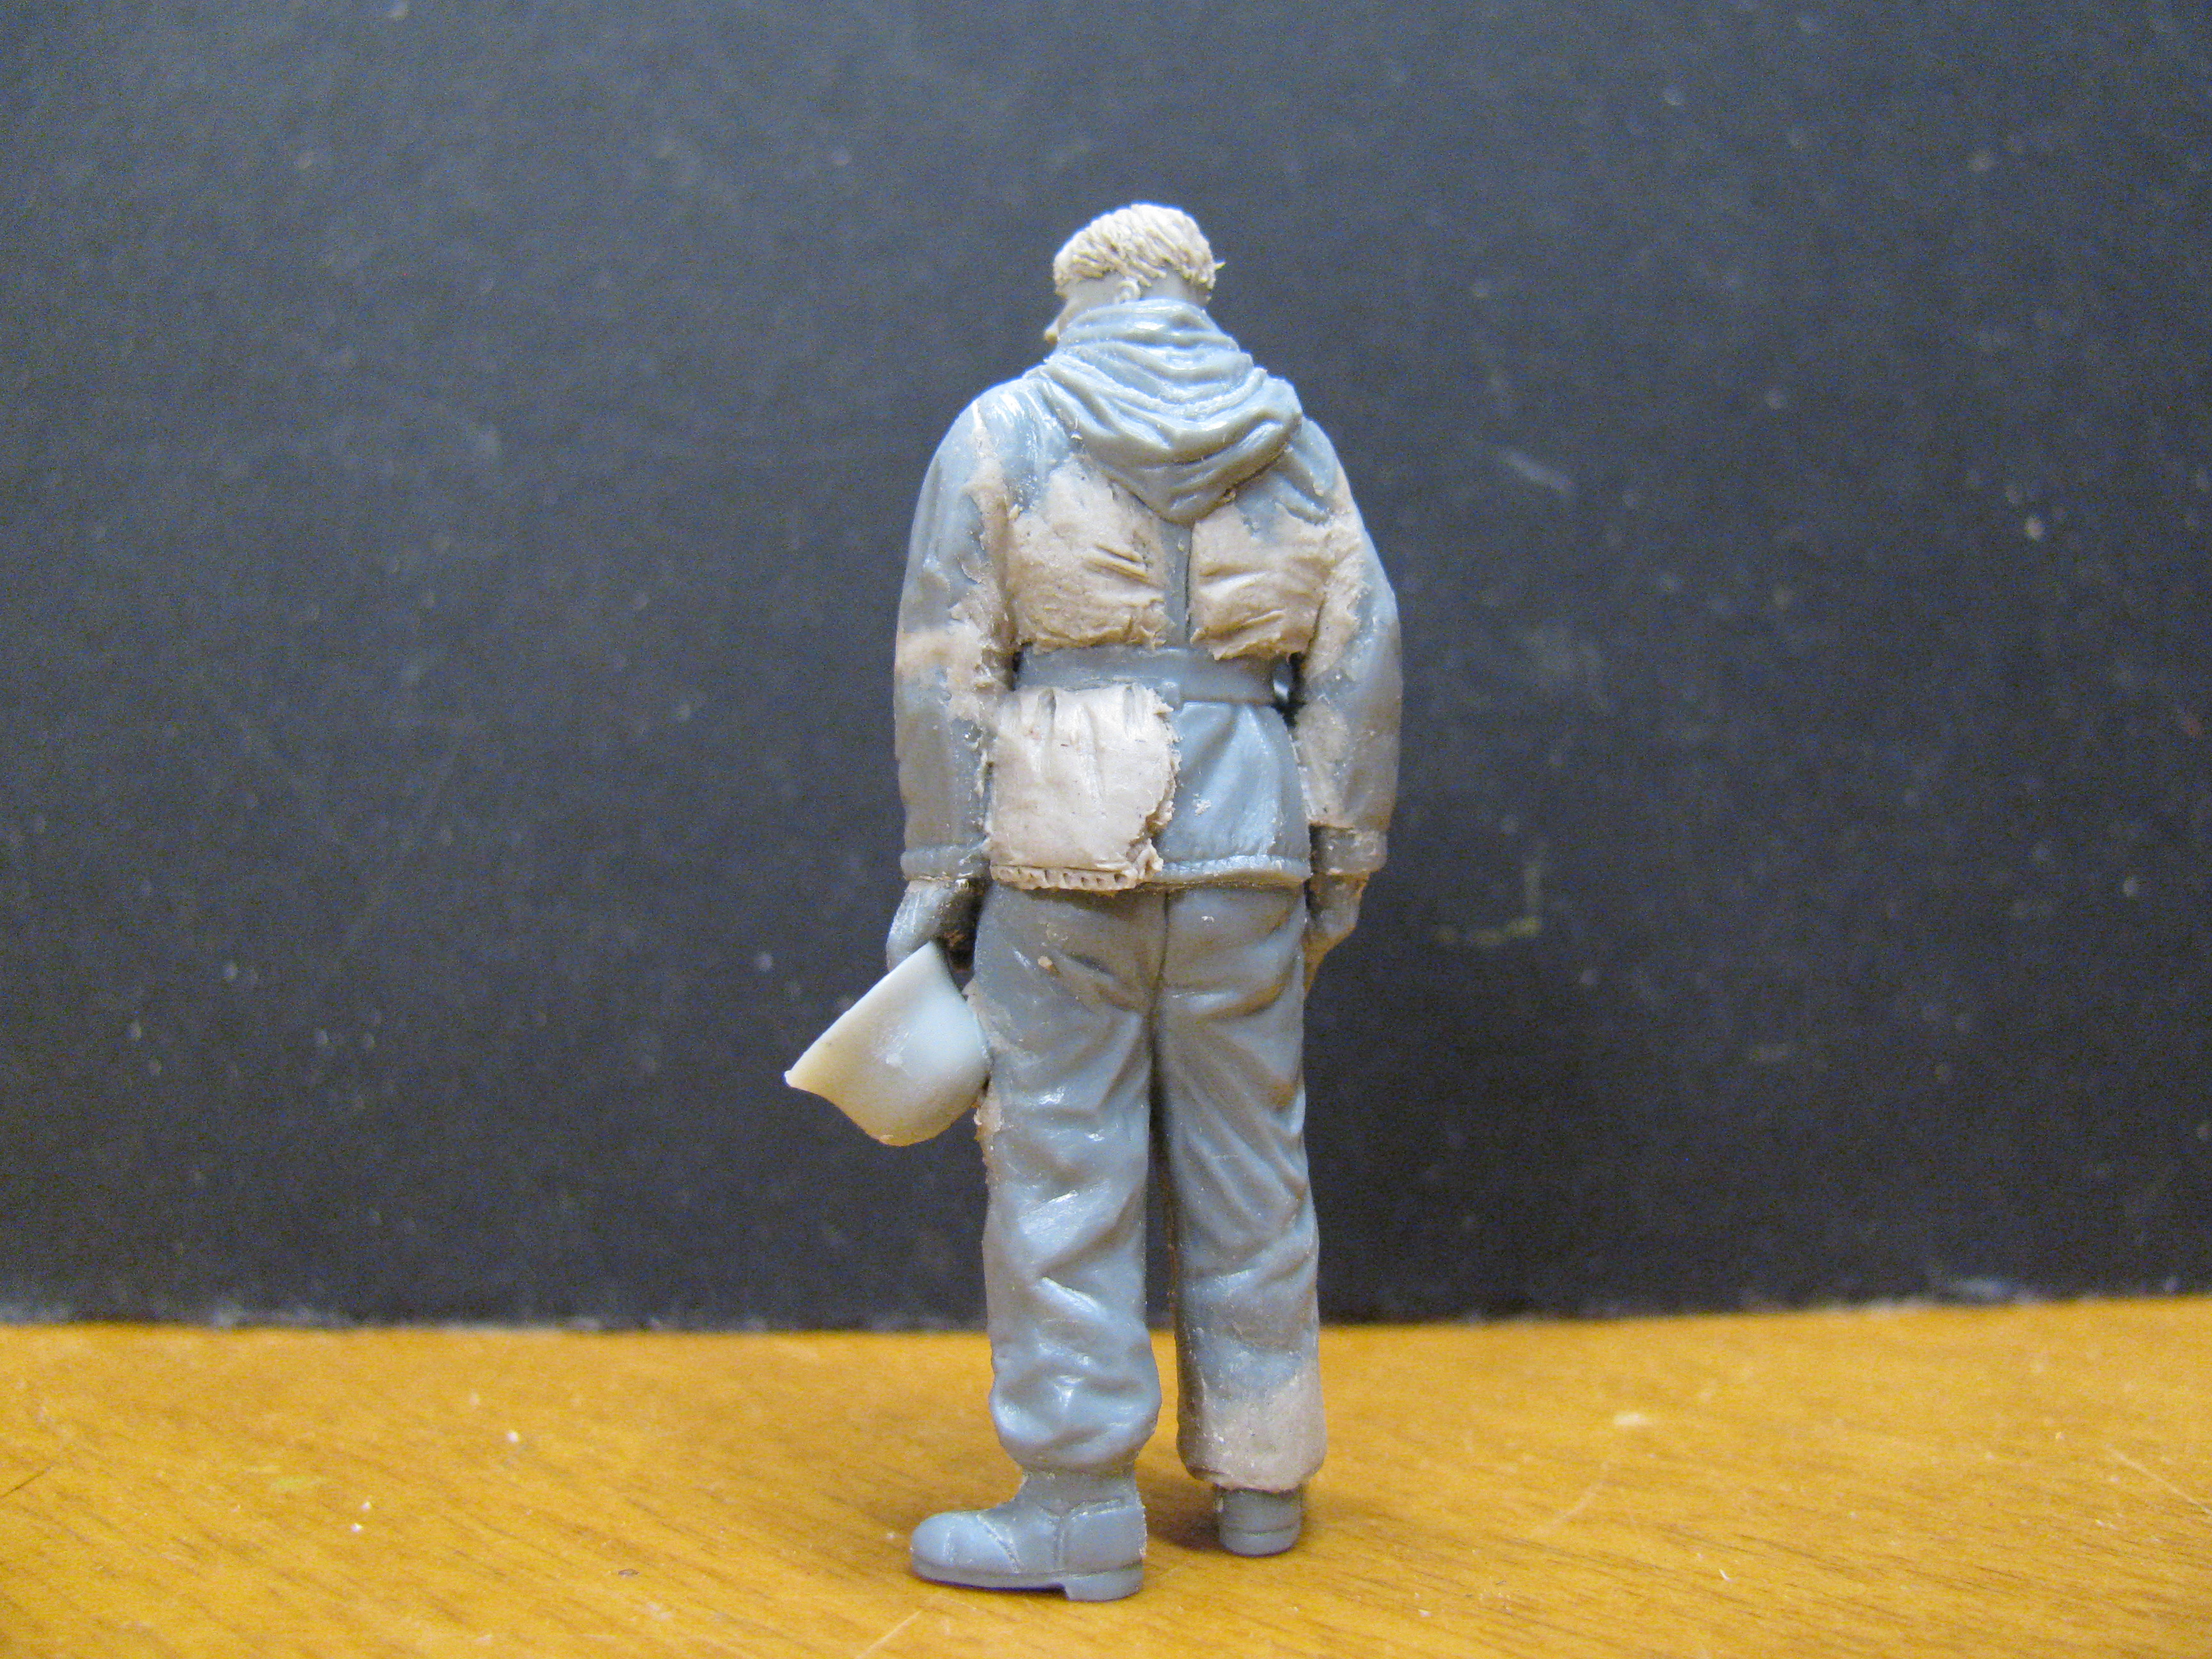
Avoid the "Giraffe neck"
Here we see an example of that elongated neck
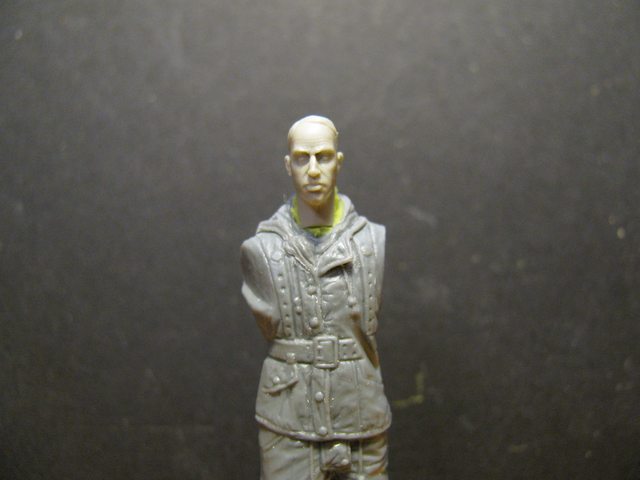
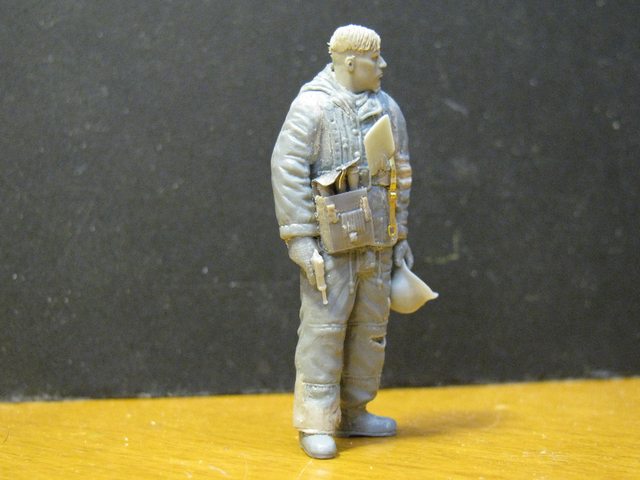
A good rule of thumb is making the bottom of the chin even to or slightly below the top of the shoulder line. Exception would be if the guy is looking up at something,or down. Or when you want to show fear or fatigue,by pulling th head into the shoulders more as a subconscious defense reflex.The "turtle" effect.Be aware also,like with this particular fig,that bulky clothing should be taken into account. Try to visualize where the shoulders are under the heavy coat and adjust accordingly.
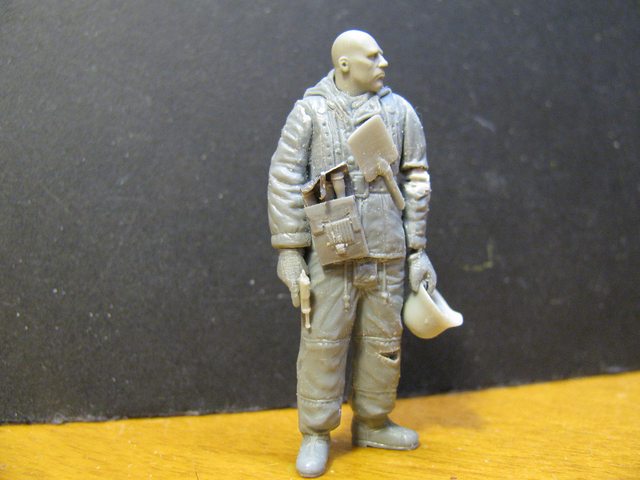
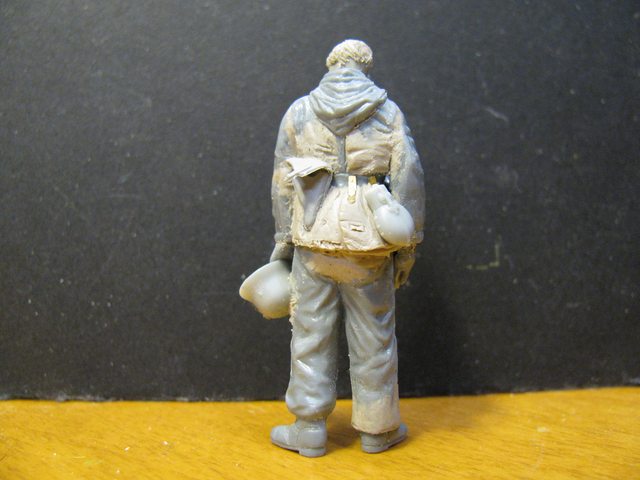
The other big mistake I see is when someone gets ambitious and wants to have the fig looking to the side.
Once again,good on ya for wanting to change things up and avoid the pointing and staring straight ahead fig we all know and love.
But avoid this common mistake. When we,as humans,turn our noggins we tend to keep our head level. It helps a lot with vision. Try it yourself. Can you see better if you look like this?
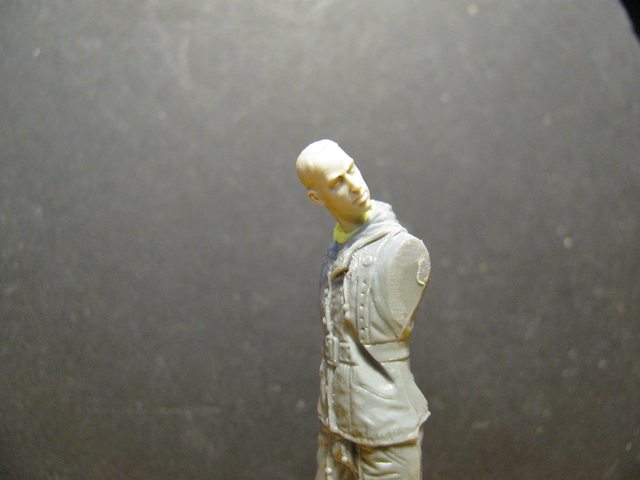
I see lots of figs looking like this. AVOID that. Unless you want the guy to be thinking "WTF",or "really" that position makes no sense.
Just get the resin head and sand the bottom of the neck at a slant going high in the back and longer in the front. To facilitate the head turning,just make the slant angled off to the side. Sometimes,like here,you will have to carve a scoop out of the collar so the chin will fit. If you remove too much,no biggy,just fill later with putty and it's all good!
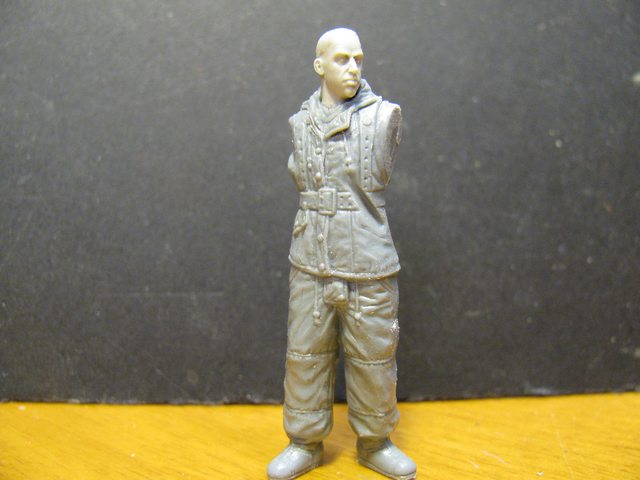
OK,that is it! Hope I didn't come off as too preachy. Just trying to pass on some hard learned lessons,taken from modelers WAY better than me.