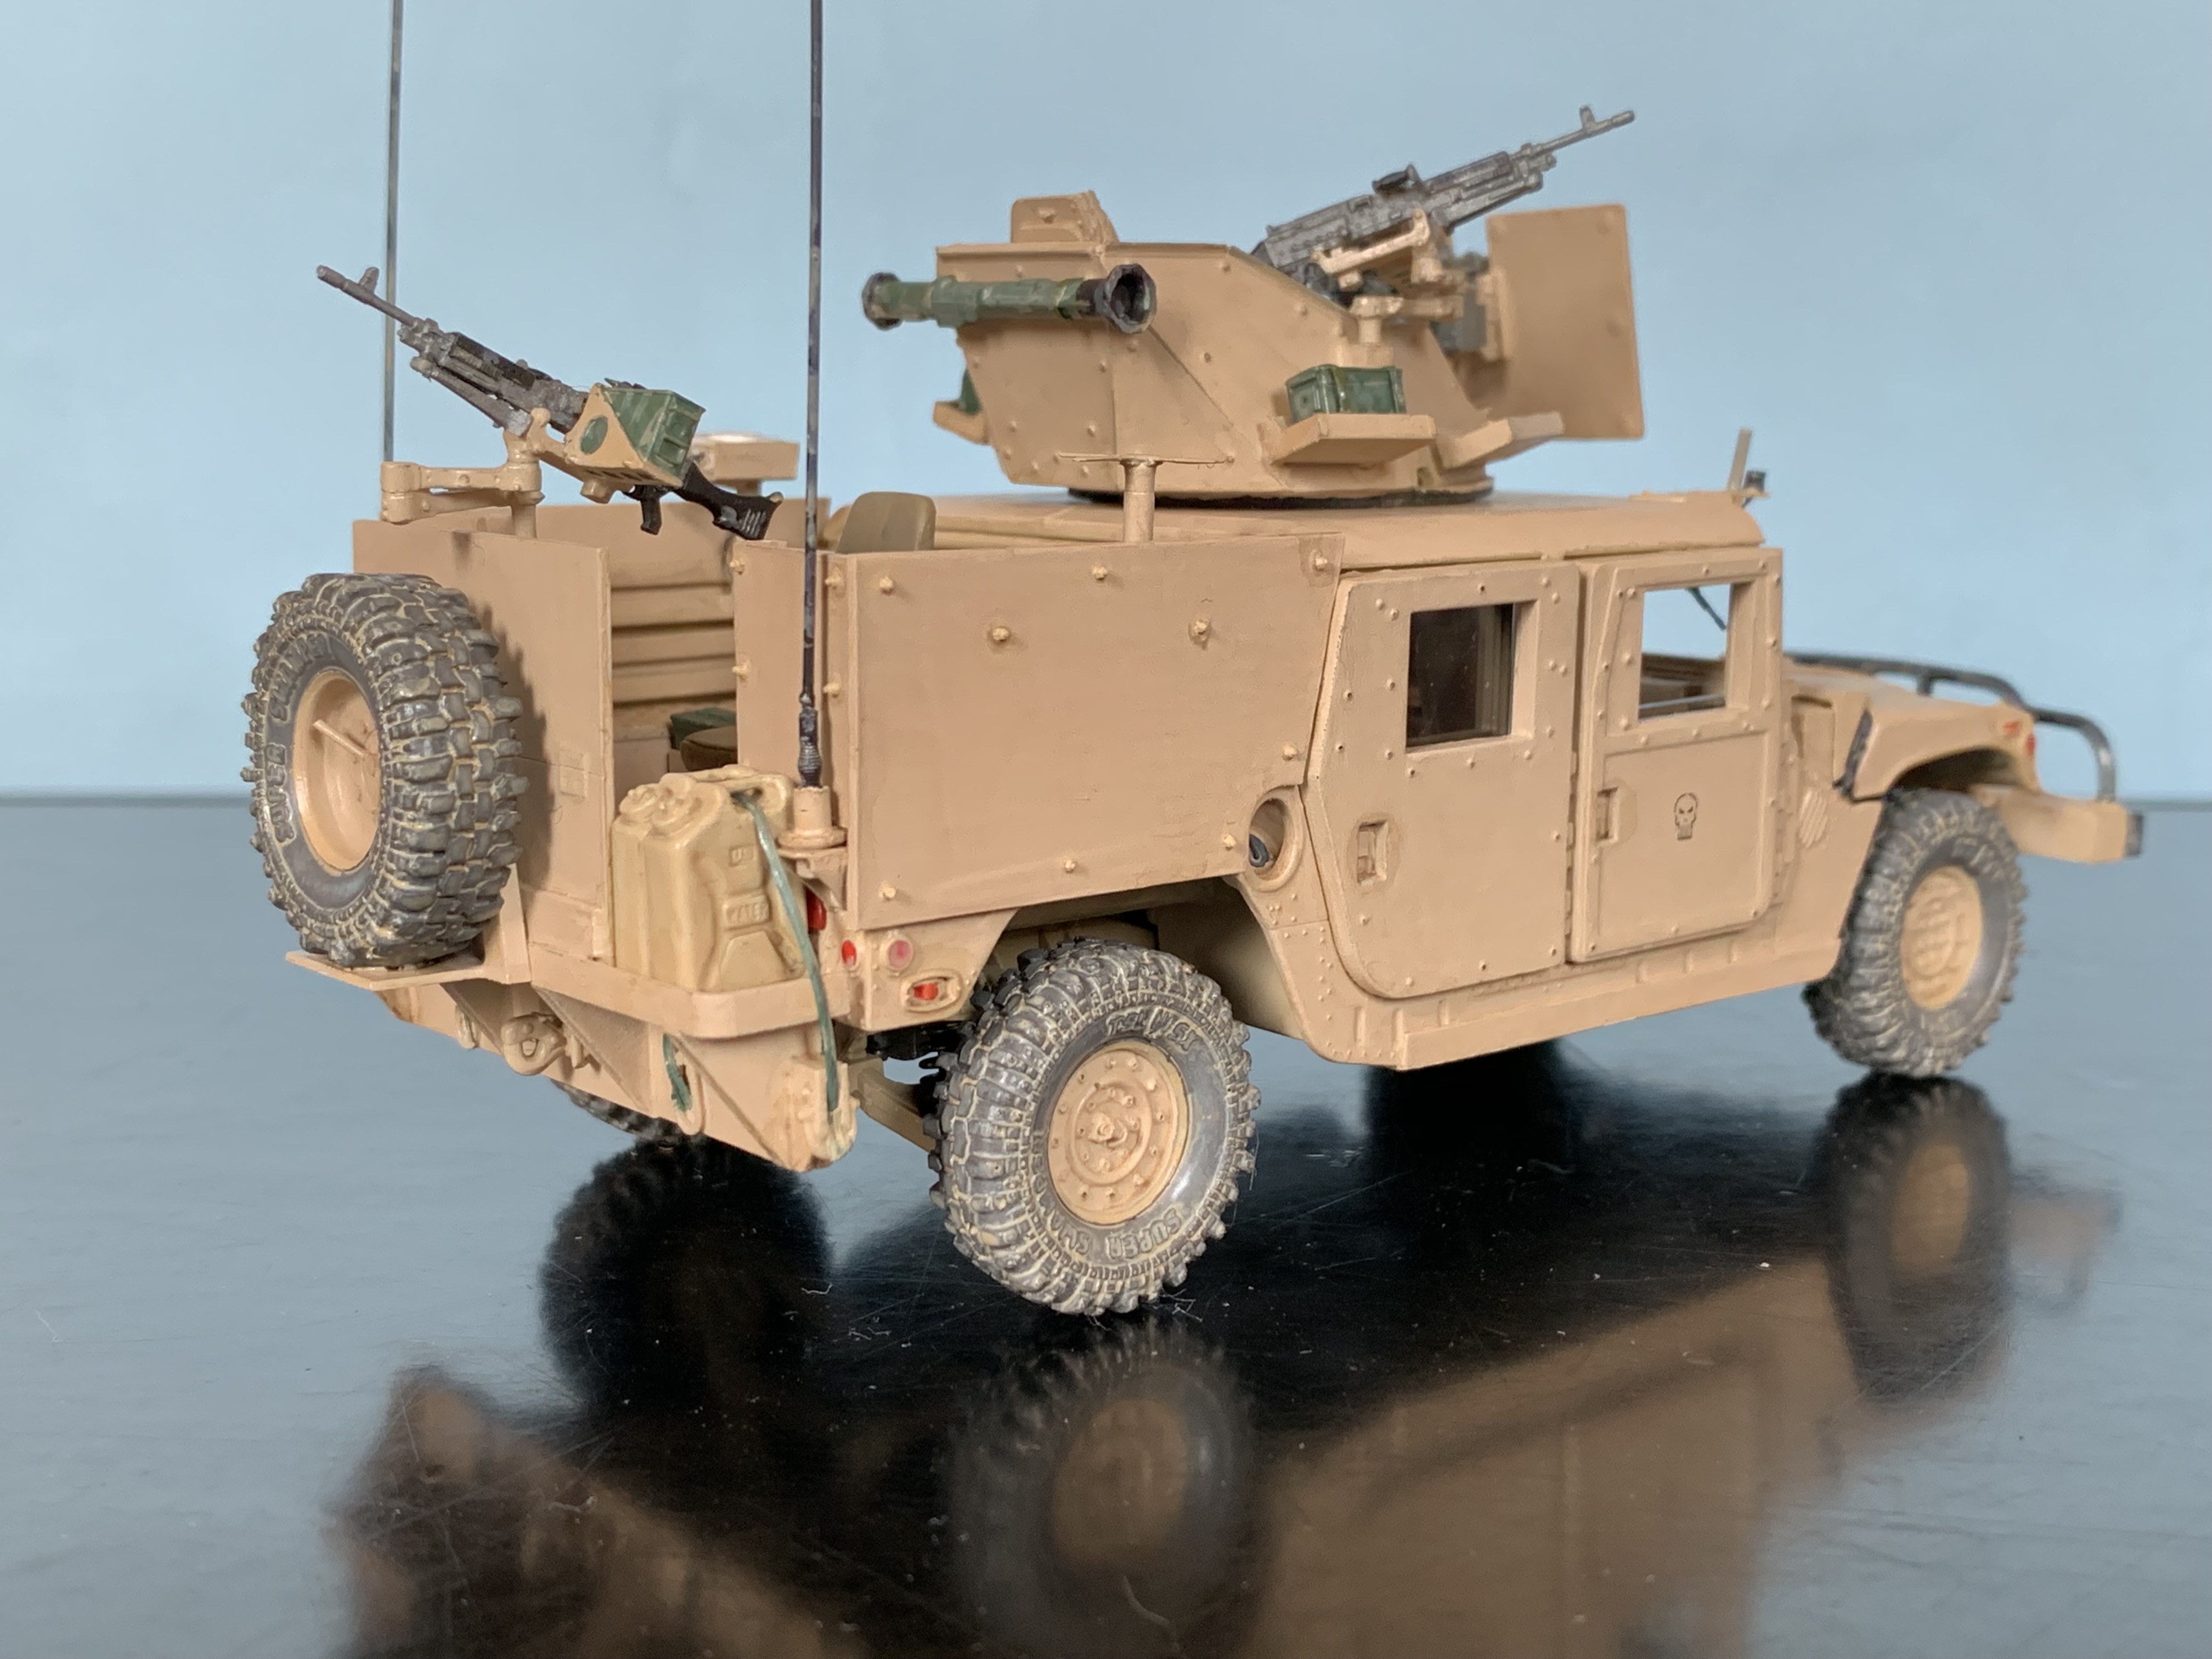
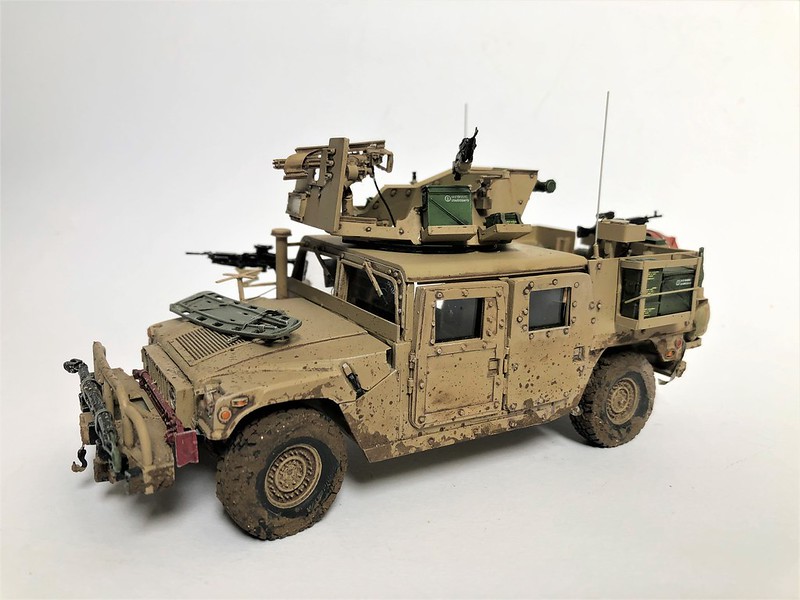
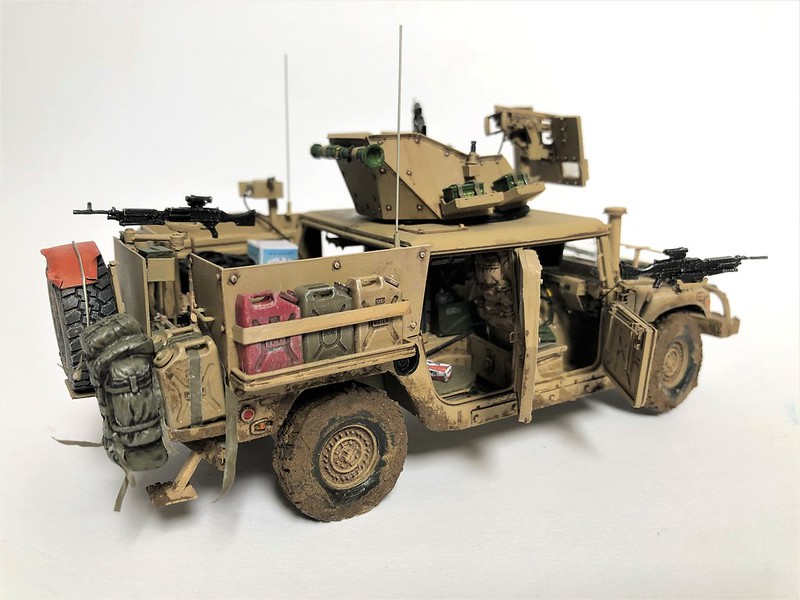
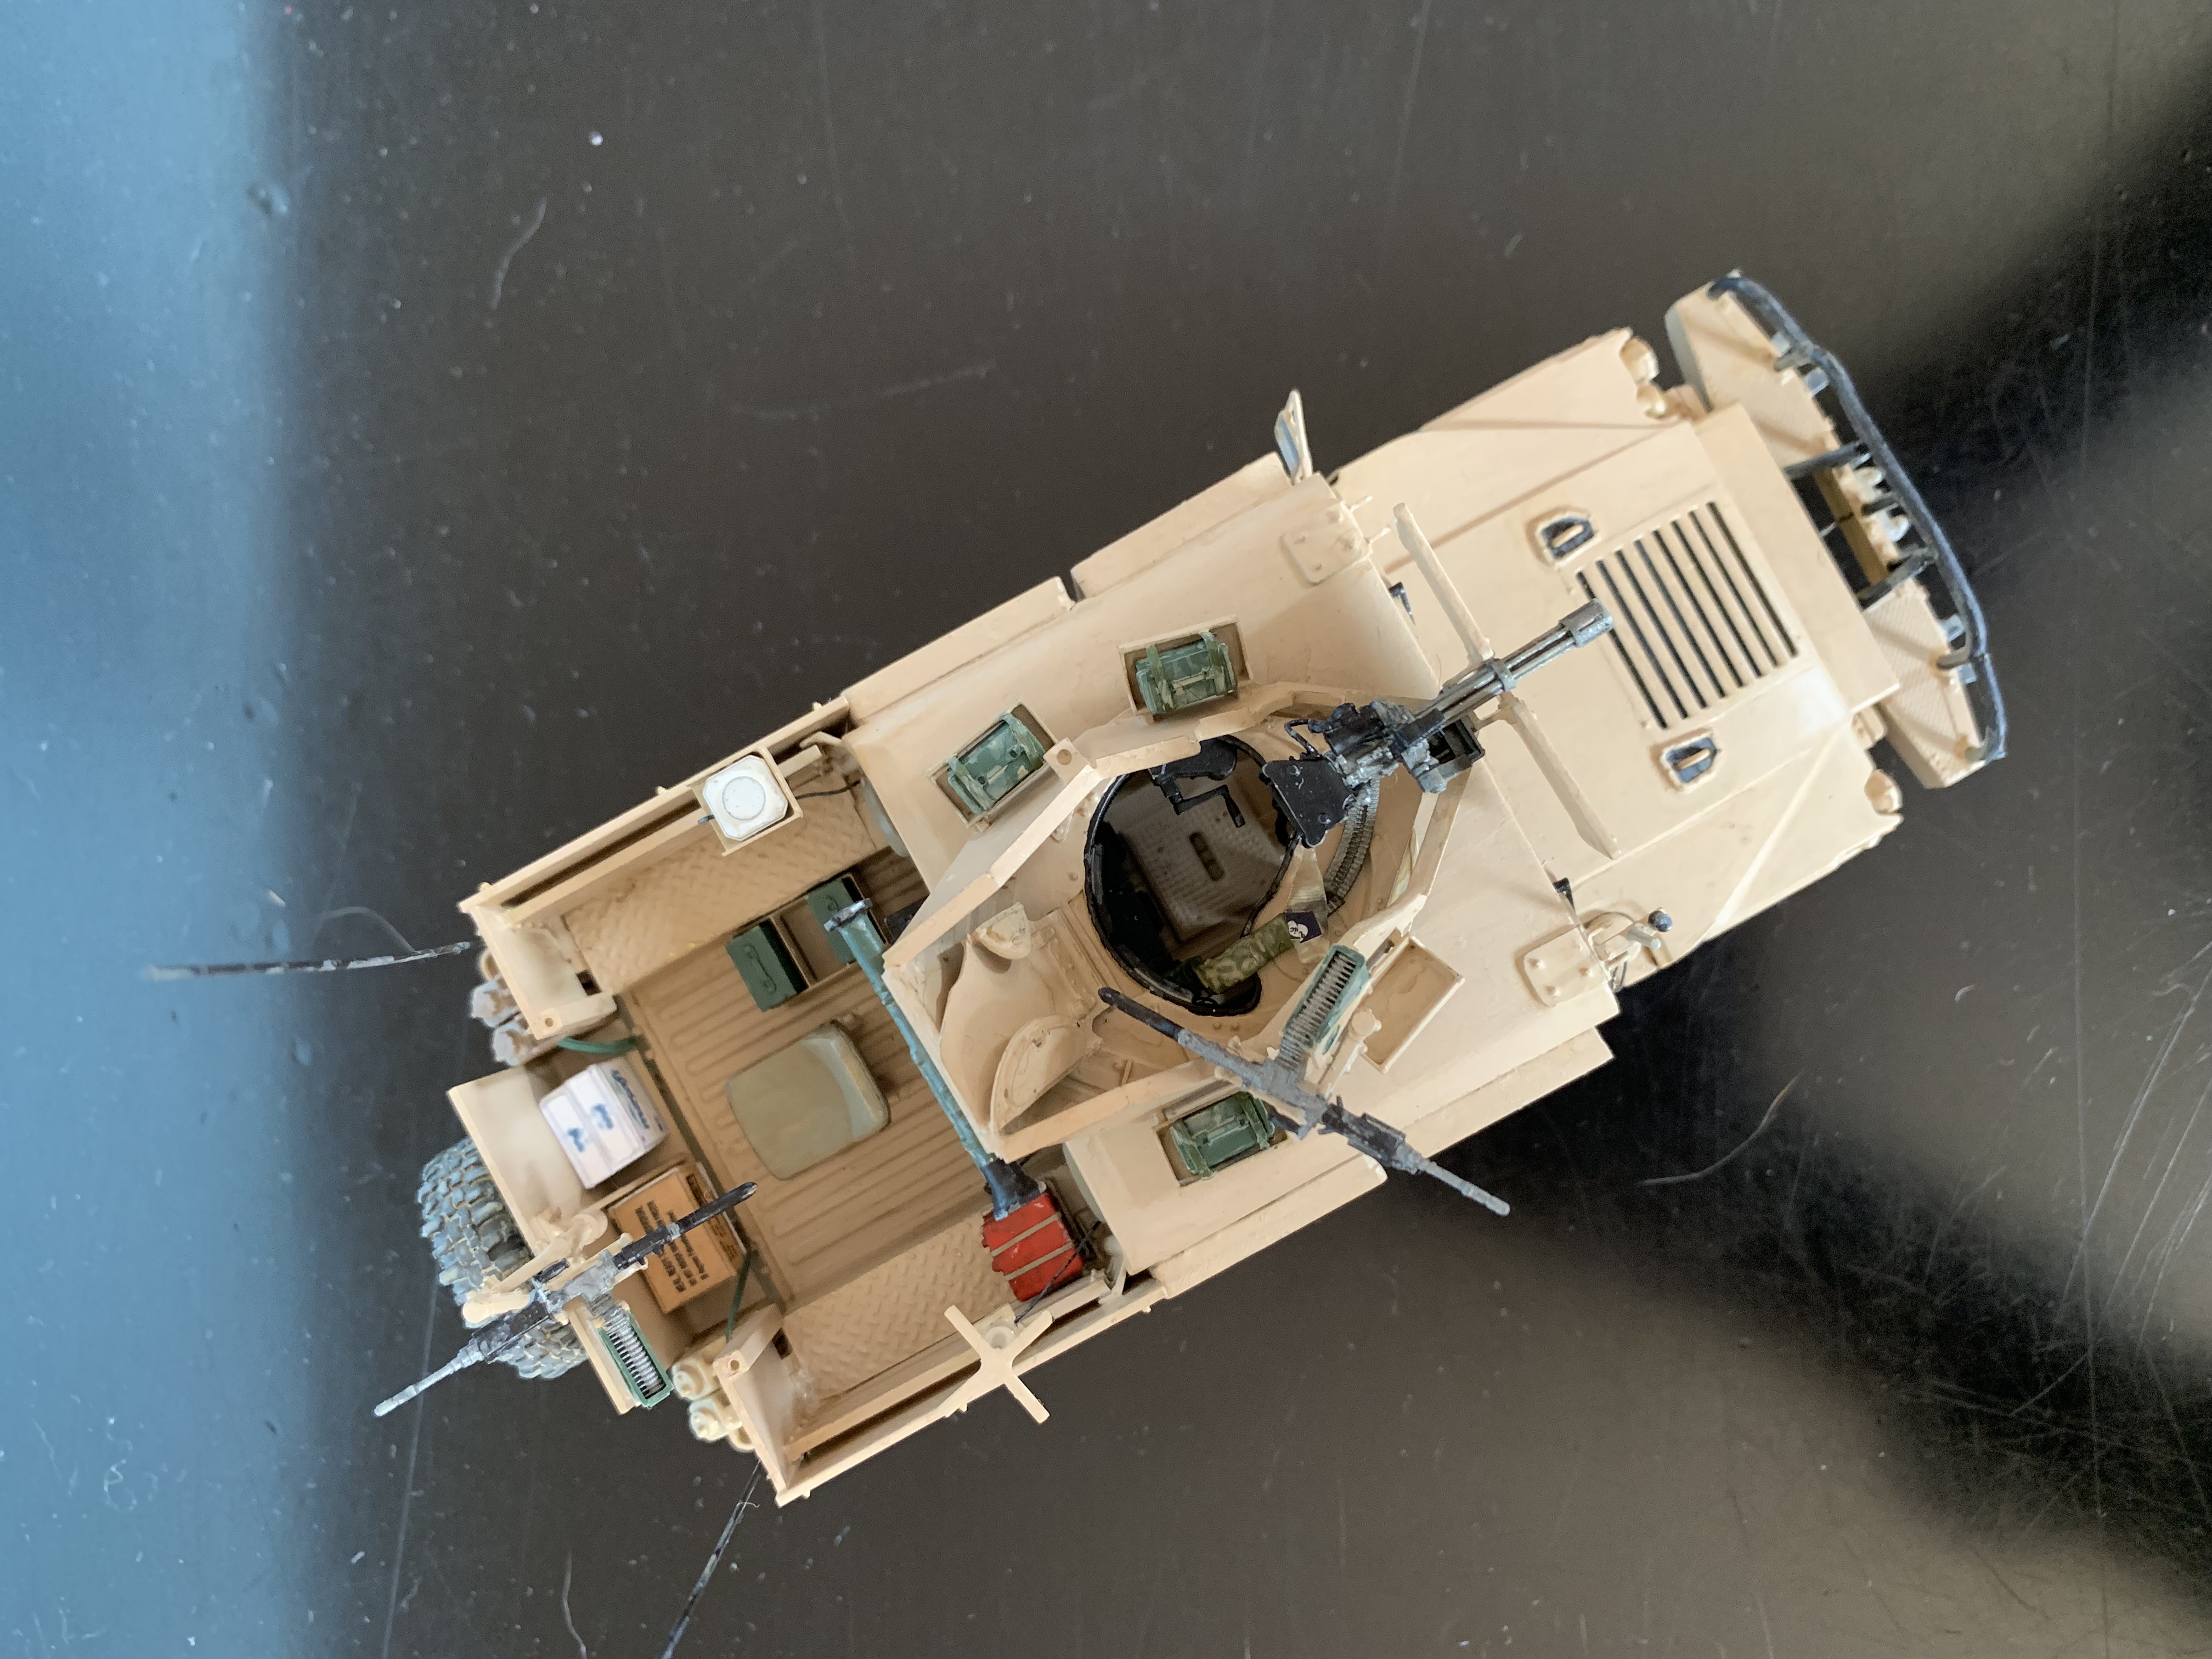
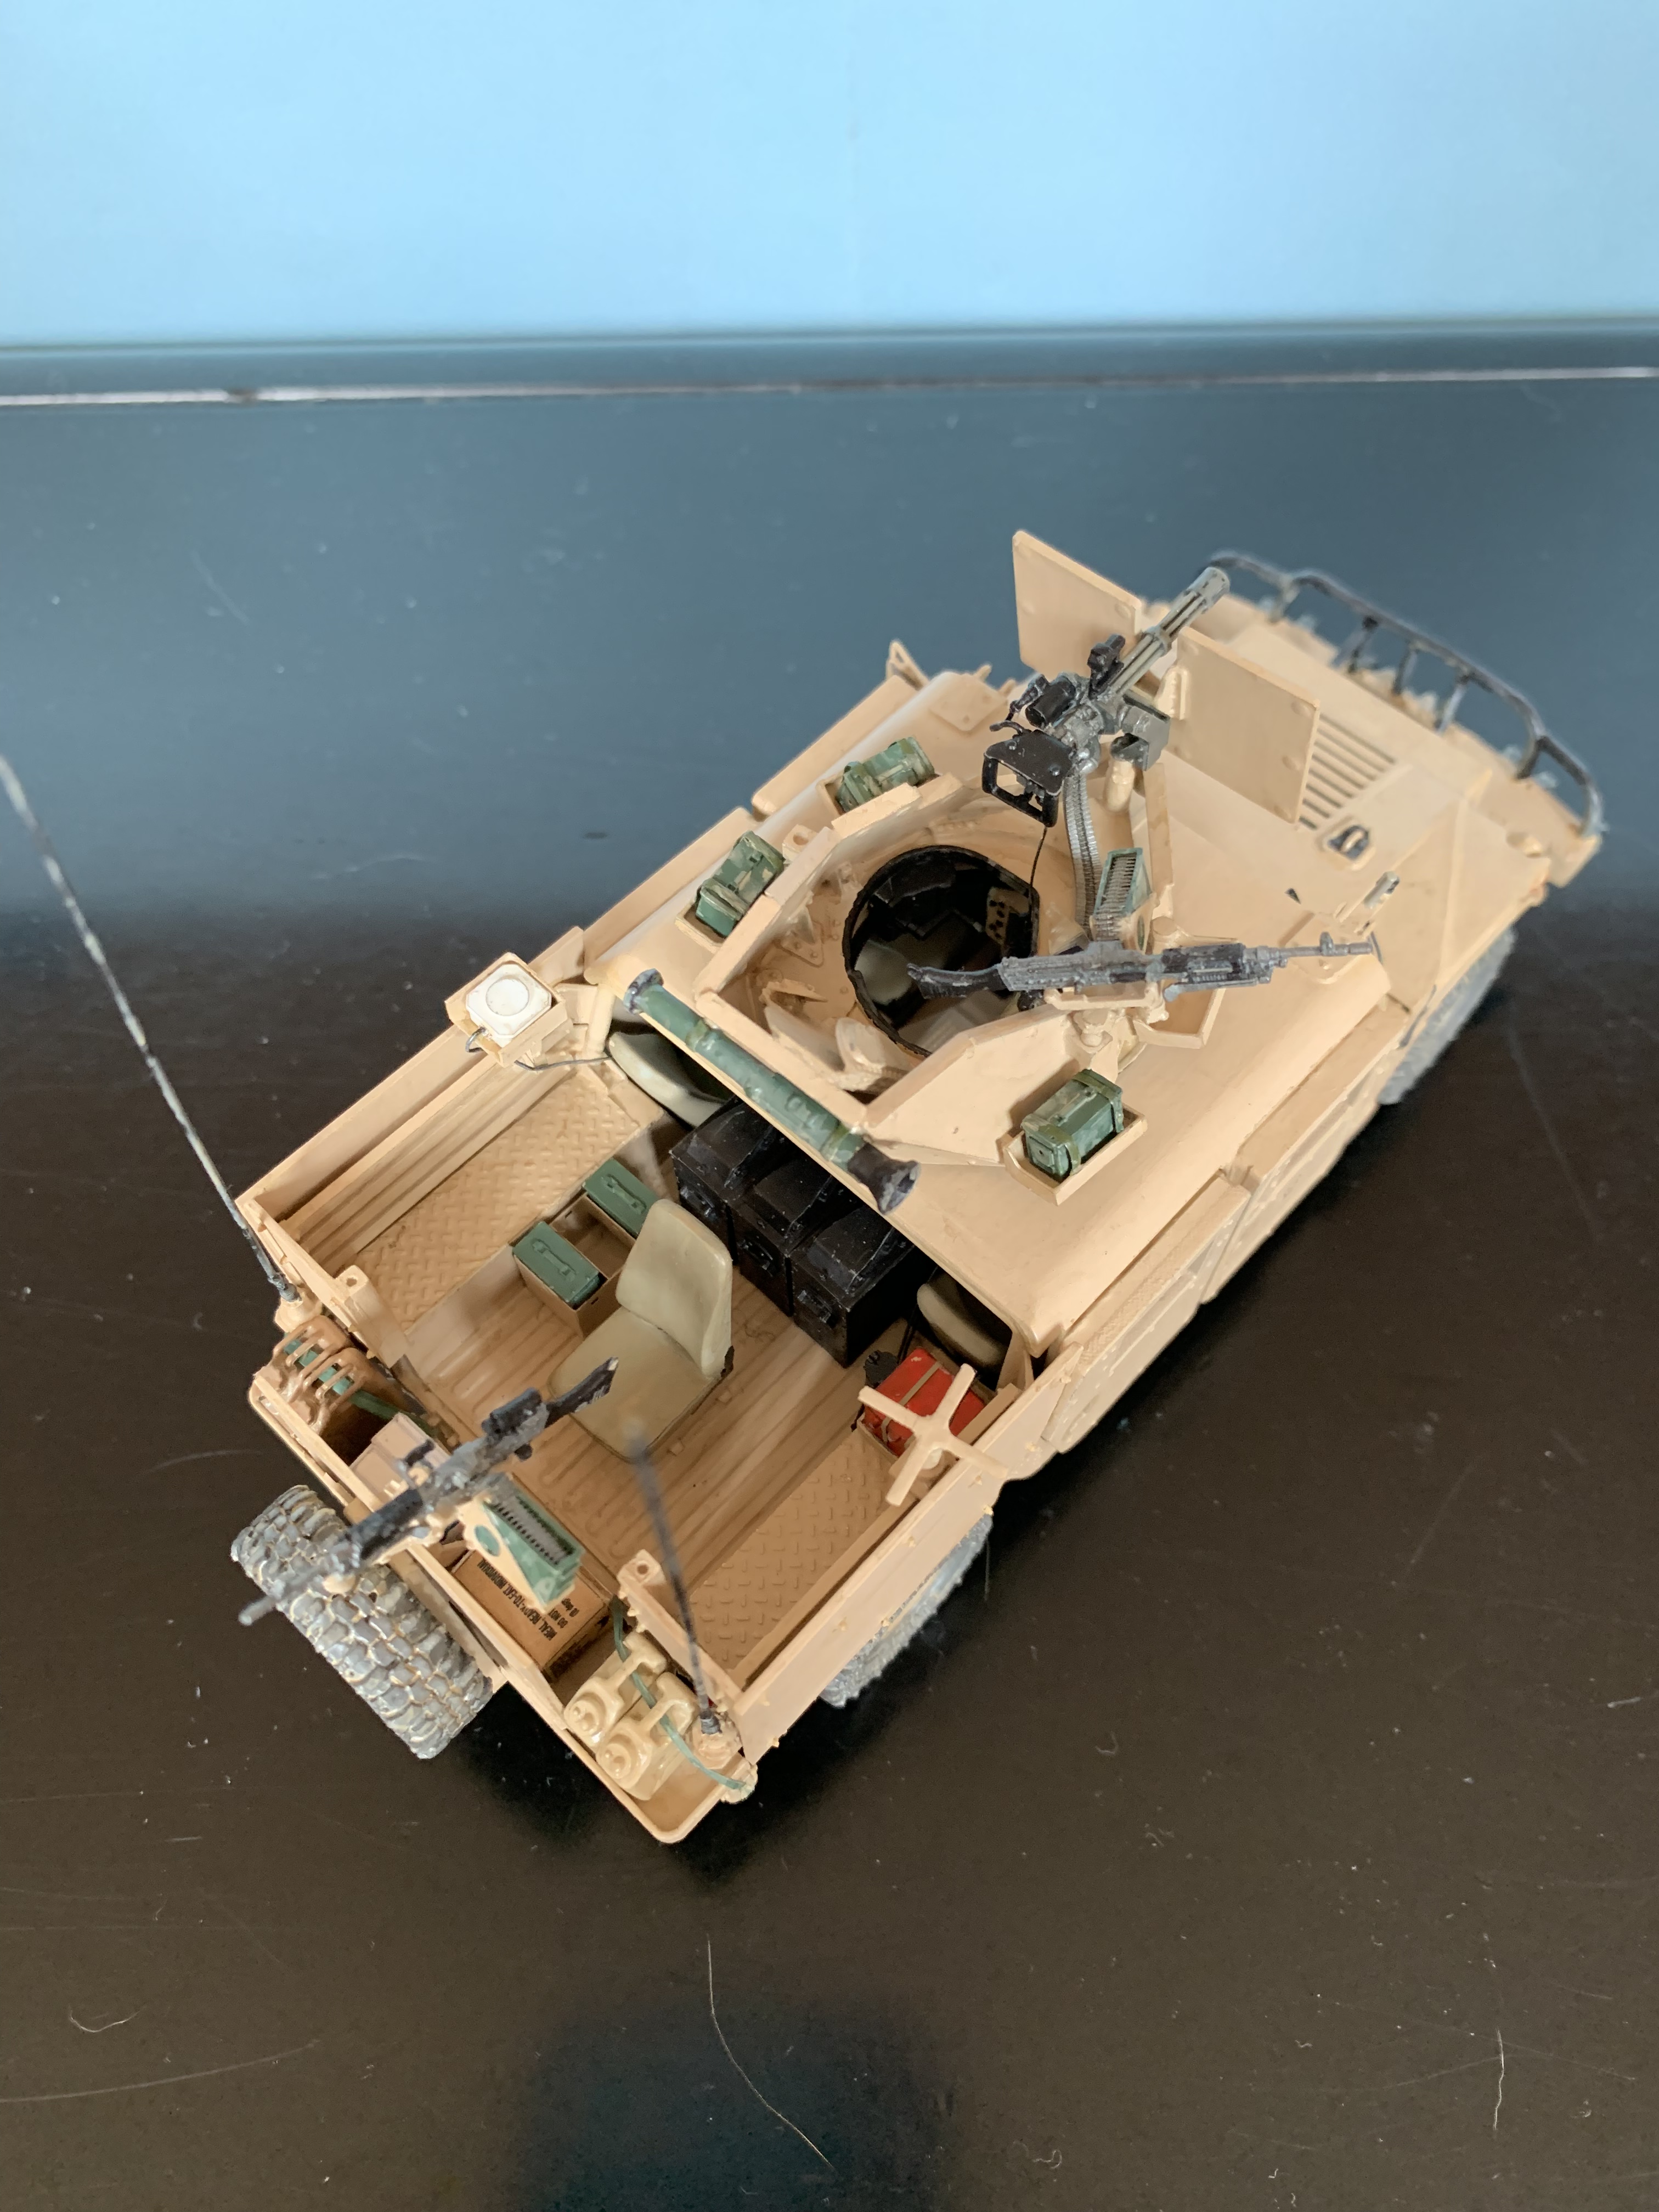
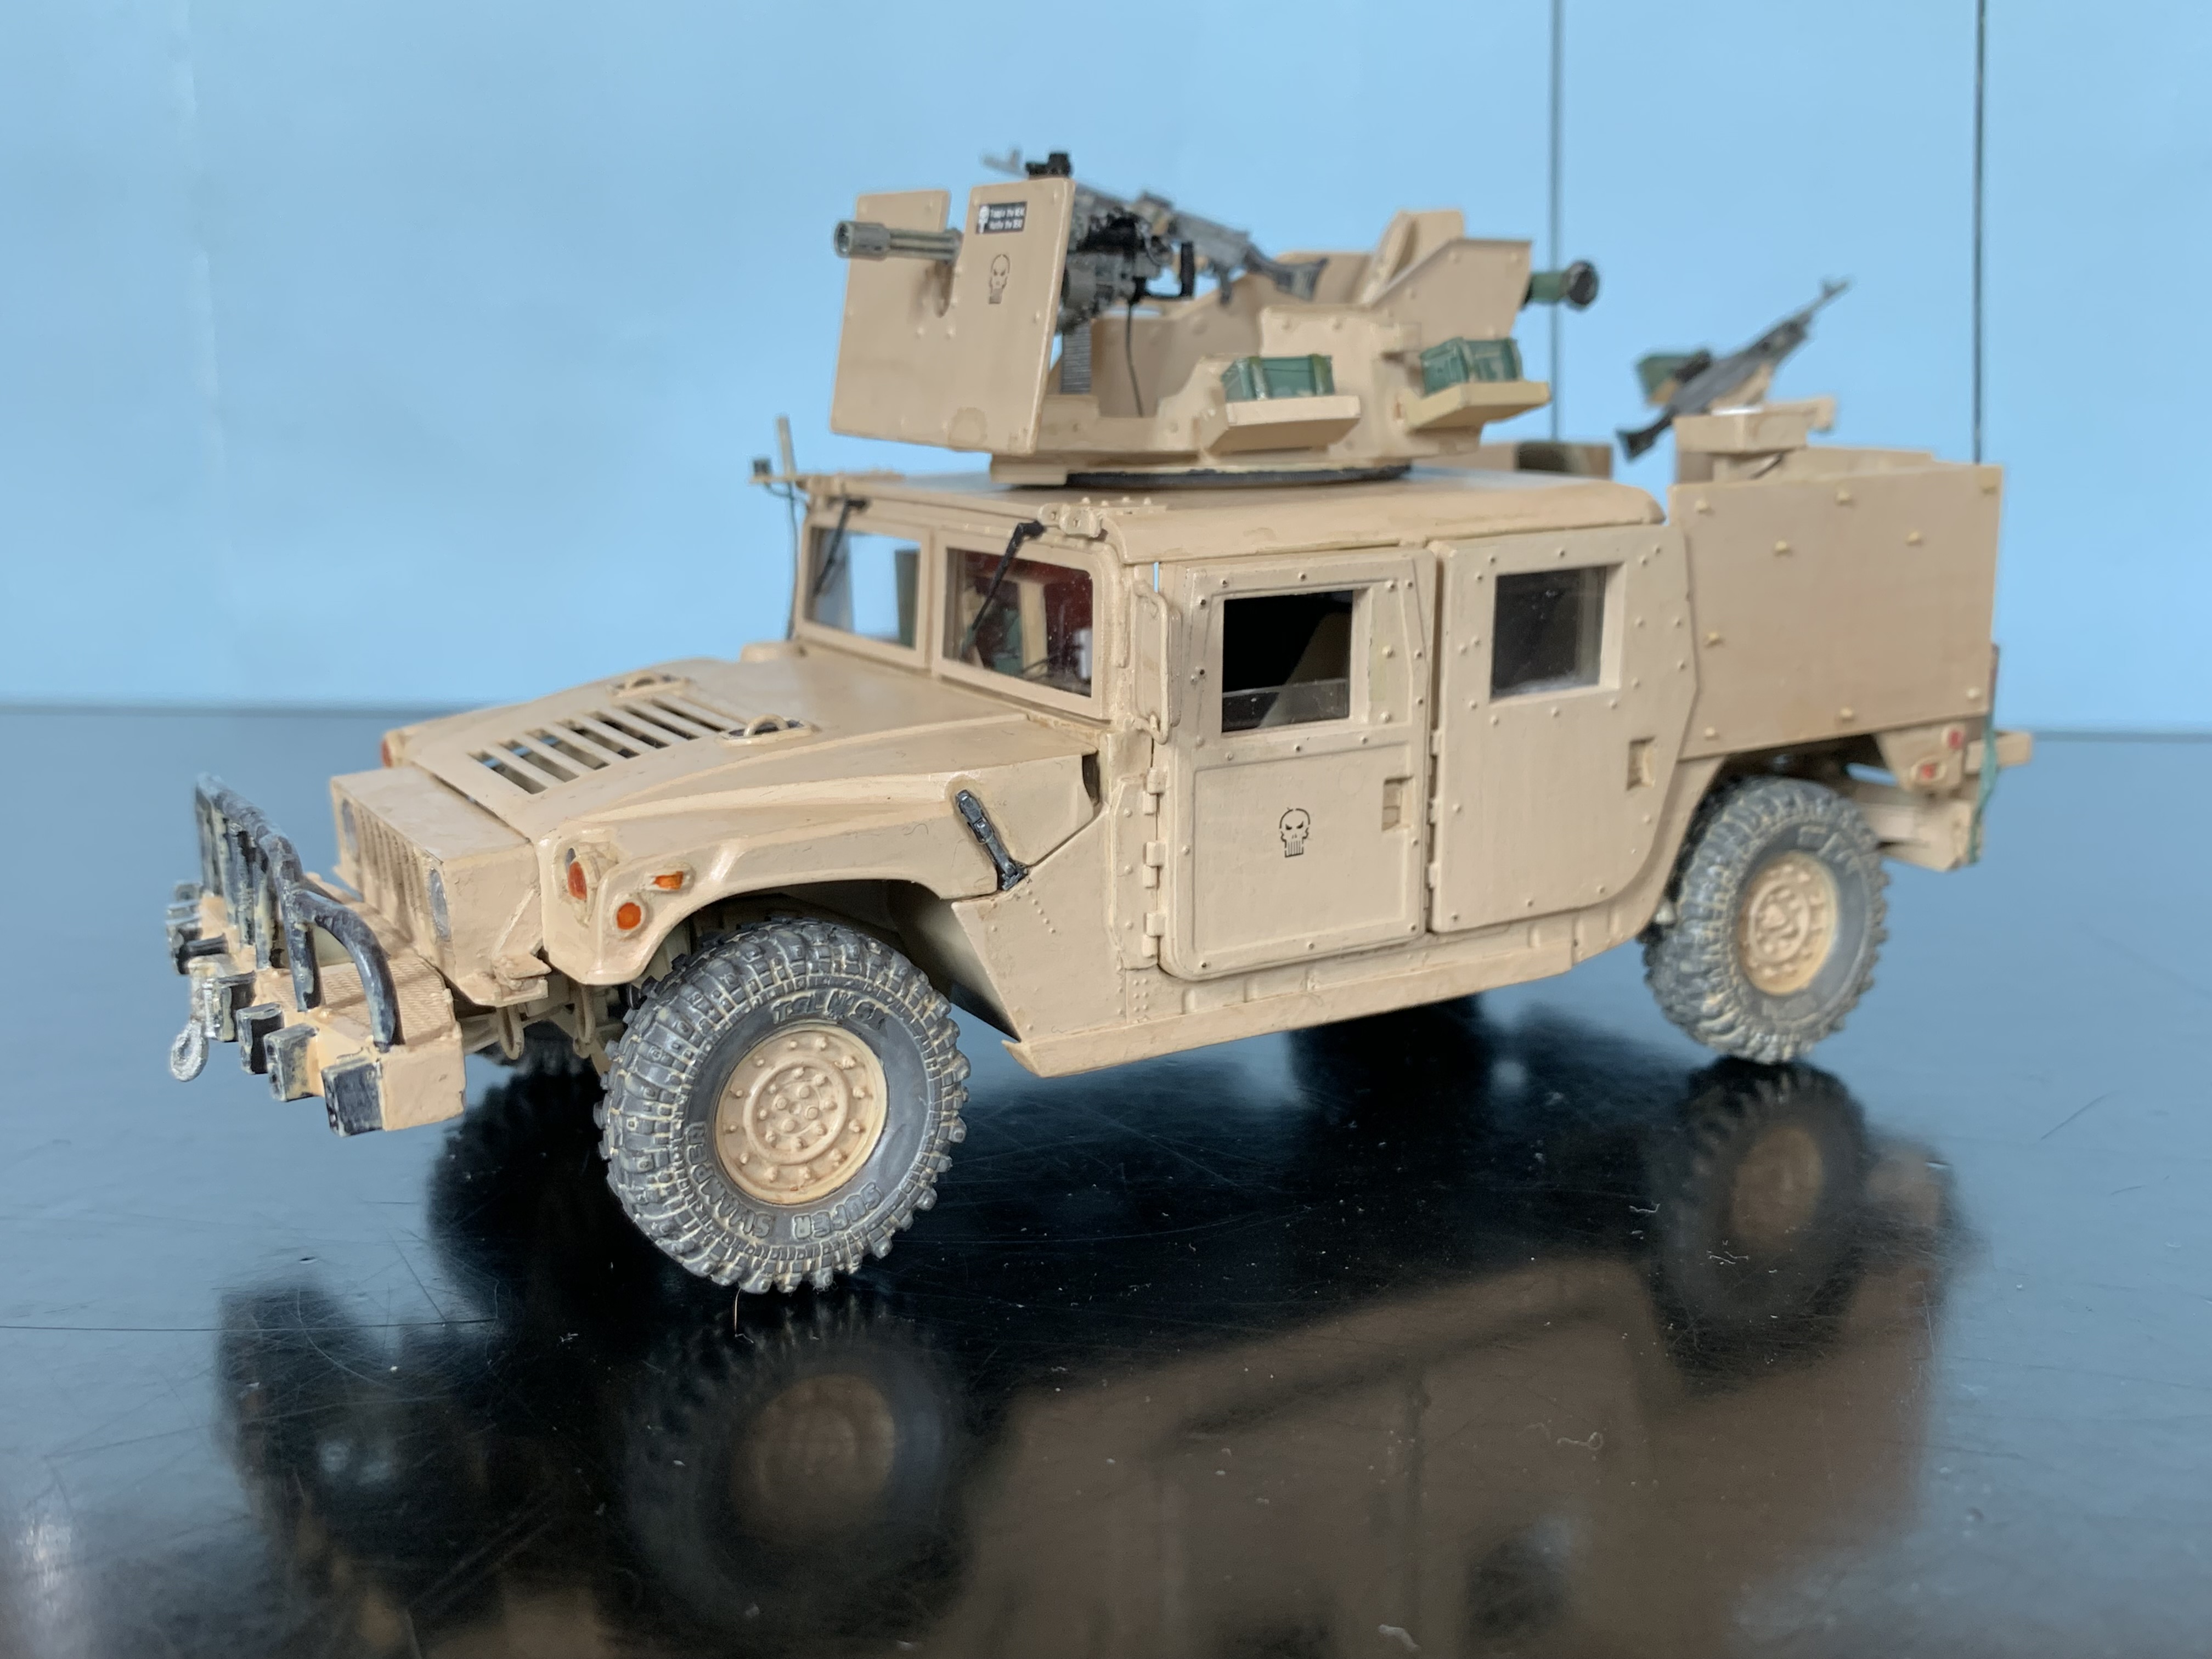
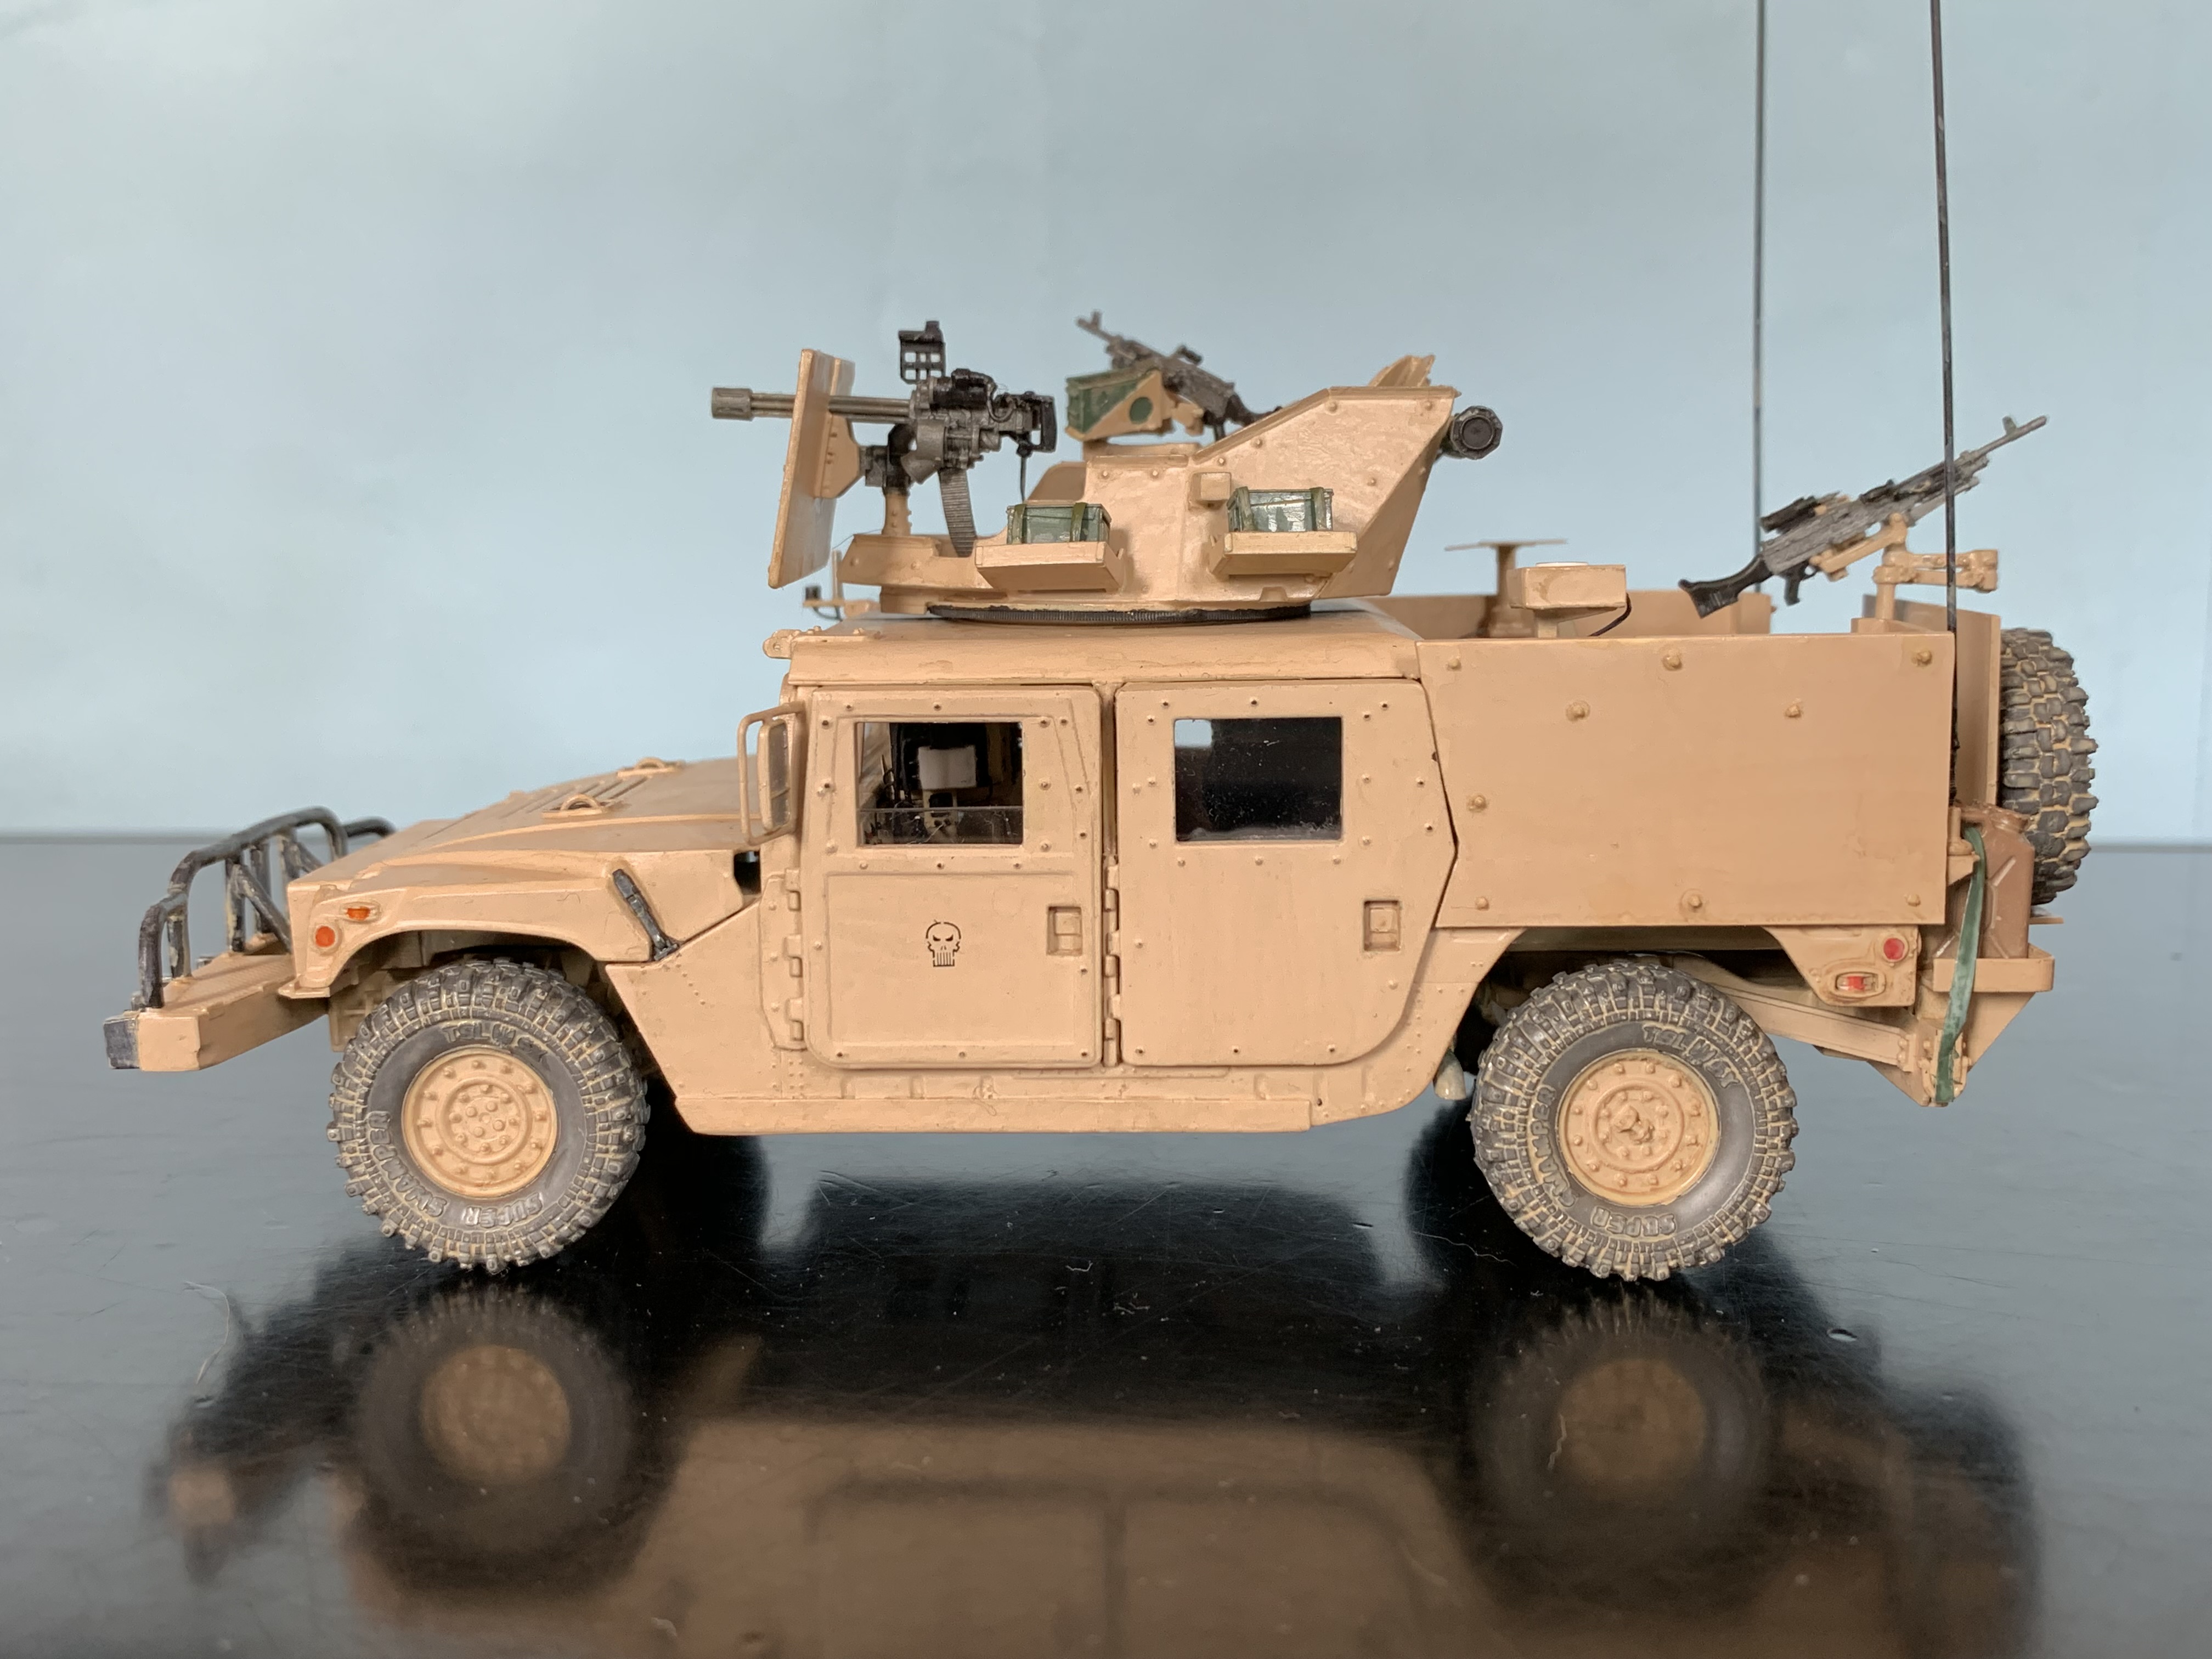
Here is the last model I have completed: a US Special Forces M1113 GMV-S.
The model is based on the Tamiya M1025 but a lot of add-on’s and scratch building was necessary to get the final result.
Let’s start with some picture of the completed model.
Hosted by Darren Baker
US Special Forces GMV
galactica
Milano, Italy
Joined: April 11, 2008
KitMaker: 146 posts
Armorama: 126 posts
Joined: April 11, 2008
KitMaker: 146 posts
Armorama: 126 posts
Posted: Friday, February 28, 2020 - 09:08 AM UTC
galactica
Milano, Italy
Joined: April 11, 2008
KitMaker: 146 posts
Armorama: 126 posts
Joined: April 11, 2008
KitMaker: 146 posts
Armorama: 126 posts
Posted: Friday, February 28, 2020 - 10:16 AM UTC
I have used a lot of kits
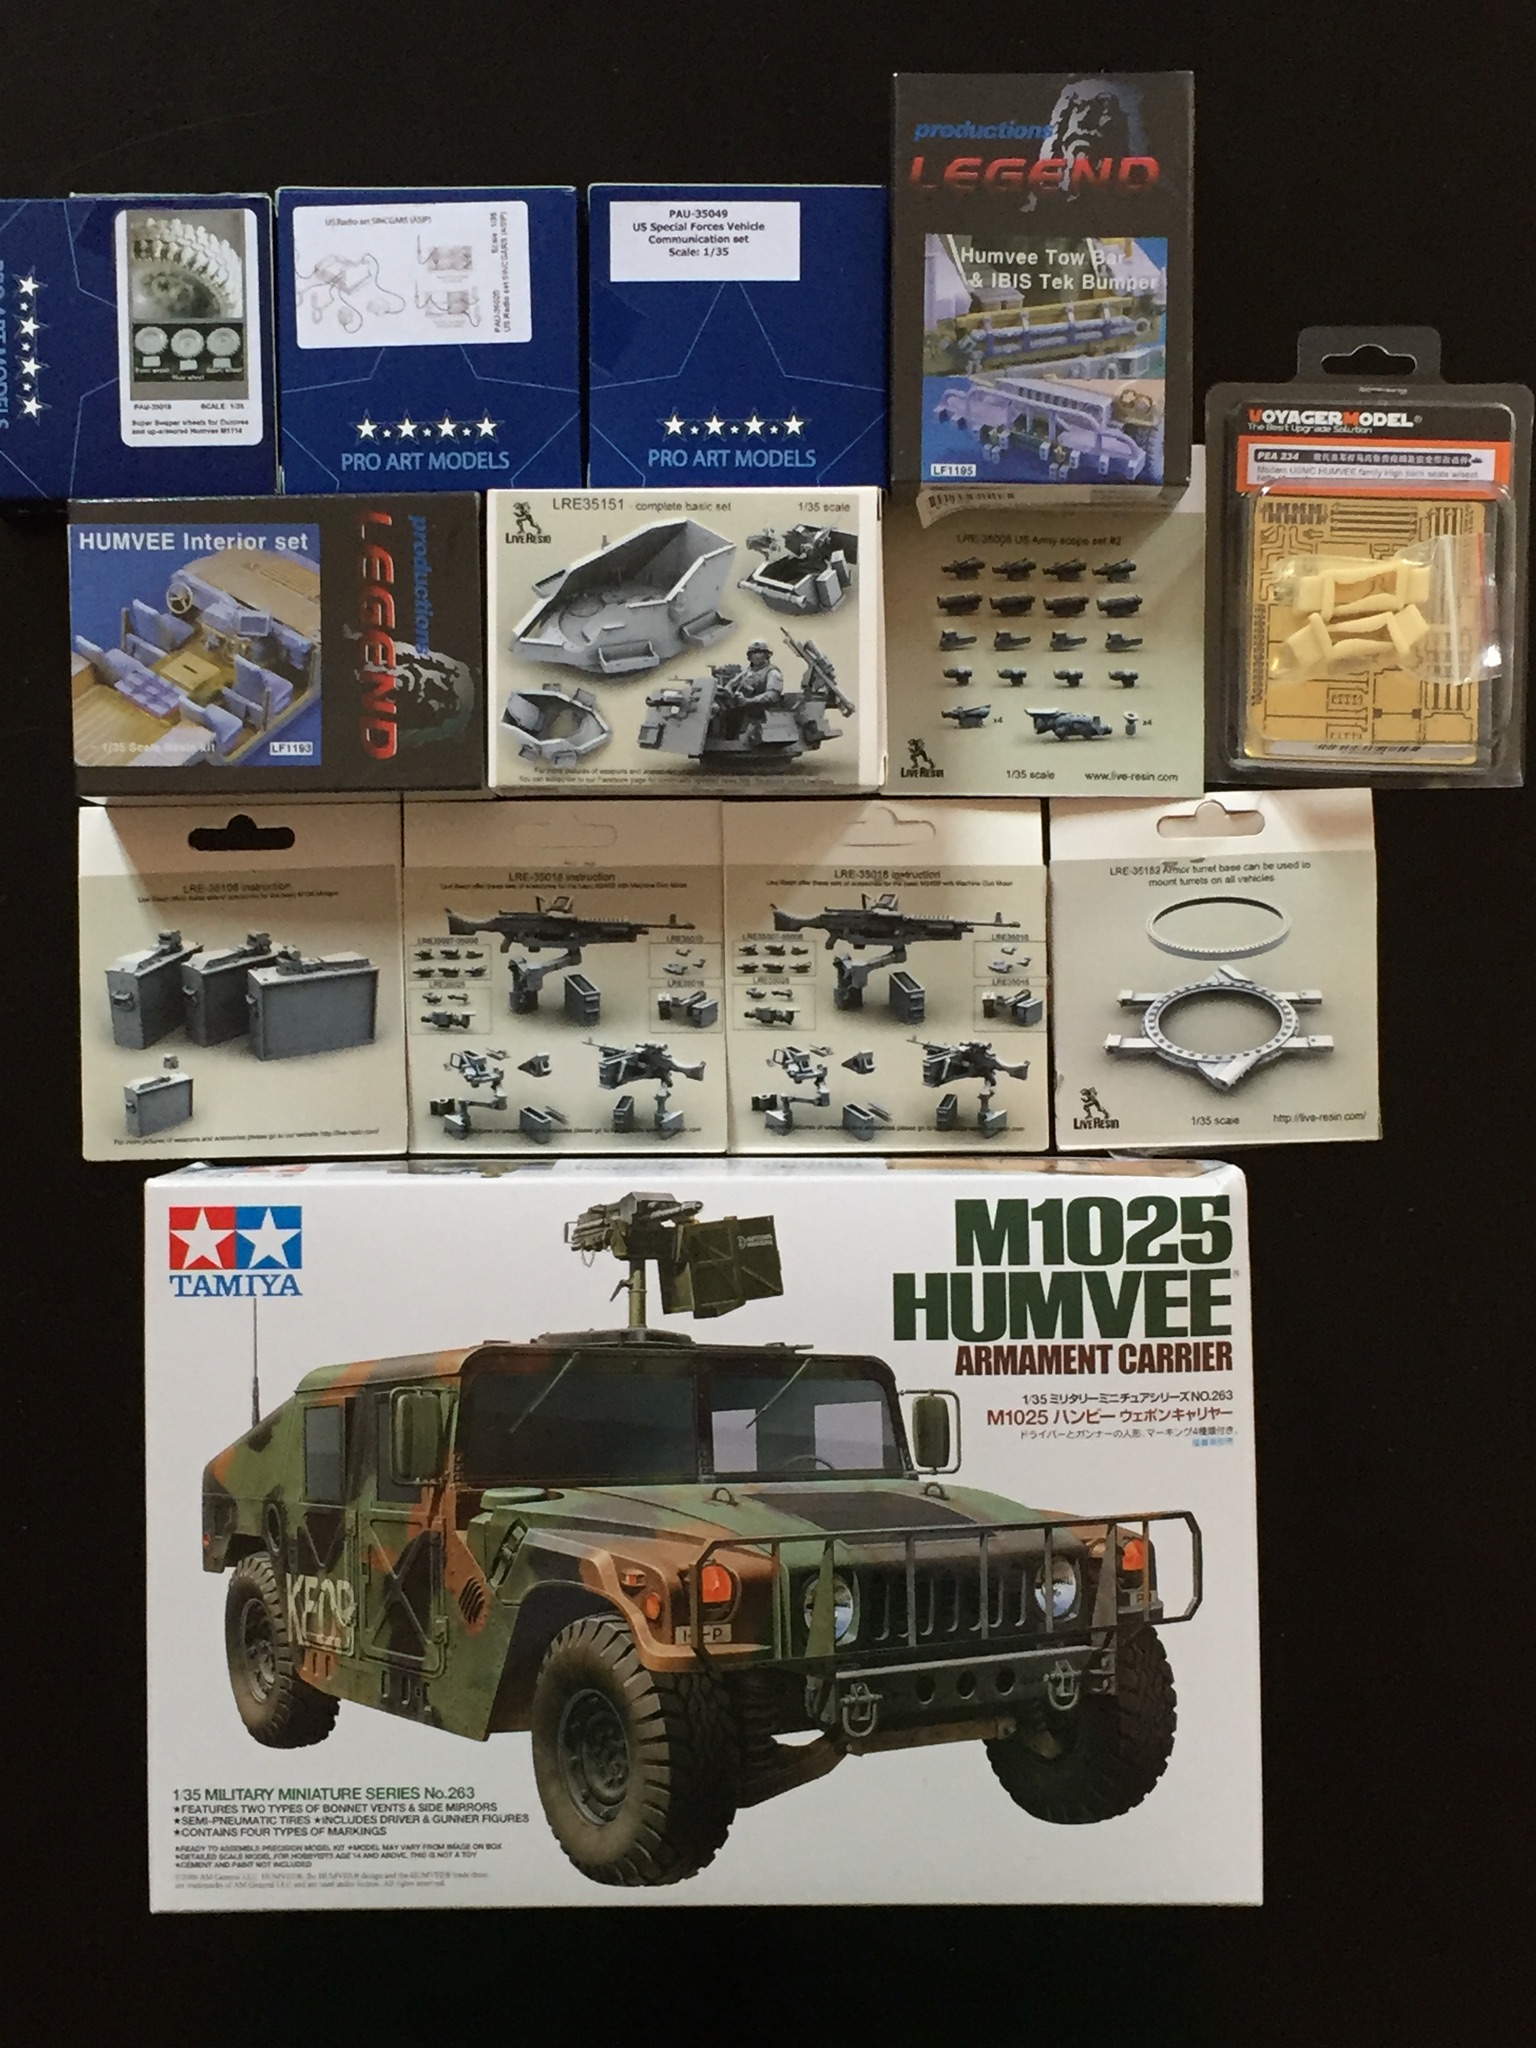
Here below the list:
• Tamiya M1025
• Legend Humvee Interior Set
• Legend Humvee Tow Bar & Ibis Tek Bumper
• Voyager Model USMC HUMVEE Family High Back Seat
• Live Resin S.A.G. turret
• Live Resin Armor Turret Base
• Live Resin M240B
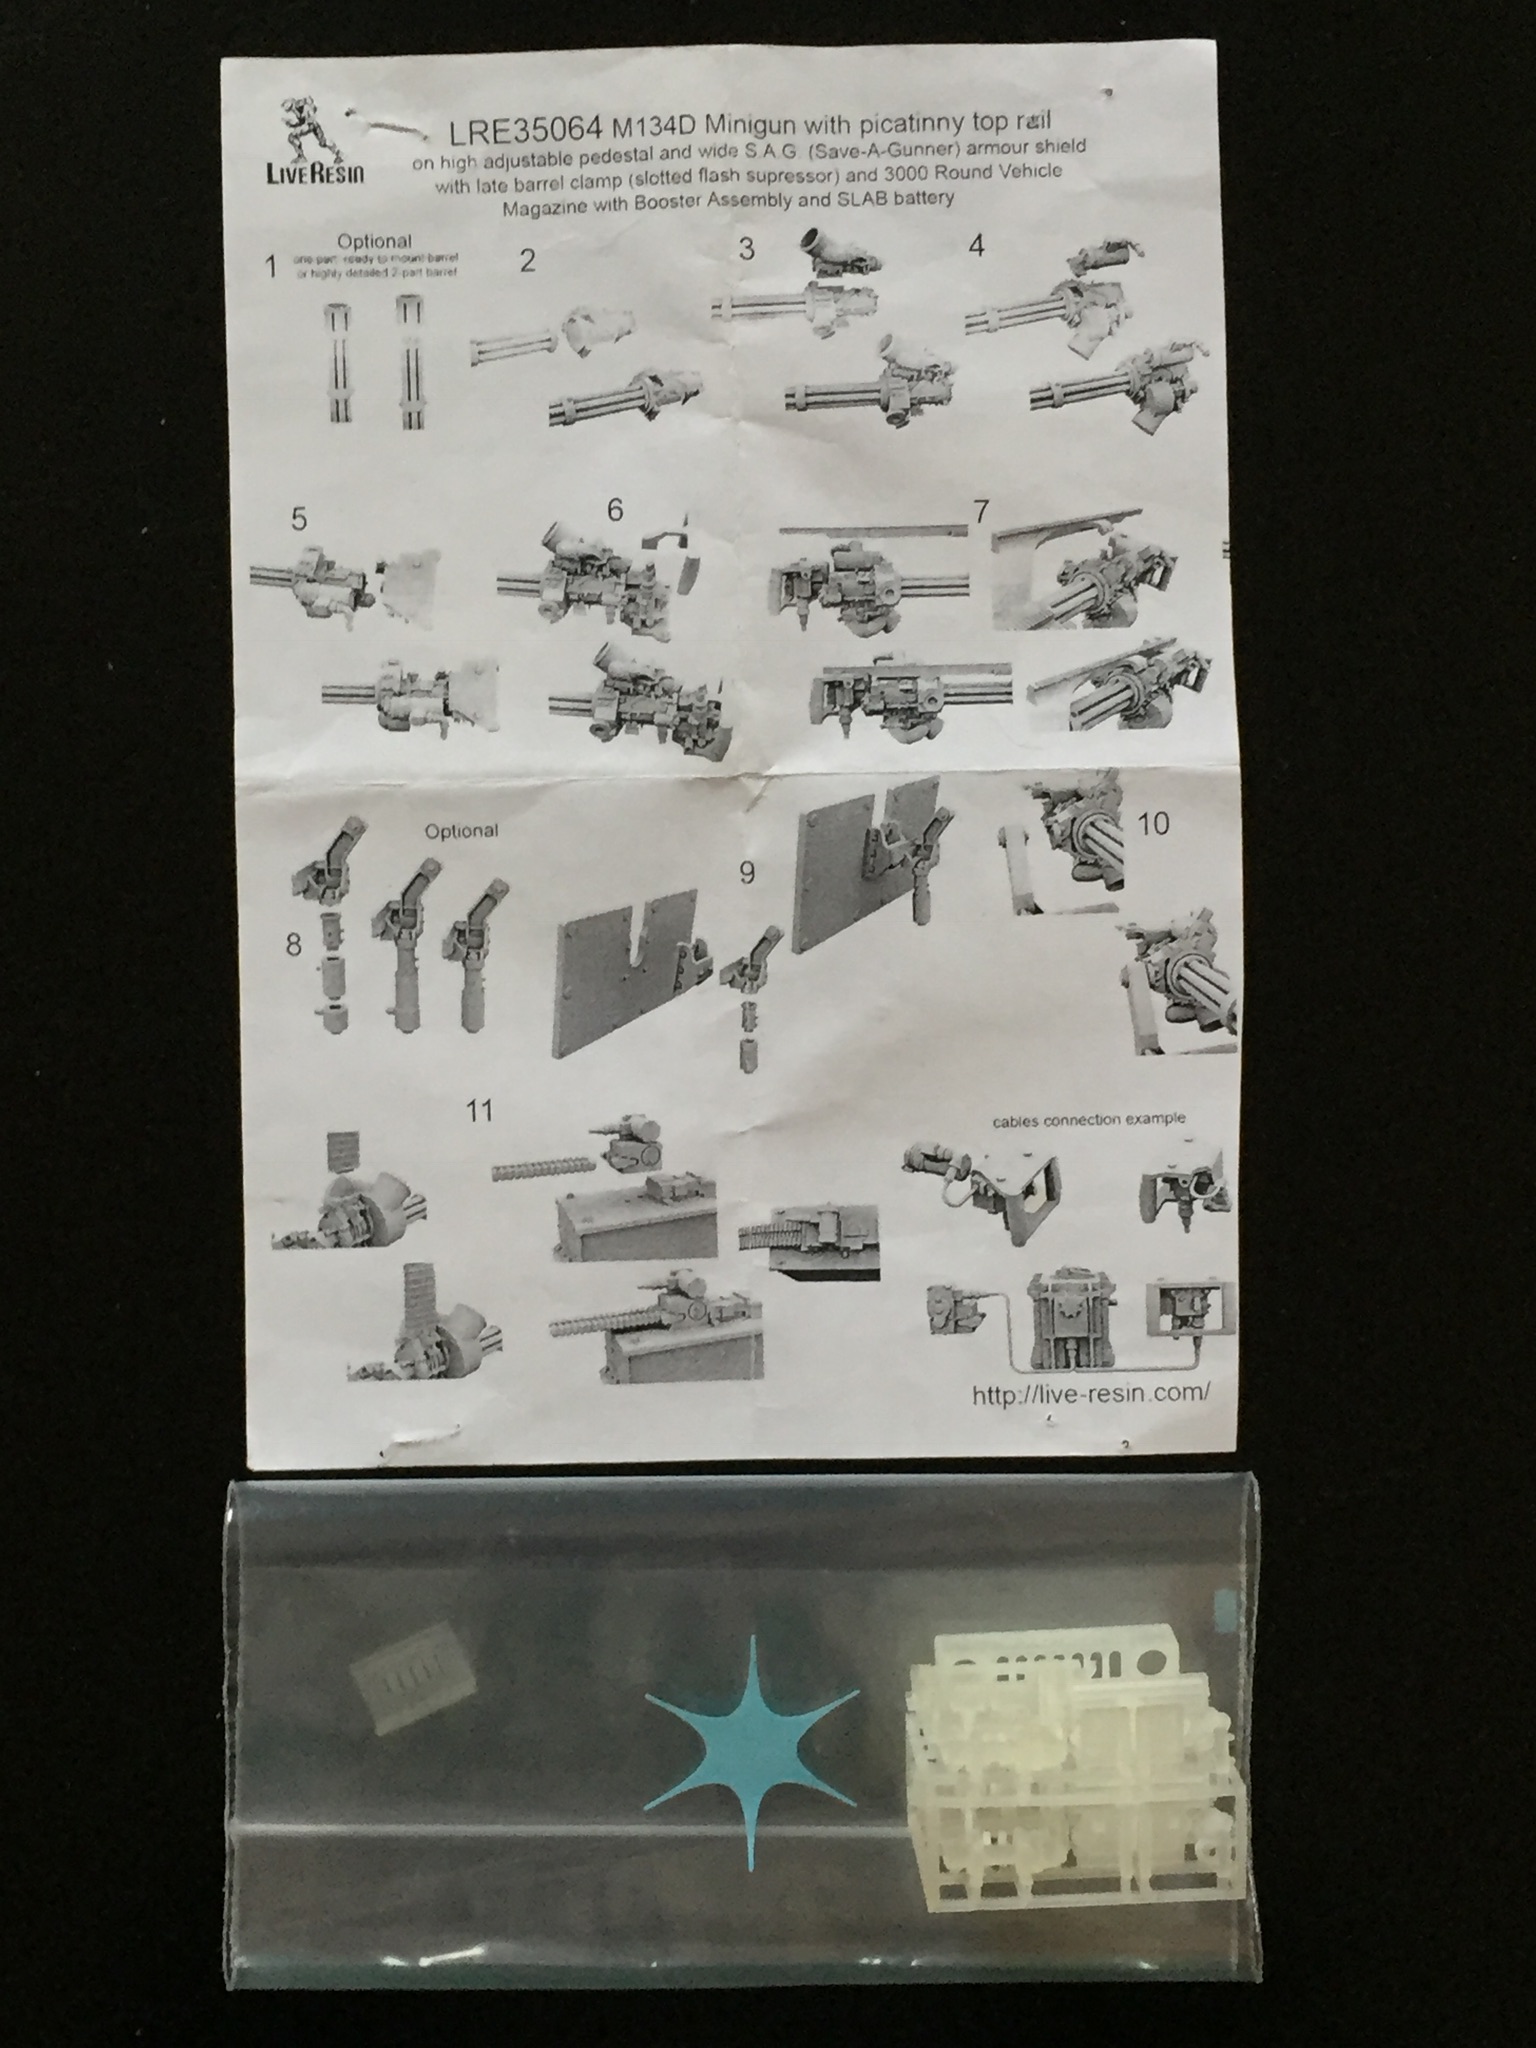
• Live Resin M134D and Spare 3000 Round Vehicle Magazines
• Live Resin items from various kits: water & fuel canisters, Sincgars base units, US Army Scopes Set #2
• Samofalov HMMWV front grill and Clevis hook (on Shapeways)
• Pro Art Models Super Swamper Wheels
• Pro Art Models Special Forces Communication Set
• Pro Art Models US Radio Set SincGars
• Aber Engrave Plate PP05 and plasticard
In addition I have designed and 3D printed other parts that I’m going to describe in the next post.
MakiWawa
Warszawa, Poland
Joined: December 17, 2014
KitMaker: 448 posts
Armorama: 448 posts
Joined: December 17, 2014
KitMaker: 448 posts
Armorama: 448 posts
Posted: Saturday, February 29, 2020 - 12:26 AM UTC
Ettore - nice model. Maybe it would look a little better if you added a wash? Below is my first M1113 GMV.
I used similar sets as you.
]
I used similar sets as you.
]
galactica
Milano, Italy
Joined: April 11, 2008
KitMaker: 146 posts
Armorama: 126 posts
Joined: April 11, 2008
KitMaker: 146 posts
Armorama: 126 posts
Posted: Saturday, February 29, 2020 - 06:34 AM UTC
You are absolutely right,
I’ve only applied a filter and a wash is what is missing.
Fact is that I like to build, not to paint 😀
I’ve only applied a filter and a wash is what is missing.
Fact is that I like to build, not to paint 😀
nikman
Quebec, Canada
Joined: December 30, 2005
KitMaker: 40 posts
Armorama: 37 posts
Joined: December 30, 2005
KitMaker: 40 posts
Armorama: 37 posts
Posted: Saturday, February 29, 2020 - 02:52 PM UTC
Nice work!
I am currently building the same turret with minigun on a L-ATV. I can't seem to find images of the interior of the turret. Where does the ammo chute and ammo case sit? Inside the turret or inside the vehicle itself?
galactica
Milano, Italy
Joined: April 11, 2008
KitMaker: 146 posts
Armorama: 126 posts
Joined: April 11, 2008
KitMaker: 146 posts
Armorama: 126 posts
Posted: Sunday, March 01, 2020 - 04:57 AM UTC
Hi Nicolas,
for sure the ammo boxes cannot stay in the turret, they are too big.
I don’t remember any picture showing the minigun in an L-ATV, therefore I cannot give a sure answer.
As an help, here a couple of pictures showing the interior of the turret and where I have placed the ammo boxes and battery in my HMMWV.
18Bravo
Colorado, United States
Joined: January 20, 2005
KitMaker: 7,219 posts
Armorama: 6,097 posts
Joined: January 20, 2005
KitMaker: 7,219 posts
Armorama: 6,097 posts
Posted: Sunday, March 01, 2020 - 06:02 AM UTC
Ammo cans for the mini gun are placed in the center of the vehicle in a row of three. (Left to right) See if you can find an old thread my Matte Black. I think I posted a video there many years ago of the mini gun in action, along with a photo of the ammo can placement.
galactica
Milano, Italy
Joined: April 11, 2008
KitMaker: 146 posts
Armorama: 126 posts
Joined: April 11, 2008
KitMaker: 146 posts
Armorama: 126 posts
Posted: Tuesday, March 03, 2020 - 09:26 AM UTC
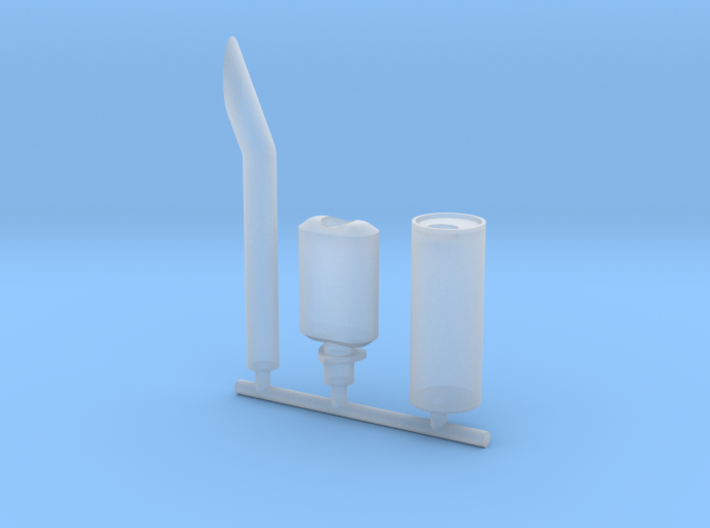
Among the many differences from the M1025, the M1113 has a new exhaust system, made of two parts, a catalytic converter and a muffler.
I then decided to 3D design the correct exhaust to replace the one included with the M1025 kit.
I then printed it at Shapeways.
To complete the system I have used the exhaust pipe from the Tamiya kit.
The same exhaust system is also used in M1114, M1151 and M1165.
The Bronco M1114 includes the correct exhaust, while the Academy M1151 doesn’t.
kubisz
Wojewodztwo Slaskie, Poland
Joined: February 18, 2007
KitMaker: 978 posts
Armorama: 977 posts
Joined: February 18, 2007
KitMaker: 978 posts
Armorama: 977 posts
Posted: Tuesday, March 03, 2020 - 09:51 AM UTC
Quoted Text
Neither the Bronco M1114 (...) include the correct exhaust.
Are You sure?
galactica
Milano, Italy
Joined: April 11, 2008
KitMaker: 146 posts
Armorama: 126 posts
Joined: April 11, 2008
KitMaker: 146 posts
Armorama: 126 posts
Posted: Tuesday, March 03, 2020 - 10:20 AM UTC
Quoted Text
Quoted TextNeither the Bronco M1114 (...) include the correct exhaust.
Are You sure?
I’m wrong indeed and I should have known because I built one Bronco M1114 (by the way a very good kit).
I have corrected my previous post.
Thank you for highlighting my mistake.
Posted: Wednesday, March 04, 2020 - 08:27 AM UTC
Great project and photos! Excellent job as always!
I hope you and Kuba are doing well.
galactica
Milano, Italy
Joined: April 11, 2008
KitMaker: 146 posts
Armorama: 126 posts
Joined: April 11, 2008
KitMaker: 146 posts
Armorama: 126 posts
Posted: Saturday, April 04, 2020 - 03:45 AM UTC
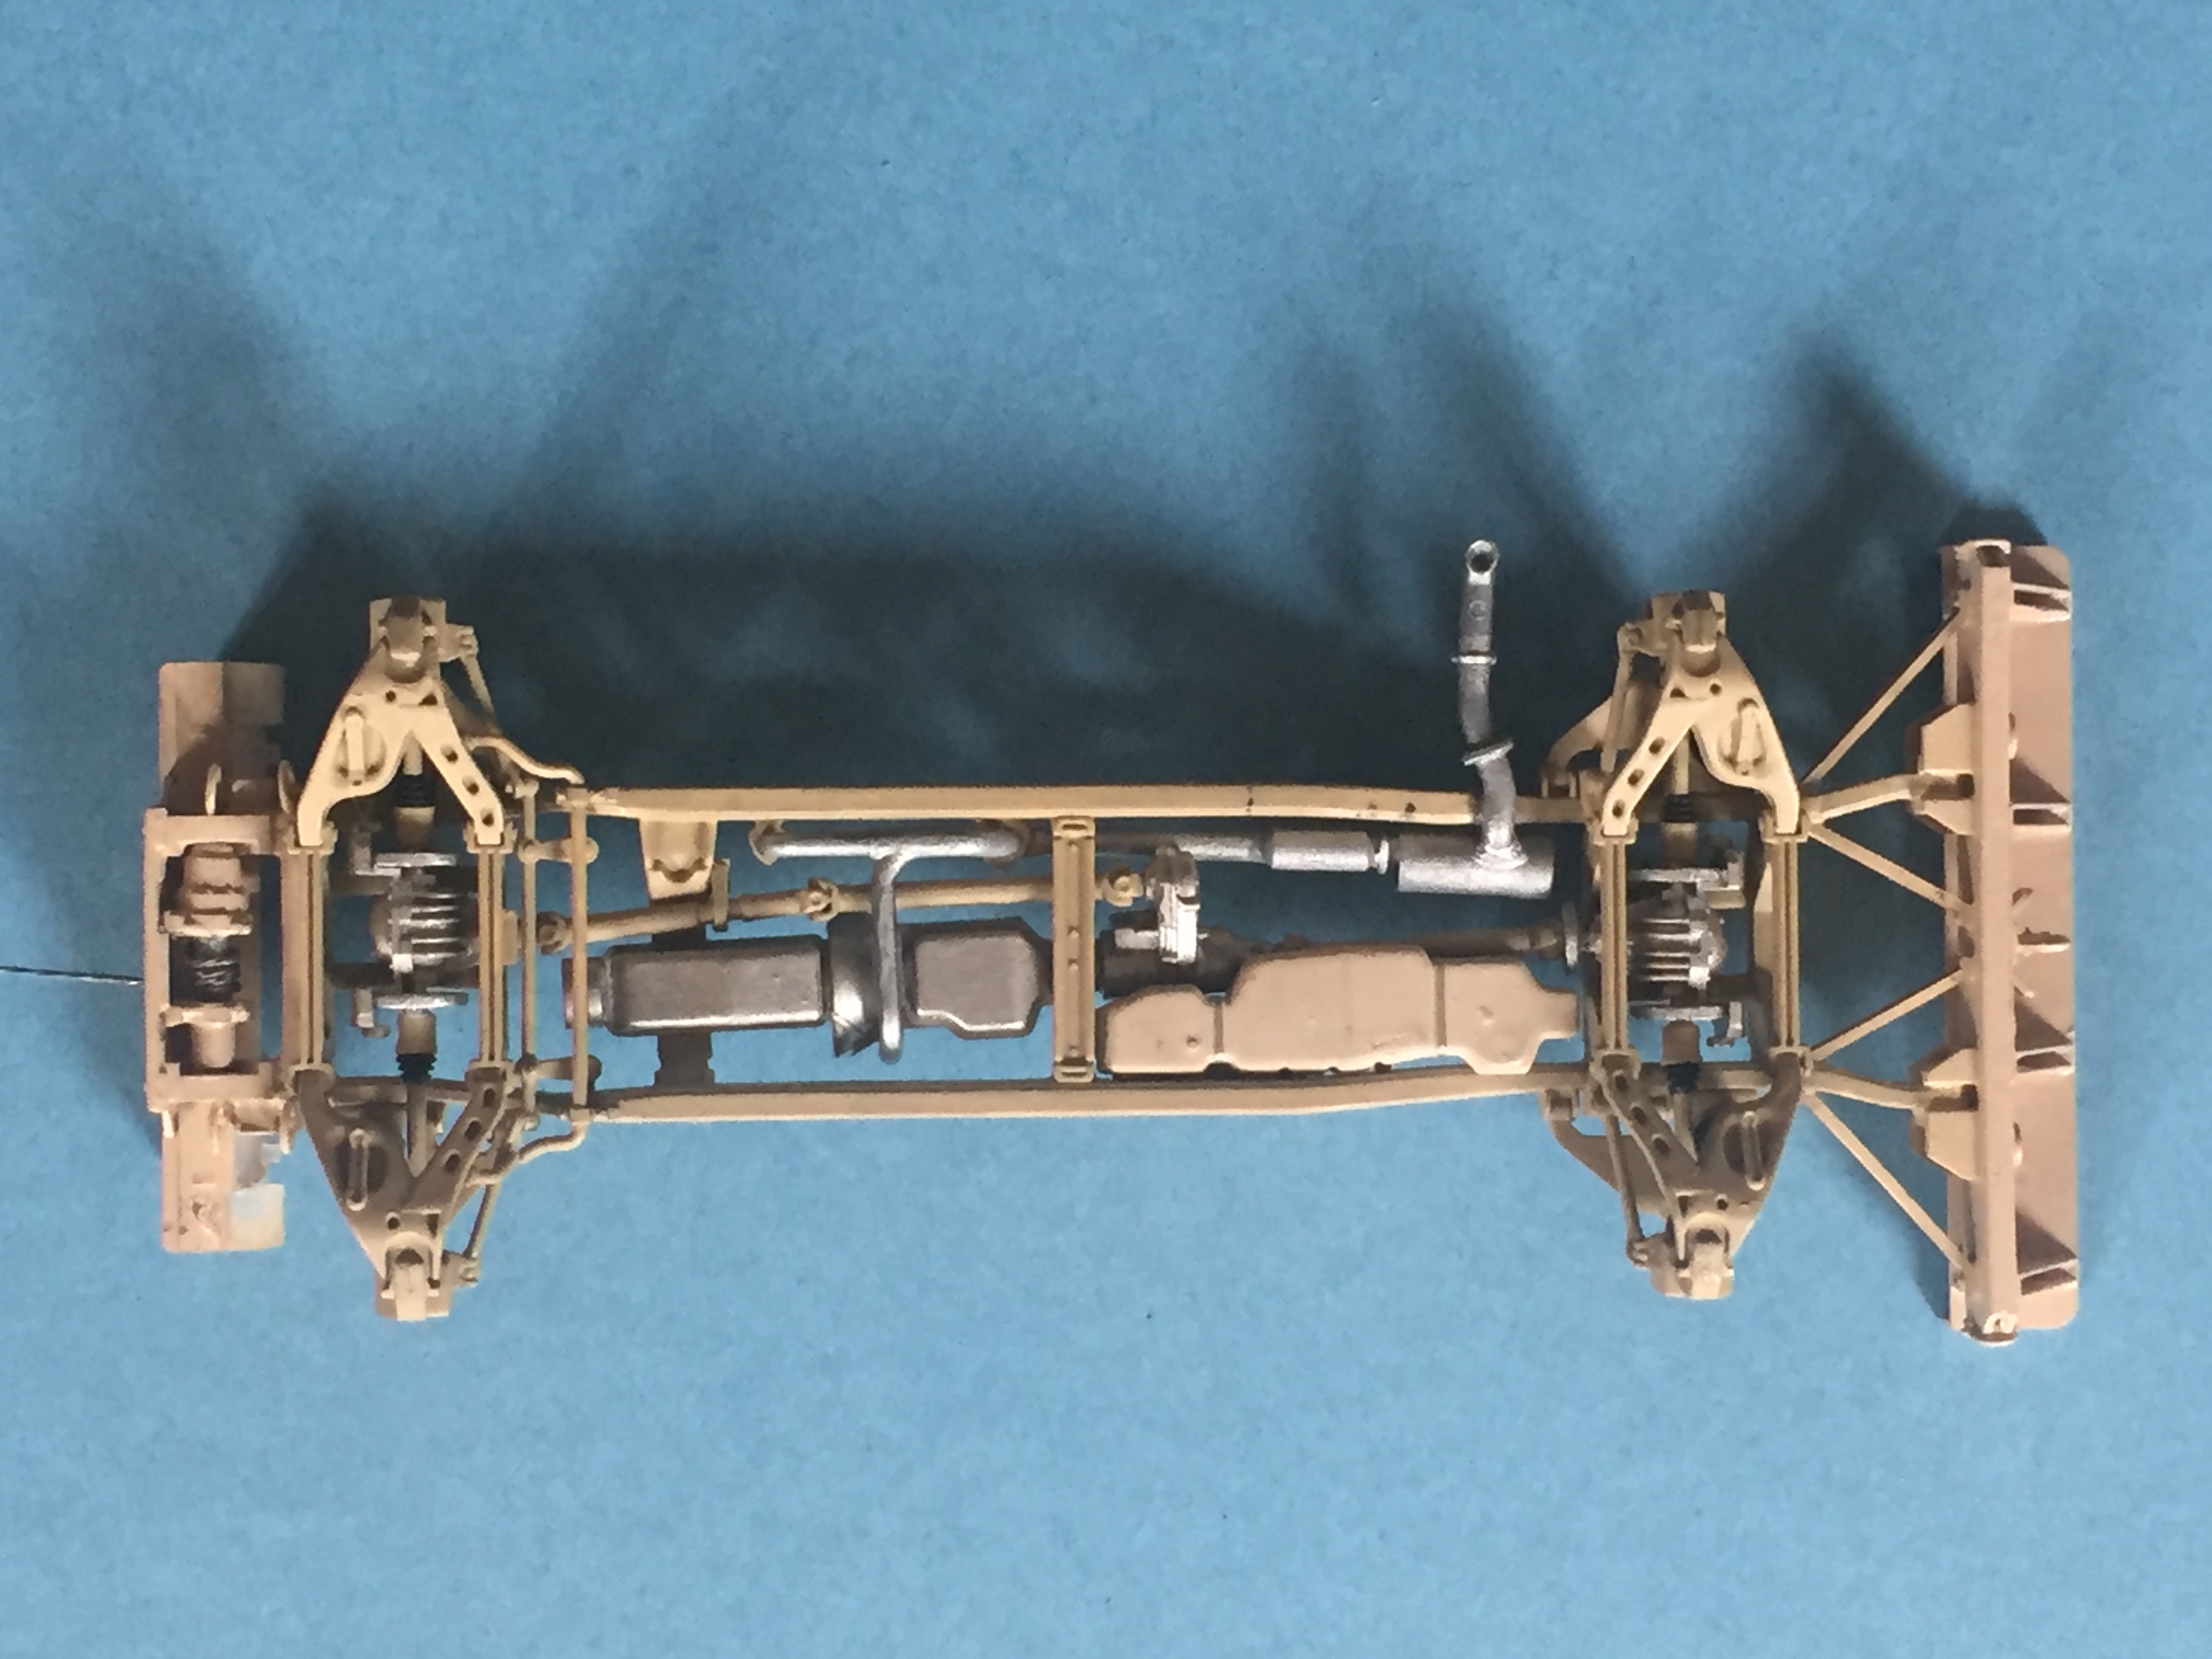
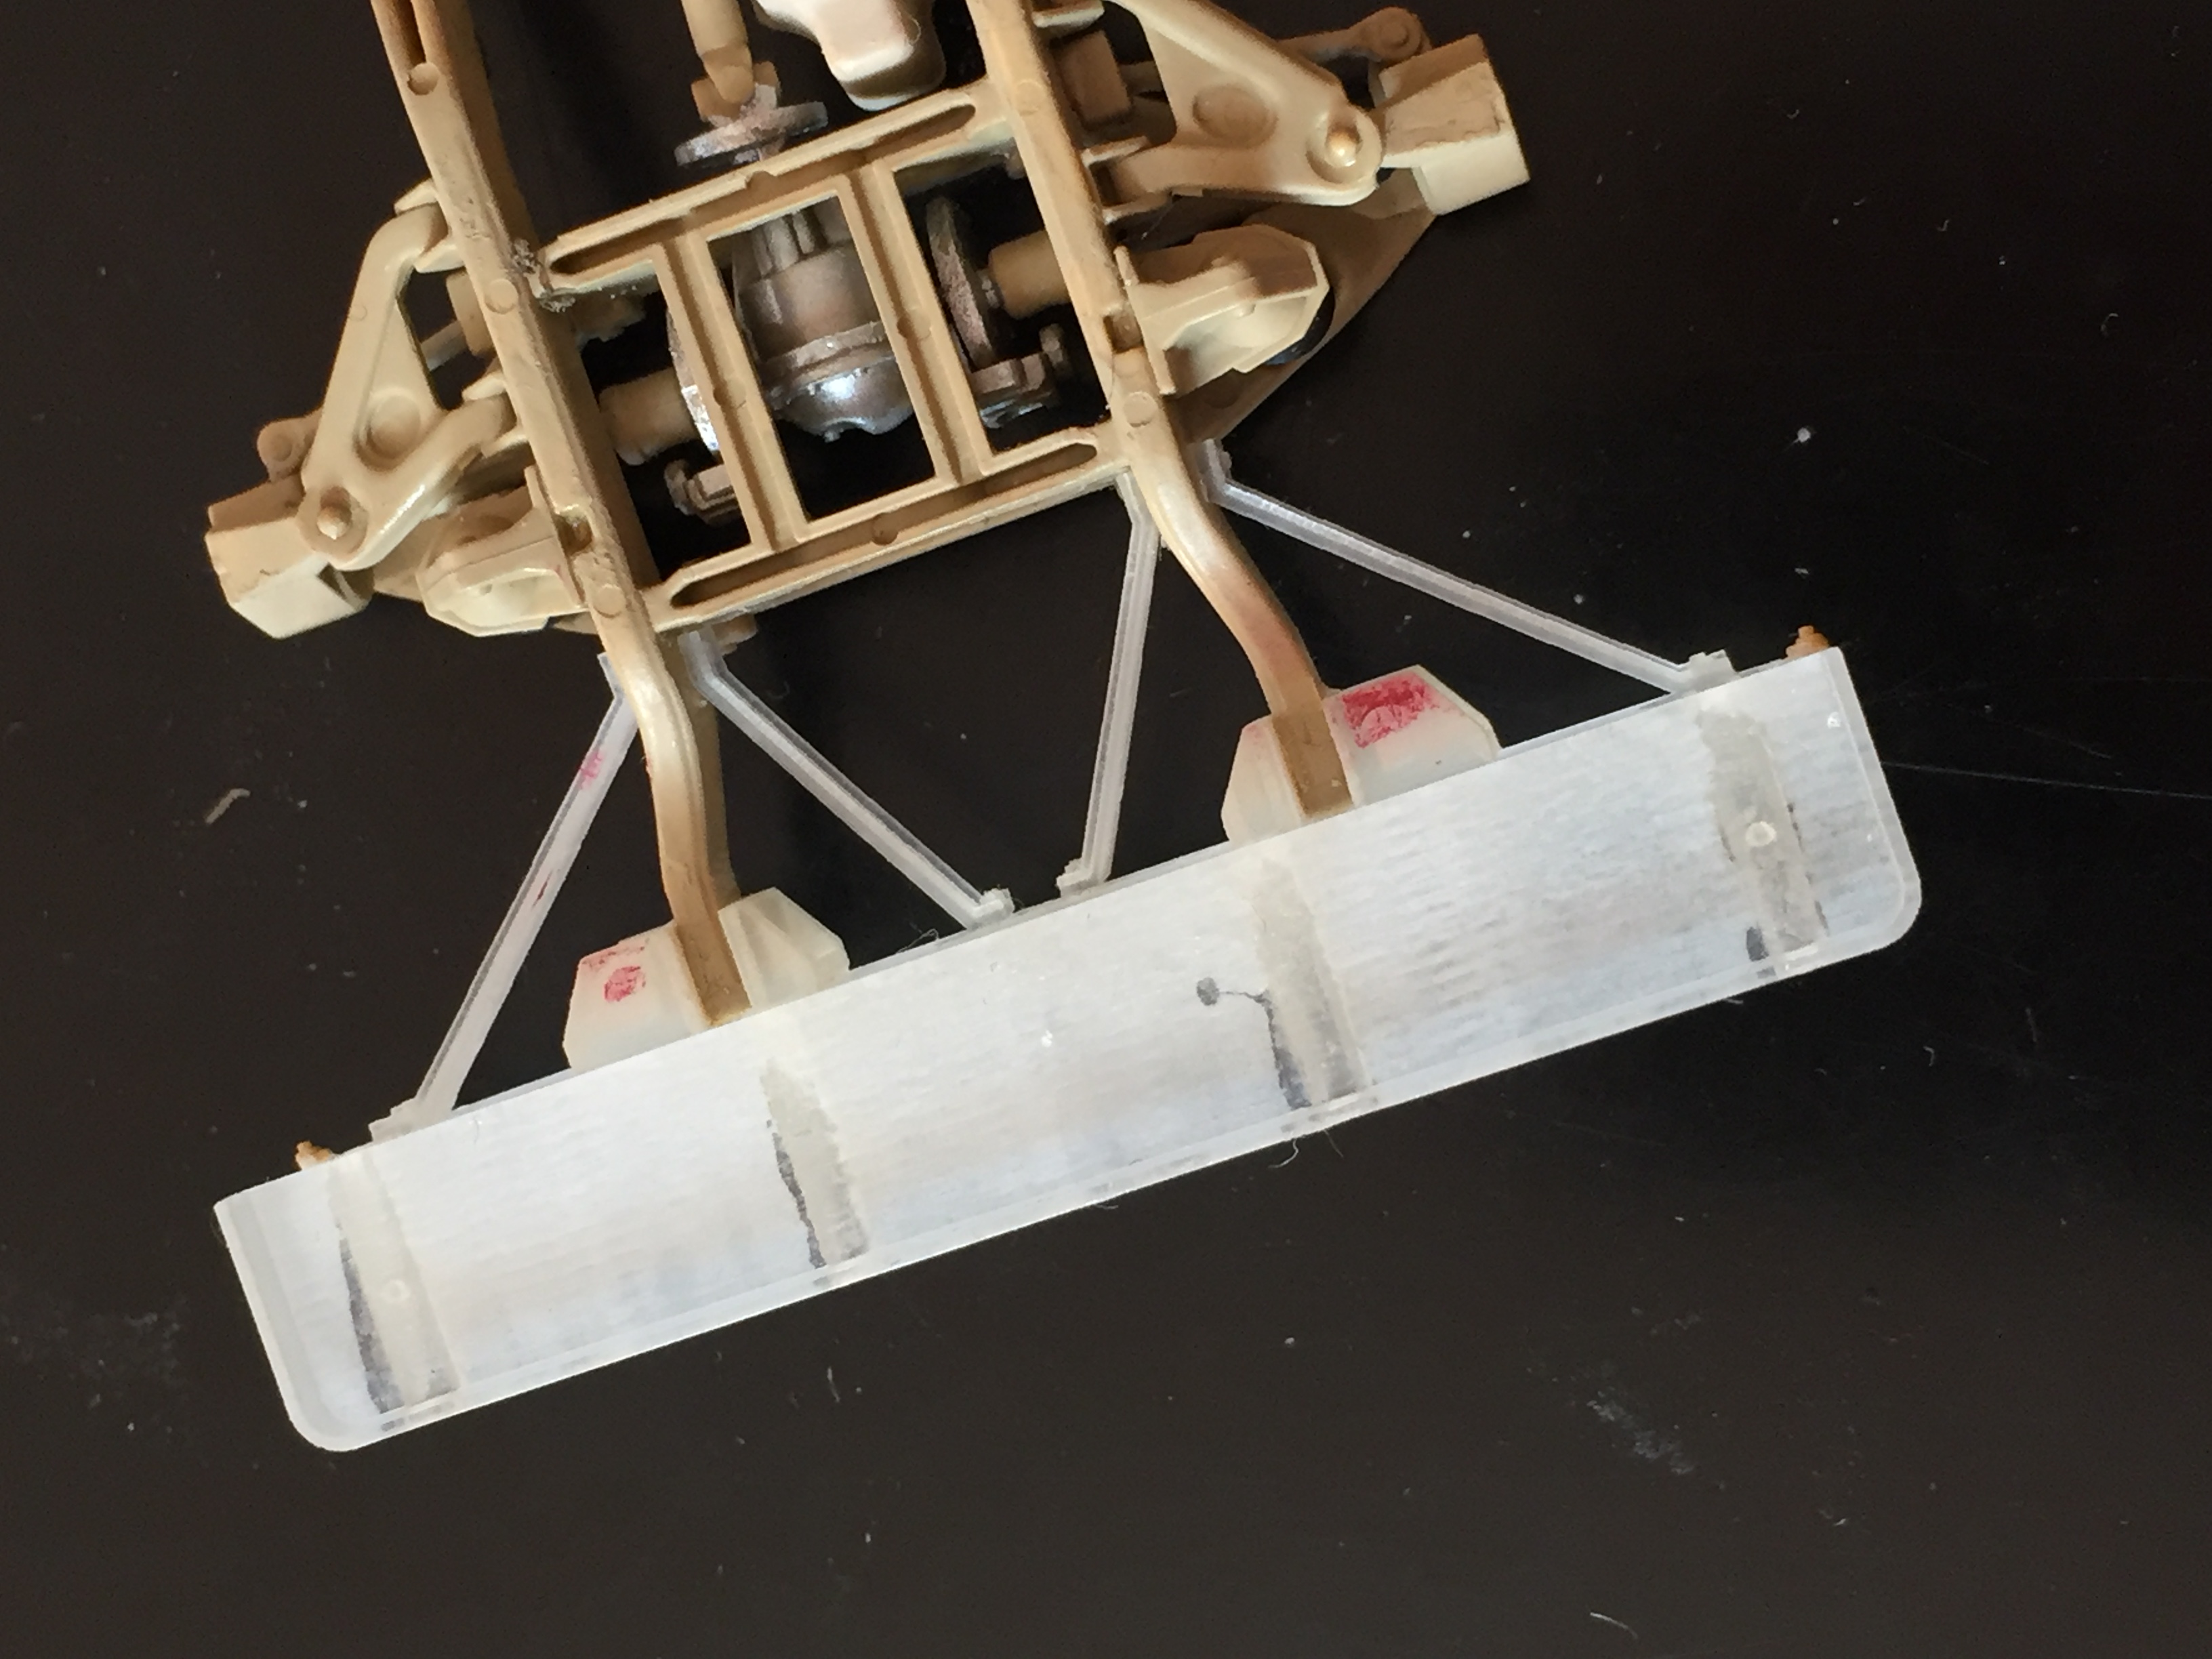
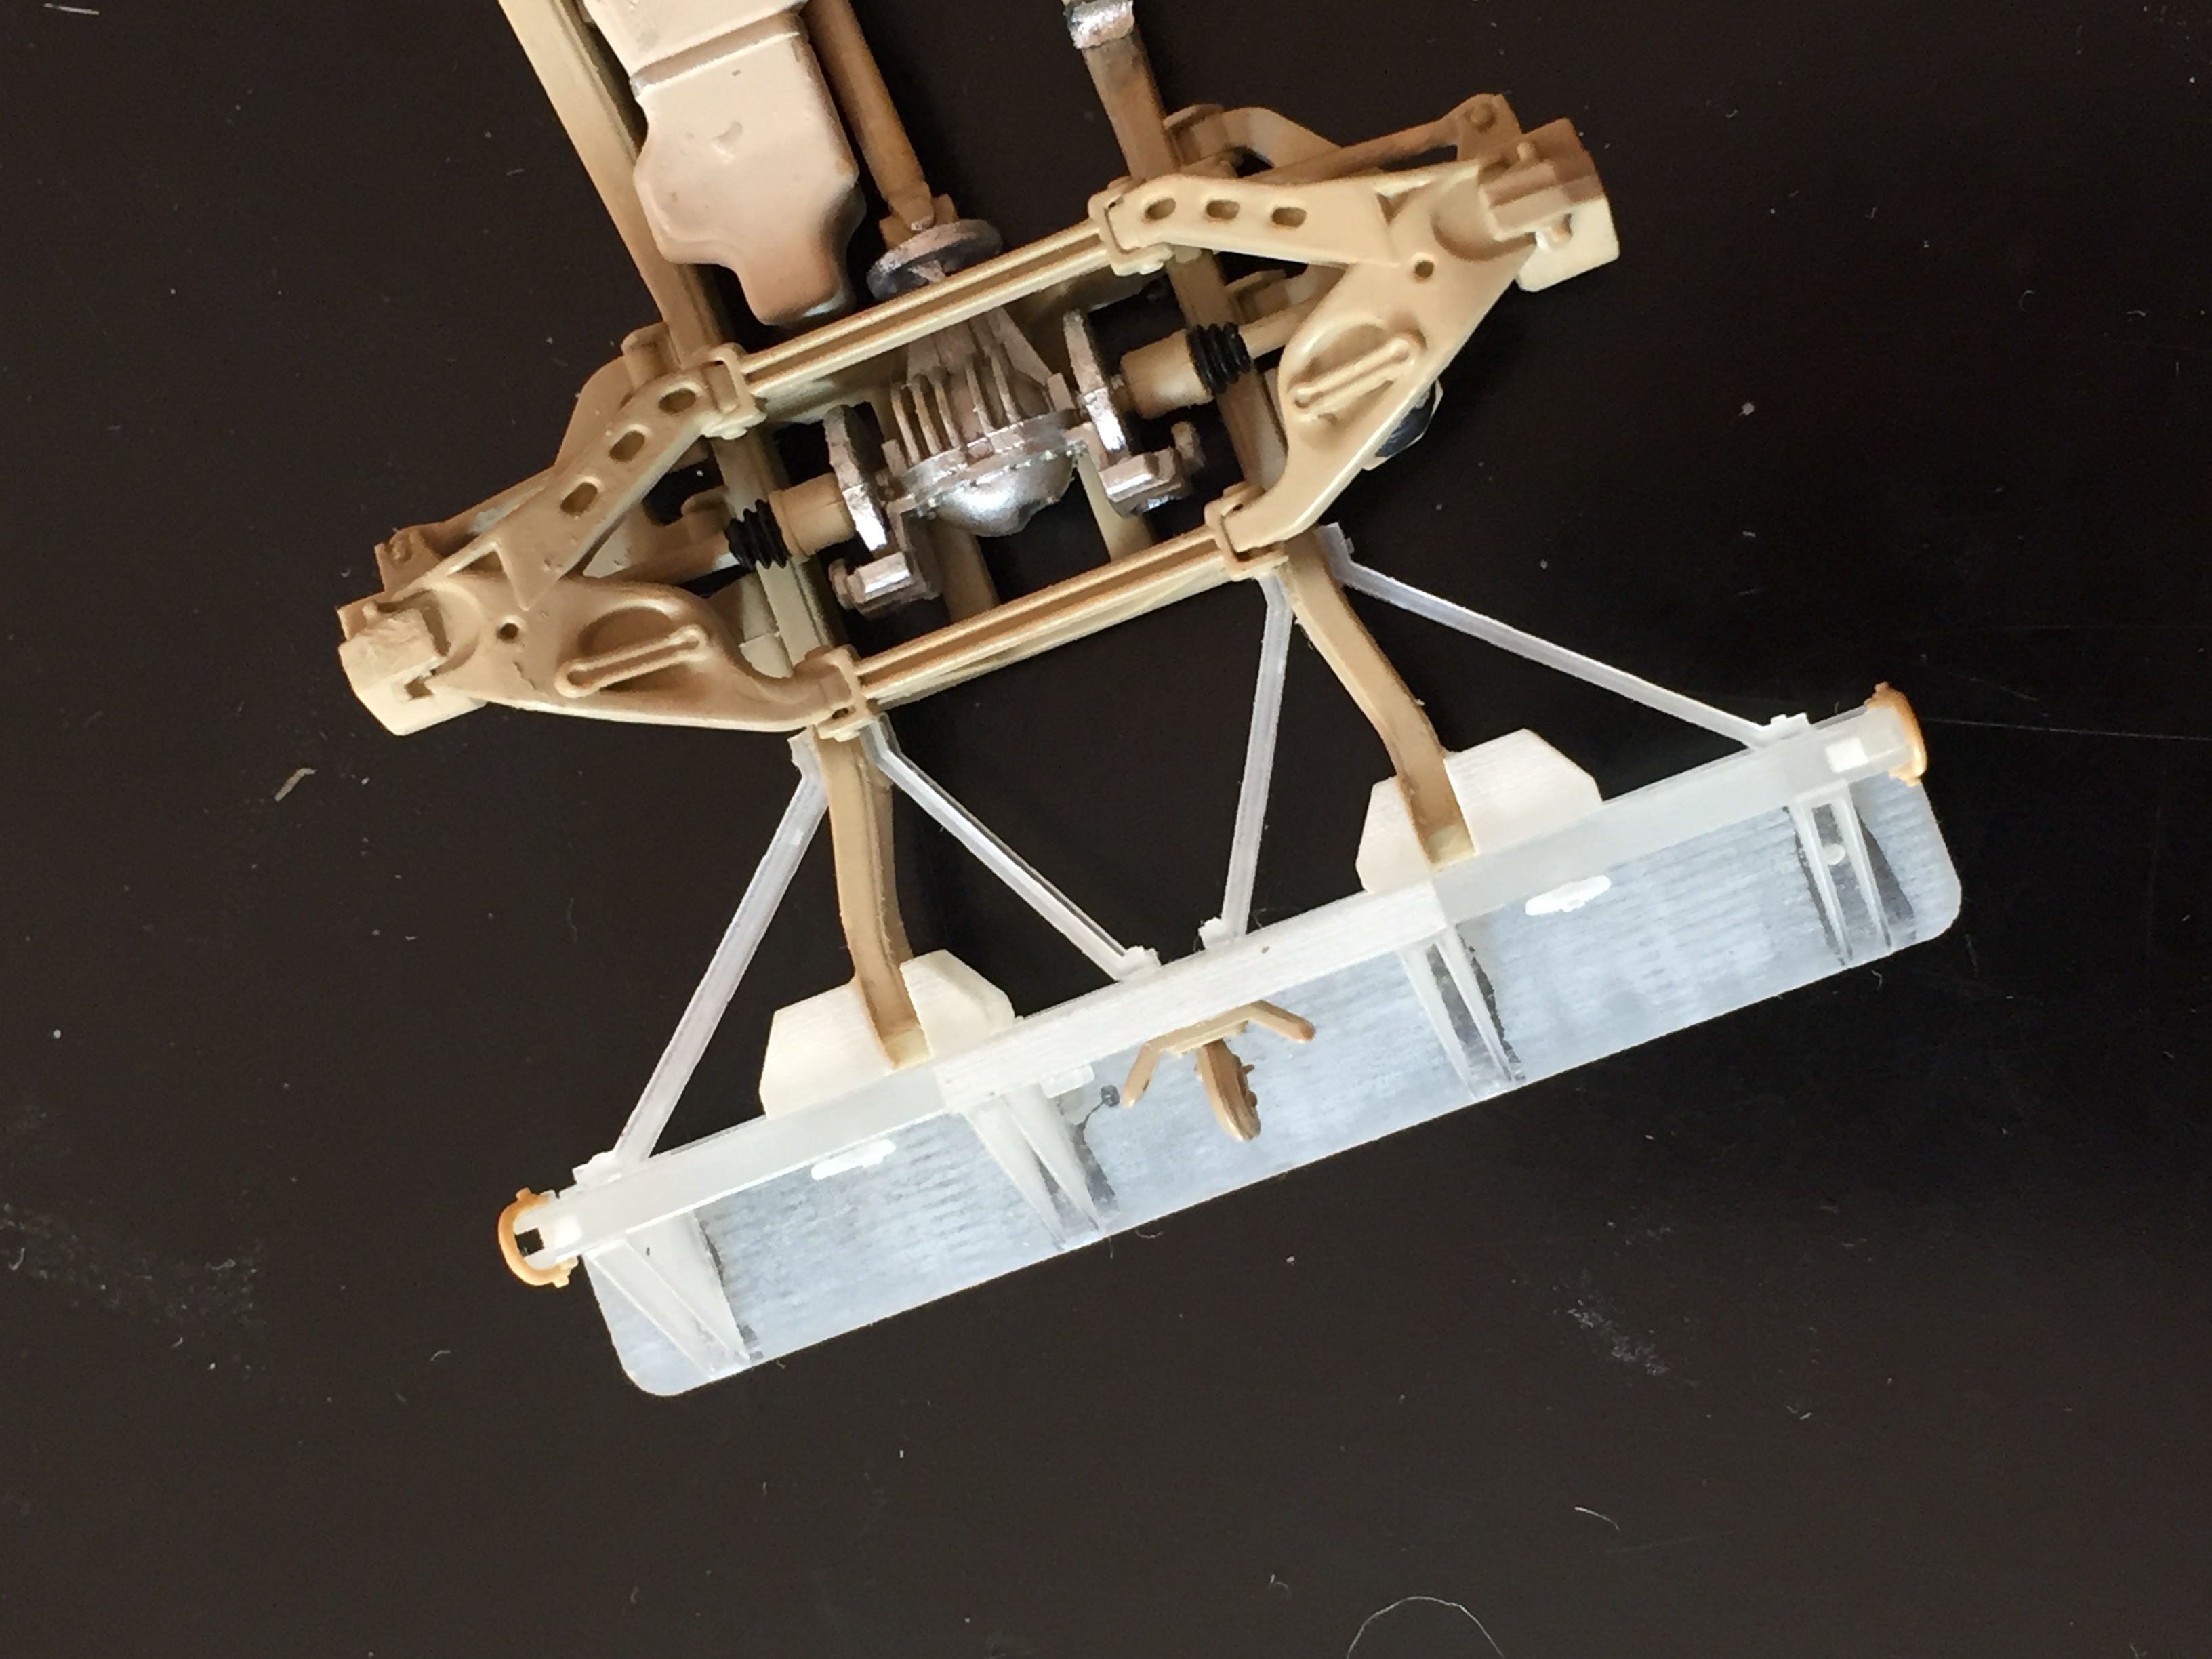
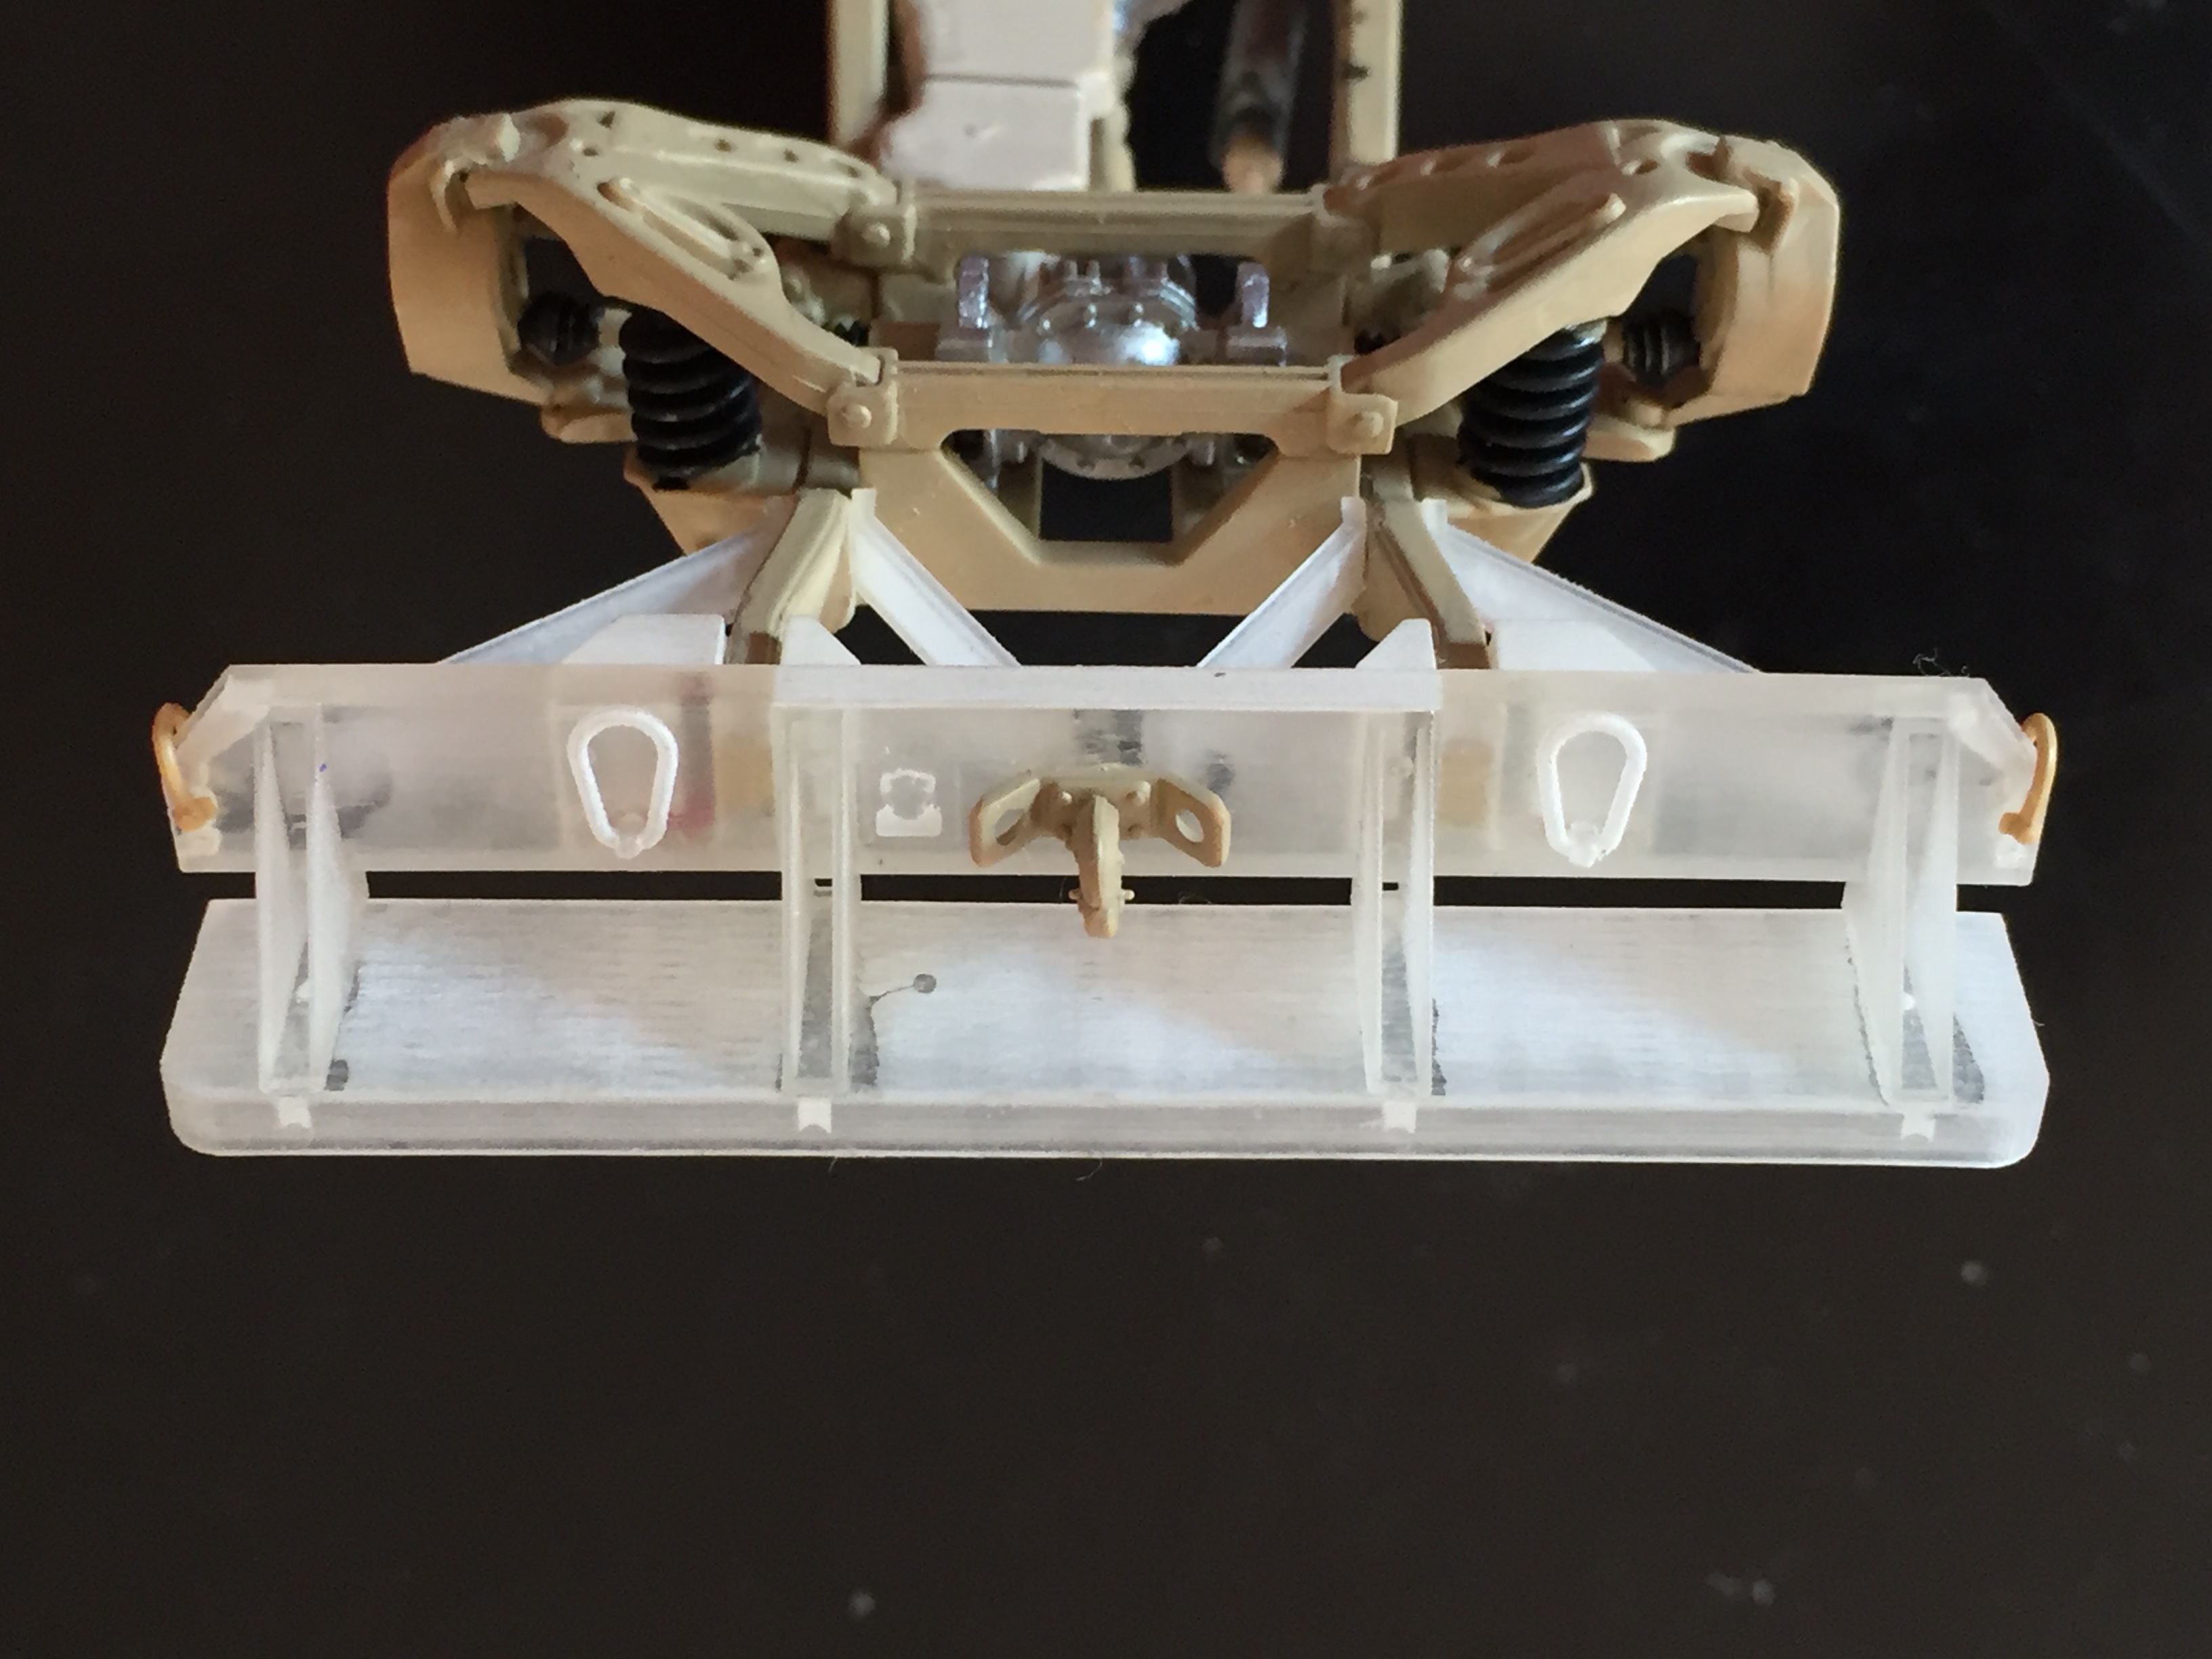
Rear bumper is another difference in the M1113 from the M1025.
I have 3D designed the correct bumper and the four arms that connect the bumper to the frame.
In addition I have also 3D designed the external cargo “tray”, mounted in every GMV.
Tow hitch is from the Tamiya kit.
Remember to remove the “X” shaped arms from the Tamiya model, because they are not present in the M1113 and in HMMWV later models.