_GOTOBOTTOM
Constructive Feedback
For in-progress or completed build photos. Give and get contructive feedback!
R.C.A.M.C.- Jeep conversion 1/35
yeahwiggie
Visit this Community
Dalarnas, Sweden
Joined: March 24, 2006
KitMaker: 2,093 posts
Armorama: 1,359 posts
Posted: Thursday, April 09, 2020 - 01:25 AM UTC
Italeri 314 - Willys MB Jeep with trailer 1/35 R.C.A.M.C.-conversion is what the full title should be.

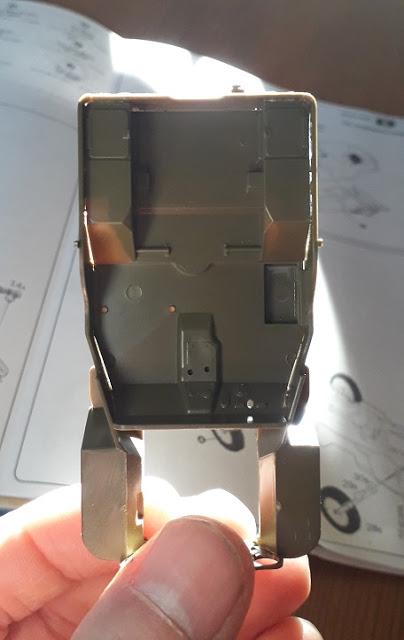
The initial build actually is very straight forward. I encountered little to no flash and very few ejection marks.
I did run into a few alignment issues though. The body appears to be slightly too large for the sides. I also ended up gluing the rear upside down! Carelessness on my part, but it does nothing for the fit-issues, really. I only noticed that when I tried dry fitting the chassis to the body. It was easily remedied, since the glue had not fully set yet.


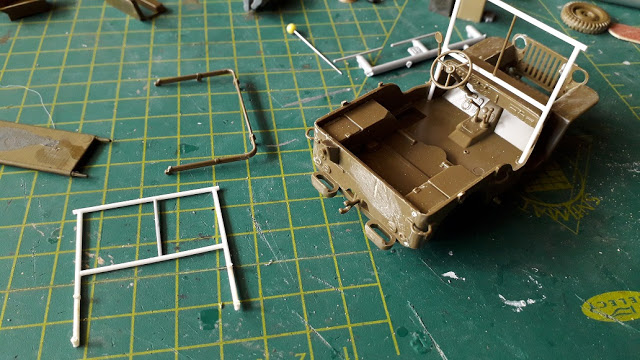
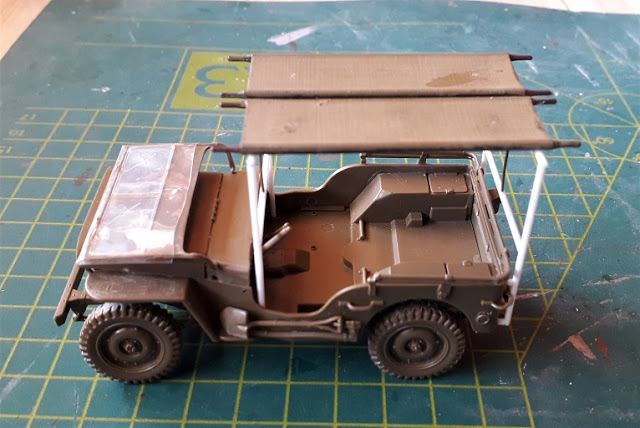
The RCAMC-conversion, which in all honesty, actually is a fairly easy one. Easy also, because I had 2 stretchers (not the best though) that I can use.
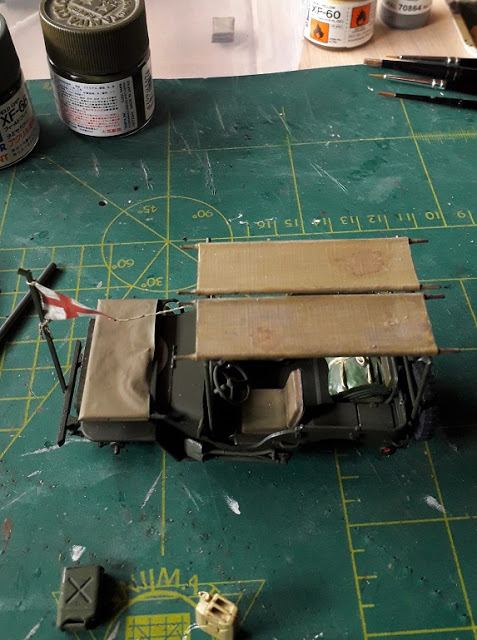
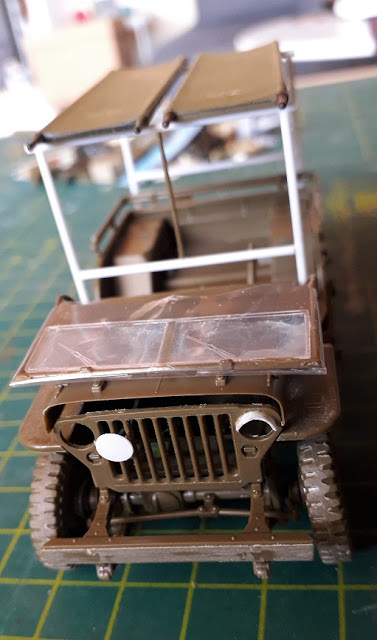
The conversion consists of 2 tubular frames; one with the dashboard and one on the rear of the vehicle. No measurements were taken, since contemporary images appear to be all fieldmodifications with slight variations between them.
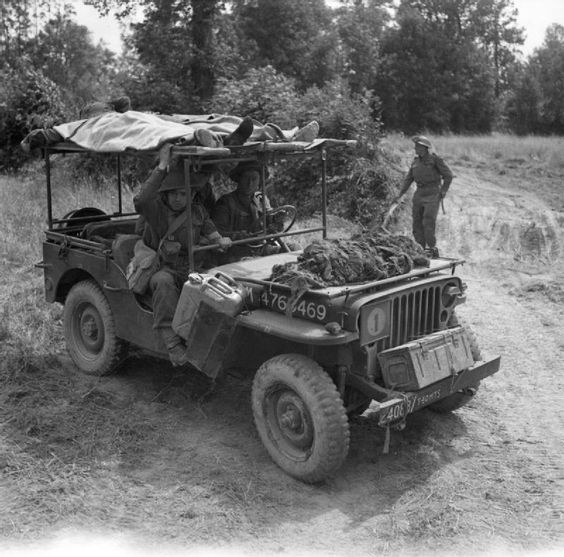
This one is the one I used as a basis; it shows most detail in one picture.


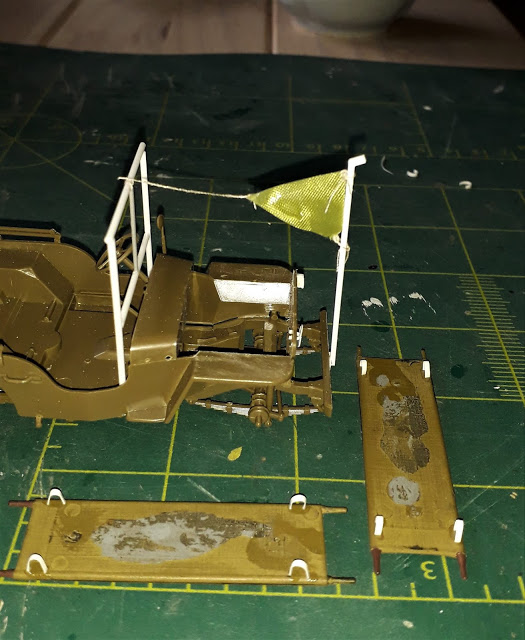
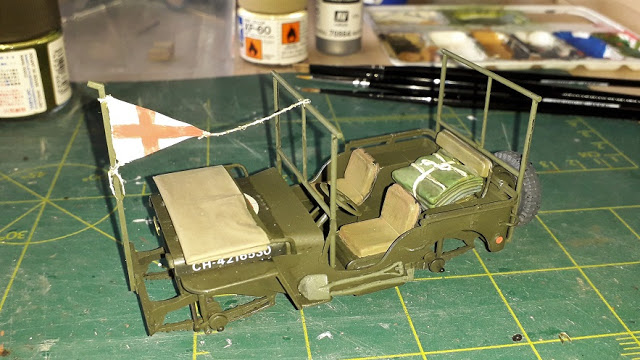
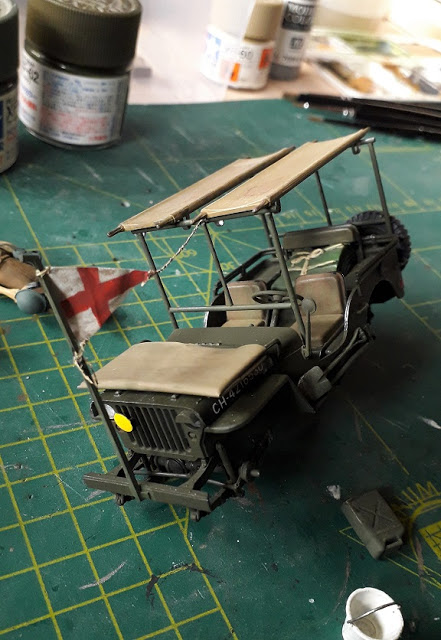
However I did deviate from it in that I covered the not so good windshield with a canvas cover. That cover is actually made from the foil bag in which the decals and clear parts came. I also made a round bridge classification shield and the cover for the left front light. In the pictures you can see that I forgot the front of that!
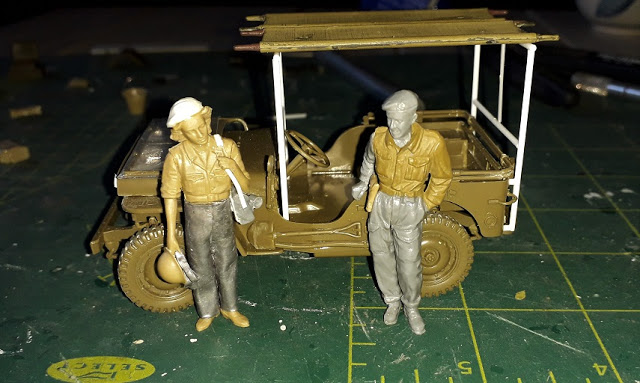
The stretchers I use come from Tamiya's old Land Rover ambulance (I think). They had small holes in the that needed filling. A bit of stretched sprue and a bit of glue did that trick. The hood, grill and wheels are not attached. I need to paint first. I also selected an array of accessories from the sparesbox, all in line with the age of the kit.


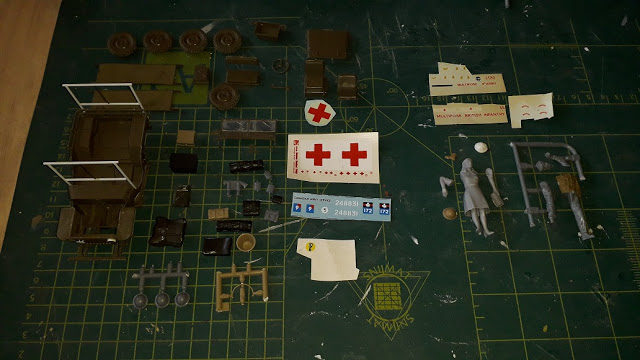
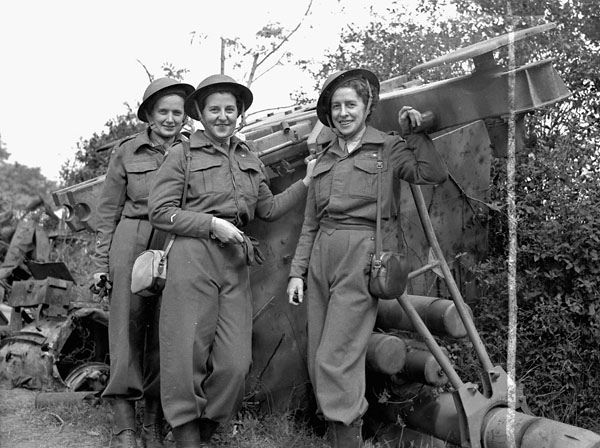
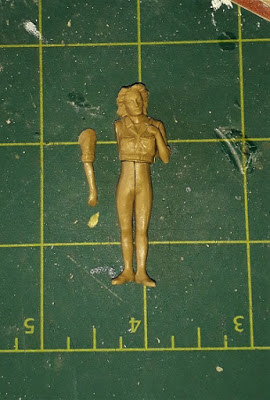
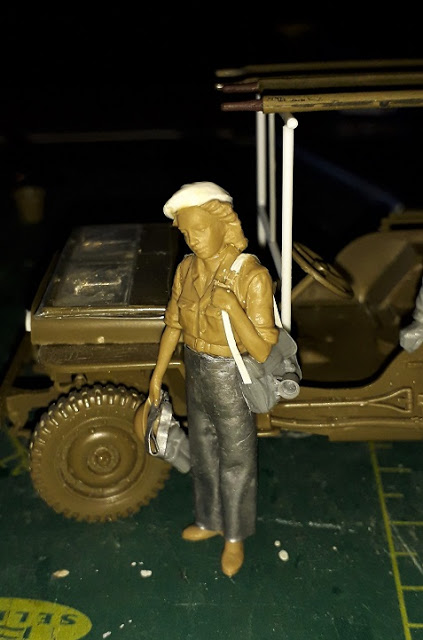
You see I am having some figures as well. I am still unsure whether I should merge the figures or convert the female. She is supposed to become a so-called Nursing Sister; one of the unsung heroines (horrible world!) of the Second World War and thereafter!


yeahwiggie
Visit this Community
Dalarnas, Sweden
Joined: March 24, 2006
KitMaker: 2,093 posts
Armorama: 1,359 posts
Posted: Friday, April 10, 2020 - 04:43 AM UTC
Next fase in this build was focusing on figures. I had some selected, but was not satisfied with the female. She is out of scale and her pose was not optimal either. Rummaging through my stash I came across a set from Masterbox, called the Maquis.
Not only is her size suitable, she also has the right type of clothing on her upper body and the right kind of shoes. Her hairdo would also suit the planned beret nicely! I "only" had to fabricate her pants.
Looking at the references I noticed that Nursing Sisters did wear fatogues, but with a rather poor fit. Especially the trousers appeared very loose and baggy.


So that's what I was going to make. I used 2 bits of leadfoil and that turned out quite well; only a little modelling was needed to create that baggy look and the folds into the pants. She then received her webbingpack, complete with metal mug and her right hands holds her helmet and canteen. I had to give her a haircut, so that the beret would fit in a nice female manner.
The driver is a standard Tamiya figure from the Crusader tank-kit.


I also turned my attention to the Jeep. Something I should have done earlier!
All the references showed that the spare wheel had changed sides in order to accommodate a third stretcher besides the driver. Now I had to relocate that spare wheel and that required dismantling the entire rear. That did not make the rear look any prettier, but much will be hidden by the sparewheel and jerrycan.

dhines
Visit this Community
Nova Scotia, Canada
Joined: November 17, 2015
KitMaker: 407 posts
Armorama: 373 posts
Posted: Friday, April 10, 2020 - 07:35 AM UTC
Really interesting project Ron, I will follow with great interest. I look forward to seeing it completed. Best regards....Dale
yeahwiggie
Visit this Community
Dalarnas, Sweden
Joined: March 24, 2006
KitMaker: 2,093 posts
Armorama: 1,359 posts
Posted: Tuesday, April 14, 2020 - 12:13 AM UTC
I have entered into the most critical phase of the build: painting!
And so far I am proceeding well....

But first some images of added details:
I added a flag, depicting a red cross flag, as shown on most of the jeeps in my references. I tried several solutions; plastic card, copperwire etc, but settled for a piece of umbrella cloth and real thread. That mimics the field-made look I was going for most.
Those jeeps often had something that looked like a broomstick tied to the radiator grill or a pole attached to the bumper. Since mine is supposed to show a field conversion, I went for a wirecutter on the bumper, used as such a pole. The stretcher racks will get a different shade of olivedrab to show they have been added later.
The stretchers got their "feet". At first I was using metal strip left over from PE-sets, but I ended up having too little, so I had to go for plastic card, which unfortunately makes for uneven rests. I also glued them inward to much.
One learns every day...
The stretchers got some stains to hint at a more serious aspect of this jolly scene...


Basecoat; Warhammer chaos black
Colour; Tamiya olivedrab
Frames and pole: mix of Tamiya olivedrab and fieldgrey.
Tires; Vallejo Panzergrau

The gloss and matt paint used for the red cross decal on the hood, the one you actually do not see, created a colour difference that has to be mitigated later.
The blanket/tarp pile from Tamiya's M3A2 kit was needed to fix the rearseat. The backrest had broken off and kept breaking off, so I had to fix that in place. There is also a small issue with the bindings of that pile....


 _GOTOTOP