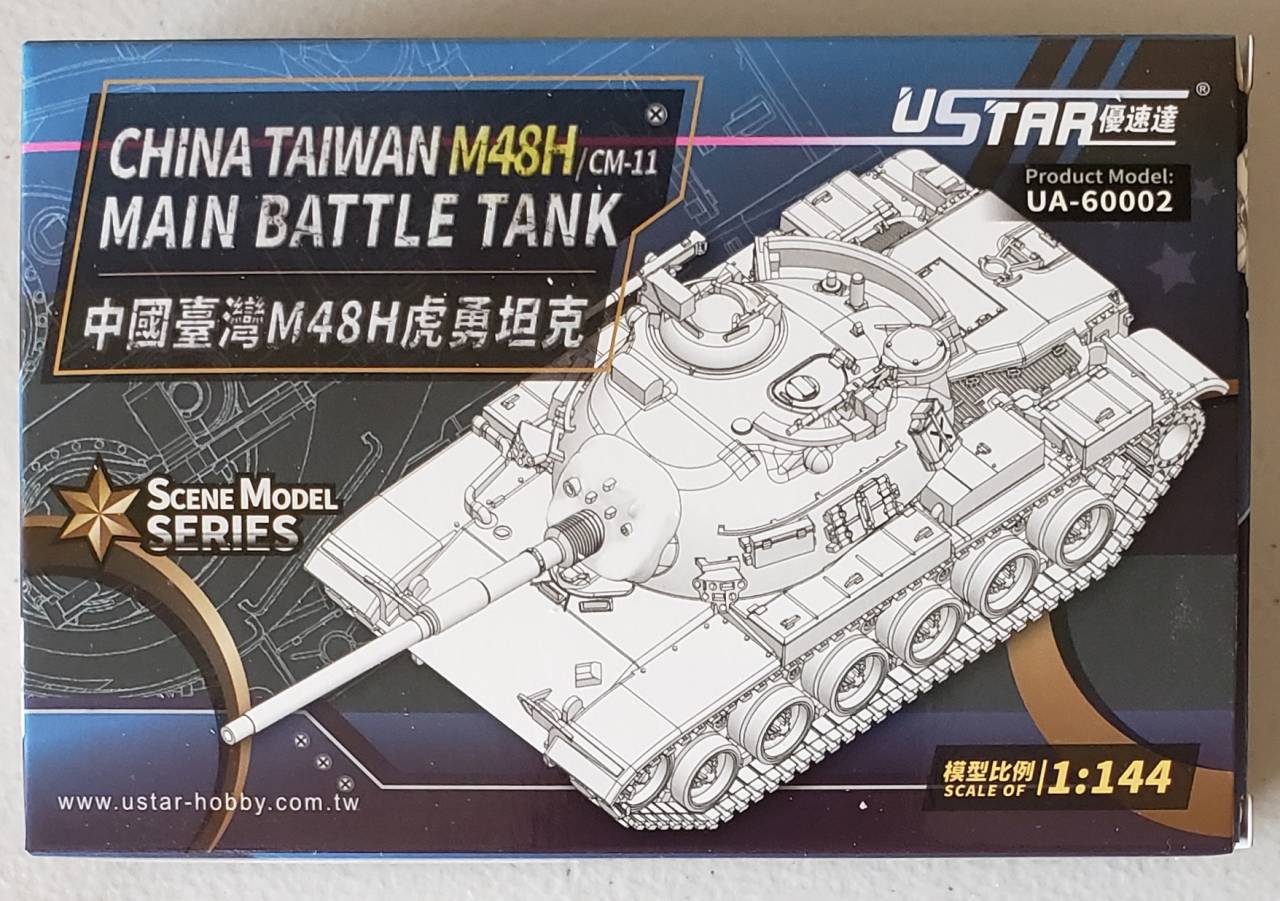
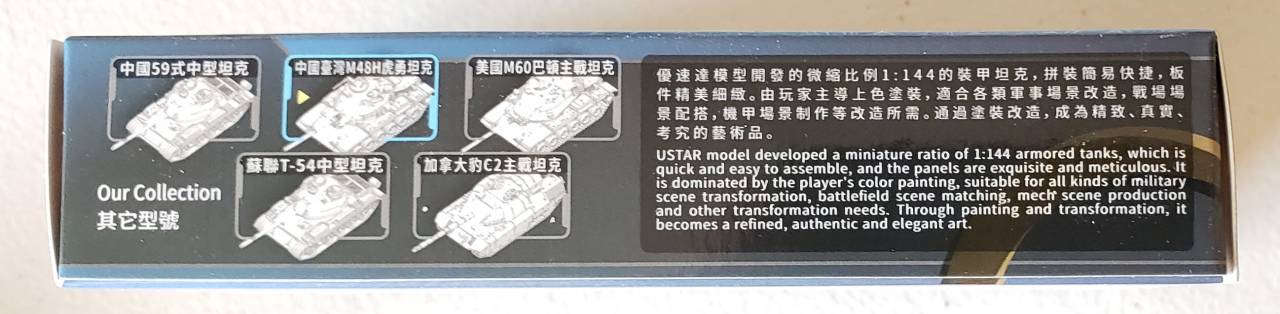
The company's official website, www.ustar-hobby.com.tw, lists two 1:144 scale kit offerings. Those kits are the Peoples Liberation Army T-59 tank and this kit, the M48H/CM-11. The side of the kit box and www.scalemates.com indicates there are five kit offerings by UStar Hobby. Those five kits are 1)China PLA Type-59 2)Soviet T-54 MBT 3)Canada Leopard C2 MEXAS MBT 4)US Army M60 MBT and 5)Taiwan M48H/CM-11 MBT.
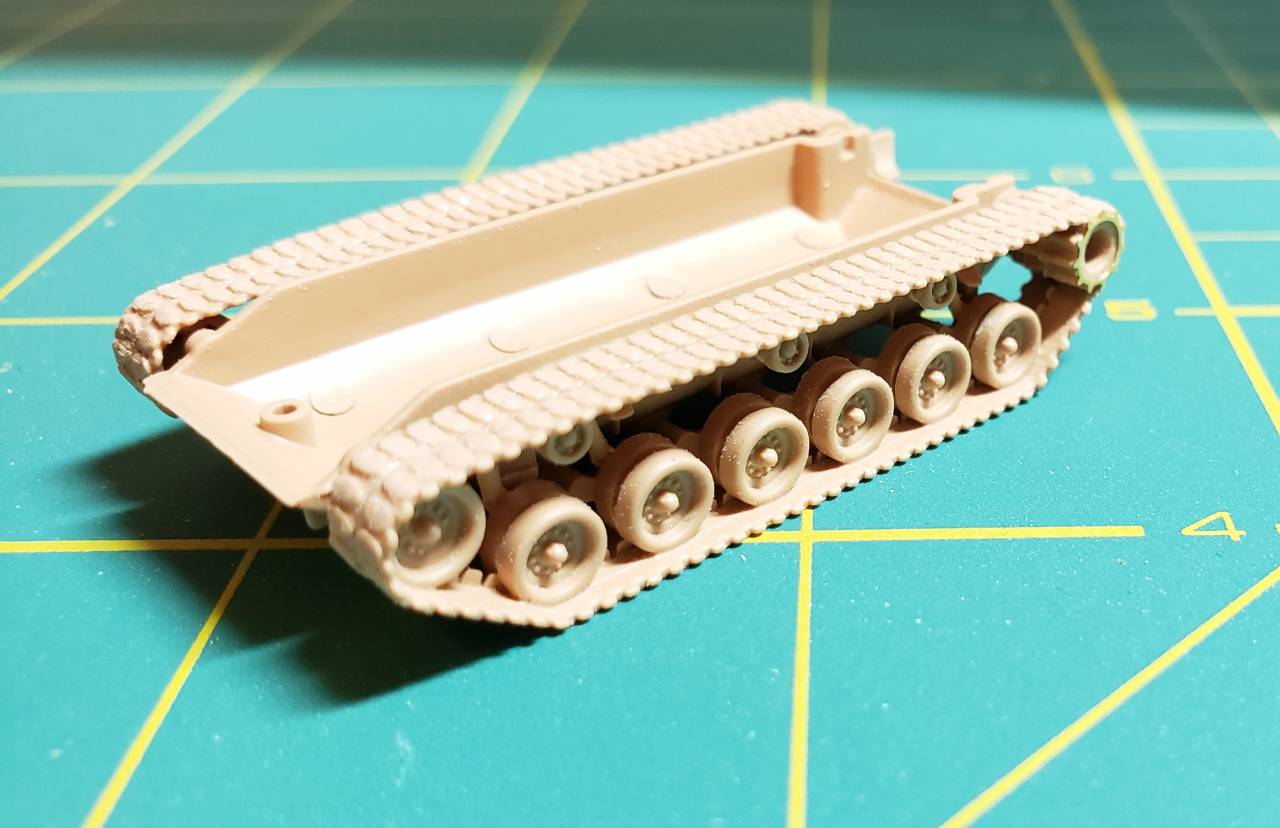
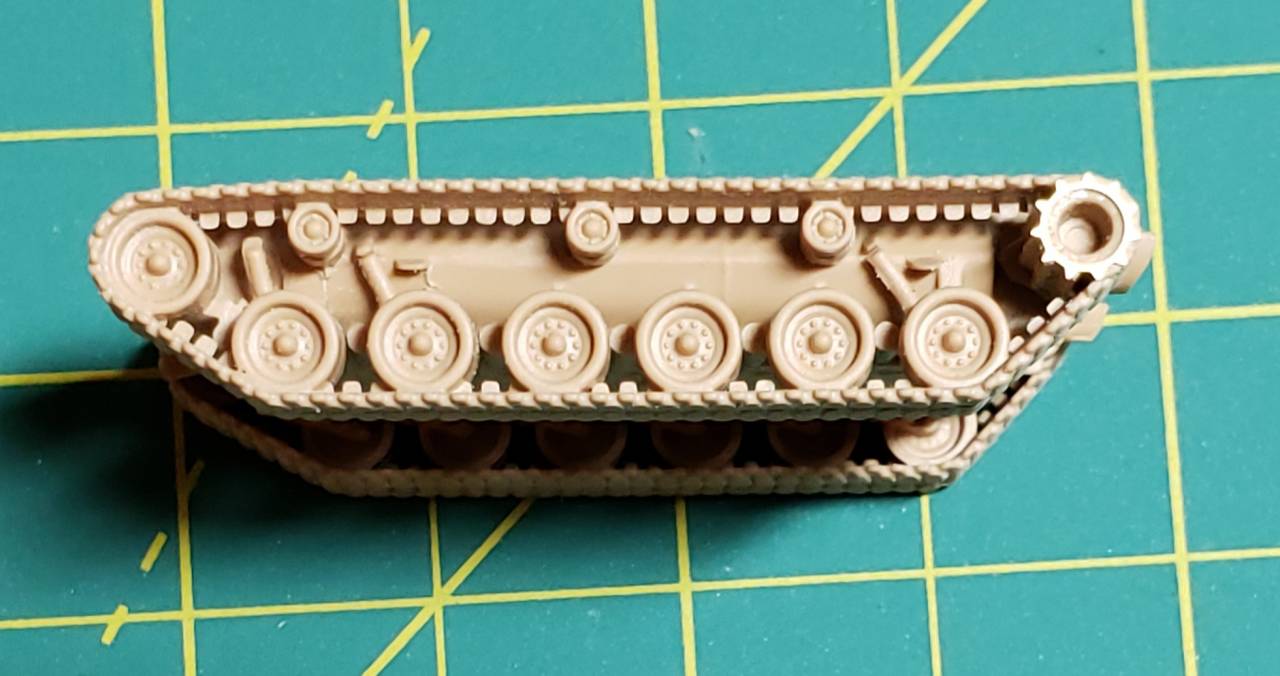
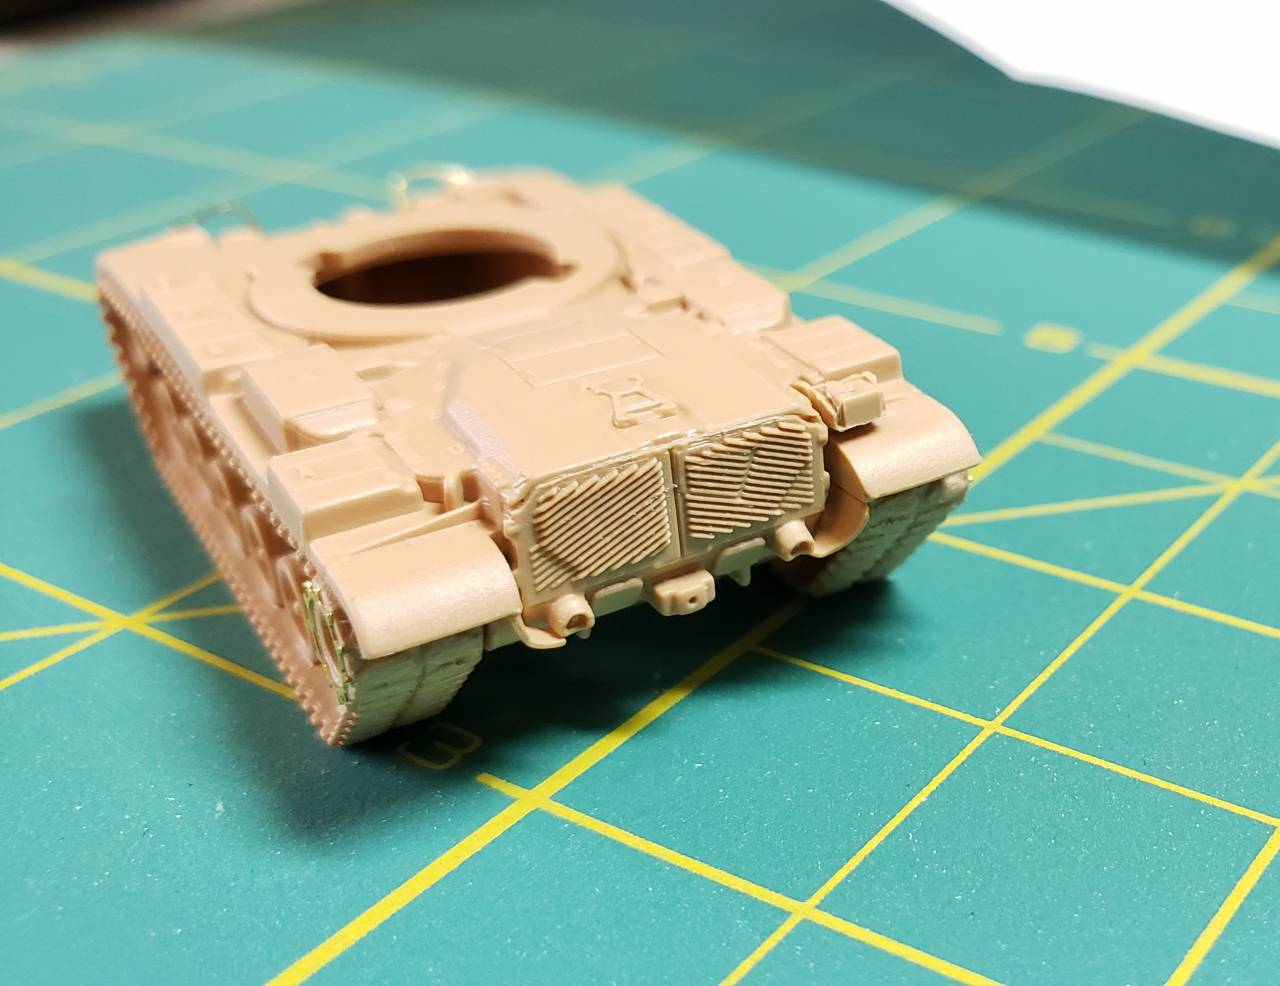
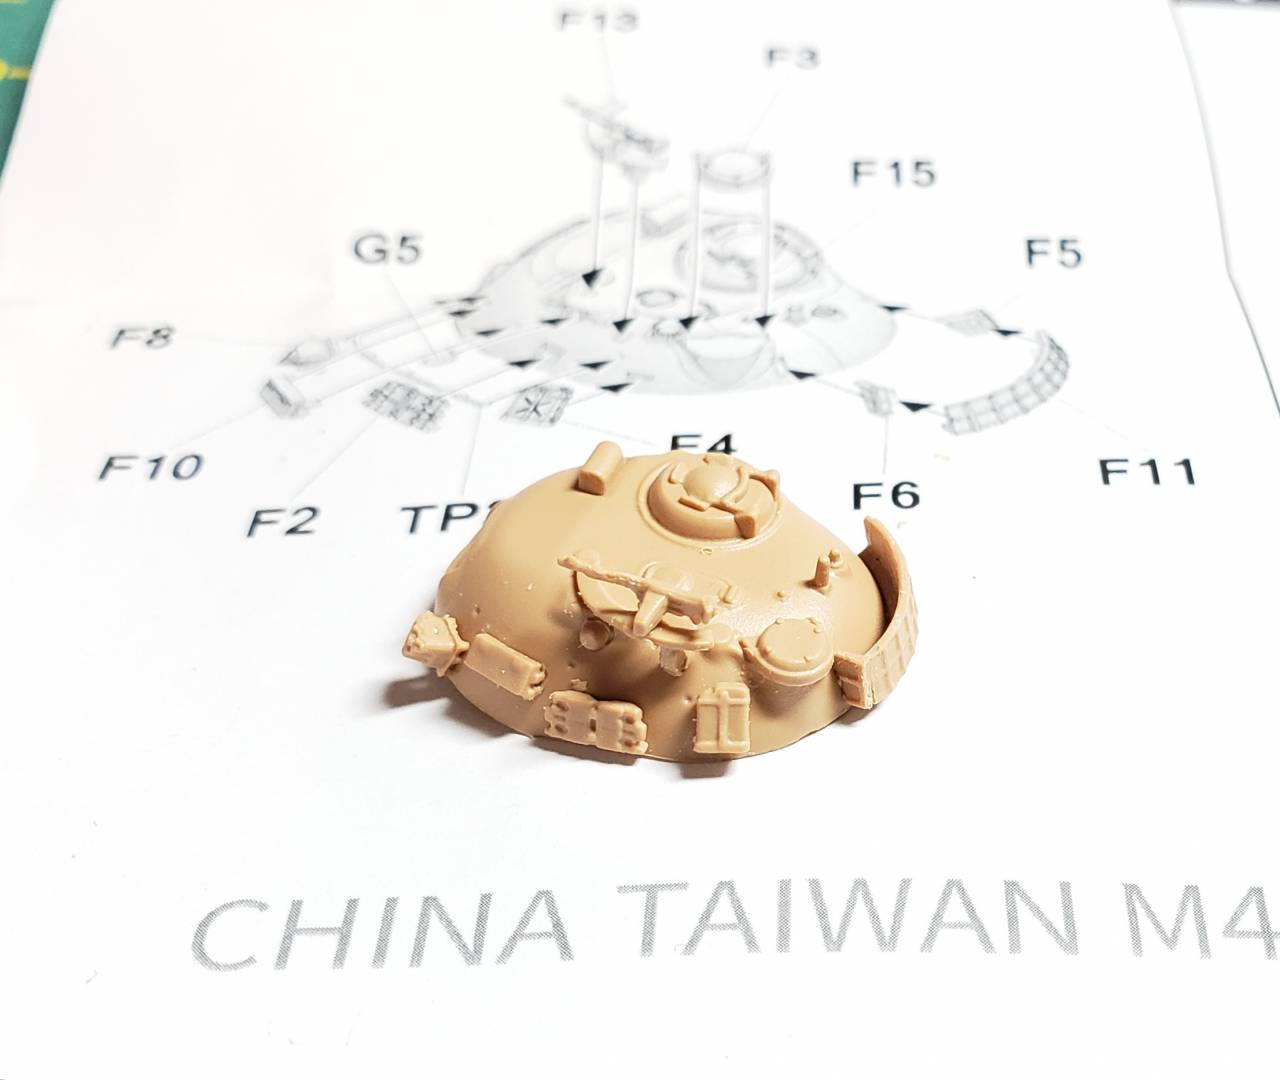
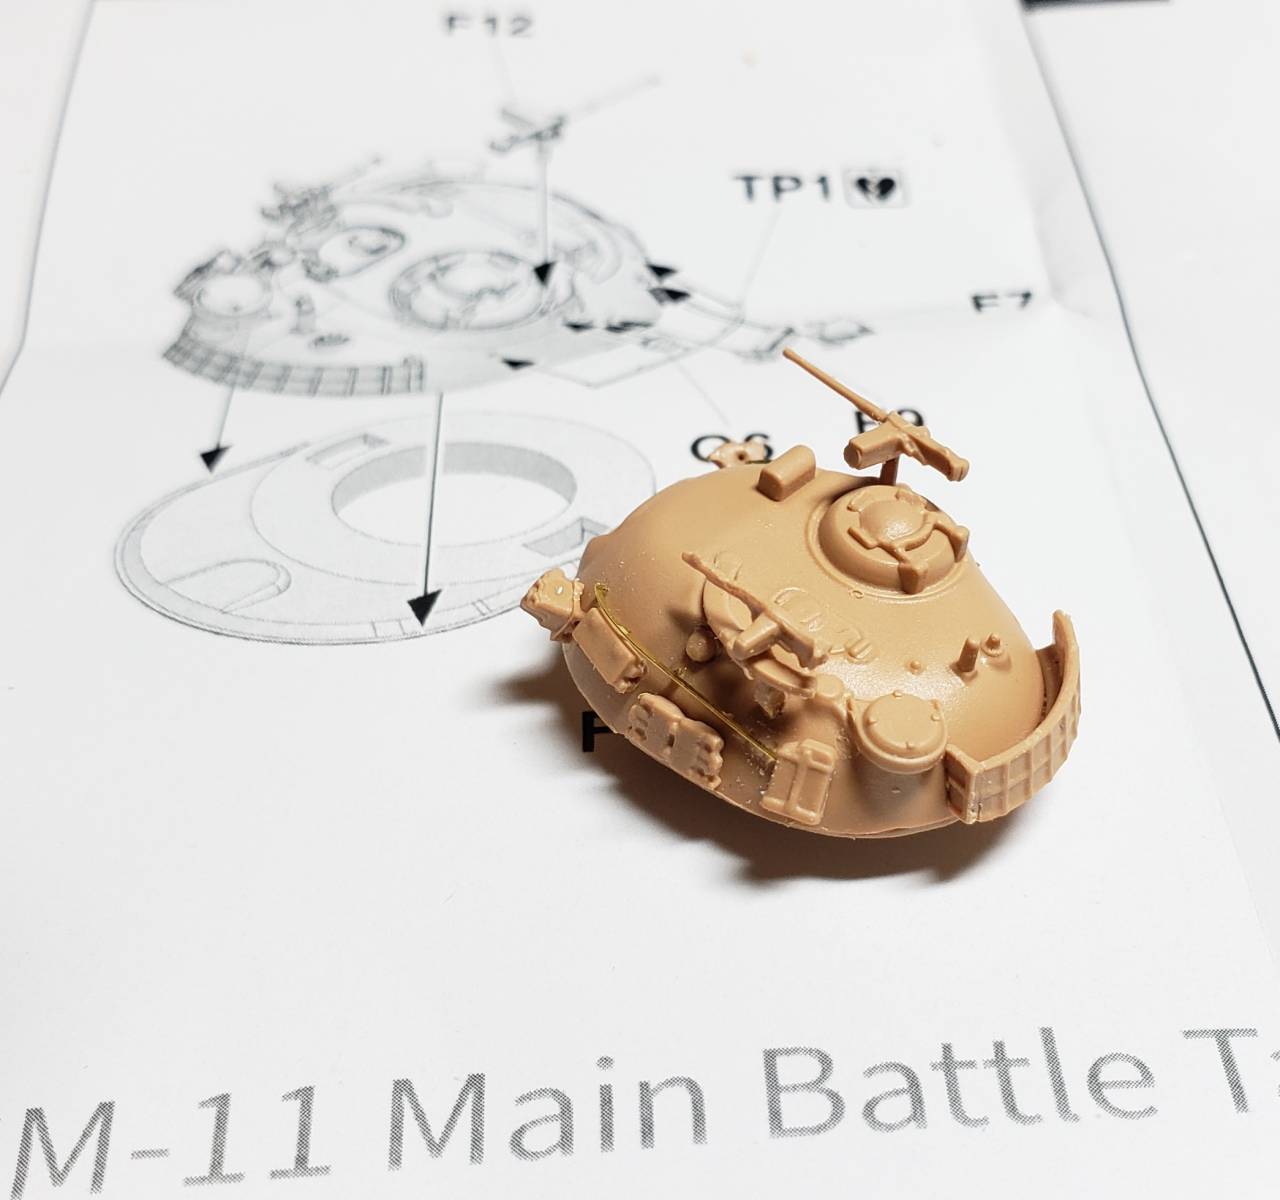
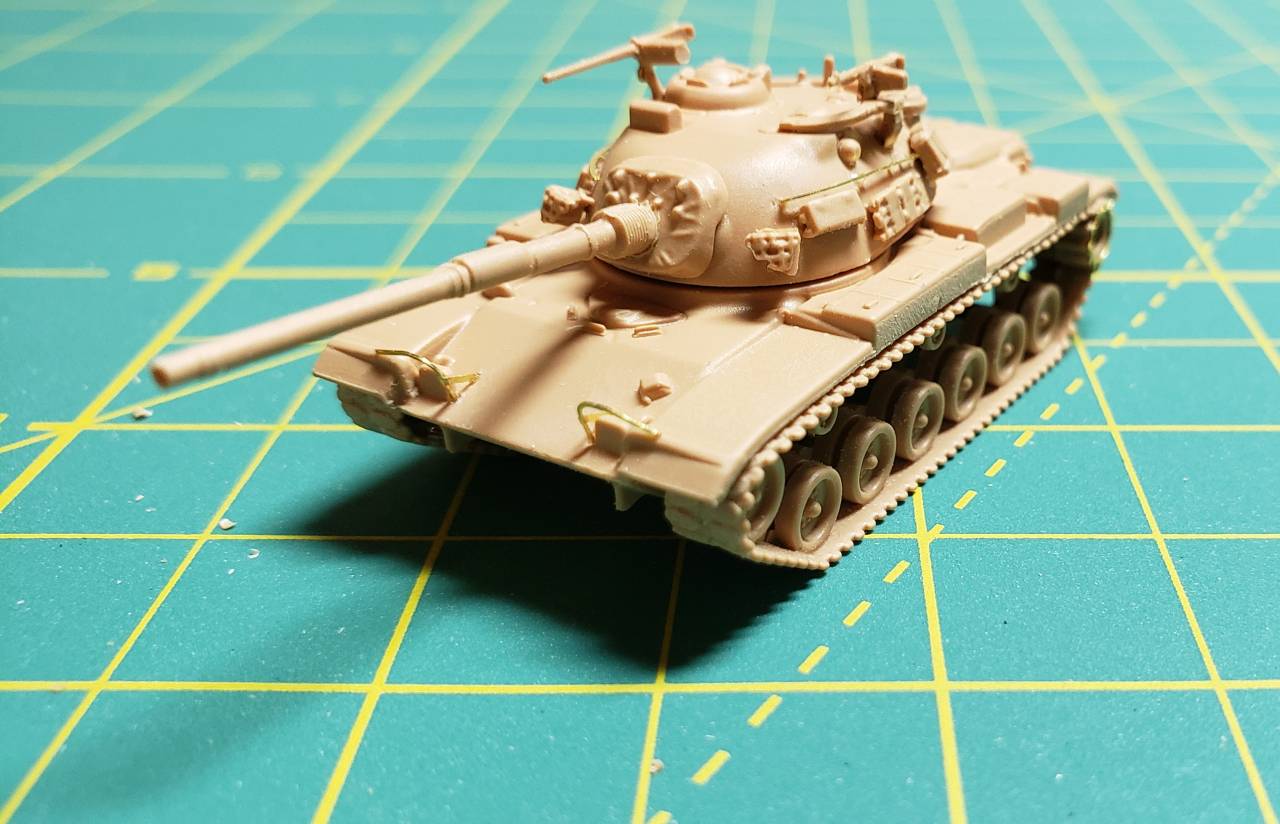
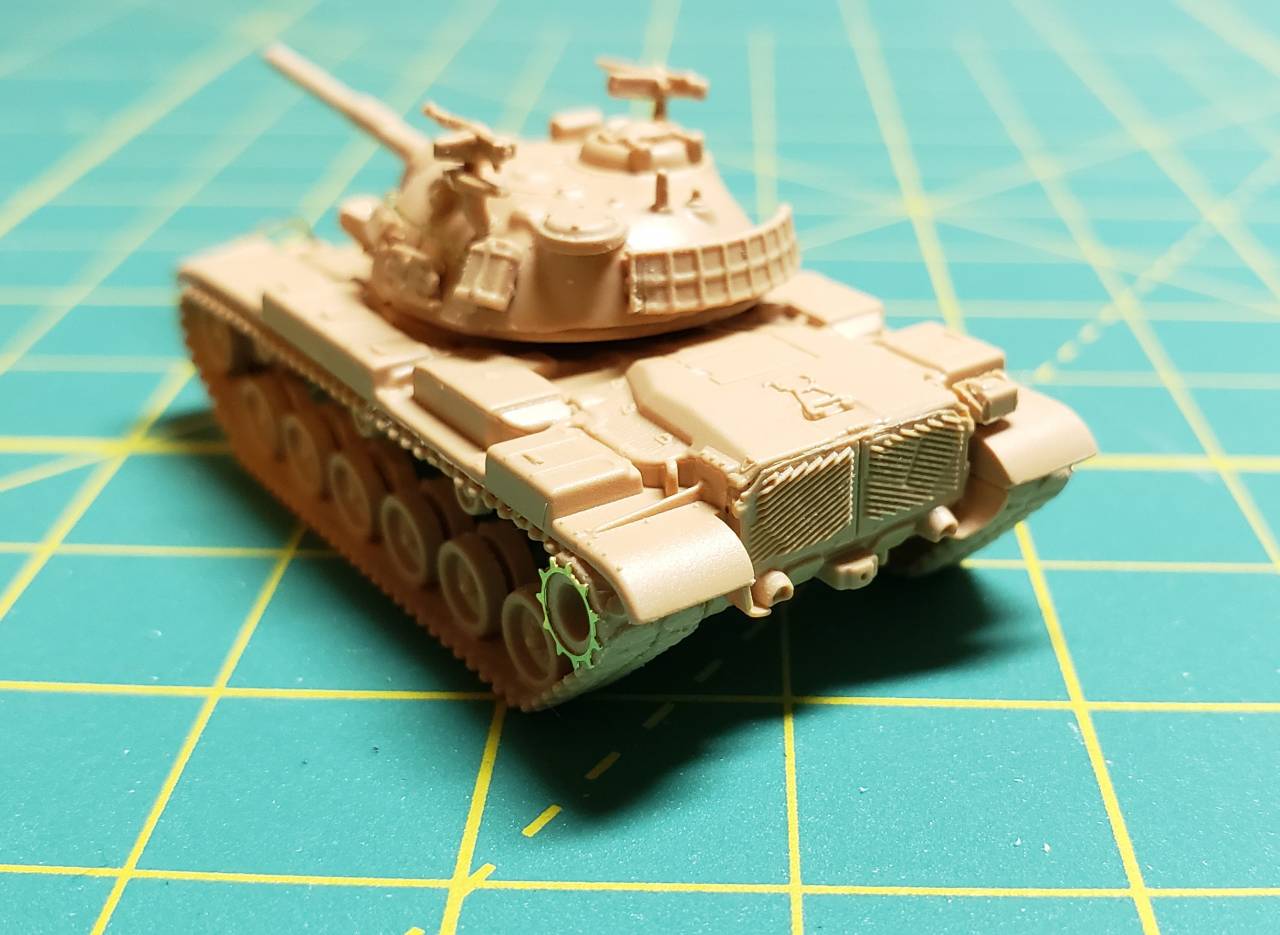
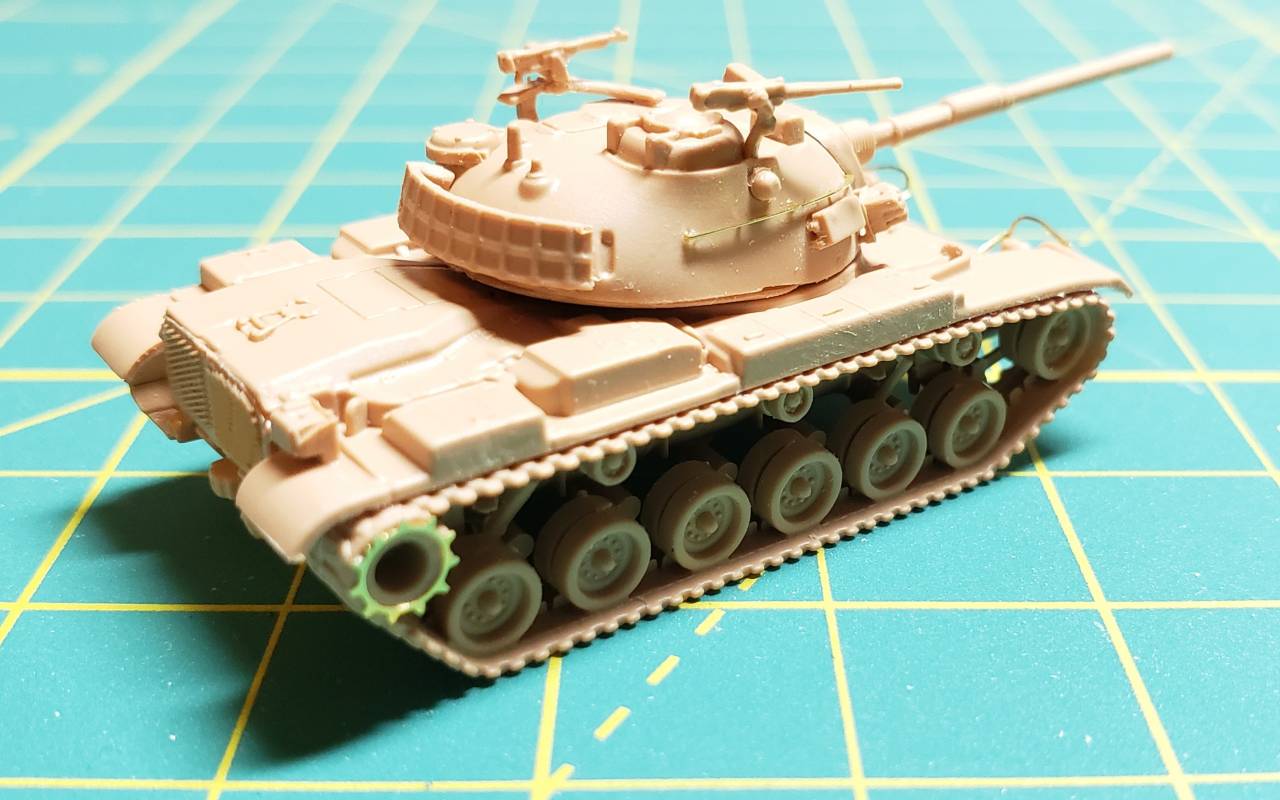
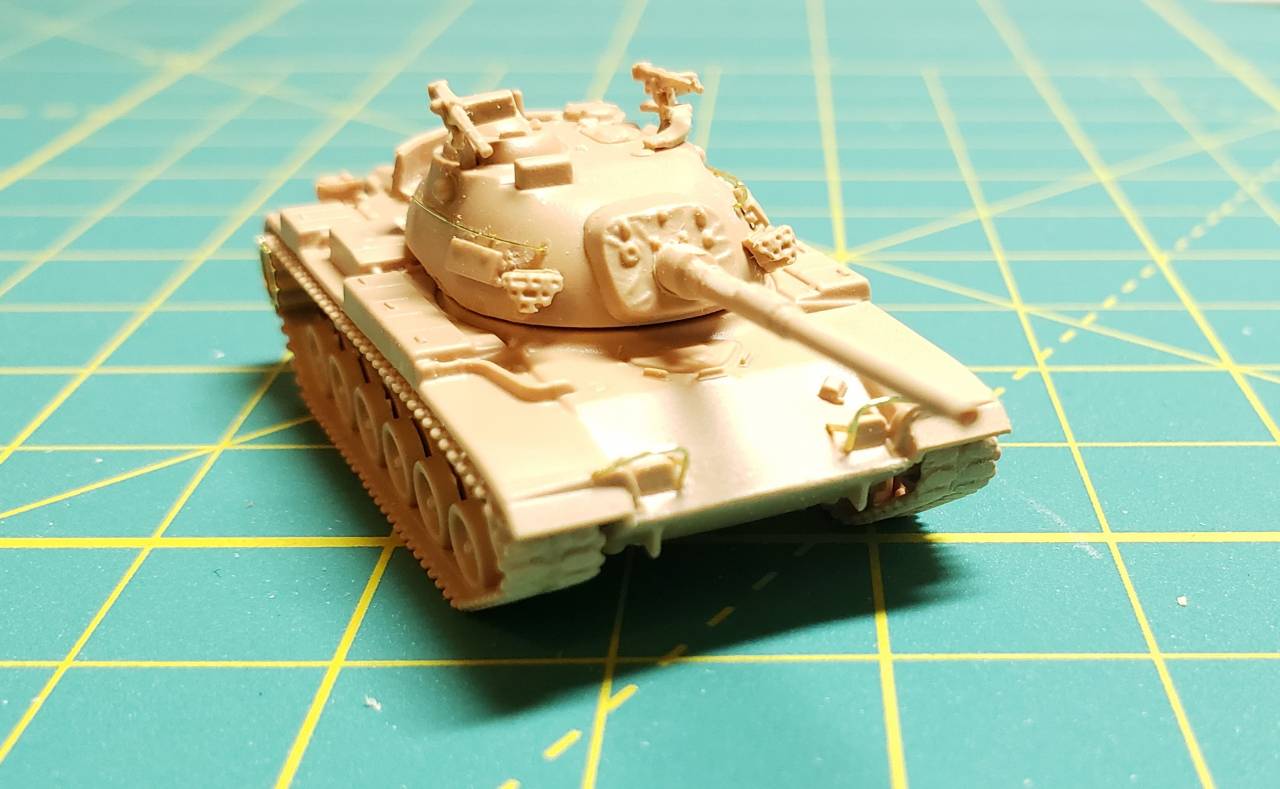
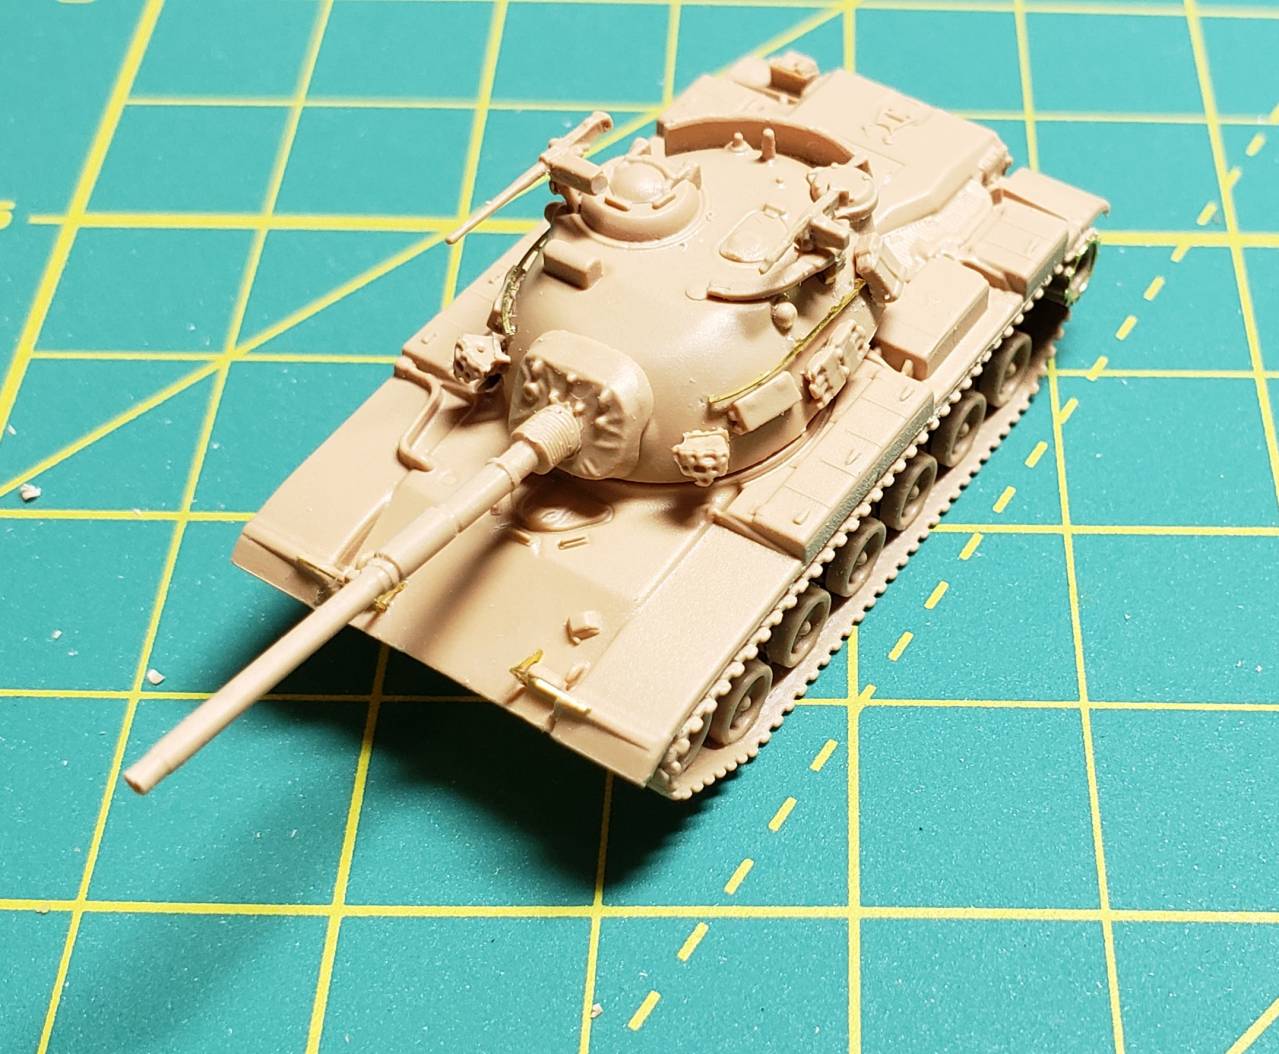
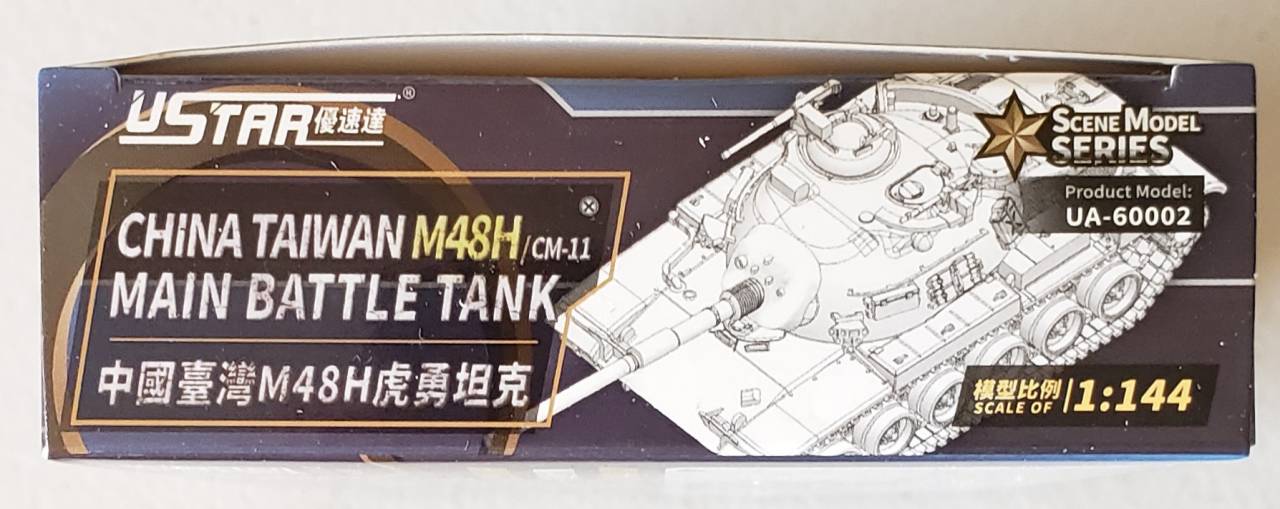
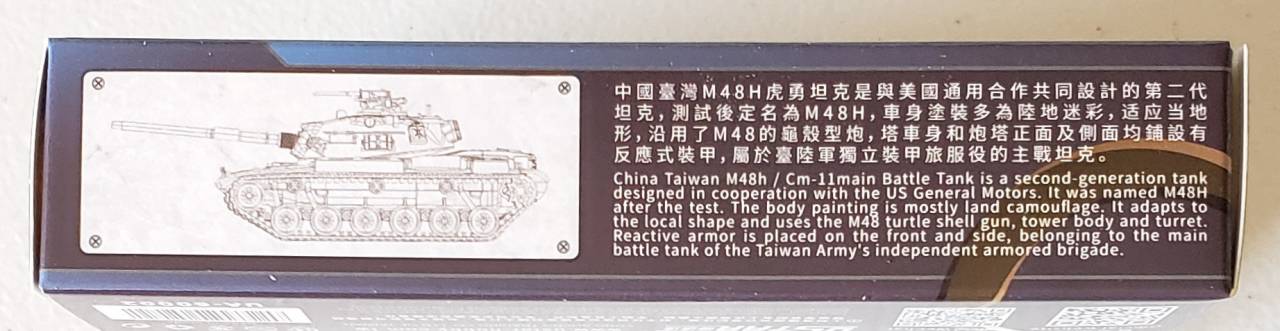
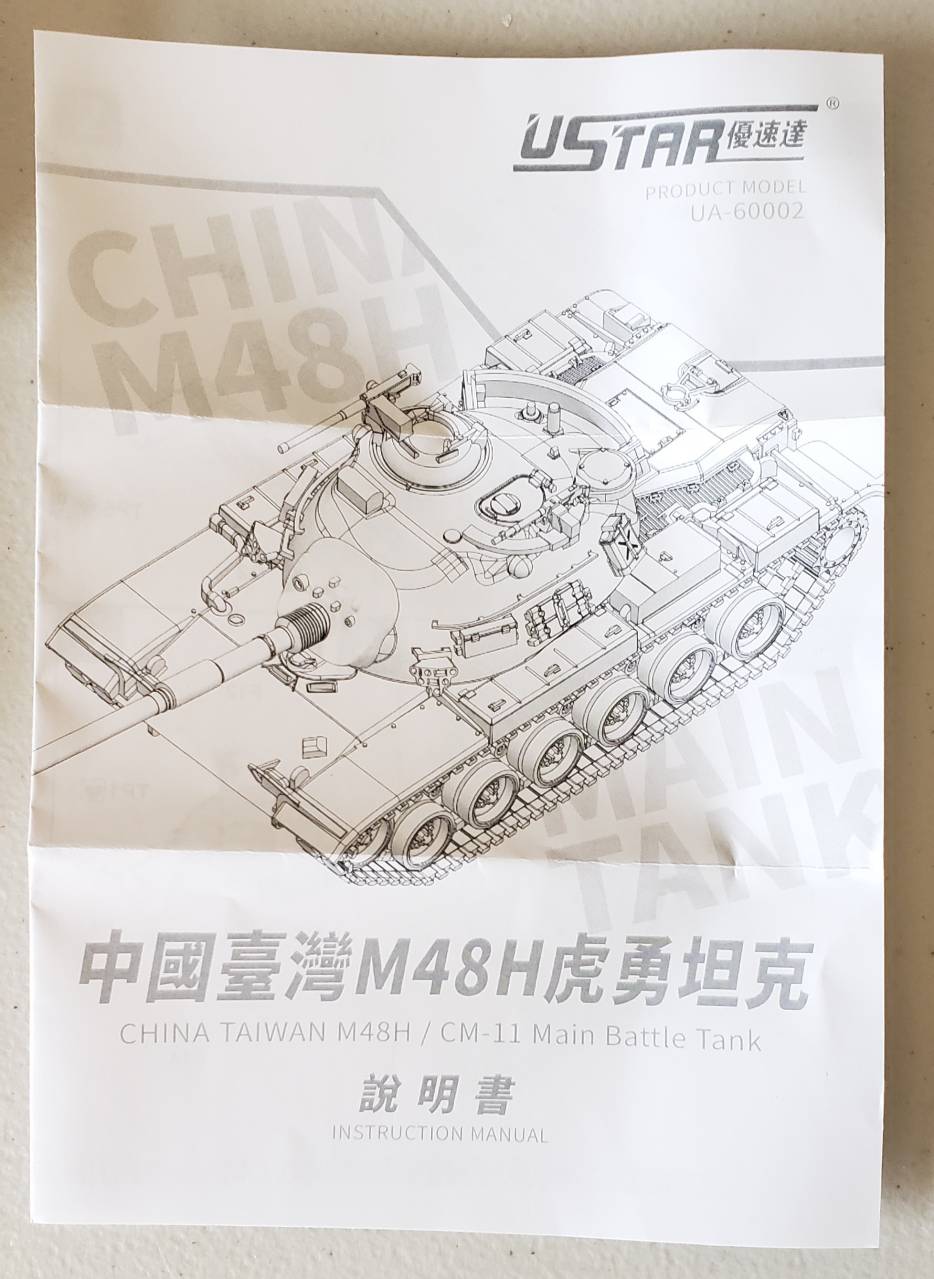
The subject of this blog post is the Taiwan M48H/CM-11 main battle tank kit. The Taiwan CM-11 is a tank design that, in simplistic explanation, combines the hull of the M60A3 main battle tank with the turret of the M48H Patton main battle tank. One of the standout features of the tank also is the T-142 type track that is a feature of the M60A3 hull. The kit box states that the model is part of the 'Scene Model Series' and is product number UA-60002.
The kit comes packed in a cardboard box that is 5-1/2 inches x 3-3/4 inches x 1-1/4 inches.
Box front
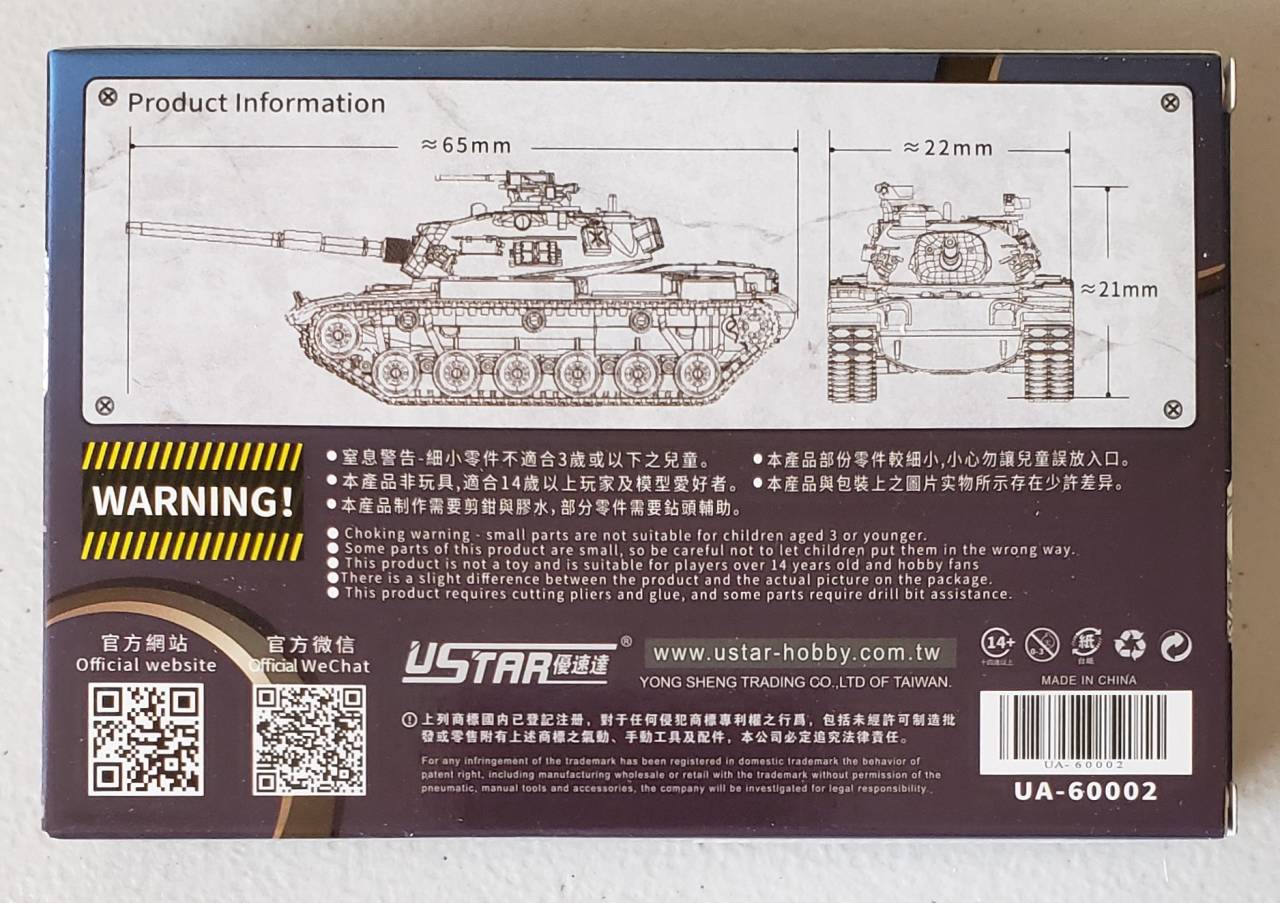
Box back
Box end
Box side #1
Box side #2
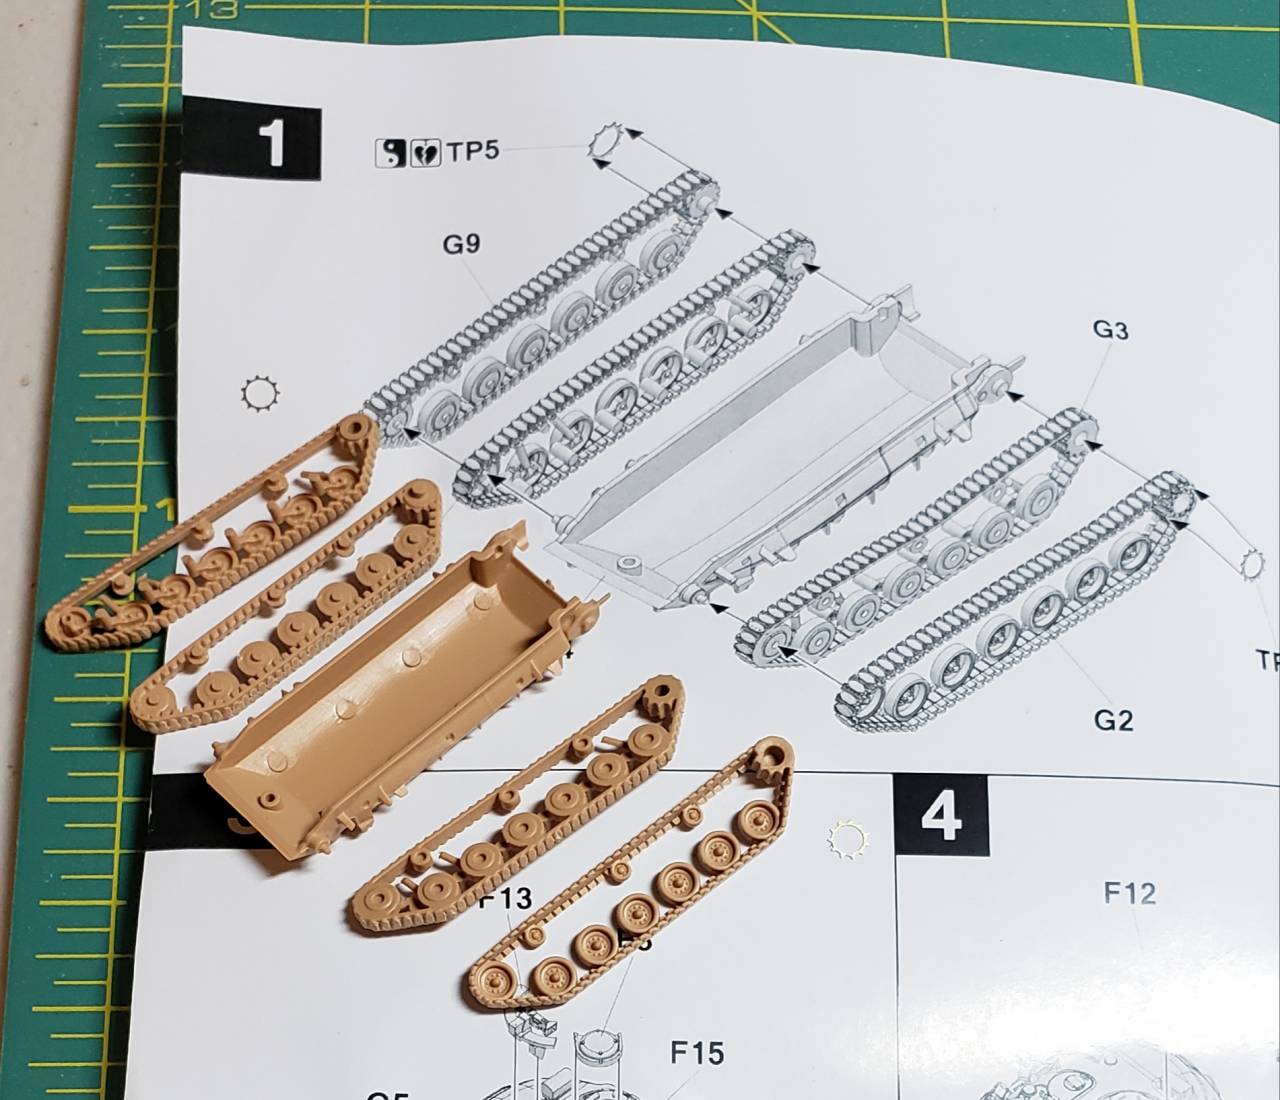
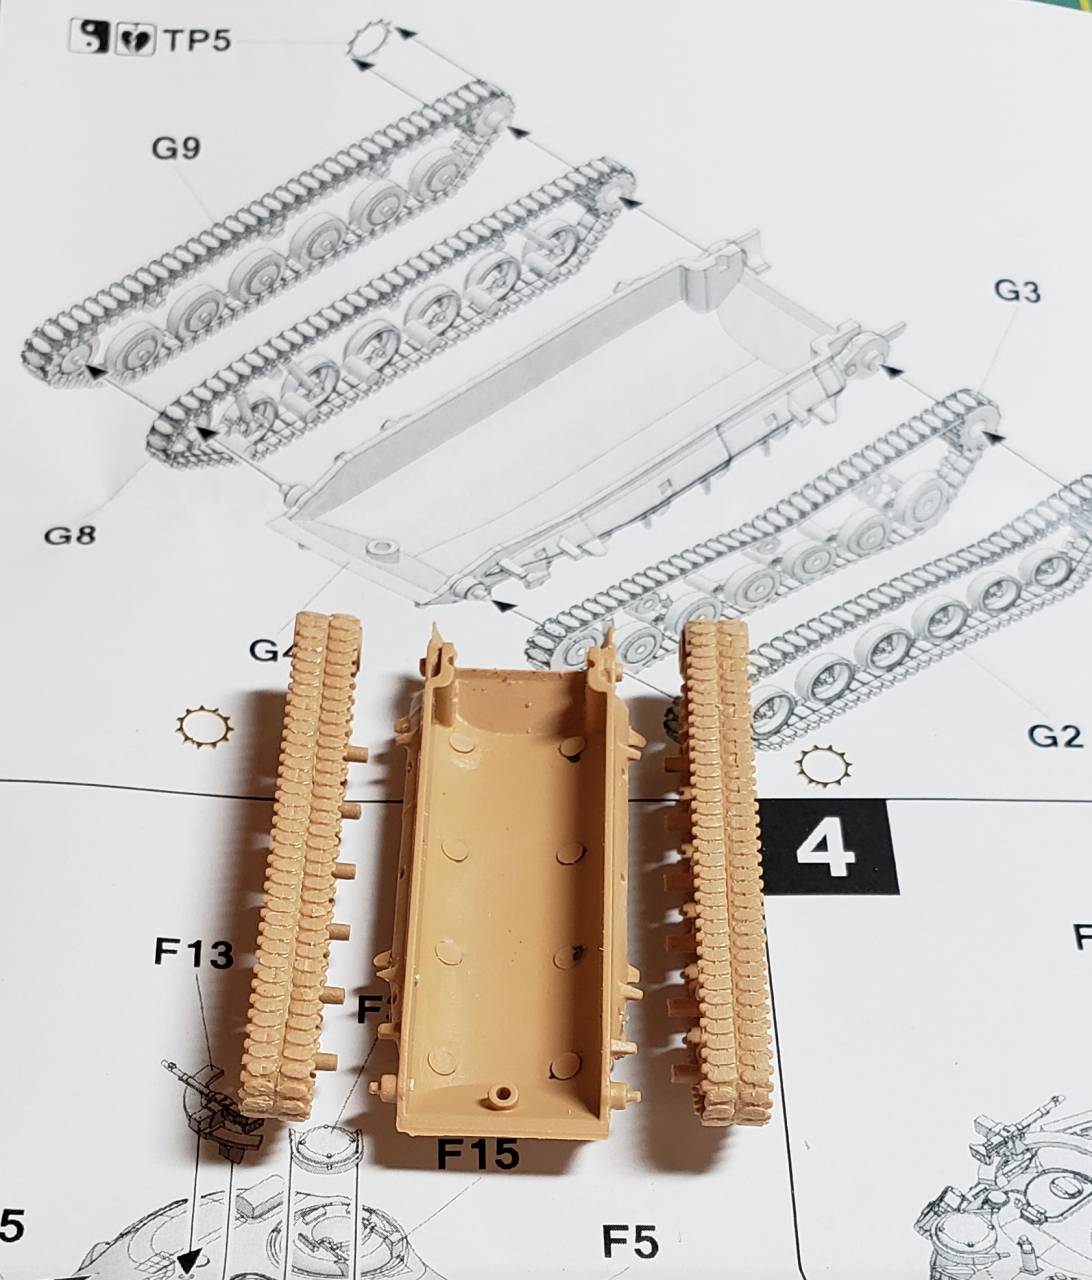
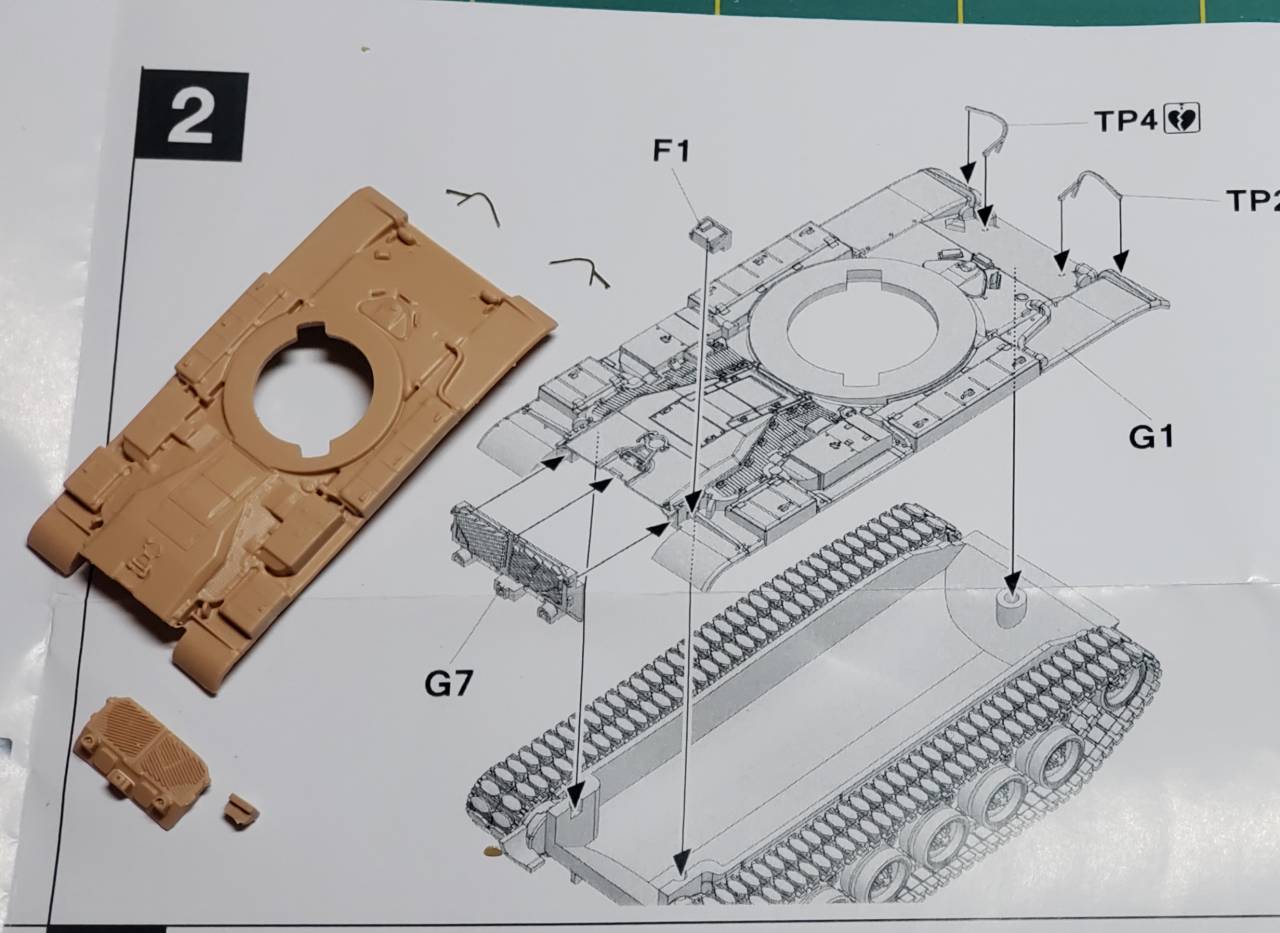
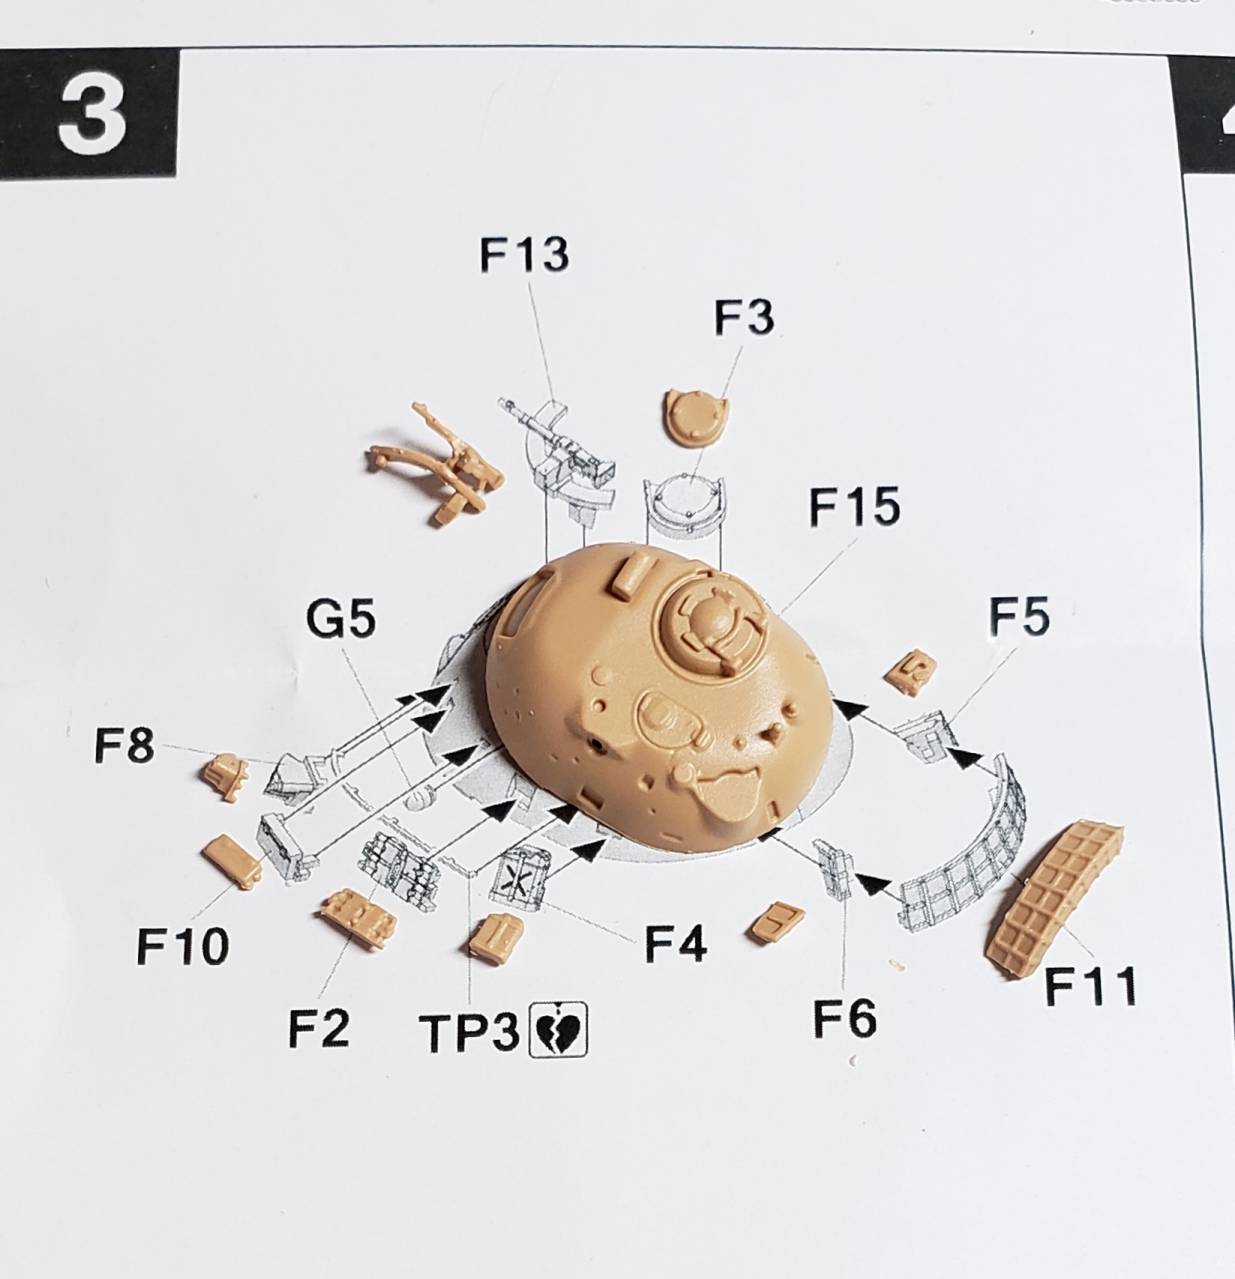
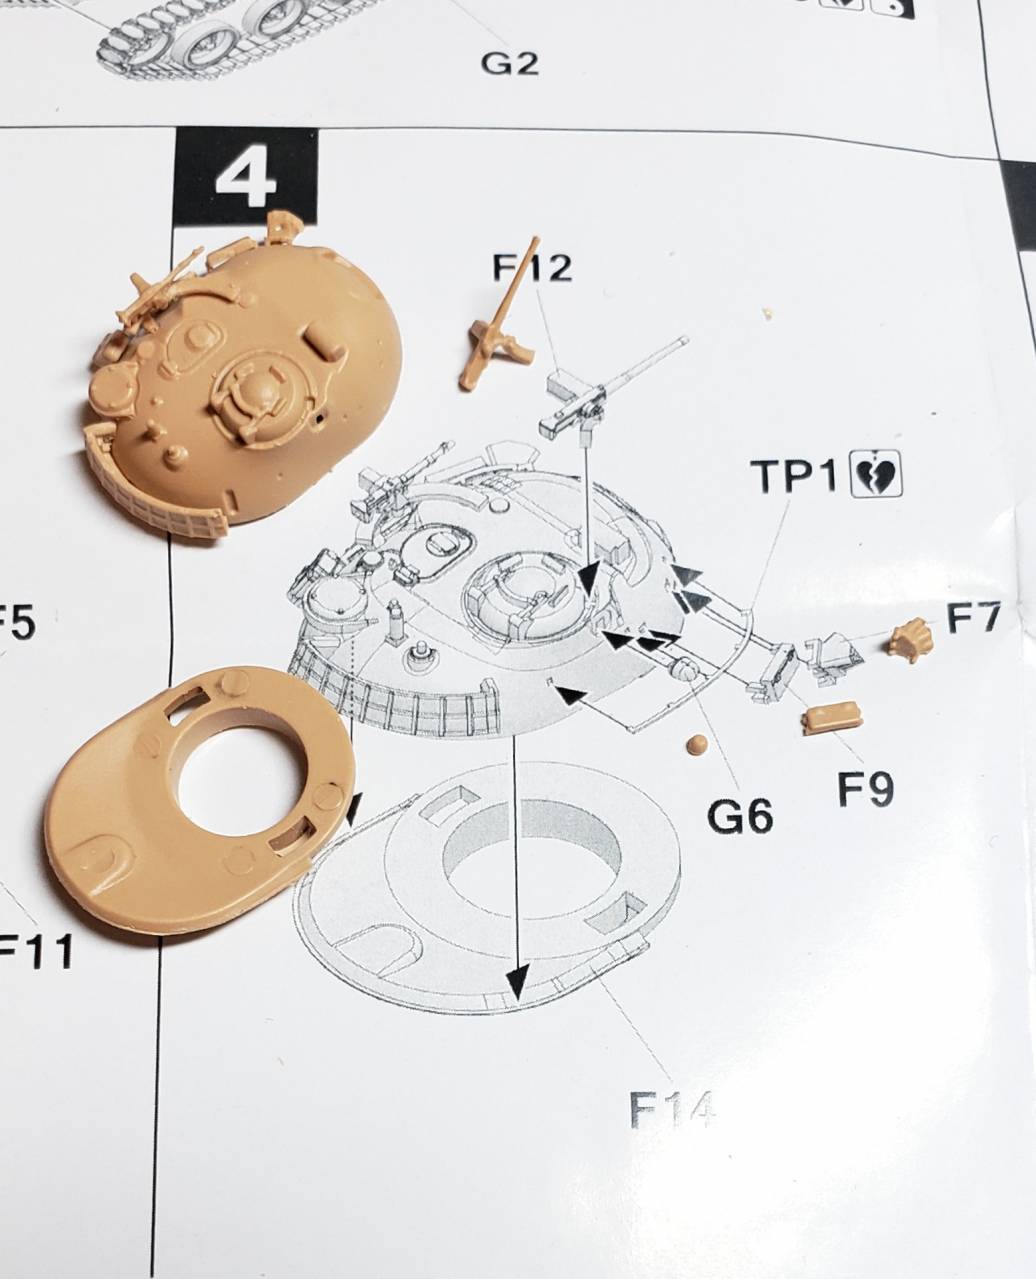
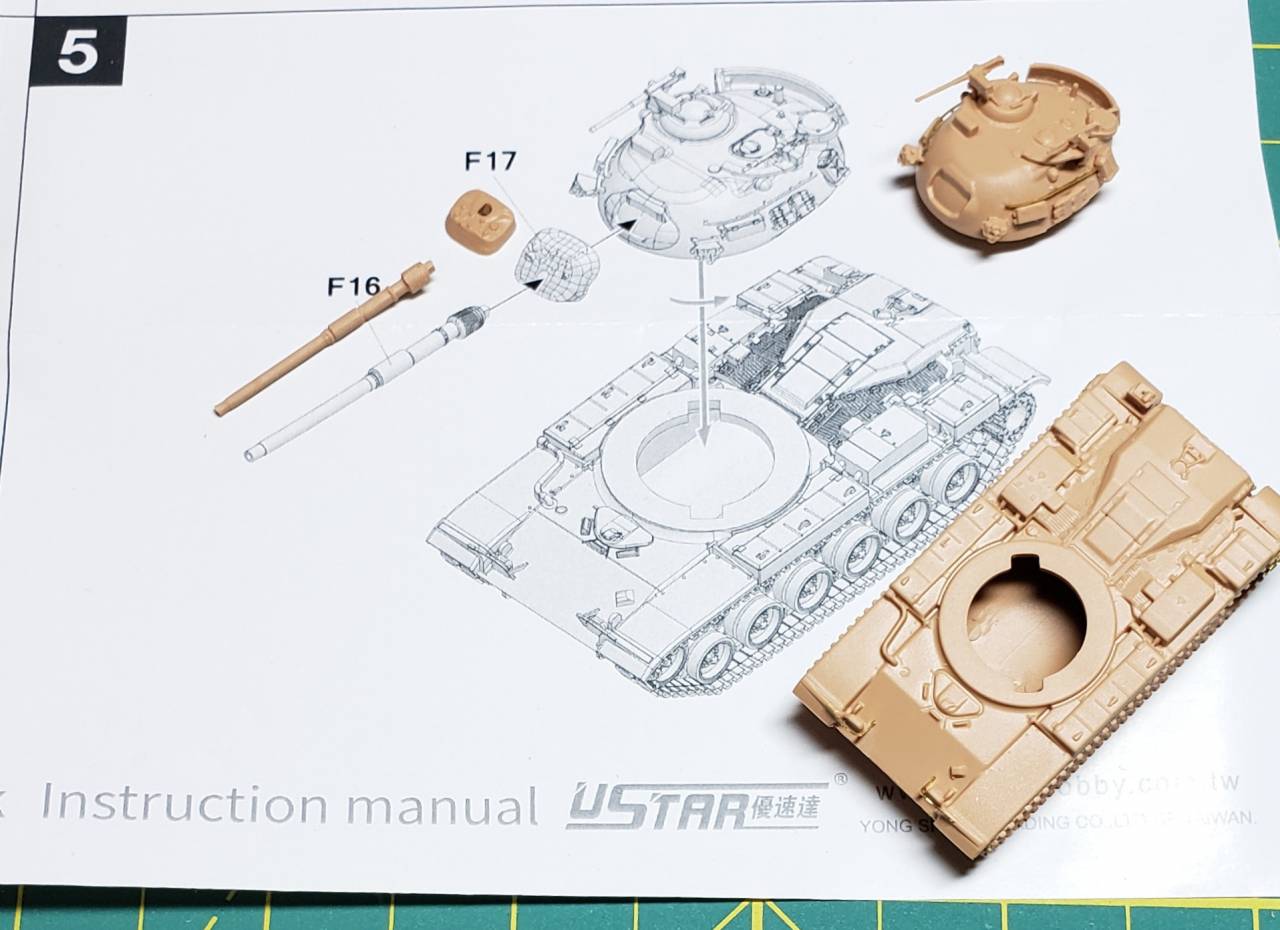
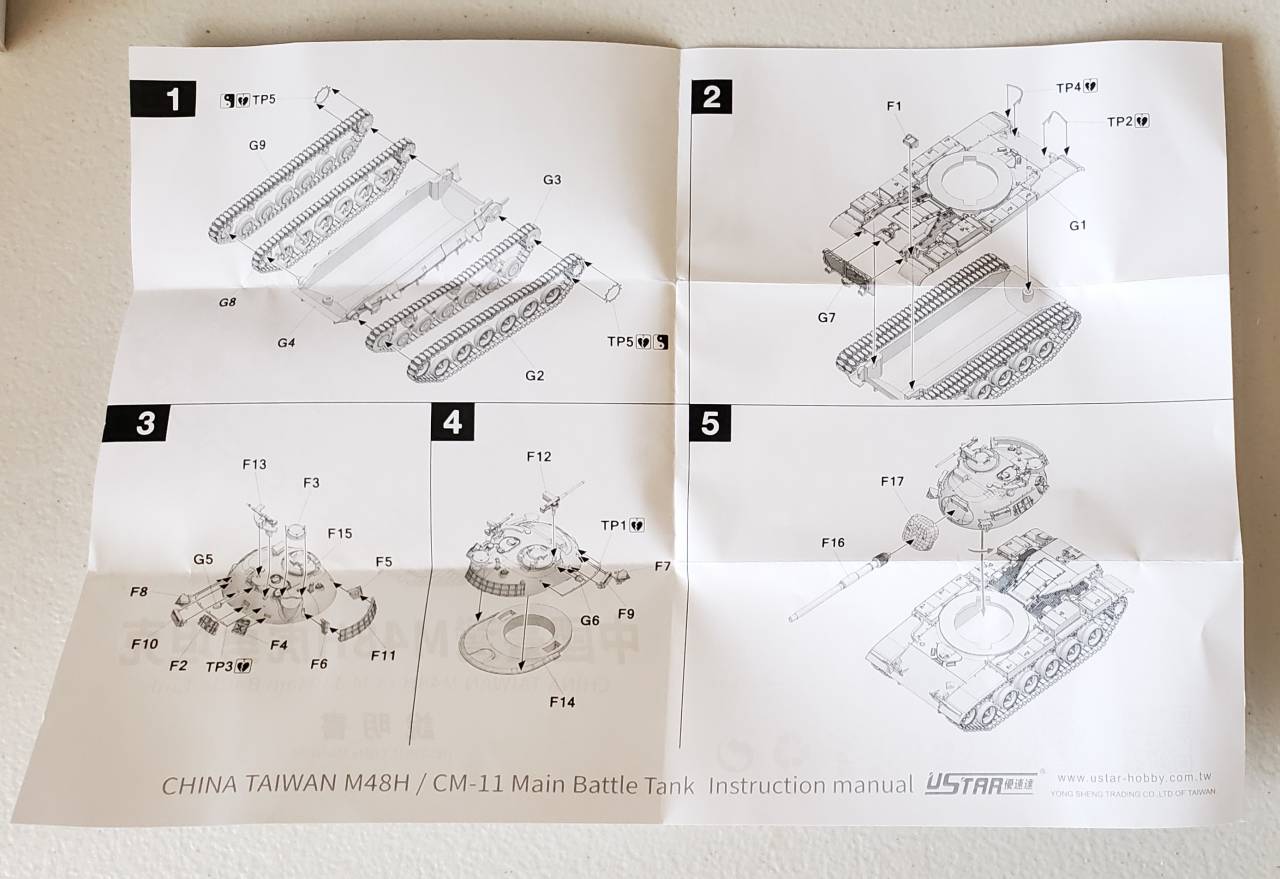
The instructions are printed on a single 11-1/4 inches x 8 inches sheet of glossy paper that has then been folded in half to form four pages with front cover, page 1, page 2 and back cover. There are five assembly steps.
Front cover
Page 1 and page 2
Back cover
When you open the kit box, there is a paperboard tray that slides out of the box which holds one bag with all of the kit parts.
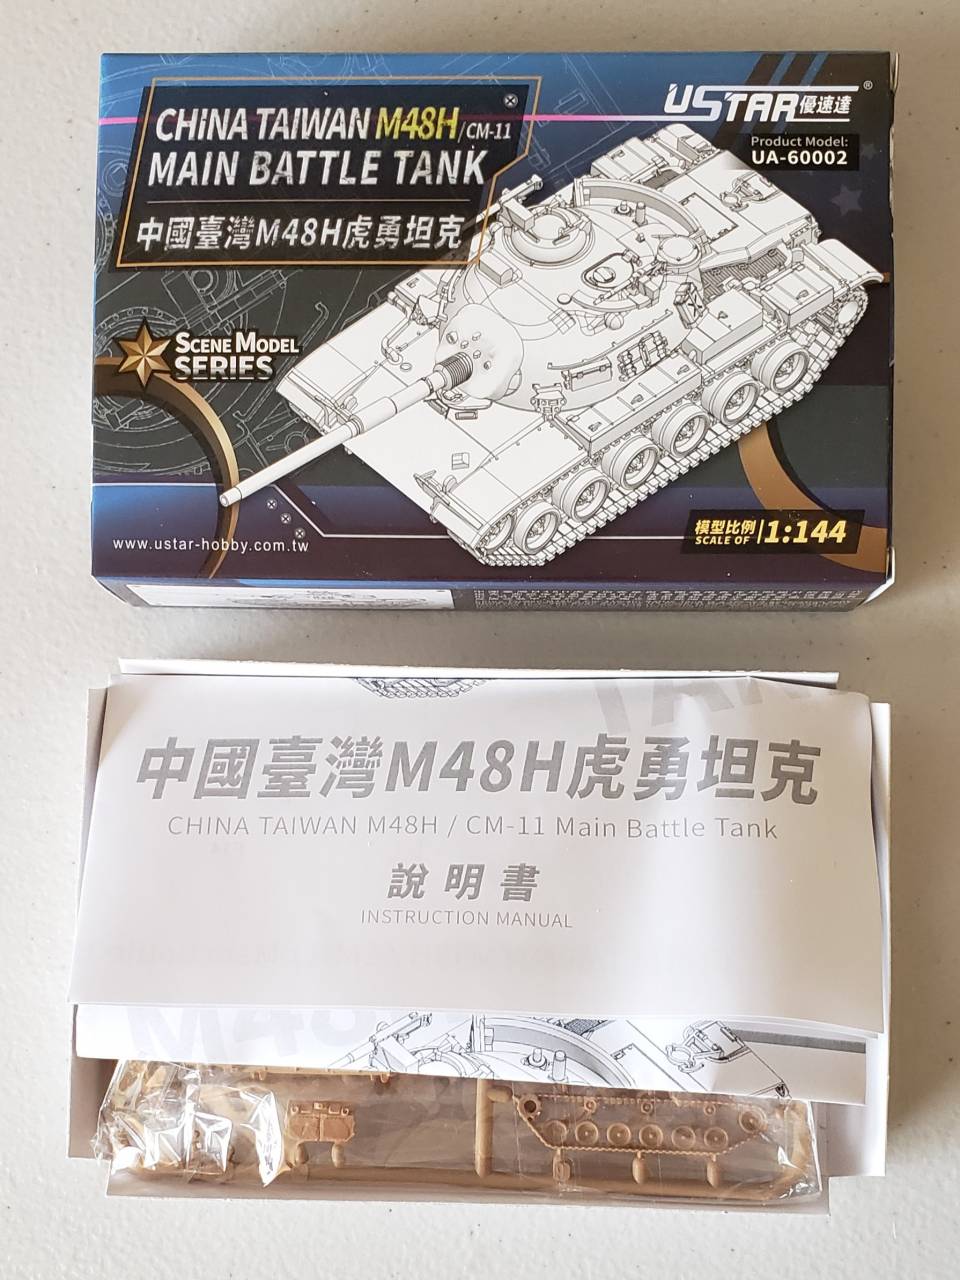
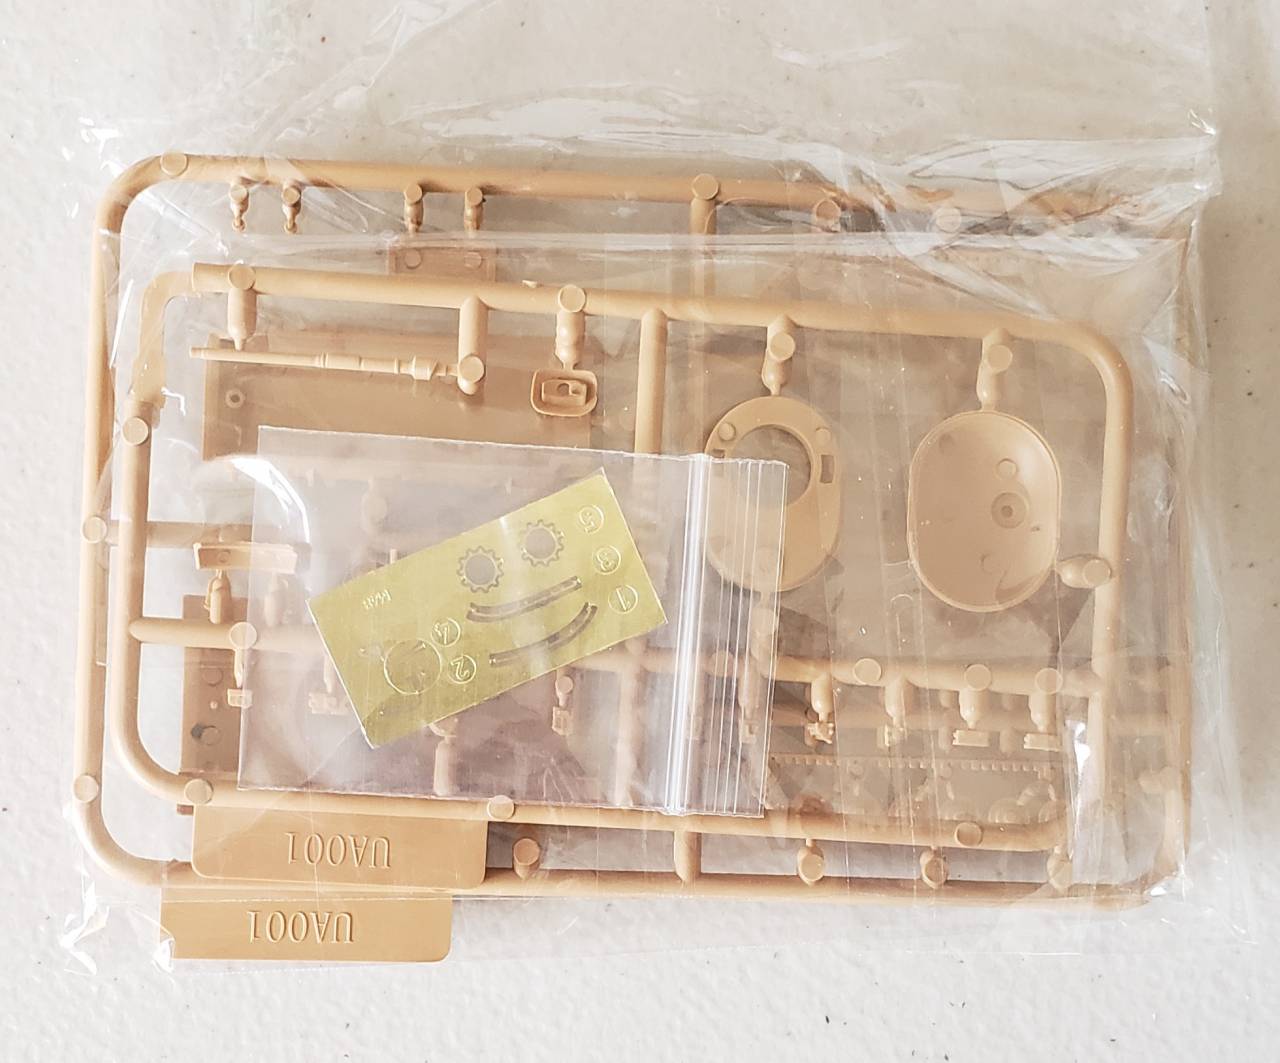
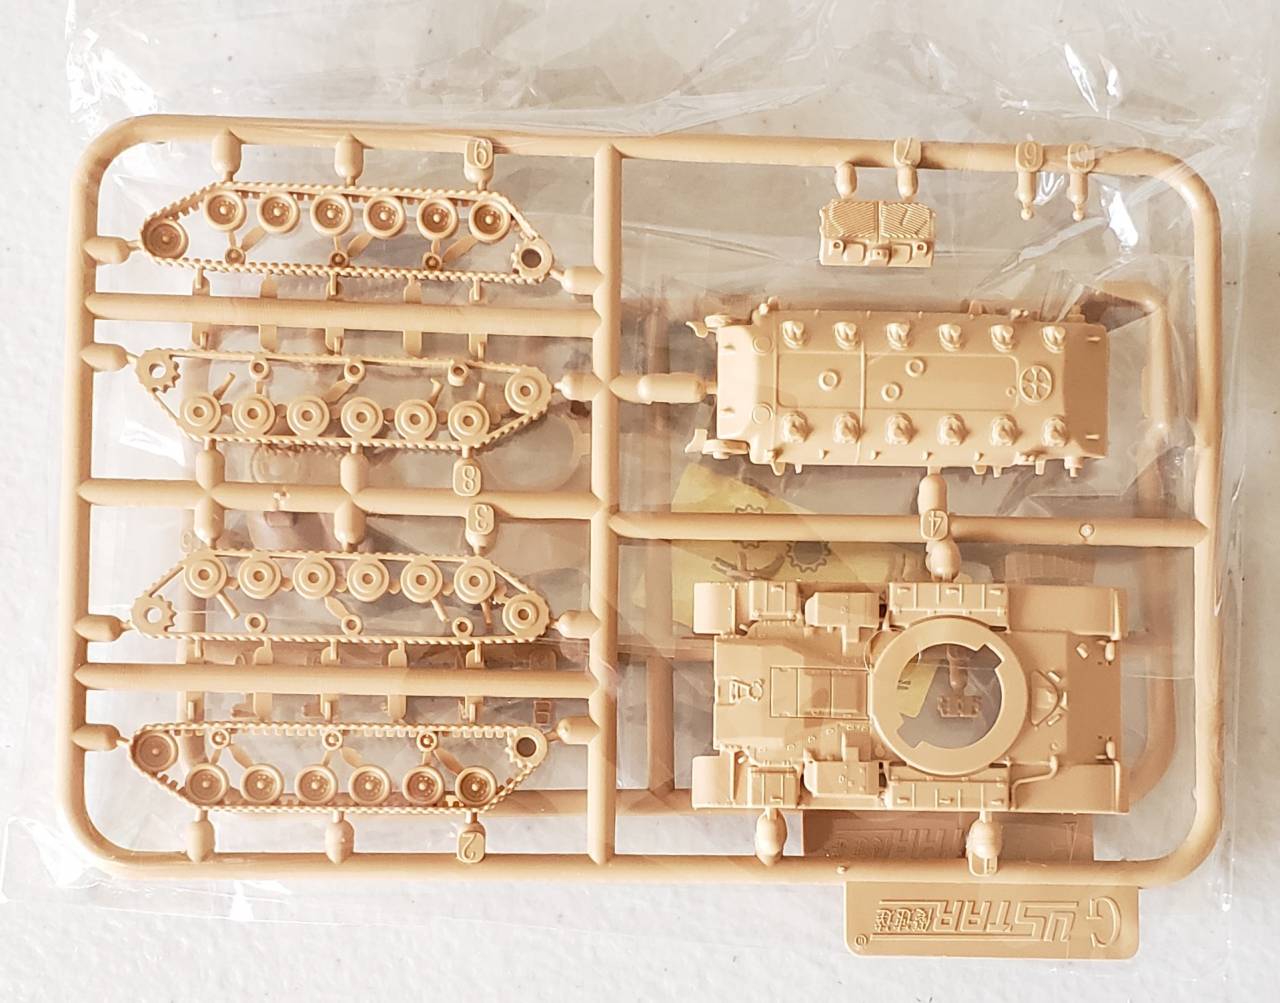
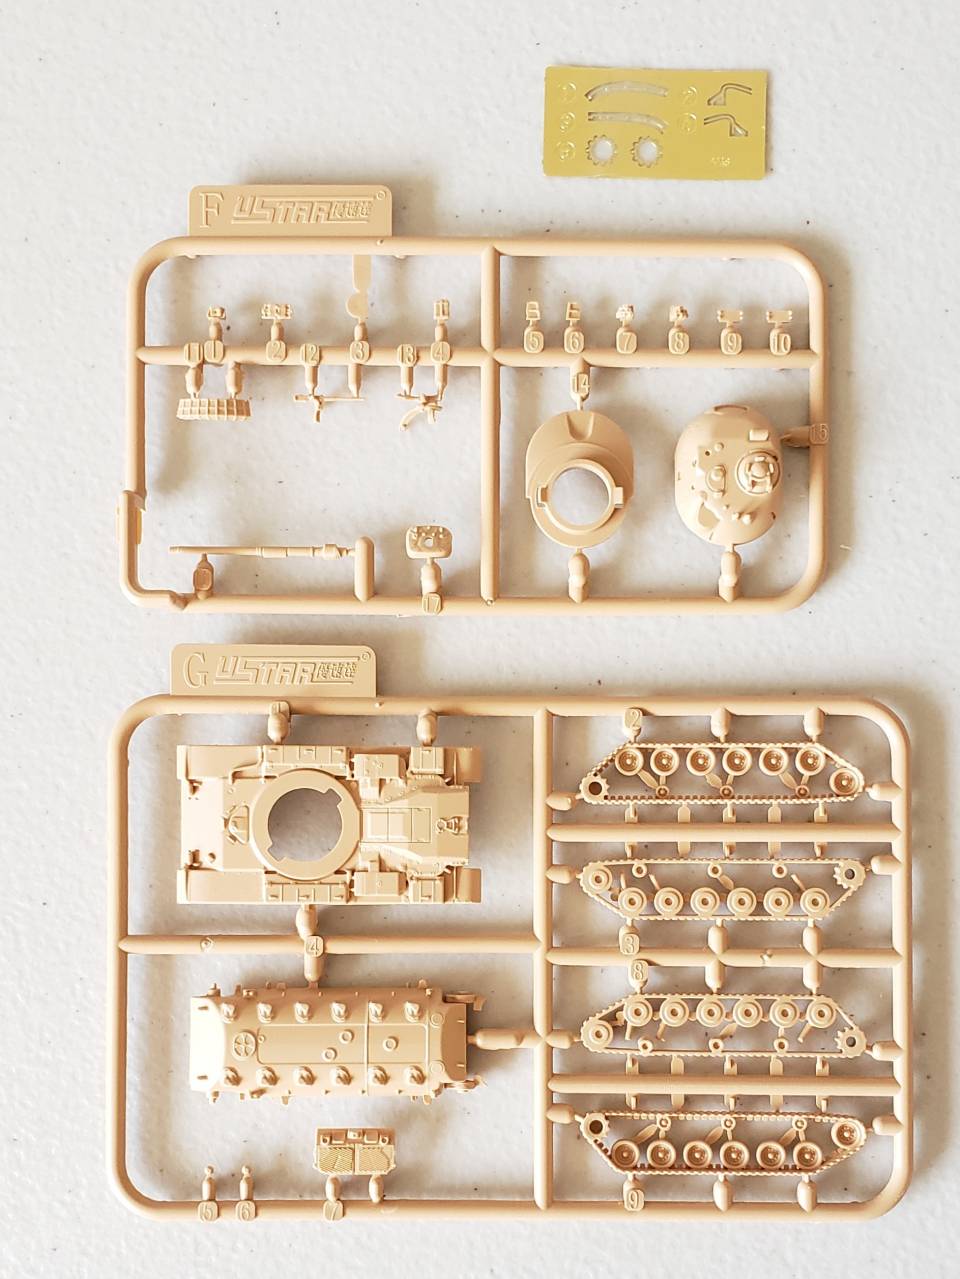
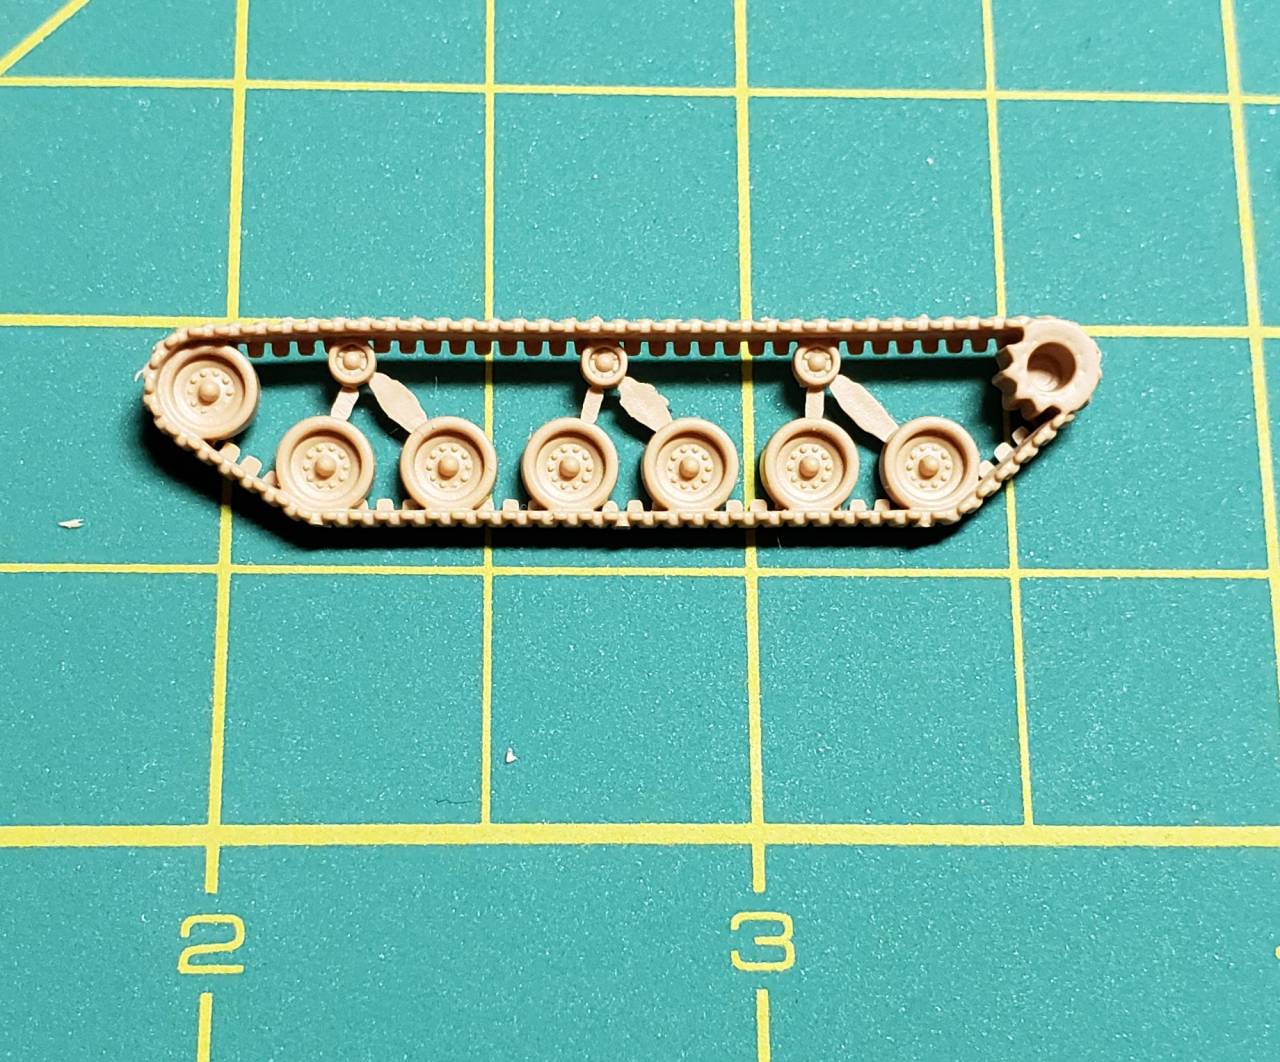
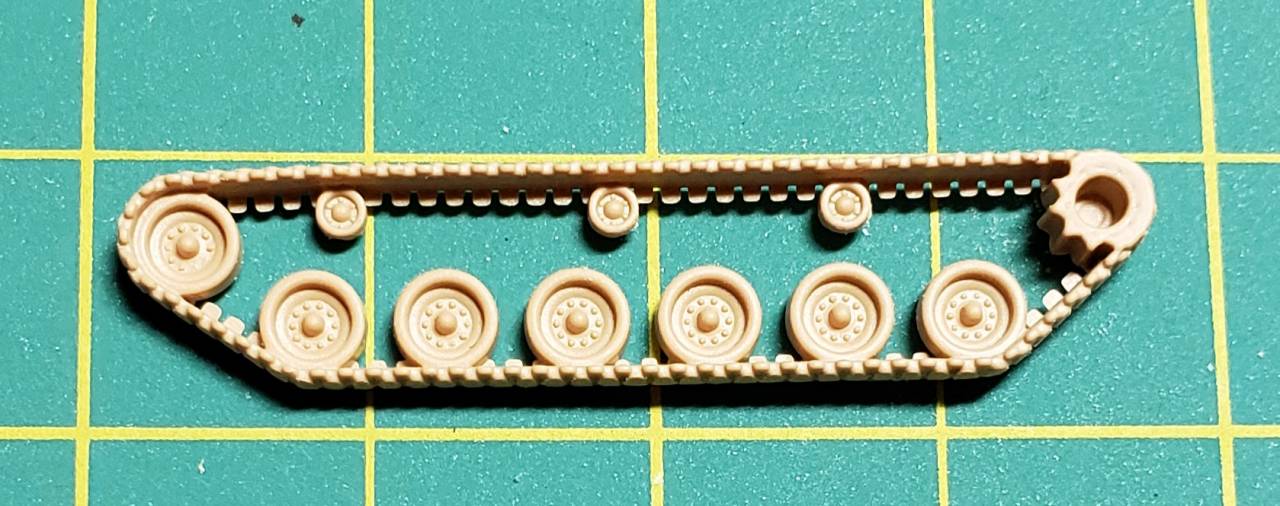
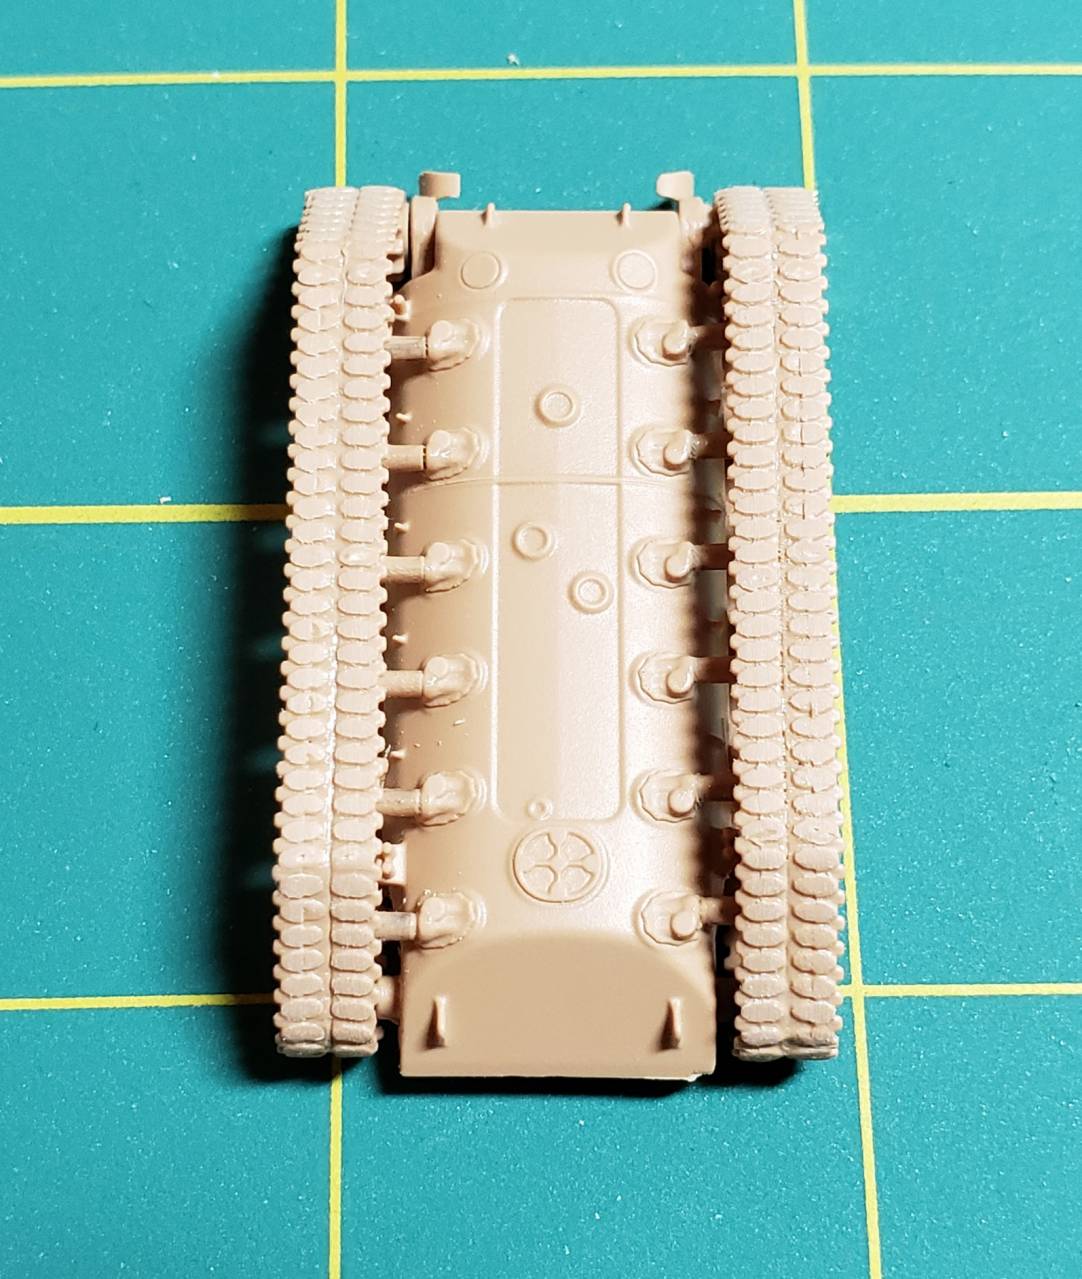
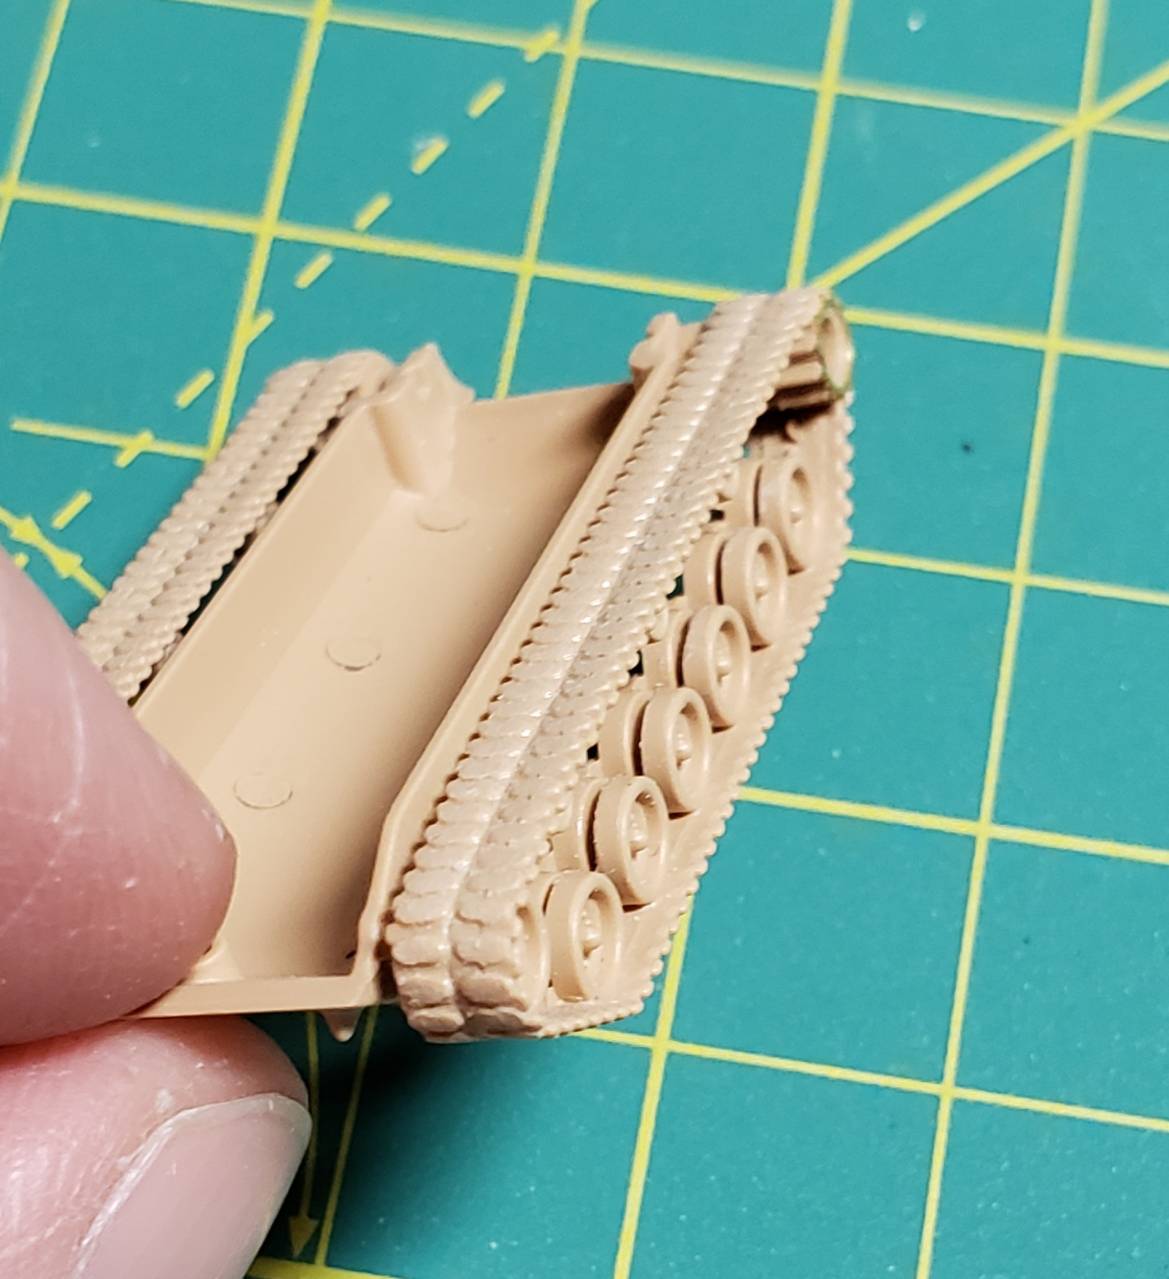
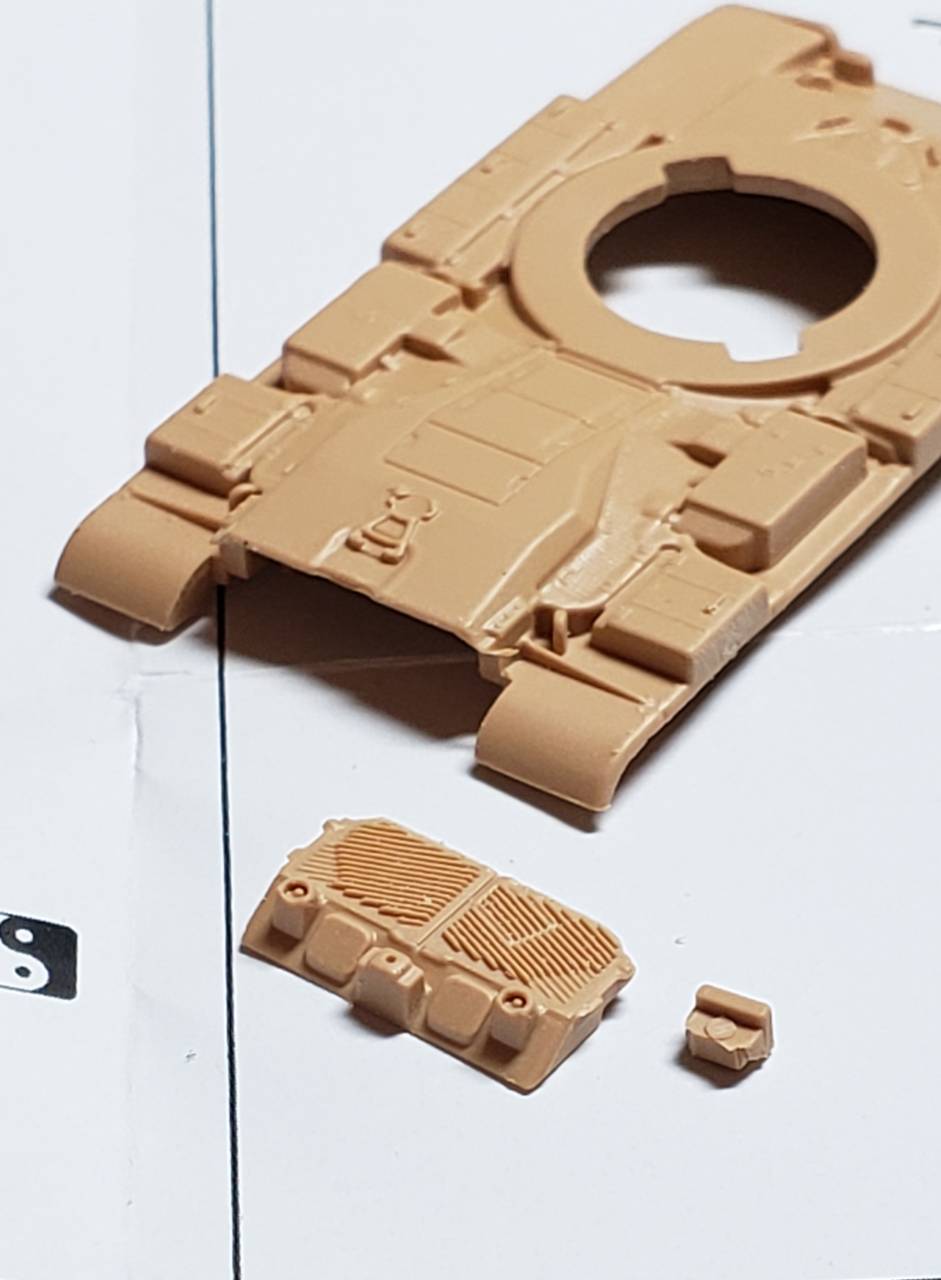
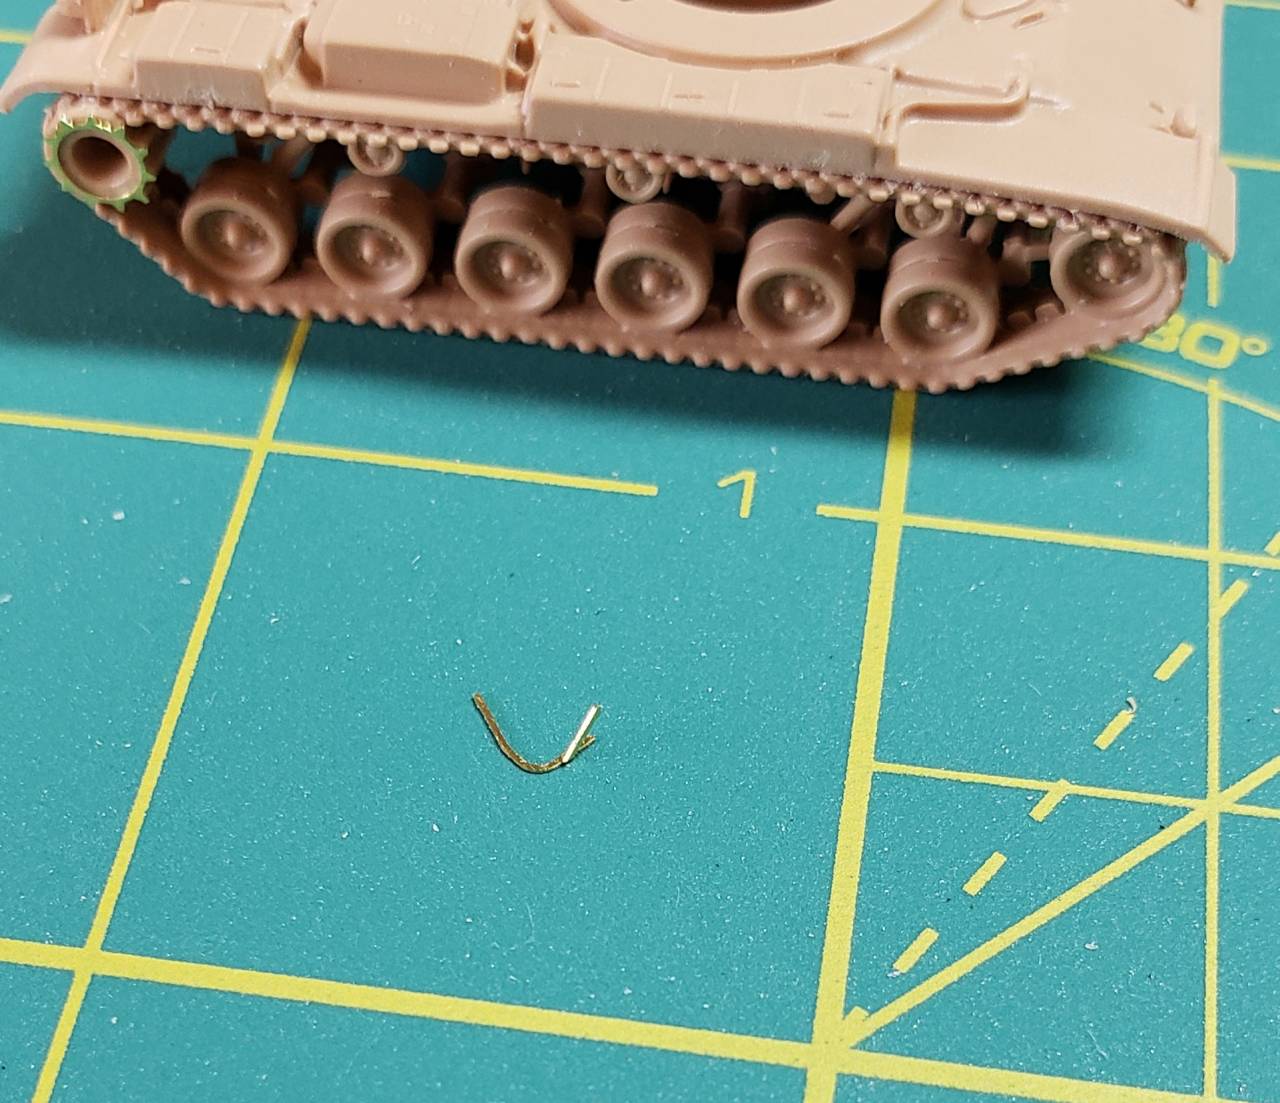
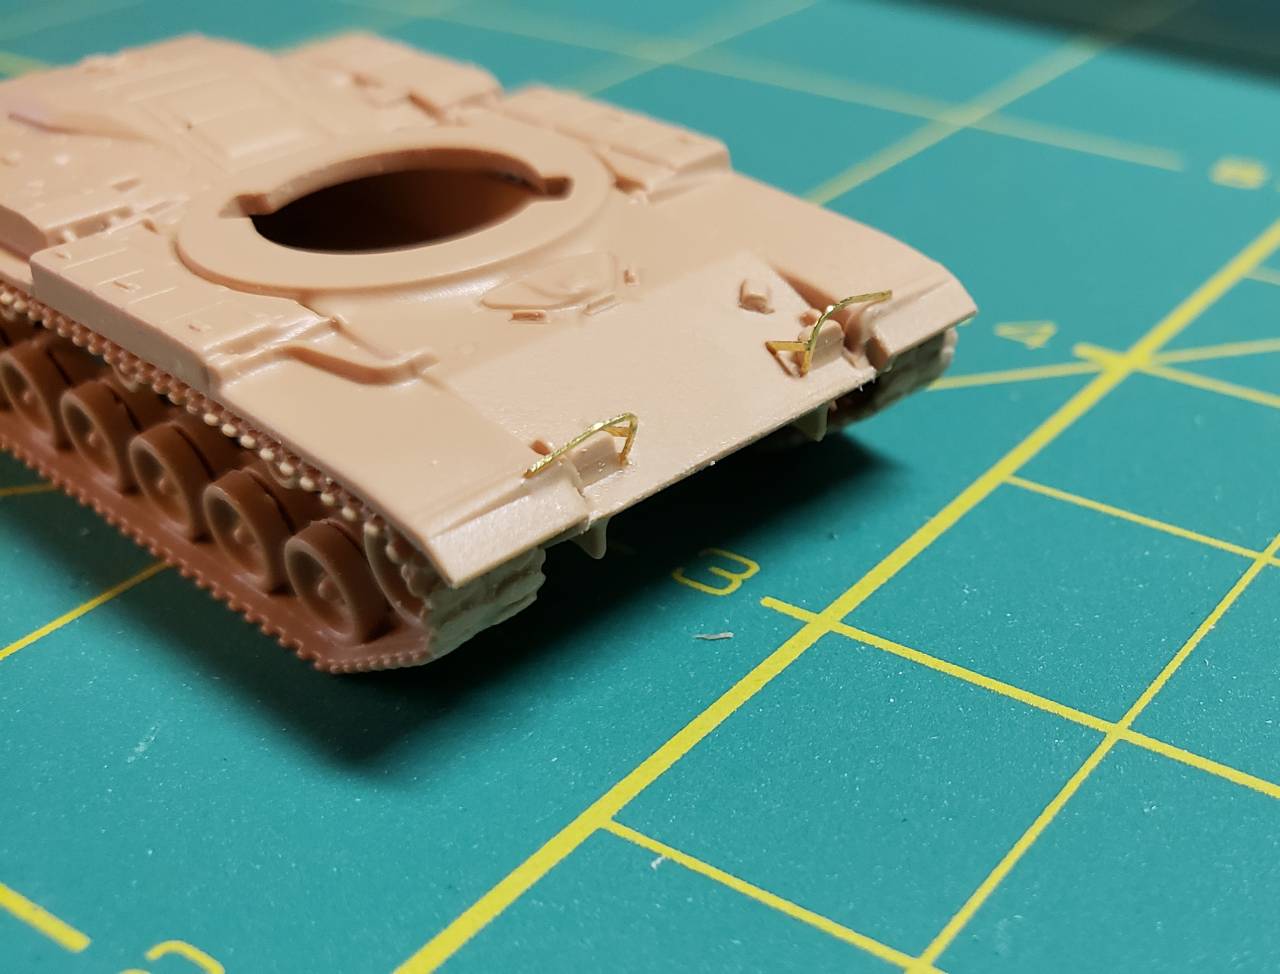
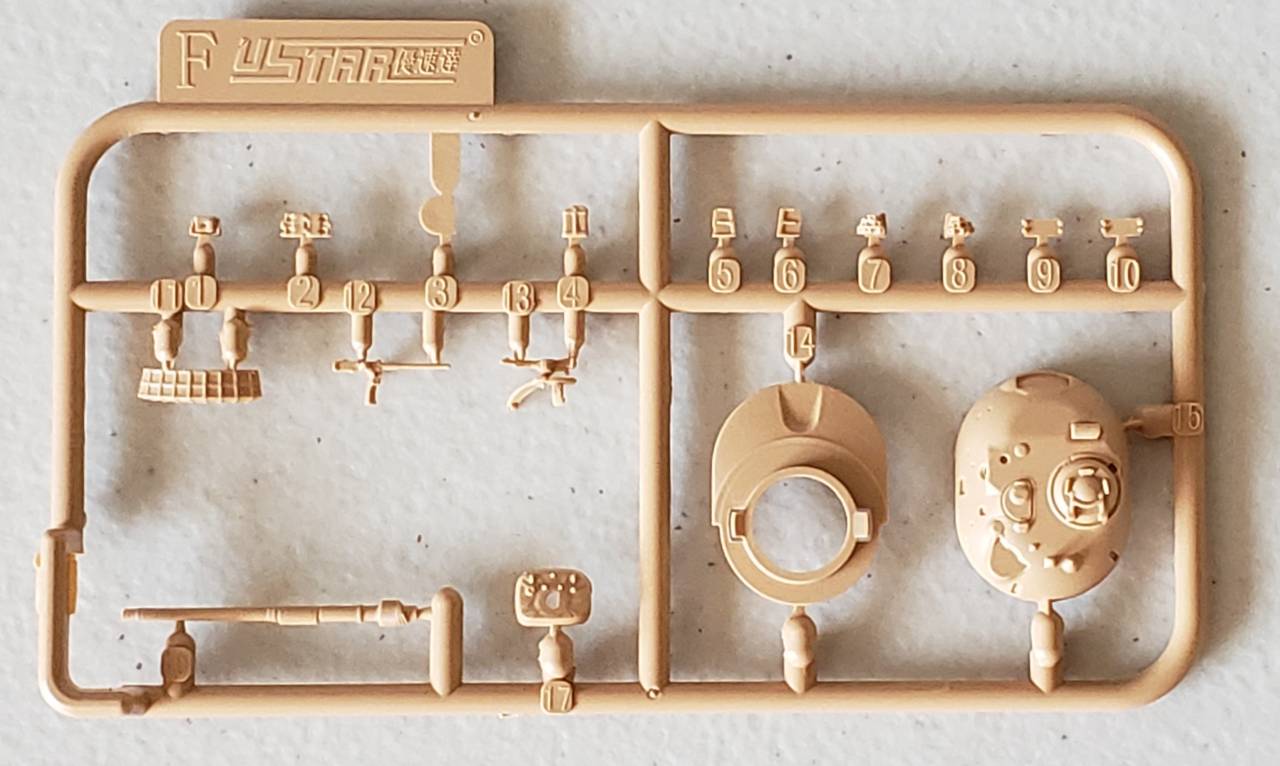
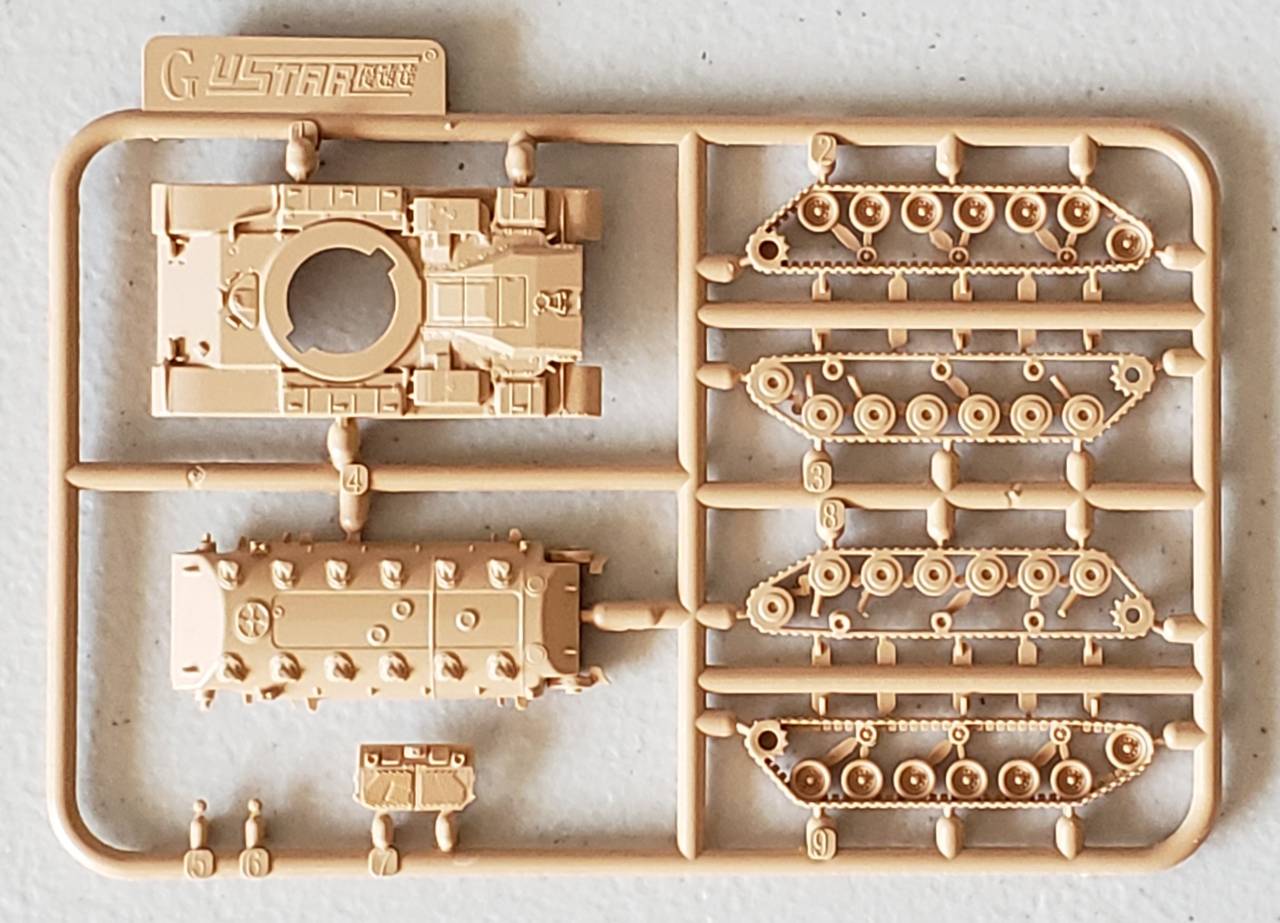
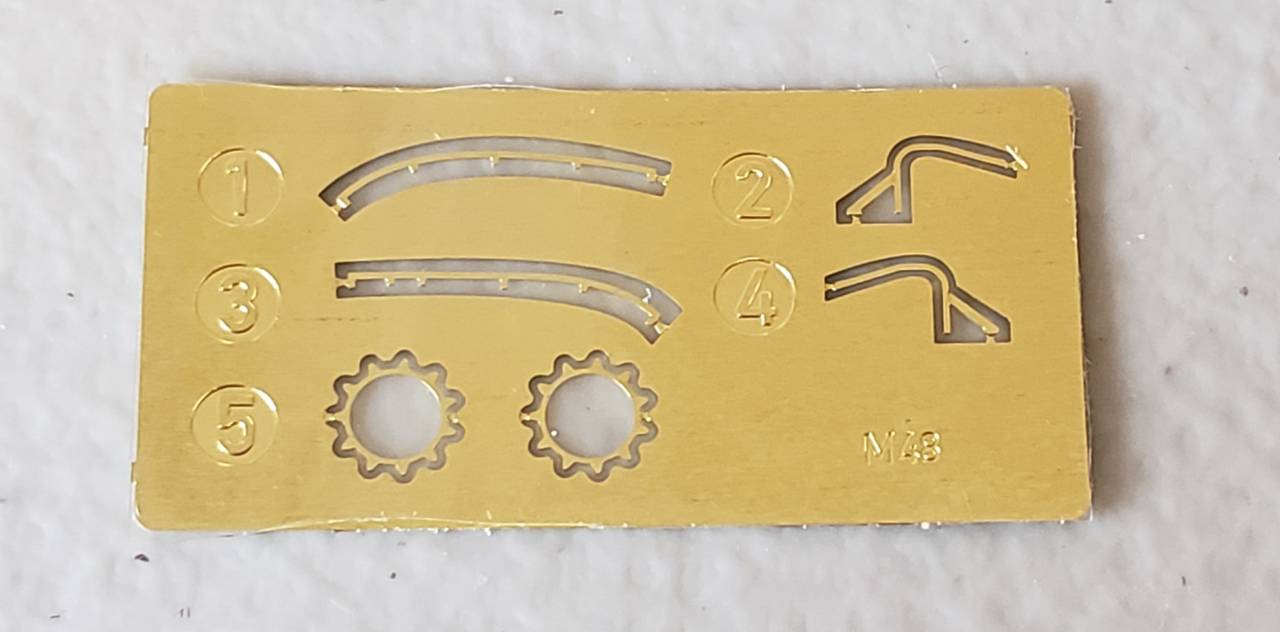
The kit consists of 26 injection molded plastic parts and 6 photo-etch parts that consists of drive sprocket ends, headlight guards and turret grab handles.
In the next installment, Step 1 of assembly is completed.