RFM Sherman w/ Interior WIP
Croatia Hrvatska
Joined: August 15, 2014
KitMaker: 155 posts
Armorama: 154 posts
Posted: Thursday, August 13, 2020 - 01:52 AM UTC
Thanks for observation about ammo boxes. Well, the instructions doesn't say anything about the color of boxes, the color "guide" doesn't show them and I didn't find any photos of them online so I just assumed they are white.
Oh well, something has to be wrong. Or the co-driver was bored and painted them white

Virginia, United States
Joined: July 05, 2004
KitMaker: 769 posts
Armorama: 461 posts
Posted: Thursday, August 13, 2020 - 03:54 AM UTC
It seems those guys were worthless!

Time is a great teacher. Unfortunately, it kills all it's students.
Minnesota, United States
Joined: July 20, 2004
KitMaker: 1,513 posts
Armorama: 1,449 posts
Posted: Thursday, August 13, 2020 - 04:52 AM UTC
You need some Sherman reference books!
Looking to meet other MN Armor modellers. I live in Buffalo.
Croatia Hrvatska
Joined: August 15, 2014
KitMaker: 155 posts
Armorama: 154 posts
Posted: Thursday, August 13, 2020 - 05:40 AM UTC
OK, I just tried to see if I could reach them with paintbrush and looks like I will be able to paint them without too much trouble. Phew.
Croatia Hrvatska
Joined: August 15, 2014
KitMaker: 155 posts
Armorama: 154 posts
Posted: Monday, August 17, 2020 - 04:23 AM UTC
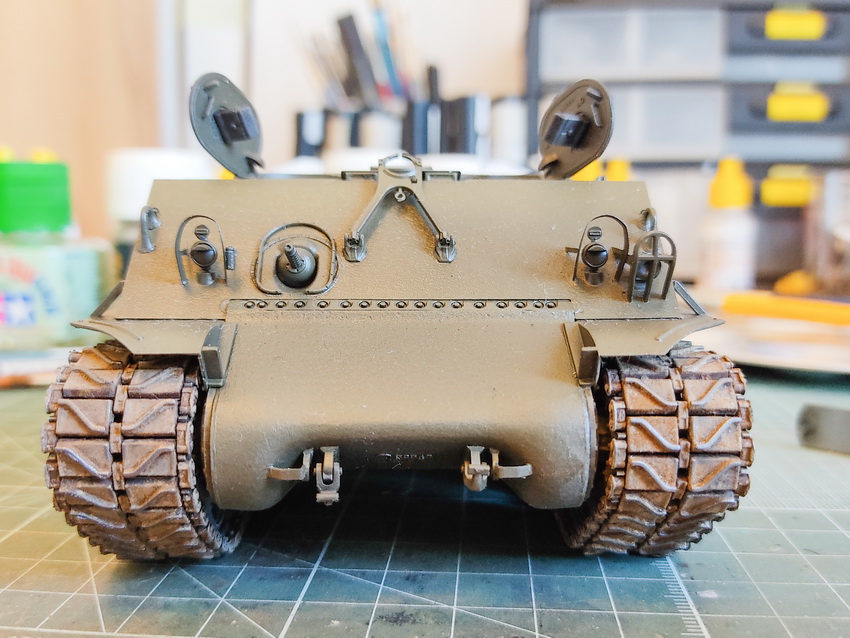
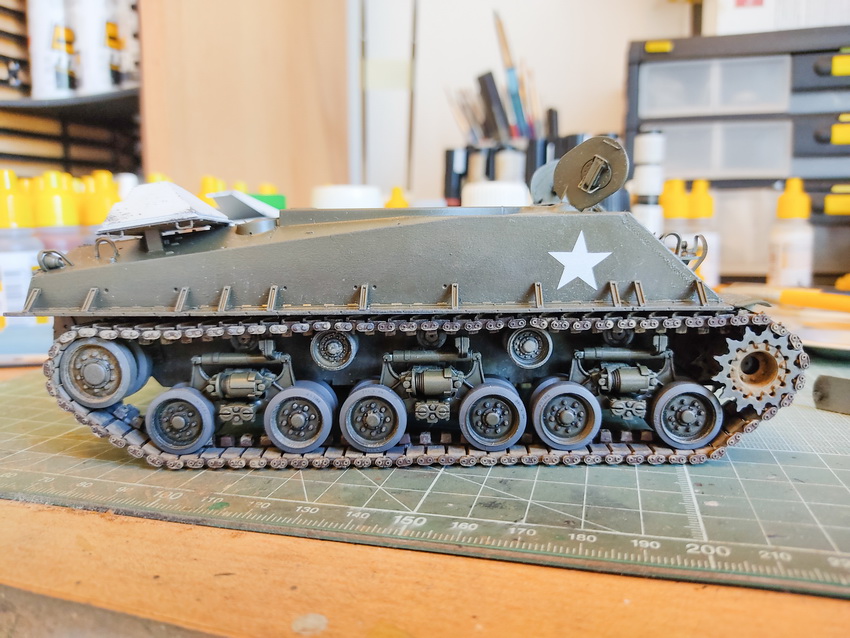
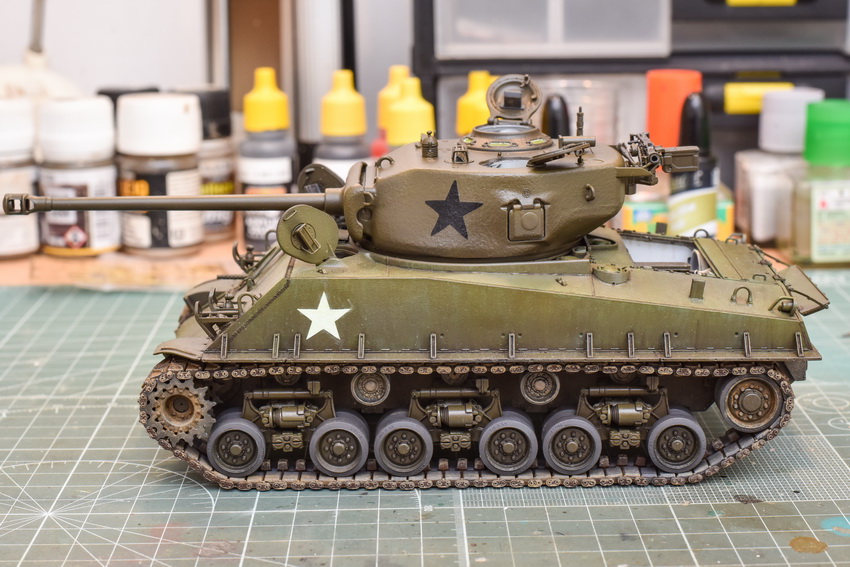
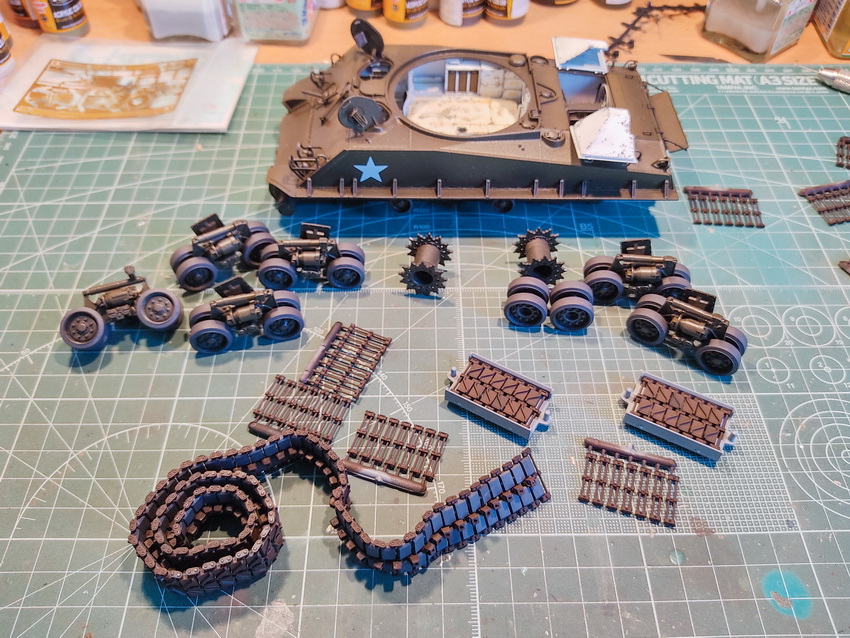
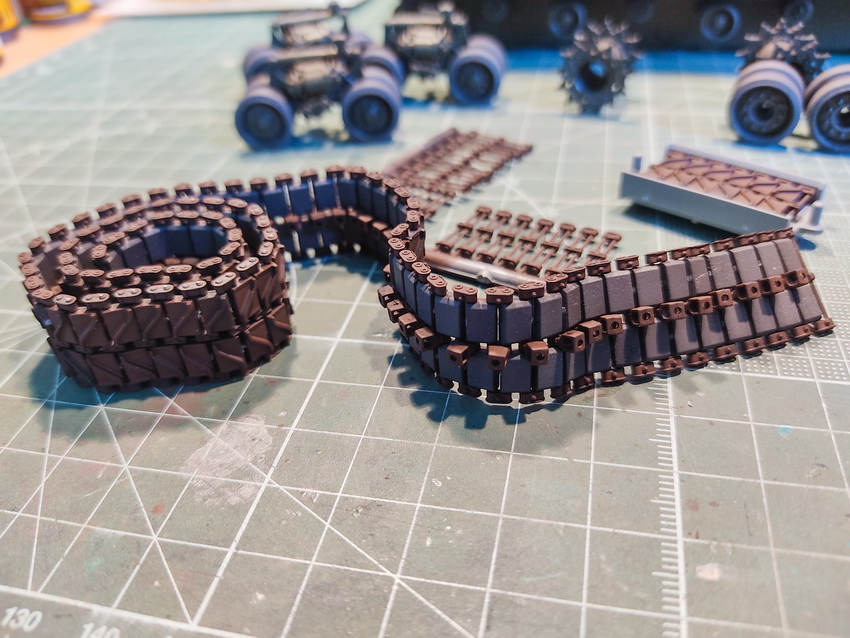
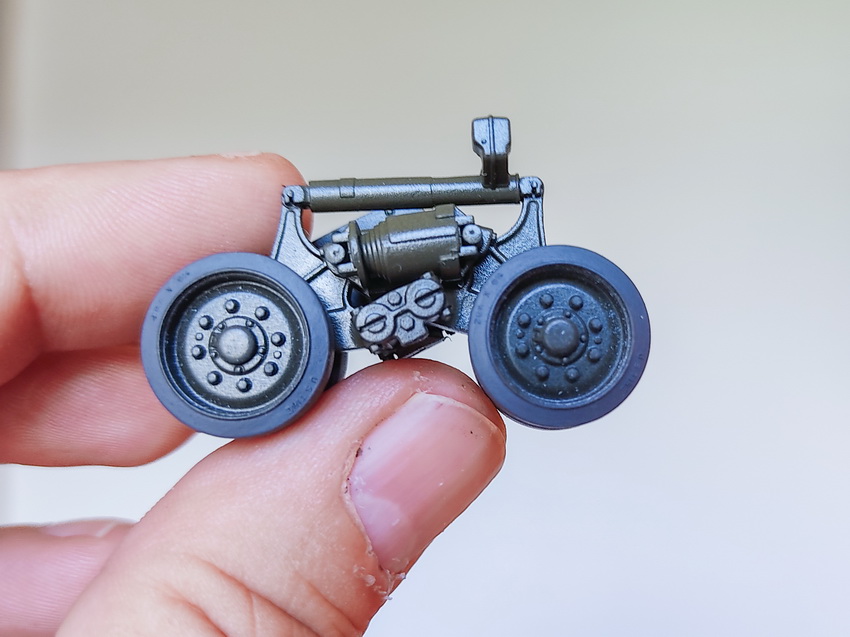
Next step: suspension and tracks. Everything is workable.
Track parts might look terrifying at first, but they assemble relatively fast and trouble free. Instructions tell you not to use glue, but you will have to use a drop of liquid cement to connect outer and inner (rubber) parts of the link, as well as the guide horns. Be careful and things will be OK.
Croatia Hrvatska
Joined: August 15, 2014
KitMaker: 155 posts
Armorama: 154 posts
Posted: Thursday, August 20, 2020 - 03:10 AM UTC
Minnesota, United States
Joined: July 20, 2004
KitMaker: 1,513 posts
Armorama: 1,449 posts
Posted: Thursday, August 20, 2020 - 03:42 AM UTC
You’re doing a great job on this.
Now I’m looking up what this kit costs...
Dan
Looking to meet other MN Armor modellers. I live in Buffalo.
Croatia Hrvatska
Joined: August 15, 2014
KitMaker: 155 posts
Armorama: 154 posts
Posted: Thursday, August 20, 2020 - 04:05 AM UTC
Thanks Dan, glad you like it.
Message to your better half: Ma'am, it's not my fault he spent that money...

Washington, United States
Joined: March 15, 2009
KitMaker: 3,670 posts
Armorama: 2,052 posts
Posted: Thursday, August 20, 2020 - 04:59 AM UTC
I agree, awesome job. I’ve never liked this version of the Sherman. That is until your build post. Now I think I too will have to change my mind and take the plunge into the icy waters of spouse derision. For a little while anyway. I wonder how many marriages you’re going to break up with this build post?

VR, Russ
Minnesota, United States
Joined: July 20, 2004
KitMaker: 1,513 posts
Armorama: 1,449 posts
Posted: Thursday, August 20, 2020 - 07:18 AM UTC
I’ve built a ‘E8 by Tasca and thought that I’d not build another, but seeing this kit makes me think about changing that idea.
I saw some pics of camo’d ‘E8s in Korea...
Looking to meet other MN Armor modellers. I live in Buffalo.
Croatia Hrvatska
Joined: August 15, 2014
KitMaker: 155 posts
Armorama: 154 posts
Posted: Saturday, September 19, 2020 - 04:52 AM UTC
Well, vacation is over, time to do some modelling...
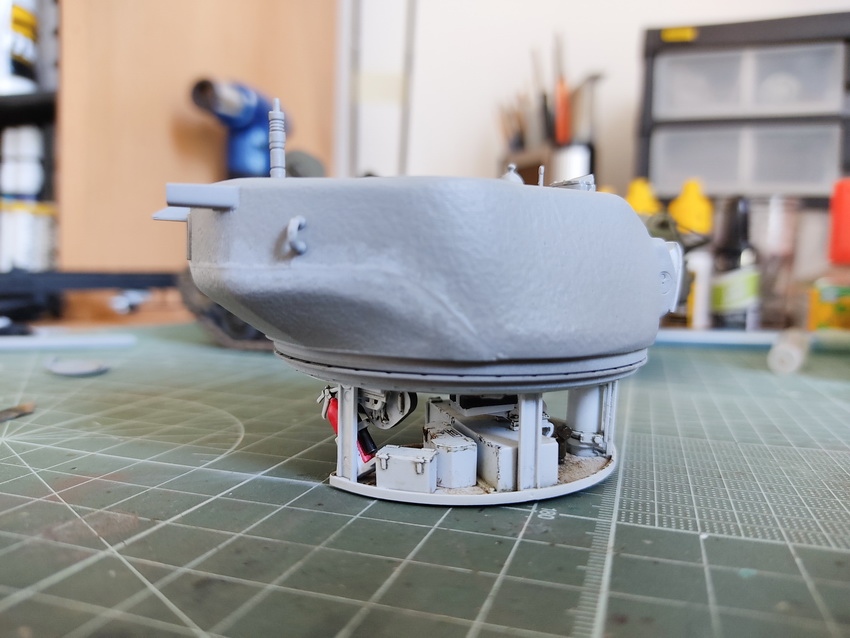
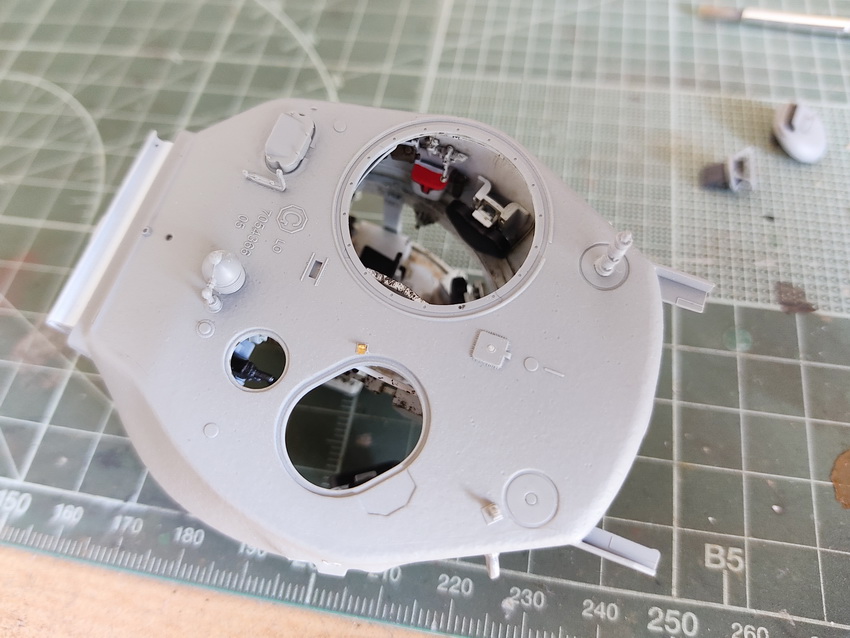
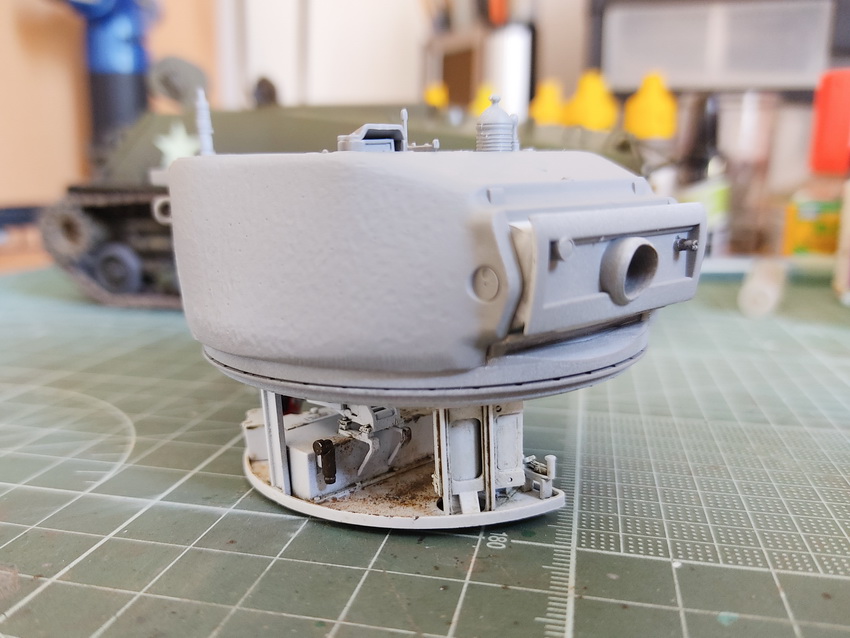
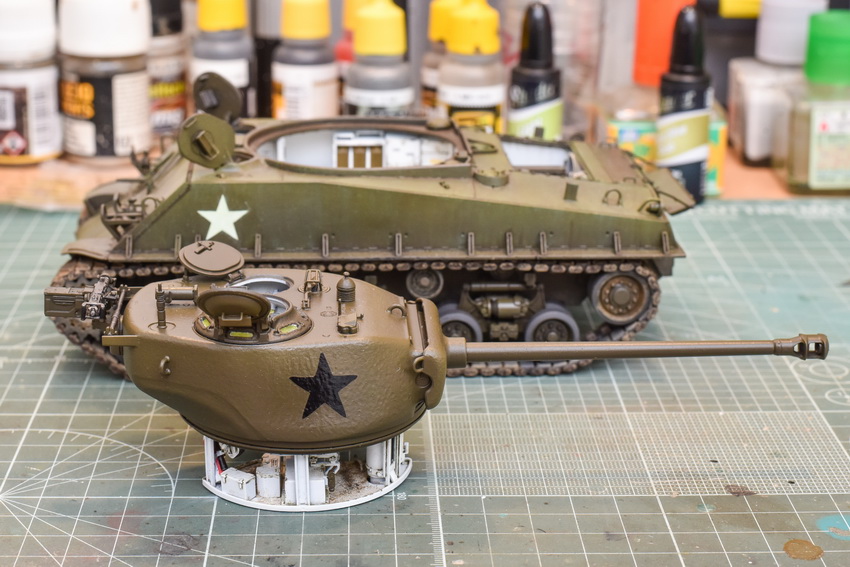
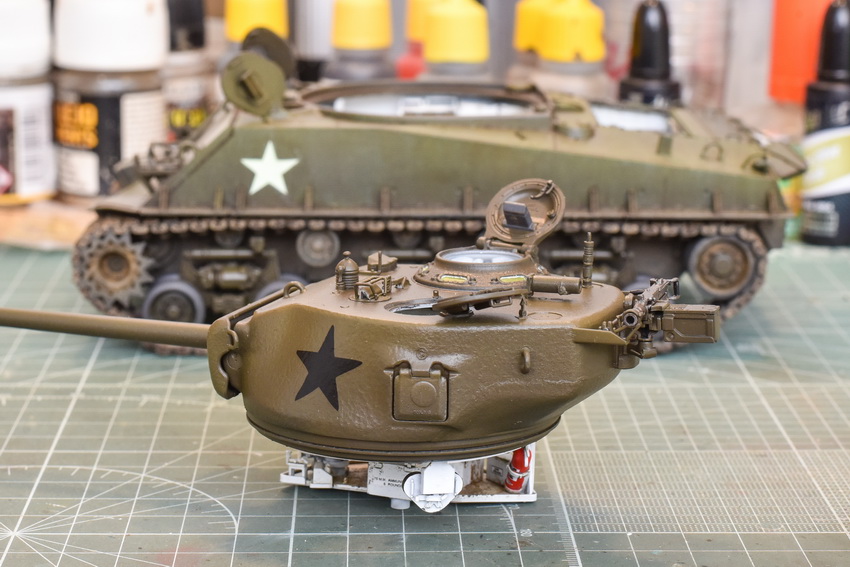
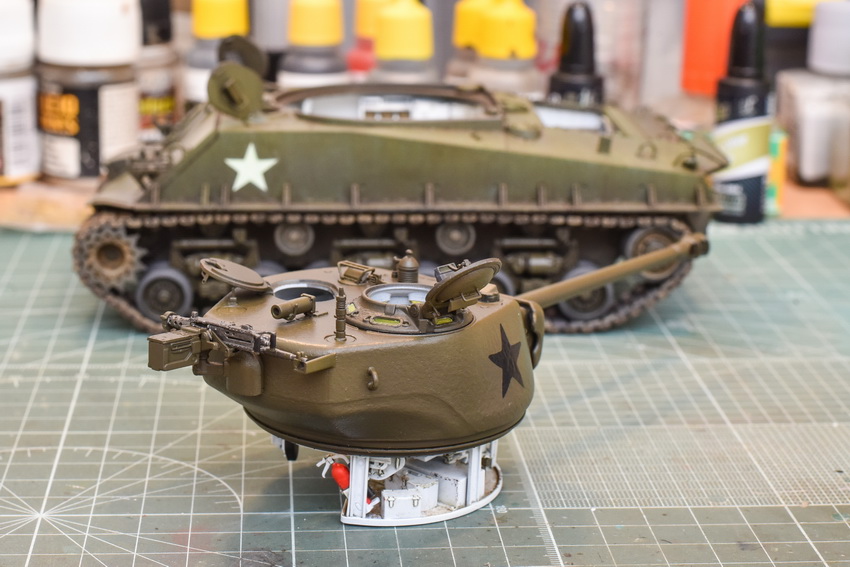
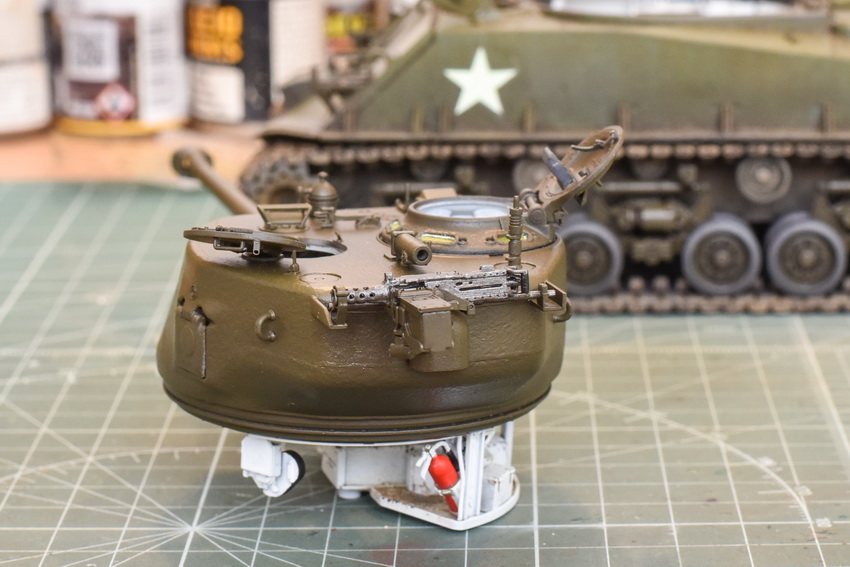
Interior of the cupola is mostly finished. Some touchups and some more weathering to do and closing up.
Photos are bad, I know, I was too lazy to take out my equipment so I shot them with mobile phone (white balance was not set, that's why olive drab appears to be brown).
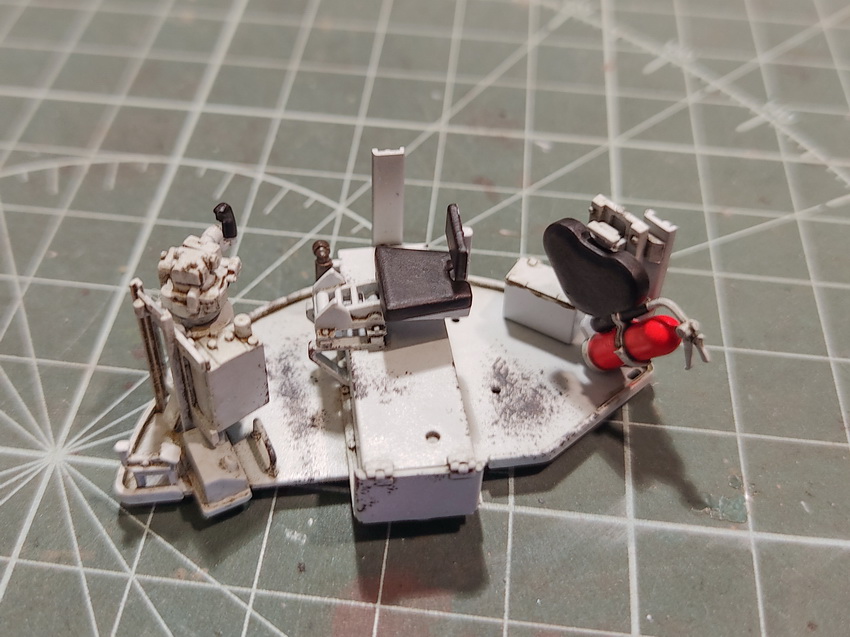
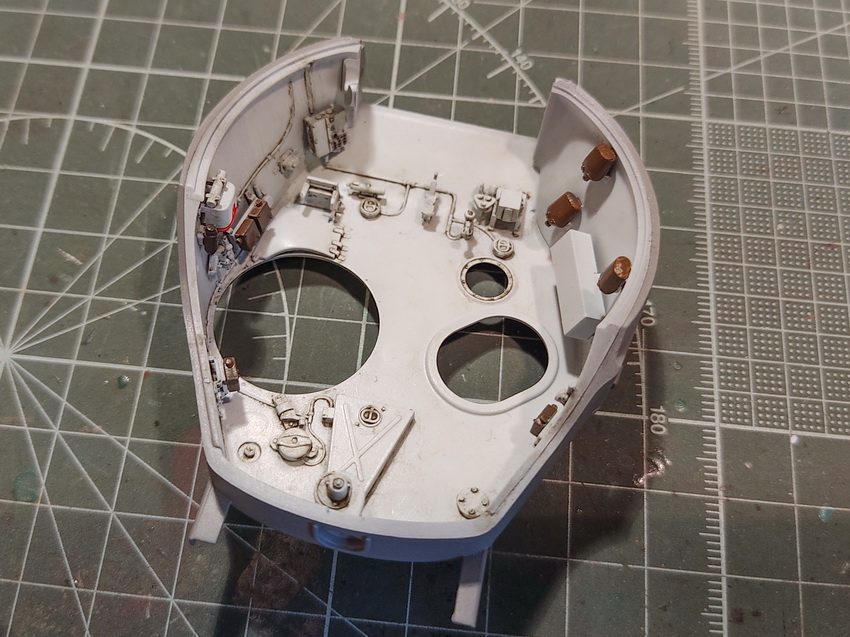

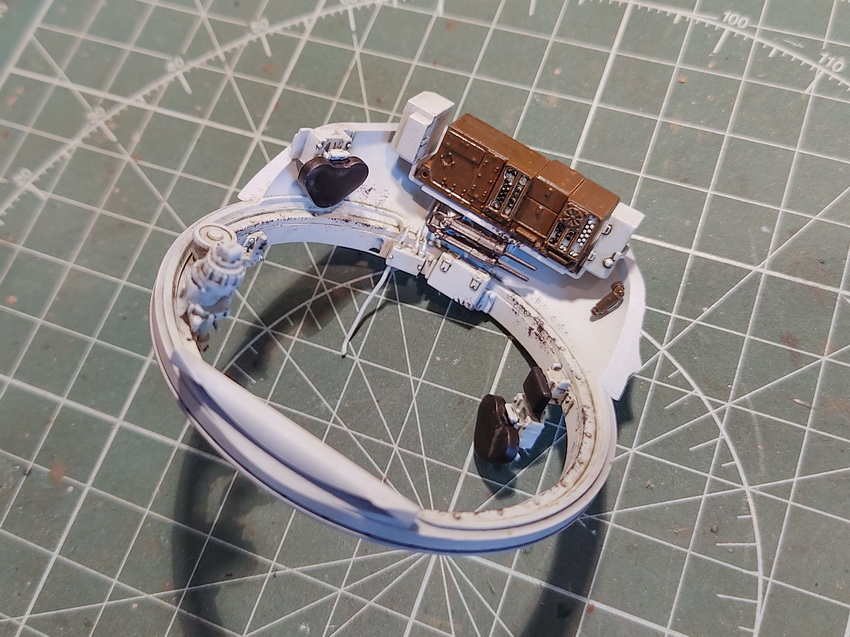
Minnesota, United States
Joined: July 20, 2004
KitMaker: 1,513 posts
Armorama: 1,449 posts
Posted: Saturday, September 19, 2020 - 05:40 AM UTC
Nice!
The RFM salesman is back!
Looking to meet other MN Armor modellers. I live in Buffalo.
Croatia Hrvatska
Joined: August 15, 2014
KitMaker: 155 posts
Armorama: 154 posts
Posted: Saturday, September 19, 2020 - 10:15 AM UTC
On the first picture of the last post you can see that i glued that thing with the black handle wrong... idiot.
Luckily, corrected without problems.
Also, that curved part closest to the camera on last picture was glued wrong... mega idiot.
Corrected that screw up too.
Feel free to laugh... I deserve it.
Minnesota, United States
Joined: July 20, 2004
KitMaker: 1,513 posts
Armorama: 1,449 posts
Posted: Saturday, September 19, 2020 - 02:19 PM UTC
No worries!
Use references photos and check the instructions against them.
Dan
Looking to meet other MN Armor modellers. I live in Buffalo.
Croatia Hrvatska
Joined: August 15, 2014
KitMaker: 155 posts
Armorama: 154 posts
Posted: Sunday, September 20, 2020 - 09:32 PM UTC
New Mexico, United States
Joined: May 19, 2020
KitMaker: 419 posts
Armorama: 217 posts
Posted: Tuesday, September 22, 2020 - 11:42 AM UTC
WOW! That looks amazing! Your weathering is spot on!


Croatia Hrvatska
Joined: August 15, 2014
KitMaker: 155 posts
Armorama: 154 posts
Posted: Wednesday, September 23, 2020 - 02:28 AM UTC
Minnesota, United States
Joined: July 20, 2004
KitMaker: 1,513 posts
Armorama: 1,449 posts
Posted: Wednesday, September 23, 2020 - 02:41 AM UTC
Looking to meet other MN Armor modellers. I live in Buffalo.
Croatia Hrvatska
Joined: August 15, 2014
KitMaker: 155 posts
Armorama: 154 posts
Posted: Wednesday, September 23, 2020 - 03:08 AM UTC
New Mexico, United States
Joined: May 19, 2020
KitMaker: 419 posts
Armorama: 217 posts
Posted: Wednesday, September 23, 2020 - 12:00 PM UTC
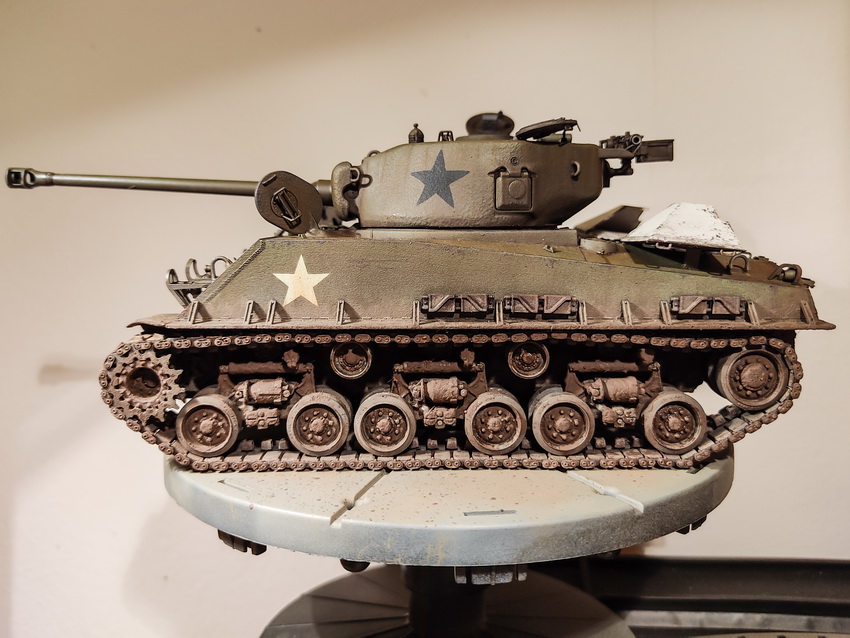
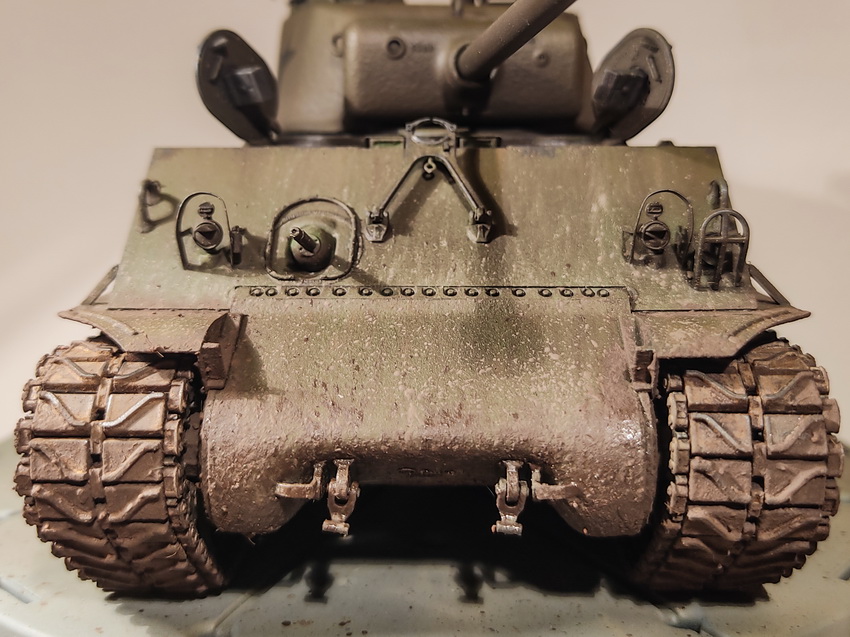
This has to be my top favorite Sherman build i've seen! Will you add some mud to the lower hull or leave it fairly clean?

Croatia Hrvatska
Joined: August 15, 2014
KitMaker: 155 posts
Armorama: 154 posts
Posted: Wednesday, September 23, 2020 - 06:18 PM UTC
Thanks for compliments Ezra!
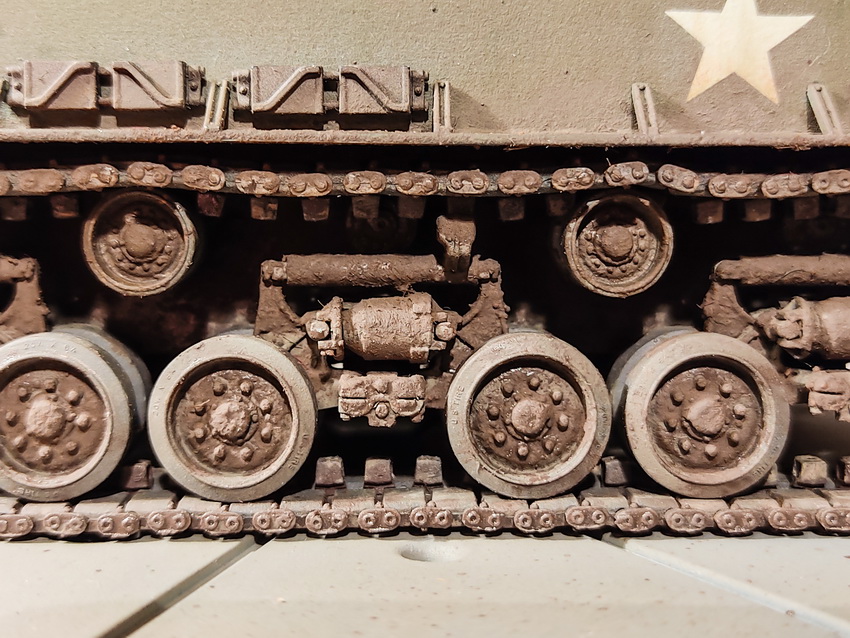
Yes, I do plan to dirty it up.

Croatia Hrvatska
Joined: August 15, 2014
KitMaker: 155 posts
Armorama: 154 posts
Posted: Thursday, October 01, 2020 - 08:26 AM UTC
New Mexico, United States
Joined: May 19, 2020
KitMaker: 419 posts
Armorama: 217 posts
Posted: Thursday, October 01, 2020 - 10:58 AM UTC
Minnesota, United States
Joined: July 20, 2004
KitMaker: 1,513 posts
Armorama: 1,449 posts
Posted: Thursday, October 01, 2020 - 11:22 AM UTC
Can you tighten up the idler wheel? The track should have no slack in it.
Like your mud!
Dan
Looking to meet other MN Armor modellers. I live in Buffalo.
Croatia Hrvatska
Joined: August 15, 2014
KitMaker: 155 posts
Armorama: 154 posts
Posted: Friday, October 02, 2020 - 01:40 AM UTC
Thank you guys, glad you like it!
Ezra, yeah, I know his channel, I'm a big fan of his techniques.
Dan, yup, idler is moveable so it's already taken care of.


