

Gunnie


 (++) (++)
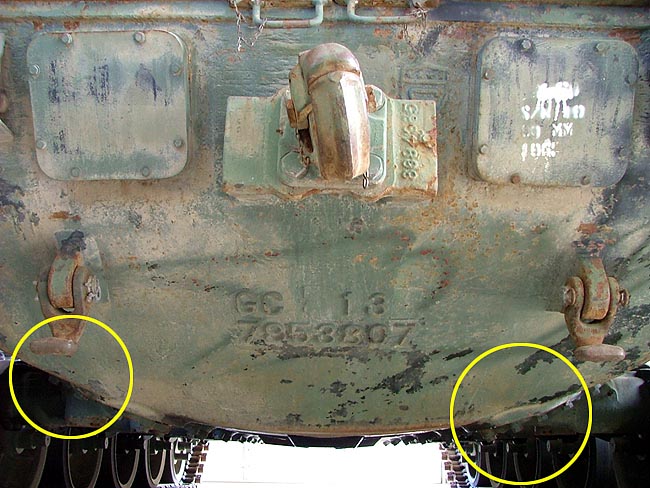
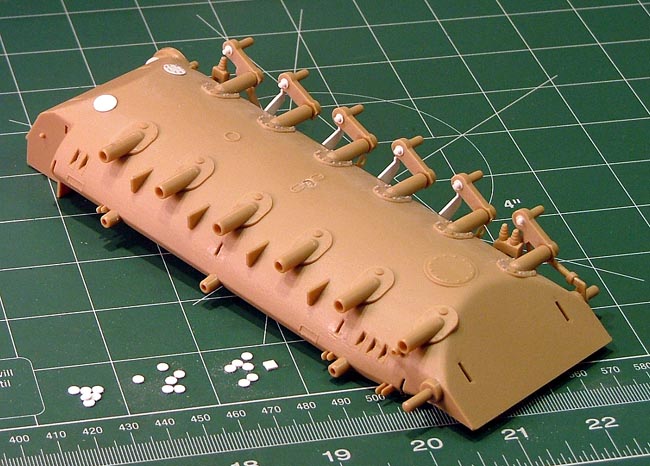
 Jim,is there a pair of round covers for aft of the last torsion bar stations for transmission drain covers?
I was STUCK on a plain M-60 when I got to Germany in '75.I will scrounge up some pictures,I think they had the front and rear shocks.
I think they retained those triangular pieces you are planning on removing.


Jim,is there a pair of round covers for aft of the last torsion bar stations for transmission drain covers?
I was STUCK on a plain M-60 when I got to Germany in '75.I will scrounge up some pictures,I think they had the front and rear shocks.
I think they retained those triangular pieces you are planning on removing.
Jim, do you have Hunnicutt's book "Patton"? Quite a good book for your project. Dan


Quoted TextJim, do you have Hunnicutt's book "Patton"? Quite a good book for your project. Dan
No. Can't get past the asking price for a volume. Haven't run into one under the $350 dollar mark. I have to turn to a real one nearby to climb around upon.
As for the question: Duh! No - the kit Hull doesn't provide the Drain Cover detail here. Maybe I've been sniffing too much Gunze Mr. Surfacer...
As for me addiing them - yes - give me time!
Gunnie
Let's setup a time/date for me to pick up my Type XXI book. I'll drop off the Hunnicut book. :-)
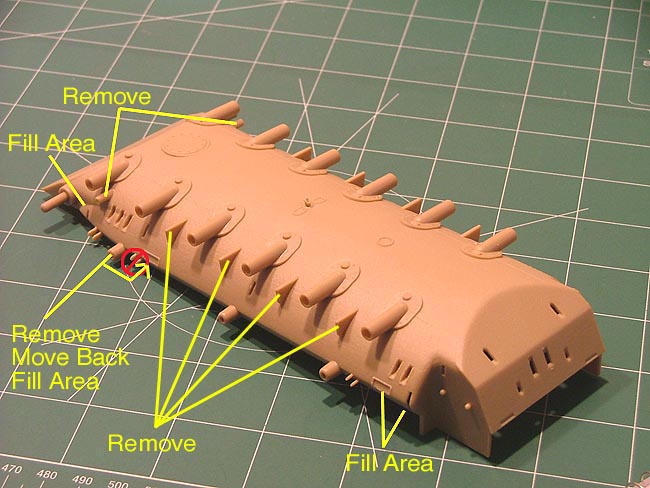
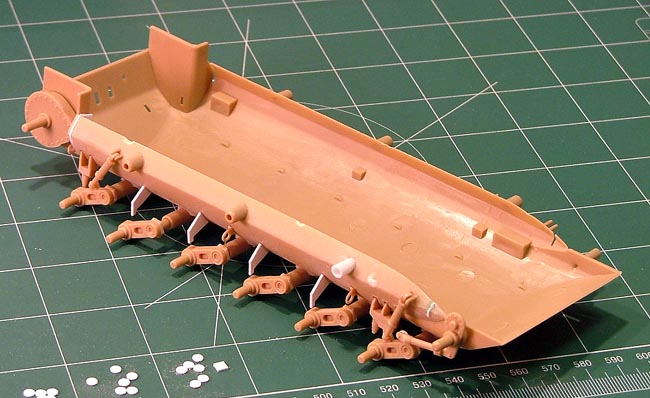
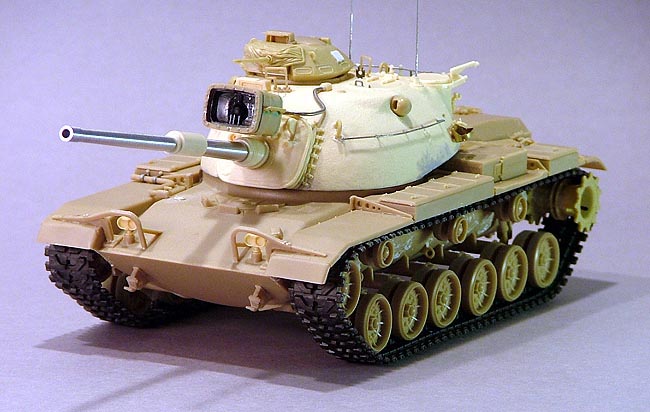
), those mysterious slots at the front and rear of the 'blister' filled, the forward Track Support Roller Mount has been cut away and relocated further towards the rear, and the four stubs cast into the model kit lower Hull have been cut away and replaced with more suitable items to represent the travel stops.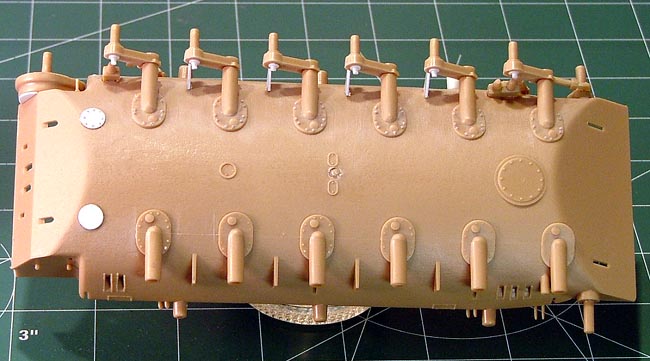
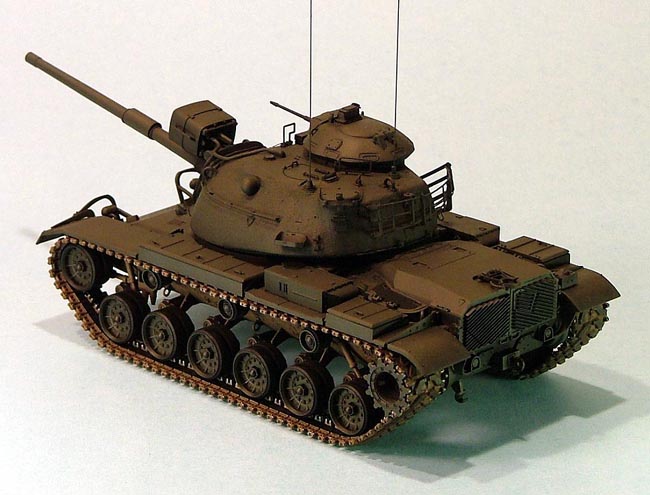
Jim, Looking good! Did you remove the torsion bar anchors on the L/S? Dan

Are you going to replace them with something else?
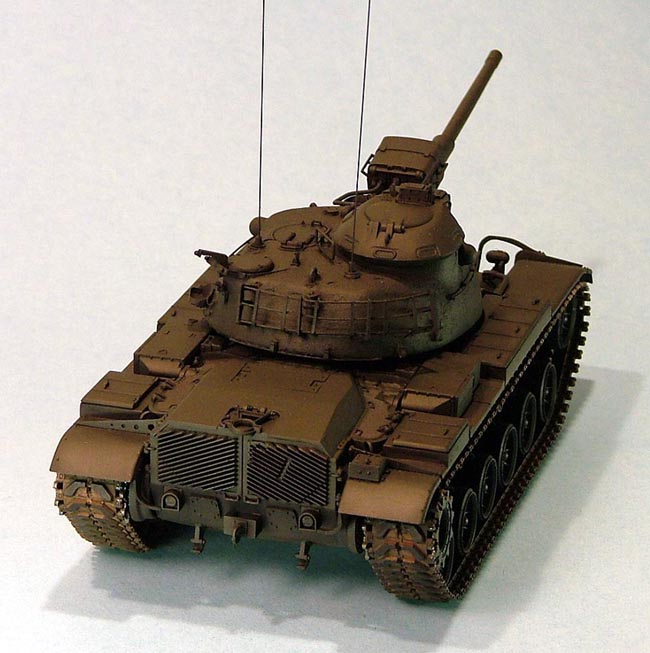


Impressive work! And the painting looks great, what colors are you using?

Jim, Got a nick-pick for you: get out a can of track tension and tighten that track! Kit looking great! Dan


 |


