In this review I will be concentrating on the Marksman turret as I suspect the popularity of the Leopard tank may result in purchase to mount on a Leopard 2 hull, for that matter just about any tank hull produced and used from the 1960s onwards. I kind of hope that Takom will release the turret as a stand alone offering or mount it on one of their Leopard 2 hulls. Due to the multi-usage possibility of the turret, I will be building it, the Chieftain hull will get built if I can fit it into the required timeline.
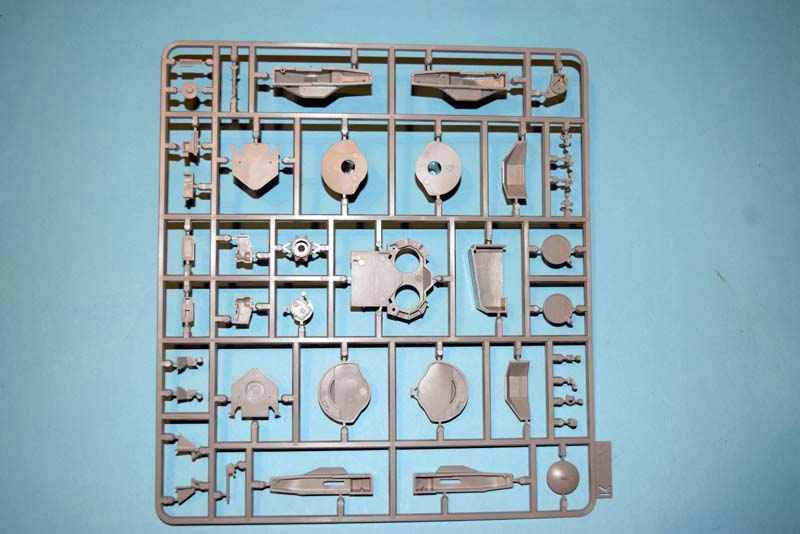
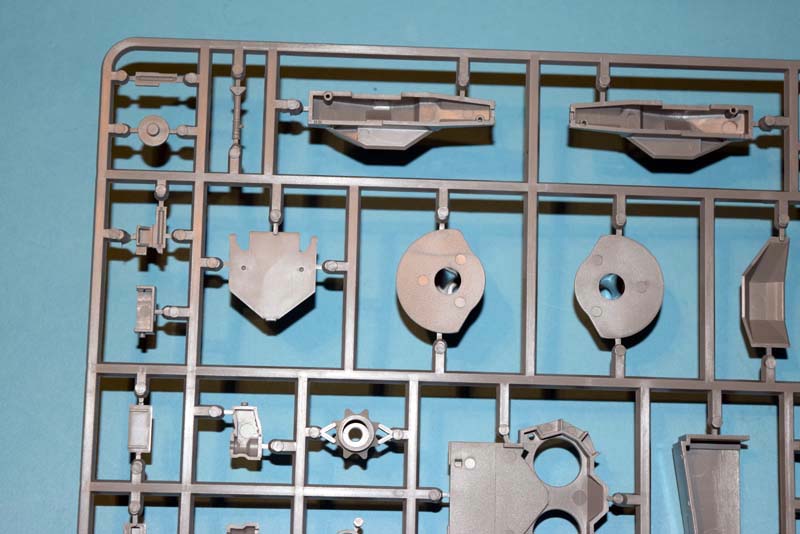
Depending on how you look at this model it could be classed as the fourth or fifth Chieftain offering to come from Takom, and despite the benefit of them getting maximum usage from some of their moulds everything looks to be holding together well. An examination of the contents does not present me with any concerns at this stage of the review, I have not seen any major flash or ejector pin marks to worry about.
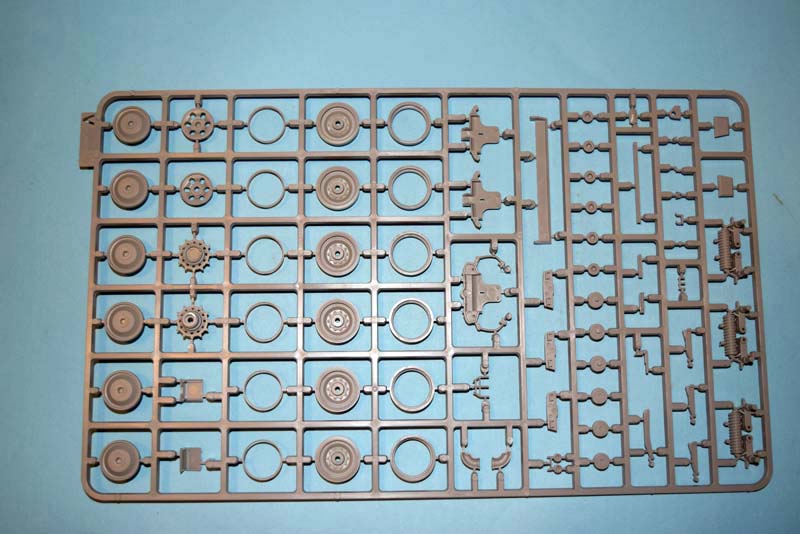
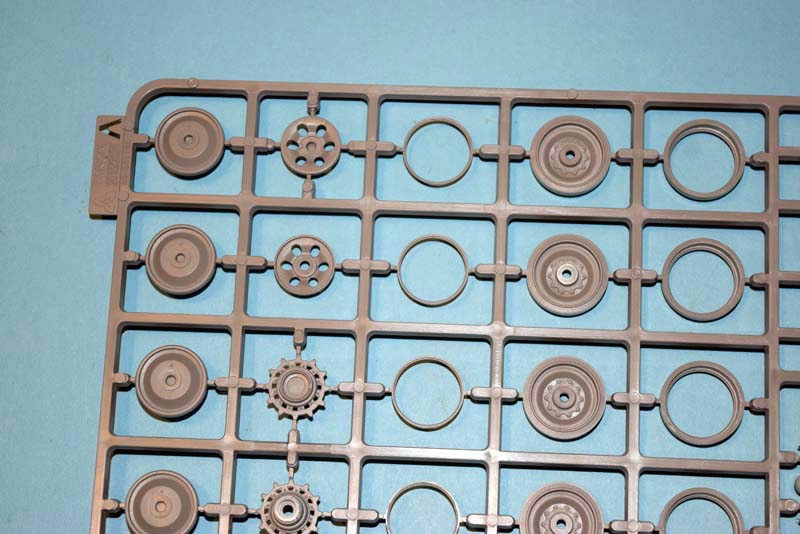
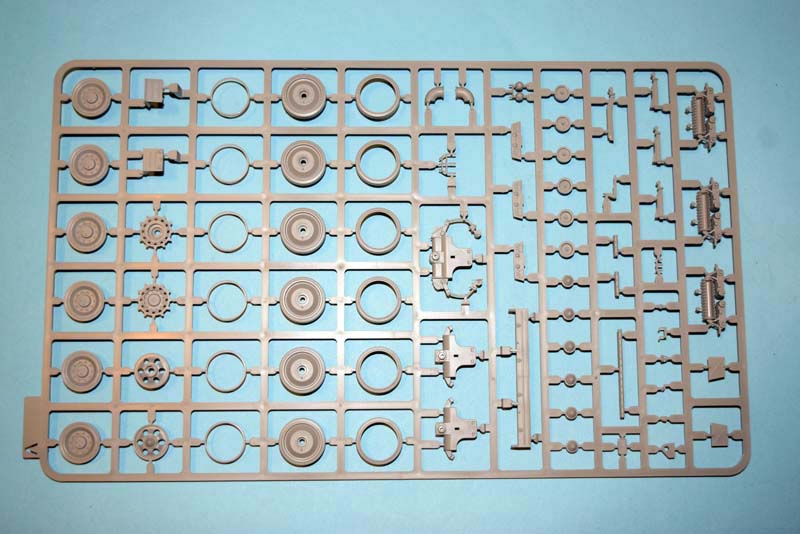
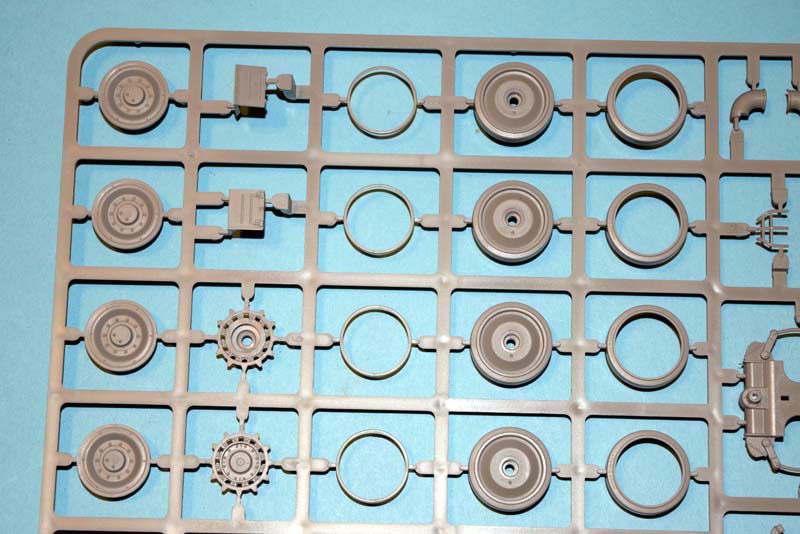
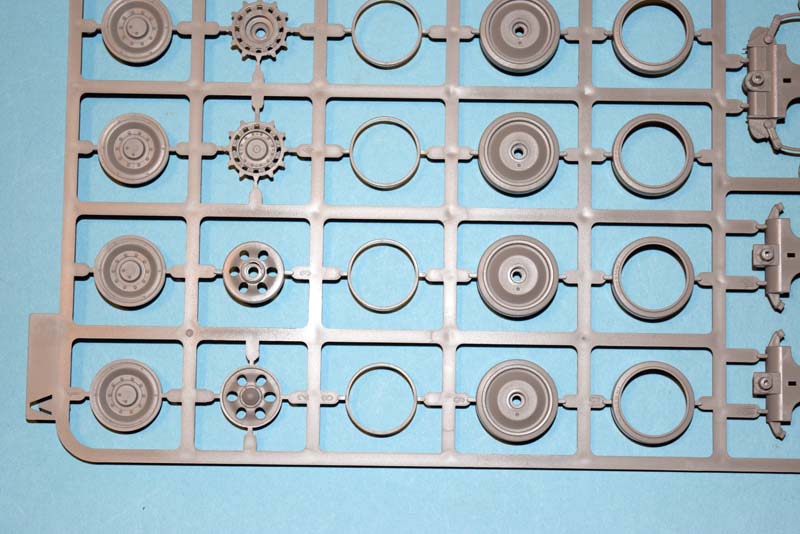
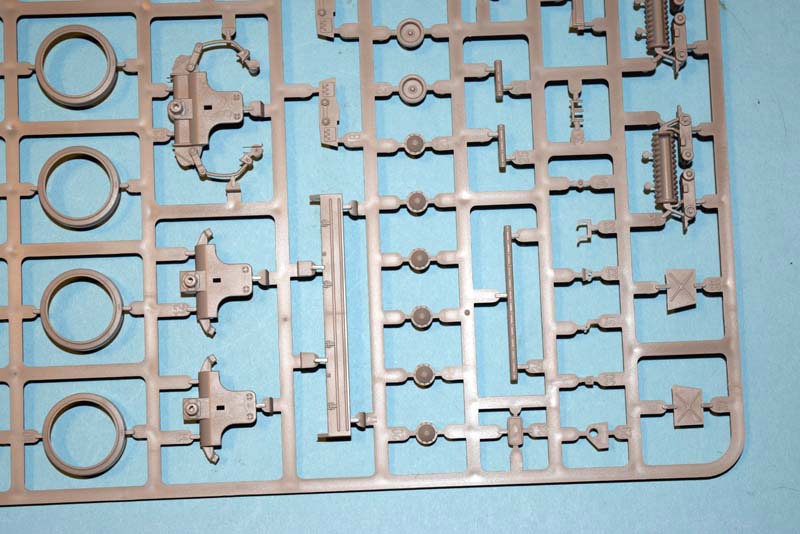
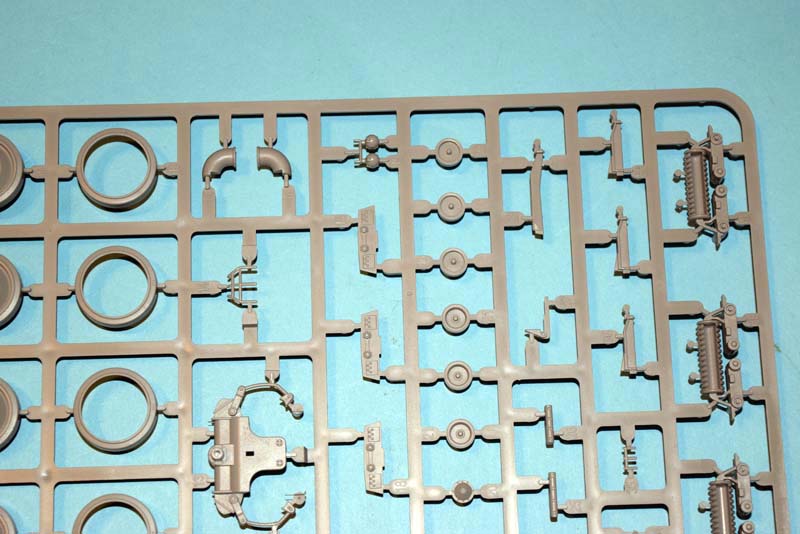
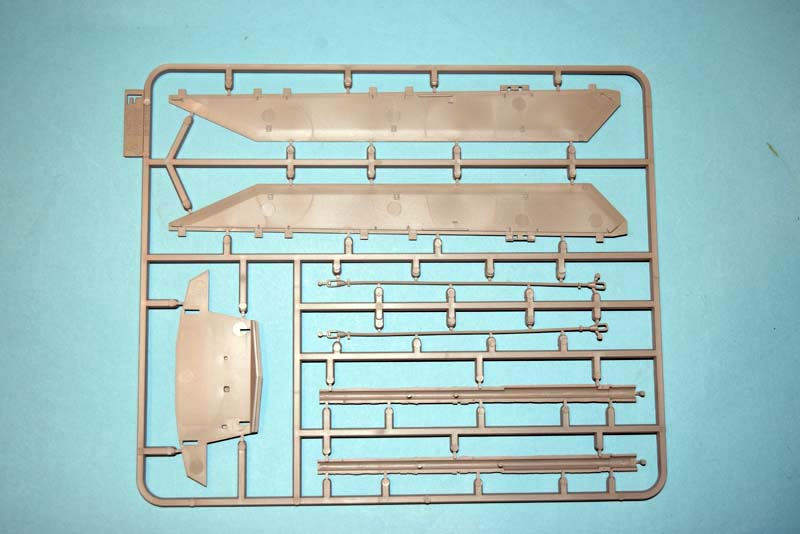
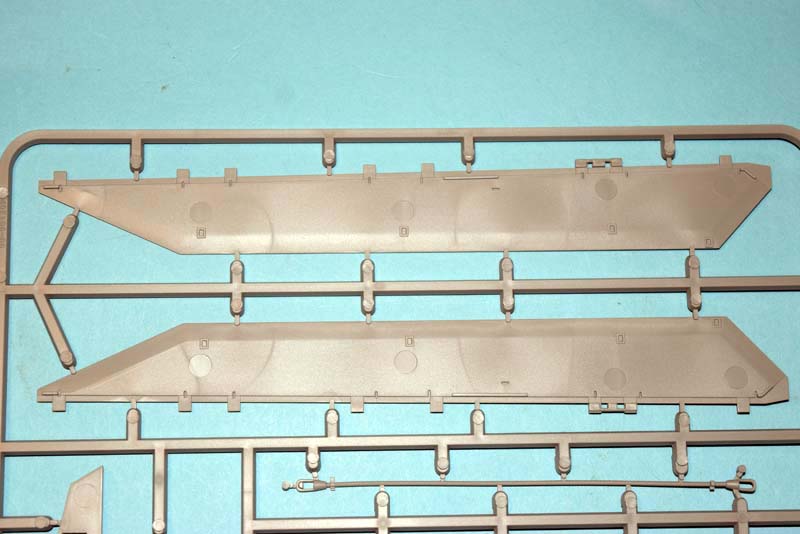
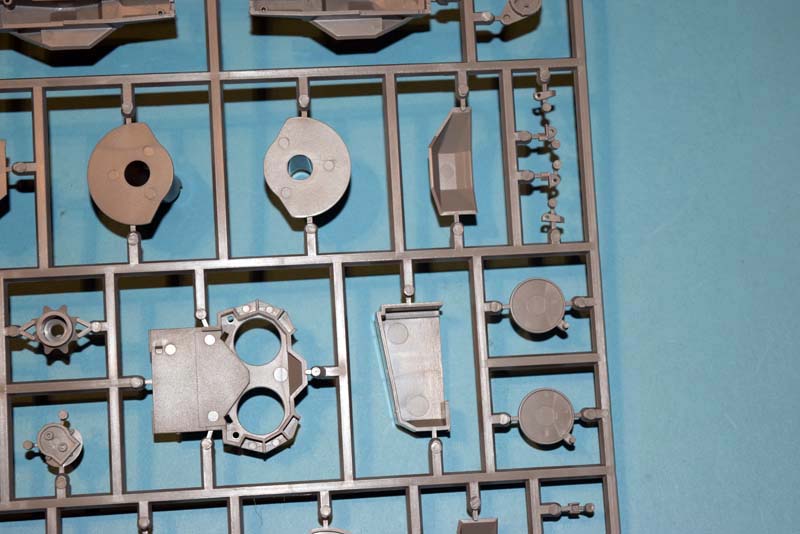
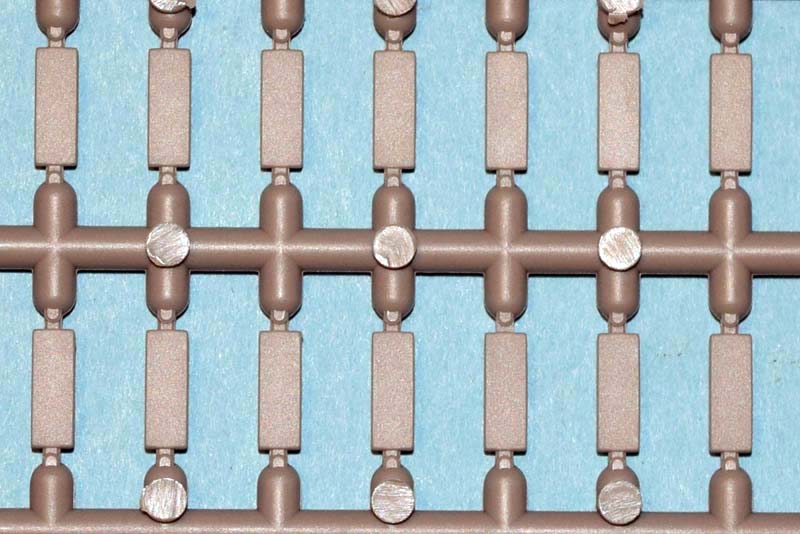
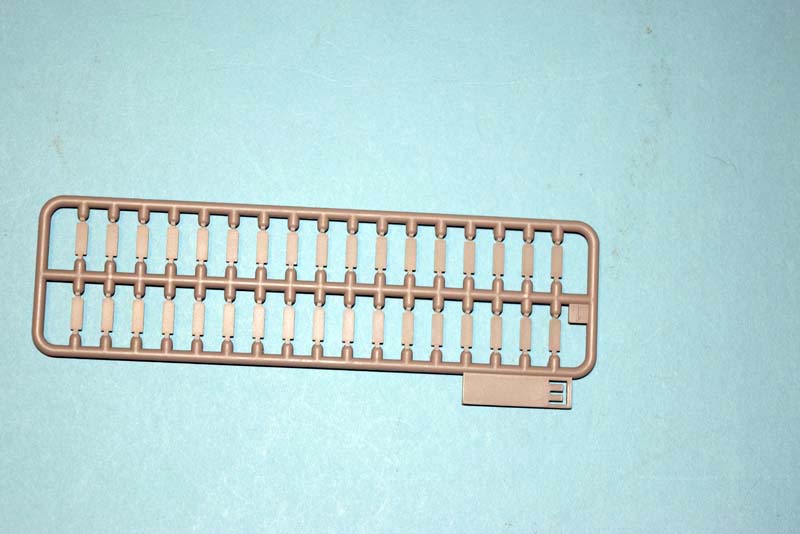
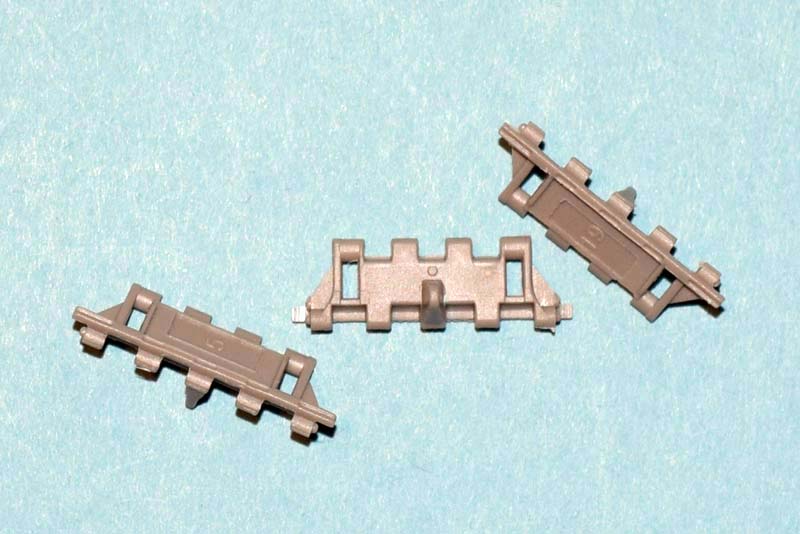
The chieftain hull is I believe the Mk 10 or 11 offering from Takom, I do not know if that is the correct hull pattern or not, but it is the one I would expect to be used due to the time period when the Marksman turret was in development. The suspension, wheels and tracks have been very nicely represented by Takom. The track pads being offered as separate moulding from the individual track links makes it easy to scuff them up and also the painting can be done far more easily. The suspension is not workable and so it will not be easy to depict a vehicle on uneven ground. The wheels have good detail moulded on. The suspension has very nicely moulded detailed present, but I still do not like the hollows in the rear face of the springs.
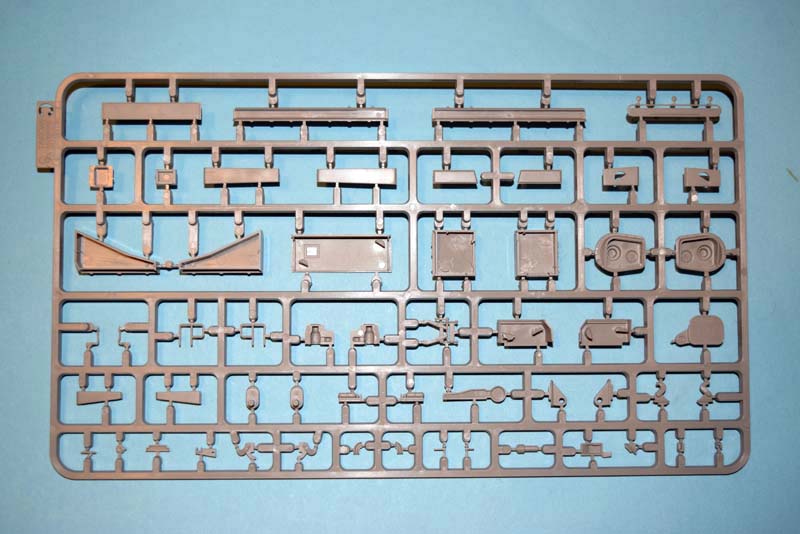
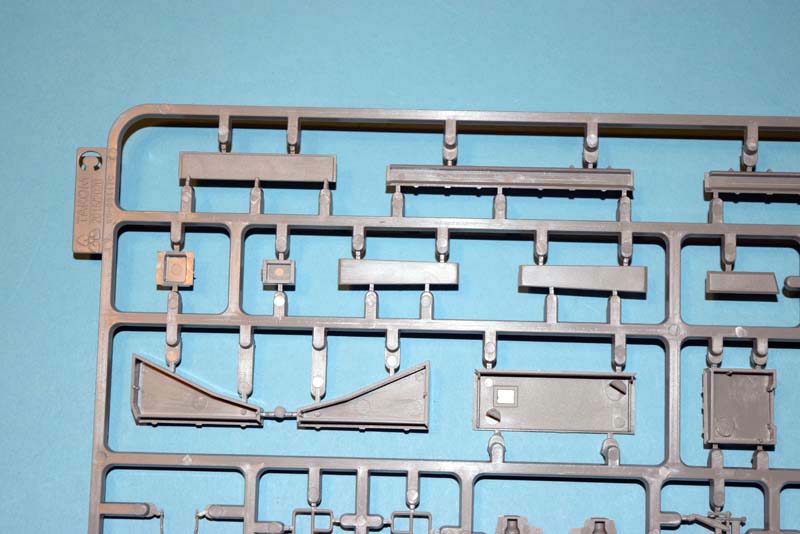
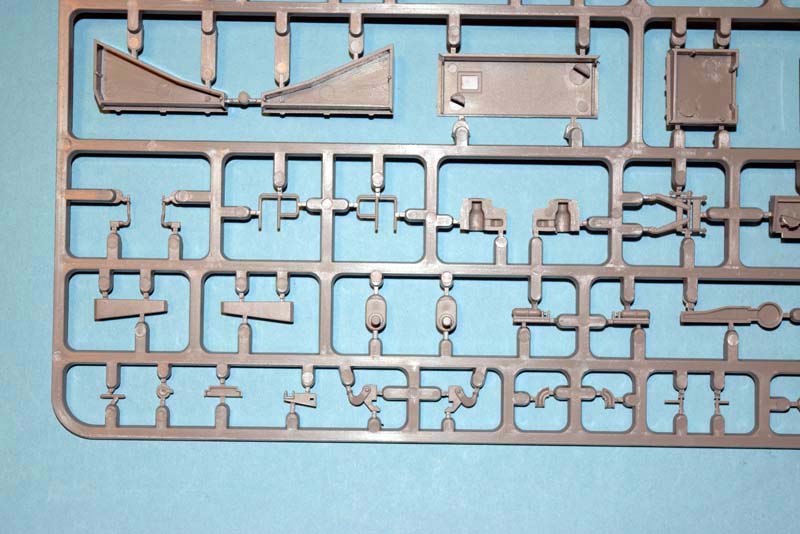
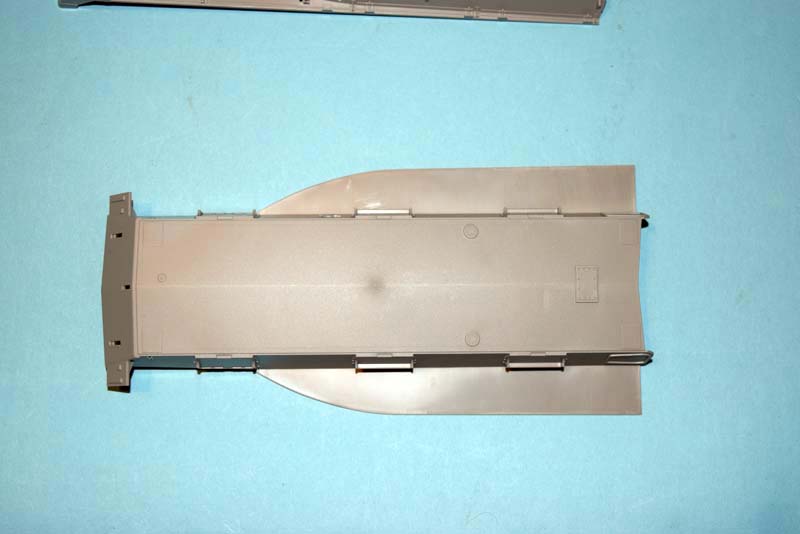
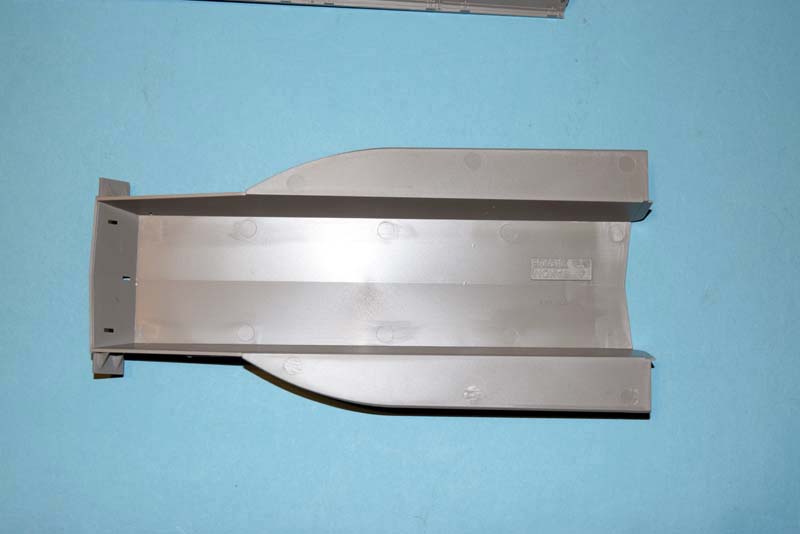
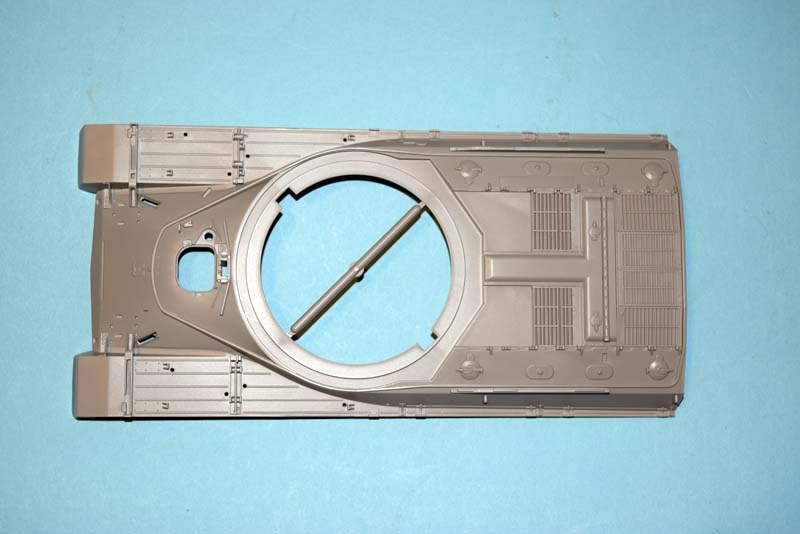
The hull has been nicely replicated and while I have seen some complaints about accuracy issues I am not qualified to comment on those issues as most are concerns for the purest. I know there are concerns about extinguisher locations and angles, but there are so many reference walk arounds that it is usually easy to find the answer you need. One of the difficulties with the Chieftain series of vehicles is that a lot of the changes took place in locations not easily seen and so it is easy to mistake one version for another.
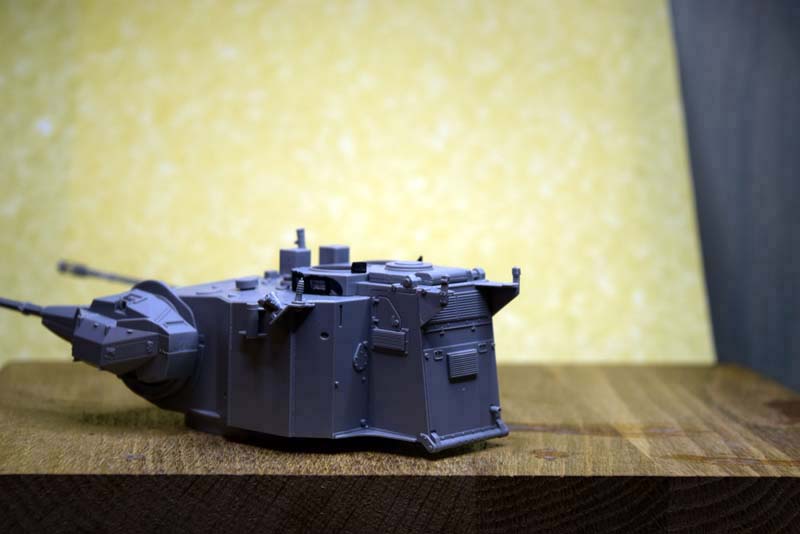
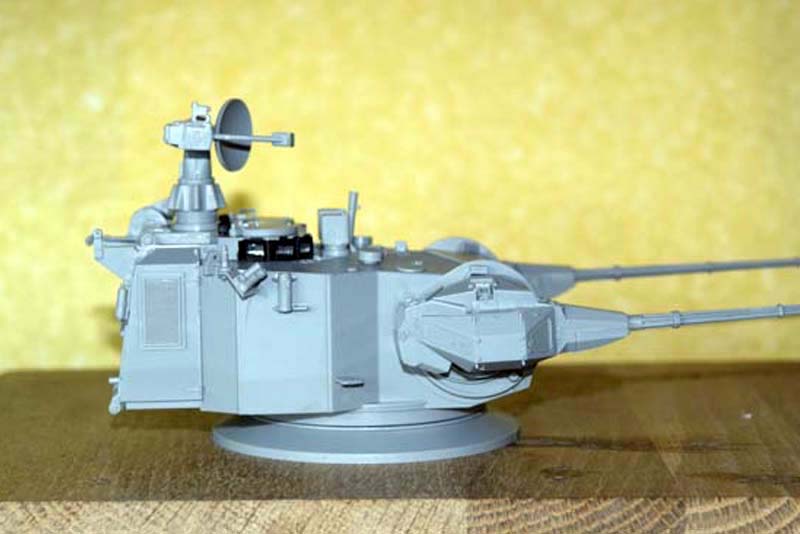
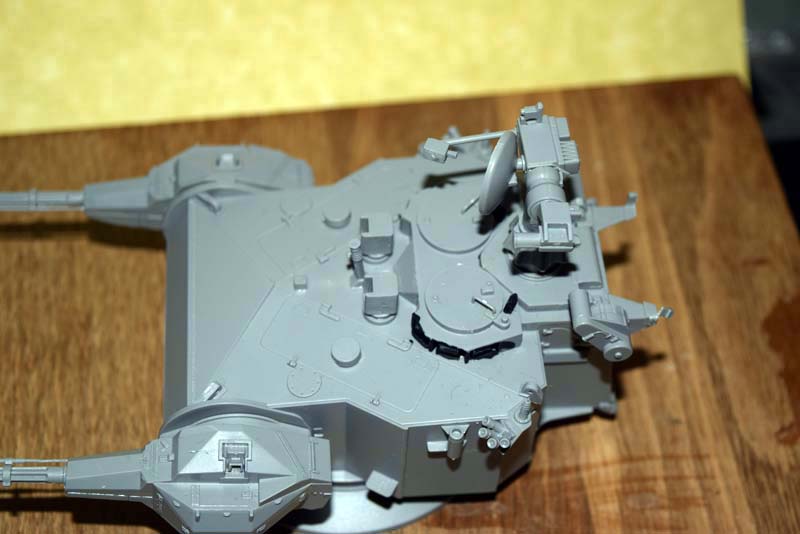
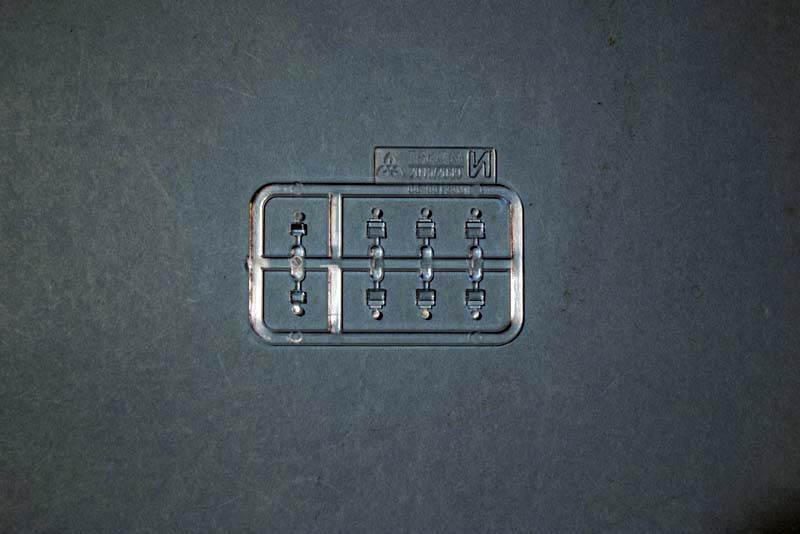
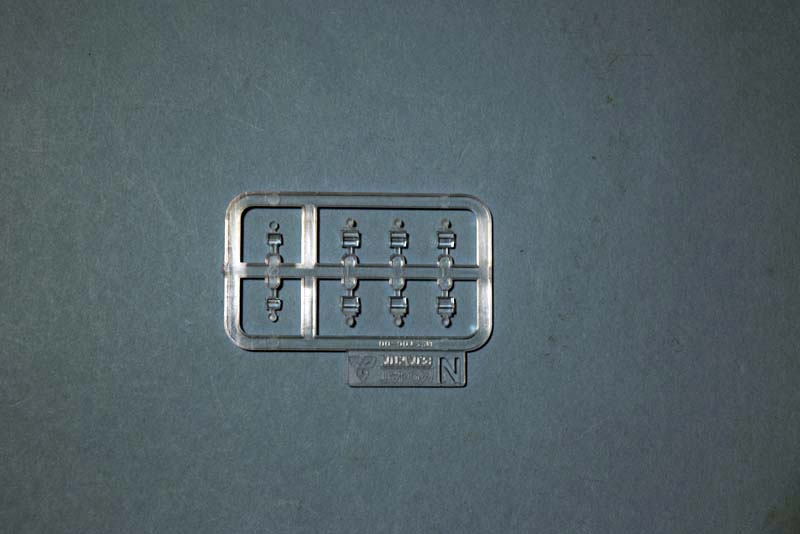
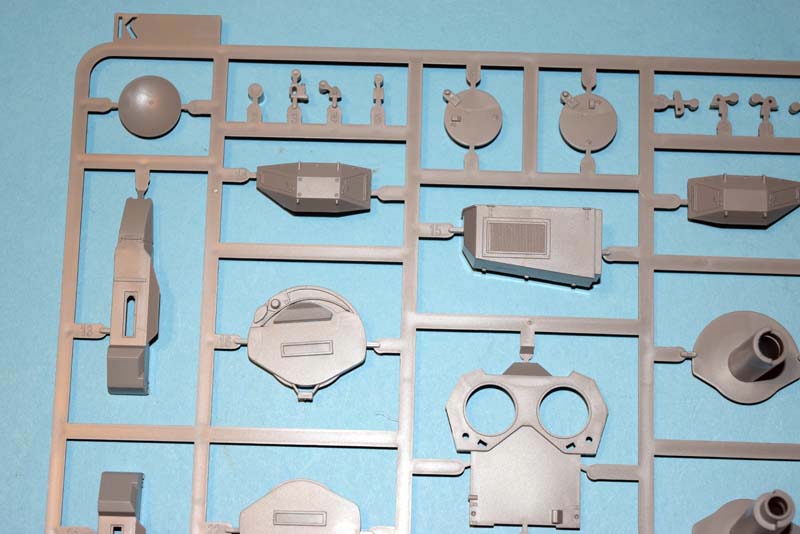
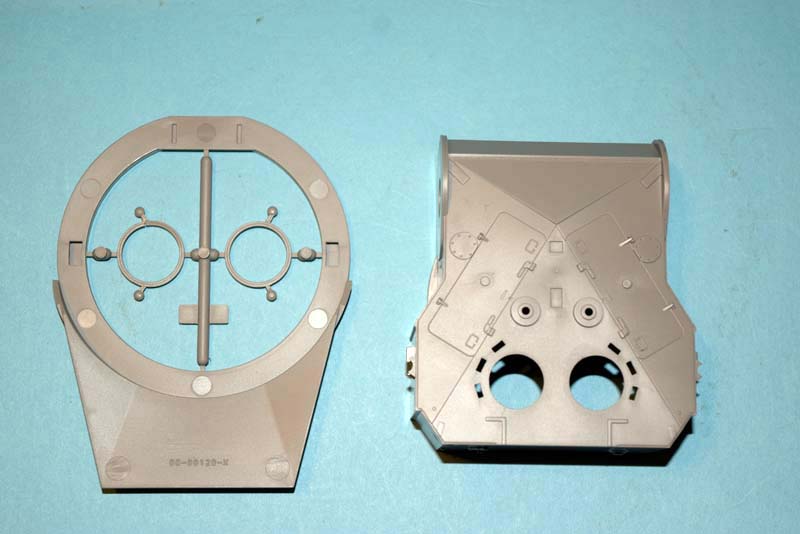
Moving onto the area of interest with this model, the turret. The first thing that surprised me about the turret is how few parts go into making it. The other thing that I noted was how small some of the parts are and how clean up of them was going to make me struggle. Takom has made the parts for the turret to mostly just butt joint together, I am not a fan of this approach as it means that there is no positive location and mistakes can easily creep in as regards placement. On a positive note I am very pleased to see clear parts provided by Takom to replicate the periscopes. The crew hatch covers can also be left in an open or closed location, but that is a big empty space that will need figures to hide.
Turret Build
As I said earlier I am going to build the turret of this model, and I have to say I am glad I tackled it. First the bad news, the sprue gates, they look thin when first checked, but they are quite deep and so a pain to clean up. Clean up on the larger mouldings is a reasonable task for modellers of most skill levels; however when you tackle some areas it is a right royal pain that will likely result in damaged parts. Anyway lets continue with the build notes.
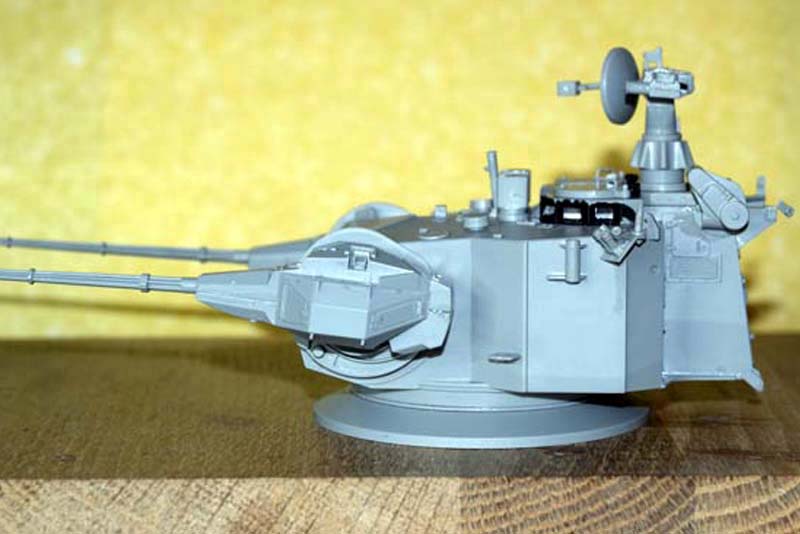
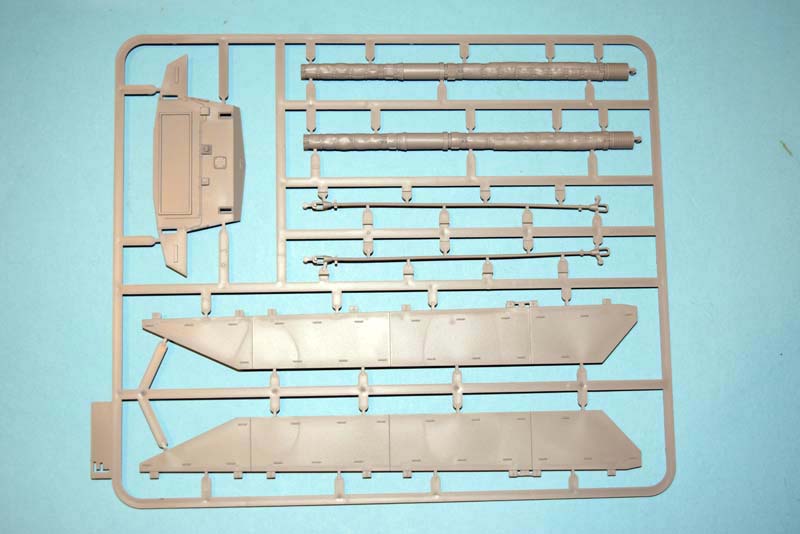
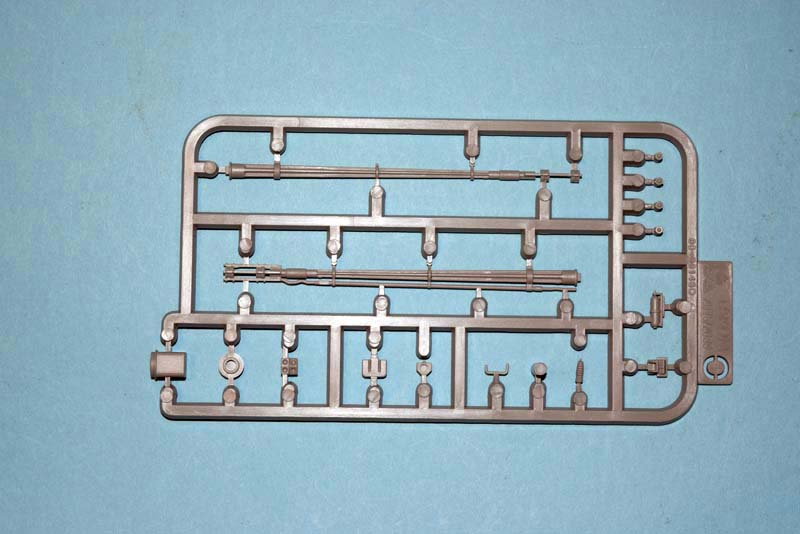
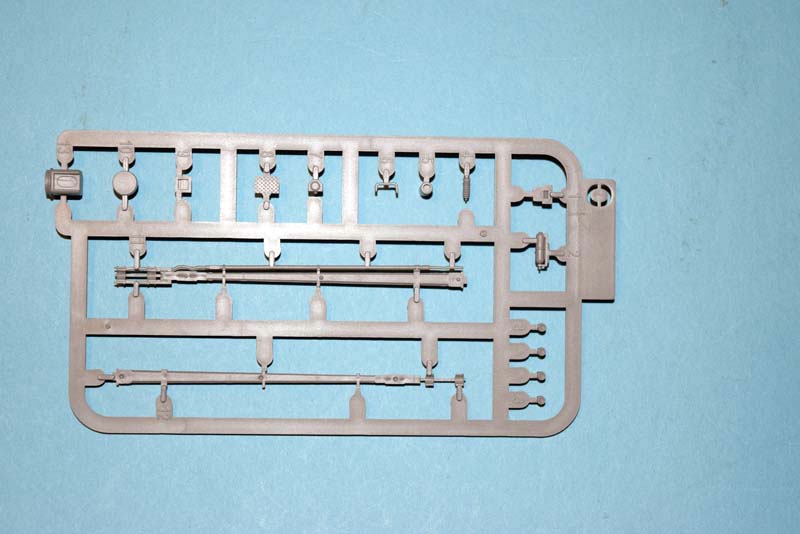
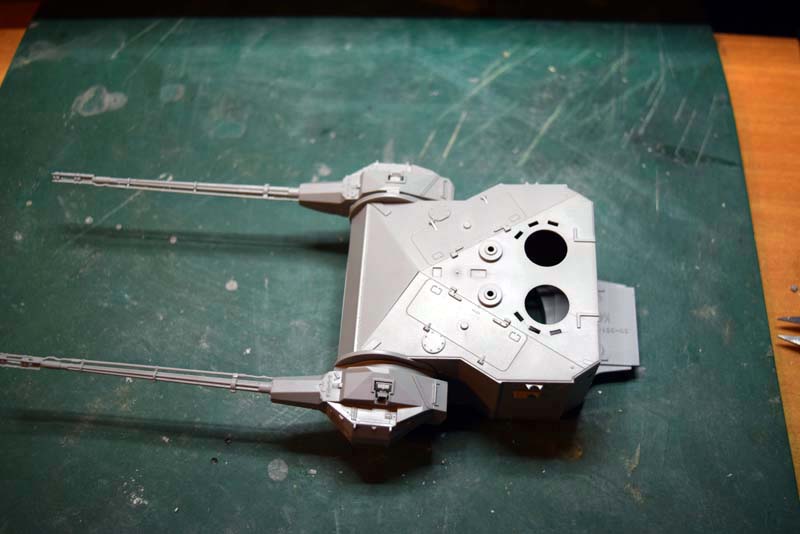
I started with the gun pods and barrels as instructed by the included manual. The pods are not too difficult to clean up due to the size of the mouldings in most areas, I used a combination of removal with side cutters and then a scalpel and sanding stick were put to work to make the final clean up. Assembly of the pods went very well, I looked over the joints and other than one very minor gap that will be covered with liquid filler I am happy with the result.
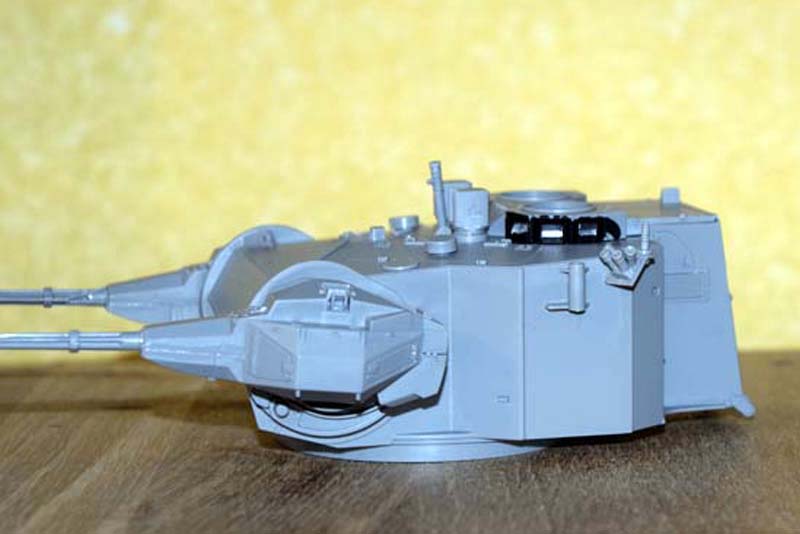
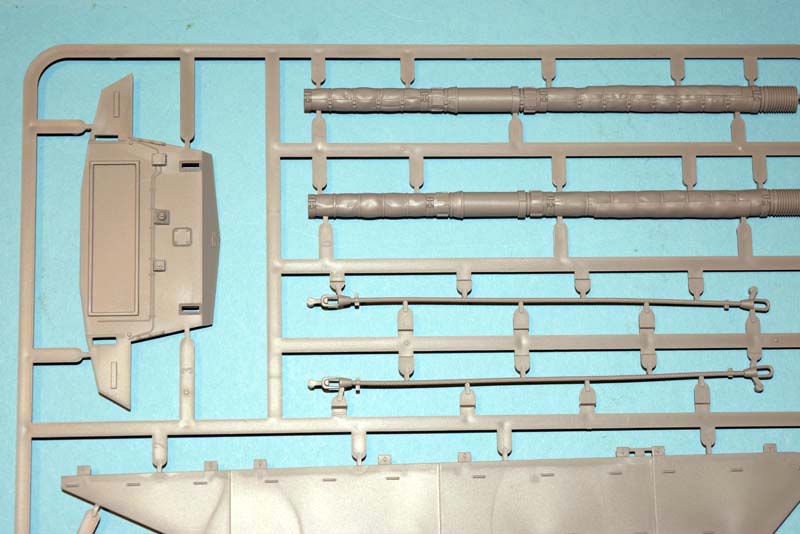
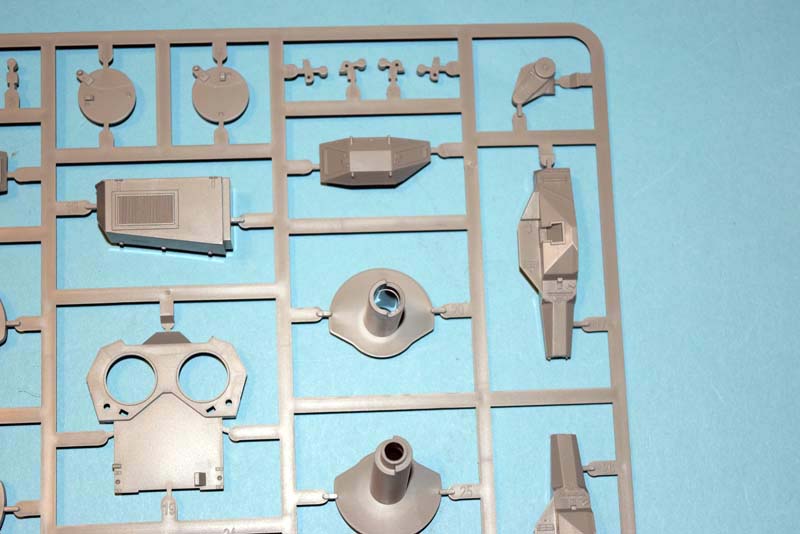
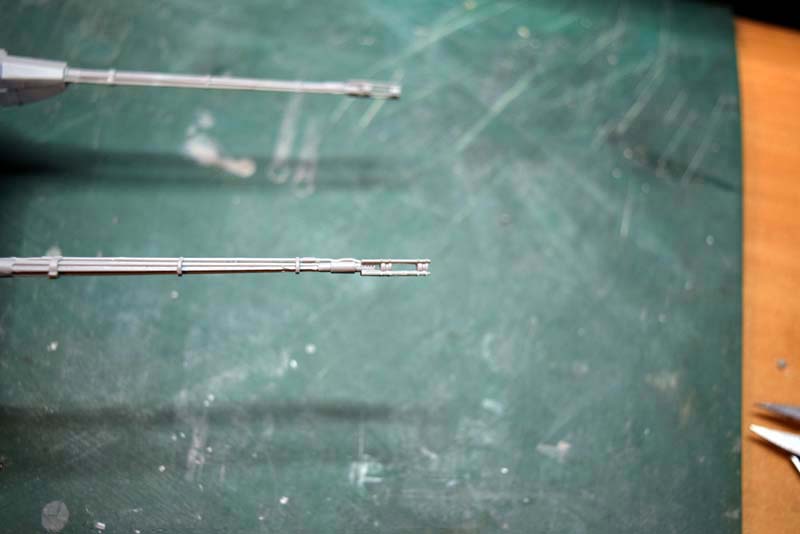
The gun barrels are a slightly different story that required a bit of trial that could result in error. The sprue gates are very difficult to deal with without damaging the mouldings. The gates that connect to the gas tube return could easily cause damage to the part or even break it completely. I suggest that removal of these parts is tackled with a very sharp scalpel blade and a sanding with a very fine grade paper.
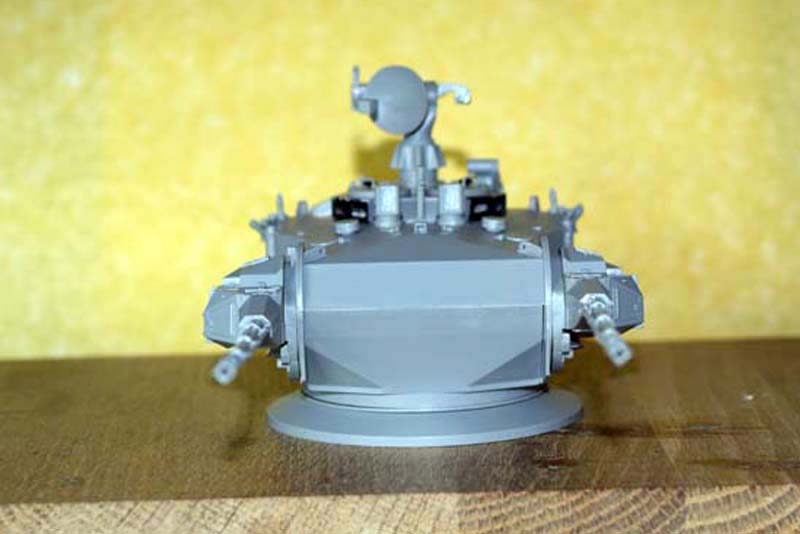
When it comes to attaching the barrels to the pods there is another issue which made itself present, the mating surface is so small that it very difficult to get the alignment right. I strongly advise that the barrels are not cemented to the pods until after the pods are attached to the turret, alignment of the barrels will then be far easier to get right.
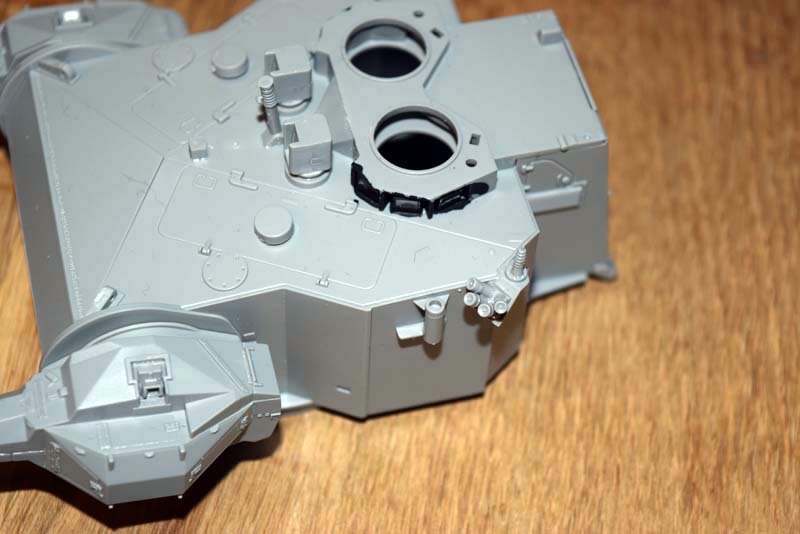
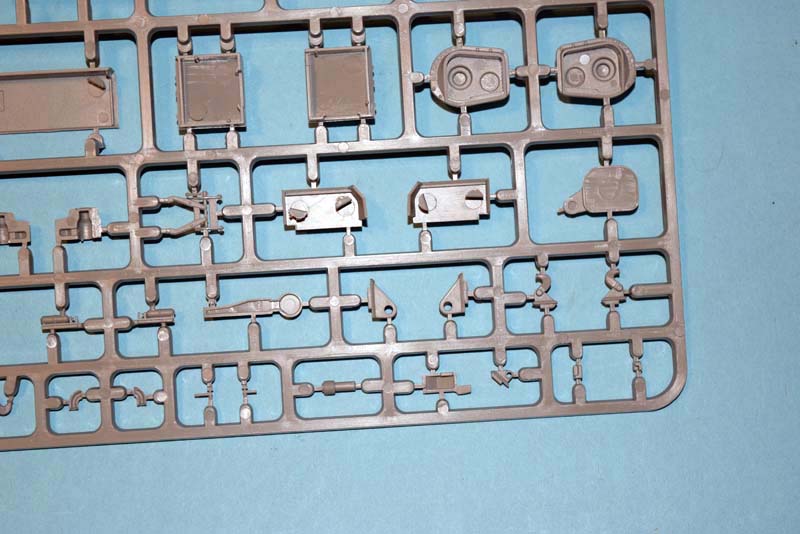
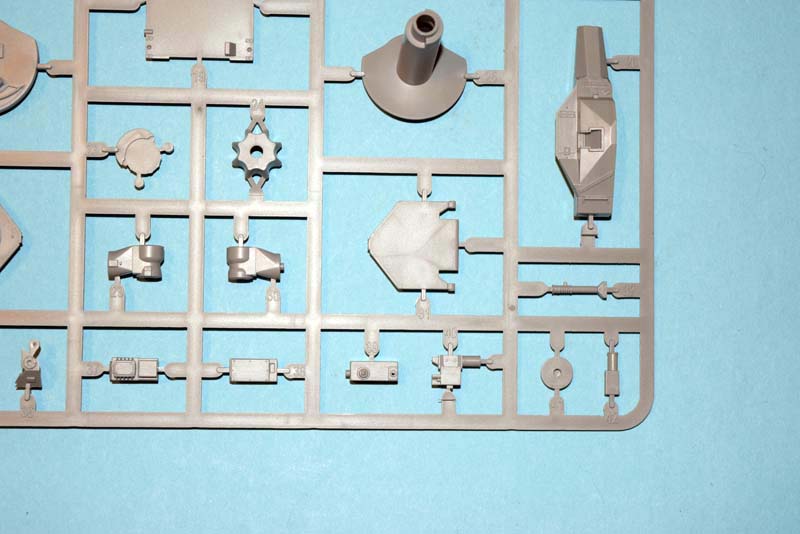
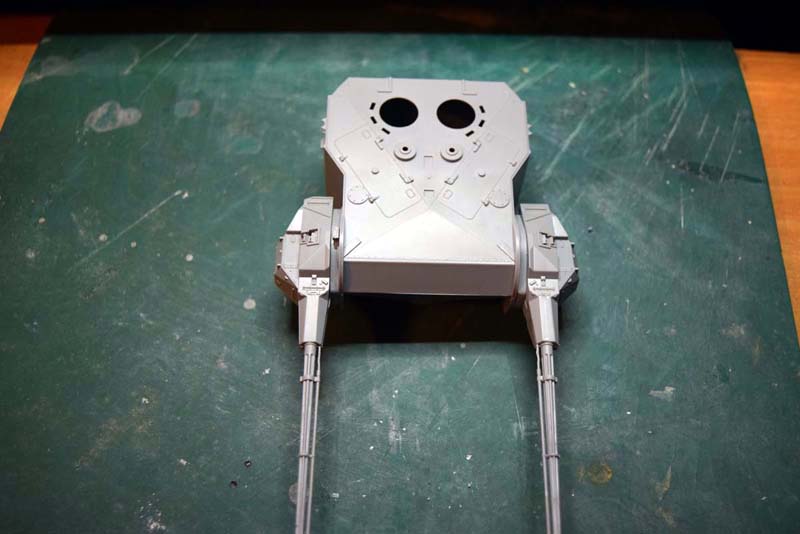
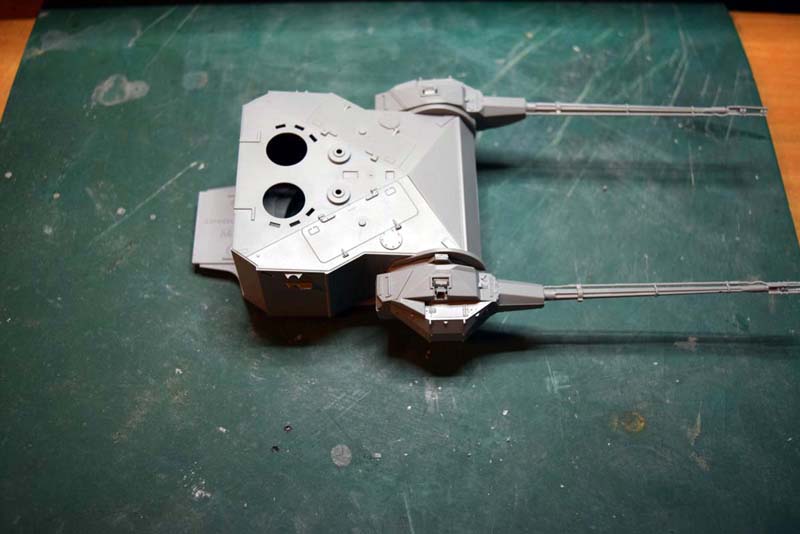
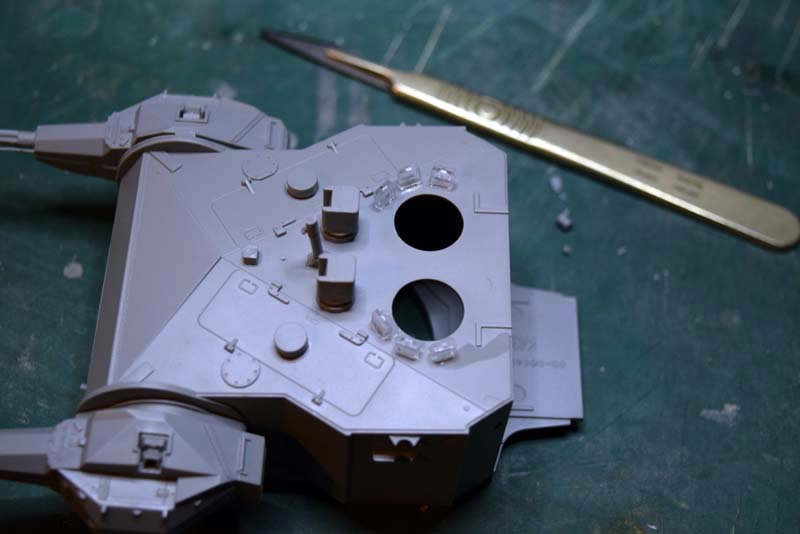
The next area of the turret tackled is the top and smoke grenade launcher on the left hand side of the turret. The detail on the top is good, but I really wish that Takom had supplied locators for all of the parts used here. The cylinders on the side of the turret should be level at the bottom bracket and above the top, however the only way to find that information is external reference or personal knowledge, I know that Takom can do better. The periscopes are clear and each is individually mounted; my reference indicates that these were clear glass and so look green due to the thickness of the glass, no laser coatings on this one. I suggest silver paint followed by black, clear green for the clear area such as Tamiya offer.
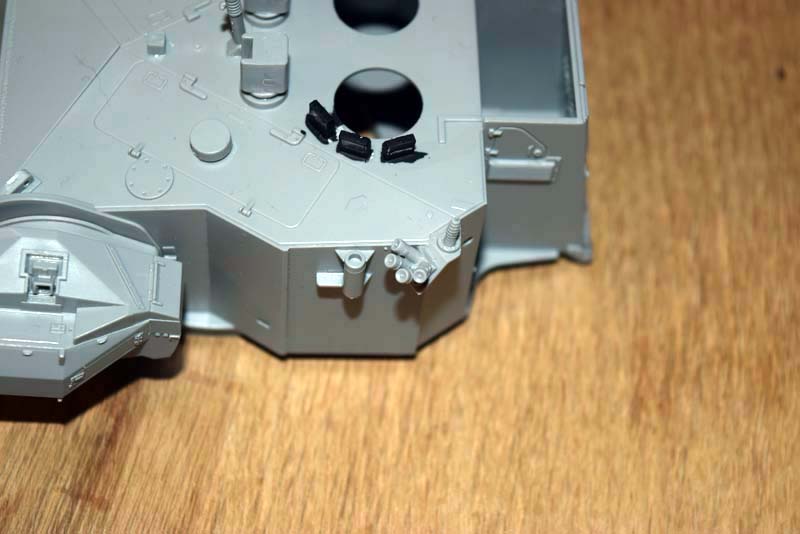
The smoke grenade launchers are again made with a number of small parts that once together look the part, but I do feel that the launch tubes are slightly more elevated than those in the video below. Part K4 is a triangular part attached to the rear side of the turret, but looking at reference I believe this should be square with an angled tube or rod extending from its centre. Just goes to show, check your reference before proceeding. I know I keep on about the small parts being an issue but as you get older the eyes fade and the hands are not as steady as one they were.
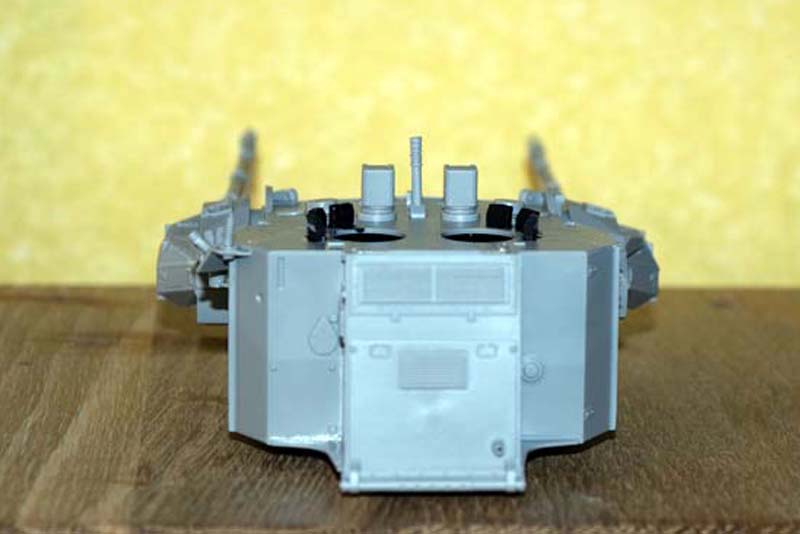
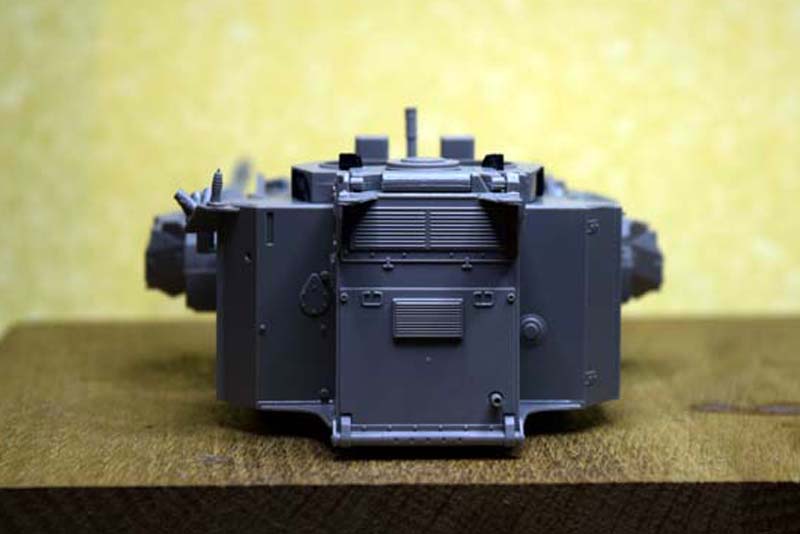
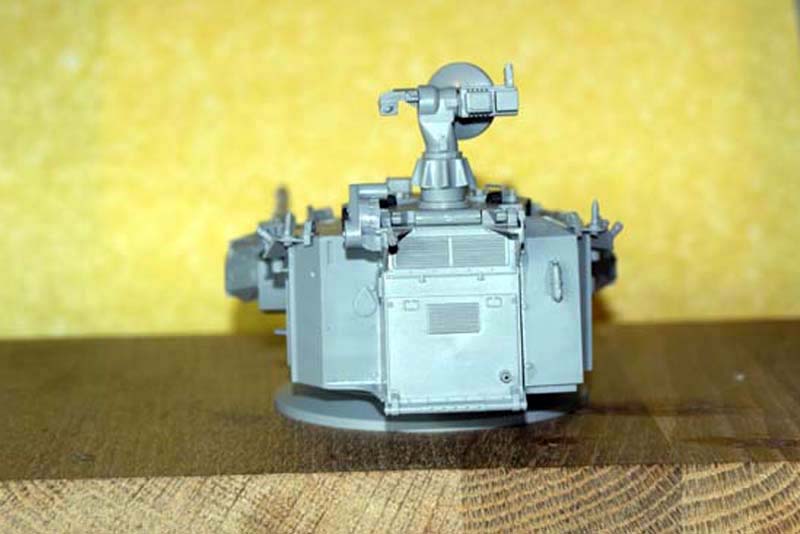
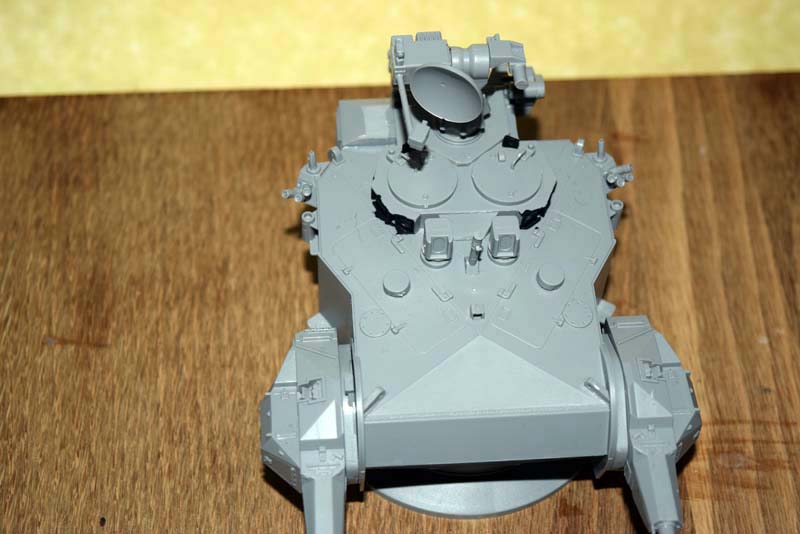
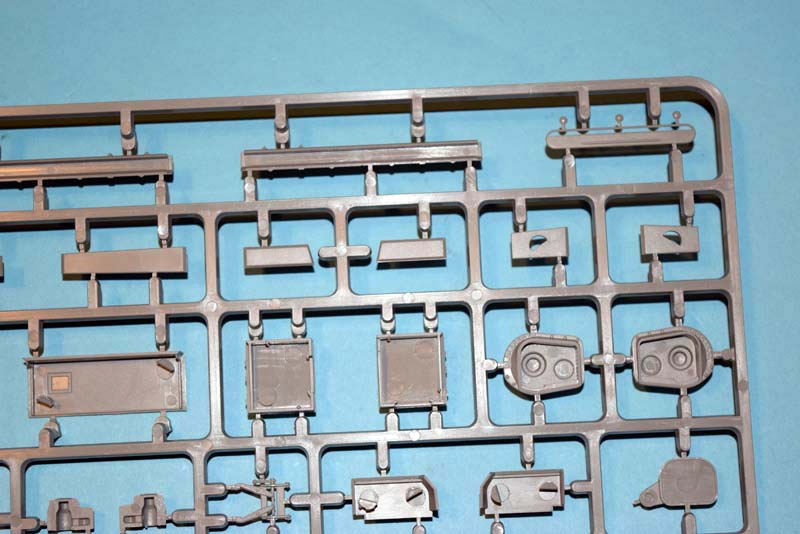
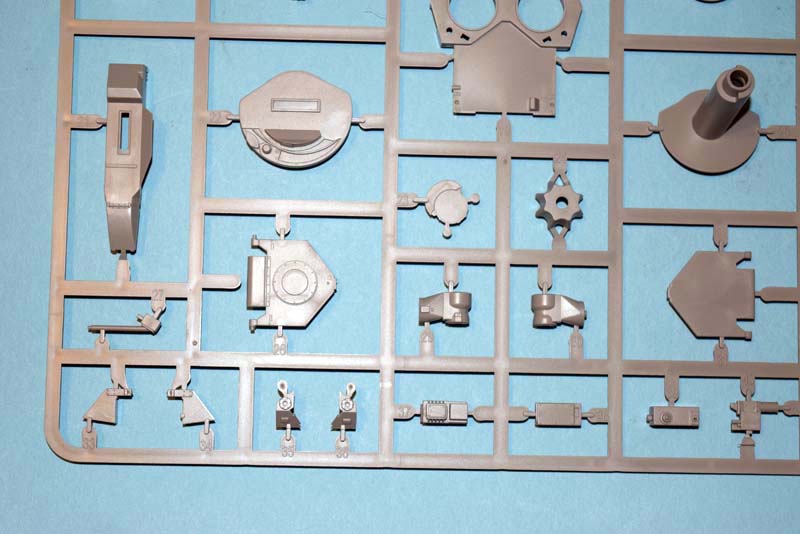
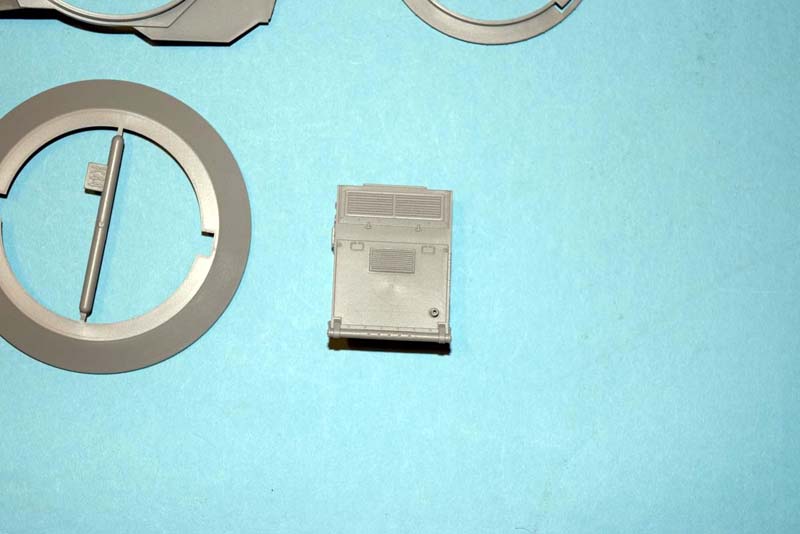
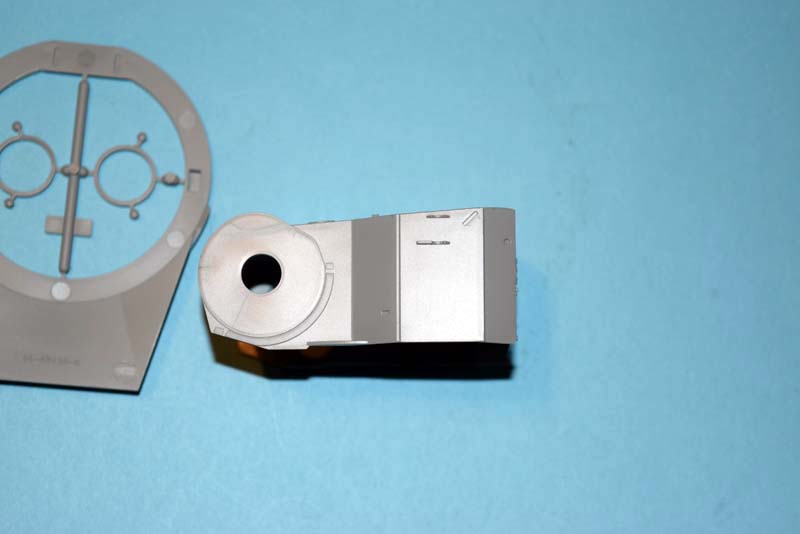
The rear housing for the radar tracking electronics has been moulded as a single piece, but the detail is very good despite this approach by Takom. The upper panel that the hatch covers are located on is a very good fit, something that I wish I had done is to heat the bottom of the hatch pins to lock the covers in place while retaining the workable ability, I say this as the fit is very slack and adding a mushroomed area to each pin should lock it in.
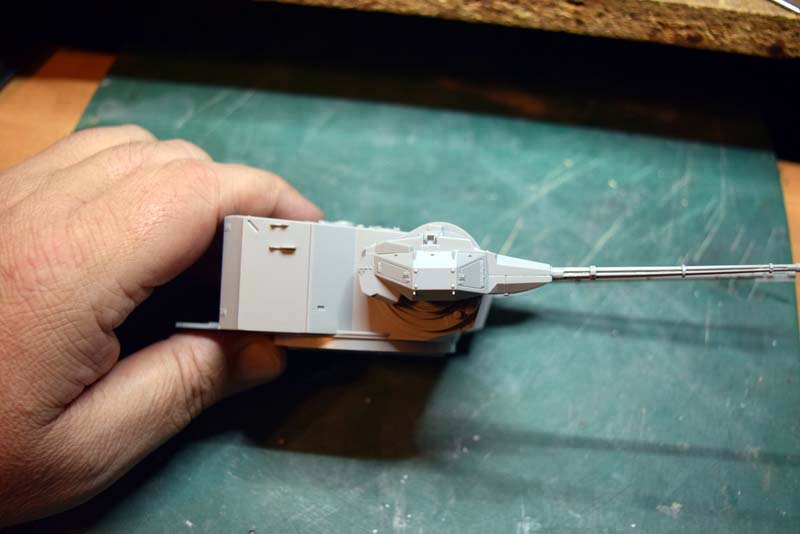
The roof mount for the radar housing is supposedly moveable, in fact you are told in the instructions not to use glue, I find this strange as the moveable aspect cannot be utilised as it does not clear at the back. The plate has also been made in two laves which makes clean up harder than it needs to be.
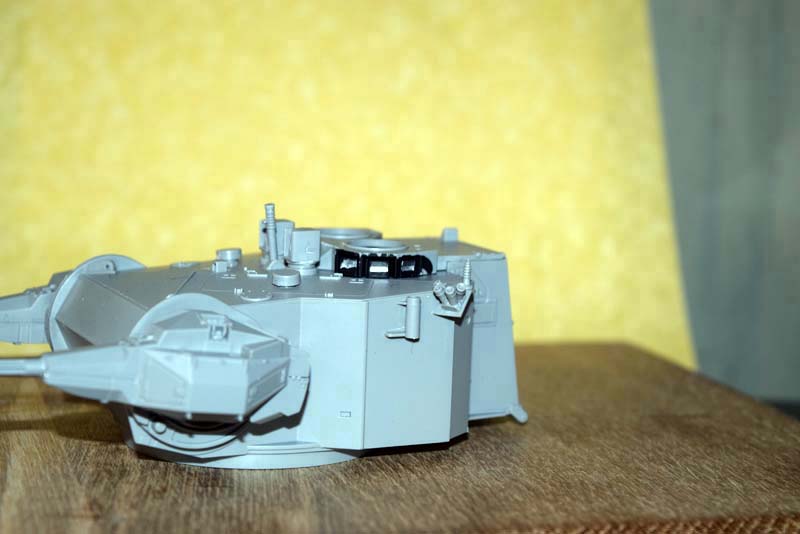
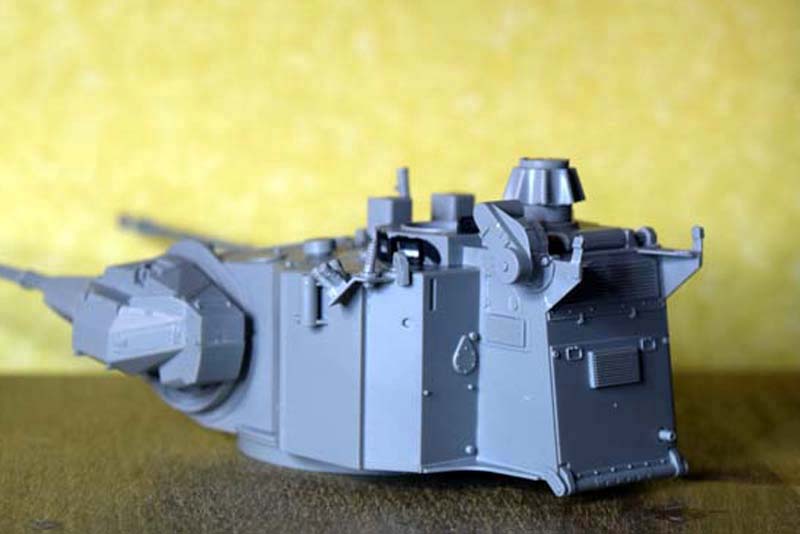
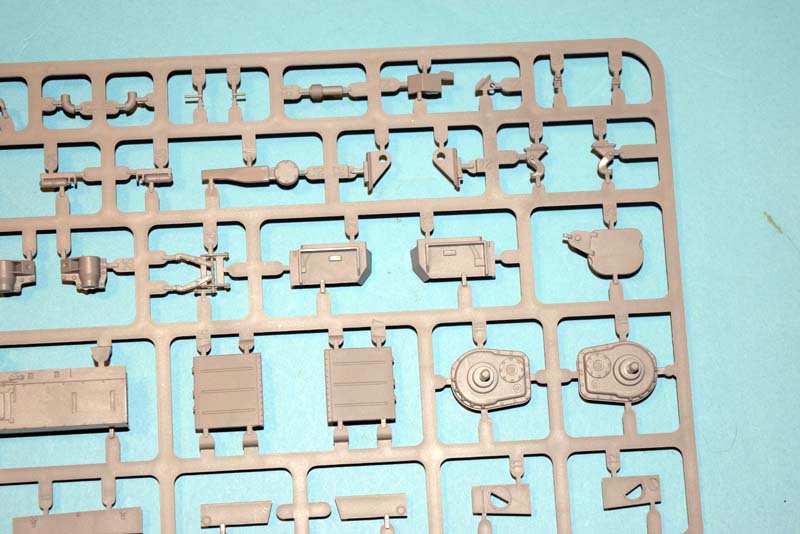
The radar itself has been very well tackled by Takom as assembly of it is a breeze. The only issue I encountered is surprise the clean up is a little testing. Fitting all of the small sub-assemblies is also an easy task and I am very pleased with the result. The turret rings are all a good fit and look to match the minimal reference I have; primarily the video from Duxford below.
Conclusion
Considering the turret can be considered a failure as regards the countries that took it on and fielded it, it does offer a great addition as a what if due to being manufactured for use on a huge number of main battle tank hulls. The fact that the Finnish are in the process of mounting the turrets they bought to Leopard 2 hulls cannot help but make this a sought after item, If I were Takom I would be considering releasing the turret as a stand alone product. The Chieftain hull is a nice produce as you would expect after Takom have released four versions already. The tracks are in my opinion are the star of the show.
Videos
Below are a couple of videos showing the Marksman turret on a Chieftain hull and on display at Duxford Imperial War Museum, the other video shows a Finnish Marksman turret letting rip with the two 35mm Oerlikon KDA auto cannons.
SUMMARY
Highs: The build is reasonably easy and the result looks pleasing to me.Lows: The clean up has been made harder than it need be in a number of areas.Verdict: I can see this kit proving a popular item due to the versatility of the turret.
Our Thanks to Takom! This item was provided by them for the purpose of having it reviewed on this KitMaker Network site. If you would like your kit, book, or product reviewed, please contact us.
About Darren Baker (CMOT) FROM: ENGLAND - SOUTH WEST, UNITED KINGDOM
I have been building model kits since the early 70s starting with Airfix kits of mostly aircraft, then progressing to the point I am at now building predominantly armour kits from all countries and time periods. Living in the middle of Salisbury plain since the 70s, I have had lots of opportunitie...
Yep - the Finns are the only users to date. (The turret is a self-contained system, so only needs an adaptor ring to fit a new hull type...)[/quote]
Yes and no.
I don't know for sure but the kit turret looks like the prototype as fitted to the Duxford example and used in the sales program not a production variant as fitted to the Finnish T-55 and Leopard 2A4 there are differences. Muzzle break for one, the covers over the breech blocks different shape and other minor items. Other than that Tom is correct.
The Finnish T-55 Marksman turret has a lot of little differences, and the Leo 2 version has a few more. Check out my build here to see them. I stuck with the kit barrels as there were no other options.
Jim


Comments