Having already built Vajra's Buffalo and Ford F350 Super Duty Pickup kits, I was very excited to learn of their release of the D9 Large Full Tracked Dozer. Unfortunately I was away when mine arrived and I had exactly one day to relish the smell of new resin before heading out again.
Vajra kits come very well packed-thankfully no longer with the tiny little styrofoam balls that cling to everything. I inspected the parts and found that none were damaged in transit, and that they all were very cleanly molded. Some of the castings are quite large, yet not a single one was warped. Other resin manufacturers should take note. There were some very heavy casting blocks, but wherever possible they're located so that their remnants won't be seen once the kit is together. There are no part numbers on the casting blocks, but with so few parts it's difficult to mistake one for another.
the kit
As mine was a pre-production copy it had no instructions. I began logically with the main body, and then progressed to the cab, using common sense and my own reference walkaround.
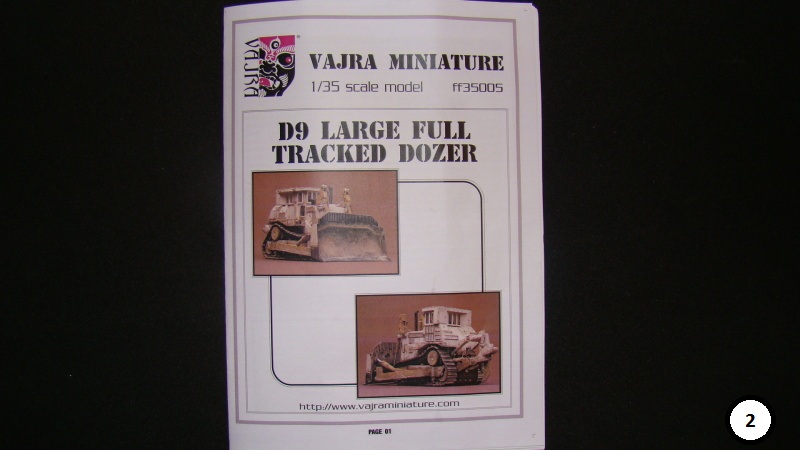
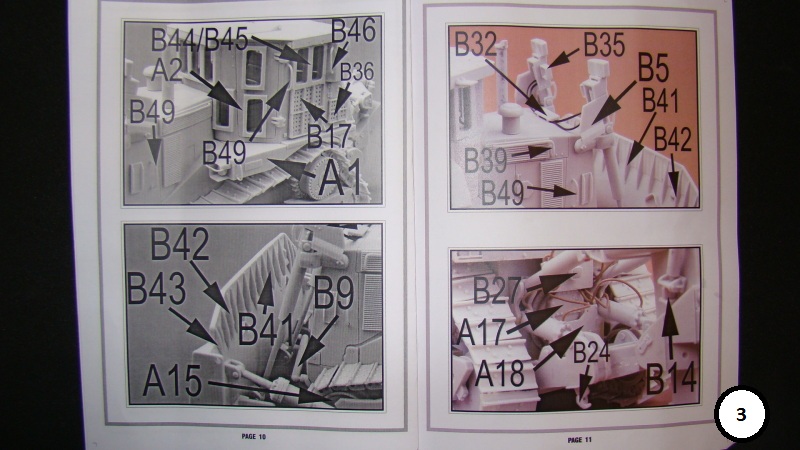
The instruction booklet, which I received later, shows a parts layout with part numbers assigned to them. The actual instructions begin with two shots of the cab interior. All of the rest of the instructions clearly show the location of the parts on a finished model, with associated part numbers. (see images 2 & 3)
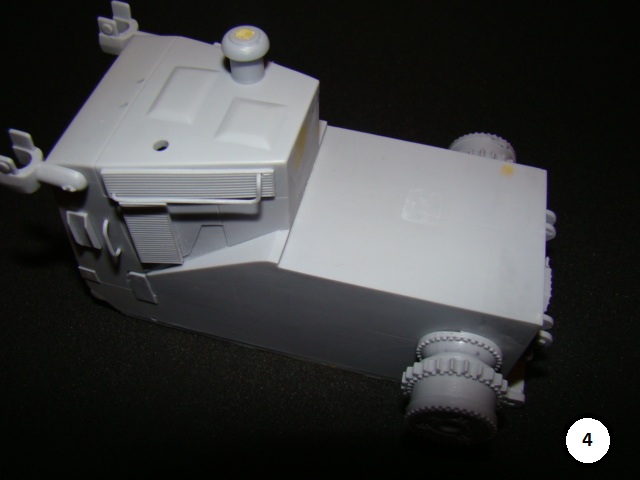
I started with the body. The floor snaps into place so well that it almost required no glue. By the way, I used ZAP-A-GAP Medium CA for this build. I then added the final drive housings, the two vertical piston mounts to the front, and two pieces at the rear. I decided not to put the grab handles on right away to minimize breakage. Minus parts cleanup, the body was done in about two minutes. (image 4)
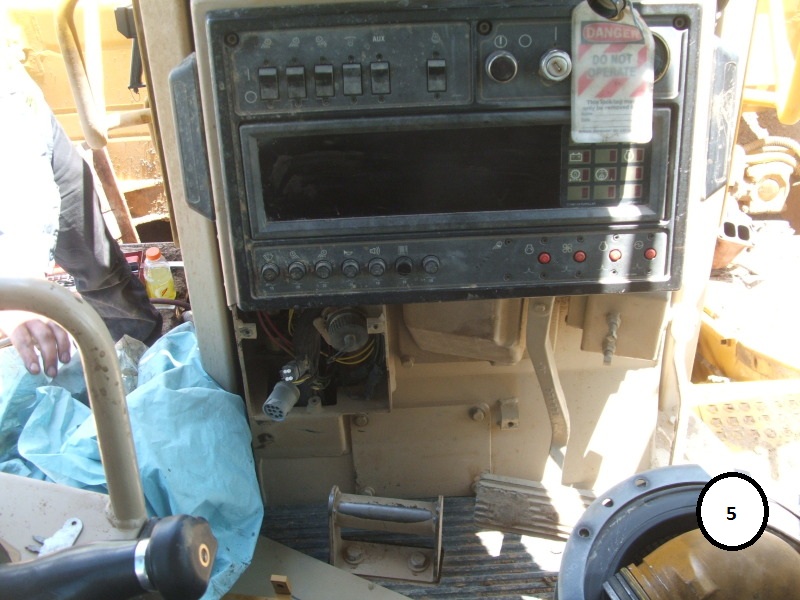
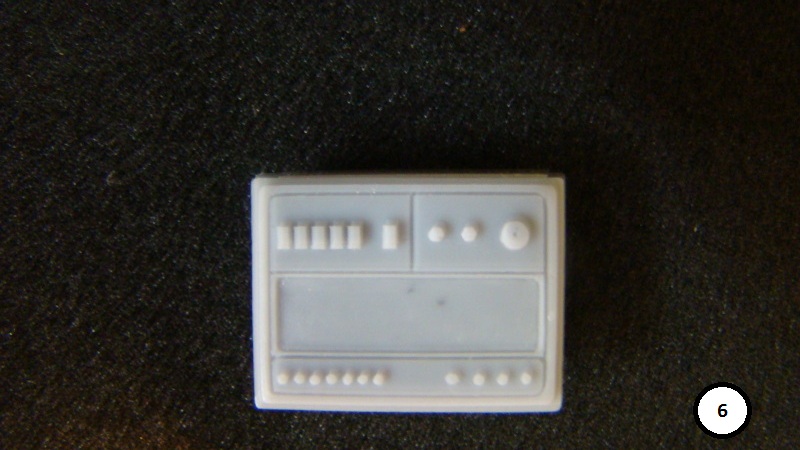
I then began work on the cab interior. While fairly spartan, everything in it is spot on as far as details goes. Images 5 & 6 show a comparison of the real computer screen instrument panel and the kit part.
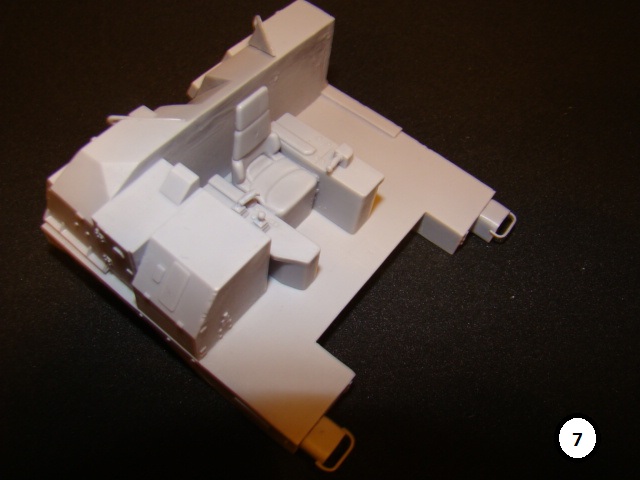
The driver's seat and controls added to the cab floor can be seen in image 7.
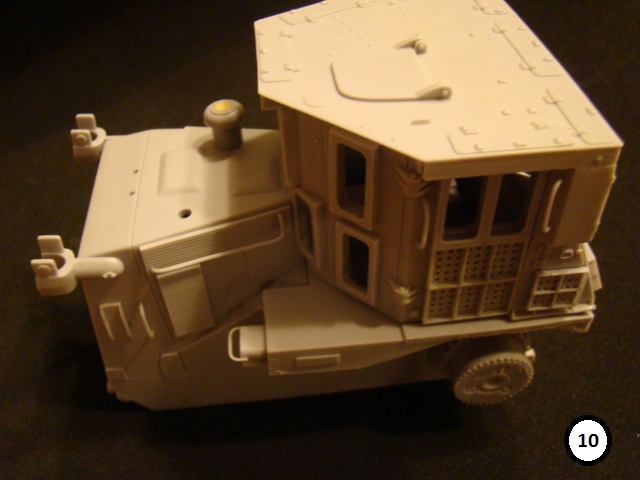
I added the cab floor to the body, and then the cab itself. The cab has very few exterior parts attached to it, the most prominent being the large window frames on the left and right sides. Be careful removing the casting block from the front edge of the cab roof. There is a very fine lip running around the edge of the roof and it's very easy to sand this off if you're not aware of it. (images 9 and 10)
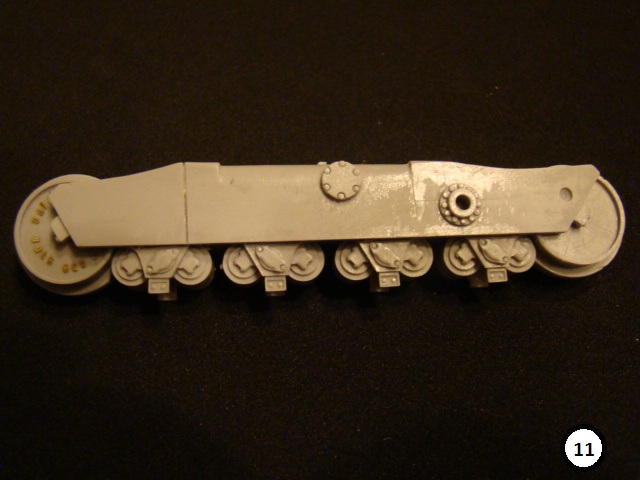
Next I "assembled" the wheel assembly. It consists of exactly three parts-the long main body and an idler at each end, as can be viewed in image 11.
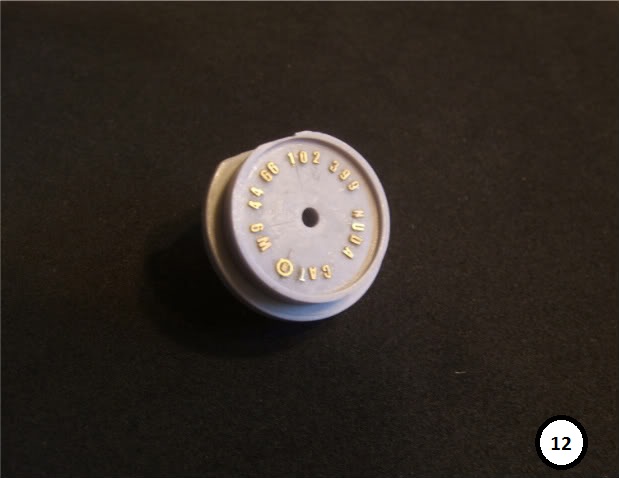
I did decide to add the cast letters and numbers on the idlers. If you dirty up your dozer, you can save your eyesight and quite a bit of time. The cut portion of the idler is hidden-they all come that way. (image 12)
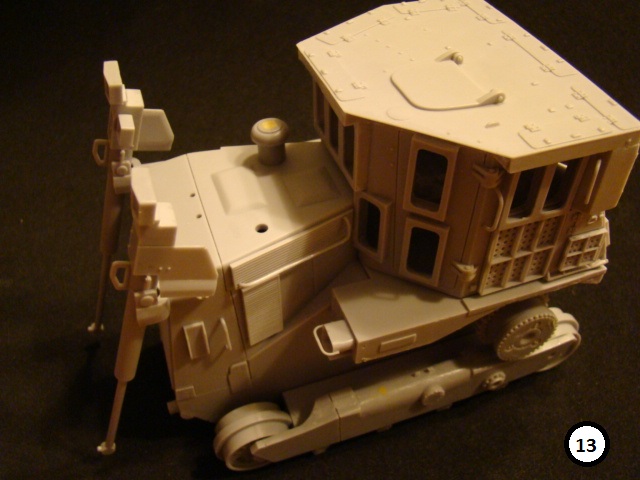
Attach the wheel assemblies to the body. I just dry fitted mine for ease in painting later. The parts fit so well they stay in place with no problem. Image 13 shows the vertical piston assemblies for raising and lowering the blade.
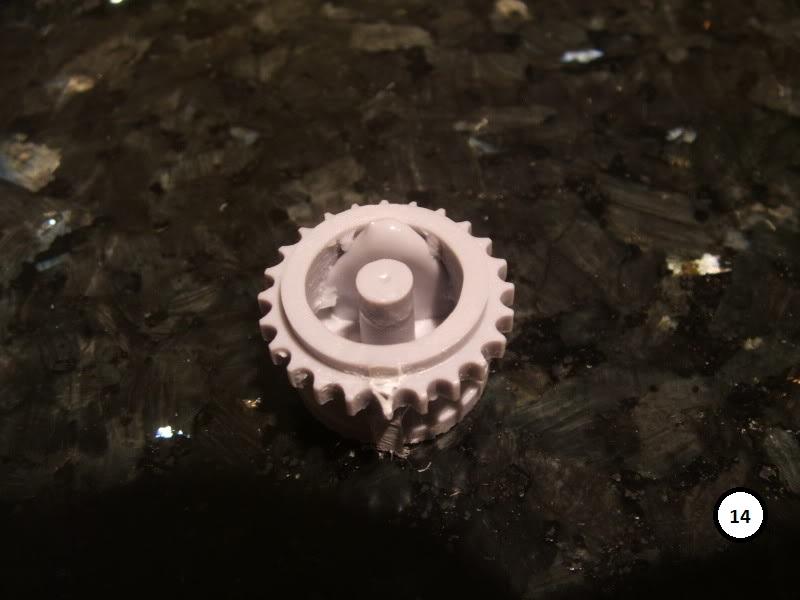
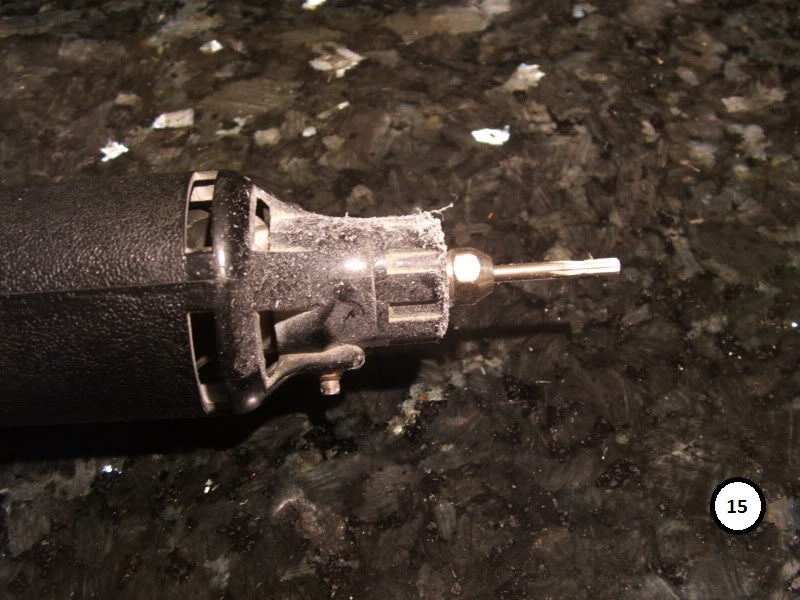
The drive sprockets needed a little cleaning out before installation-they have blobs of resin which prevented them from fully seating on their axles. My shop teacher used to say "Use the right tool for the right job." This carbide cutter was the quickest way to remove the blobs. It worked quite well as shown in images 14 and 15.
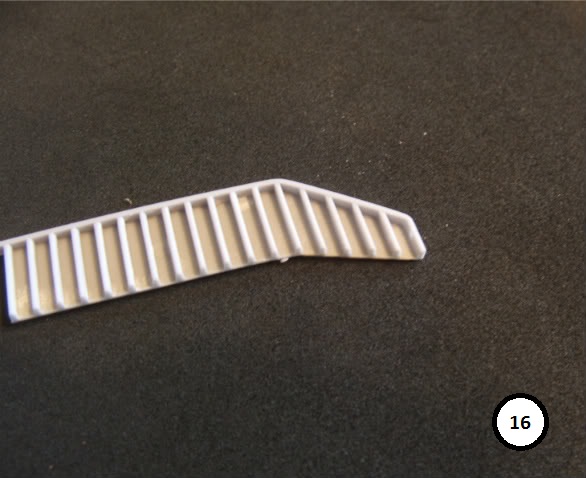
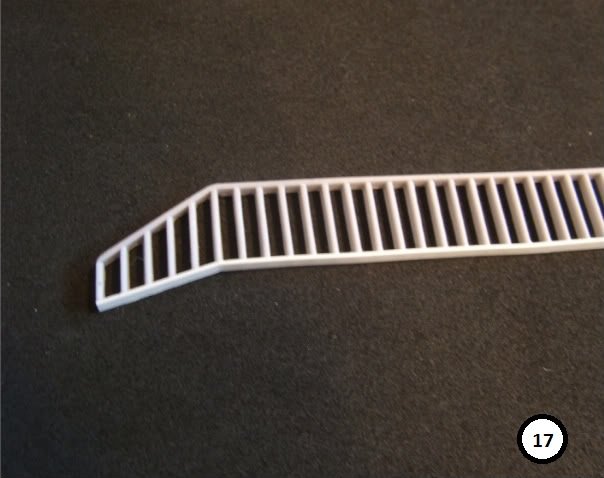
Next I tackled the blade assembly. Like the main gun on a tank, it's pretty much the vehicle's whole reason for being. The grill which sits atop the blade was a slight disappointment. All of the vertical bars had solid resin between them.
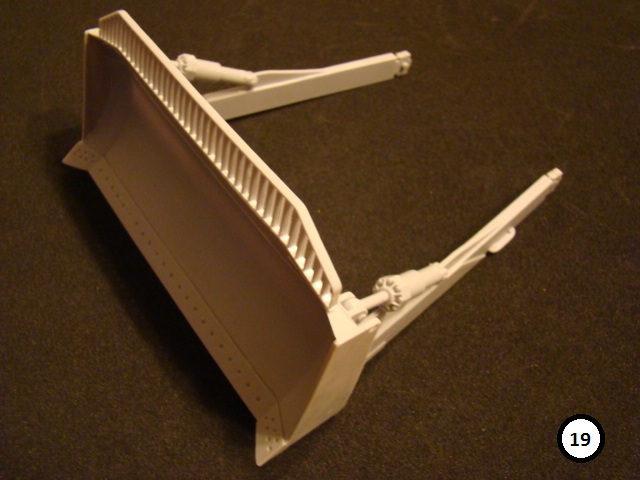
I chiseled out the offending resin, and added the bar along the lower edge using .020 x .080 Evergreen strip. Before attaching the grill, remove the fictitious mounts from the rear of the blade. (images 16 through 19)
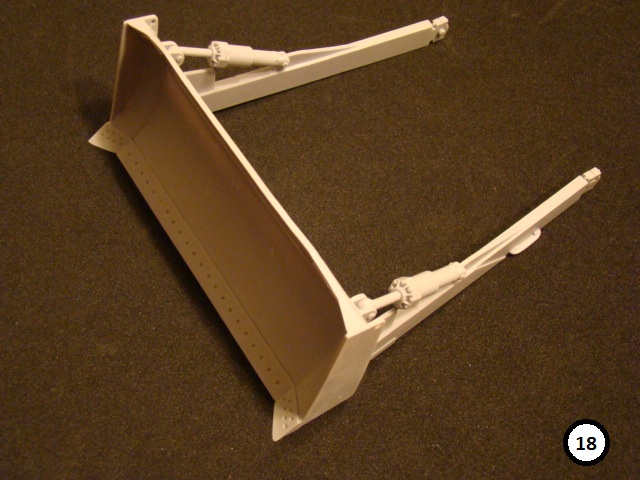
If you assemble the dozer arms slightly (two millimeters) too narrow, the whole assembly can be added under its own spring tension, in case you want to remove it for painting or transport. Photo 20 also shows the ripper attached to the rear. Not counting the four hydraulic pistons, it consists of a whopping six parts, two of which are the tiny towing hooks underneath. I've left off the top two pistons to facilitate plumbing the lower ones with .022 inch diameter solder.
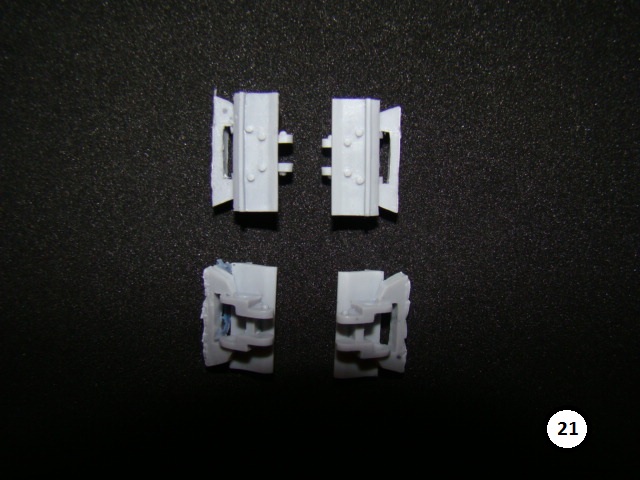
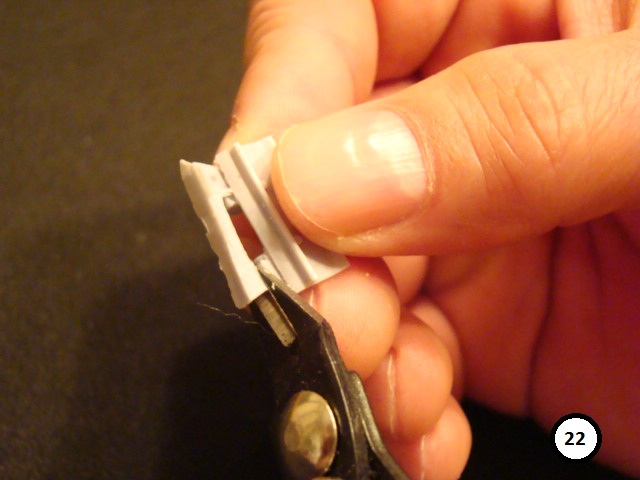
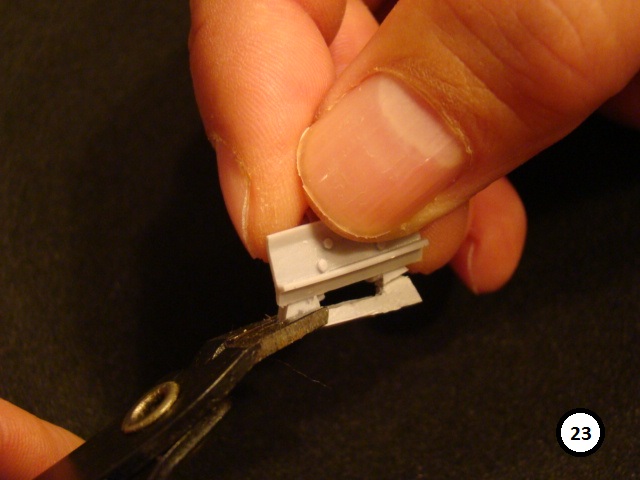
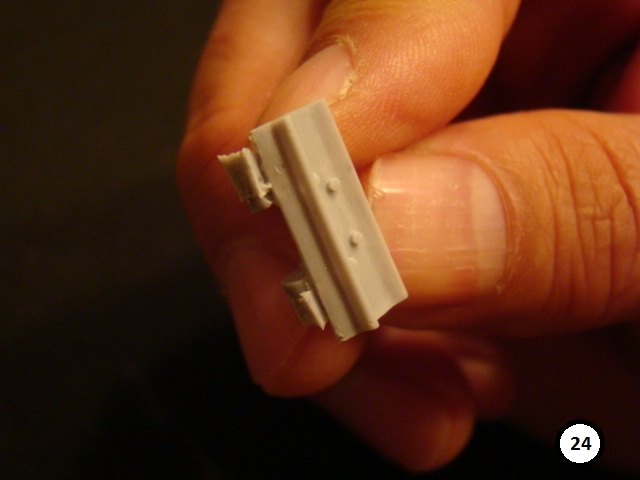
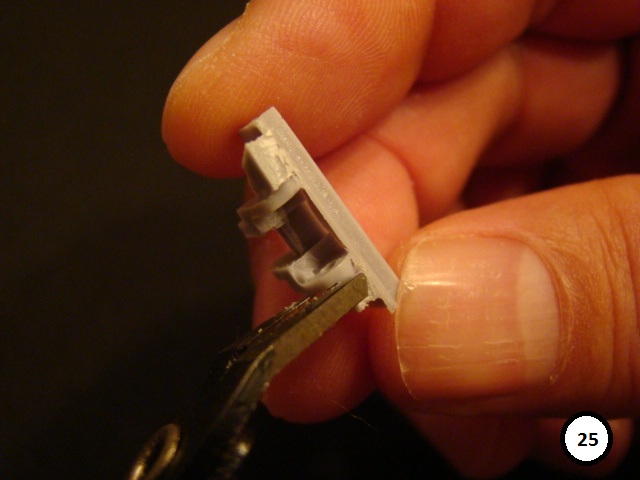
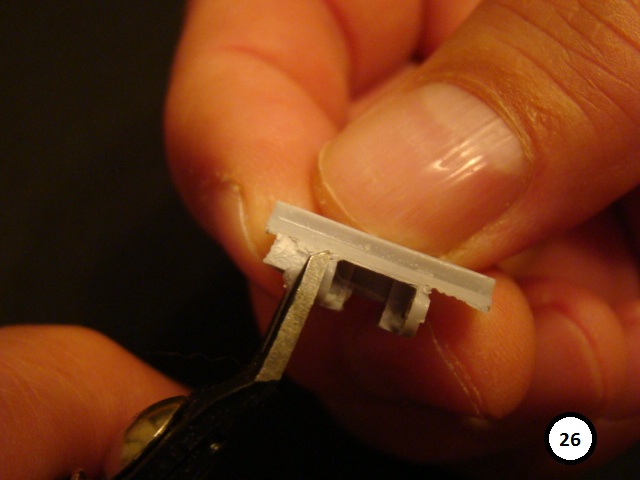
That leaves the last and most dreaded step-the tracks. didn't even peek into the bag of links until I was ready to start on them. Each link has a fairly hefty casting block, which at first glance looks pretty scary.
Upon closer inspection I realized this wasn't going to be as hard as I thought. Forget the saw. Use flush cut nippers and make the first two cuts to remove the bulk of the block. Don't even bother trying to get too close. You're still left with two rather large nubs, so turn the cutters 90 degrees and remove those as well. This time cut as close to the connecting guide as possible. There is usually very little cleanup after that, as the blocks have undercuts which helps them snap cleanly off the track link. Follow the steps in images 21 through 26 and youll be all set.
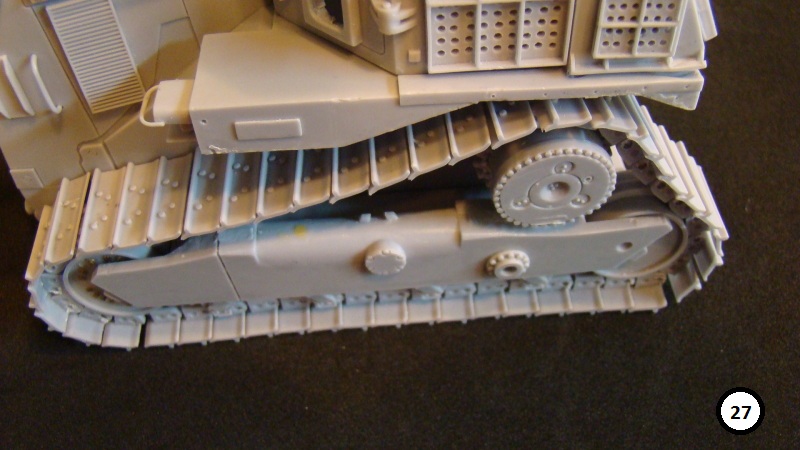
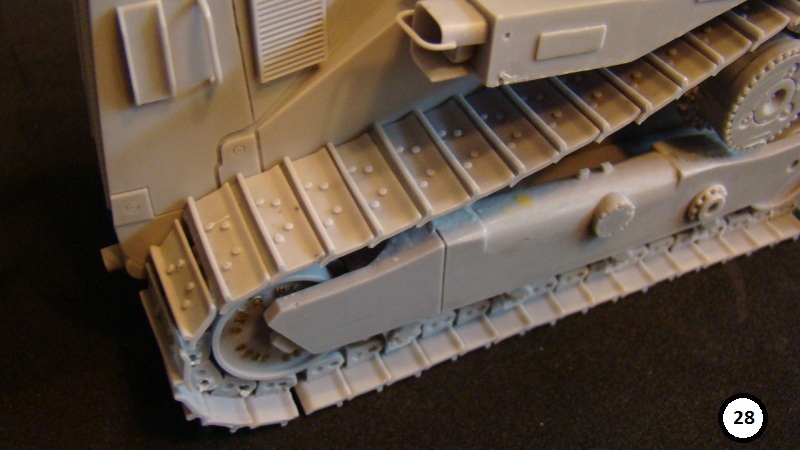
Snap the links together and attach. They snap together so easily you can attach the ends of each length after it has been run around the drive sprocket. The track has a very nice, natural sag to it. There IS a lot of lateral movement to the links, so you may want to secure them with a touch of CA. Images 27 and 28 show the finished tracks.
conclusion
And there you have it. This is one of the most impressive, and yet easiest resin kits I have ever built. Except for the large casting blocks, I'd even recommend it as a first time resin kit.
The instructions show several of the components on the sand colored US version still in the CAT yellow paint. I have been unable to find photos of this online, but it looks interesting, and given that these components might conceivably need replacing, makes sense. Fittingly, I plan to use Floquil Armour Yellow (Union Pacific Yellow) for the faded CAT paint.
My thanks to Vajra Miniatures for the review sample.
SUMMARY
Highs: This kit was a joy to assemble, with no fit issues whatsoever. The quality of the castings is superb.Lows: The idlers could have used more detail, but as they're usually covered in mud, this is somewhat minor. The grill over the the blade was not accurate, but ultimately usable. Verdict: I loved this kit so much I may get another to do an IDF version with bar armor. For those who are reticent to try a resin kit, this may be the one for you. It's very accurate, easy to build, and let's face it-it's just just gonna look pretty impressive!
Thanks for the comments guys. I hope you both enjoy the kit as much as I.
Bill, they had to teach vocabluary at SWCS a far back as '82, just so we knuckle draggers could function in normal society.
Nice job Robert, you convinced me when you answered my post on ML a few weeks back, but seeing and hearing how easy it went together in the review was nice. This definitely looks like it will be much more plesant than my last resin kit (Legends Merk 4).
I'm looking forward to seeing how your's will look under some paint.
Best,
Mike
Atta Boy 18B!
Nice review! where ya off too these days?
Did the kit appear to be a knock off of a metal 1/32 scale toy?
I am a big tractor freak, my step dad worked for Allis Chalmers for 35 years.
Have you built the Trumpy 1117 yet? and if so any issues?
Stay safe!
Mrosko 13 Bang Bang!


Comments