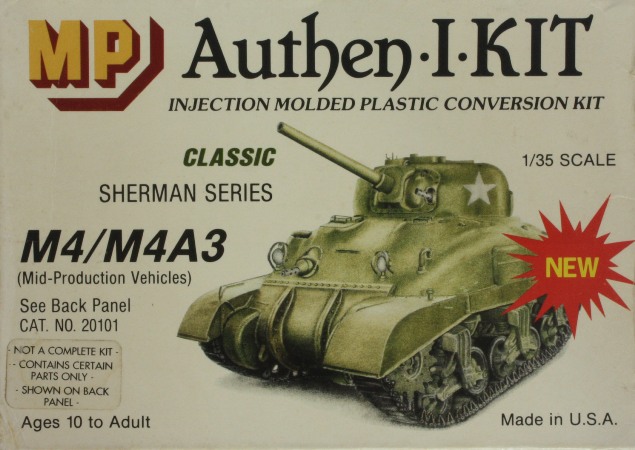
Heres a rare golden-oldie for the die-hard Shermaholic! I stumbled across this long-out-of-production conversion set and knew I had to share just in case anyone else finds one and needs to know what theyre getting. Its an ancient injection-moulded plastic hull replacement designed (according to the instructions) to upgrade Tamiyas late-production M4A3 of 1981 issue to be an M4 or mid-production M4A3. Bear in mind this conversion is nearly 30 years old, predating most of the resin conversions we know and love! It also predates much of the modern research into detail variations.
Contents
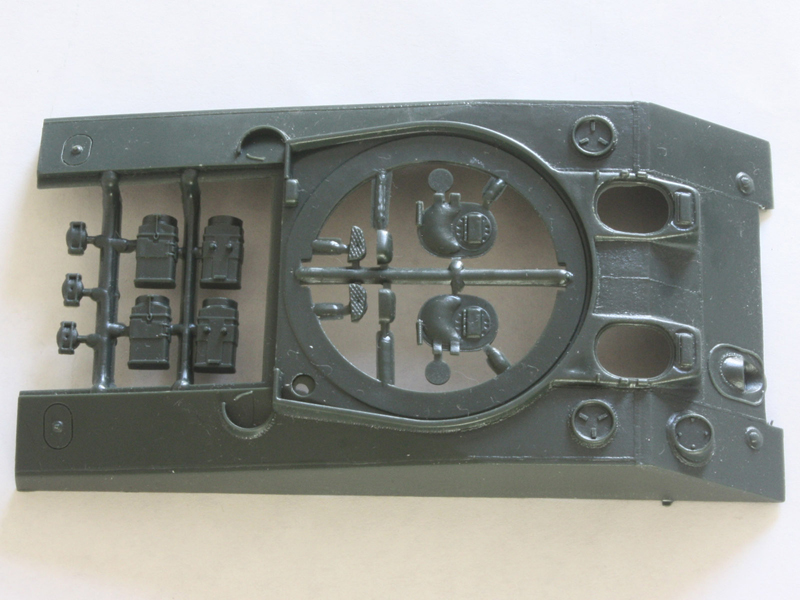
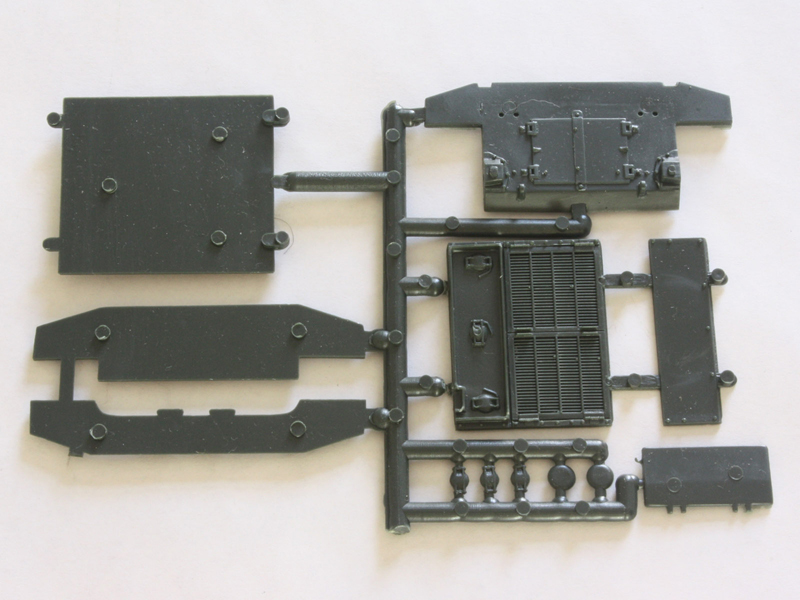
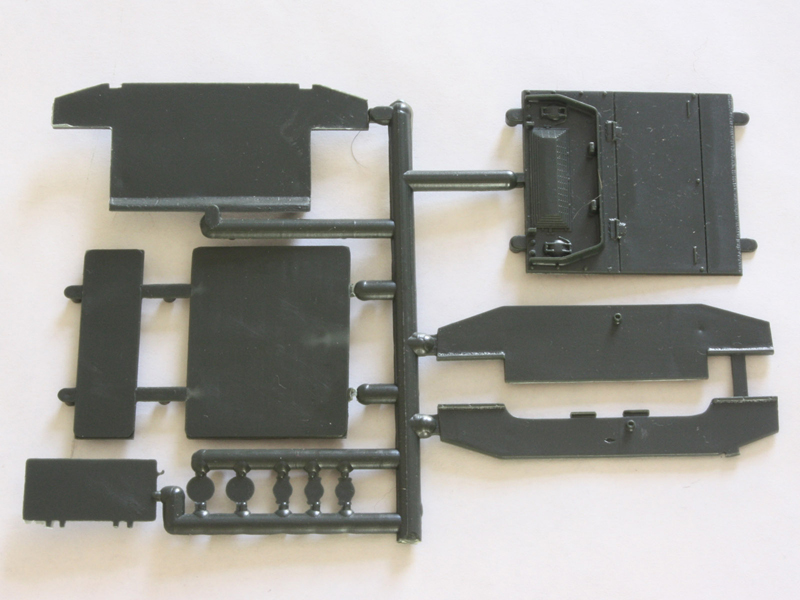
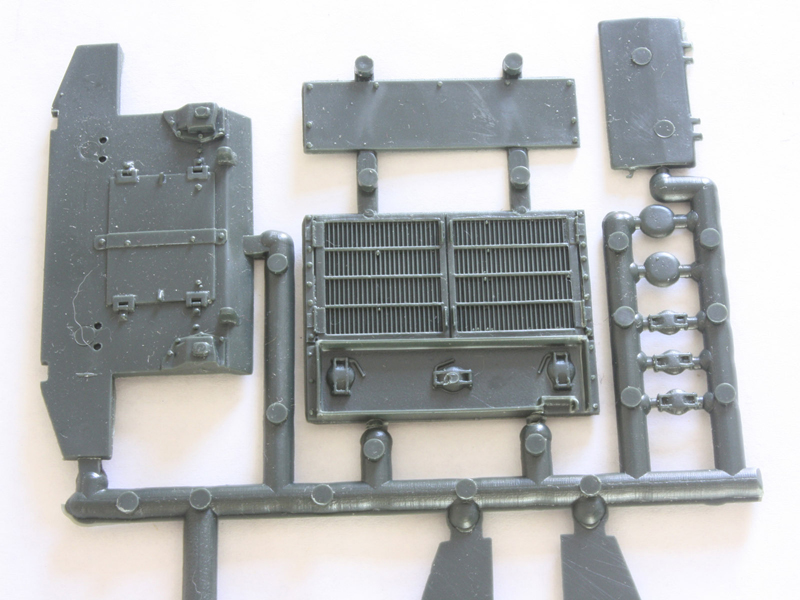
Inside a small end-opening box I found a hull (with two demi-sprues tucked in the openings) and a sprue of parts, all moulded in dark green styrene plastic. The resulting 26 parts provide engine decks and rear hull plates for the two intended variants, as well as hatches, air cleaners, fuel caps, ventilators, and grouser covers. All other details must be scavenged from the donor Sherman kit.
Casting of the parts is a bit rougher than Id like, and some of the smaller parts like the fuel caps are a bit crude. There are slight sink marks in the flat areas of the drivers hoods and in a couple of the gas caps, but nothing too difficult to clean up. However, this conversion is definitely not shake the box
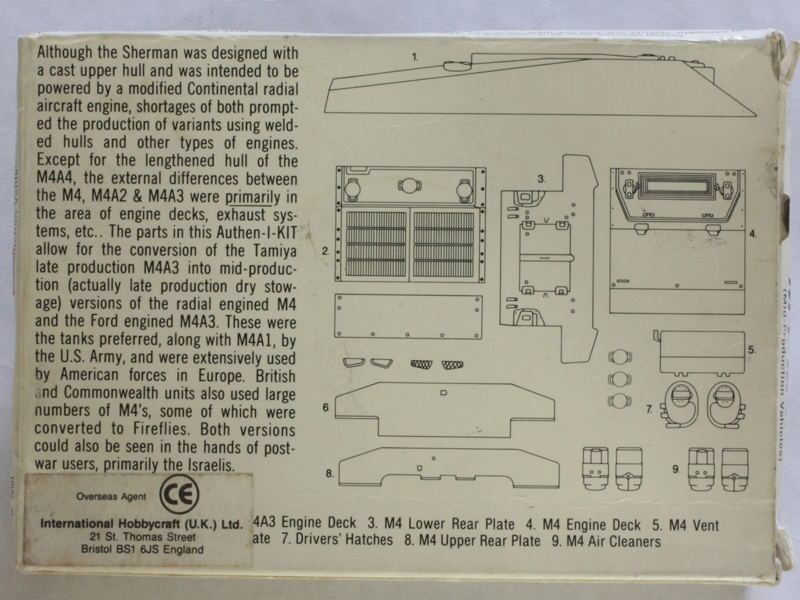
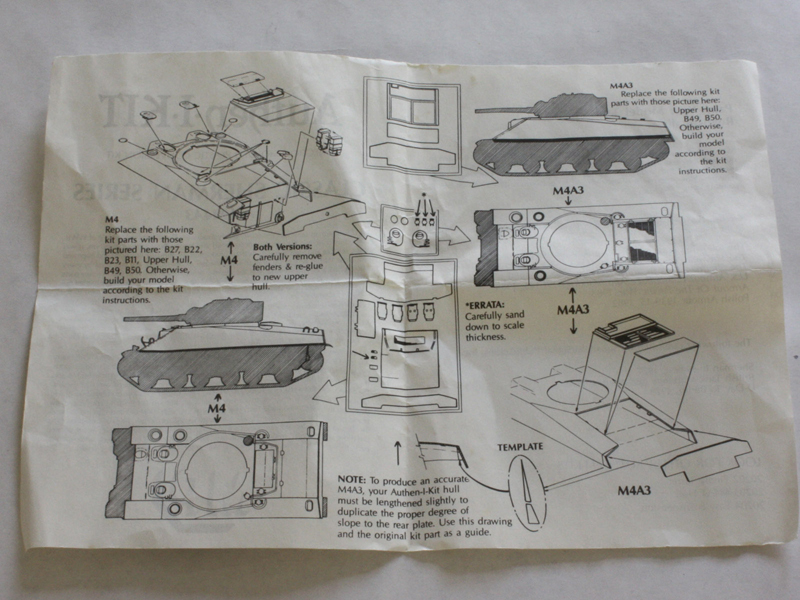
Contents are rounded out by a sheet of instructions, but do keep the box since the parts inventory is drawn on the back.
Historic background
Before I can sensibly review the kit parts we have to talk about the differences between the real M4 and M4A3 hulls that the kit claims to represent. The early 56-degree hulls of Shermans seem to have taken two divergent courses of evolution due to the hurried way Shermans were developed in 1941-42 and partly due to the numerous companies making all the parts. Early welded hulls used a direct-vision drivers hood that effectively only encompassed the hole for the hatch with a large flap on the front, but to remove the inherent weakness of this separate drivers visor a new longer hood design was needed that incorporated a forward periscope where the visor used to be. The welded-hull M4A2 came out first and introduced the use of the D77160A & B drivers hoods (with periscopes) that also appeared later on the more common M4 these were only made available recently in 1:35 plastic by Tasca (in their #35018 Sherman III kit) and in Dragons M4 Normandy kit (#6511). These hoods have parallel sides and a rounded front end that chamfers out to a square base where they attach to the hull plates, and the castings cover only the upright hoods themselves with a separate rolled-steel hull roof plate between them.
By comparison, the early M4A3 and later M4A4 sought to reduce the number of weld joints by reducing the front hull components from seven parts to only five. They used the D70563 & D70564 hoods that have a longer appearance, with a visible kink in the sides and a squared-off front edge. What is more, each hood included a half-section of hull roof to fill the gap between them, leaving a distinct weld seam down the middle. These are exactly the hoods seen on Tamiyas much-abused Early M4 kit #35190. The visible difference between the A3 and A4 hull fronts is the shape of the radio pot Tamiyas M4 uses the flared casting seen on the A4 rather than the more cylindrical one from the A3.
Around the back, the M4 hull ended with a nearly vertical rear plate that had a notched centre section to allow access to the air cleaners underneath. By comparison, the M4A2 and A3 hulls had more of a slope to their rear plates, so the sides are slightly longer at the bottom edge. The rear plates of the A2 and A3 also had a centre section that extended down below the line of the sponson floors. The M4A4 is the odd one out, as it had a much longer hull, but it also used a rear plate similar to the A2 & A3.
It should be noted that the early M4A3 was originally kept Stateside for training, and only appeared in combat in the final months of the war when reconditioned tanks were pressed into service to replace combat losses.
Review
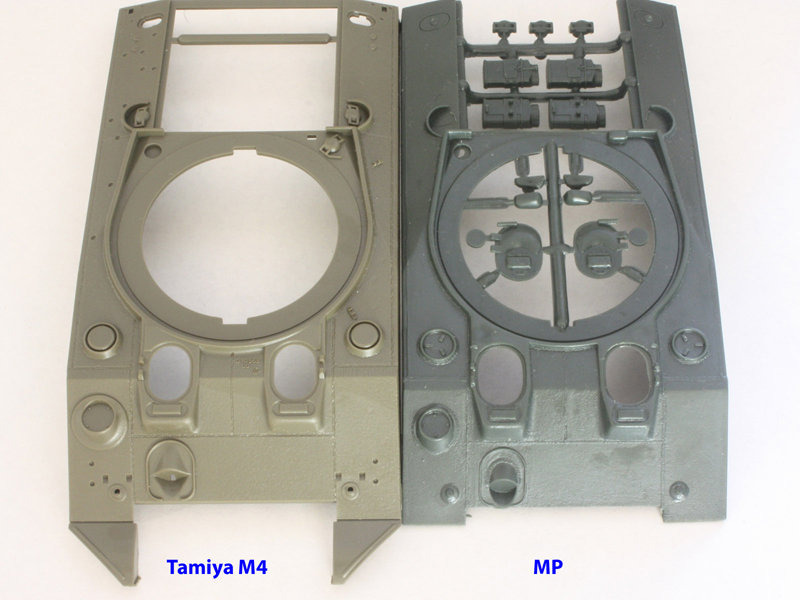
The Authen-I-Kit hull casting measures out favourably in most directions against a Tasca M4A2 hull, so it looks to be the right size. The first thing to note is that the rear end is angled properly for the M4, so to make an accurate M4A3 with its shallower rear angle youll need to add wedges of plastic on both sides. The instructions show this and provide a 1:35 scale template for the wedges, but they really should have offered the parts ready-made. This becomes important when you realise the front end details are actually for the M4A3. The good news is all the weld seams are raised just like the real thing, even the usually overlooked one on the side where the front plate is welded on. Unless you fancy doing some extensive surgery to the hoods there is only one accurate choice for this hull it has to become an early M4A3.
The welds, in fact, are painfully good when compared to photos of preserved examples, showing variations between wide ones and narrow ones in all the right places. Even the minor components like ventilators, the MG mount, and the guard around the turret base have nice weld seams. Oh, and the turret opening is sized for the Tamiya turret.
On the subject of hoods, they appear to taper in a little too much at the front. Im debating whether to laminate some plastic to the outer sides near the front so I can bulk them out a bit just look how skinny they are compared to the slightly too-wide Tamiya hoods. Also, they lack the prominent foundry markings on the flat parts between them, so this is a case for the Archer decal sheet. The hatches are acceptable, but lack details such as the handle and the tab for a padlock the Tamiya hatches might be a better substitute. All the periscope apertures are moulded closed.
The two rear decks are nicely done, but have the handles moulded on as lumps that really want replacing with wire. The rear hull plates are also very good and include details like the circular mounting-post for the big end of the track-adjusting wrench and (in the case of the M4) the starter-handle hole. The M4 plate also has the open ends of exhaust pipes attached, but Id want to replace these if I used it. There is an M4 lower rear hull too, which is actually not bad. The M4 air cleaners are the square type as seen in some kits.
Conclusion
I bought this oldie in the hope it could help turn one of my many Italeri late-A3s into a straight M4, but it seems Ill be building an early M4A3 instead. The hull is a very nice starting point even if I will need to scrounge some parts from the donor kit.
For those wanting to build the more common straight M4 a better starting point in plastic looks to be the Tasca hull shipped in their Sherman III kit (#35018) since it has the correct hull front and is available separately direct from Tasca just remember to trim the back edges to the steeper M4 rear angle.
SUMMARY
Highs: A decent M4A3 hull with raised welds the only early M4A3 available in plastic.Lows: Not an M4 despite the claims on the packaging, some details are crude by todays standards. Hard to find.Verdict: Worth finding for the die-hard Shermaholic (like me!), but still requires some extra work.
About Tom Cromwell (barkingdigger) FROM: ENGLAND - EAST ANGLIA, UNITED KINGDOM
A Yank living overseas on a long-term basis, I've been building tanks since the early '70s. I relish the challenges of older kits (remember when Tamiya was "new"?...) because I love to scratch-build.
I've got a few of Tom Gannon's old sets (M4A3 mid and HVSS suspension sets). I remember them being all the rage when I returned from Germany and the desert (1991). By then, they were only a few years old, I'm guessing 1988 or 1989, anyway, just over 20 years old, not the 30 stated in the review.
Back in the day, it really opened up the options for Sherman modeling.
Good to see this covered in a review. they still show up on Ebay and at shows. I have this set and the M4A4 hull set. The weird thing about this set is that the box shows an early M4A1 not an M4 or M4A3.
Also you mention that the air cleaners but the Italeri aircleaners are the round ones.
Pat,
You're right! It was a classic case of "of course I know the facts, so don't need to check them" that crept in. The Tamiya Early M4 (which I was in fact looking at while writing has the square air cleaners, but the Italeri M4A1 definitely has the round ones! (I just went and checked one from my stash, after the fact of course...)
James, could you please edit out the tail end of that sentence from the review?
As for age Sabot, I thought this was early/mid 80s rather than late-80s based on the kit it was aimed at and a reference quoted in the instructions as 1982, but couldn't find confirmation anywhere - hence the "nearly" in "nearly 30". But I can certainly see your logic on the timing! Either way it is over 20 years old and probably more like 25. Can anyone out there give a more accurate release date for this kit?
And why oh why did they use that M4A1 picture? I almost passed it up at first...
Thanks guys for keeping me on my toes!
Regards,
Tom


Comments