Prior to 1934 the decision was made that the Austrian army needed to reinforce their vehicle park with a heavy armored car which would function well in urban and city environments. The order was given to Austro-Daimler-Puch AG Werke. In turn they presented the Austrian army in 1934 with the Austro Daimler ADGZ. A 12 ton, 8x8 wheel driven monster of an armored car. In fact it gave the world a first look into a whole new thing. The ADGZ can be seen as the very first Heavy Armored car in the world.
The 6 meters long armored car was powered by Austro Daimlers own M612 engine. Powered by 6 cylinders, 12 liter gas guzzler that produced 150 horsepower, the engine gave the ADGZ a not too shabby top speed of 70 kilometers per hour on the road. Another unique feature that was not seen earlier was that this vehicle had no rear end. It was basically a car with 2 frontends with a steering wheel and dashboard at both ends - a feature that was later copied by the Germans for their 8 wheeled armored cars. To correctly operate the vehicle you needed a 6 man crew. Armament came in the order of a 2cm KwK35 and 3 MG34s.
The Austrians could not enjoy their toy for long. When in 1938 Germany annexed Austria, the 27 ADGZs were transferred to the Wehrmacht, which did not show any interest at all. They were passed along to the Police units of the Waffen SS where they were approved and used. Used so much, that an additional order came to Austro Daimler for production of another batch of 25 vehicles. All along the war it served with police units and supported them during Partisan Hunts.
The Kit
Prior to the release of this review a modeler pretty much had 2 or 3 options to build this vehicle in 1:35 scale. Either you had to scratch-build it, or you had to try to hunt down the Schmidt vacu-form kit (which pretty much meant you still had to a lot of scratch-building) or shell out some serious money and buy the resin offering from MR Modellbau. A lot of years ago I managed to get hold of the ancient Schmidt vacu-form kit of this vehicle and stalled building it until I had enough reference material to detail it since Schmidt only sold you the absolute basics to create something looking like an ADGZ. I got some references in the end but nowhere near enough to make something of the obviously missing details. And it kind of slipped to the background. Things got started up again when I saw the notions on Facebook that a company from the Ukraine called AMG was planning to release one. A highly anticipated release for me. And needless to say - as soon as it was available for order an order went out. After a weeks worth of waiting, the kit finally arrived. In quite a battered box but the contents were unharmed.
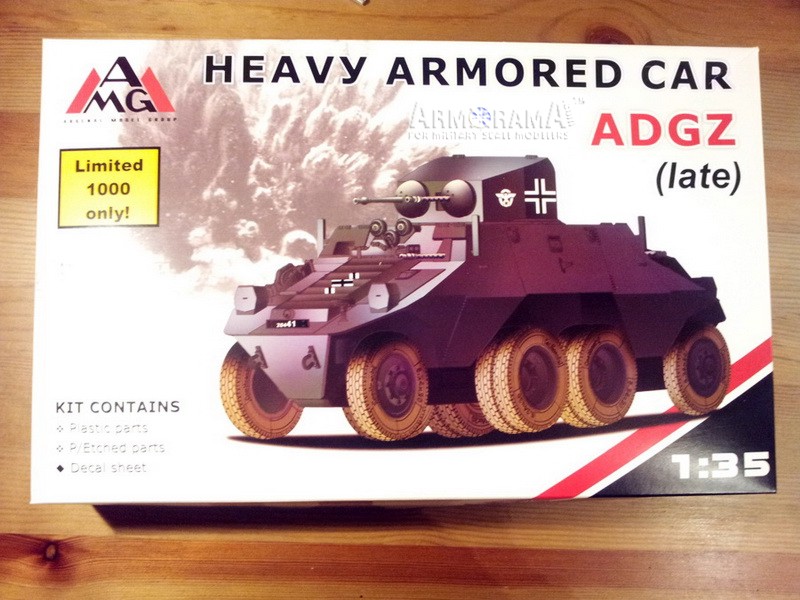
The kit comes inside a box measuring 35,5cm wide, 22,5 deep and 5,5 high. The box-art shows a drawing of the ADGZ over a background picture of a huge explosion. It tells you the kit number, the kit manufacturer and it tells you it is a limited edition kit with only 1000 units produced.
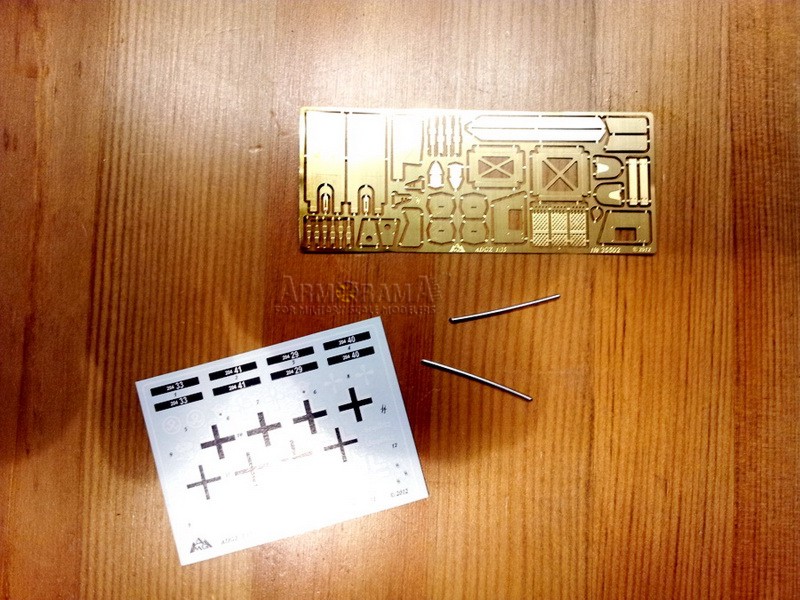
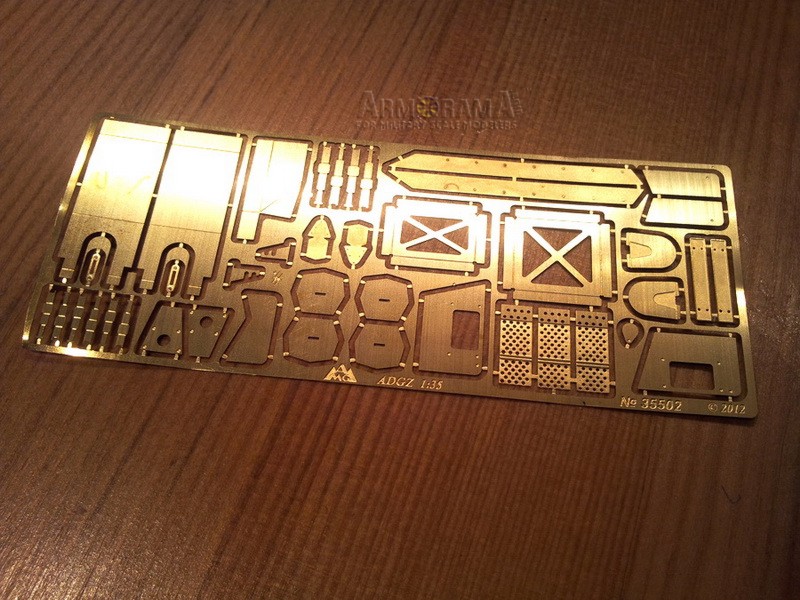
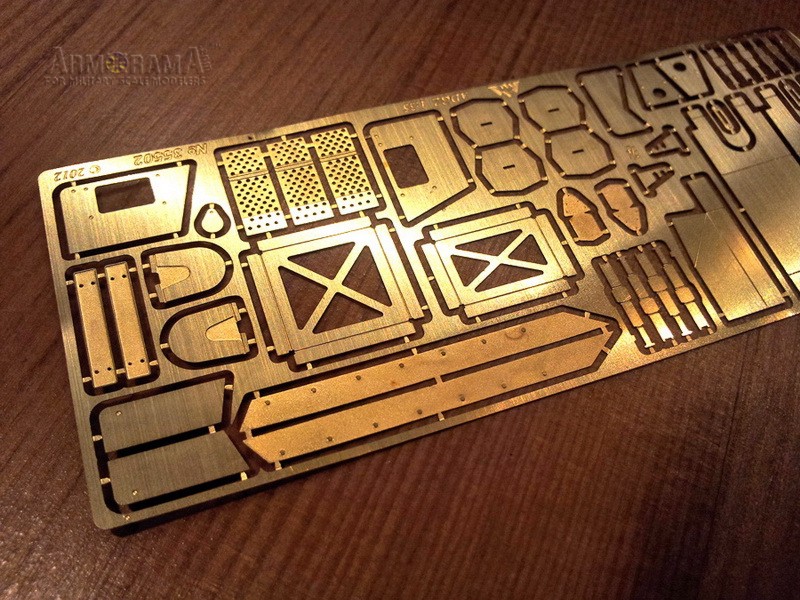
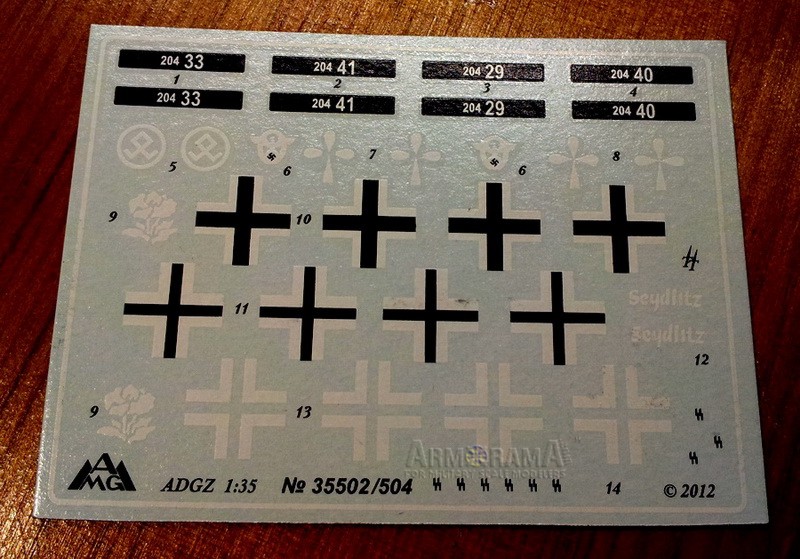
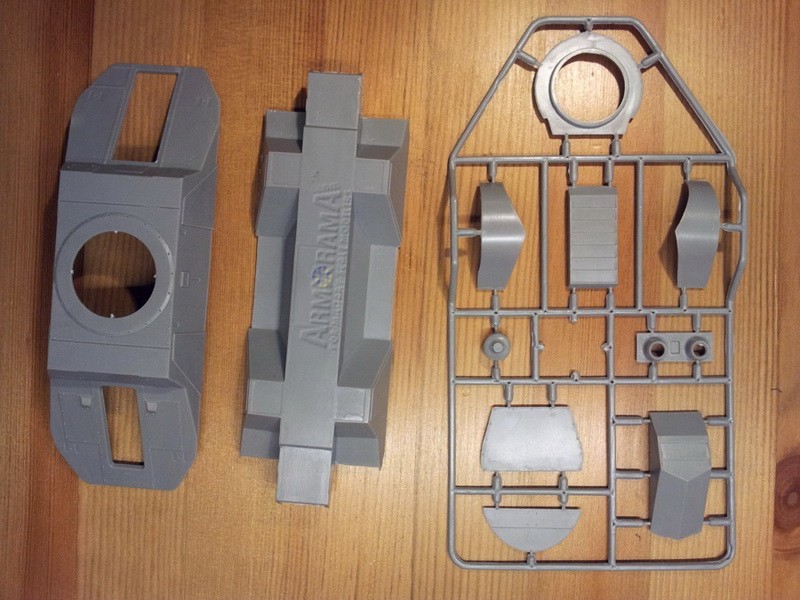
Inside you will find 4 Ziploc bags of various sizes. The bags in turn hold 9 sprues, and 4 separate parts; among them the upper and lower half of the vehicles body. All parts are molded in light grey plastic. There are 12 rubber tires, a fret of photo etched parts, 2 short pieces of metal wire and a decal sheet containing decals for 4 variants. Noted below is a rundown of all the parts.
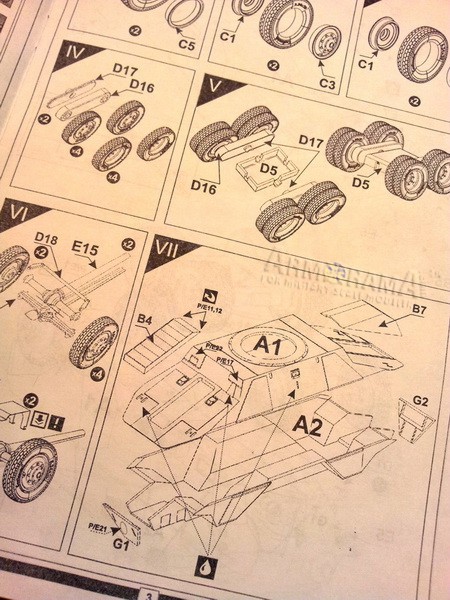
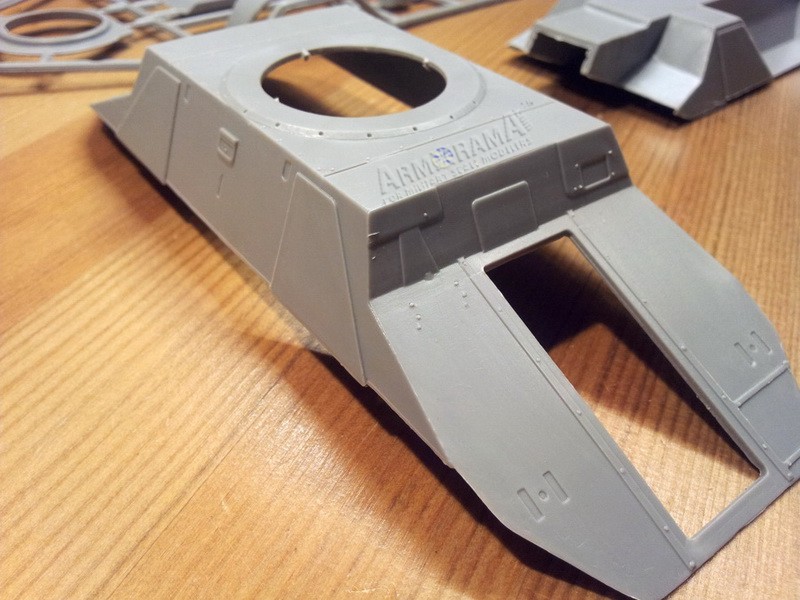
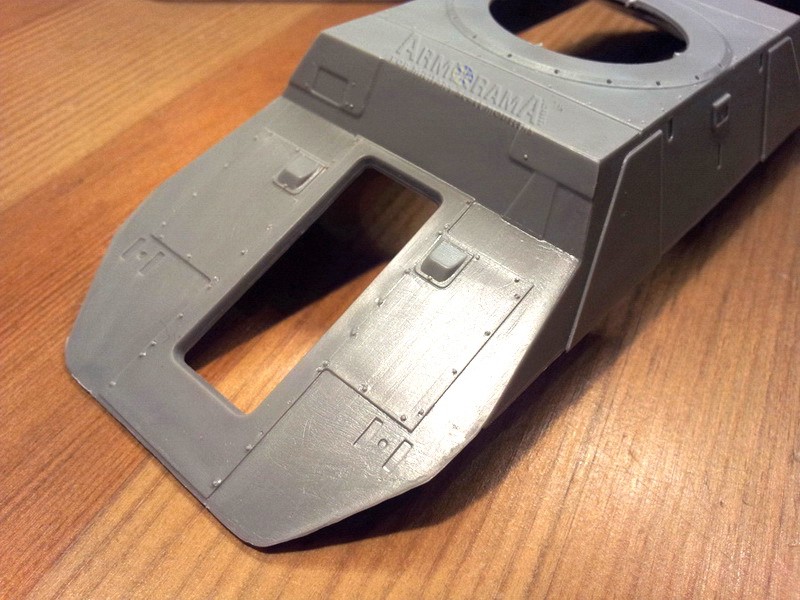
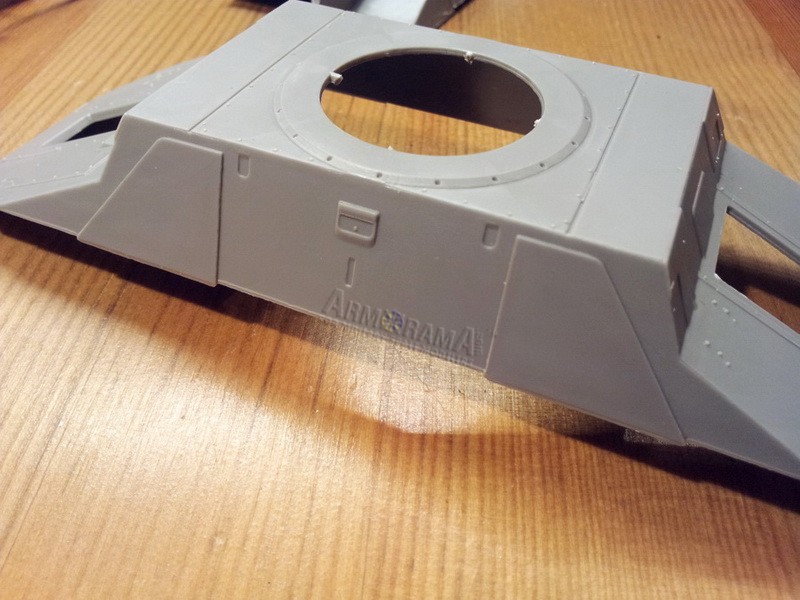
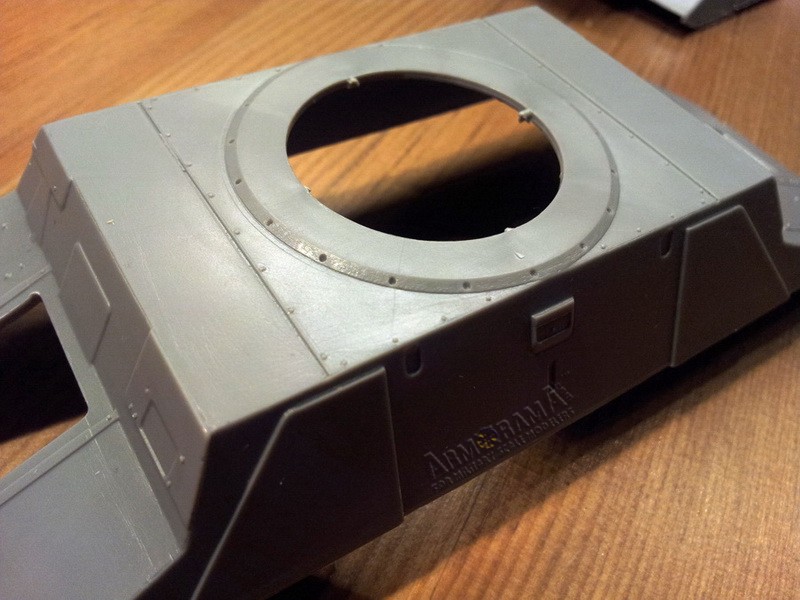
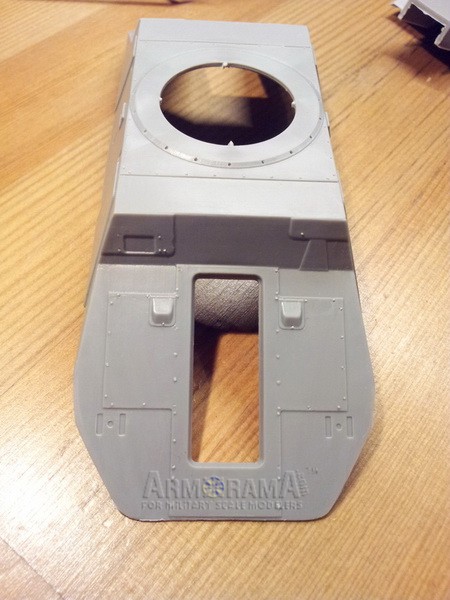
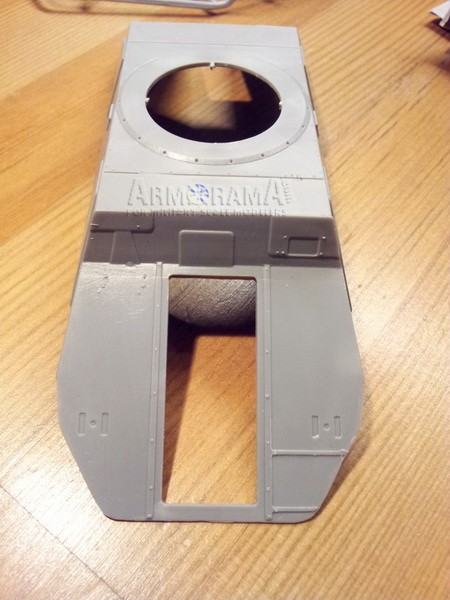
A1 and A2 are the vehicles lower and upper body. Detail wise it looks pretty good. The kit is mastered with all of its hatches shut and that is pretty much the way you built it. If you want to do it with the open doors, it means some serious surgery. Because of the huge door openings, it means you have to scratch-build the interior as well and there is not a lot of info about that.
Quite a lot of bolt detail is present and just as with the rest of the details it is nice and sharp executed. No welding lines are on this kit but it appears the original vehicle was also quite smooth in that aspect.
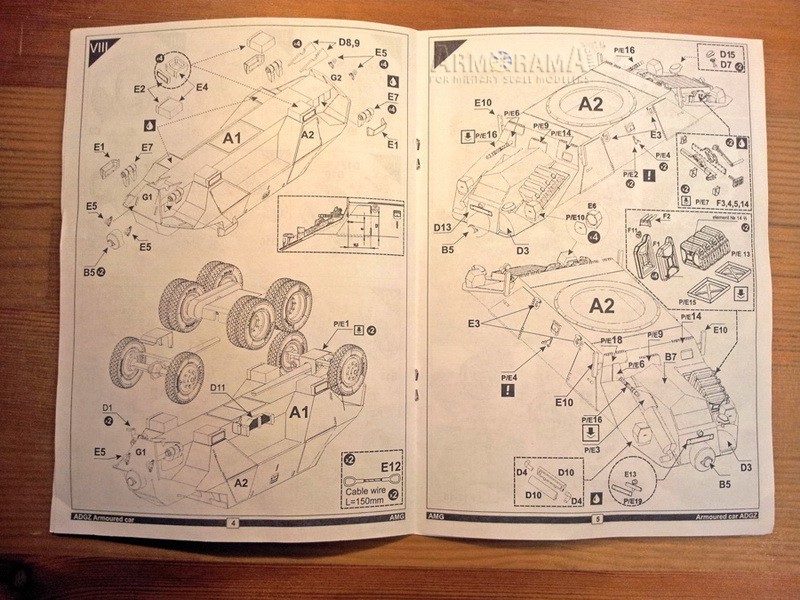
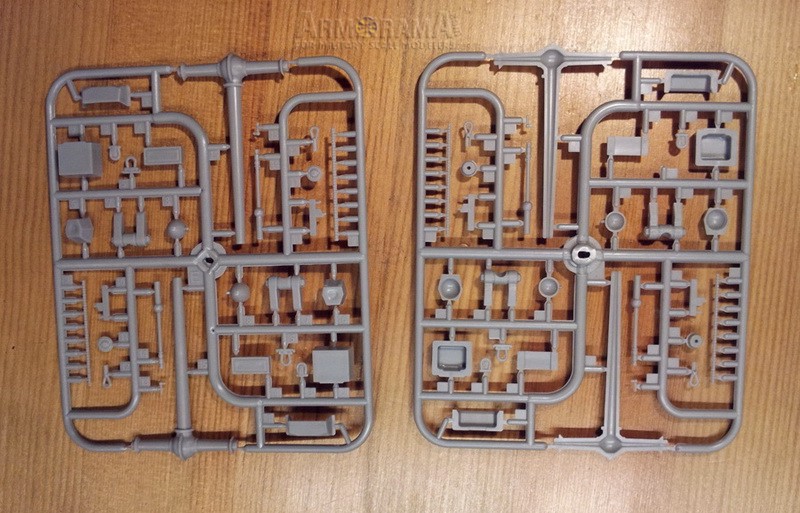
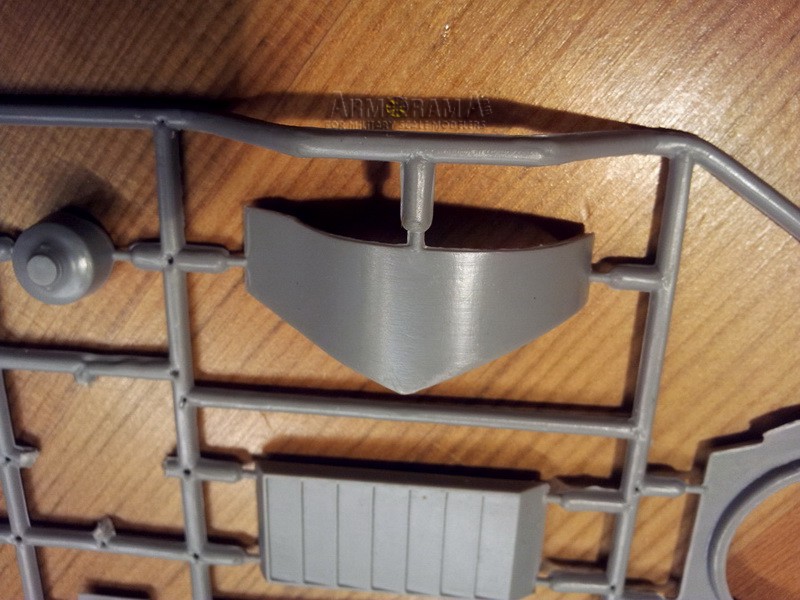
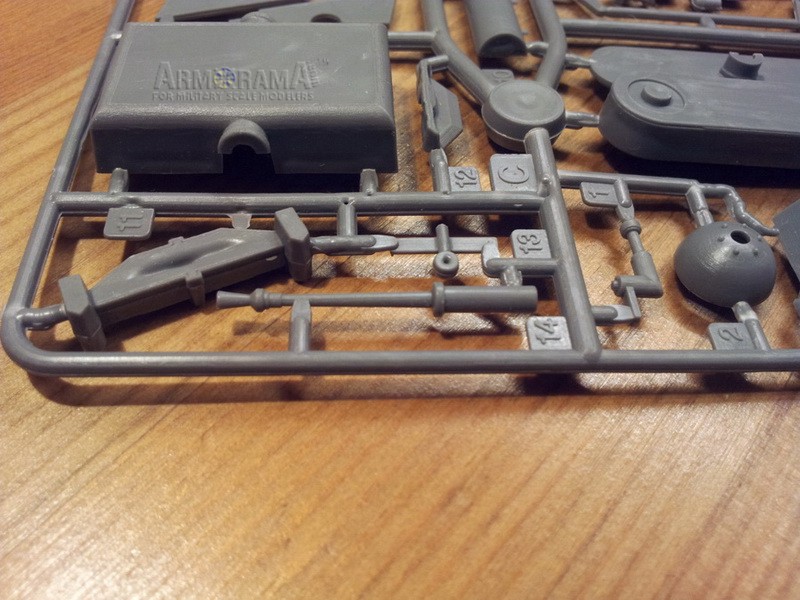
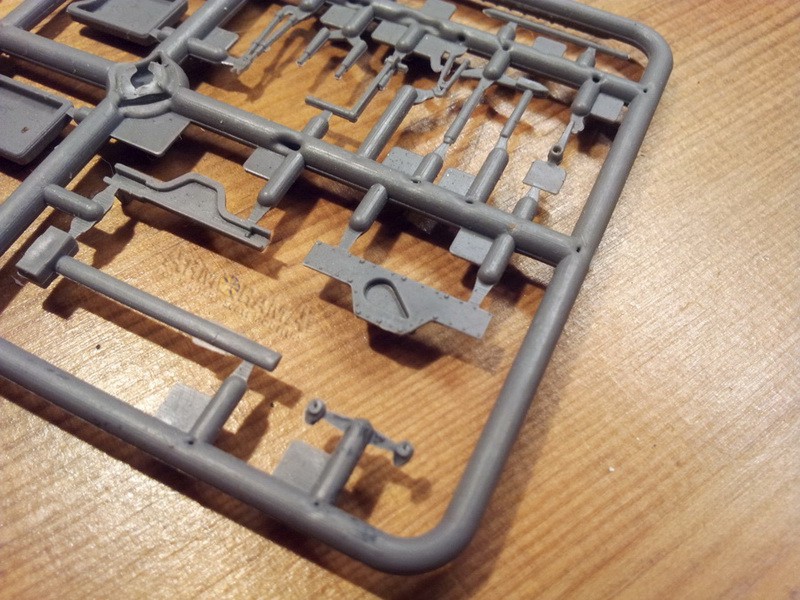
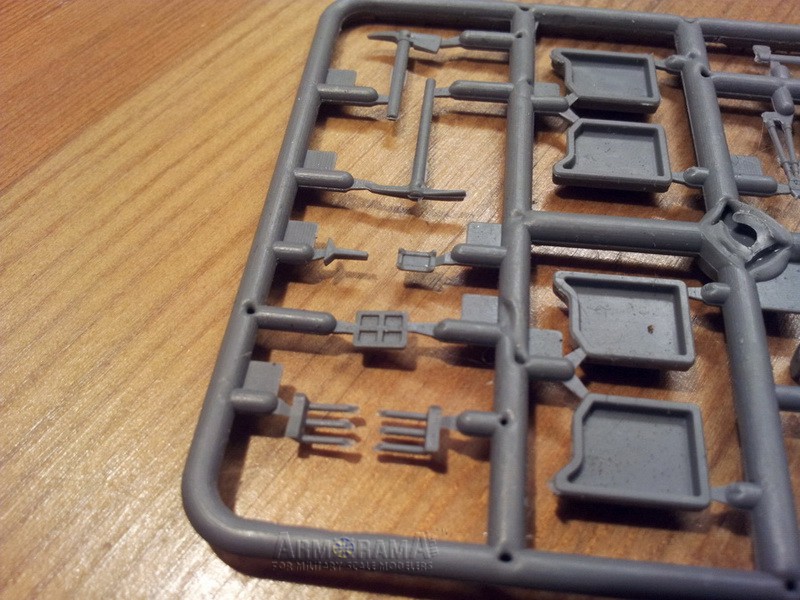
Sprue B holds 9 of the bigger parts for the vehicle. Among them are the turret parts without the weapons and the 2 parts that go on to the vehicles front, among them the characteristic louvered radiator grill. The latter part is molded shut as well.
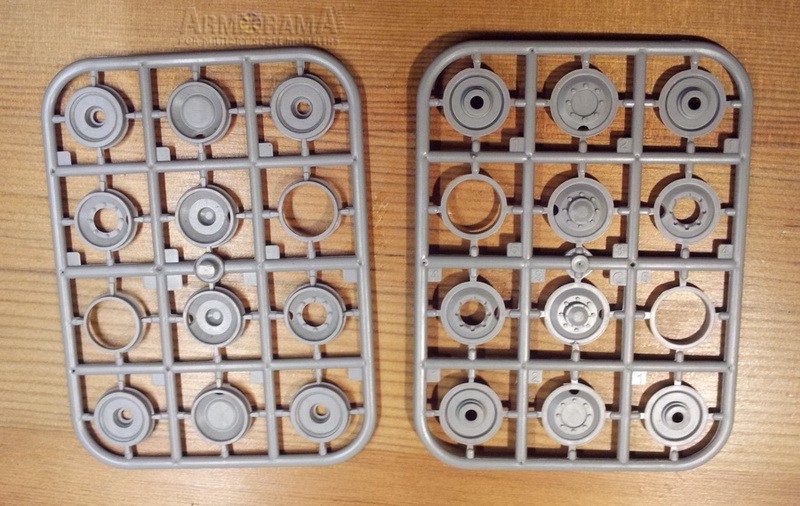
Sprue C x2 has the wheel rims. They consist of two halves that you put inside the rubber wheels. The bolt detail is spot on. If I had to have a nitpick here it would be that the centers of the wheels of an original ADGZ protrude more out of the wheel rim. There is a little bit of flash on some parts but nothing a quick flick with a hobby knife cant solve.
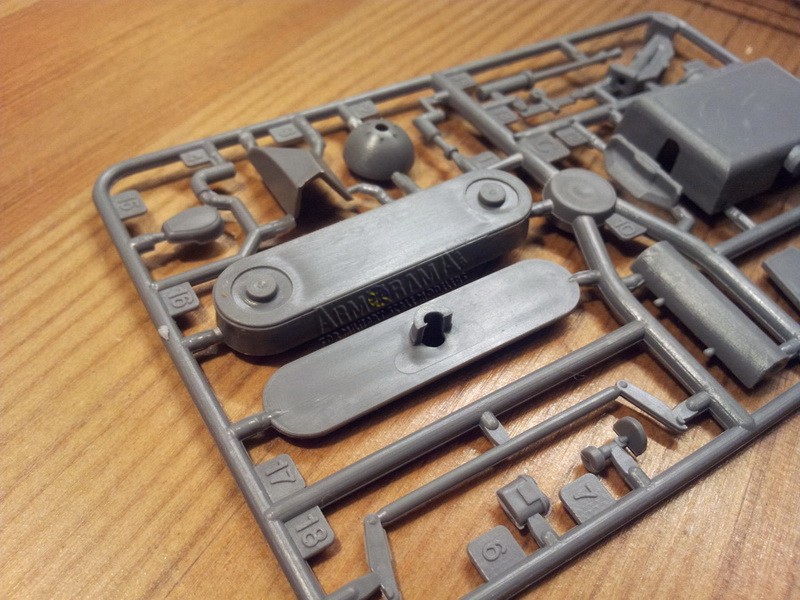
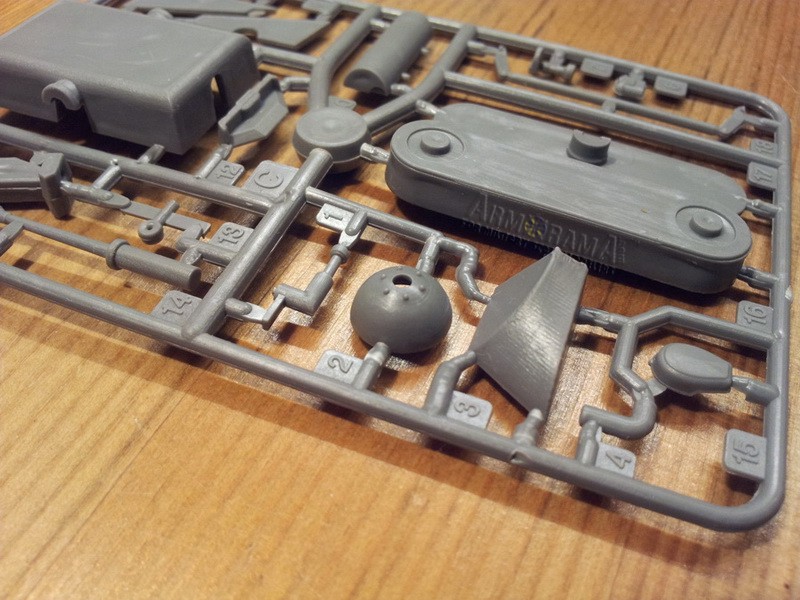
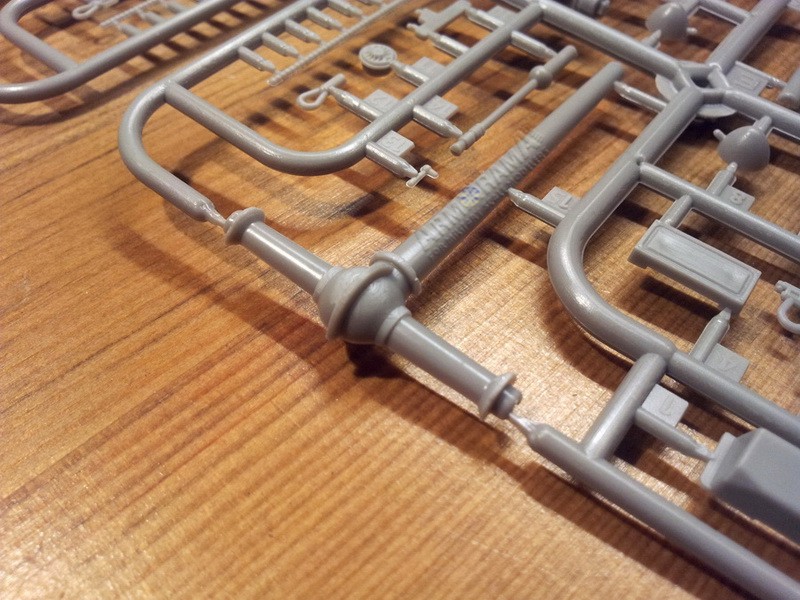
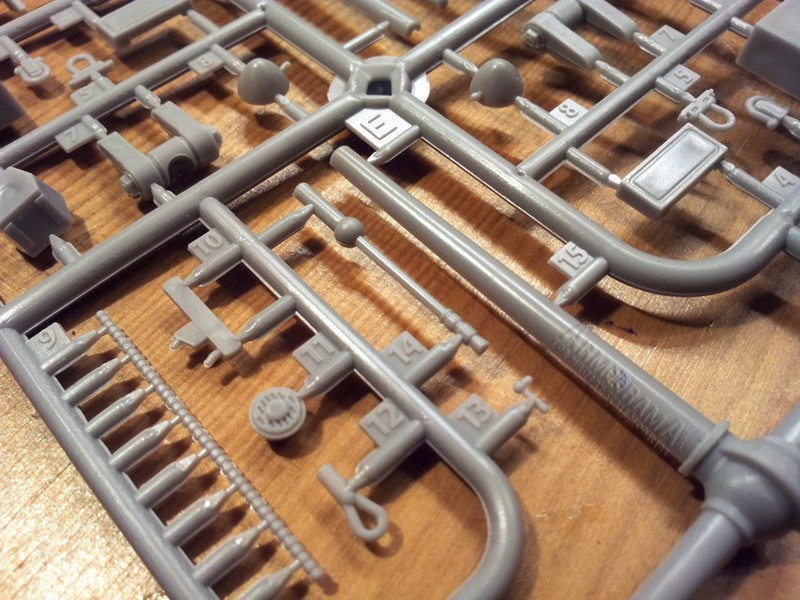
Sprue D x2. contains the most noticeable features of this sprue are the suspension parts for the middle wheels. Also present are parts for a very big leaf spring setup, parts for the vehicles steering and a notek light. The 2 halves of the exhaust, a rather simplified 2cm KwK35 and some other bits and bobs to detail the ADGZ are also included. Some parts have a bit of flash here and there and most of the small sinkholes are in places where they cant be seen and other wise a bit of putty and you are done.
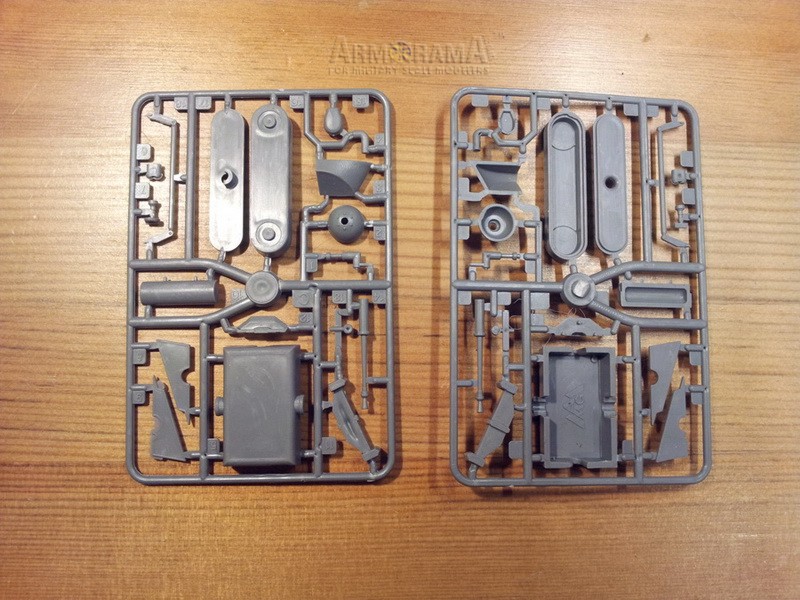
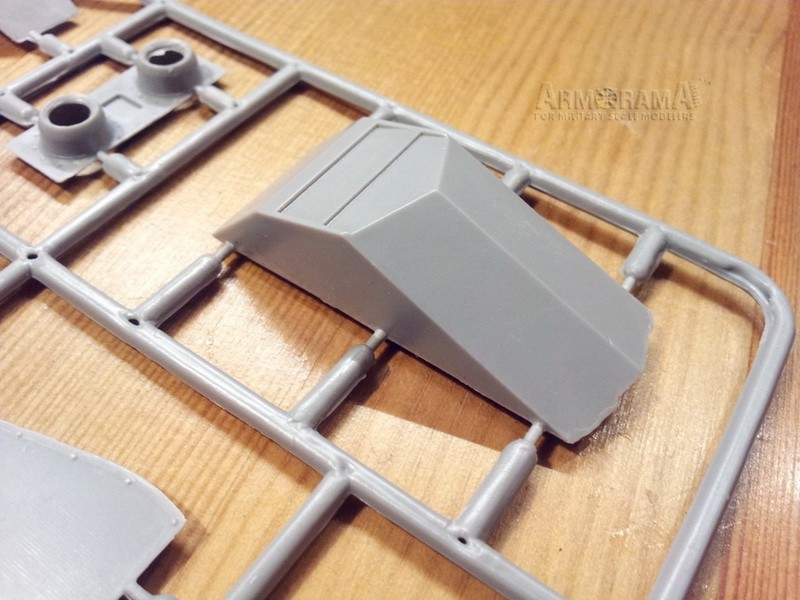
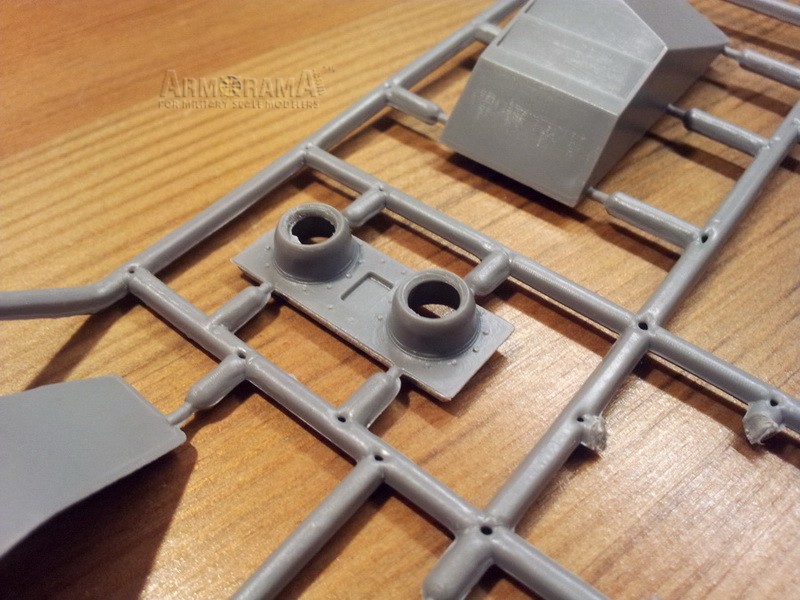
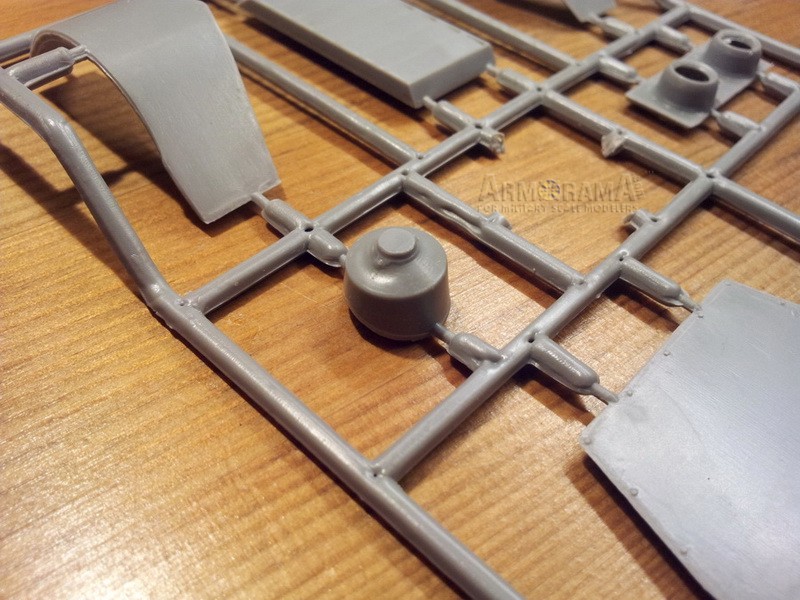
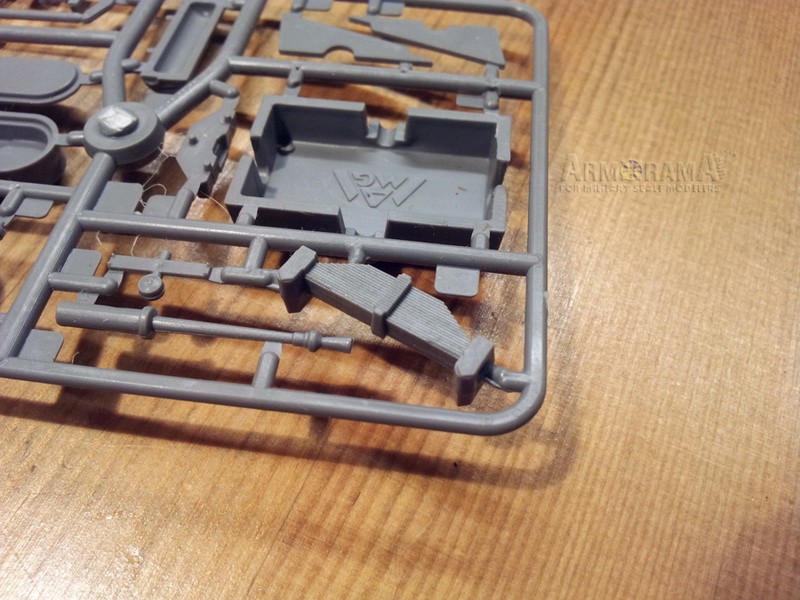
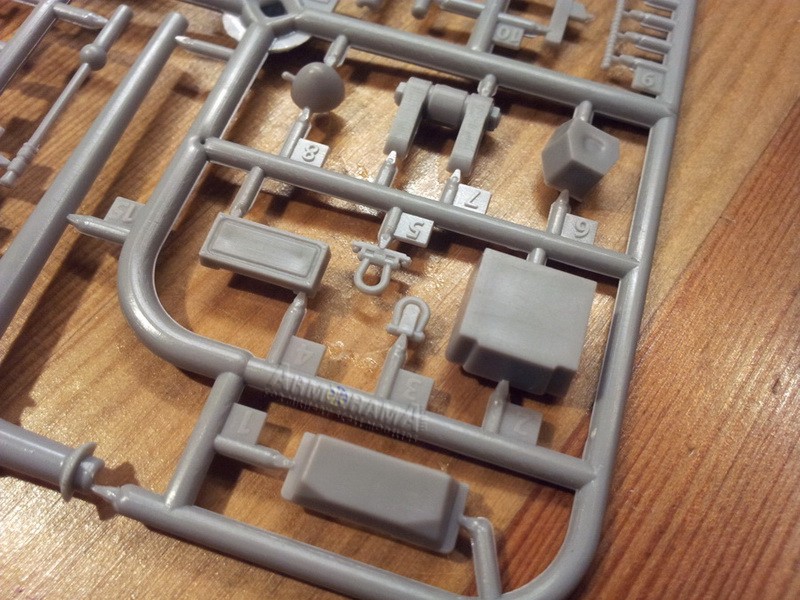
Sprue E x2 is the home of detail bits for the front suspensions. There are 2 drive shafts which dont have any locator pins so some care in making sure these line up right with each other is needed. Included are storage bins for the underside of the vehicle as well as the characteristic cased headlights. Among other parts here are the car horn, a MG34 barrel without cooling mantle (more on that later), strips of hinges that youll have to cut to size yourself to fit on top of the hatches and some smaller parts for additional details.
Details are good to decent. What details are present, are sharply casted. Bolt detail quite good. Small sinkholes are visible on the storage bins lids.
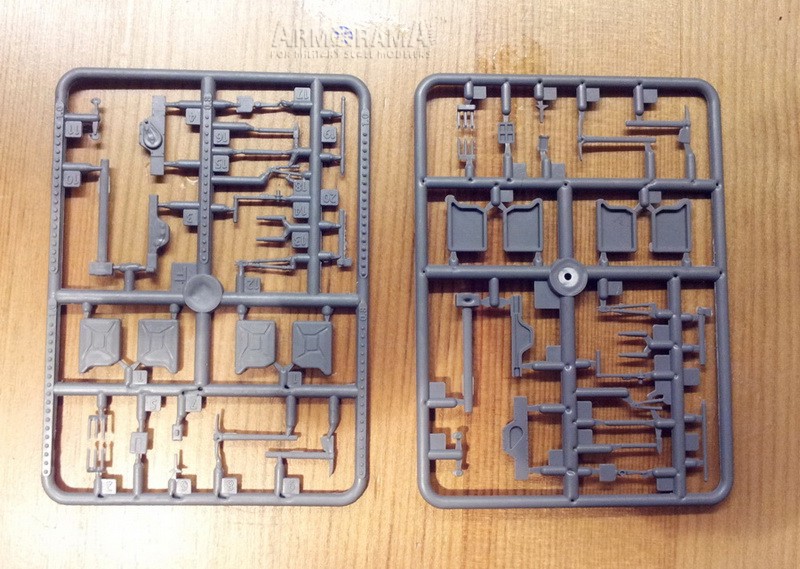
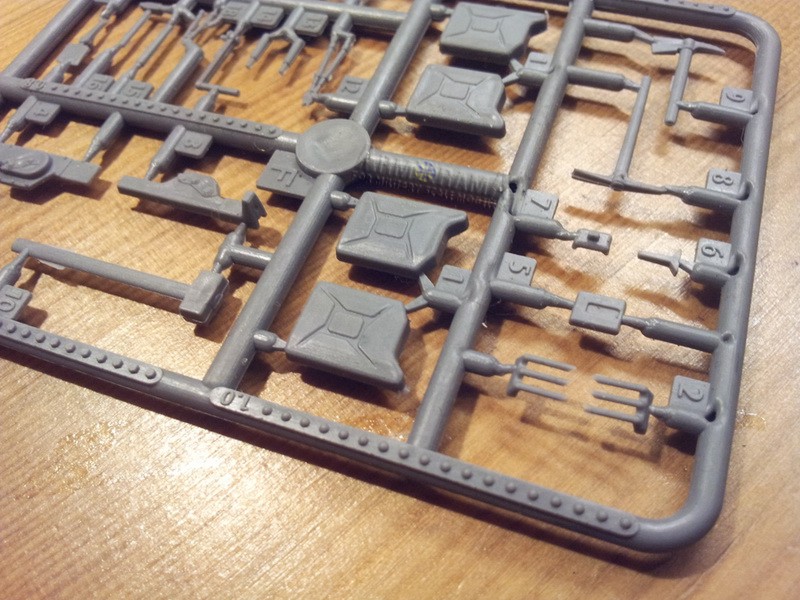
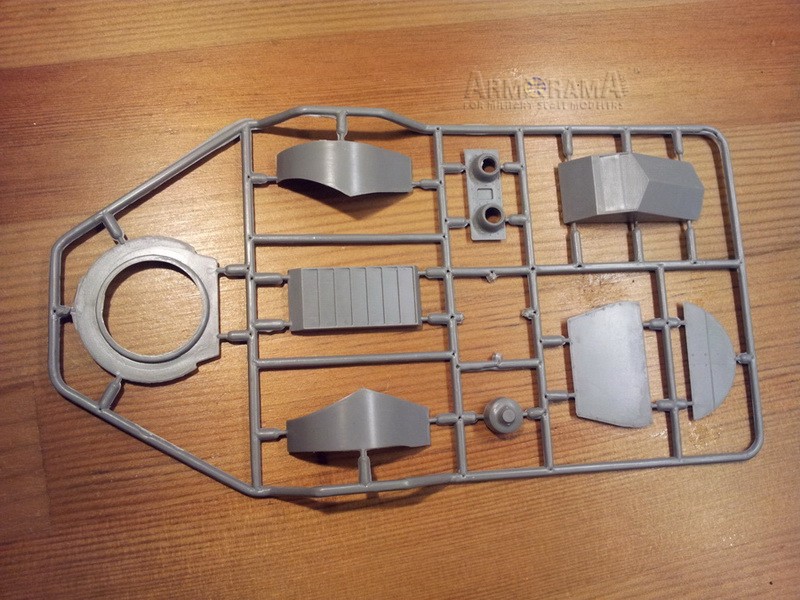
Sprue F x2 has all the tools that need to go on the upper surfaces of the vehicle. 2 very nicely executed jacks, 4 jerry cans without any lettering stamped in. On the sprue themselves, AMG provides you with 5 strips of rivet and bolt heads in 2 sizes: size 1mm - hexagonal, bolt with piece of screw sticking out and round headed, in 0,8mm cylindrical and round headed bolts. Each strip counts 18 bolts. With 2 sprues that comes to a total of 36 bolts, making it a quite useful addition to the kit. The Instructions do not show where to add these, but still it is a nice thing for other detail projects.
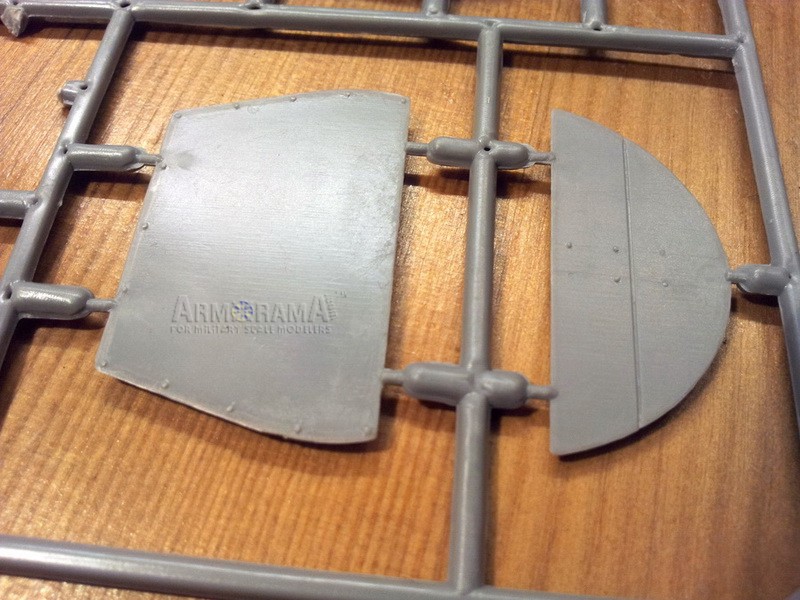
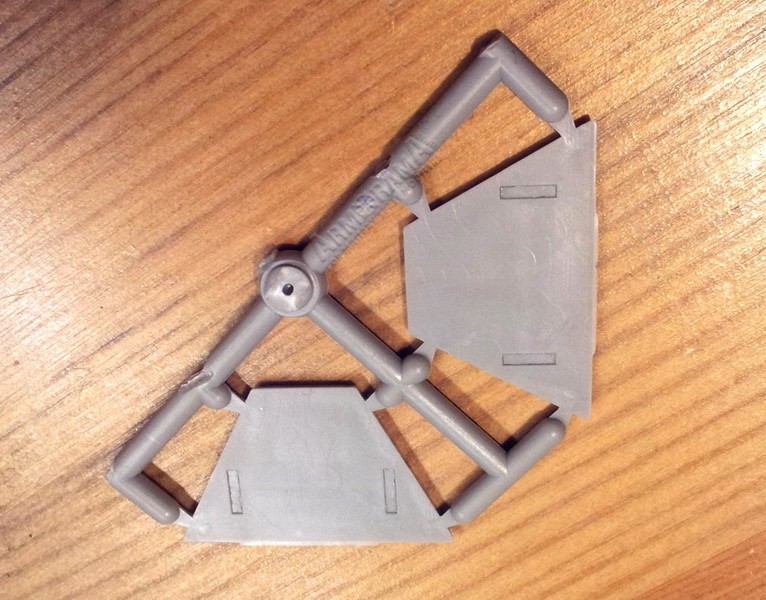
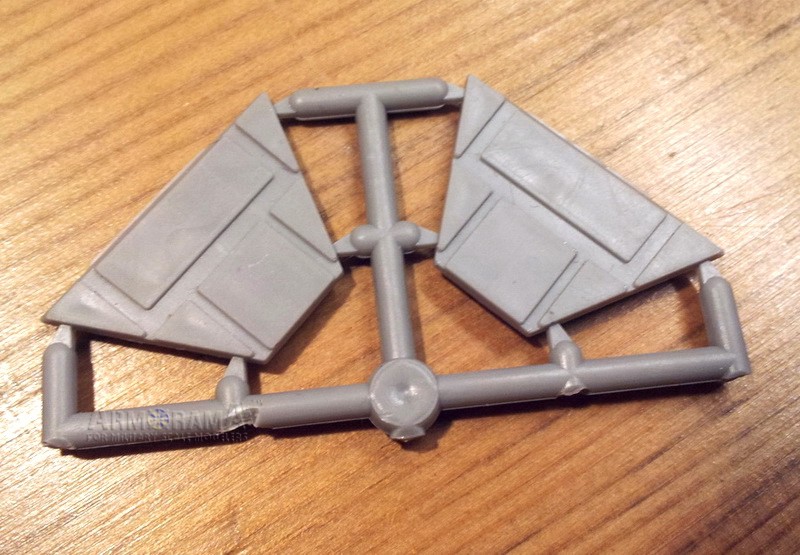
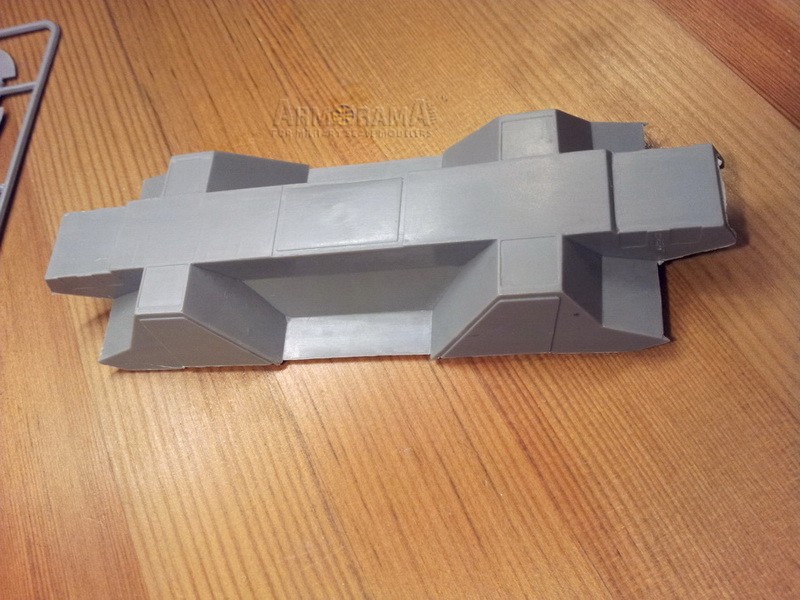
Sprue G holds 2 parts and they are both the armored endplates for the lower body of the vehicle.
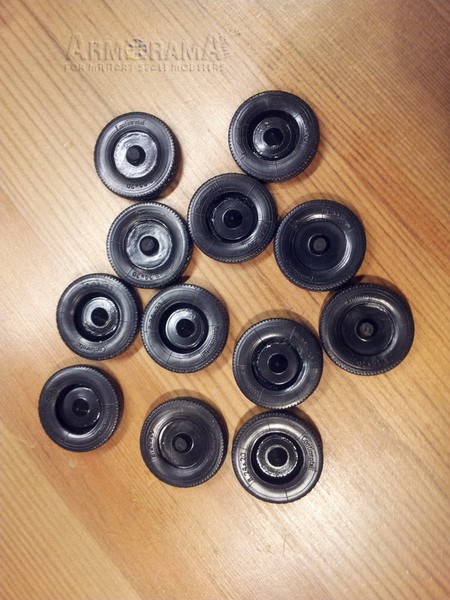
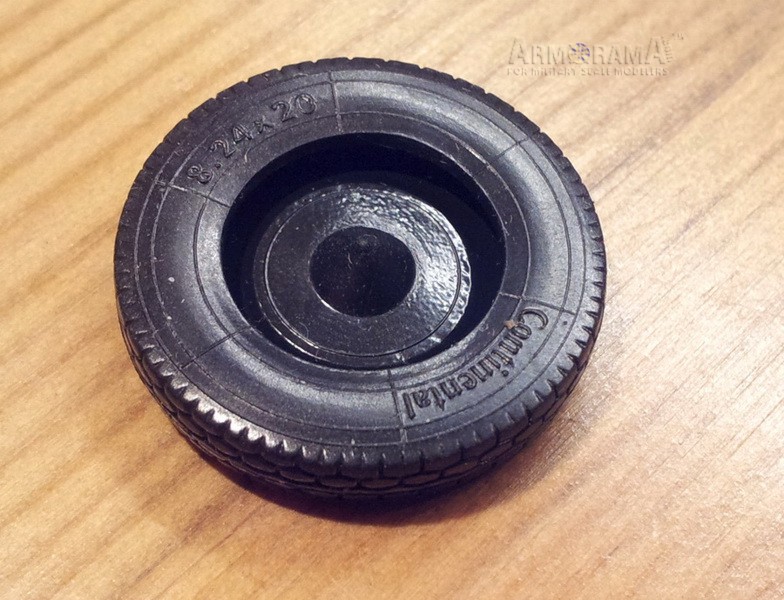
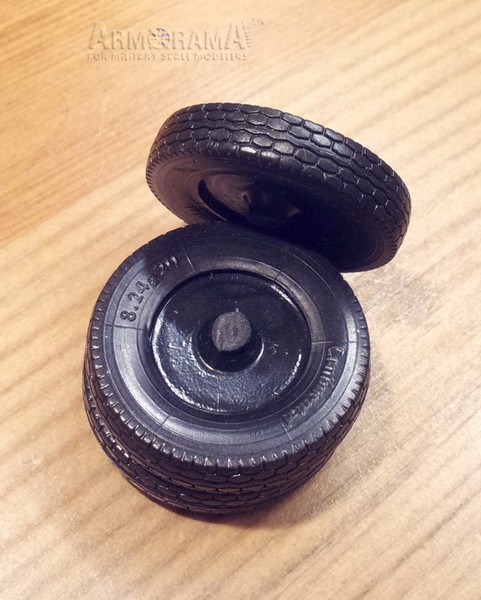
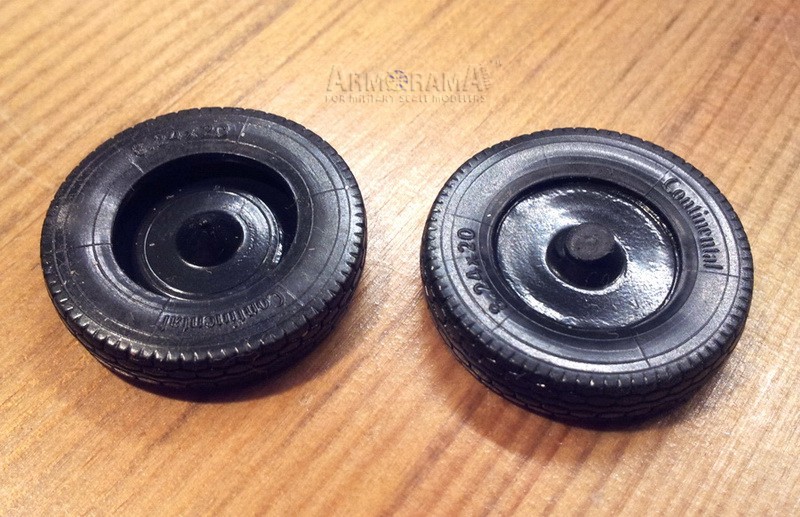
Parts R are the rubber tires. They have some really nice details on them. The sidewalls have nice rib detail and the Continental logo and tire-size-indication (8.24x20) are both super sharp. Since the ADGZ from this kit is a so called late vehicle (meaning it is from the second batch) this probably also is the reason that the thread pattern of the tires differ from most photographs. Still I have seen 1 or 2 photographs where the vehicle sports this type of pattern so it is not wrong.
There is one thing Im wondering how that will work out when I start building the kit. And that is how the wheels are delivered in the kit. AMG molded them in such a way that you dont have such an ugly cutting mark on the thread pattern of the wheel. This is a well known problem with rubber tires. However this will leave you with a flange like structure which closes off the center part of the wheel. That needs to be cut out. I have no clue how easy that will go and how neat it allows you to cut it out. Some care is needed there.
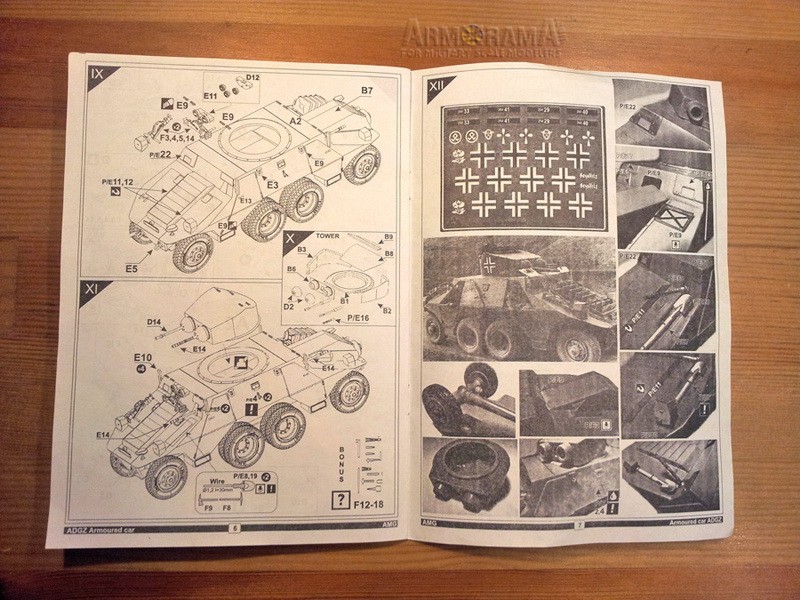
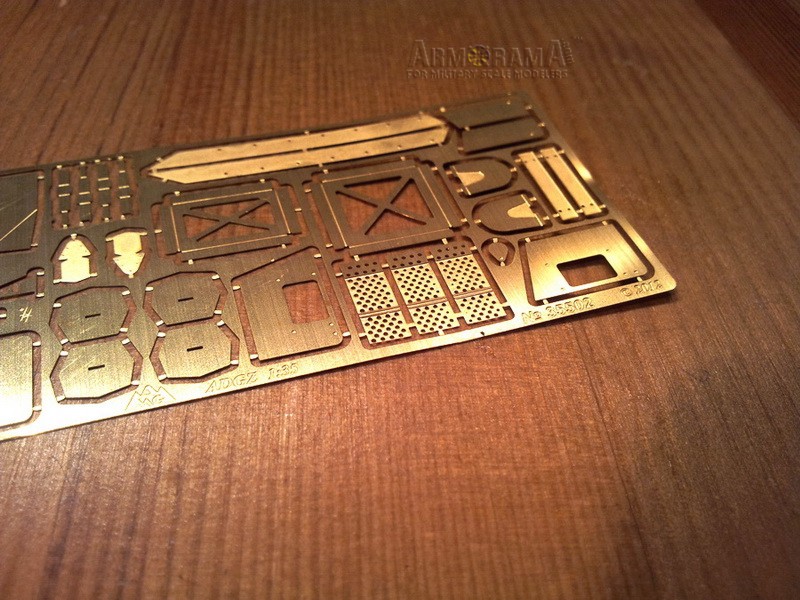
The PE Fret has no less than 42 parts. Among them are the protection plates for the 2 differentials. Tool clamps, detail parts for the louver part on the front, shovel blades, jerry can racks, the cooling mantles for the MG34s and among other detail parts also the headlight covers represented as a plate with a small slit in it. In all the pictures I have seen so far of the ADGZ it appears to have a wire mesh protection. It could be there were ADGZs with a plate in front of the headlights but I think I have not seen it yet.
The Decal sheet has markings for 4 different ADGZs.
- #204-29 Cross Aces Soviet German Front 1942
- #204-40 Hpt. Koch Regenburg
- #204-41 Unit unknown 1942-1945
- #204-33 Seydlitz 7th SS Freiwillige gebirgs division Prinz Eugen Yugoslavia 1943.
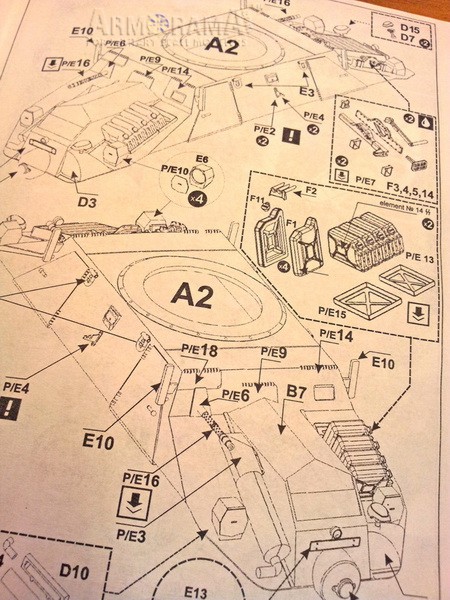
Instruction booklet consists of 8 pages A5 format, starting with a bit of background info on the vehicle. It is based like this: first a page that shows all the sprues and parts and then the whole built process is shown in 11 steps. Sometimes the images appear to be a little cluttered but with a bit of examination everybody should be able to build it without any problems. Page 7 has some pictures of the built vehicle and the purpose is to give some ideas of several details but since it is a black and white copy half of the images are not very clear. And page 8 holds the paint schemes and decal locations.
Kit vs. the Real Deal
Actually as far as I can see it holds up really good. The length of the vehicle is 6,26 meters. Scaled down to 1:35 this comes at 17,8 cm and that is correct. All the angles of the vehicle seem to match up with the drawings I have available. The original vehicle also had the bulky hinges. The thread pattern of the tires appears in pictures. Wheels are quite close. Nice bolt detail in the correct places.
Conclusion
This is one of those purchases that I really have been looking forward to. It is literally miles ahead of the old Schmidt kit. It is pretty accurate depiction of this unique vehicle. Sure there are some parts that are a bit simplified. Like the 2cm KwK35 but there are numerous aftermarket options for that. Also the PE cooling mantles on the MG34s can be a hassle to get correct. You could replace those with versions from Dragon or RB models for instance.
The headlight covers are an unknown type to me. I wont say it never existed, its just I have never seen it. It is a pity that the doors have not the option to be shown open. Same goes for the louvers in the engine deck. Then again, since there is no interior available and also not much information regarding that aspect it might not be a bad thing. I like the additional bonus of the bolts to be found on sprue F. Even if you dont use them on the ADGZ they will be handy for other detail projects.
At the price this kit is sold I really think it is a good purchase. It allows you to build one of the more unique vehicles used by the German army during the war years. It seems to be correct in a lot of aspects. Also included are very nice rubber tires and a lot of PE to detail the vehicle. Id say it is well worth it. I have no clue how fast these kits are selling but if you want one you might have to act fast. Sure there are around 18 times more kits available then there were ever original ADGZ armored cars. But still 1000 kits might just disappear like that.
SUMMARY
Highs: Unique subject. Nice details, pretty accurate. Lots of PE, nice clear decals.Lows: Some parts are very simplified. Most noticeable in the gun department. The PE cooling mantles are very hard to do right - replacement is the best option here.Verdict: A very nice kit. A must have for the early war, heavy armored car and oddities aficionados
About Robert Blokker (FAUST) FROM: NOORD-HOLLAND, NETHERLANDS
Started modelling when I was about 7 or 8 years old had a little break in between (school, girls partying) and eventually returned when finding this site in 2002. Main interest WW2 German army, wheeled vehicles and radio and communication troops or every other thing that manages to catch my interest...


Comments