Nordrhein-Westfalen, Germany
Joined: May 26, 2008
KitMaker: 1,168 posts
Armorama: 256 posts
Posted: Tuesday, March 29, 2011 - 09:33 AM UTC
Good luck then, Jeremy!
I have been able to finishe the tank tonight. I was planning on finishing the whole dio, but it'll have to wait until tomorrow, then. I any case I am happy to have finished the main piece for the dio and have already all the goodies ready to wrap up the show. I guess I'll take the whole thing down to my regional show competition this weekend.
So here's what the beast looks like!


Every bit of constructive criticism is highly appreciated. Please remember it is my first tank, so I'll need all the help I can get.
Cheers,
Guido
Edit: Sometimes one is blind enough to not see, that the track is off the return rollers. Jeeez! So more photo shooting tomorrow.
AKA "Tailor" -VMF'06 - German Gamblers
http://www.youtube.com/channel/UCk8zhb1sc4Pe3BRLqq3d-SQ
Texas, United States
Joined: February 22, 2008
KitMaker: 5,026 posts
Armorama: 1,604 posts
Posted: Tuesday, March 29, 2011 - 11:12 AM UTC
Guido, good job on finishing your M18, without my glasses I cannot see the problem with the return rollers


Bob
If it aint broke dont fix it.
Victoria, Australia
Joined: March 14, 2006
KitMaker: 1,973 posts
Armorama: 1,843 posts
Posted: Friday, April 01, 2011 - 10:13 PM UTC
Hey Guys !
Here is my M24, a bit of work over the last few days. Primer tomorrow.
Strictly OOTB with some Warrior Figs later


Cheers
Paul
OddBall: "It's a wasted trip baby. Nobody said nothing about locking horns with no Tigers"
KIlgore: " I love the smell of napalm in the morning. ...The smell, you know that gasoline smell, the whole hill. Smelled like... victory."
Texas, United States
Joined: June 29, 2010
KitMaker: 5,854 posts
Armorama: 4,817 posts
Posted: Saturday, April 02, 2011 - 06:11 AM UTC
This will be my quick build for the campaign. No AM here, just box stock and paint. Wish me luck guys!


Texas, United States
Joined: February 22, 2008
KitMaker: 5,026 posts
Armorama: 1,604 posts
Posted: Saturday, April 02, 2011 - 10:37 AM UTC
@ Paul: what kit is that, looks fairly easy I may need to try it if it is.
@ Jeremy: just spray it with some flat clear and call it done

Bob
If it aint broke dont fix it.
Victoria, Australia
Joined: March 14, 2006
KitMaker: 1,973 posts
Armorama: 1,843 posts
Posted: Saturday, April 02, 2011 - 11:00 AM UTC
Quoted Text
@ Paul: what kit is that, looks fairly easy I may need to try it if it is.
@ Jeremy: just spray it with some flat clear and call it done 
Bob
Italeri Bob
OddBall: "It's a wasted trip baby. Nobody said nothing about locking horns with no Tigers"
KIlgore: " I love the smell of napalm in the morning. ...The smell, you know that gasoline smell, the whole hill. Smelled like... victory."
Texas, United States
Joined: June 29, 2010
KitMaker: 5,854 posts
Armorama: 4,817 posts
Posted: Saturday, April 02, 2011 - 11:18 AM UTC
Quoted Text
@ Paul: what kit is that, looks fairly easy I may need to try it if it is.
@ Jeremy: just spray it with some flat clear and call it done 
Bob
Hmm, that's a thought

United States
Joined: January 07, 2006
KitMaker: 452 posts
Armorama: 271 posts
Posted: Sunday, April 03, 2011 - 04:14 PM UTC
Ontario, Canada
Joined: September 26, 2006
KitMaker: 210 posts
Armorama: 81 posts
Posted: Monday, April 04, 2011 - 04:32 AM UTC
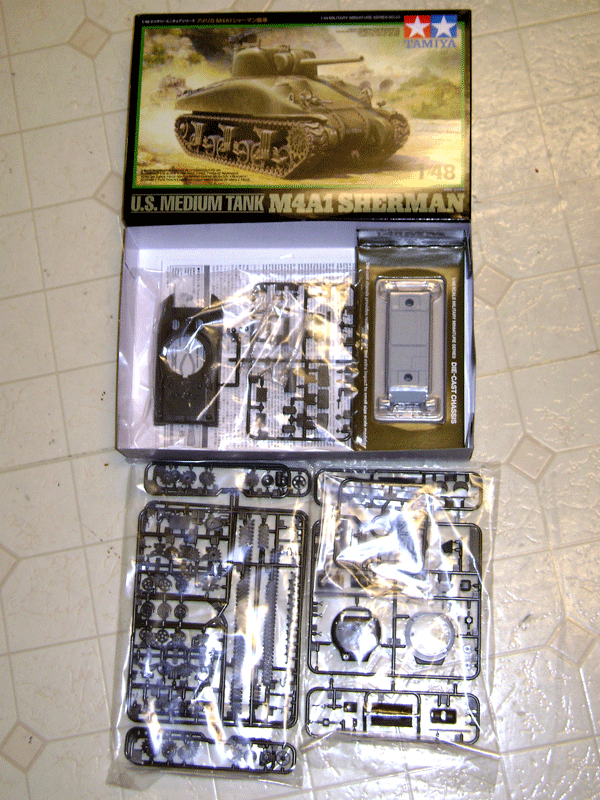
I've progressed pretty well with the campaign but posted very little. I'll see if I can post up some progress pictures tonite. Should be able to at least finish the vehicle before the deadline. Would like to put it on a base and add a figure or two if time permits. We'll see. Need to put some more time in and getter-done!! A 1/20th scale Tamiya F1 car is waiting in the wings to get built next.
Also just wanted to mention that everyone has been submitting some great work. Keep it up !!! I luv all the photo's of everyones progress to date. Good stuff.
Texas, United States
Joined: February 22, 2008
KitMaker: 5,026 posts
Armorama: 1,604 posts
Posted: Monday, April 04, 2011 - 05:28 AM UTC
Michael,
Did you paint the national markings or is that a massive decal on the hood?
Bob
If it aint broke dont fix it.
United States
Joined: January 07, 2006
KitMaker: 452 posts
Armorama: 271 posts
Posted: Monday, April 04, 2011 - 06:03 AM UTC
Bob -
The markings are a dry transfer set from Archer. This was the first time I've used dry transfers, so I had a few mistakes. I touched up some tears with a little Vallejo Panzer Aces Stencil, which added a little bit of a stained look. The transfer set is really nicely done.
Michael
Ontario, Canada
Joined: September 26, 2006
KitMaker: 210 posts
Armorama: 81 posts
Posted: Monday, April 04, 2011 - 02:54 PM UTC
Texas, United States
Joined: June 29, 2010
KitMaker: 5,854 posts
Armorama: 4,817 posts
Posted: Monday, April 04, 2011 - 08:19 PM UTC
Once I finish up another build I can tackle my kit. I need to make some sponson fillers for it, but other than that it's been a really nice kit OOB. Just a little chunky on some of the details
 Michael
: Glad to see you back, and nice job on the halftrack! Did you apply the transfers dry or wet?
Tom: I dig the layered paint chipping. How did you ever get around all of those air bubbles?
Nordrhein-Westfalen, Germany
Joined: May 26, 2008
KitMaker: 1,168 posts
Armorama: 256 posts
Posted: Monday, April 04, 2011 - 11:24 PM UTC
Lovely work, guys! Great weathering on the Styer and nice and clean build of the GMC. Certainly lots of work went into these. Bravo Zulu!
Now I am officially wrapping up my campaign contribution by submitting the pics of my finished dio "Crock of Cognac, 805th TDBtn, Italy 1944". It was pleasure to participate. Thanks for the input: I have certainly lerned a lot on this first ever tank project.
I hope you like the finished product. Cheers and C/U around!
Guido


AKA "Tailor" -VMF'06 - German Gamblers
http://www.youtube.com/channel/UCk8zhb1sc4Pe3BRLqq3d-SQ
United States
Joined: January 07, 2006
KitMaker: 452 posts
Armorama: 271 posts
Posted: Tuesday, April 05, 2011 - 09:06 AM UTC
Tom - Nice job on the chipping! What colors do you use?
Jeremy - Thanks! I applied the transfers dry, although I used the wet method to apply the transfers on the dash. I had some trouble around the hinges on the hood, but eventually got it to settle in.
Guido - Fantastic! I love the details that you put into your diorama. I've enjoyed your in-process photos as well.
Texas, United States
Joined: February 22, 2008
KitMaker: 5,026 posts
Armorama: 1,604 posts
Posted: Tuesday, April 05, 2011 - 06:06 PM UTC
@ Tom: your chipped paint layered effect is great.
@ Guido: The M 18 looks peaceful on your street.
Bob
If it aint broke dont fix it.
Ontario, Canada
Joined: September 26, 2006
KitMaker: 210 posts
Armorama: 81 posts
Posted: Wednesday, April 06, 2011 - 01:33 PM UTC
Michael and Bob - Thanks!! The first time I ever attempted this chipping effect, it looked absolutely horrible. Many models later, I'm getting better at it.
Michael - Basically, it's a VERY light *splotch* of the base color applied to the area you want to create a chip. For this vehicle, I then used german grey (humbrol paints) to fill in the chip area and try to leave a thin light base color outline. The tiny chips are just steel wool dipped in a drying out German grey paint and carefully applied.
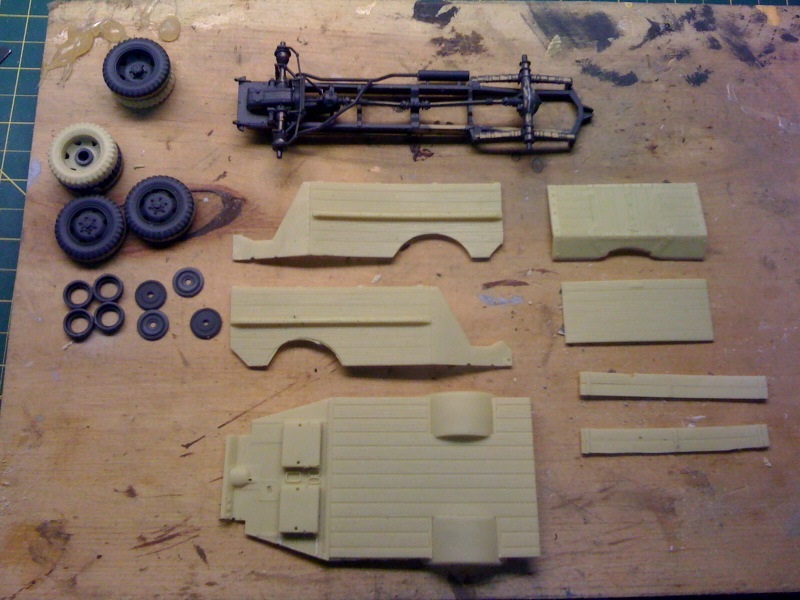
Tonight the wheels were put on the axles and the dash into the cab. Getting closer to some big-time weathering.
New York, United States
Joined: March 08, 2010
KitMaker: 3,662 posts
Armorama: 3,078 posts
Posted: Wednesday, April 06, 2011 - 03:27 PM UTC
Active Campaigns on the bench:
Operation Fall Gelb - Pz.Kpfw. IV Ausf. C
Engineering the Future - M-26 Recovery Vehicle
115 Campaigns completed
Attica, Greece / Ελλάδα
Joined: February 17, 2010
KitMaker: 625 posts
Armorama: 608 posts
Posted: Thursday, April 07, 2011 - 09:24 AM UTC
Hello guys.
@Paul : Very nice halftrack.
@Tom : Excellent chipping and nicely faded camo scheme.
@Guido : Very nice and clean dio. I would prefer a varnish on the base. A simple water based varnish for wood which you could apply with a large brush.
It's very nice to see a nicely made dio sitting on a ''luxurius'' base.It's just a proposition and a matter of personal taste.
The little beast I am building is getting along pretty well. I have just finished the base color and I am about tos start the really fun part : The weathering .

P.A.
I used to be a scale modeler like you. Then I took an arrow in the knee.
Nordrhein-Westfalen, Germany
Joined: May 26, 2008
KitMaker: 1,168 posts
Armorama: 256 posts
Posted: Thursday, April 07, 2011 - 07:09 PM UTC
Thank you for your kind comments, gentlemen!
This certainly wasn't my last AFV project: It's been a lot of fun, indeed.
The base plate is treated with bees wax and polished with the Dremel. The lighting does not really show it, but the plate looks like light furniture. I had been pondering a dark woodstain, but I thought that the base was quite dark already, so I wanted to have a contrast. Thanks for the tip anyway, Alexander!
That is a a very nice gun, already. It'll be a blast when finished.
Cheers,
Guido
AKA "Tailor" -VMF'06 - German Gamblers
http://www.youtube.com/channel/UCk8zhb1sc4Pe3BRLqq3d-SQ
spongya
 Associate Editor
Budapest, Hungary
Joined: February 01, 2005
KitMaker: 2,365 posts
Armorama: 1,709 posts
Posted: Thursday, April 07, 2011 - 09:50 PM UTC
I'm actually finished, just need some time to take photos...

Please visit me at my blog: https://butterfingeredmodelbuilder.wordpress.com/
Texas, United States
Joined: February 22, 2008
KitMaker: 5,026 posts
Armorama: 1,604 posts
Posted: Friday, April 08, 2011 - 07:13 AM UTC
Andras, cant wait for the photos.
Bob
If it aint broke dont fix it.
Slovakia
Joined: July 20, 2004
KitMaker: 99 posts
Armorama: 95 posts
Posted: Monday, April 11, 2011 - 08:33 AM UTC
I am starting


Texas, United States
Joined: June 29, 2010
KitMaker: 5,854 posts
Armorama: 4,817 posts
Posted: Monday, April 11, 2011 - 05:17 PM UTC
That is an awesome kit Roman! I bought it on a whim and wondered at first if I made a poor choice, but I'm never second guessing that decision again! Really looking forward to seeing yours come together

England - East Midlands, United Kingdom
Joined: September 30, 2008
KitMaker: 253 posts
Armorama: 218 posts
Posted: Tuesday, April 12, 2011 - 07:11 AM UTC
hi guys coming to the end of my build sorry for the lack of pics of my progress but sort of just cracked on with it and it was like (dam should of took some pics of that

).anyway some nice finished builds i see tailor nice dio pal love the M18

.roman best get cracking mate


