Campaigns
Where Armorama group builds can be discussed, organized, and updates posted.
Boots on The Ground
MHX2014
Visit this Community
Slovakia
Joined: January 08, 2014
KitMaker: 27 posts
Armorama: 24 posts
Posted: Sunday, February 09, 2014 - 11:56 AM UTC
I would like to participate by adding some


retiredyank
Visit this Community
Arkansas, United States
Joined: June 29, 2009
KitMaker: 11,610 posts
Armorama: 7,843 posts
Posted: Sunday, February 09, 2014 - 12:29 PM UTC
Nice weather has finally arrived. I will post some photos, tomorrow.
MHX2014
Visit this Community
Slovakia
Joined: January 08, 2014
KitMaker: 27 posts
Armorama: 24 posts
Posted: Wednesday, February 12, 2014 - 03:20 AM UTC
Does it look like Joachim Peiper?
yolk24
Visit this Community
Visayas, Philippines
Joined: November 07, 2007
KitMaker: 40 posts
Armorama: 30 posts
Posted: Wednesday, February 12, 2014 - 05:17 AM UTC
Thank you Sal!
I'm done with these two figures & 3 more to go.. . .
nng-nng
Visit this Community
Bayern, Germany
Joined: October 22, 2013
KitMaker: 380 posts
Armorama: 376 posts
Posted: Wednesday, February 12, 2014 - 05:31 AM UTC
Like your chaps Jessie,
you might have said it before, but which kit are those guys comming from?
I think I´ve seen them before somewhere else...
yolk24
Visit this Community
Visayas, Philippines
Joined: November 07, 2007
KitMaker: 40 posts
Armorama: 30 posts
Posted: Thursday, February 13, 2014 - 02:32 AM UTC
thanks Fabian! my figures are from dragon, ambush!eastern front #6333, and 1st luftwaffe field division #6274...
noddy927
Visit this Community
Scotland, United Kingdom
Joined: February 15, 2013
KitMaker: 1,273 posts
Armorama: 568 posts
Posted: Sunday, February 16, 2014 - 09:57 AM UTC
Some work done on figures and the base I plan to use is together but lots of work on that yet.


A bit to go, but getting there.

Pete
Lakota
#123
Visit this Community
New Mexico, United States
Joined: November 17, 2008
KitMaker: 1,202 posts
Armorama: 635 posts
Posted: Saturday, February 22, 2014 - 09:00 AM UTC
Howdy Y'all
@Jesse-How do you like those Gen1 First Luftwaffe figures? I have the set also but never got around to building. Story of my life.

I've worked a little more on my 1/48 Russian Infantry. Getting closer to finishing them. Should have six but the end of the weekend or next.


Take care,
Don "Lakota"
Bluestab
Visit this Community
South Carolina, United States
Joined: December 03, 2009
KitMaker: 2,160 posts
Armorama: 1,906 posts
Posted: Friday, February 28, 2014 - 06:56 AM UTC
I've decided to go with a futuristic soldier along the lines of the mercenary groups from Hammers Slammers series of novels. I figure I'll build them now and eventually use them in a what-if style scene...maybe a walker or a hover-tank.

With that said, I've been playing with some helmet details. The first thing I added was a light/pov camera. These were scavenged from the spares. The box mount is a cable coupling from a Dragon King Tiger. The camera is actually an attached section of sprue. The piece on the rear is stretched sprue. It's supposed to be a section of conduit. It's actually as much for looks as anything.


And thanks to the magnifier from a set of helping hands...a close-up shot.


I went back and forth on some sort of visor or facemask. The kit comes with some but they are more like riot helmet facemasks. I took some styrene circlets from the spares, sanded them to shape, and used them as goggles. They aren't perfect but I'm hoping after a couple dabs of crystal clear and some paint, they'll be more believable. I'm not really happy with them so I might just pop them off and replace them with standard goggles from a US figure set. One figure won't have them. Thus is the squad leader and he will use a different sort of eyewear with binocular type properties.

Anyway, picture of the heads with an inserted close-up.


That's it for now.
Lakota
#123
Visit this Community
New Mexico, United States
Joined: November 17, 2008
KitMaker: 1,202 posts
Armorama: 635 posts
Posted: Saturday, March 01, 2014 - 02:20 PM UTC
Howdy Y'all
I finally finished my little 1/48 Russian Infantry. Got 6 of them finished.

Nice campaign, I'm enjoying the builds.
Take care,
Don "Lakota"
JScicluna
Visit this Community
Tasmania, Australia
Joined: March 11, 2013
KitMaker: 77 posts
Armorama: 52 posts
Posted: Sunday, March 02, 2014 - 12:44 PM UTC
Progress has stalled on most of my projects at the moment so slowly been working on these two figures:

Assaulter
The new live resin helmets and radios arrived so I have attached those in addition to scratch building a sledge hammer and radio cord and adding a balaclava in addition to arm patches


Black shadow base has been added


The ram man
Added the same as the assaulted in addition to adding some duct tape on the soldiers plate.


Hopefully get the real painting started in addition to completing the other three operators

Looking forward to seeing other builds.
yolk24
Visit this Community
Visayas, Philippines
Joined: November 07, 2007
KitMaker: 40 posts
Armorama: 30 posts
Posted: Monday, March 03, 2014 - 06:39 PM UTC
hi to all..

Don, Congrats!on your finished figures.
James, very nice figures!looking forward on your painting session.

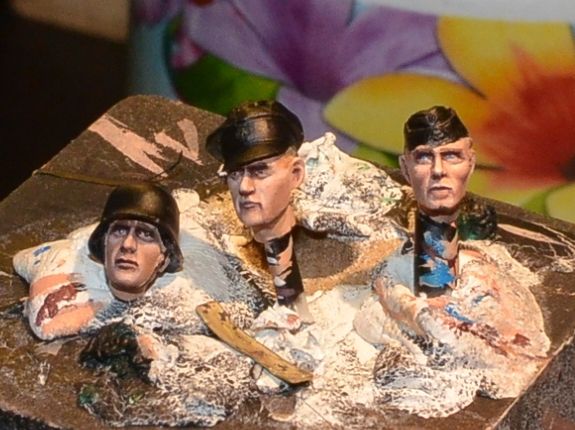
here's my little progress...
painting oak leaf pattern on the uniforms,and more highlights and shadow to be added.


turkeyshot
Visit this Community
New South Wales, Australia
Joined: February 06, 2012
KitMaker: 138 posts
Armorama: 133 posts
Posted: Monday, March 03, 2014 - 09:37 PM UTC
Jessie, excellent work on those smocks. They look great!
Bluestab
Visit this Community
South Carolina, United States
Joined: December 03, 2009
KitMaker: 2,160 posts
Armorama: 1,906 posts
Posted: Tuesday, March 04, 2014 - 06:01 AM UTC
Jessie, those smocks do look nice.

Quick update.

I went back and forth on what colors I was going to use. I was never happy with the gray-scale urban camo. I ended up going med green on the utilities and a darker olive green for the armor. Here's the prepainting.


First figure is a bazooka/RPG soldier. I used a RPG from the spares and got to cutting. The figures have the weapons molded to the hands so I'm actually removing the hands as much as possible. I had to perform surgery on the RPG as well.


Mostly assemble ready to launch. I went dark yellow on the launcher just for some color contrast. I'll probably go dark gray for the projectile.


The second half of the bazooka team. This will be the loader and extra round carrier.


I'm not liking the goggles and have already removed them. I'll be using sets from the spares. There's still a bit of work to do here. If time allows, I may add what they are fighting against....let's just say it's inhuman...mostly.
noddy927
Visit this Community
Scotland, United Kingdom
Joined: February 15, 2013
KitMaker: 1,273 posts
Armorama: 568 posts
Posted: Thursday, March 06, 2014 - 06:04 AM UTC
I have done some more work on the figures, and found another possible base.


But for now I will try and get the figures done.

Pete
retiredyank
Visit this Community
Arkansas, United States
Joined: June 29, 2009
KitMaker: 11,610 posts
Armorama: 7,843 posts
Posted: Friday, March 07, 2014 - 12:23 AM UTC
It has been a while, since my last check in. Some bang up work going on here. Hopefully, I will get a chance to kick off my build. I have a little too much on my plate and the weather is decidedly uncooperative.
ltb073
Visit this Community
New York, United States
Joined: March 08, 2010
KitMaker: 3,662 posts
Armorama: 3,078 posts
Posted: Friday, March 07, 2014 - 06:23 AM UTC
Peter those Brits are looking real good
Here are 3 of my guys
 photo P1080742.jpg
 photo P1080743.jpg
still working on the other 2
noddy927
Visit this Community
Scotland, United Kingdom
Joined: February 15, 2013
KitMaker: 1,273 posts
Armorama: 568 posts
Posted: Friday, March 07, 2014 - 06:58 AM UTC
[quote]Peter those Brits are looking real good
Thanks Sal yours are looking good also, are they the Tamiya tank loaders?

Peter
Bluestab
Visit this Community
South Carolina, United States
Joined: December 03, 2009
KitMaker: 2,160 posts
Armorama: 1,906 posts
Posted: Thursday, March 13, 2014 - 06:14 AM UTC
A bit of progress.

Fabbed up a few weapons. I used FG42s, built up the tops a bit to alter their profile. These will be squeeze bore styled semi-auto rifles. I added a scope from one of the Vempyl set's rifles. I figure this is the squad leader or second in command's weapon.

The second type of rifle is taken from the old Dragon British Desert Rats figure set. I had the weapons sprue from two figure sets. These are to represent a Hammers Slammers-esque powergun that fires plasma. I was going to originally use the standard rifle but it looked really small in the arms of the figures so I used the larger squad weapon instead.

I added straps to each. In all, there will be three FG based squeezebore guns and two powerguns.


Bazooka gunner and his loader basically assembled and awaiting their rifles and final splashes of paint. I am using hands from the spares for some of these. It's easier than performing surgery.


That's it for now. I'd add that the weapons and all are explained by a planned backstory. I've gone back and forth with what type of threat they are facing. I'm going with a cyborg threat idea I played around with a few years back. Basically, the threat are similar to Cybermen. They are basically trying to force convert humanity. I've got a few old 1/32 Airfix kits I might try to convert into cyborgs. I'm looking at something looking like a T600 from the Terminator-verse.
ltb073
Visit this Community
New York, United States
Joined: March 08, 2010
KitMaker: 3,662 posts
Armorama: 3,078 posts
Posted: Thursday, March 13, 2014 - 06:35 AM UTC
[quote]
Quoted Text

Peter those Brits are looking real good
Thanks Sal yours are looking good also, are they the Tamiya tank loaders?

Peter


Yes they are I was a little disappointed in the kit. It's a 4figure kit that has only 2 different body shapes but the give you different heads and arms to form 4 different figures.
My 5th guy is a Dragon hybrid. I know the body and head is
retiredyank
Visit this Community
Arkansas, United States
Joined: June 29, 2009
KitMaker: 11,610 posts
Armorama: 7,843 posts
Posted: Tuesday, March 18, 2014 - 11:04 AM UTC
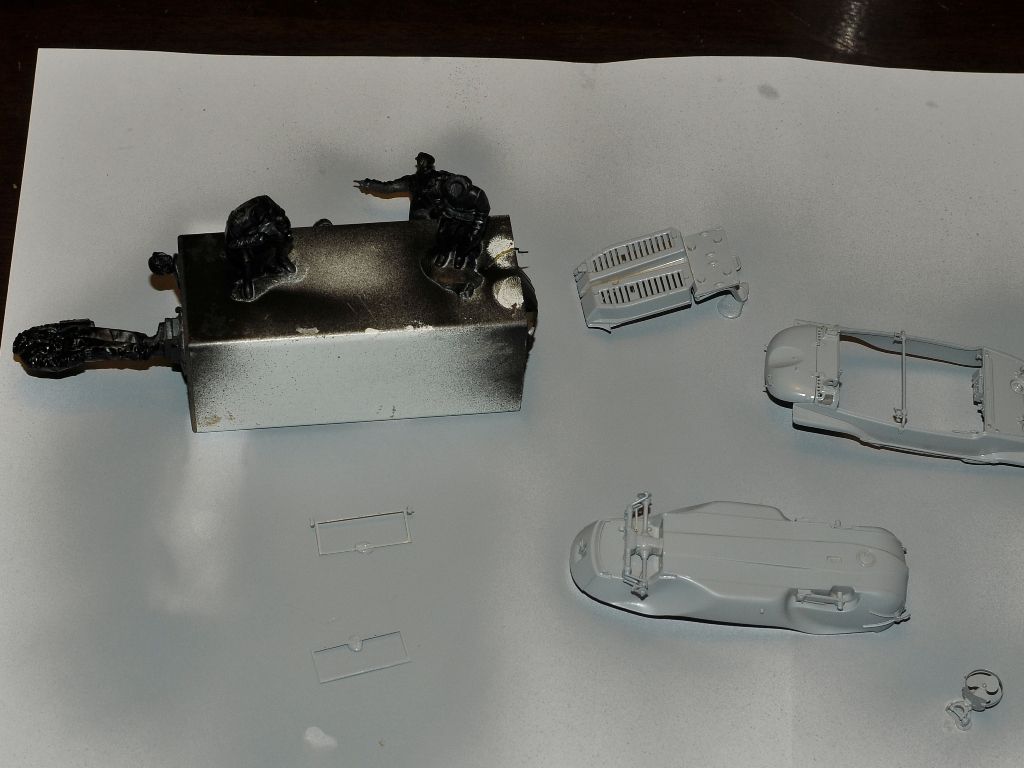
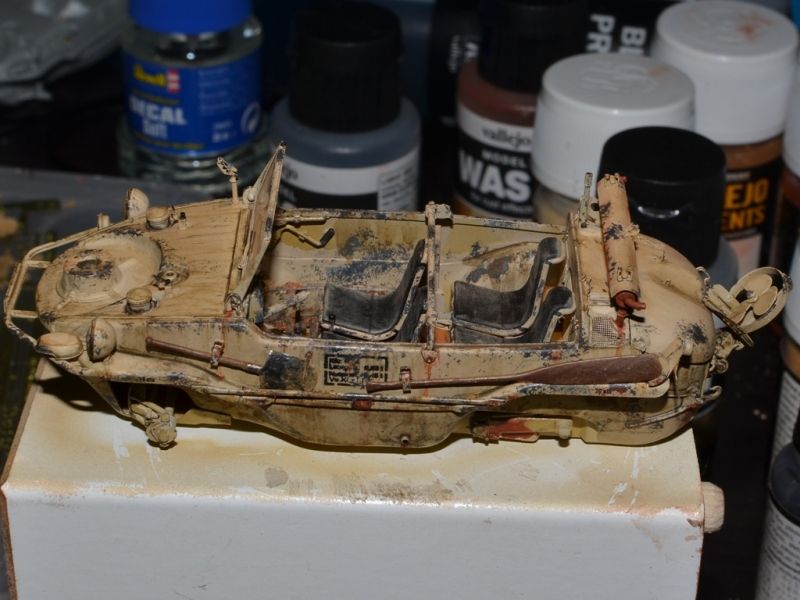
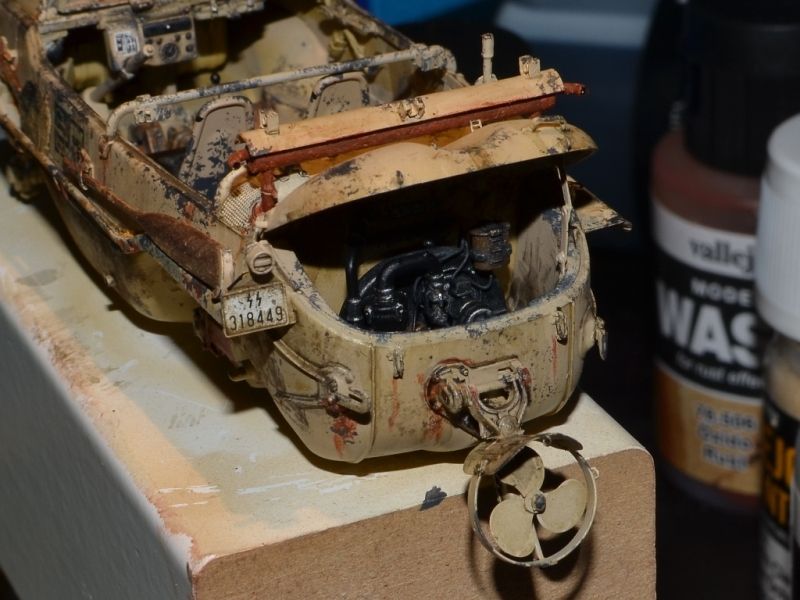
I am reliably informed that I can lay some paint down, tomorrow. Here is my entry:


JScicluna
Visit this Community
Tasmania, Australia
Joined: March 11, 2013
KitMaker: 77 posts
Armorama: 52 posts
Posted: Wednesday, March 19, 2014 - 10:31 PM UTC
Looking forward to yours Matt. Never tried Citadel figures before but just purchased some LOTR figures off the net cheap to try.

Well progress has been slow. I have finished shadows/highlights for the pants and shirt. The radio antennas snapped so I have left them off until the end. I'm going to try and 'paint' the armour/pouches using diluted black dyes with touch-ups. I will see how that goes.

Sorry about the pics. Did them late at night under lights. Might try for better ones tomorrow


Any suggestions welcome. Thanks
Bluestab
Visit this Community
South Carolina, United States
Joined: December 03, 2009
KitMaker: 2,160 posts
Armorama: 1,906 posts
Posted: Thursday, March 20, 2014 - 04:42 AM UTC
Nice work all. Matt, what scale are those?

Progress shots of my guys.

Added some paint to my RPG team. Gave the loader a squeeze-bore rifle. The other guy will have his rifle leaning against a wall or some rubble on the base.


Powergun soldier. I'll probably have him with his left against a wall or something. I decided to change magazines to a thinner make. Speaking of thin, you may also notice the thin neck. The figures really didn't have necks so I make some using pieces of sprue and putting. I'll probably go back in and add a bit more to fill the necks out a bit.


The other powergunner. This one has the groin body armor so I was thinking about naming him the squad leader. Borrowed a hand from the spares.


Squeeze bore gunner. I added a scope from one of the kit's weapons just to add some variety. Not the best pose. The way the kit is engineered, the figure limbs are "keyed" to the torso. So even moving them has to be addressed so the cloth folds line-up. I had hoped to portray this figure as reloading.


A couple of shots of the team lined up.


That's it for now. I've got some touch-up work and the neck thing to address. I'll probably work on the base a bit. I figure I'll keep that pretty simple. I'm still debating on trying to do a couple of cyborg figures. And I'll work up a backstory to explain what's going on, as well as describe some of the weapons and tactics.
retiredyank
Visit this Community
Arkansas, United States
Joined: June 29, 2009
KitMaker: 11,610 posts
Armorama: 7,843 posts
Posted: Thursday, March 20, 2014 - 08:13 AM UTC
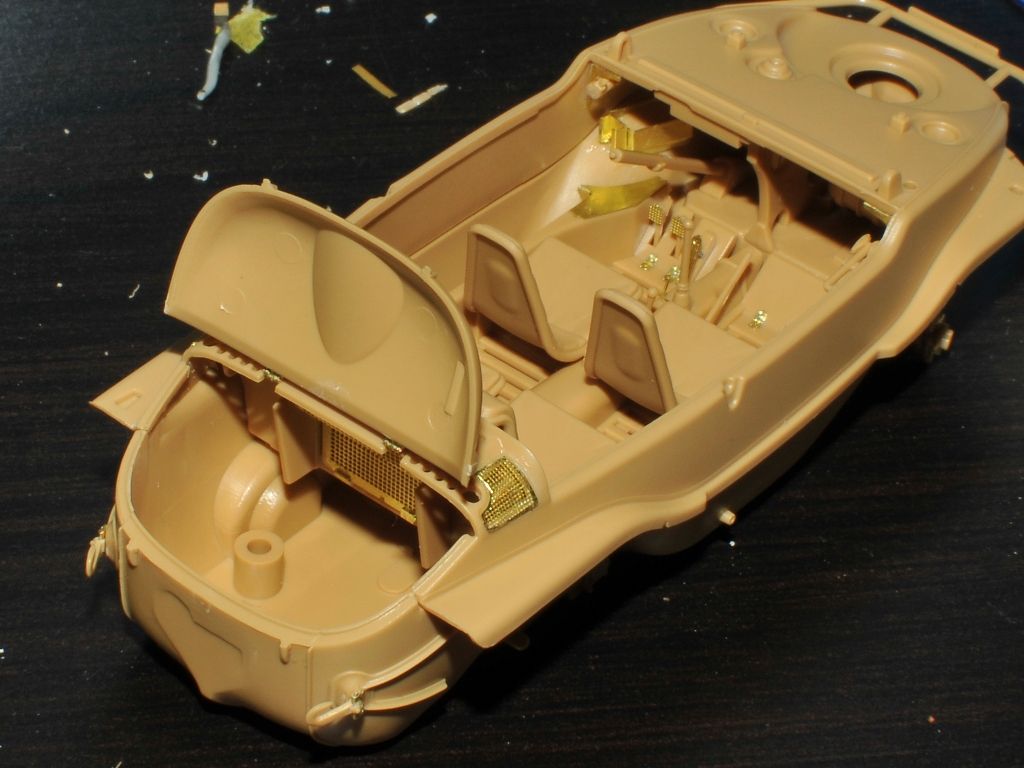
40cm
JScicluna
Visit this Community
Tasmania, Australia
Joined: March 11, 2013
KitMaker: 77 posts
Armorama: 52 posts
Posted: Friday, March 21, 2014 - 02:13 PM UTC
Alex - Love the scratch building you are doing.

I have taken some pictures in daylight however the dark colours still really make it hard to see the contrast.


I used black transparent ink to paint the vest and pouches which I might try diluting a bit more on the other three figures. Still happy with the result and then I painted the molle webbing with a different 'black' colour just to give a contrast.

I plan on giving it a gloss coat just to protect the paint work before picking out details and matt coating them.

One issue I have found is the shooting glasses look really grainy. I think the paint dried whilst painting and I'm hoping that if I leave the glasses in gloss it might fix the issue?