

1⁄35Building DMLs SiG 33B
12
Comments
Painting and Finishing
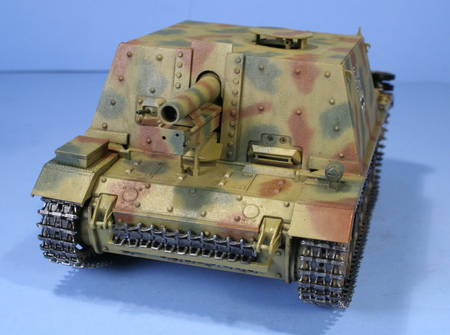
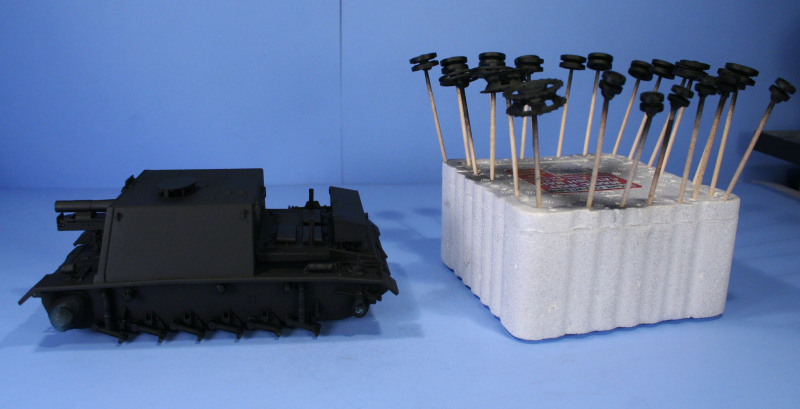
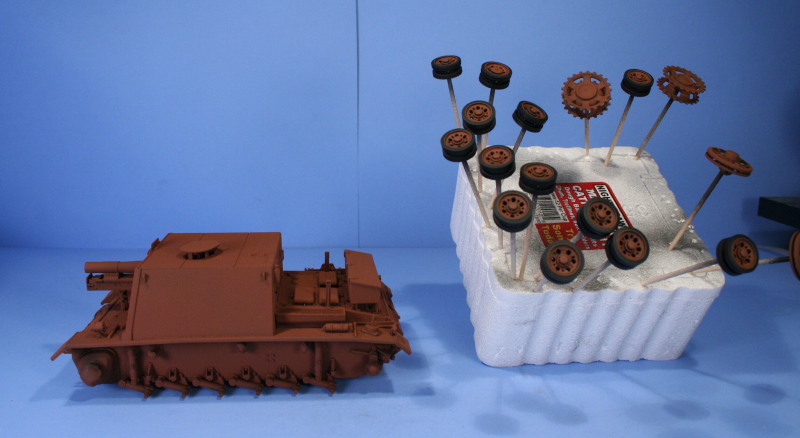
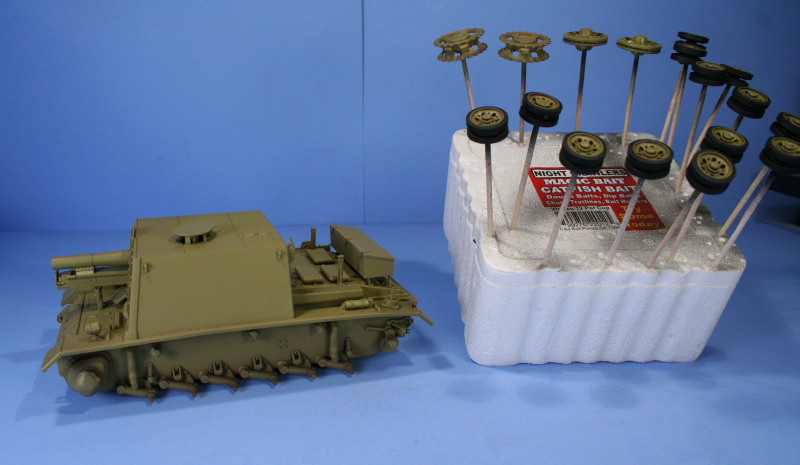
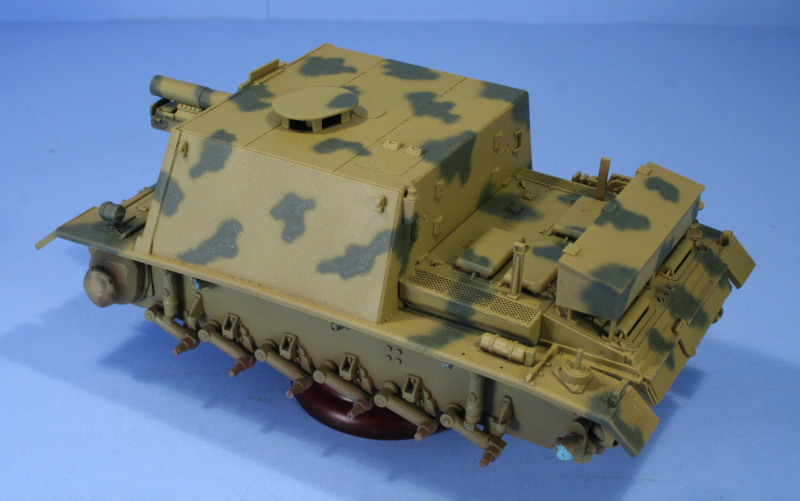
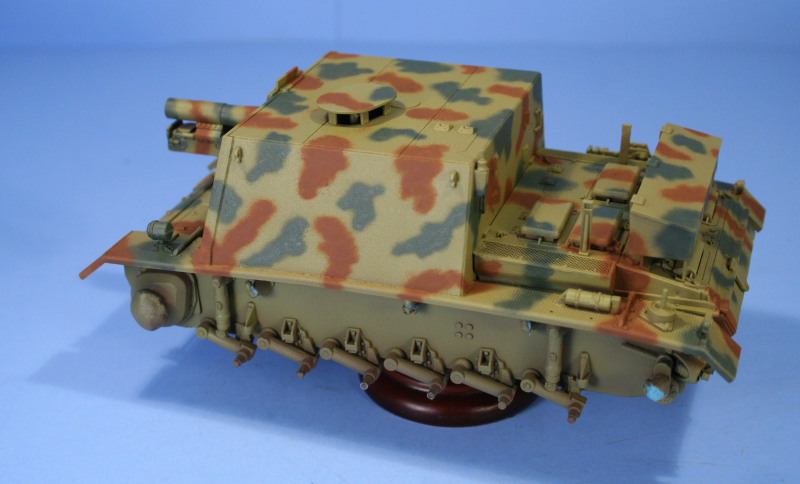
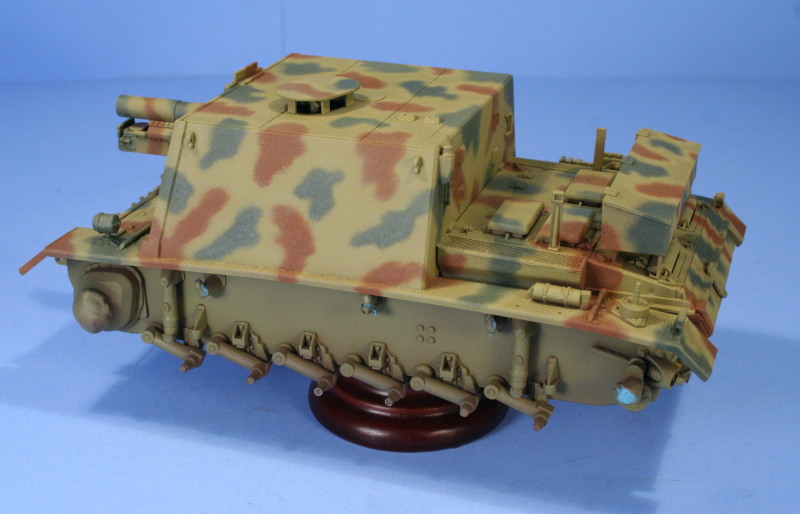
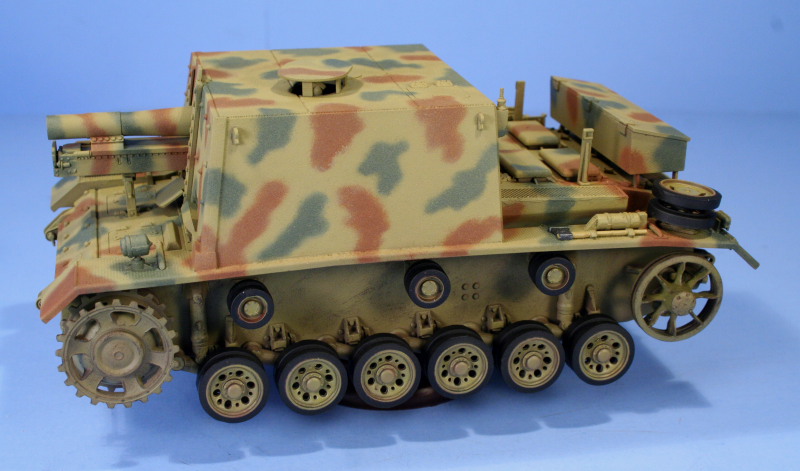
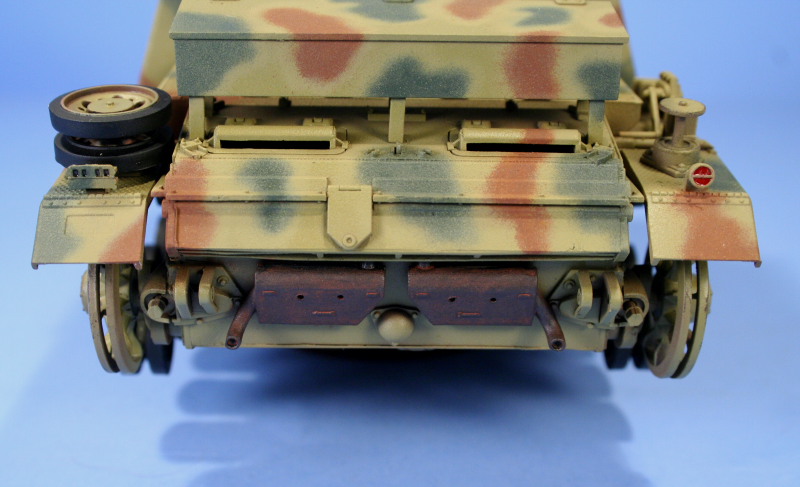
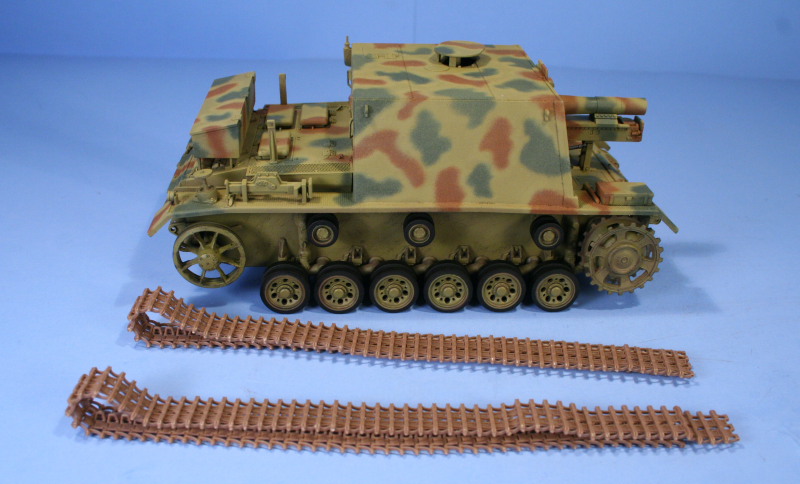
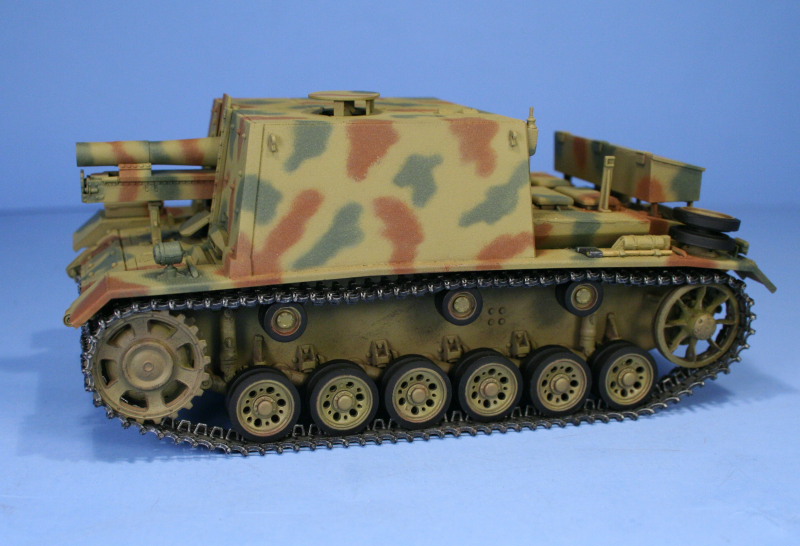
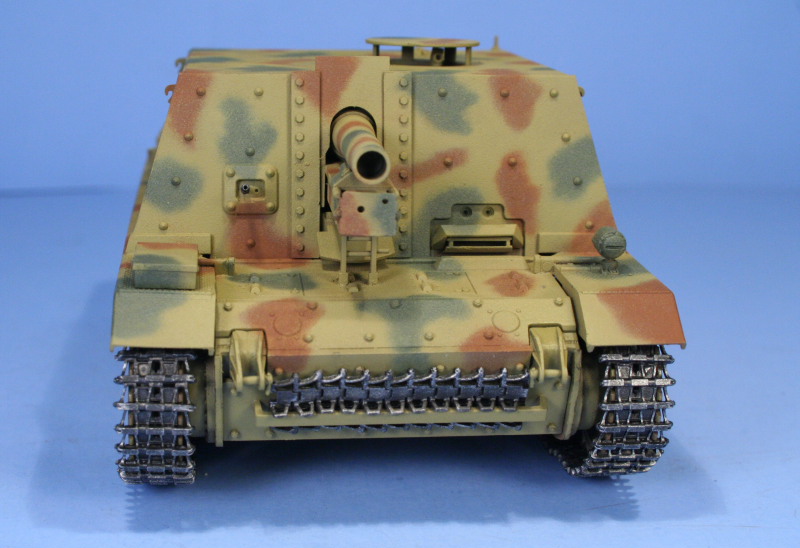
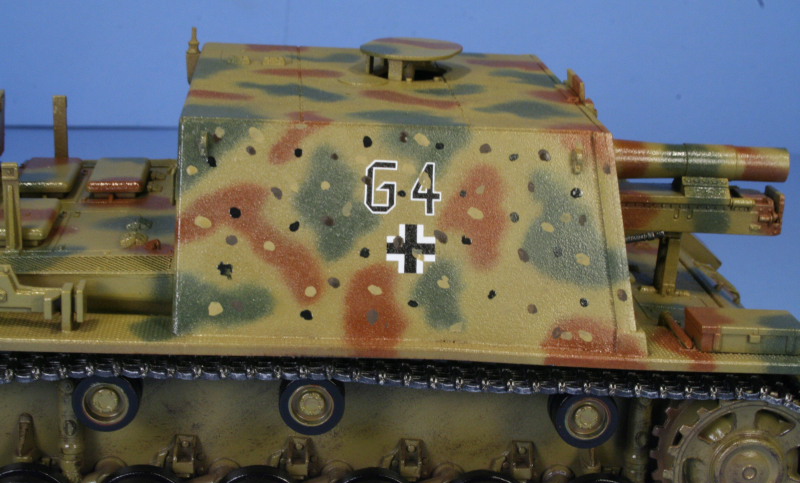
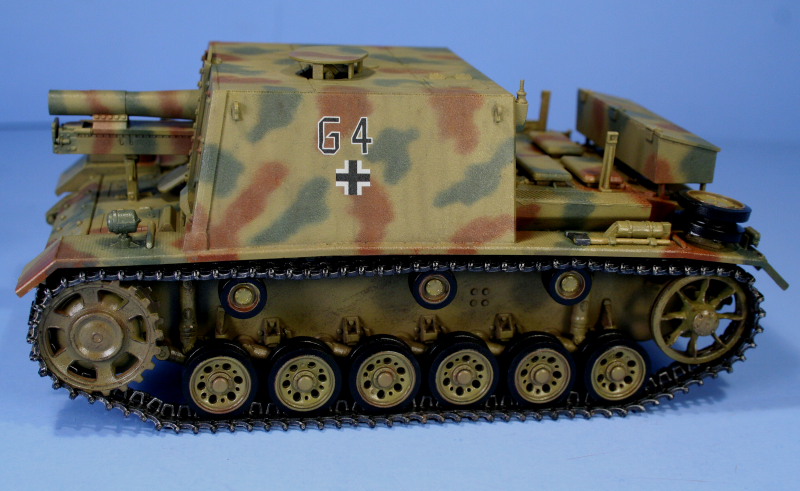
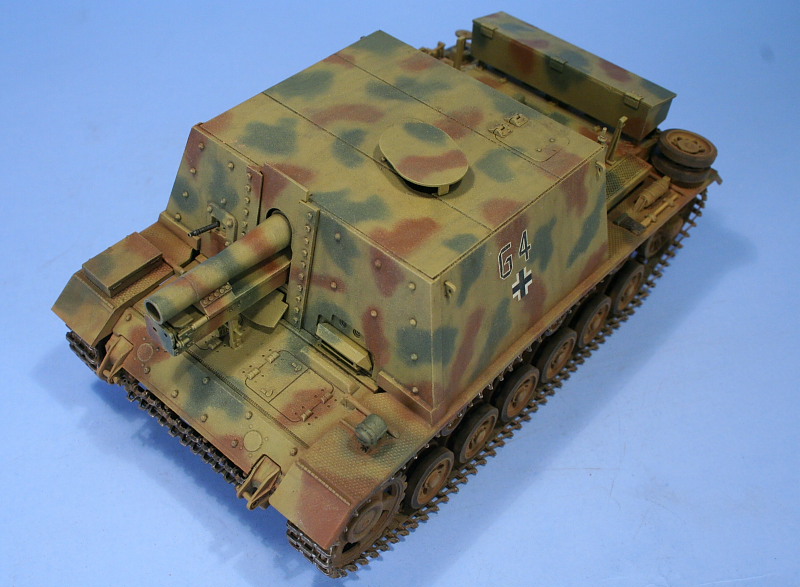
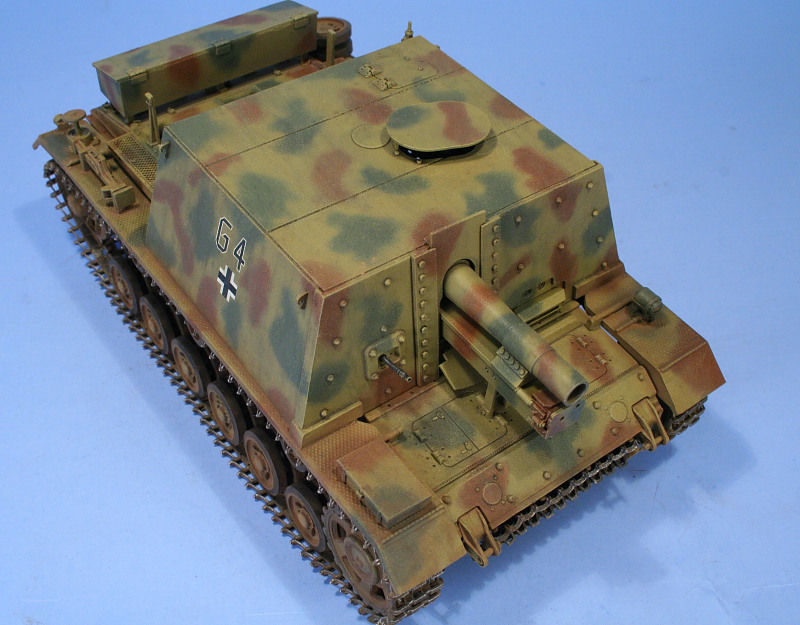
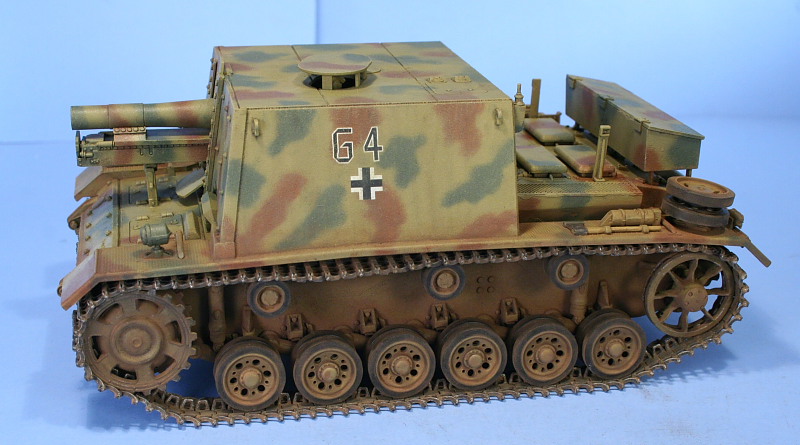
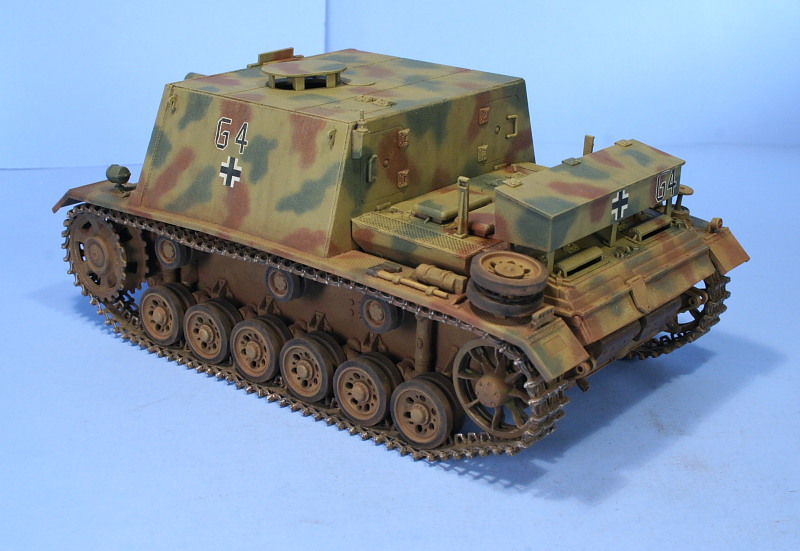
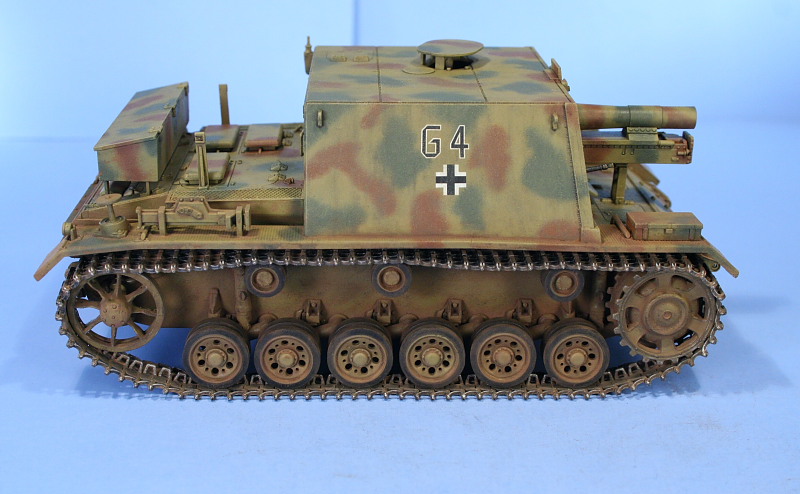
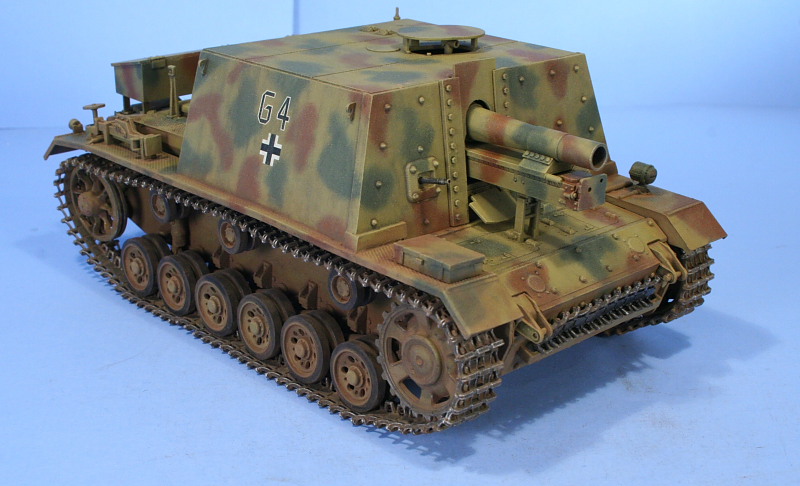
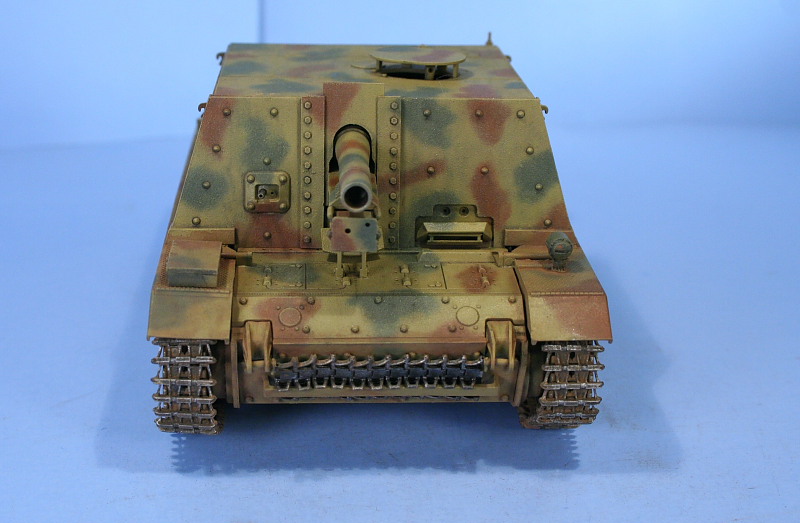
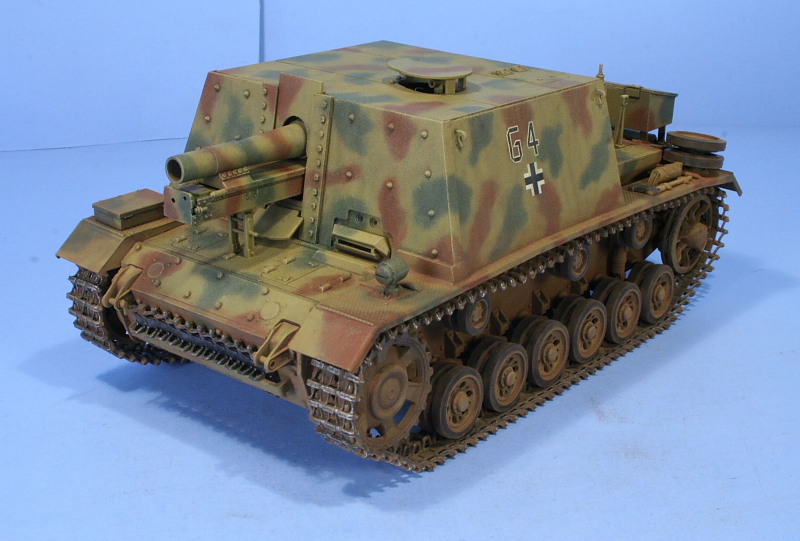
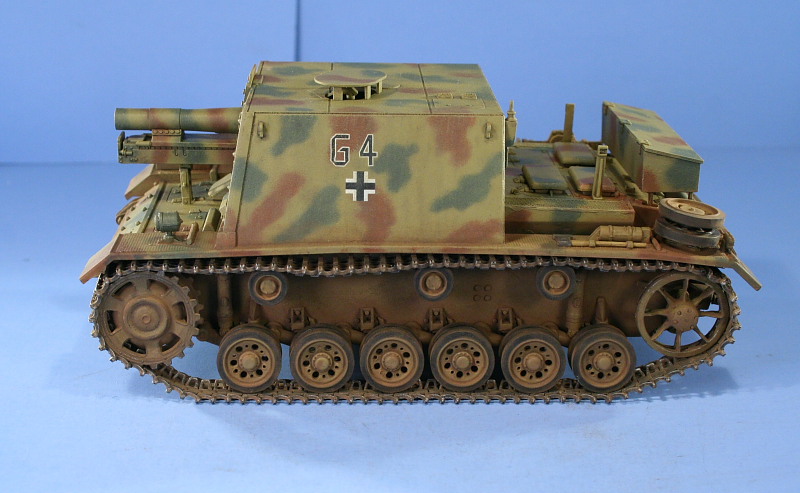
All of the paints used are Model Master enamels and the process begins with a primer coat of Flat Black to insure even coverage of the light gray styrene and as a way to check for any missed mold or putty seams from the construction phase. This was followed with multiple thin coats of Rust to build up a simulated red oxide finish before applying additional multiple thin coats of Dunkelgelb to create variation and a pre-shade effect in desired places. The road wheels were given similar treatment using a circle template to protect the black rims for the rubber tires and set off to the side. The base coats were allowed to cure up overnight before the camouflage pattern was applied. Since this is a non-Stalingrad vehicle, I opted for a three tone blotchy pattern using a mix of Russian Armor Green with Panzer Schwarzgrau to produce my green color and a mix of Military Brown and Leather for the brown. These were sprayed free hand to produce the desired pattern, with the green applied first followed by the brown, always keeping the mental picture of a crewman with a spray-gun applying this and how the limitations of access to various places would dictate the pattern. Once done, I mixed up some lightened Dunkelgelb by adding Light Gray and applied it first around the color blotches to introduce some fading/shading and then from about 12 distance a very light misting applied all over the whole model. Once all of the airbrush work was completed, the wheels were mounted and details painted such as the exhausts, hull MG, convoy and brake lights, and the spare wheel mounted on the left side along with the pioneer axe. The tracks were also painted at this time using Non-buffing Metalizer Gunmetal followed by dry brushed Steel and a wash of Raw Umber. The underside of the hull received some dry brushed Burnt Umber and the tracks were installed with the sprockets and idlers fixed into place for the desired amount of track sag. The entire model was then sealed with a coat of Future in preparation for the markings and final weathering. The kit decals were used only for the G 4 numbers with the balkenkreuze replaced with spares from a previous build. A second coat of Future was applied and allowed to cure and was then followed by spot filters of lightened Dunkelgelb, Raw Umber, and Gunmetal blended together with a thinner dampened brush to produce fading, streaking, and color variation. This was followed up by a pin wash of Burnt Umber for the panel lines and raised areas capped off by dry brushed lightened Dunkelgelb on the high points and various areas as needed. The finish was sealed with a spray can coat of Dullcoat and allowed to sit overnight. Final weathering took the form of a mix of Mig pigments Dry Mud and Europe Dust mixed in two different water-based ratios/shades, with the darker shade applied to the undersides of the hull and suspension and the lighter shade to the wheels and tracks. Once air dried, moistened Q-tips were used to remove the excess and blend it together. As a last touch, the track high points were dry brushed with Steel to simulate wear and use and the finish was complete.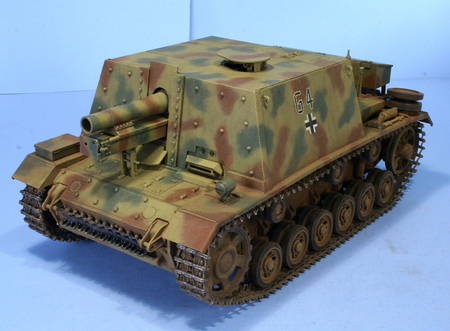


About the Author


FROM: TEXAS, UNITED STATES
Like many, I started out in the hobby as a kid building airplanes to hang from my bedroom cieling. I took a long break from the hobby, returning in 2001 with an interest in armor inspired mostly by online gaming. WW2 armor, 1/35 scale, is my preferred genre with a special taste for the stranger vehi...
Comments

I already made a few post in Bill's original building thread, but hey!, if this can help here's another round of "Wow!, great built" :-)
I should also add that this feature is now bookmarked for the day I'll find one at my LHS (or order one from an online store )
FEB 15, 2007 - 02:46 AM

Good on you both, Bill for writing the feature and Jeremy for posting it, nice one fella's.
FEB 15, 2007 - 03:53 AM

Richard, knowing that is far more gratifying than gathering up a bunch of attaboys since that was the main reason for keeping the log in the first place.
Mark, thanks for your comments as well!
FEB 15, 2007 - 04:48 AM

Another great article Bill sorry i havent replied sooner but comp layed down on me, its always appreciated even if not always said so.
Ron.
FEB 15, 2007 - 11:18 AM
Thanks Ron, glad to hear you're back online, missed you the past couple of days, hope that didn't slow your factory down any?
FEB 16, 2007 - 12:32 AM

Bill,
Simply put this is really well done. Everything. I have already printed it off and will use it as a reference for when I build my sIG 33B. Besides really helping in identifying what to look out for in the build, I really learned a lot from your painting and weathering methods.
For my sIG I hope to put an engine in it and open up the rear compartments and have two mechanics working on it. It is going into a small Stalingrad diorama.
Thanks again,
Marty
FEB 19, 2007 - 11:53 PM

Hi Bill,
Interesting and useful article and a really excellent looking kit. Not a big fan of German armour but I like this one.
Cheers
Al
MAR 14, 2007 - 03:29 AM
Thanks Alan, have to agree that it's got a strange appeal to it that's hard to pin down, but the moment I saw it available I scooped it up until the time was right to build it.
MAR 14, 2007 - 04:09 AM
Hi all,
Nice article Bill, I'm building this one right now...as well as a few others.
Only issue I see is the instructions show a Stanlingrad camo of Dark Yellow, Red Brown, etc...but I would think this should be Panzer Gray? Also, no exhaust deflector?
Pretty nice kit...kinda falls together.
Paul
MAR 22, 2007 - 09:25 AM
Paul,
The instructions do have an error in that regard...the camo scheme and markings they provide in the finishing guide are for a 1943 vehicle, not the Stalingrad vehicles. Of the 24 built, 12 were used in Stalingrad and would've been straight Panzer Gray, the other 12 were delivered later and would've been done in the dunkelgelb/camo scheme.
As for the heatshield, the StuG III-E was the basis for these and they didn't have the heatshield fitted.
MAR 22, 2007 - 10:07 AM
Copyright ©2021 by Bill Plunk. Images and/or videos also by copyright holder unless otherwise noted. The views and opinions expressed herein are solely the views and opinions of the authors and/or contributors to this Web site and do not necessarily represent the views and/or opinions of Armorama, KitMaker Network, or Silver Star Enterrpises. All rights reserved. Originally published on: 2007-02-14 00:00:00. Unique Reads: 22953

WEB HOSTING BY


Copyright ©2021 Armorama and Kitmaker Network, a subsidiary of Silver Star Enterprises
All Rights Reserved. Please read our Conditions of Use and Privacy Policy.
All Rights Reserved. Please read our Conditions of Use and Privacy Policy.