

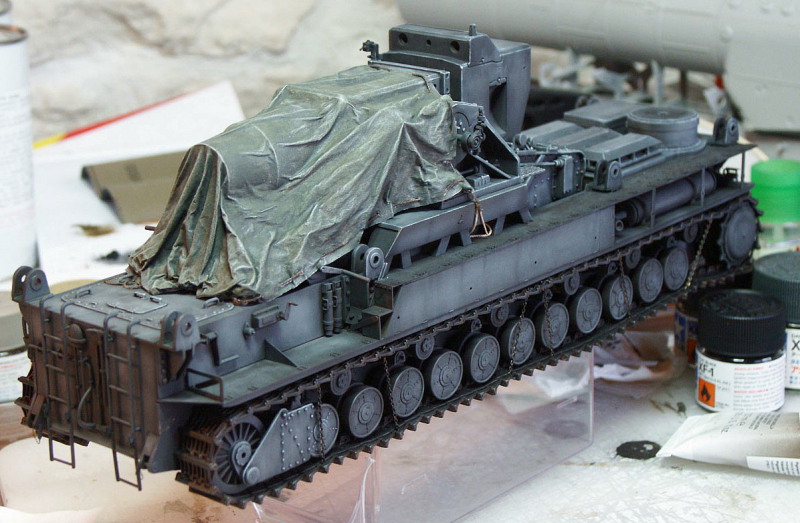
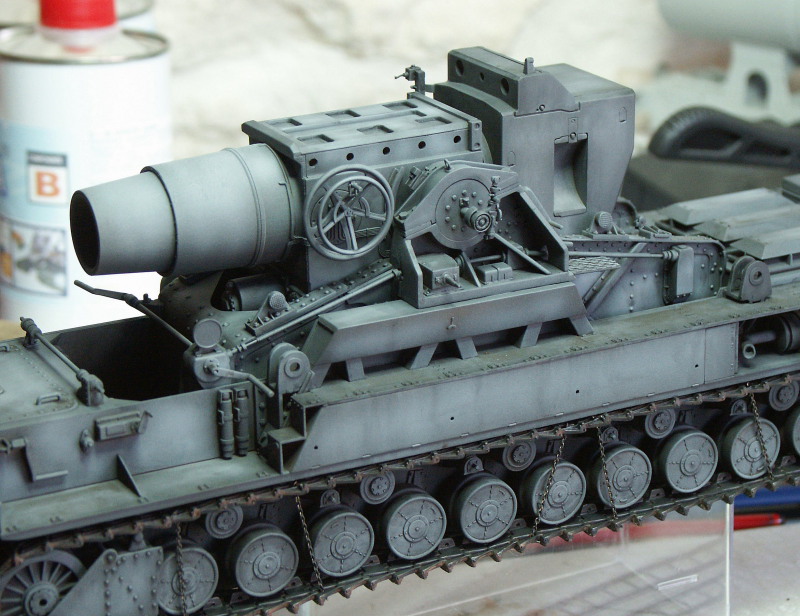
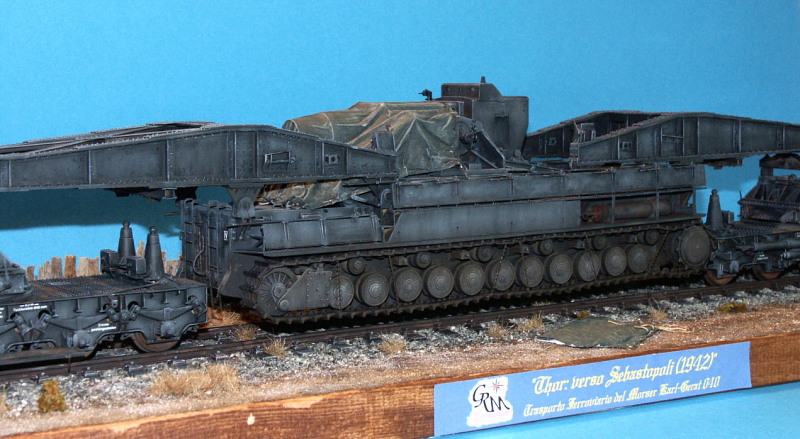
1⁄35Thor by Rail
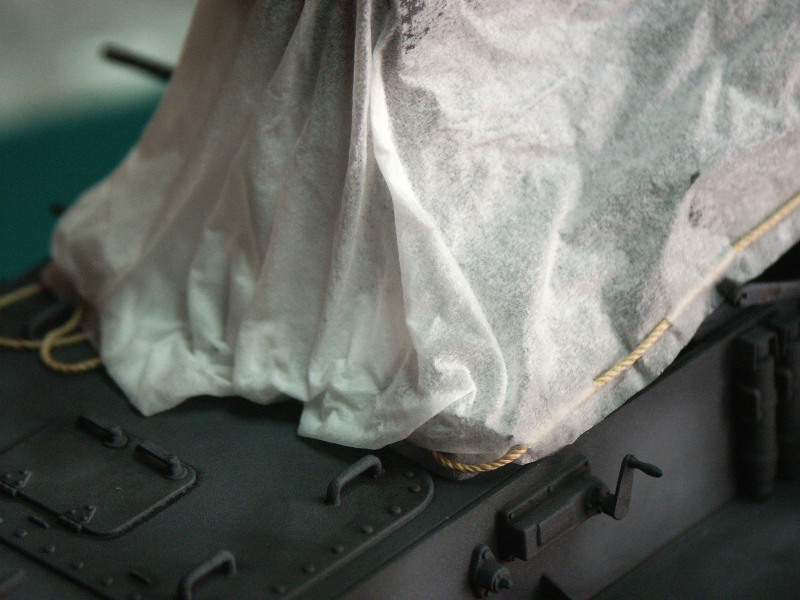
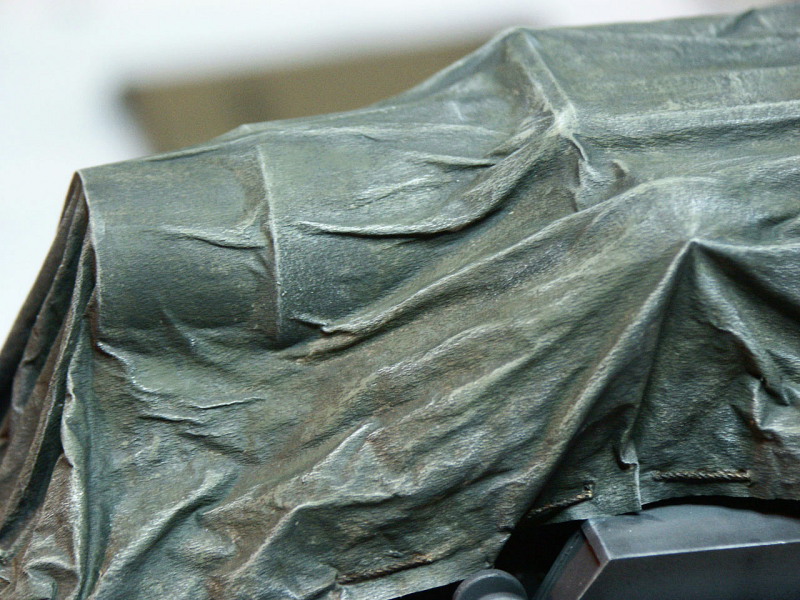
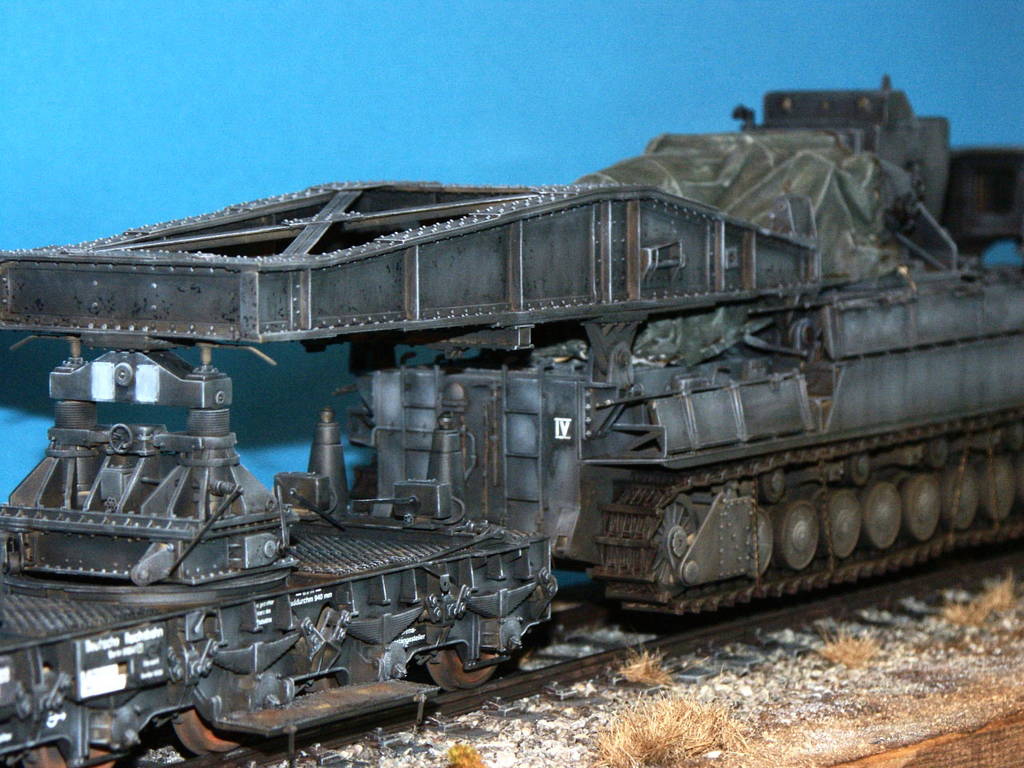
Barrel Canvas
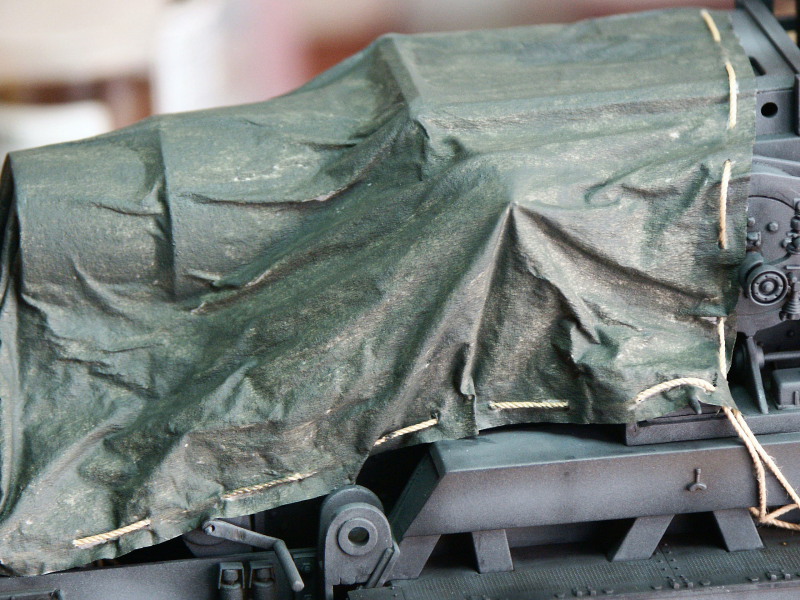
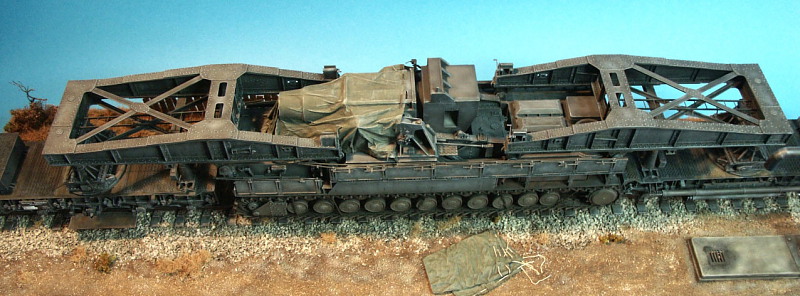
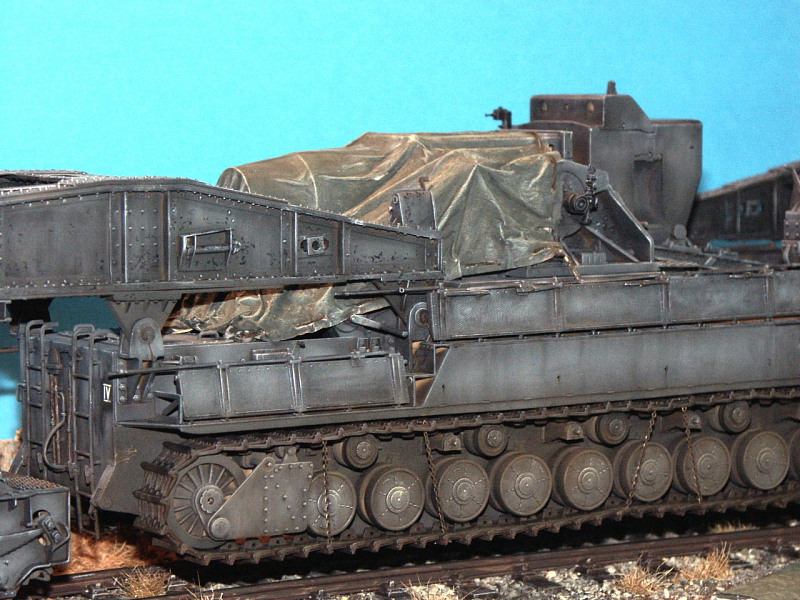
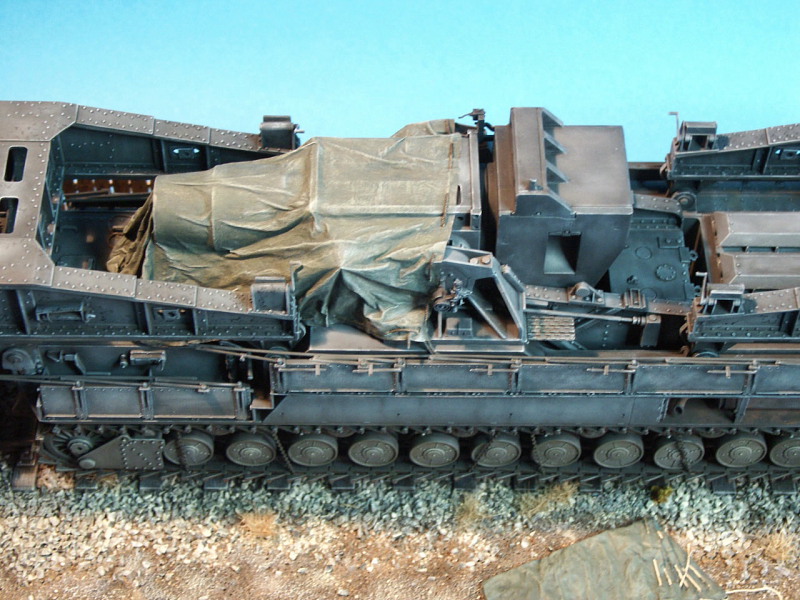
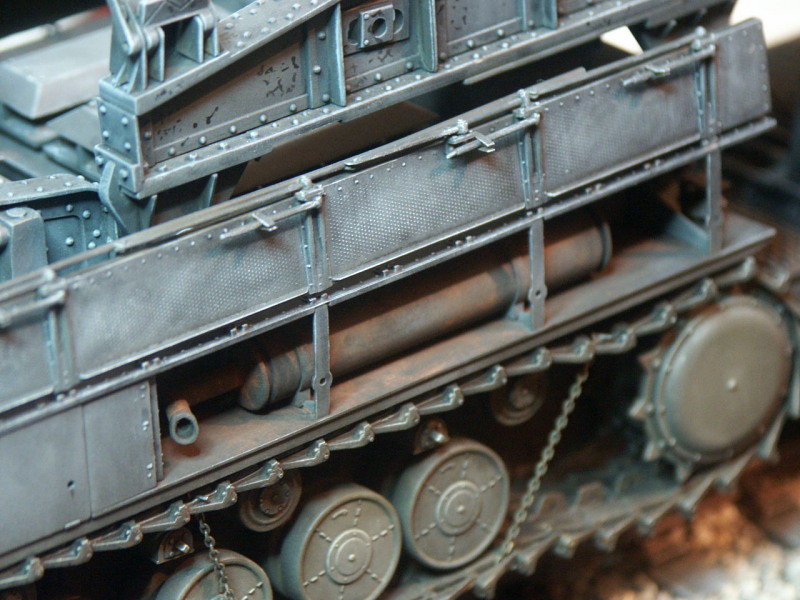
The canvas used to protect the barrel during transportation was built using common paper towels. These usually consist of four thin layers and I selected two of the layers to have more control while laying them on the mortar. The layers were laid out dry over the mortar and diluted vinil glue applied starting from the top and working downward; during this phase the weight effect has to be reproduced by shaping the folds as needed. When the canvas was dry, it was painted starting with a dark tone of the acrylic Field Grey to constitute the shadows of the canvas. After the darkest tone, the painting continued according to the following 3 steps: 1) application of pure Field Grey by preserving the shadows 2) application of a clear tone of Field Grey to the exposed parts of the canvas and finally 3) drybrush application using oil white.
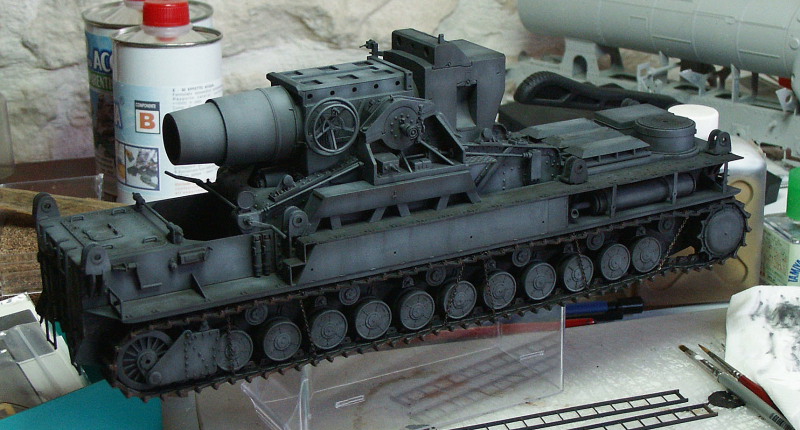
Painting and Weathering
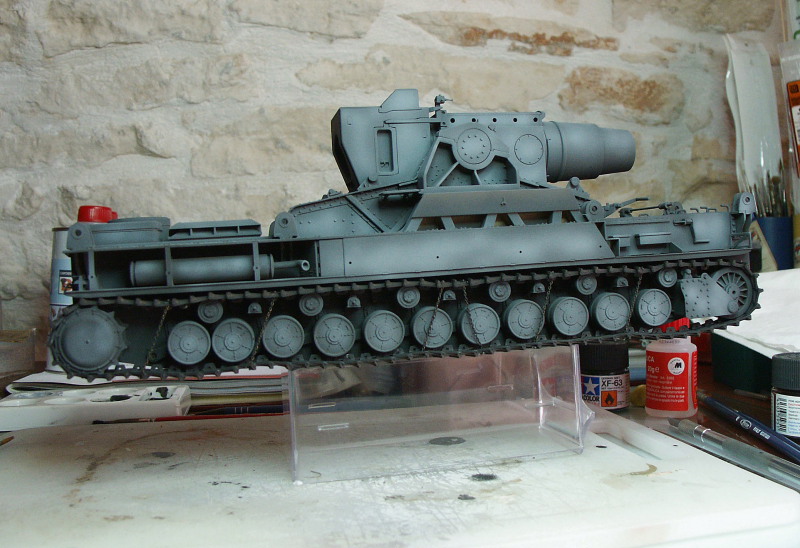
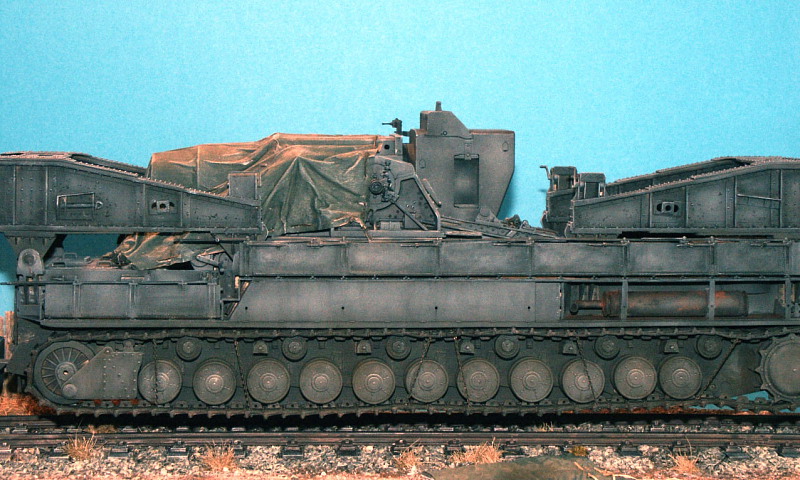
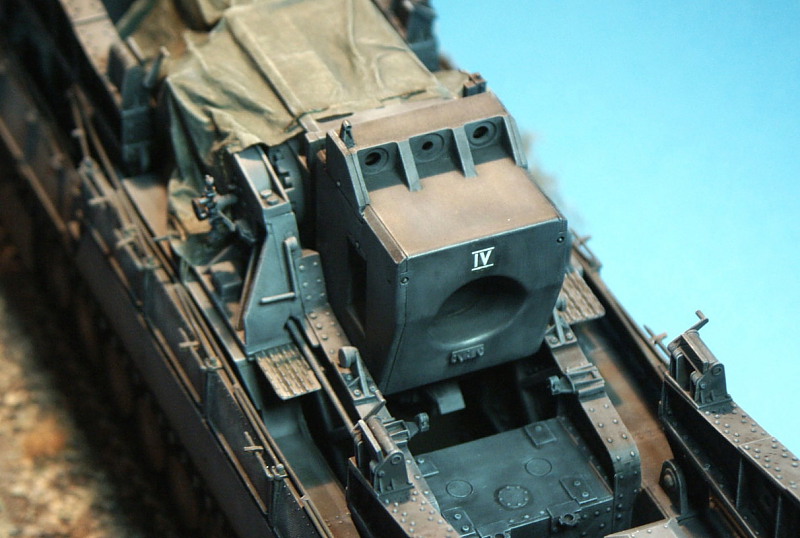
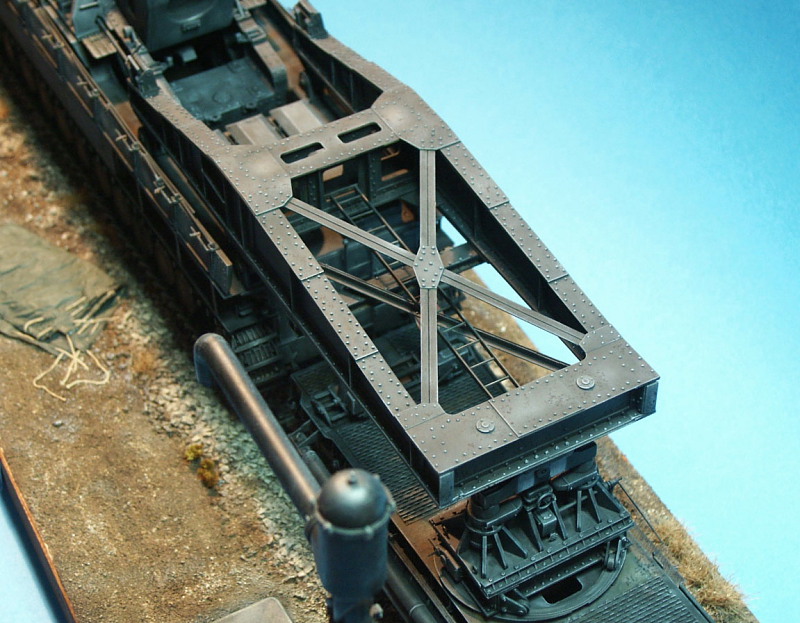
One of the potential problems which can be encountered during the painting phase of a model with these dimensions, is that the finished model could result in a big panzer grey monotone subject. Hence, it is necessary to identify all the plausible parts which can give a colour touch and add to the finish. With this in mind, I worked on the following: Canvas covering the barrel. It was painted using field grey tones, in contrast with the Morser panzer grey.
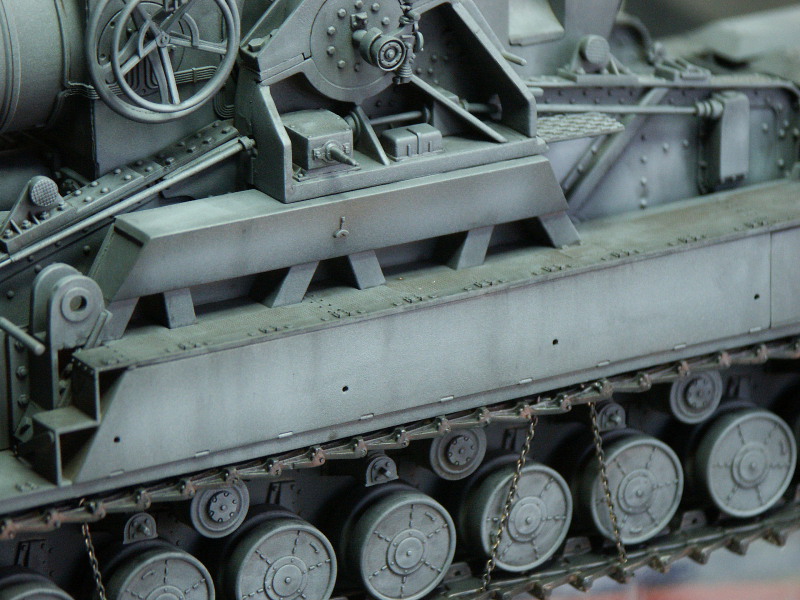
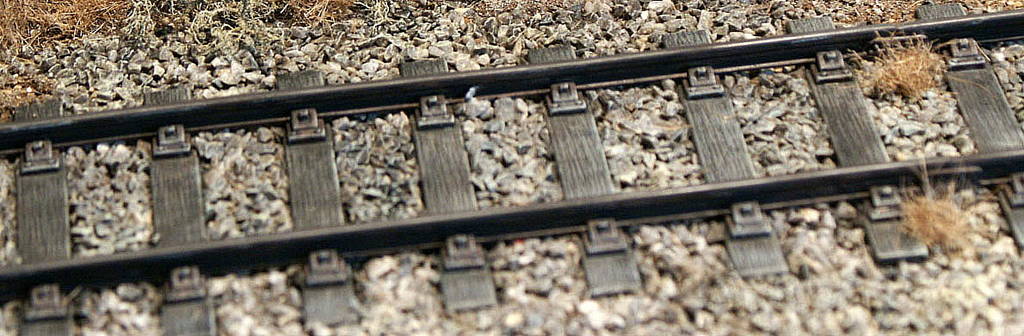
Tracks and road wheels.
Exhaust pipes.
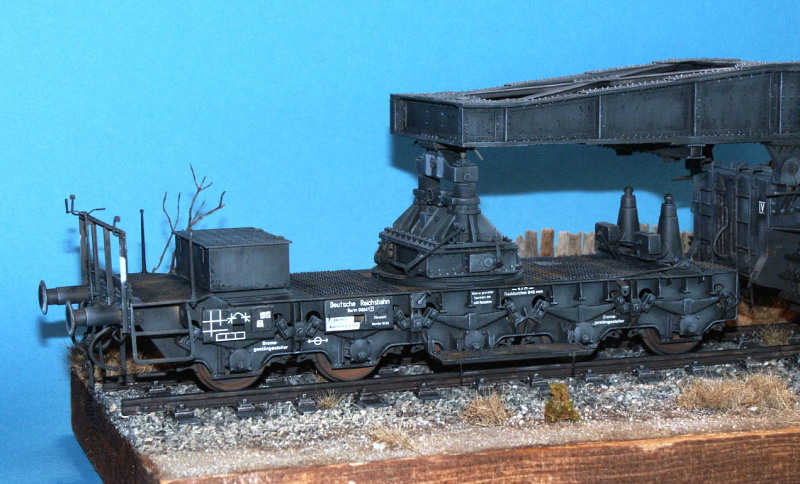
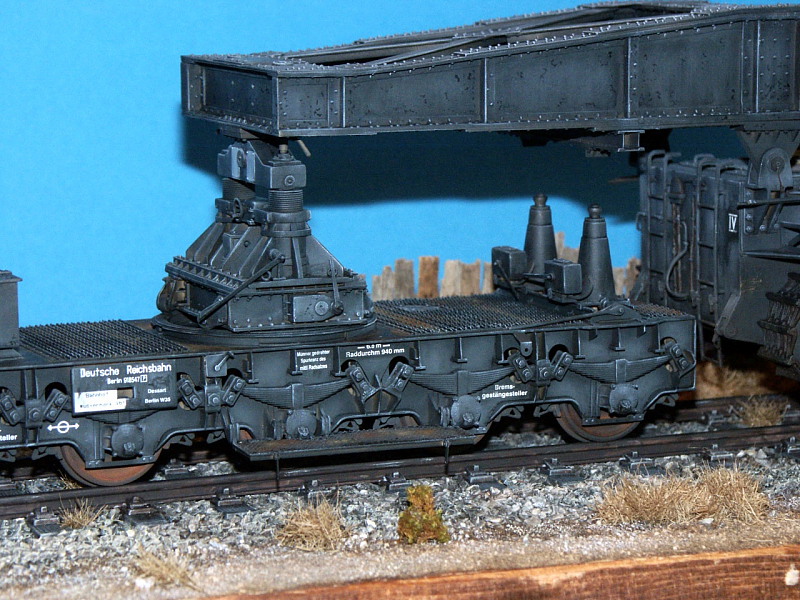
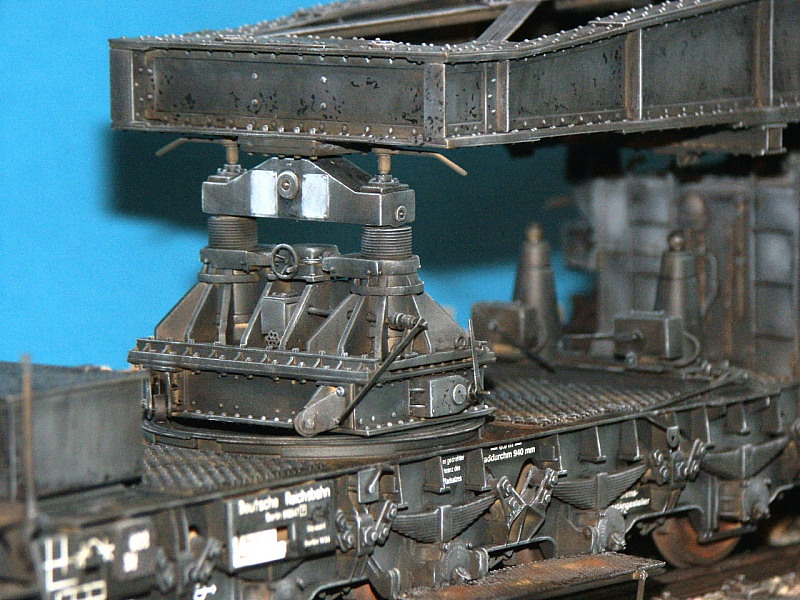
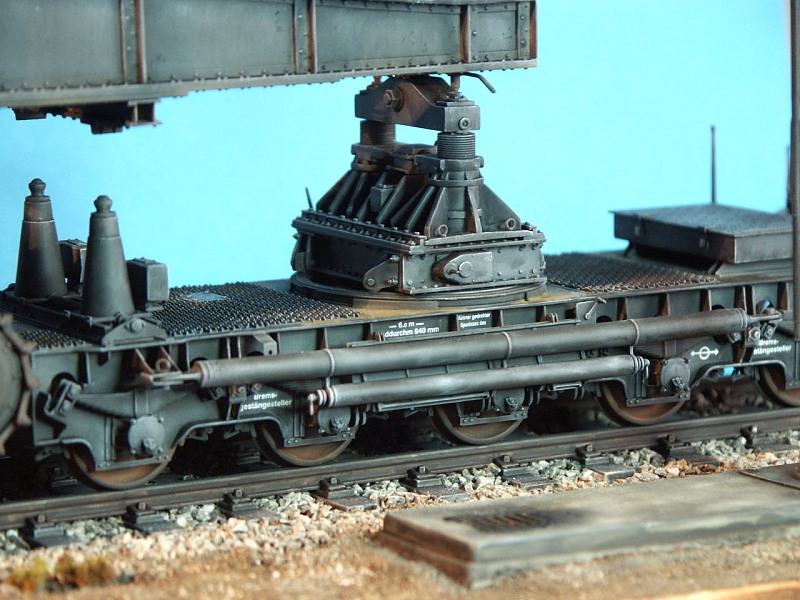
Railway cars vs Morser. It is plausible to assume that the two railway cars had a different operative life with respect to the Morser. Hence, they and support arms have been painted using darker tones of the NATO Black colour.
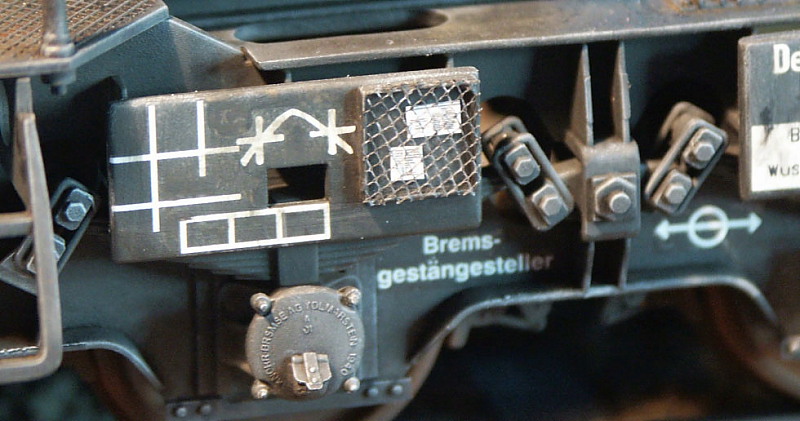
White markings on the railway cars.
Ground tones on the horizontal zones which were plausibly subject to personnel passage and wear.
During the painting phase, the Tamiya acrilic colours were diluted at 50%. The washing was done using Windsor & Netwon oil colours diluted at 90%. Rather than write it all out, I constructed two tables with the first reporting the used colors and the defined identifiers are used in the second table to associate each colour to the various paiting phases. Those are provided as graphics off to the side here for reference.
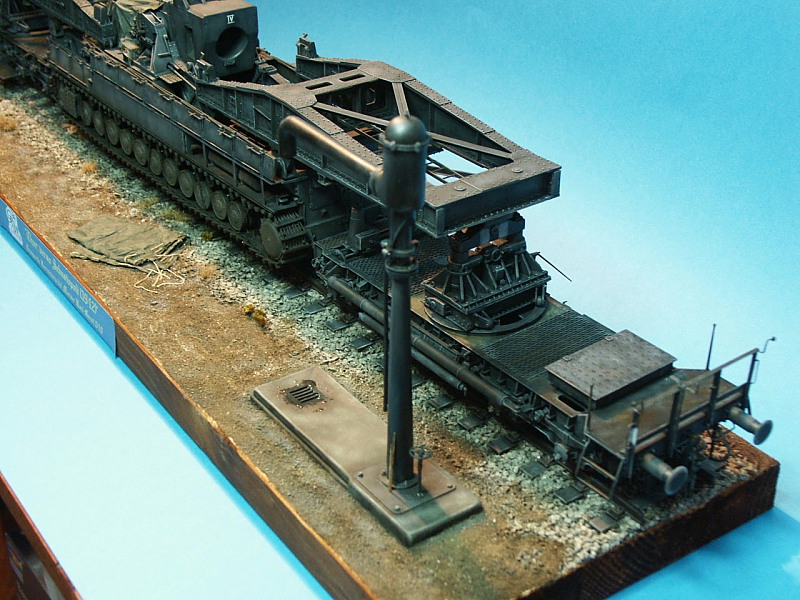
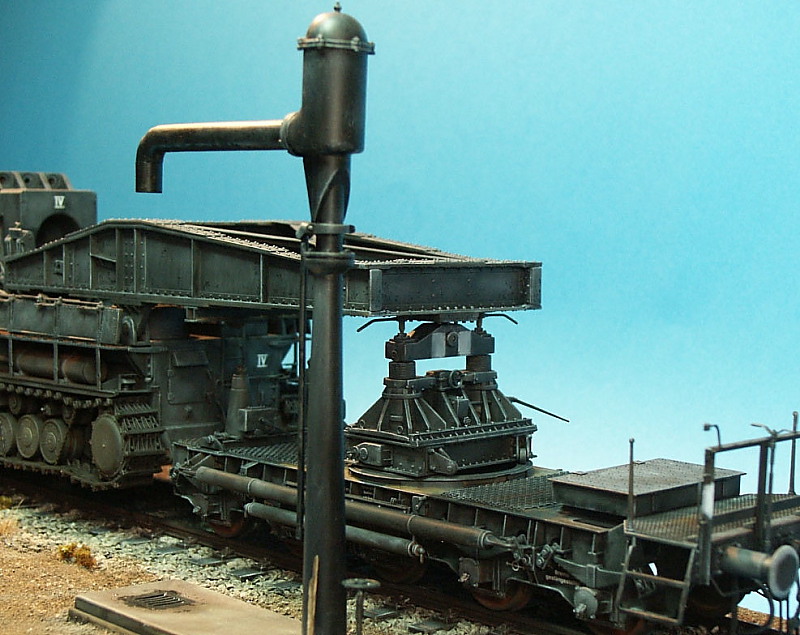
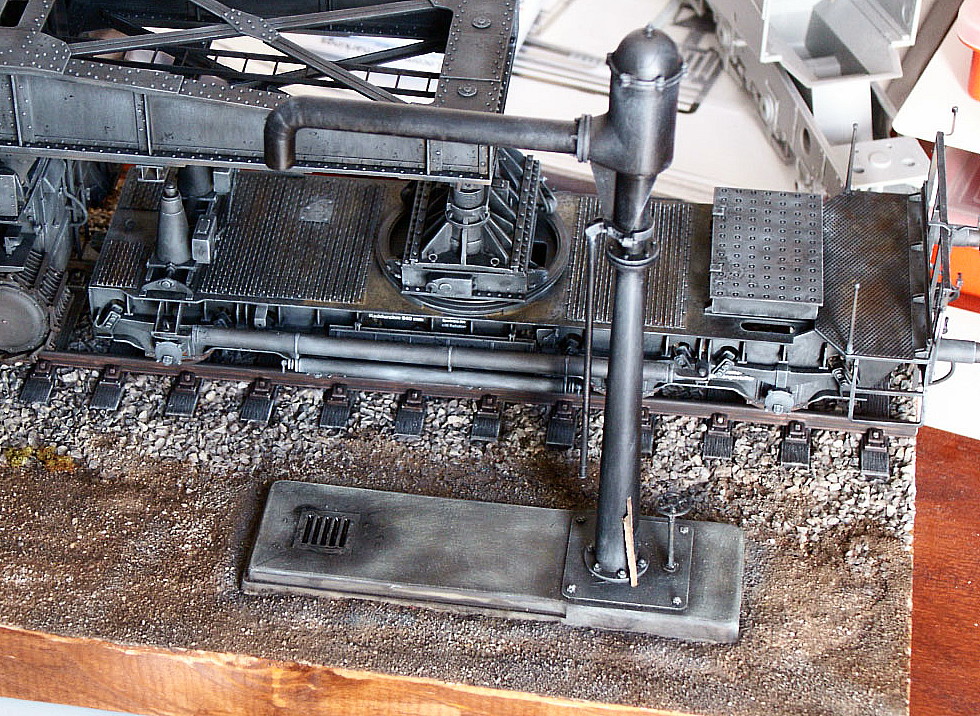
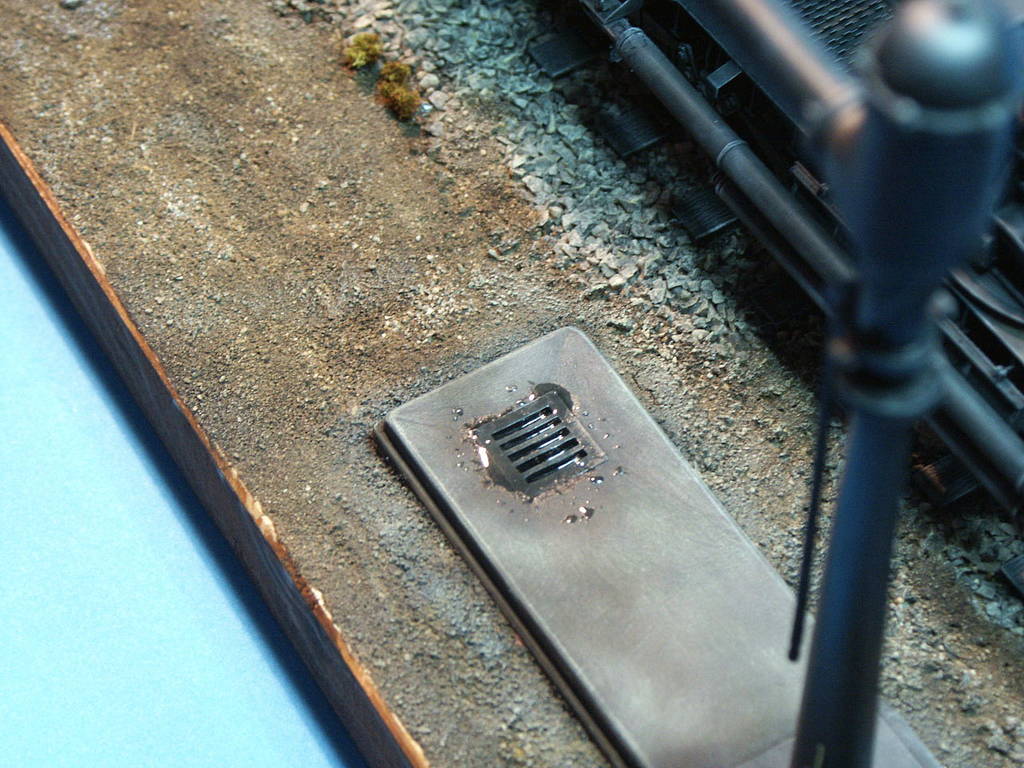
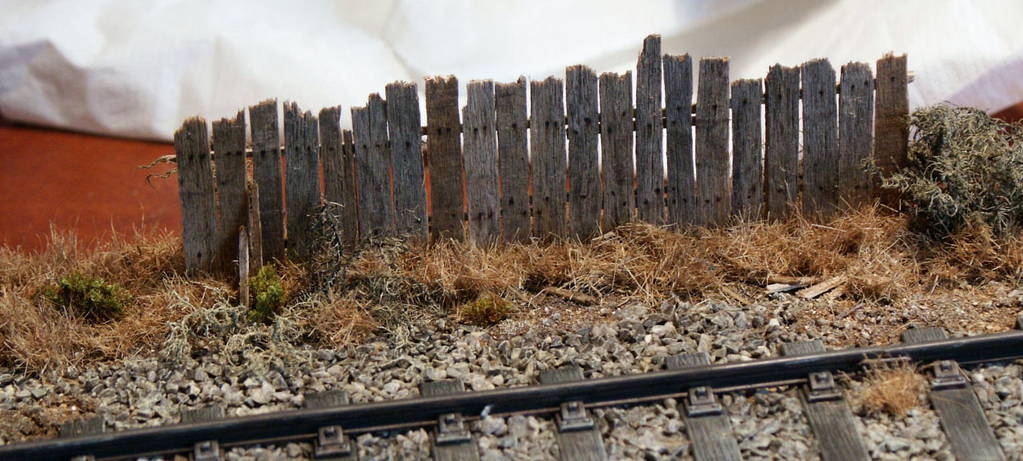
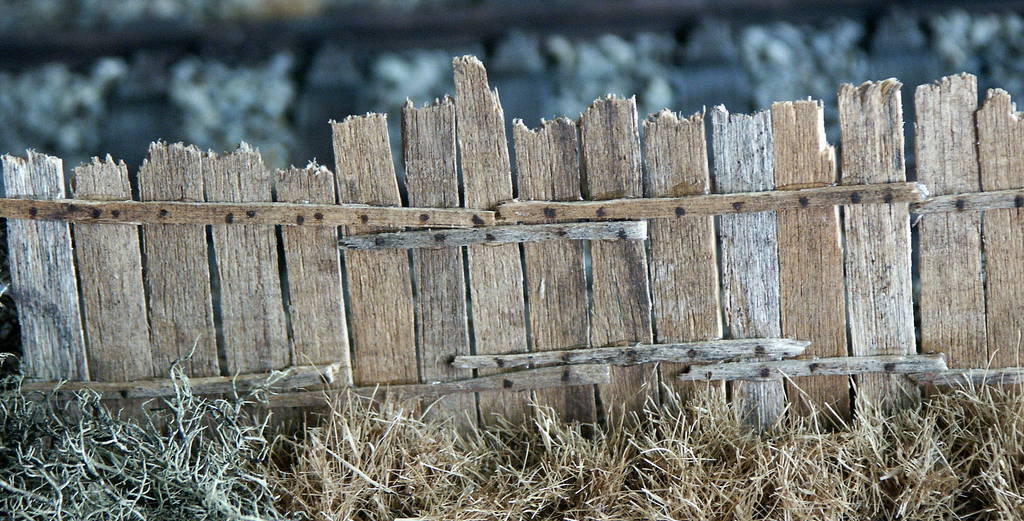
Base and Display
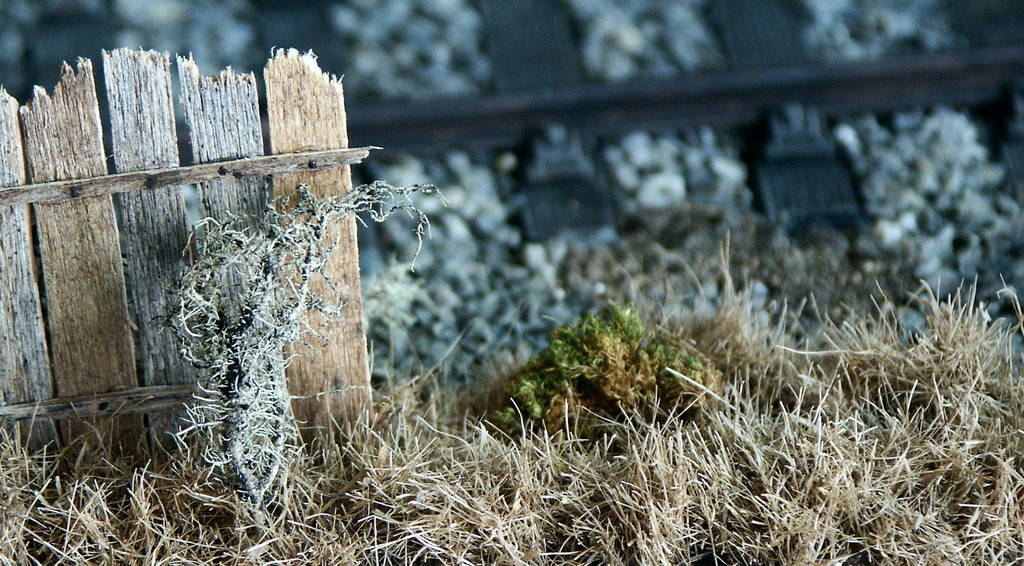
To construct the railbed, the Trumpeter kit railbed was substituted with an Ironside kit set and the ballast stones are from Noch (#09204). The hydraulic column is produced by Baluard and was assembled out-of-the-box. The plants for the foliage are all natural, basically roots and selected small plants and a wooden fence has been added to the model background, derived from old wood to give it that realistic look to complete the full display.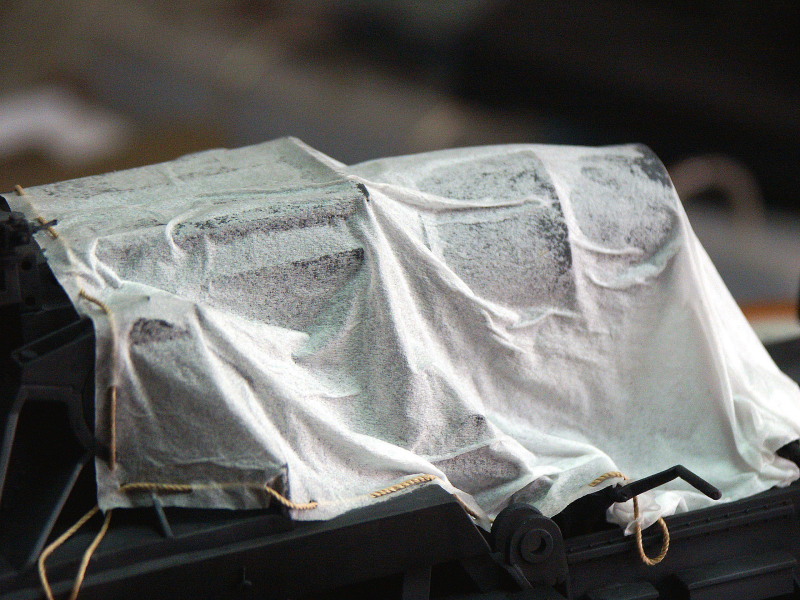

About the Author


Comments


All Rights Reserved. Please read our Conditions of Use and Privacy Policy.