

1⁄35Thor by Rail

Introduction
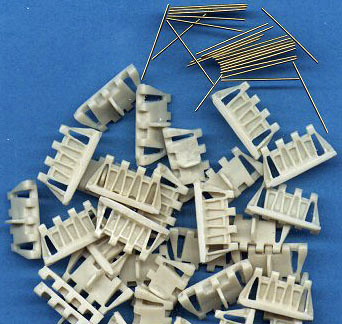
The Trumpeter model (#00209) is truly massive, consisting of almost 1400 pieces, both plastic and photo-etched, and retains the moulding quality of the predecessor Leopold kit. The construction of the Mörser Karl-Gerät 040 on railway transport carrier is equivalent to the construction of at least three standard models and the size of the final model is non-standard; indeed, the overall length is about 86 cm. The presented model has been basically built out-of-the-box and has been detailed by adding several minor parts, on the basis of the pictures in Jentz' "Bertha's Big Brother: Karl-Geraet (60cm) & (54cm)". The kit parts which really need to be replaced are the vinyl tracks and to accomplish this I have selected the workable tracks produced by LionMarc Designs (#AW-70005) originally produced for the Dragon kit but easily adaptable to the Trumpeter one.Construction: Railway Cars and Transporters
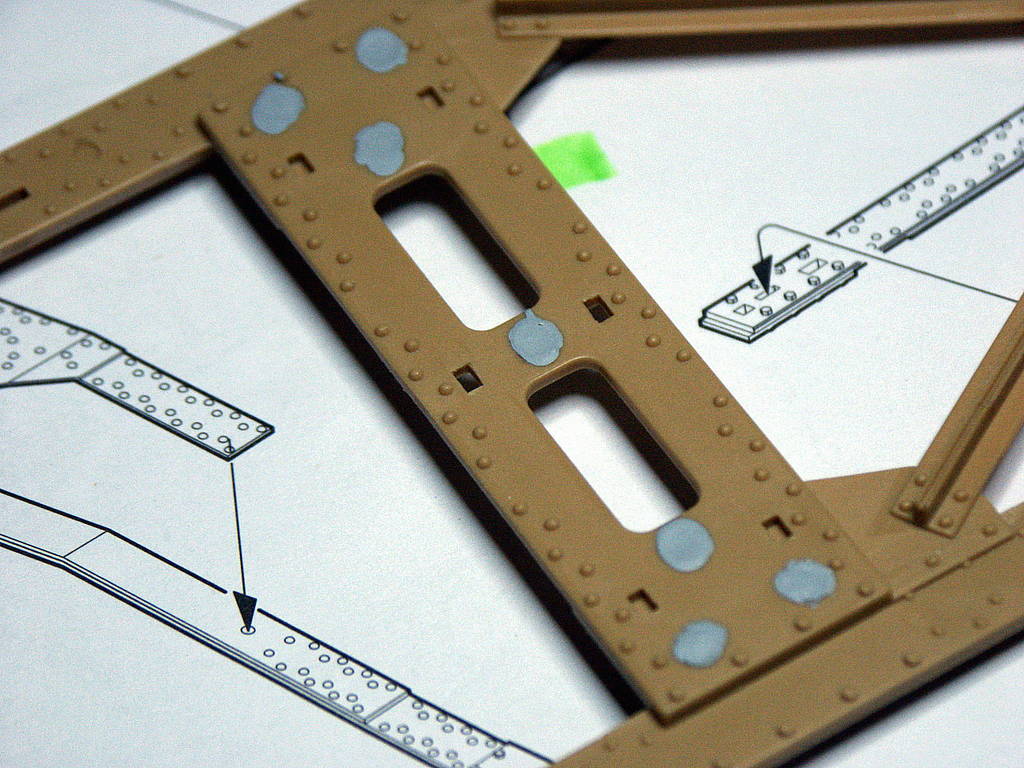
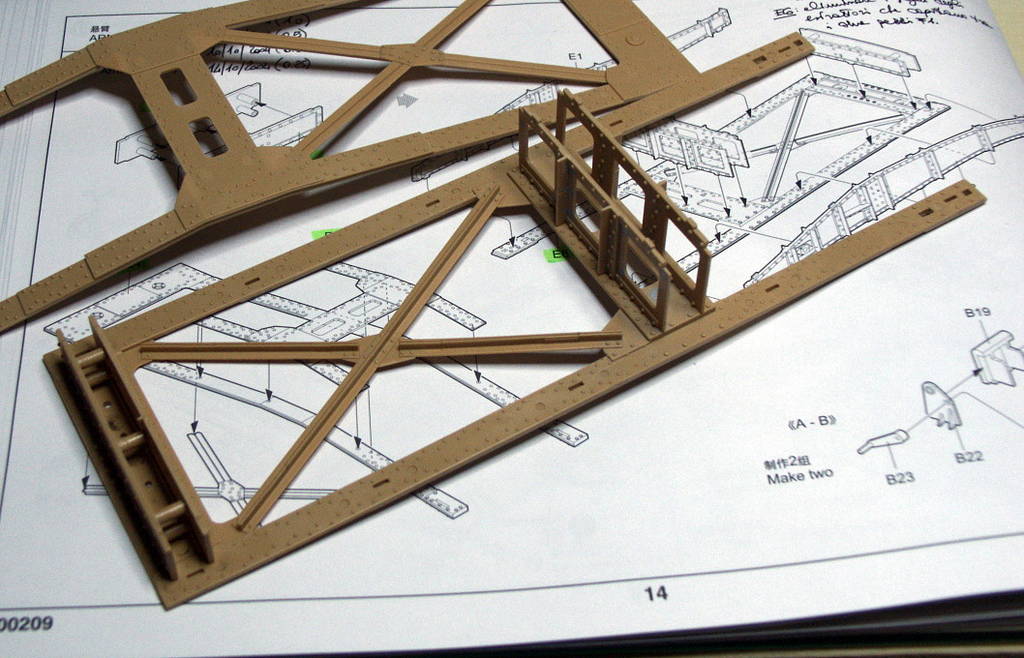
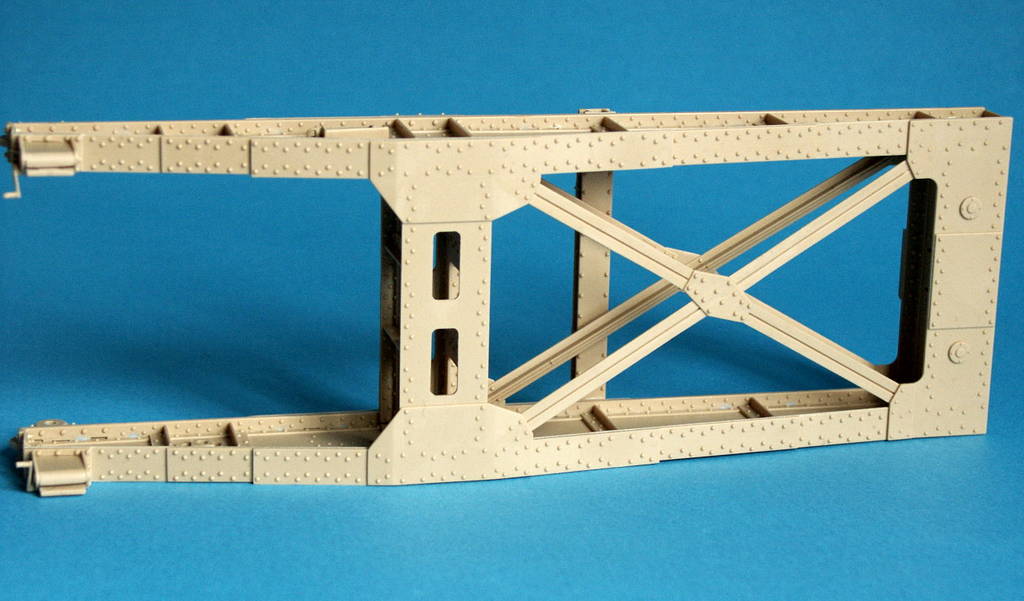
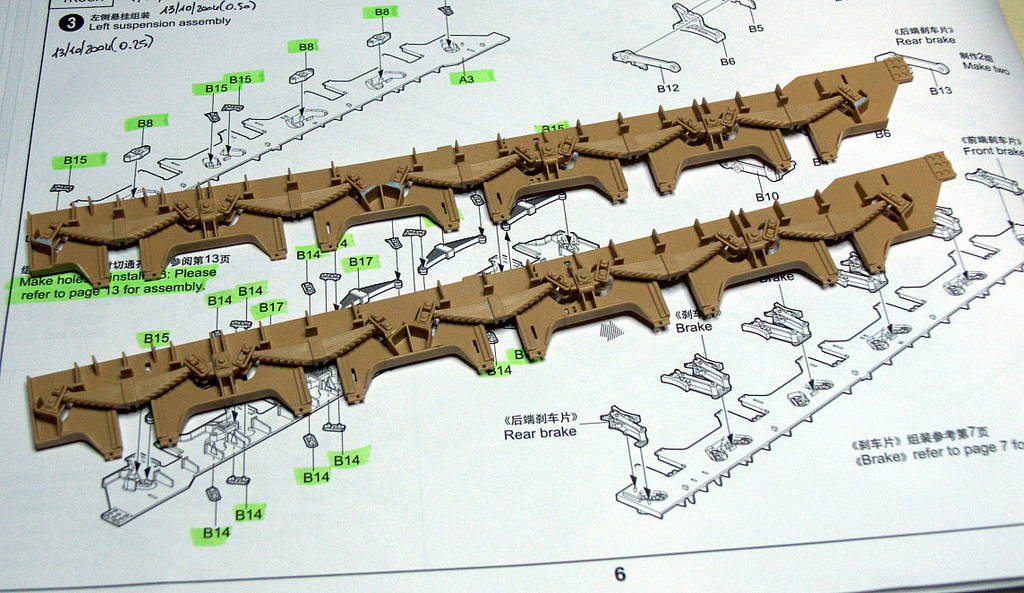
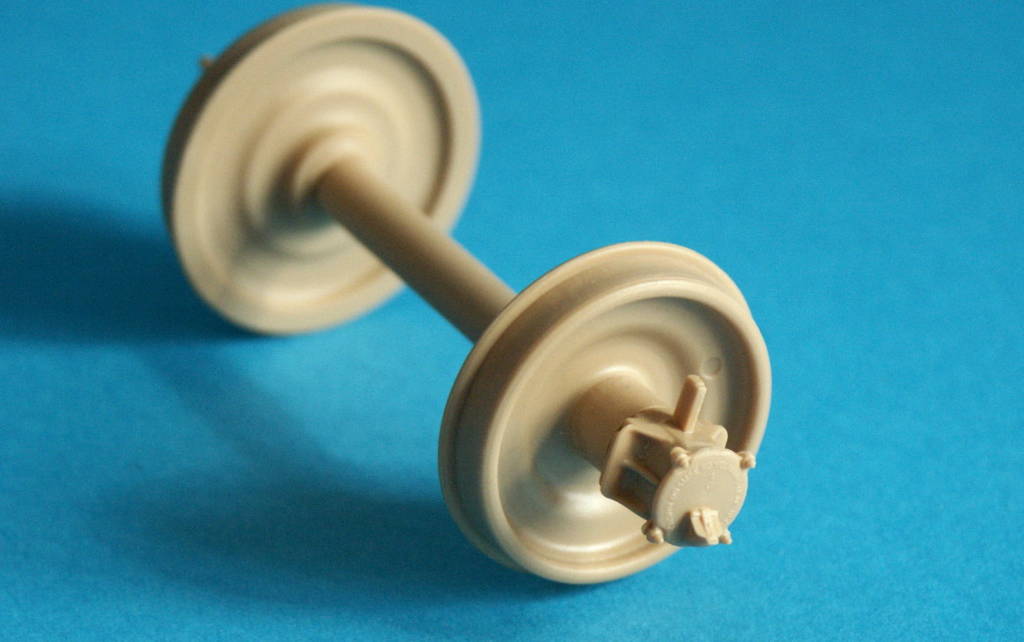
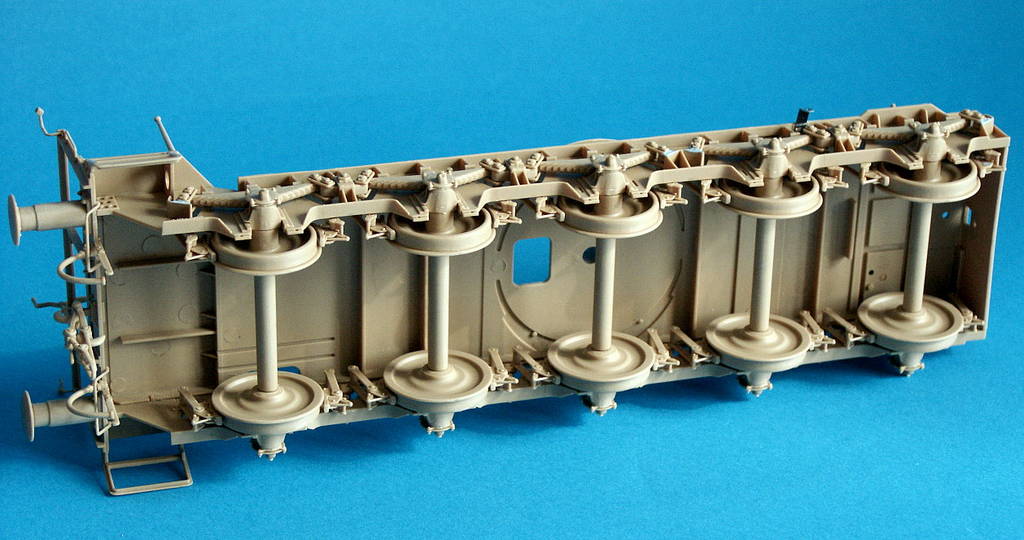
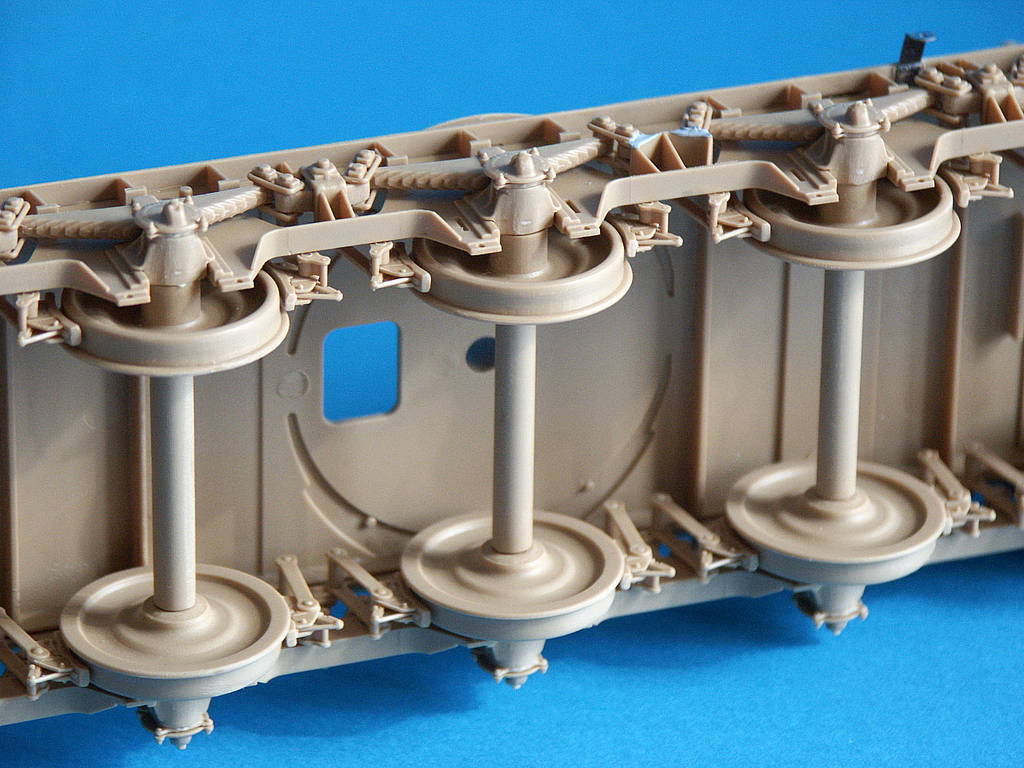
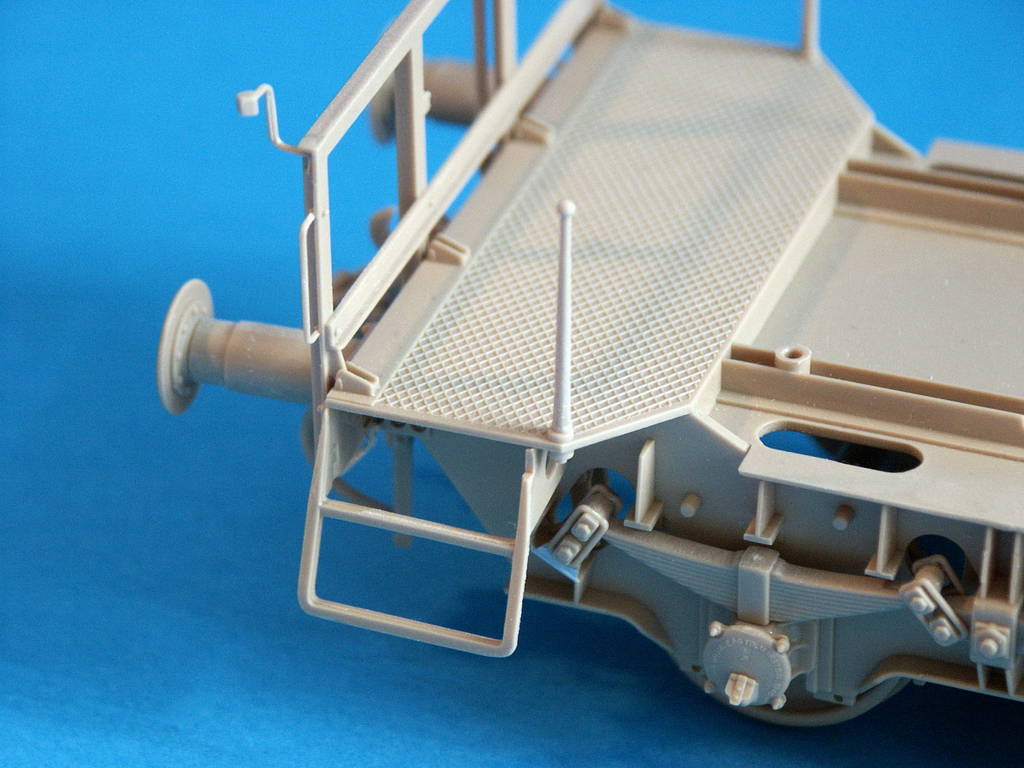
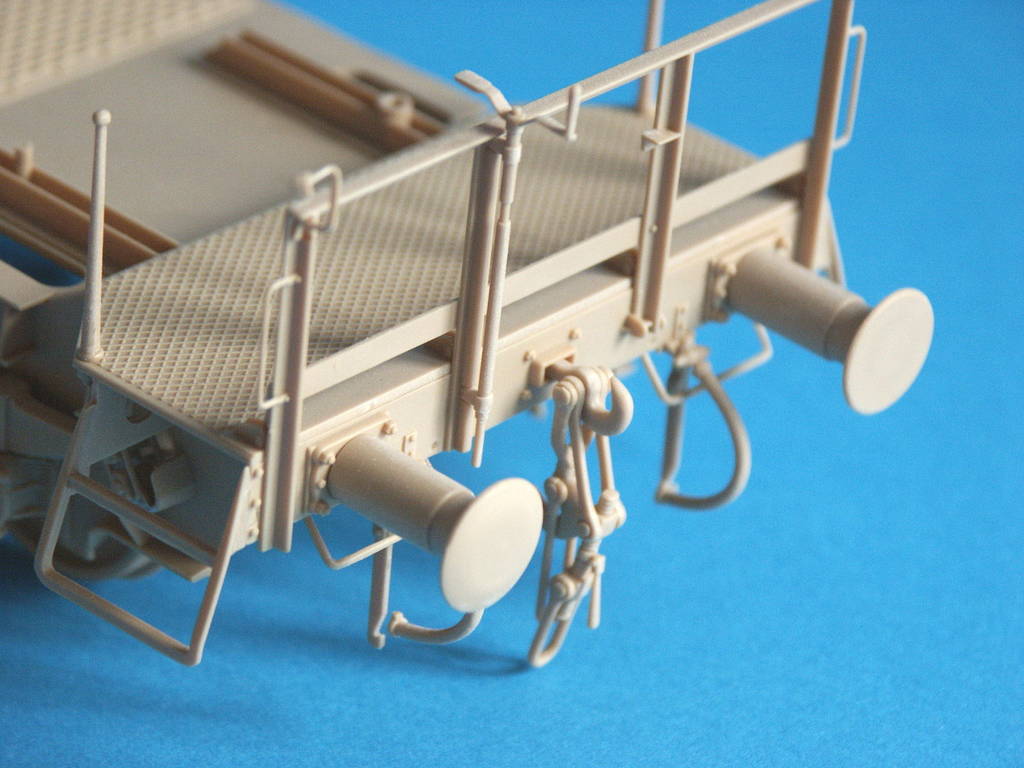
The two (almost identical) railway cars have been built out-of-the-box. The six axles per railway cars were built and a dry fit test performed to verify the final alignment. They were fixed to the railway cars only after the painting and weathering phase. During this phase, I decided to enhance the appearance of part D21 on both railway cars. I used a reference picture found in Piekalkiewicz' "Die Deutsche Reichsbahn im Zweiten Weltkrieg" as the basis for the detail work. The net present on part D21 was eliminated and a couple of small paper pieces inserted before placing the external net. The main sub-assemblies were not mounted until completion of the painting phase.The two support arms were built out-of-the-box. In this case, it is necessary to eliminate many ejection marks, which would be visible at construction completion if not dealt with. In order to facilitate the painting operations, the upper part of the support arms were not attached to the respective lower parts until after painting the inner zones.
Construction: Morser
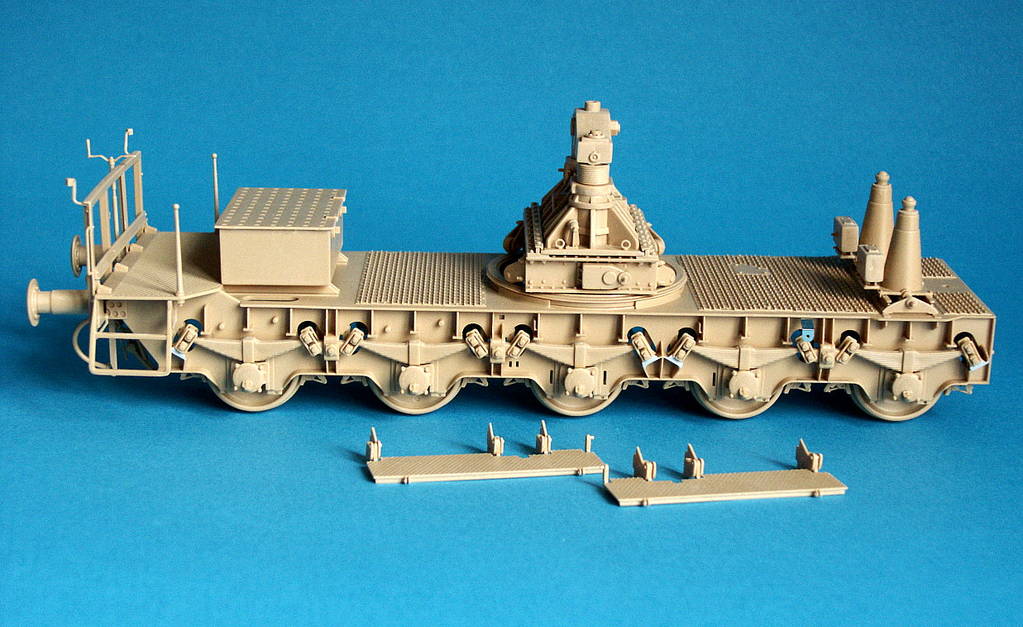
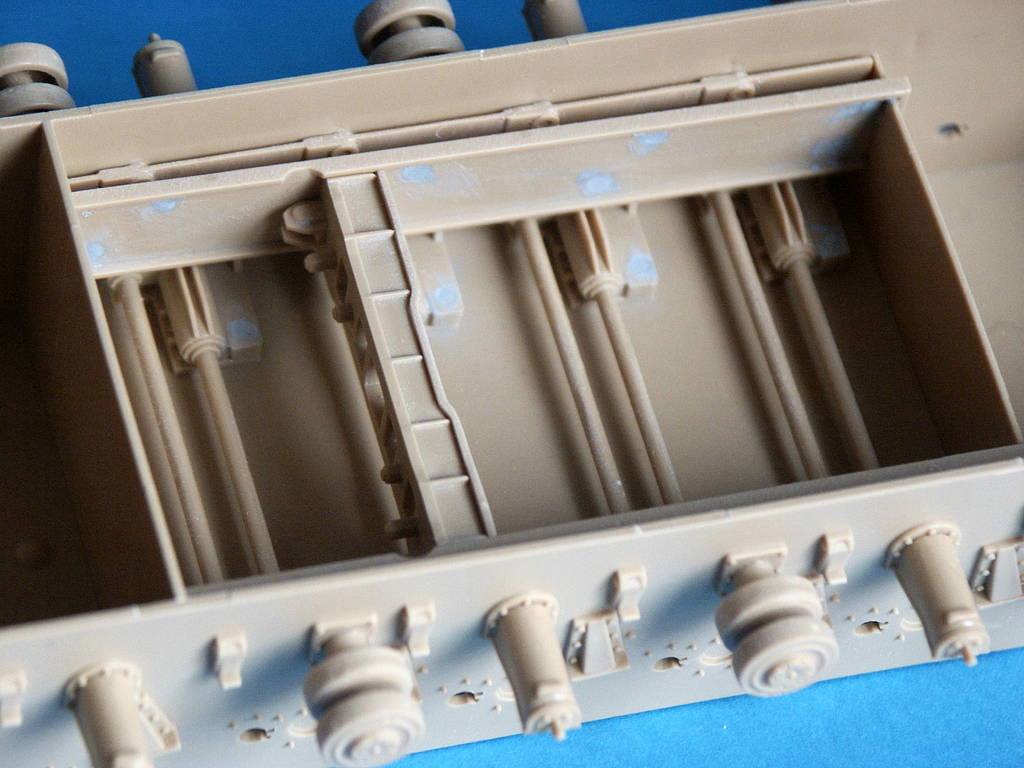
The Morser has been built out-of-the-box, with some changes and upgrading mainly due to the chosen transport configuration. Several modifications were required. The rigid link (tube-shaped), used to connect the two railway cars when no Morser was being transported was installed on the left side of the rear railway car, referencing the Truck Assembly step of the instructions.
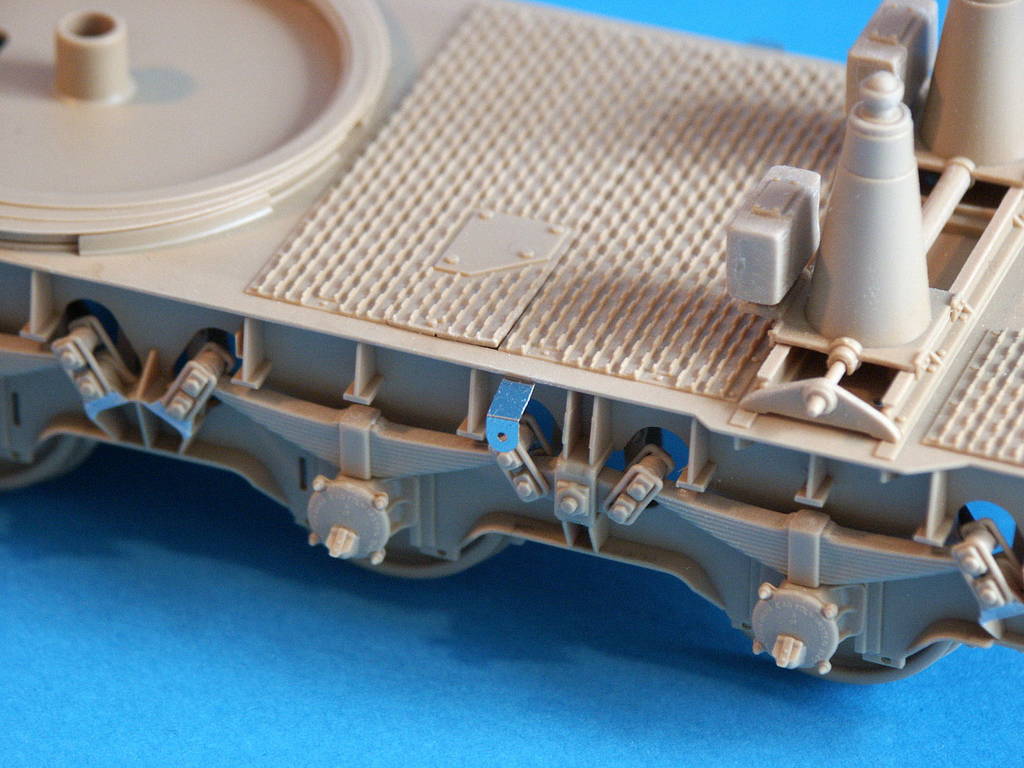
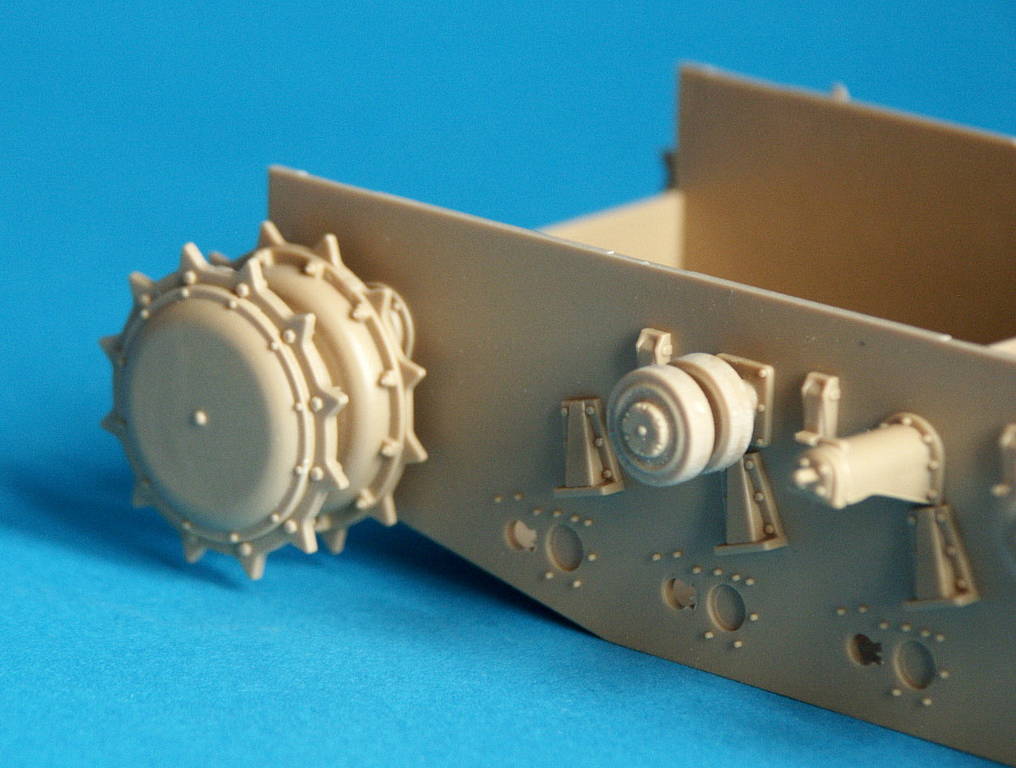
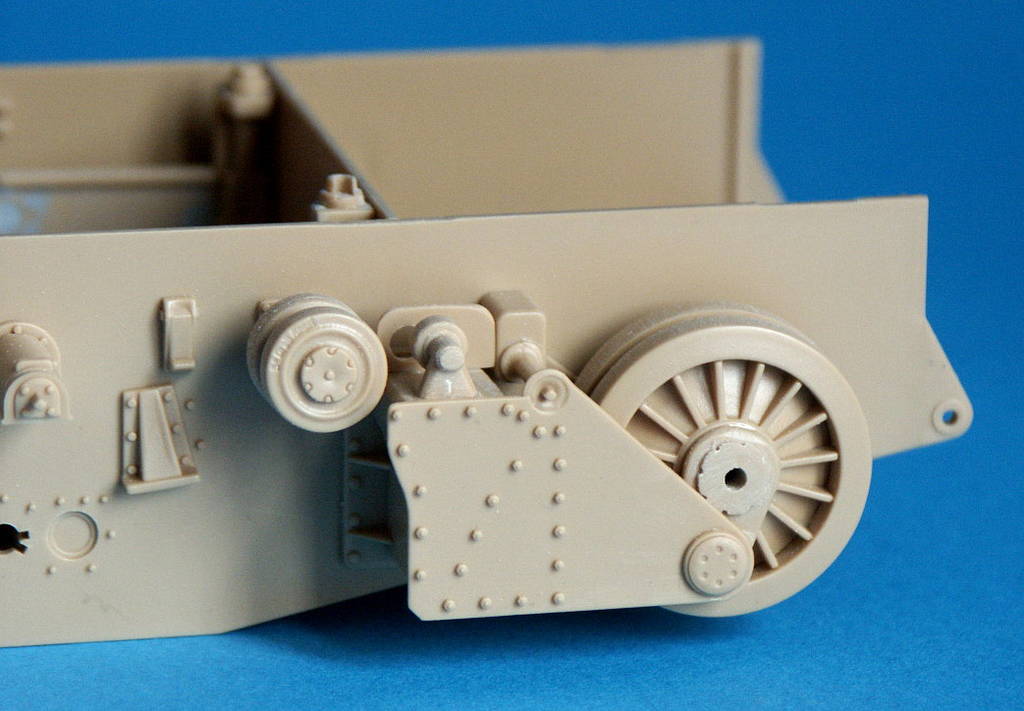
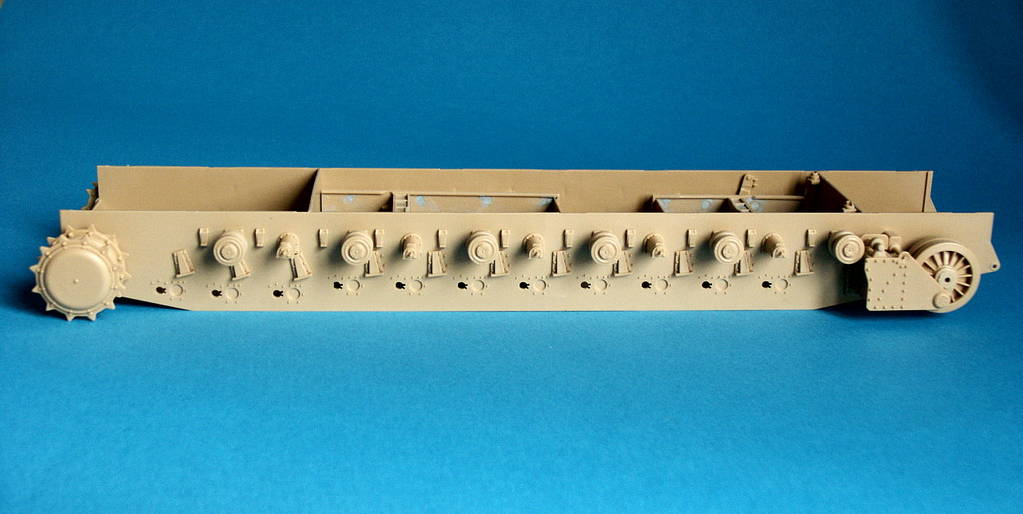
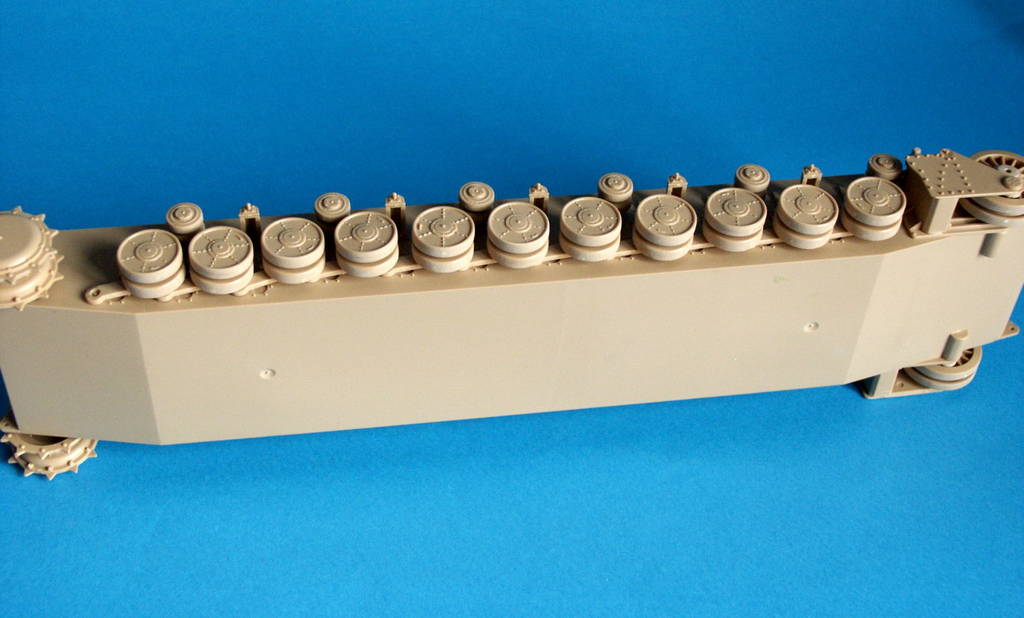
The 11 road wheels, for each side of the Morser, were moved upwards referencing the Lower Hull Assembly step of the instructions and the tracks sag was reduced by means of added chains.
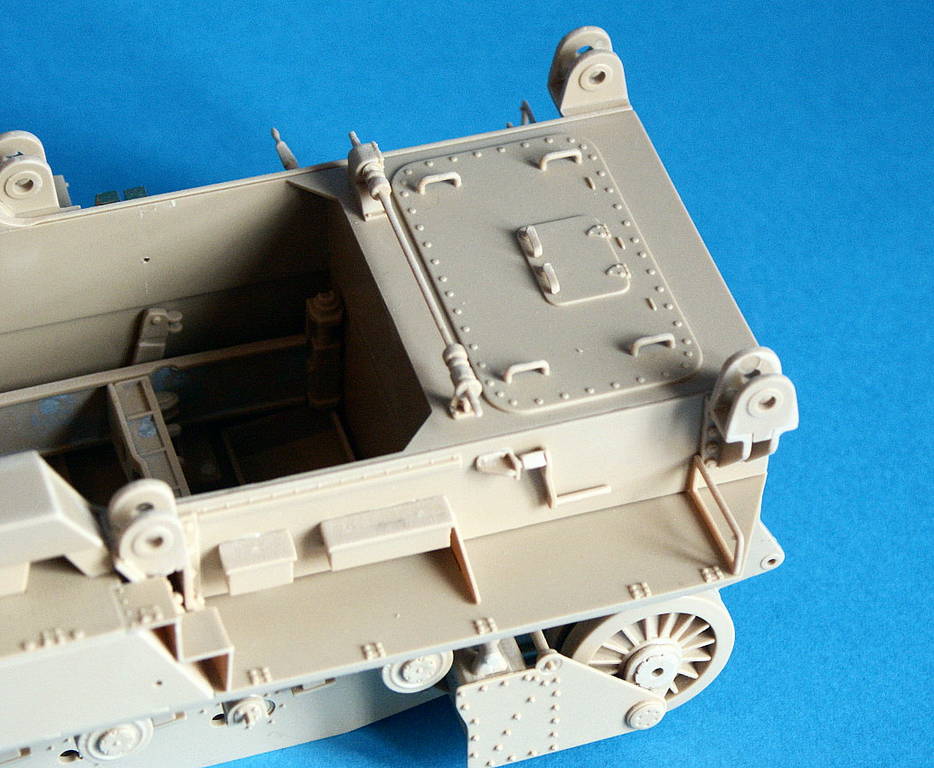
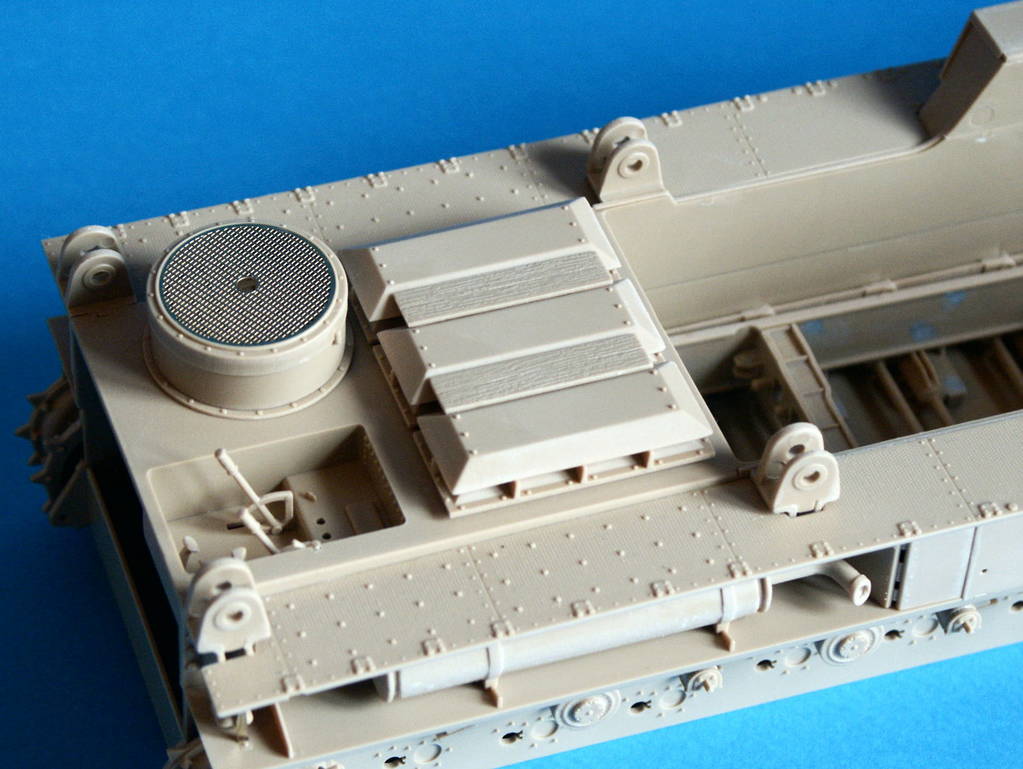
The lateral walkways were raised, in order to reduce the overall width referencing the Hand Rail Assembly and Attaching Hand Rail steps of the instructions.
The driver location was protected during transport so the interior as a direct consequence was not visible.
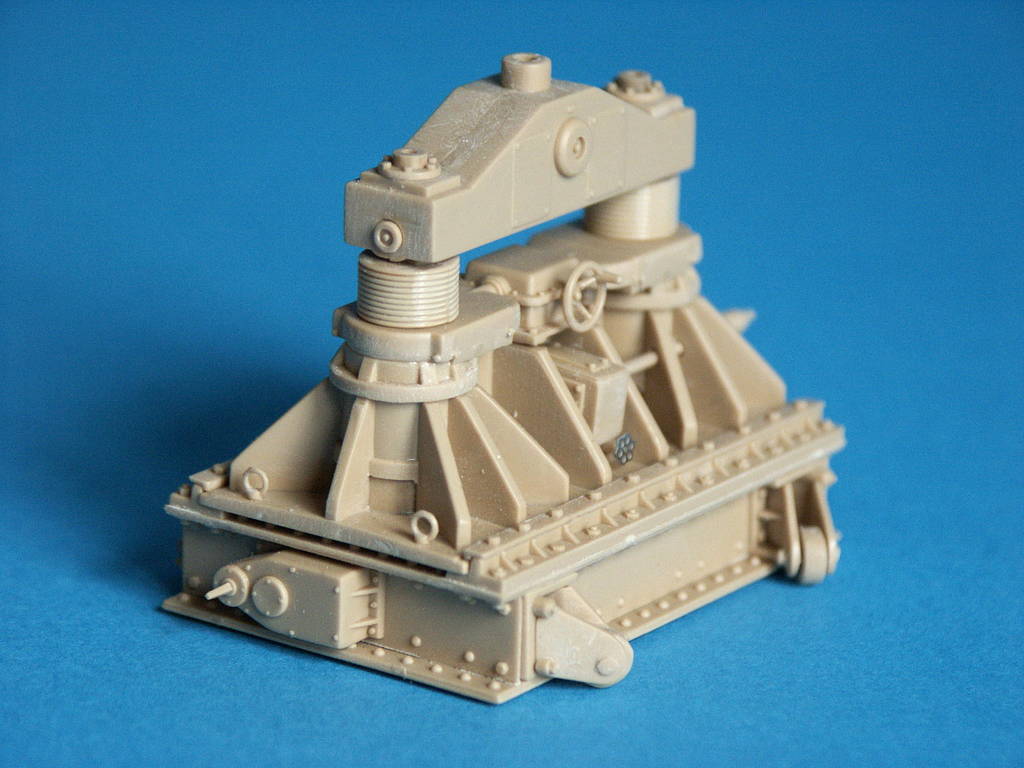
The upper recoil & buffer housing assembly and the loading tray assembly were transported on a different railway flatcar to reduce the overall weight, so these were removed referencing the Upper Recoil/Buffer Housing Assembly and Loading Tray Assembly steps of the instructions.
Finally, the barrel itself was protected using a canvas which would be scratchbuilt and added.


About the Author


Comments


All Rights Reserved. Please read our Conditions of Use and Privacy Policy.