

1⁄35Paper Panzer Half-Track
8
Comments
Exterior and Turret Construction
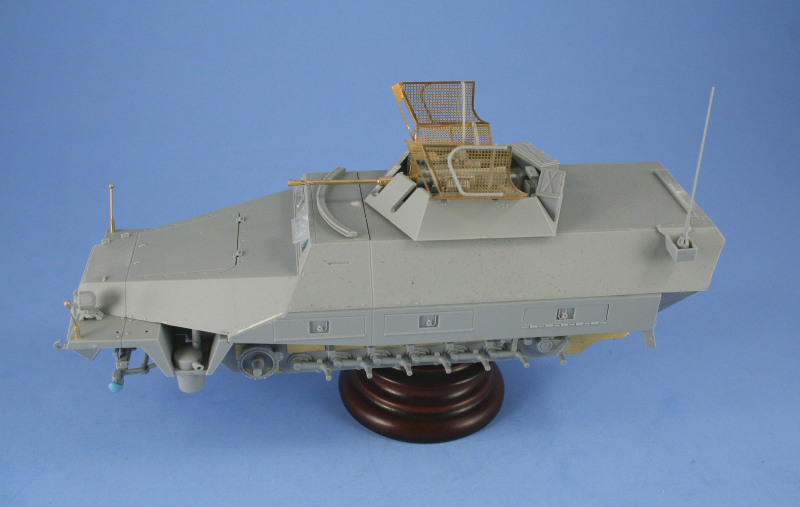
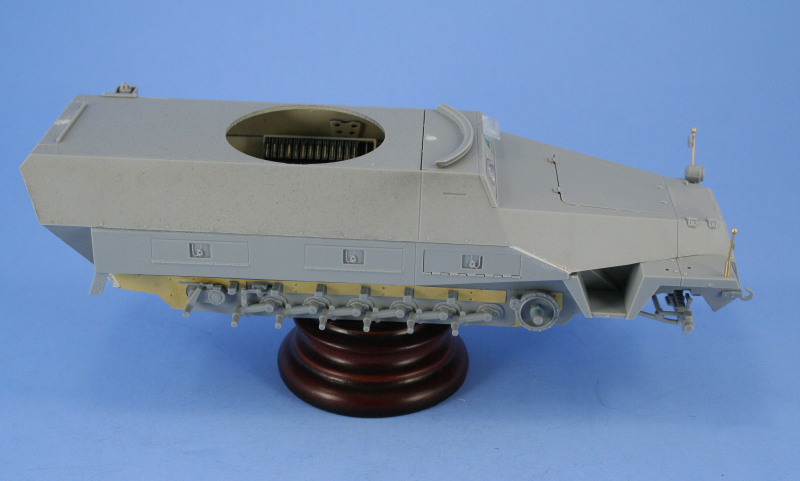
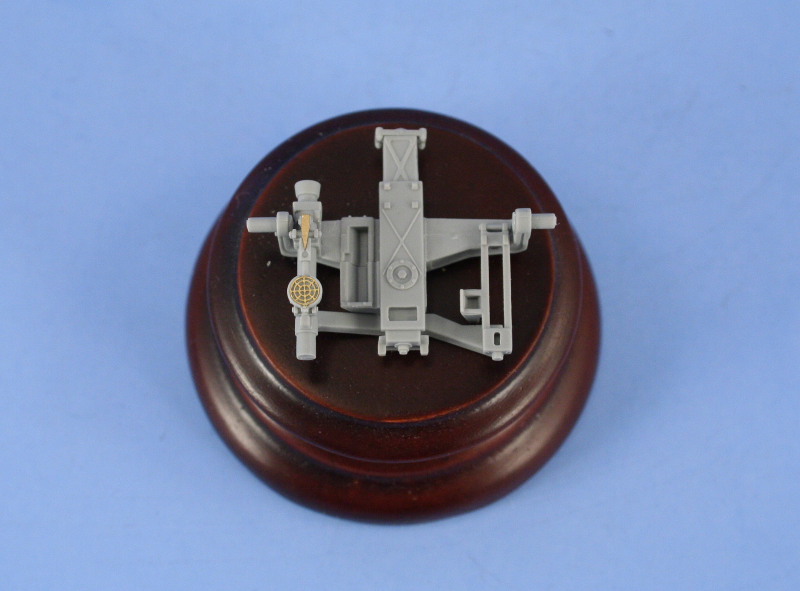
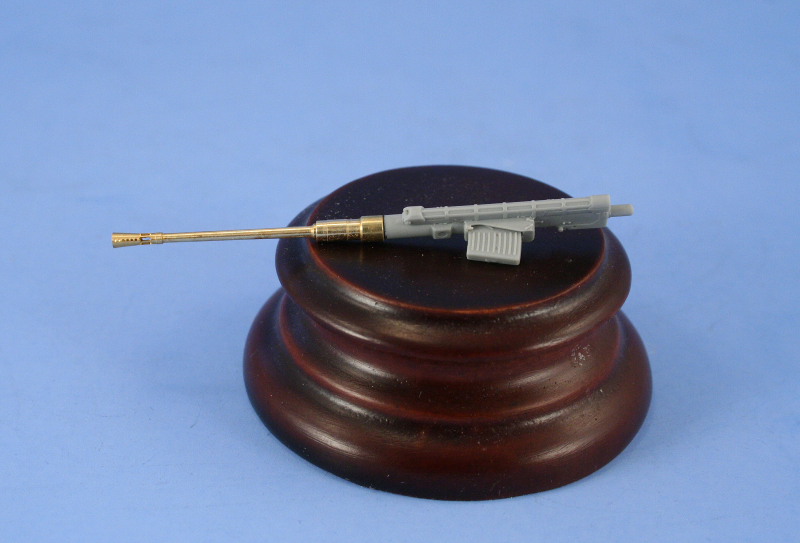
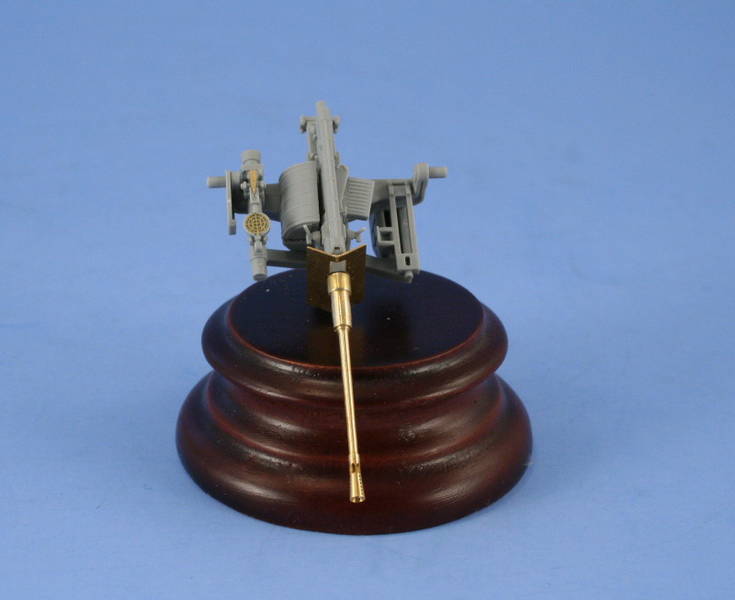
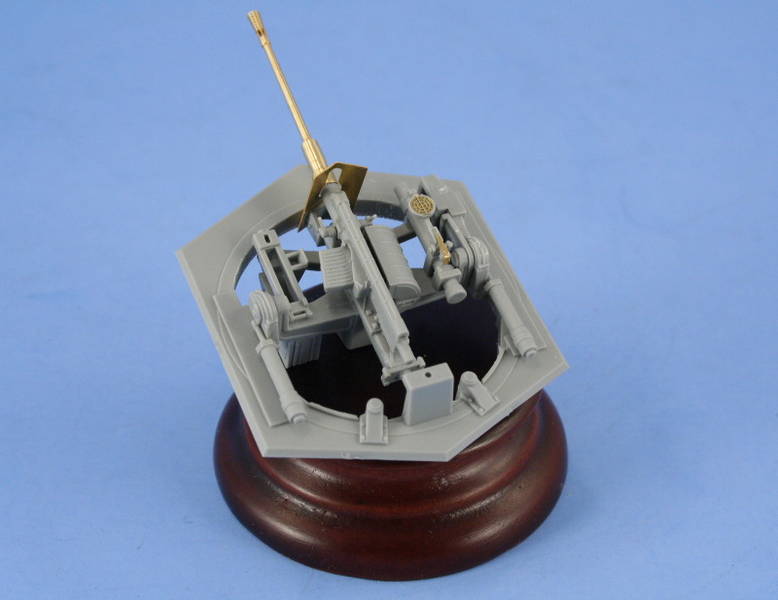
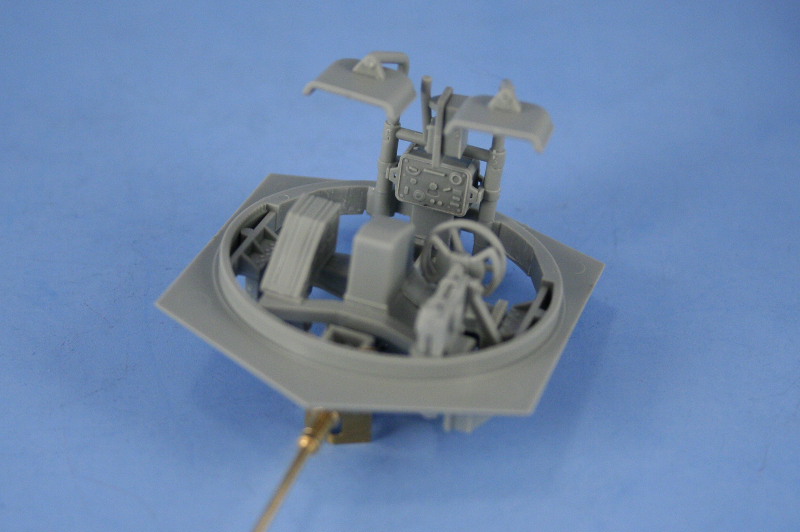
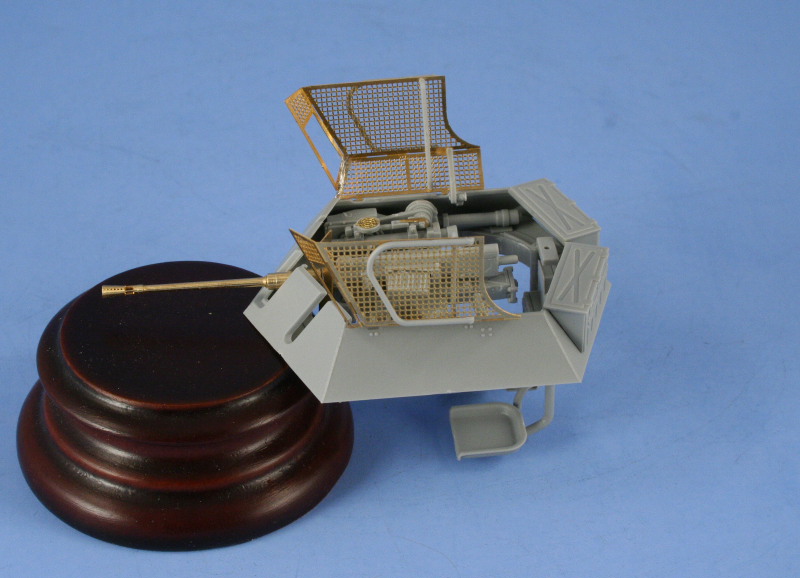
With the interior finished, the main challenge was getting the hull floor, sides, and roof to all fit together properly. The fit of the floor with the hull sides is the tightest of all the joins and an area where problems are most likely to occur if not careful. Since the instrument panel bulkhead integrates as a former for the front of the compartment, its not possible to install the hull sides to the roof and then attach to the floor. To get around this, I installed the left side first to the floor insuring it sat flush and tight to the interior plate and then glued the roof to the left side as an open C arrangement. The right hull side was then installed, using the left side and roof to square everything up and get a good alignment. The whole thing was then secured with rubber bands with only some small adjustments with liquid glue required to the front areas to get the required joins. Once set up, the nose armor plate and the exterior storage bins were fitted along with the front mudguards. The nose plate required some sanding and adjustment with liquid glue to get it to sit in the proper shape and alignment but nothing too major. I used the provided brass width indicators bent to shape using the jig molded on Sprue C and installed them with CA gel. Both storage box units had a slight gap at the cheek plates that required some putty to fill and correct. The muffler/exhaust was also assembled and installed since its not possible to do this with the fenders/boxes fitted and the fender tools were left off for detailing and installation post-painting. The turret construction went very smooth. The assembly of the gun mount provides some very nice detail of the Hangelafette mount and PE items are provided for the ring and blade sights. My PE ring sight wasnt completely formed so I borrowed the sight originally intended for use with the standard MG34 mount as a replacement. The kit includes a beautiful one-piece turned brass KwK 38 gun barrel with drilled out flash suppressor which is by far superior to the kit supplied styrene item. Some surgery was required to join it up with the styrene gun breech and recoil assembly, but nothing out of the ordinary for this type of thing. I also used the provided PE splinter shield guard in place of the styrene item bent to shape and secured with CA to the styrene gun mount. The gun mount, when installed into the turret properly, can elevate freely although the interior of the turret ring needed to be sanded just slightly to allow the PE splinter shield to clear smoothly and not catch when fully depressed and then elevated. This made it possible to leave the gun removable for easier painting and detailing, something I took full advantage of. Both a slide-molded MG34 and MG42 with hollow muzzles are provided for the coaxial MG and I chose the MG42 as the more appropriate later war item. An ammo drum marked as not for use on the instructions was adjusted to fit the MG42 slot and pressed into service. Last but not least, the kit supplied PE grenade screens were bent and soldered together to provide a strong bond and installed in the open position to show off the interior detail. A test fit of the turret into the hull roof showed it to be very tight and the interior layout doesnt allow for it to rotate freely, so theres very little option other than straight ahead for the gun and turret alignment on the finished vehicle.Tracks
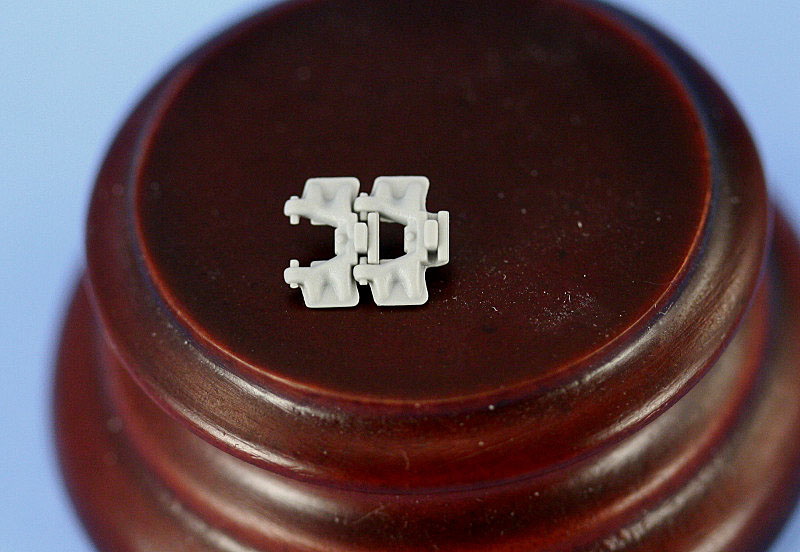
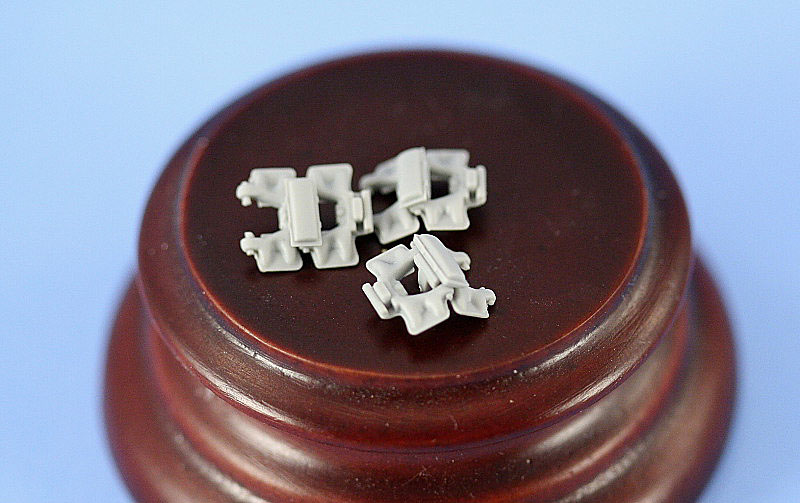
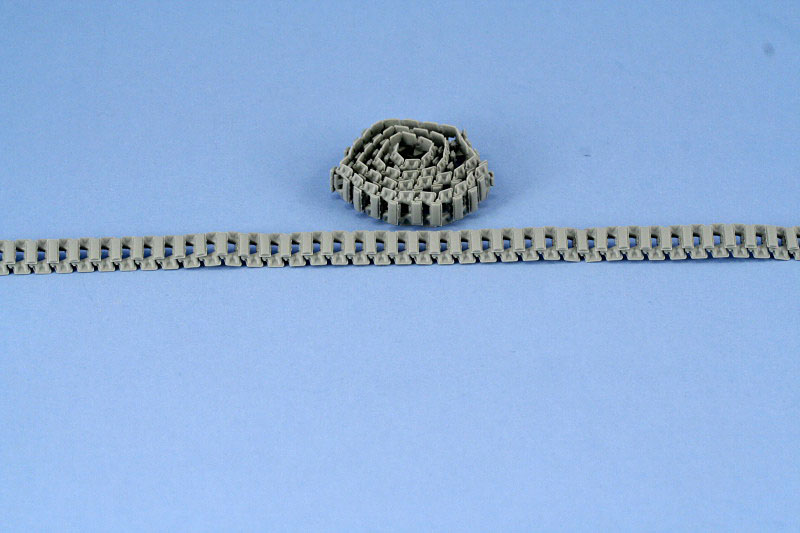
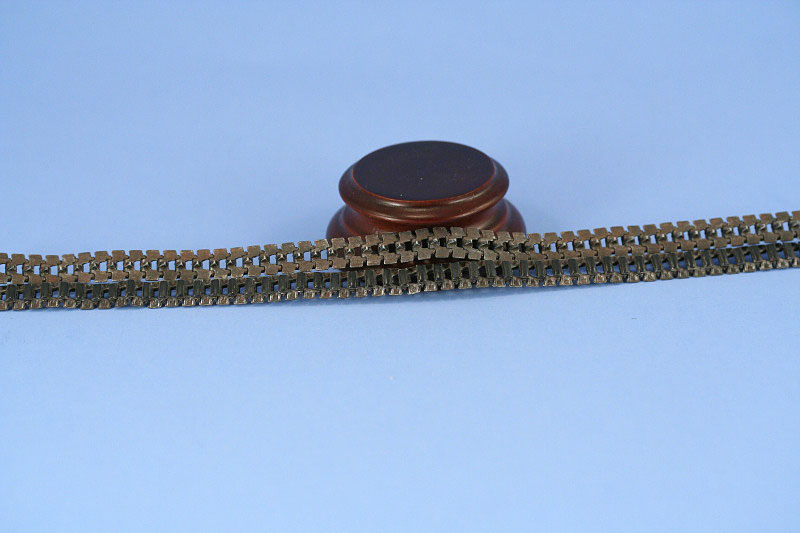
The kit provides two sets of tracks, one Magic track that represents the later pattern of track and one standard on-the-sprue set of earlier skeletal type with lightening holes. I chose the Magic track set since this wouldve been a later war vehicle if it had been produced. Each link had 2 raised ejector marks that needed to be removed but this was well worth it since the runs can be assembled as workable tracks with a little care when gluing and assembling. Each link has a tight friction fit to the next link, almost a snap fit, and the rubber pad block traps the link, allowing it to hinge freely and remain workable. I assembled 2 runs of 54 links as directed by the instructions and discovered that this worked fine for the left side but the right side needed an extra link to fit properly. The track runs were painted with MM Non-buffing Metalizer Gunmetal, dry brushed with Steel, then given a wash of Rust followed by a second wash of Burnt Umber. The track pads were then painted with regular enamel Gunmetal to simulate the rubber surfaces and the runs were ready to go.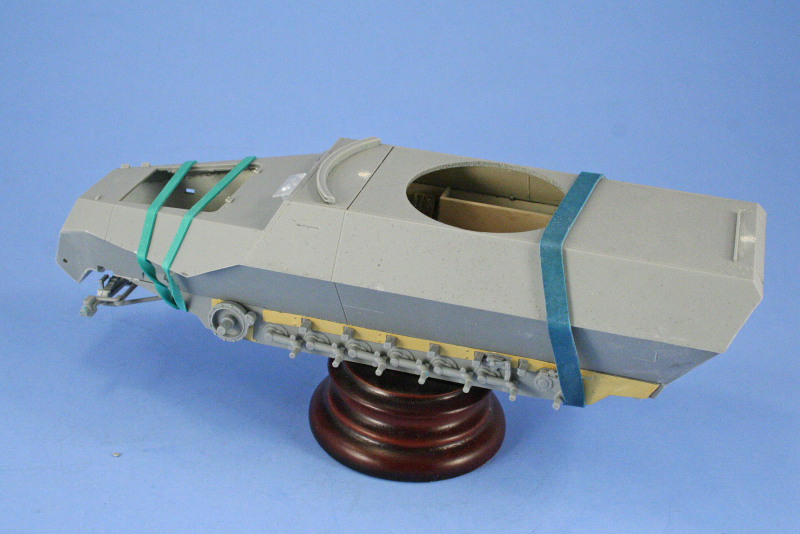
About the Author


FROM: TEXAS, UNITED STATES
Like many, I started out in the hobby as a kid building airplanes to hang from my bedroom cieling. I took a long break from the hobby, returning in 2001 with an interest in armor inspired mostly by online gaming. WW2 armor, 1/35 scale, is my preferred genre with a special taste for the stranger vehi...
Comments

Looking very purposefully, this combo. And a beautiful build. Although I personally would've added a 3-tone scheme.
One question, is it doable to use a regular 251/D and use parts from another vehicle to donate the Schwebe-laffette?
Or are there too many other areas that need modifying?
But it is looking very very nice, even with the single color scheme it still looks interesting.
Well done!
APR 21, 2007 - 11:34 PM

Herbert,
Thanks for your comments, always appreciated. I was tempted to do a 3-tone...even thought about a factory hard-edged scheme...but ended up with the straight Dunkelgelb scheme after looking at similar prototypes for the Aufklarungspanzer, Gepard, etc. where they show the prototype vehicles in plain Dunkelgelb plus I wanted to see what I could do with it from a weathering perspective so it was an "experiment" in more ways than one.
Not sure I understand your question though about swapping out parts for a 251 D? Do you mean if the Hangelafette turret can be used on another 251 D like the AFV or on another kit/ vehicle entirely? The turret is a stand-alone set of sprues/parts with a specially provided hull roof with turret ring as a one-piece modification, otherwise everything else in the kit is standard 251-D parts.
APR 22, 2007 - 12:42 AM
No I mean, since this is a one time limited edition "it will never ever be produced again" model, can you take a similar turret from another kit, and craft that on a regular D without too much additional modifications?
I love the way a 251 looks, although I've never ever built one, and this one looks very "aggresive".
So, should I wish to build one using a standard D, can I plop in a Schwebelaffette from a 250/9 or something like that?
APR 22, 2007 - 06:14 PM
Herbert,
Makes sense now, for you to get the right hybrid you'd have to take a 251-D and scratchbuild a roof top for it with turret ring and then could adapt a Hangelafette turret from either the 234/1 or Aufklarungspanzer 38(t) to get the right turret and gun mount. The 250/9 or 222 turret aren't the same layout/design in relation to the gun mount and interior and won't work on the 251 hull. The 250/9 turret has post mounts for the seats and gun whereas the 251/23, 241/1 turret has the seats "hanging" (hence the name of the mount) from the turret frame itself and uses a tank like turret ring for rotation.
APR 22, 2007 - 06:34 PM


A beauty Bill very nice finish on this one i like it a lot, i am yet to tackle one of dragons halftracks but i have 3 in the stash and it will be nice having this for reference when building one.
Ron.
APR 25, 2007 - 09:05 PM
Thanks Ron, the DML 251 series of kits present some interesting subjects although the accuracy/detail varies from the earlier to the later versions, they are all solid kits IMHO.
APR 26, 2007 - 01:56 AM
Copyright ©2021 by Bill Plunk. Images and/or videos also by copyright holder unless otherwise noted. The views and opinions expressed herein are solely the views and opinions of the authors and/or contributors to this Web site and do not necessarily represent the views and/or opinions of Armorama, KitMaker Network, or Silver Star Enterrpises. All rights reserved. Originally published on: 2007-04-22 00:00:00. Unique Reads: 29037

WEB HOSTING BY


Copyright ©2021 Armorama and Kitmaker Network, a subsidiary of Silver Star Enterprises
All Rights Reserved. Please read our Conditions of Use and Privacy Policy.
All Rights Reserved. Please read our Conditions of Use and Privacy Policy.