

1⁄35Post-War Finnish T-34/85
8
Comments
Construction, pt.2
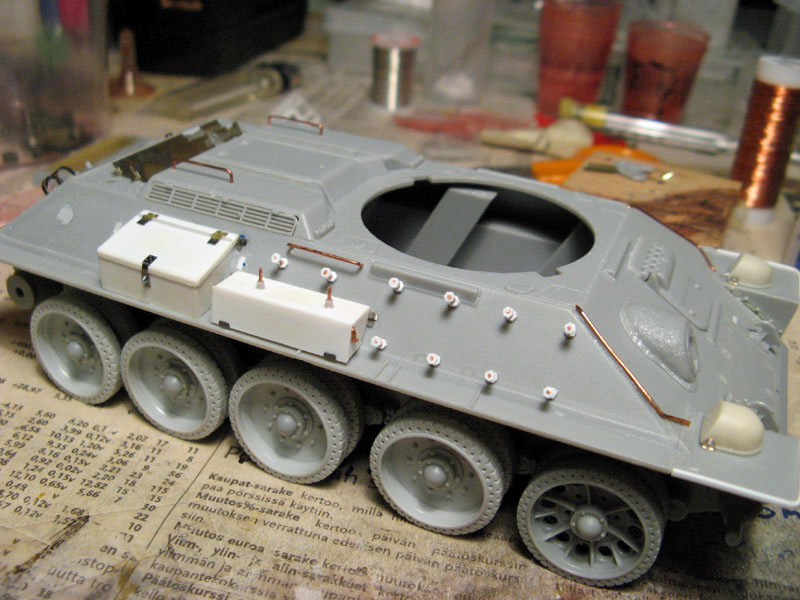
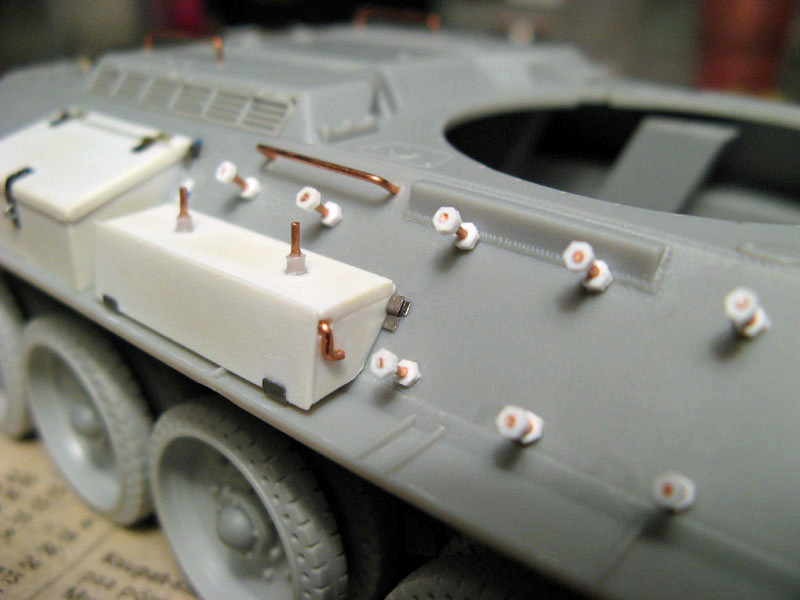
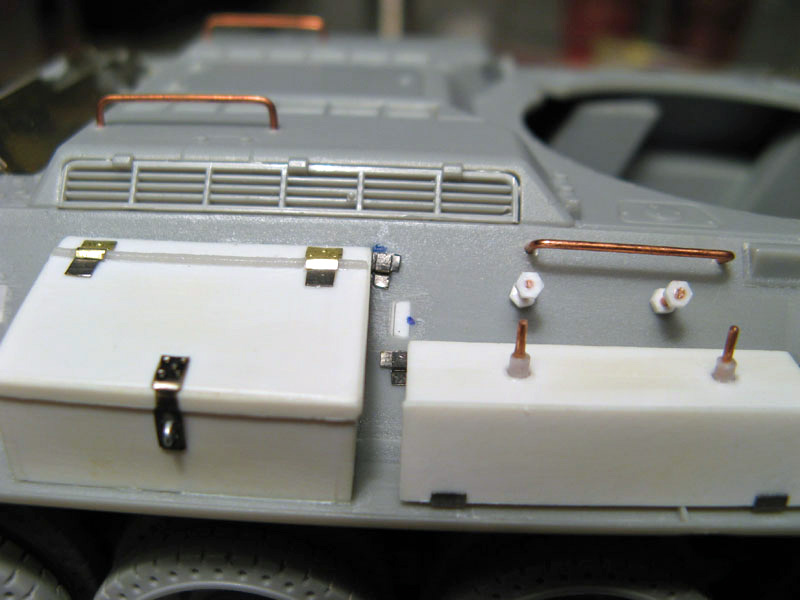
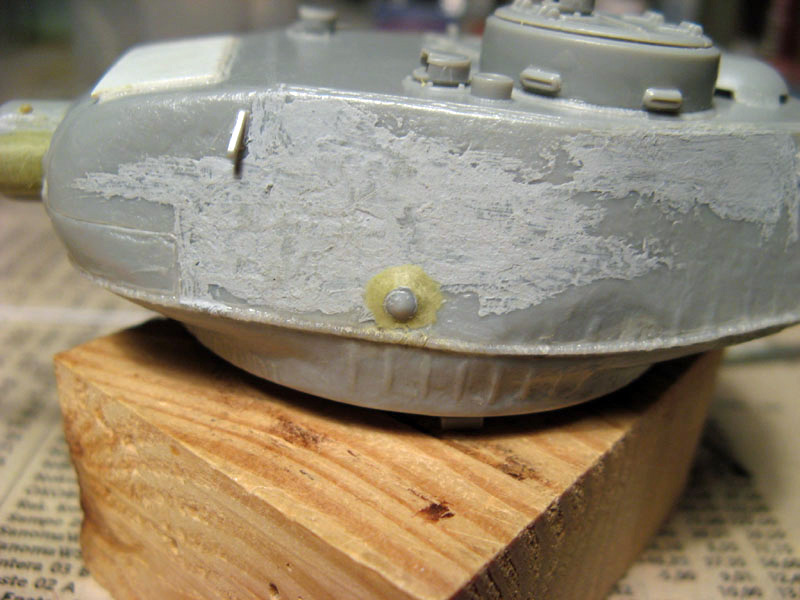
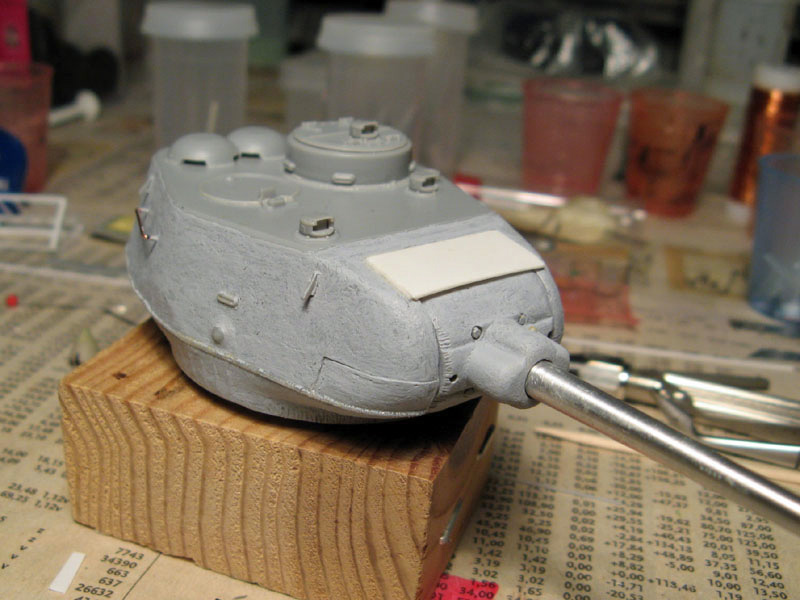
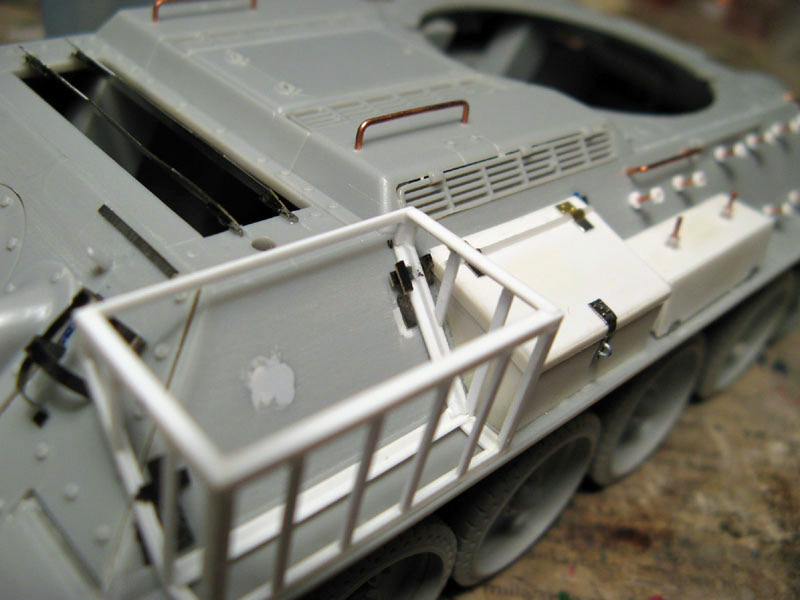
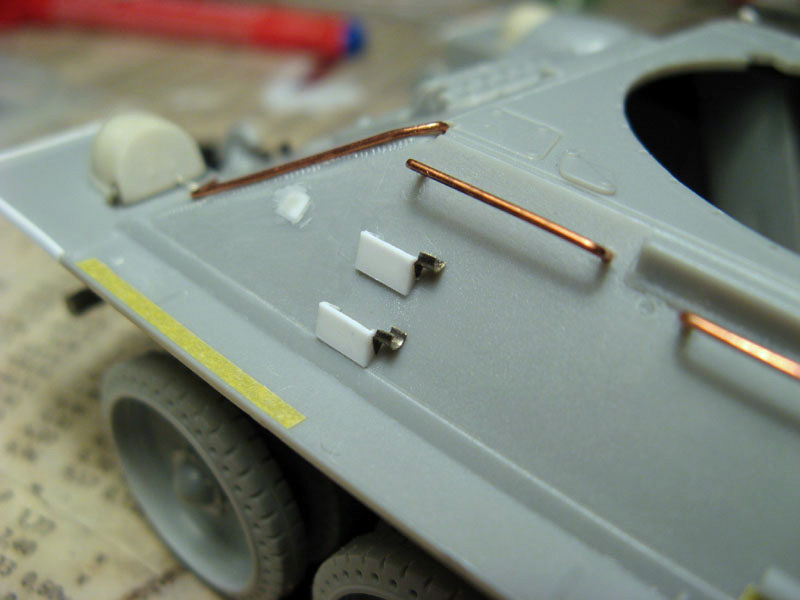
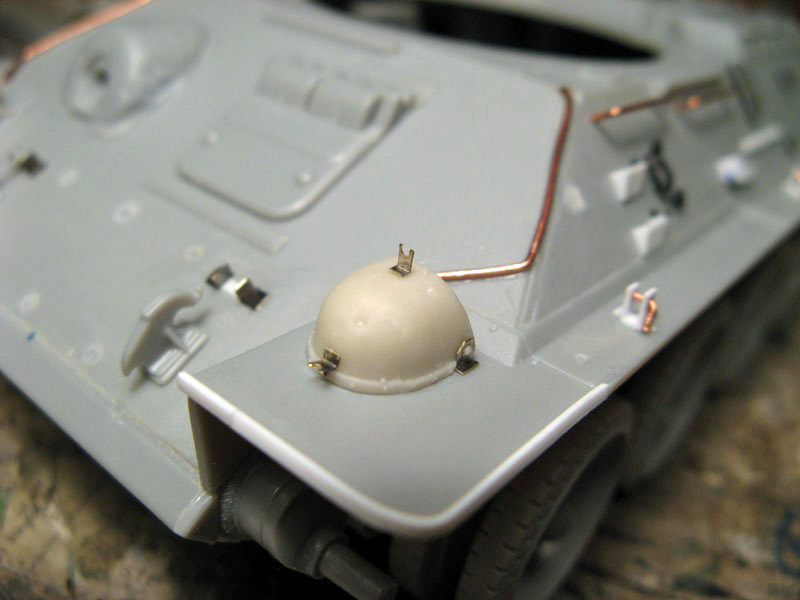
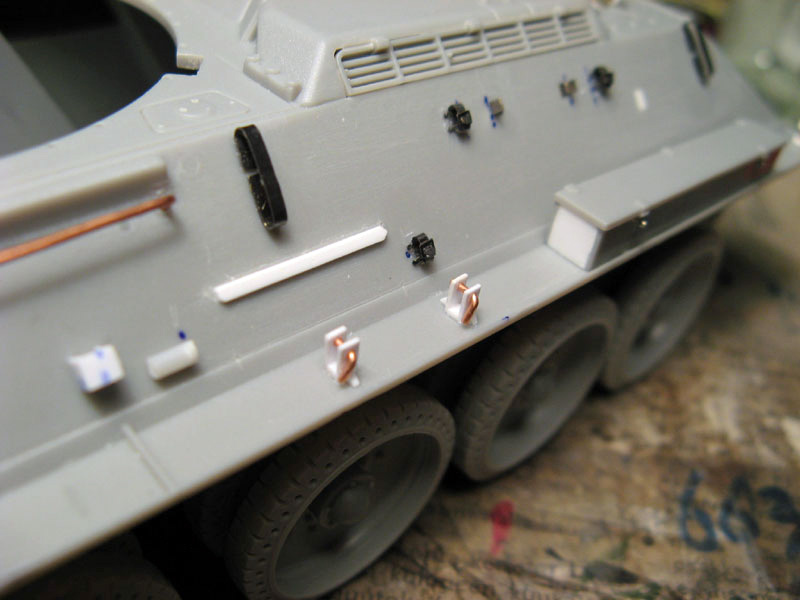
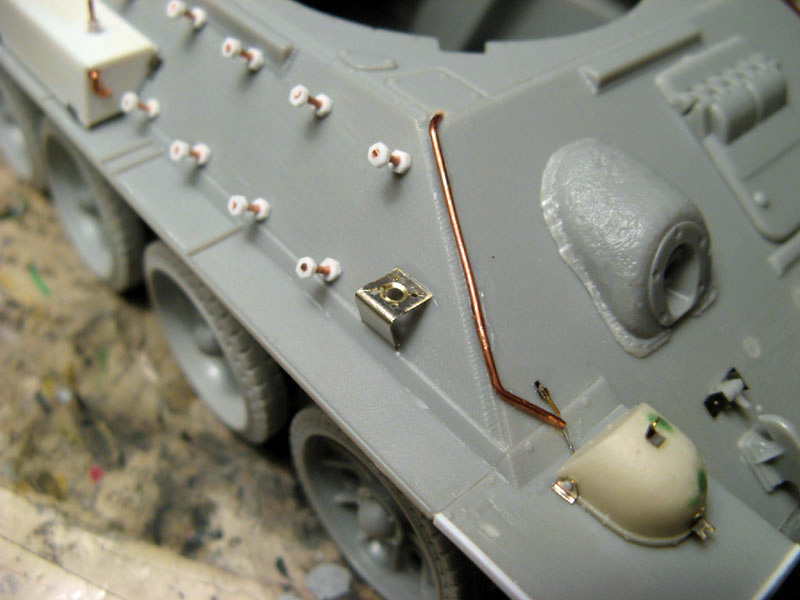
So, we come to year 2007, with my build still in the box, waiting to be finished. After noticing the Under new management campaign about to start, I though it might be a good chance to dig up that half-built model and finish it. After asking if this would make an entry, and given the green light, I got started again.The first thing I did was to attach the already finished storage boxes to the fenders and build mounts for them from scrap PE and install the grab rails scattered around the hull as well as the dozen-or-so bolt & nut assemblies. The headlights and their power cables protected by metal tubing (I used copper wire) were also glued in at this time although I left off the tiny parts from the light housings to keep them from getting knocked off and consumed by the carpet monster.Dragons kit didnt provide the butterfly louvers that go under the mesh, and neither were they included in the Aber engine screen set, so I scratch-built them from left-over PE frets and metal wire. Not as detailed as they could be, but with the cover closed, they were just what was needed to fill the otherwise empty space. Then was time to tackle the turrets gun mantlet. I printed out a few good photos from the Internet and sculpted on the horizontal extensions to the gun barrel sleeve with milliput. It wasnt as hard as I imagined and, it being my first time using milliput, I was quite happy with the results. While I was at it, I blended in the pistol ports in the sides of the turret as well. After the putty had hardened, I did the final shaping with a file and sandpaper. When I was done, I brushed a coat of Mr. Surfacer 500 to the gun mantlet to blend in the putty modifications and unify surface texture. With the pistol ports blended in with the same putty, I also coated the rest of the (cast) turret surfaces with Surfacer. With the turret out of the way, I concentrated my efforts on the hull. The engine intake cover was still missing the tail-light so I did that next. The light cover was provided on Abers PE set so I used it. With Dragons kit not supplying a tail-light, I had to make the part from stretched-sprue. In fact, it was only a matter of stretching a sprue to the right thickness, cutting one end straight, and filing the other to an angle to fit to the engine intake cover. With sprue part and the light cover in place, I began dry fitting the photo-etched lamp part in place. I of course then managed to drop the part, and being unable to find it, I had to either make a new one or dig in the spare parts box. I chose the latter and found a somewhat similar looking photo-etched part (I think it was originally meant for spitfire gun-sight) that did the job. The left side of the hull was still almost bare and that I started dressing it up with various tool mounts and other details including towing cable brackets on the fender. As with the rest of the scratch-built items, all measurements were partly calculated, partly estimated from reference photos with part locations marked on the hull with a thin felt-tip pen and masking tape. After finishing the left side, all that was left was adding some small & delicate parts to the headlight covers and a radio antenna mount on the right side. With these additions in place, the model was ready for painting.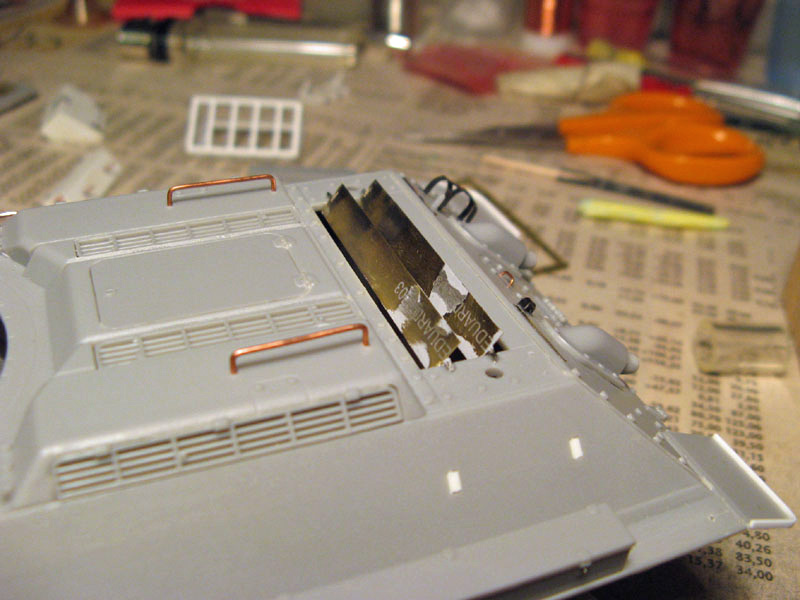


About the Author


Comments
Extremely nice and clean detail work! Also the painting and finishing is really nice (good tips for me, as I'm a "green armor builder" as well Thank you for this feature!
PS: I should have known all these details when it came to vote in the DMOM! Congratulations to that very nice piece of work again!
NOV 15, 2007 - 09:40 PM

I like the weathering it is very subtil!!!!!!!!!!!!!!1 Nice one!
I like also you scratch skill!
NOV 16, 2007 - 02:02 AM

Well done Eetu, great to see the article up after following this build closely.
Makes me ashamed to say I still havn't got my captured flak universal carrier article done!
Youv'e done a great job mate, well done!
James
NOV 16, 2007 - 02:10 AM
Eetu,
The model looks great! I have a love for the obscure and a soft spot for small armies. If you had done a little searching on this site, you may have saved yourself some time and work. My company, Decalcomaniacs! makes a decal sheet of everything you need to mark postwar Finnish AFV's. We also do a T-72 sheet with markings for T-72's. If you are still interested, stop by the website. Also, here's a link to Frank DeSisto's review: Time on Target. Hope that helps!
Regards,
Georg Eyerman
Decalcomaniacs!
NOV 16, 2007 - 03:20 AM


Thanks for the compliments.
^^ I've been aware of Decalcomaniacs making several sheets of Finnish armor decals, the problem has just been availability, and me being unable to make purchases from ebay, which seems to be the only place to buy them. Now when I got a visa electron from another bank where it actually works properly in online stores, I'll sure consider getting a sheet or two.
NOV 16, 2007 - 05:01 AM
Eetu, fantastic job on the T-34/85. I have been following your projectin the campagn tread. interesting the read the whole build in an article. Great project and fantastic details.
Thanks for sharing
NOV 16, 2007 - 10:45 PM
Eetu proves he's the man, especially when it comes to scratching the beast. You have my compliments under the campaign thread, yet again I congratulate you on a job very well done!
NOV 17, 2007 - 09:08 PM
Copyright ©2021 by Eetu Tahvonen. Images and/or videos also by copyright holder unless otherwise noted. The views and opinions expressed herein are solely the views and opinions of the authors and/or contributors to this Web site and do not necessarily represent the views and/or opinions of Armorama, KitMaker Network, or Silver Star Enterrpises. All rights reserved. Originally published on: 2007-11-16 00:00:00. Unique Reads: 22155

WEB HOSTING BY


Copyright ©2021 Armorama and Kitmaker Network, a subsidiary of Silver Star Enterprises
All Rights Reserved. Please read our Conditions of Use and Privacy Policy.
All Rights Reserved. Please read our Conditions of Use and Privacy Policy.