

1⁄35Building DML's Pz.Kpfw. III Ausf N sPz.Abt. 501 Afrika
12
Comments
Painting
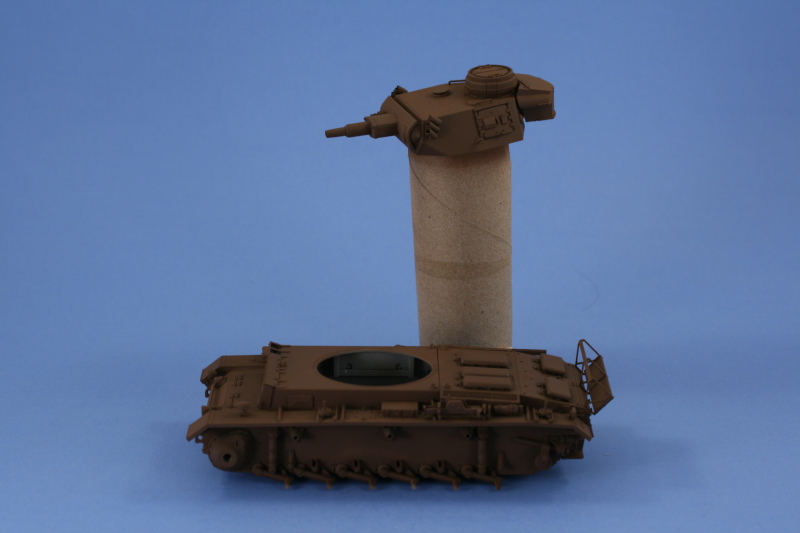
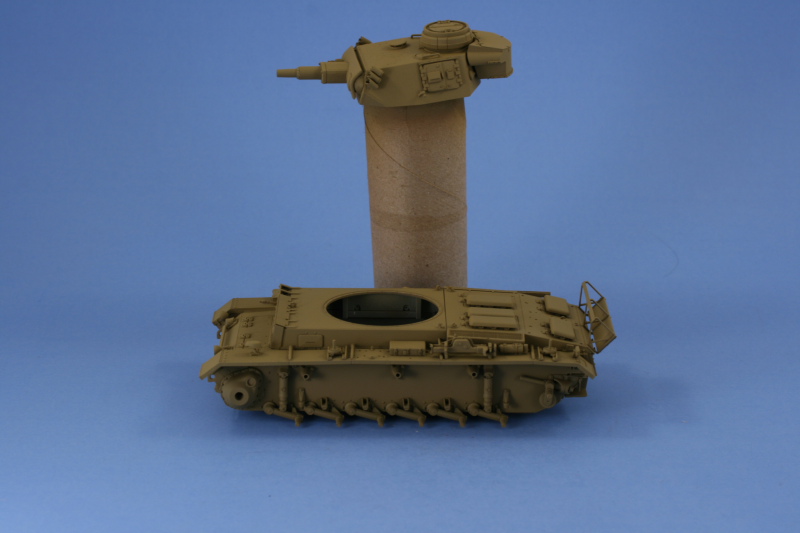
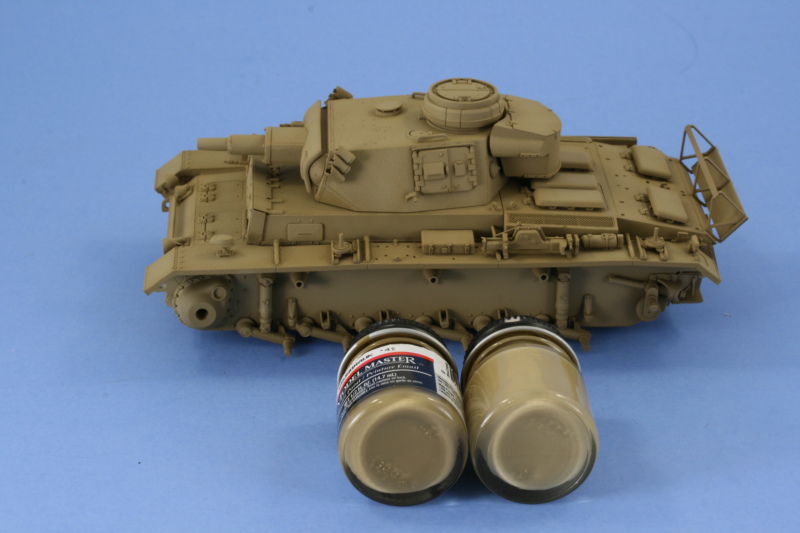
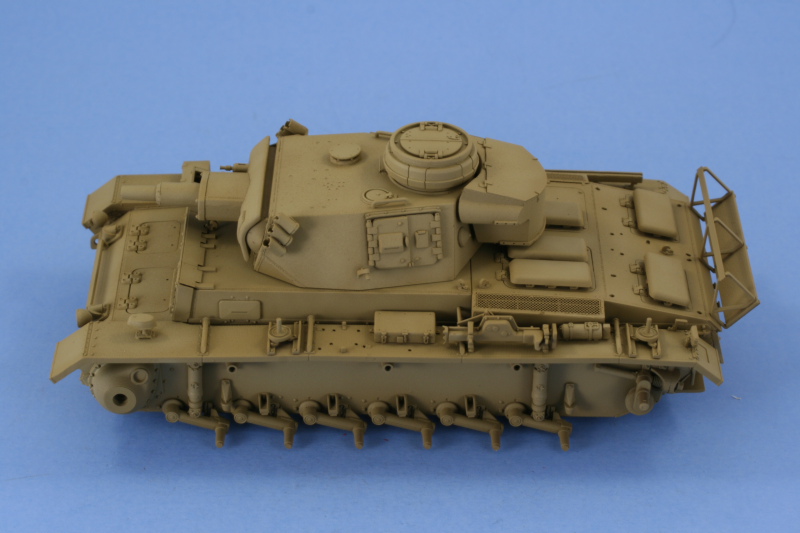
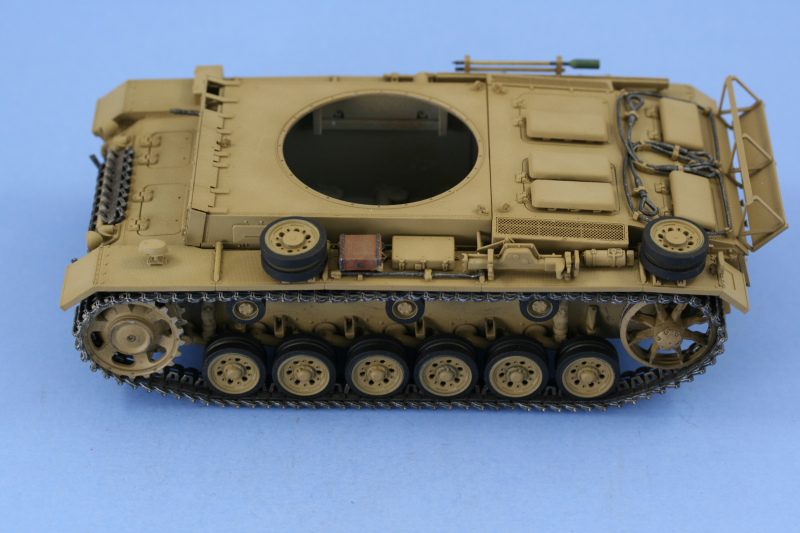
The prep-for-painting process involved mounting all of the road wheels on toothpicks with blue-tack and sticking them into a foam box for easy handling. I masked off a circle template with the appropriate circles for the inner and outer hubs and modified a cardboard tube with some masking tape on the bottom to hold the turret and it was off to paint. All paints referenced from this point forward are Testors Model Master Enamels unless otherwise noted. A primer/pre-shade coat of Italian Dark Brown was applied by airbrush as the first step. This was followed by the base-coat of Afrika Grunbraun applied as multiple thin coats to slowly build it up over the previous coat. The road wheels, which had been previously painted with Flat Black for their rubber rims, were also painted using the circle template, with the same color as the base-coat. To introduce some variation to the base-coat, I mixed the Afrika Grunbraun with 20% Light Gray to produce a lighter shade and then sprayed this by airbrush to various areas to produce highlights and contrast.Tracks and Details
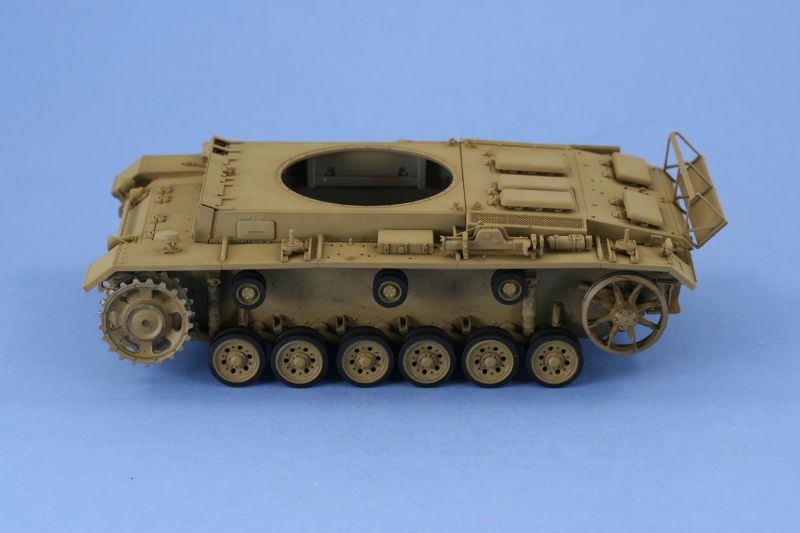
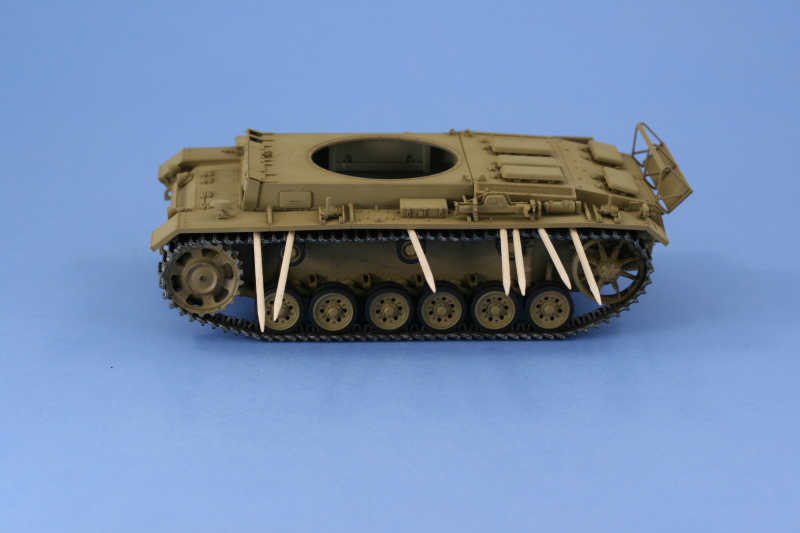
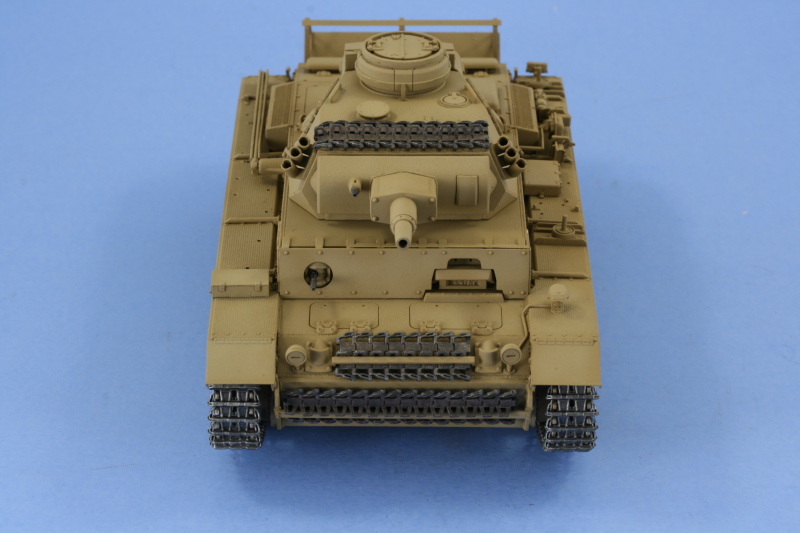
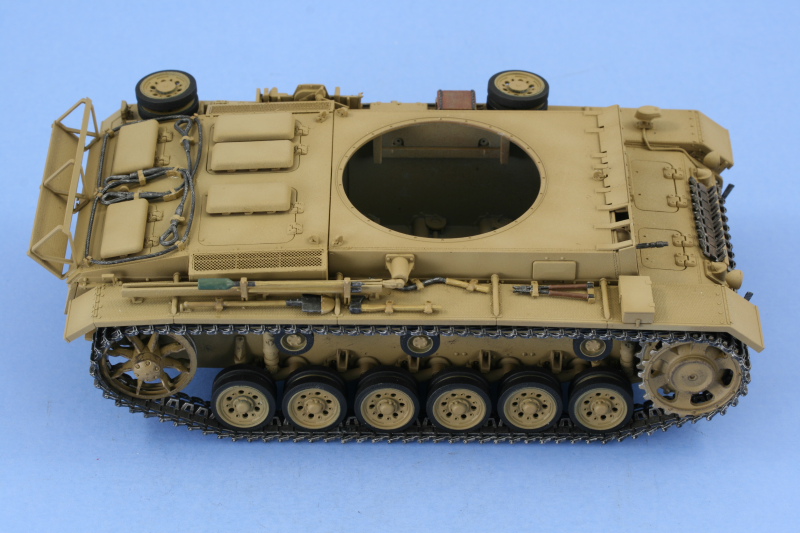
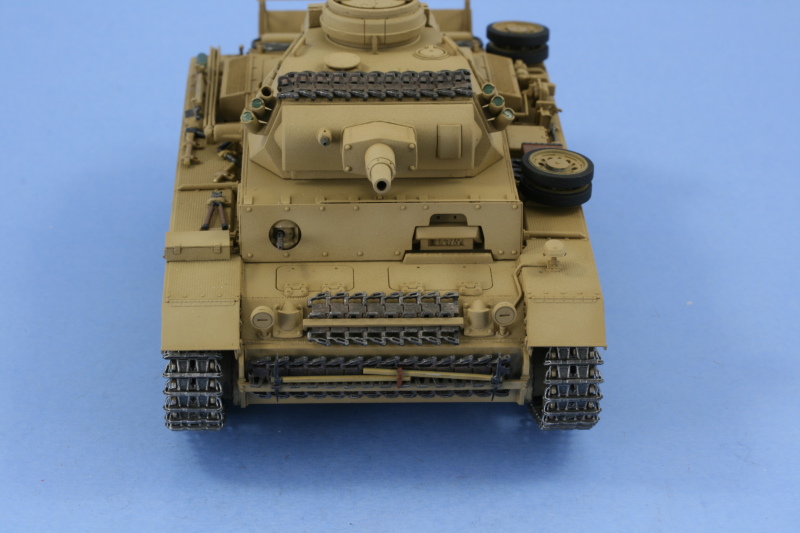
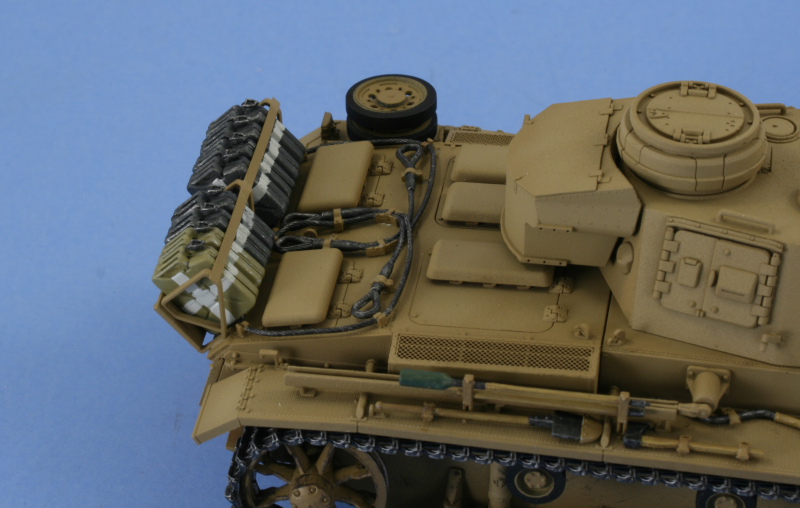
With the initial round of painting done, the road wheels and return rollers were installed. The fit of the road wheels was very tight and it was necessary to apply pressure on some to get them to seat all the way down on the suspension arms to align properly. The sprockets and idlers were test fit to be sure everything was in alignment and then the individual link tracks constructed. The instructions incorrectly call for 98 links per side, the correct number for a Pz.Kpfw. III chassis is 92-94. I used 92 links per side and after the normal minor clean-up, each track side was constructed as a single run one side at a time. The runs were painted with Non-Buffing Metalizer Gunmetal, dry-brushed with Steel, and given a wash of Raw Umber prior to installation. I constructed the left side first, with a short run of 20 links for the right side used to hold the suspension level while the first track dried in place and avoid twisting a either the sprocket or idler, and a series of toothpicks employed to introduce a small amount of sag. The process was repeated for the right side and both tracks left to sit overnight to set up. The spare track runs were also constructed but some thought was required due to the fact that the extra Magic links are handed. Red 07 had links welded to the turret as added protection from air attack, so 11 links were needed there, 8 links for the glacis, and 14 links for the hull front. 14 were used from the left-handed set for the front and the other 19 came from the right-handed set. I used a #11 blade to remove the molded on pins for the end links and a pin-vise to drill-out their empty pin slots to make them more accurate. The runs were painted with Non-Buffing Metalizer Gunmetal, dry-brushed with Steel, and given a Burnt Umber wash prior to being installed on the vehicle. The pioneer tools left off from the fenders got their turn now. The tools came with molded-on clamp handles that were thinned with a needle file and sanding to get them down closer to scale. All of the tools were detailed and installed along with the spare road wheels and tow cables. The kit includes a nice detail found in reference photos for Red 07 in the form of two extra pickaxes without tool clamps that were mounted to the hull front by sticking their points through the open guide horns and securing their handles together with a leather strap. The kit doesnt include the strap, so I scrounged a left over part from an Eduard PE set and modified it to do the job. The same reference photos also show that Red 07 had two dunkelgelb jerry cans mounted with the rest in panzer gray, so I dutifully painted up 6 cans with Panzer Schwarzgrau and 2 with Dunkelgelb. The cans had their water-can crosses painted by hand using a detail brush and Light Gray. The cans were then lightly dry-brushed with Steel and then counter dry-brushed with their base color to blend it back in and then installed into their rack on the rear hull.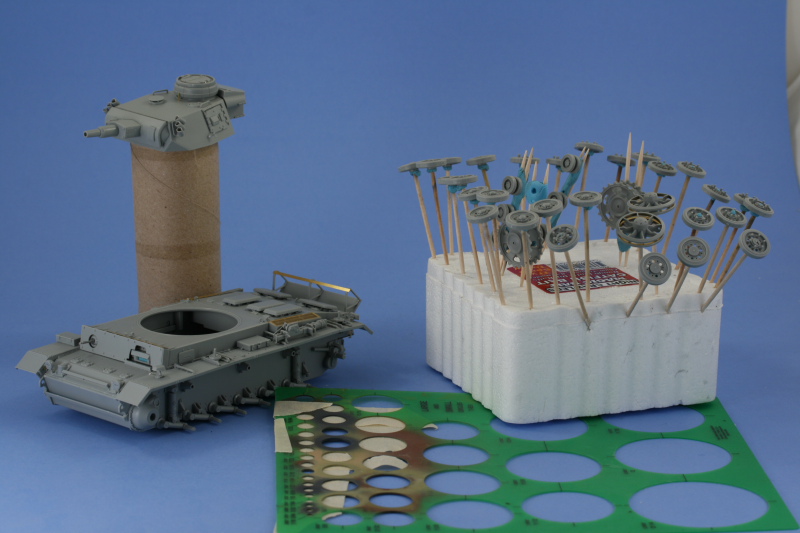

About the Author


FROM: TEXAS, UNITED STATES
Like many, I started out in the hobby as a kid building airplanes to hang from my bedroom cieling. I took a long break from the hobby, returning in 2001 with an interest in armor inspired mostly by online gaming. WW2 armor, 1/35 scale, is my preferred genre with a special taste for the stranger vehi...
Comments

Your tank came out incredible!! I enjoyed watching your build from beginning to end and look forward to seeing more of your builds in the future. I learned a few things also,thanks Bob
MAR 17, 2008 - 05:26 PM
Great build - now where is that Tiger I that goes along with it
Thanks for sharing
MAR 17, 2008 - 10:21 PM

Thanks Bob for the comments, glad it will be of some help to you.
Jesper,
The box-art has an interesting possibility for pairing it up with some Tiger 1s, almost certain someone will do the dio of it in the near future.
MAR 18, 2008 - 06:29 AM

Nice finish Bill. Once again can I see that undreside now that it's finished? I am rounding the corner in assembly on mine. Sure wish my camera and my computer were working.
MAR 18, 2008 - 07:32 AM
James,
Not sure if these will help you more than the other shots, but here you go. I can't turn it all the way upside down like I did in the WIP photos due to limited handling surfaces.


MAR 18, 2008 - 01:31 PM


Outstanding Build ! I always seem to learn somthing about the hobby from viewing everyones projects. Very Cool Panzer III. Thanks for sharing.
APR 12, 2008 - 06:35 AM
Thanks milvehfan. I agree about reading about other people's projects, always pick up little things here and there by seeing how others tackle verious issues or approach things. Virtually all of my exposure to model-related subjects is via the Internet and can't tell you how invaluable a resource it is for past, present, and future learning and evolution. Someone's always coming up with a newer/better way to do things and when they share that in a community such as Armorama, everyone benefits. I try to do the same thing with my work even if sometimes it's a better example of how NOT to do something.
APR 12, 2008 - 09:37 AM
Copyright ©2021 by Bill Plunk. Images and/or videos also by copyright holder unless otherwise noted. The views and opinions expressed herein are solely the views and opinions of the authors and/or contributors to this Web site and do not necessarily represent the views and/or opinions of Armorama, KitMaker Network, or Silver Star Enterrpises. All rights reserved. Originally published on: 2008-03-16 00:00:00. Unique Reads: 35529

WEB HOSTING BY


Copyright ©2021 Armorama and Kitmaker Network, a subsidiary of Silver Star Enterprises
All Rights Reserved. Please read our Conditions of Use and Privacy Policy.
All Rights Reserved. Please read our Conditions of Use and Privacy Policy.